Leaderboard


Popular Content
Showing content with the highest reputation on 12/24/2018 in all areas
-
You may have 2 15 amp outlets on the genset depending on the which model you bought. If I remember correctly from your previous posts, you did not get the companion. The bonding plug goes in 1 of the 15 amp outlets and the 15 to 30 amp cord/adapter goes in the other. Mike
 2 points
 -
I can’t answer the charging question, but check out GenTent for weather protection while running the gen set. http://www.gentent.com/ProductDetails.asp?ProductCode=GT10KXKITB Mike2 points
-
We have the new Honda EU 2200I and find it will run everything we need including the A/C. You do have to make sure you don't run multiple high amp draw appliances at the same time. I love the light weight compared to our old Honda EM 2500 that was too heavy to lift any more at my age. I was able to get it on sale for $899 with free shipping and no tax. It's also very easy to convert to duel fuel so it will run on propane or gas.2 points
-
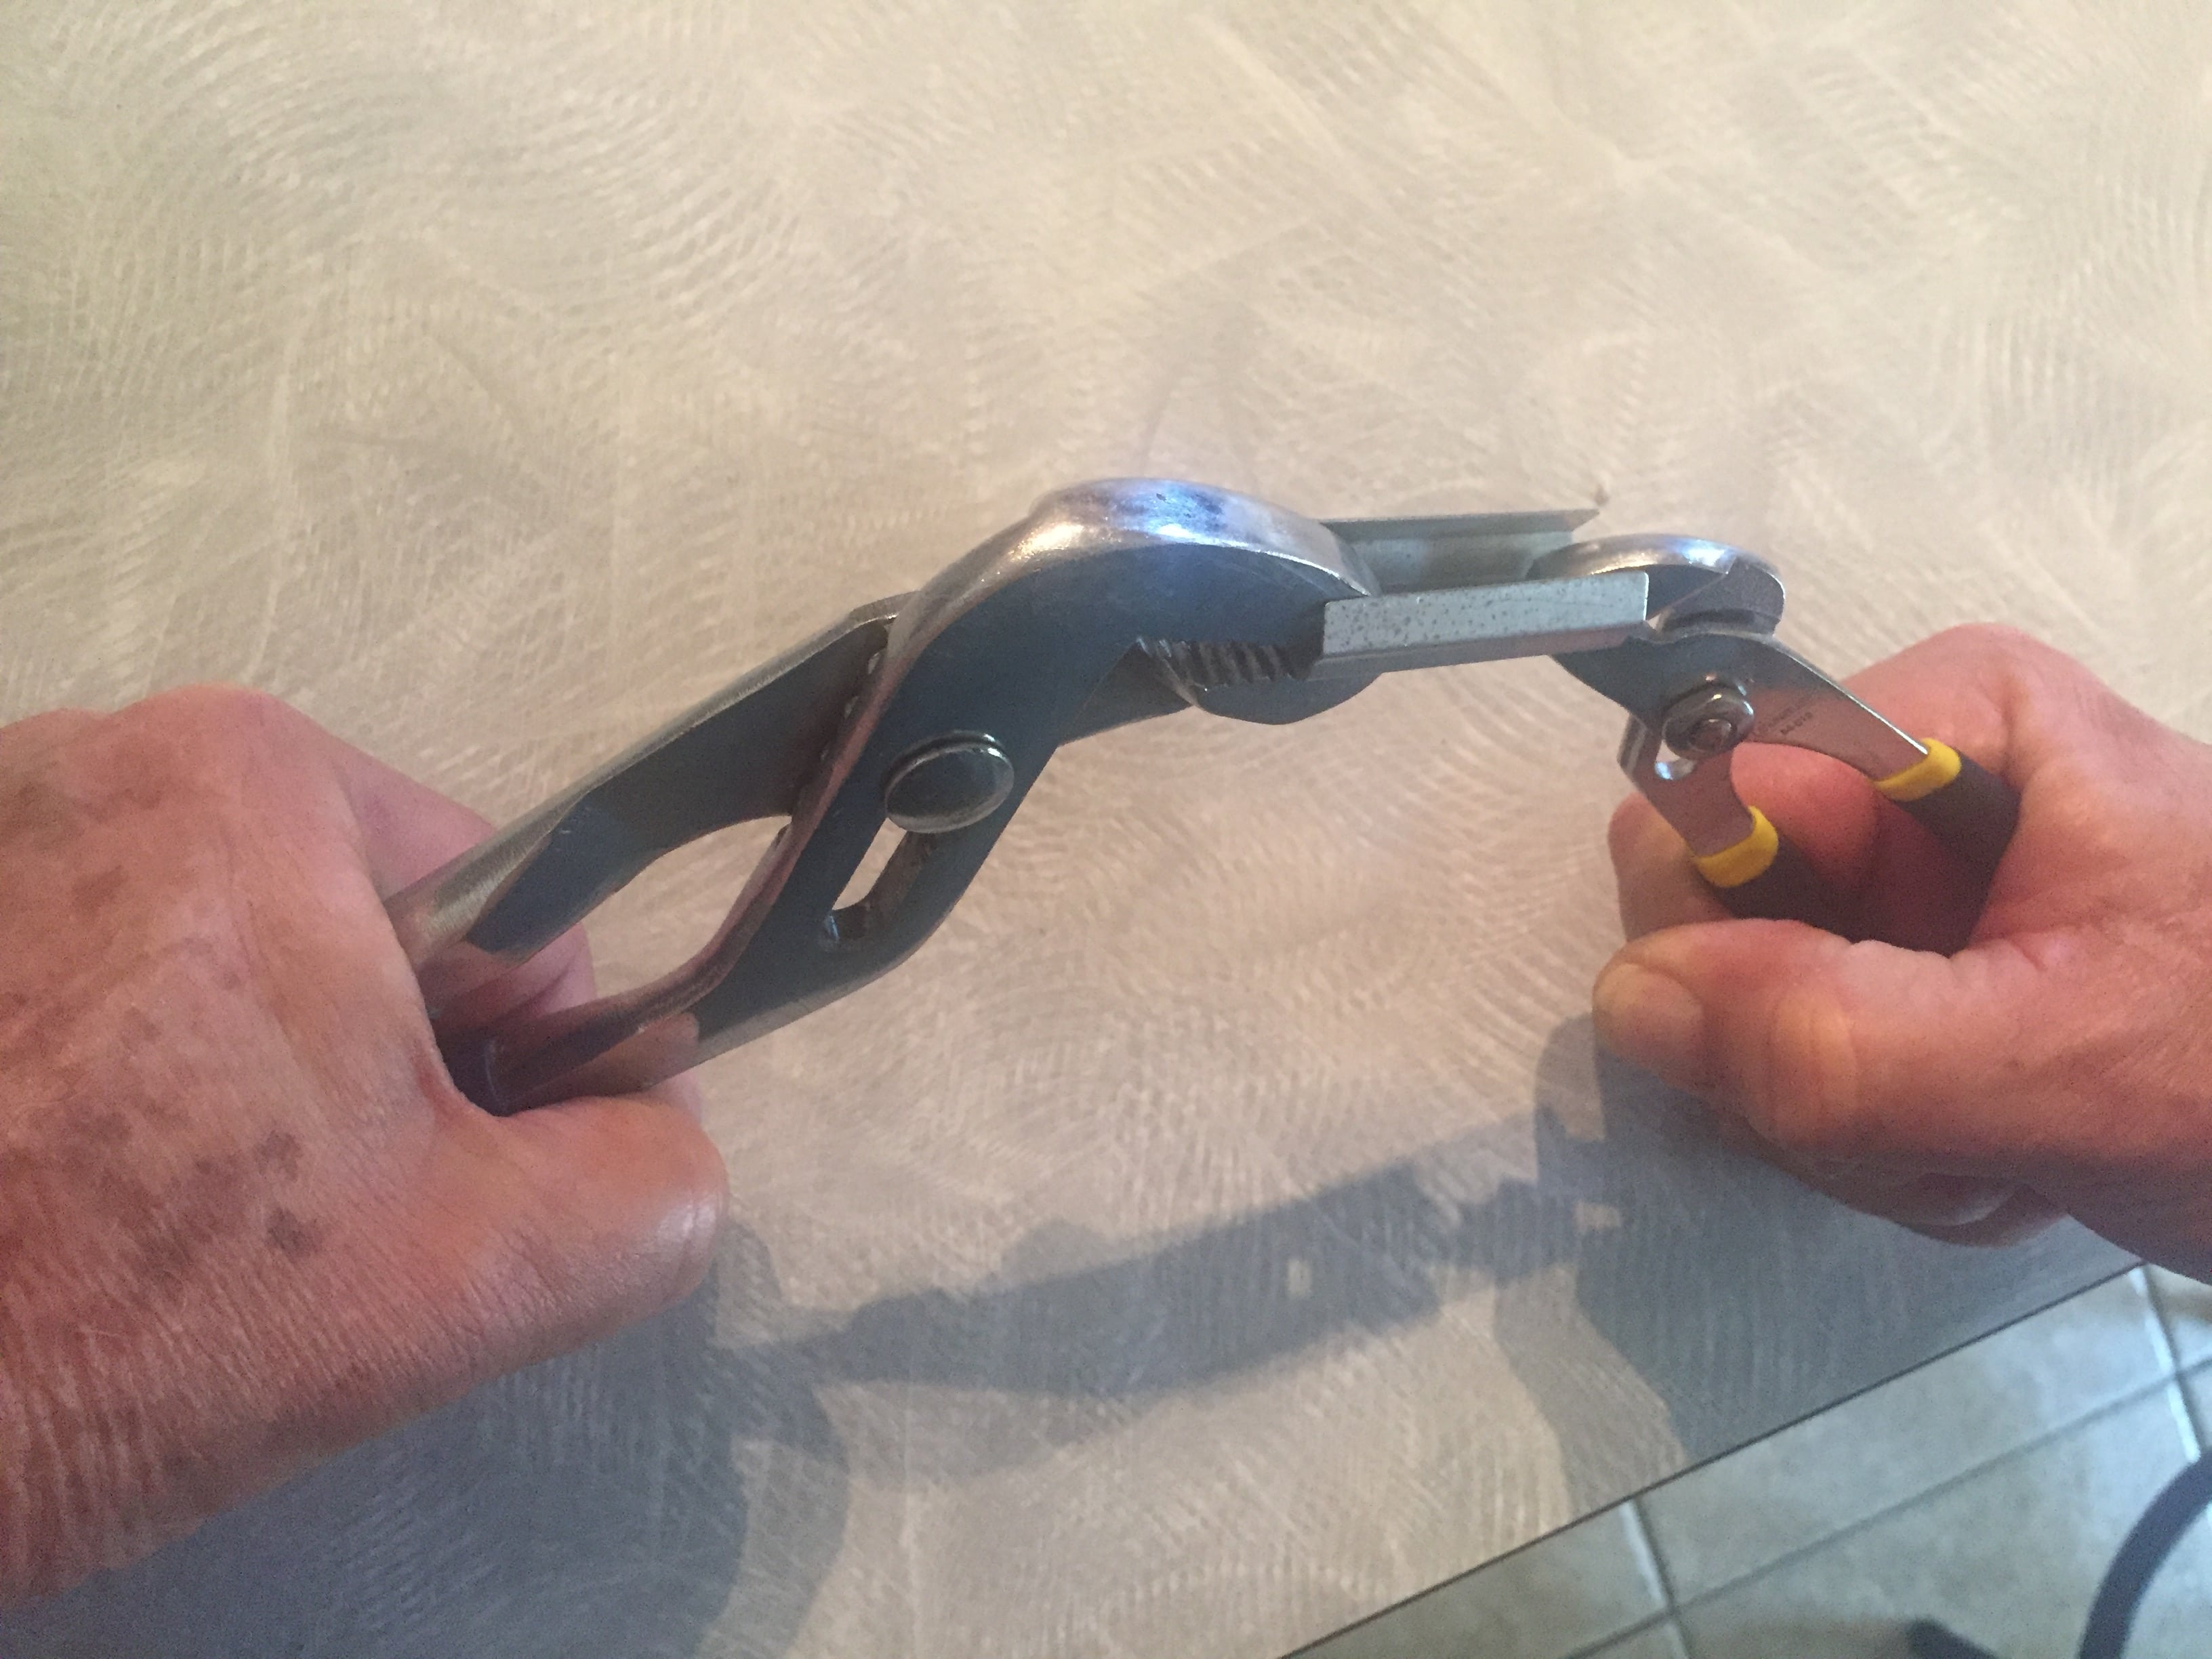
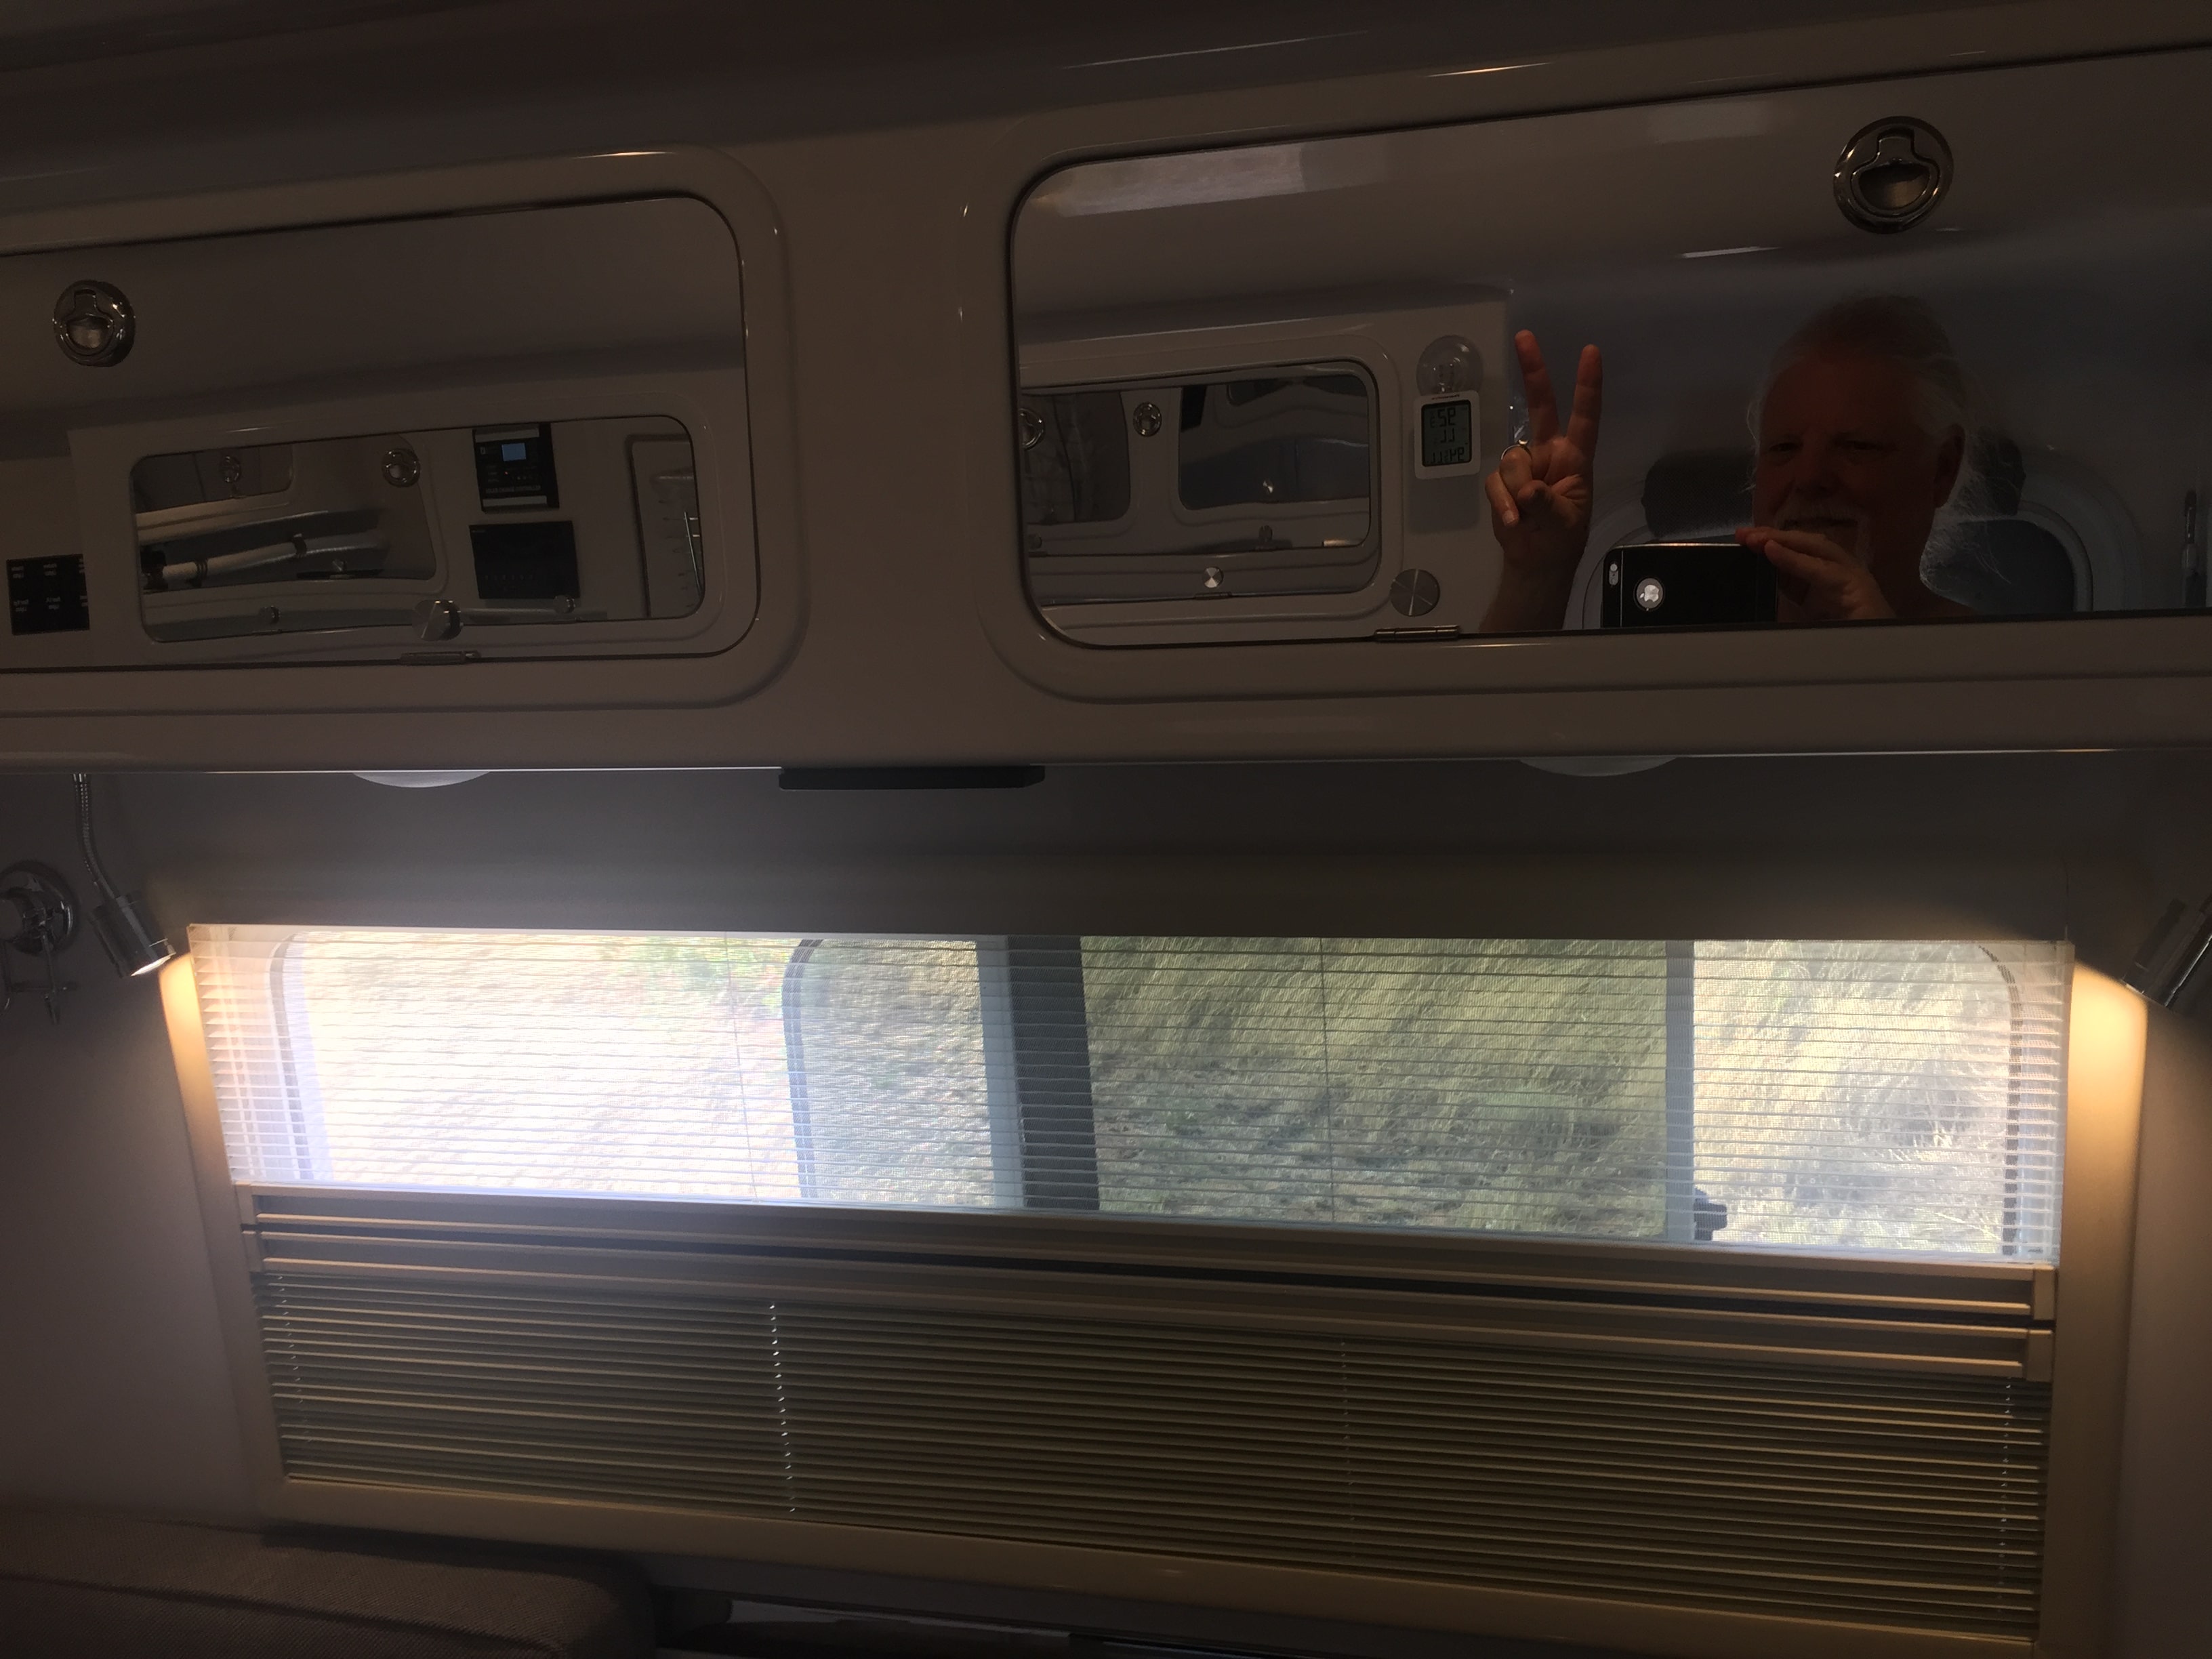
The issues: 1. We wanted to flip the shade frames to allow more privacy when needed. With the “night” shades on the bottom--instead of the top--one can raise them up so that one can still view the outside world without having to consider that someone outside, would get a nice view of one’s midsection as one walks about the cabin. 2. We wanted to increase the “grip” of the shades so that they would better stay in place. Sometimes our blinds would slide down after being pulled in place. Since we figured that the “night” blinds are heavier than the “day” blinds, we thought this extra grip was even more important if we were going to reverse them. 3. We wanted to better secure the shade frames to the interior wall. Our frames have frequently come loose from the clips that are meant to hold them in place, actually falling off a couple of times. We tackled the second issue first. Someone on this forum or one of the Oliver Facebook pages suggested retying the strings to the springs on the top and bottom of the frames to increase the tension. (If you pull the frames off of the clips holding them to the wall, you will see those springs and the strings.) This proved very frustrating. (I think you will agree if you attempt this task; you might also appreciate the nimbleness of the worker who accomplished the initial tie job.) I thought there must be another way to increase the tension. There seemed to be enough space on the corner of the frame to insert an object that would stretch the strings around the corner and thus increase the tension. I came up with placing those do-hickies that are used to secure screws in drywall on all four corners of the frame. This seemed to increase the tension just about the right amount. (One nice thing about those do-hickies is that they have little grooves into which the strings can sit.) Next, we tackled the third issue. After looking at the clips and how they fit into the groove in the frame, it seemed to me that spreading them out wider might make them hold better. So I unscrewed them from the wall and went at them with a couple of vise grips, pulling the sides of the clips out just a little bit. (The clips are surprisingly strong.) With a little effort, I was able to smack the frame back into place with the palm of my hand, upside down from the way they were originally placed at the Oliver factory. (One should be careful to make sure that the lips of the clips are centered in the groove before applying much pressure so as not to damage the plastic of the frames.) I hope the photos I upload here help portray the process. I have just completed this project on the window over the dinette. The frame is flipped, it seems more securely attached to the wall, and the “grip” of the “day” and “night” shades is stronger. I plan to do the other four frames soon. I apologize for my Cro-Magnon approach to the project. Unlike some folks on this forum, who are retired engineers, mechanics, and the like, I am a relatively unhandy retired academic and musician. But I thought that I would post this in case another Ollie owner wanted to tackle a similar project, perhaps having dealt with similar issues.
1 point
-
If you need to charge the batteries bypass the progressive for now but get a bonding plug soon so your protected all the time. I just don't like bypassing it in case of a problem with the generator.1 point
-
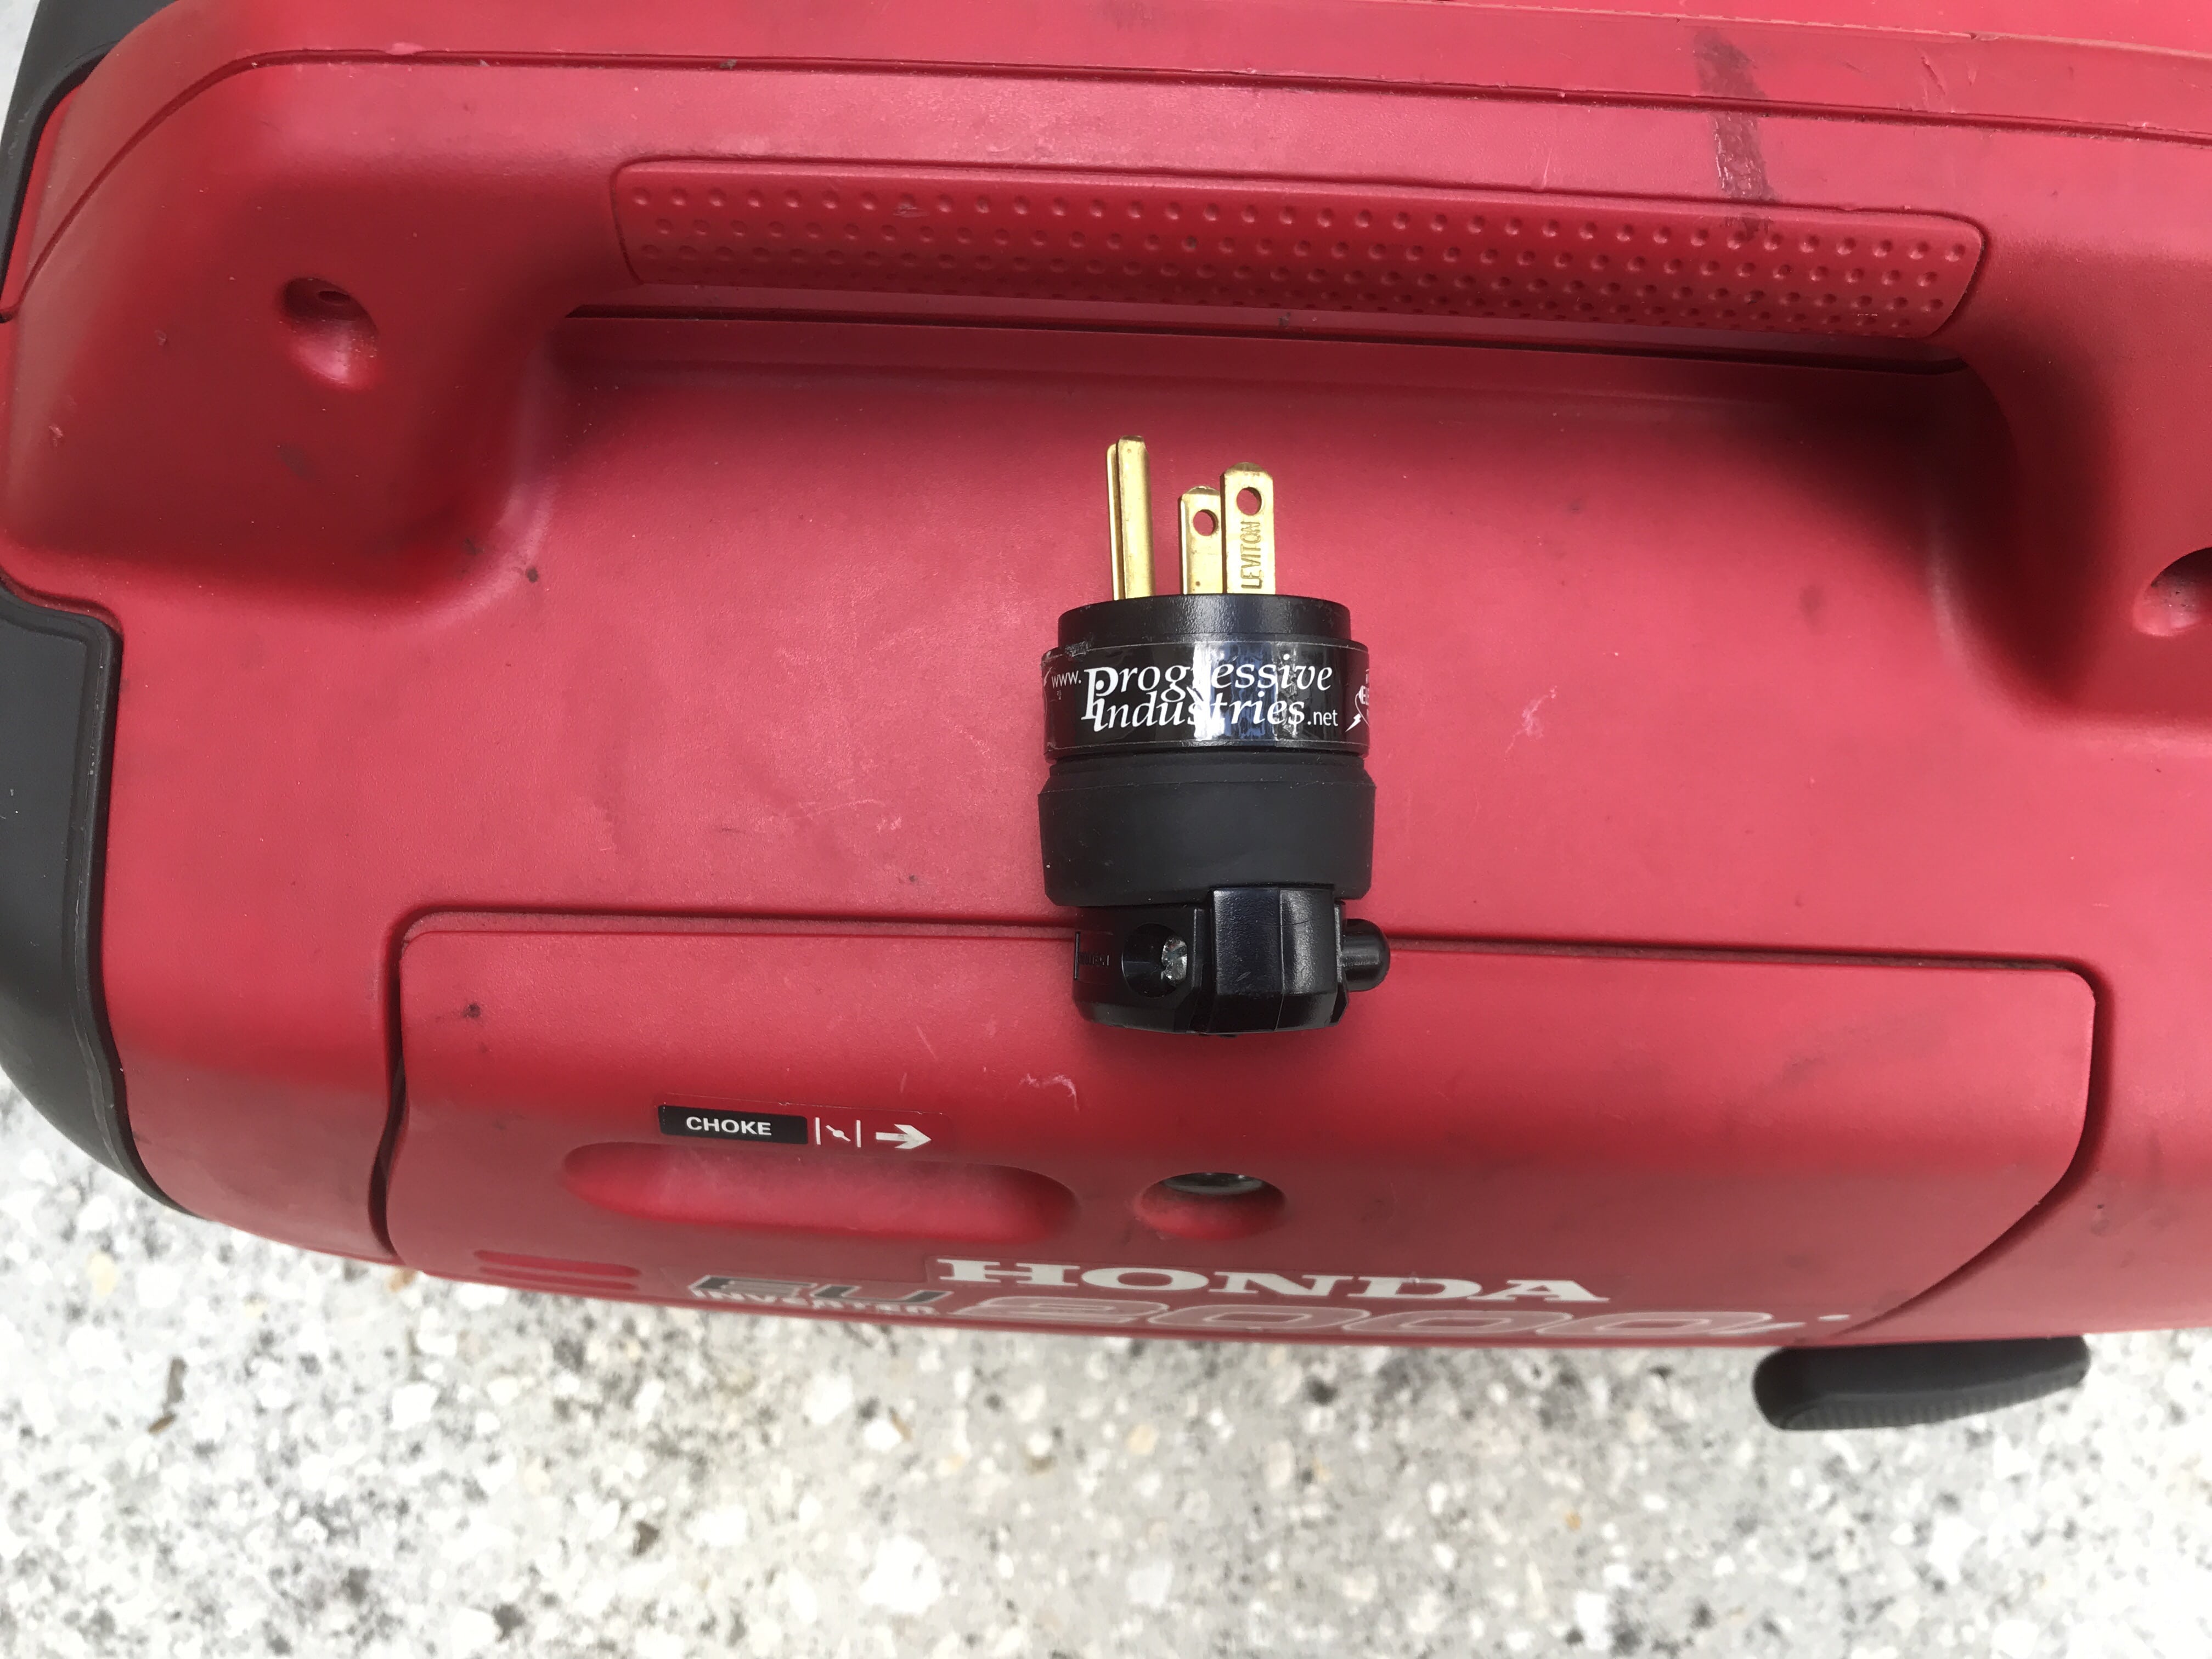
Check your Oliver supplied equipment. The provided a neutral bonding plug with my 2017 Elite II. It looks like the attachment. Mike
1 point
-
If you don’t have the neutral grounding plug yet, don’t panic. Just turn the electrical management system off at the display. This is safe under these circumstances since your generator is your source. We are assuming that generator is putting out electricity in the correct manner.1 point
-
If you're reading 11.9, you need to set up your generator and recharge. I try to keep our batteries no lower than 12.4. It will probably only take an hour to get you to 12.4, maybe two to get you to 12.6. If you only have the seelevel panel to guage by, understand that you're showing a little lower than you really are while the battery is under load, and will show 13.2 or 13.4 while you are plugged in, because it's reading the charging voltage coming in, not your actual state of charge. You won't see your actual state of charge for 30 to 50 minutes after you shut down the generator.... Charging to a full 12.7 or 12.9 will probably take 6 or 7 hours, and it's not necessary . As you approach a full charge, your charger ramps down the amount of charge going to your battery, for safety. At first, you get the high charge ( bulk charging) state, and goes very fast. As you approach a full state, the absorption charge is much slower and smaller. From 12.7 to 12.9 can take hours. Then, float kicks in, just to maintain full... Btw, which batteries do you have? Agm, or flooded? 6 v or 12v? There's a slight difference in what to expect for readings. The seelevel isn't all that accurate, anyway, as its sensitive to load/ no load, resting/ not resting, but it does help you to keep your battery in a healthy state... no letting it drop too low and kill the battery. .1 point
-
Read what I just posted above.1 point
-
Its electric so electric and water dont mix. I have placed it under the trailer when its raining. 3 to 4 hours should bring a low battery up to 90%. You can buy a 110 to 30 amp plug at Wal-Mart for $8. You will also need a netural bonding plug something like this or the Progressive EMS will not allow power from the generator without being bypassed and you should not bypass it. https://www.microair.net/products/generator-bonding-plug?variant=12272654155860 http://noshockzone.org/generator-ground-neutral-bonding/1 point
-
Spike, thanks again for your practical solution to the falling window shade problem. Our daytime shade recently started falling down on the curb side window. I took the shade down and I was just about ready to start taking it apart to see what I could do to fix it and bingo, I thought of your post and the use of the plastic wall anchors. I must admit that I hate those things, but I never throw them away. So I found 4 of them and installed them per your instructions and problem solved. Thanks again and Merry Christmas, Mike1 point
-
We bought a Yamaha EF3000iSEB soon after we bought our 2008 Elite. It has served us well for these past 10+ years and now rides on the front of our 2014 Elite II. It will be claimed that it is too much generator and a smaller/less expensive one will do. If I were to do it all again, I’d do it the same. I’m all about overkill. That way nothing is ever marginal.1 point
-
Thank you for the reply. I'm hopeful to have the same experience, although I'll bet loosening the Andersen before pulling up my driveway will be on my standard operating procedures list. : ) "New" Andersen?1 point
-
Welcome to the Forum! I don’t think anyone can really answer that question. I used to worry about over stressing the hitch parts, but in reality after 6000 miles with the Anderson, I don’t think you will hurt anything while driving straight on a smooth surface. I have gone up a very short steep approach to a parking lot from the street that scared me, afterwards. The back of the trailer frame smashed hard into the pavement, but nothing else happened. When you do this, the hitch tries to lift the back wheels of the tow vehicle off the ground. If your TV has limited rear wheel travel and is not full time AWD, you may get tire spin or get stuck. (This is why a guy with a boat and an equalizing hitch takes the bars off before retrieving his boat, so he doesn’t get stuck on a slick steep ramp.) I don’t worry about normal driving with the Andersen...But I do worry about going onto really uneven ground where the trailer will twist east and the TV will go west at the same time. Because the ball wears so weirdly due to the heavy forward load of the chains, you end up with a small canyon worn into the otherwise smooth ball. When you get crossed up in an unplowed field, the coupler will snap out of that groove with a bang and do the same when it pops back in. This is disconcerting and I don’t think it is at all good for the coupler. With the chains loosened up the coupler can move around on the top part of the ball with minimal stress. My policy is to loosen the nuts so that there is zero compression on the bushings when venturing into this sort of situation. The trailer and hitch seem much happier. Ultimately I hope to get rid of the Andersen entirely by shifting my cargo tray to the back of the trailer to lighten the tongue enough to just use a dead weight offroad hitch like member “overland” has..... Carrying a ton of weight up front just makes the Andersen situation worse since the chains have to be much tighter. To those who must use an Andersen, I don’t recomment buying the tongue cargo tray for this reason. I think it is not a good combination.... Did this help? John Davies Spokane WA1 point
-
Ah, but where’s the fun in that?1 point
-
That's a pretty neat hose that Steve posted. But unless I misunderstand, it would not protect the spigot from freezing. Remember you have around 30 gallons of water to use in your FWT. If it was me, and I was in your situation, I would just use the FWT all the time. Then if it begins to run low, fire up the hose and refill the tank, then disconnect again. During fillup, you could also fill a container for drinking water if you don't want to drink out of your FWT, like some of us do. Just my 2 cents. Dave1 point
-
Like Mike, I too bought an extra 25' water hose and have used them both. I often need the extra length while "camping" at friends' houses. At campgrounds that have water, you never know what side of the trailer the spigot will be, but 25' usually works great. If water is provided at your camp site, it is always best practice just to disconnect your hose at night and let the water drain out of the hose and your trailer (it will drain from the supply side of your backflow valve and out). Full timers will go to the trouble of heat tape and insulation, but for the traveler it's really not necessary. You also would need to tape and insulate the frost-free spigot or risk freezing and busting that and incurring a hefty bill from the campground owners. It just takes a couple of minutes to disconnect and stow your hose in the TV, and let the freeze come! Dave1 point
-
Interesting that your 4th breaker label shows refrigerator on a 20 amp but your 4th breaker is actually a 15 amp. I’m curious. Plug something into your custom outlet and trip your number 5 breaker and see if what you plugged in goes off. That custom outlet may be on breaker 5 but if it is wired in before the GFCI I think it will still be hot when the GFCI is tripped. Also, the wires coming from the electrical panel attach to the “line” side of the GFCI. The wires feeding the other outlets attach to the “load” side of the GFCI. If not hooked up right I don’t think it will reset. Bill1 point
-
This is brilliant. Cant thank you enough!!!1 point
-
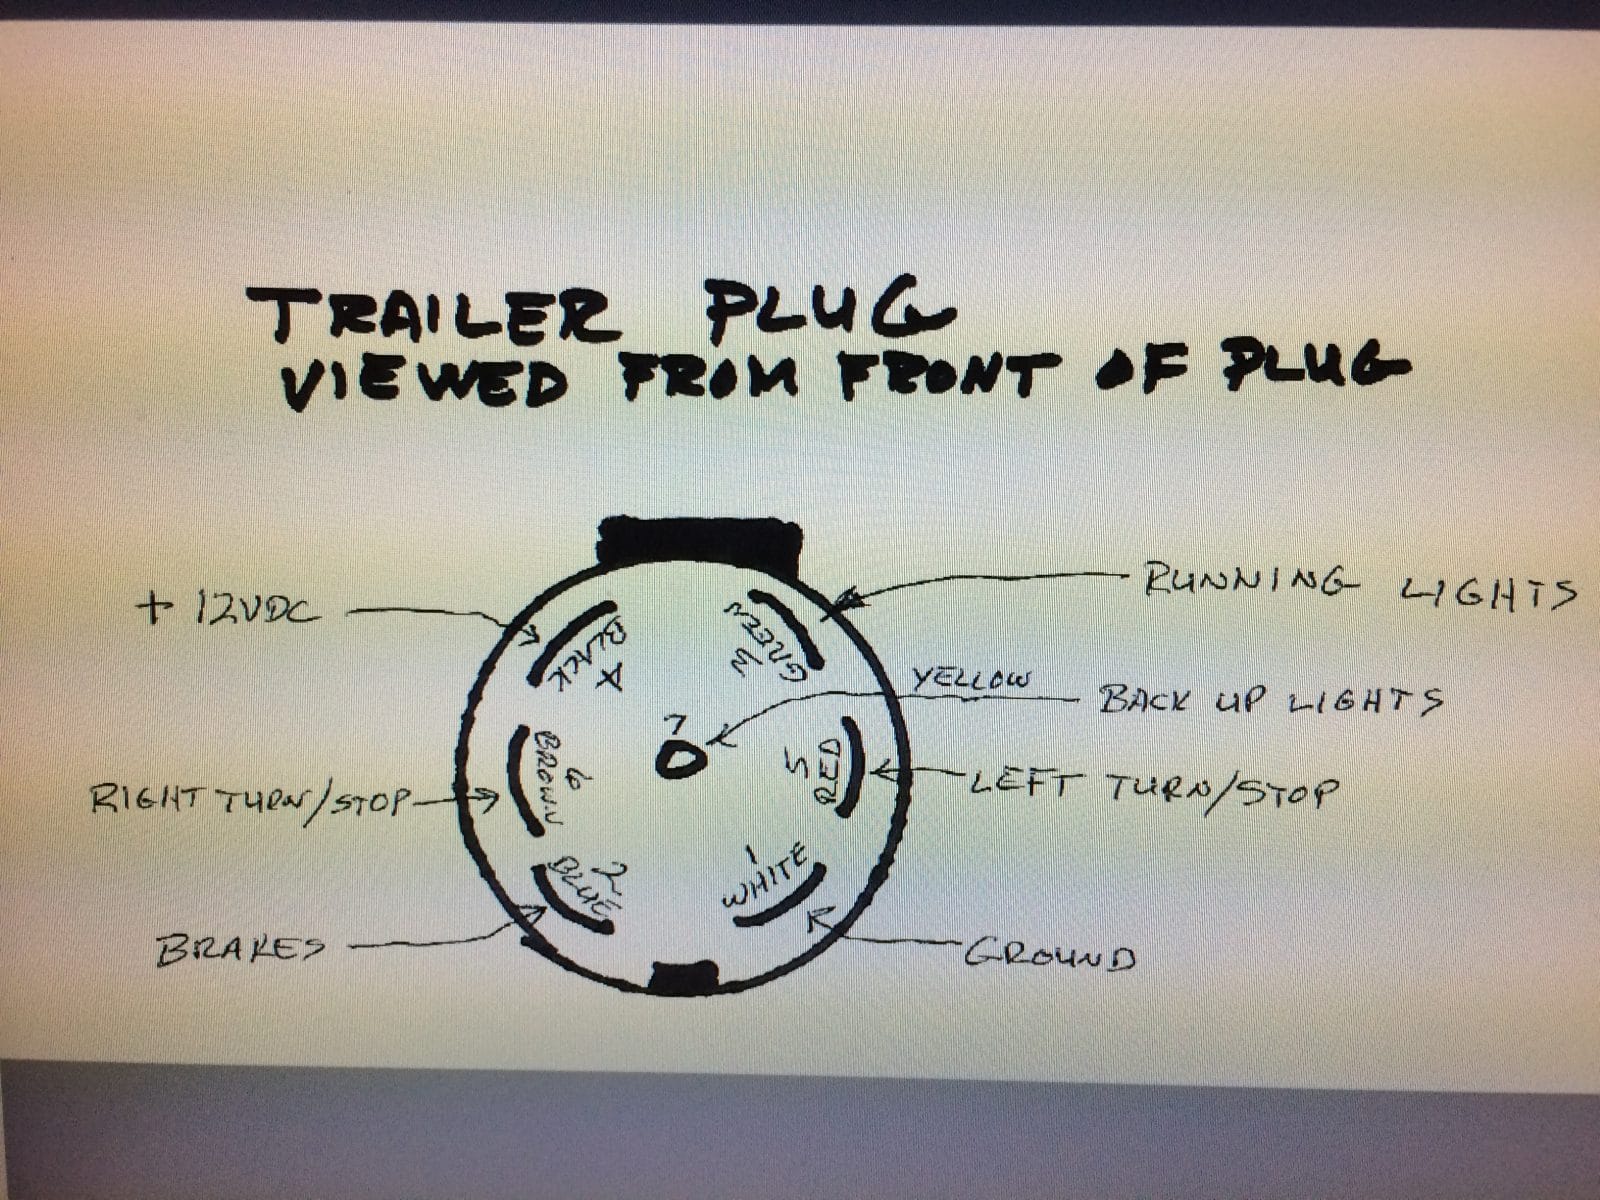
Reed: The seven wire cable that attaches to the tow vehicle is located under the front dinette seat; which is easy accessible. At that point I cut out all of Oliver’s connectors and installed an additional 10 gage white wire and quality electrical connectors. The 10 gage white wire that I installed was run to the rear dinette seat area. If you open up the access cover under the seat, just behind the electrical panel is a ¼ - 20 bolt where Oliver grounded to the frame the on board battery negative. Oliver used a 6 gage yellow wire from their battery negative buss bar. Their 6 gage yellow wire is about 14 inches long. I just attached my 10 gage white wire to the same ¼ - 20 stud; this way both the on board battery negative and the tow vehicle negative are bonded together at the same point. As I said in my original post, go to the trailer plug with a multiple meter; one lead on the trailer frame and the other multiple meter lead on the plug that goes to the tow vehicle. At that point if everything is wired correctly you should have a short; which means everything is correct. But is you have an open circuit that means the two negatives are not bonded or connected together. I have attached a sketch of the end of the trailer plug for reference.
1 point
-
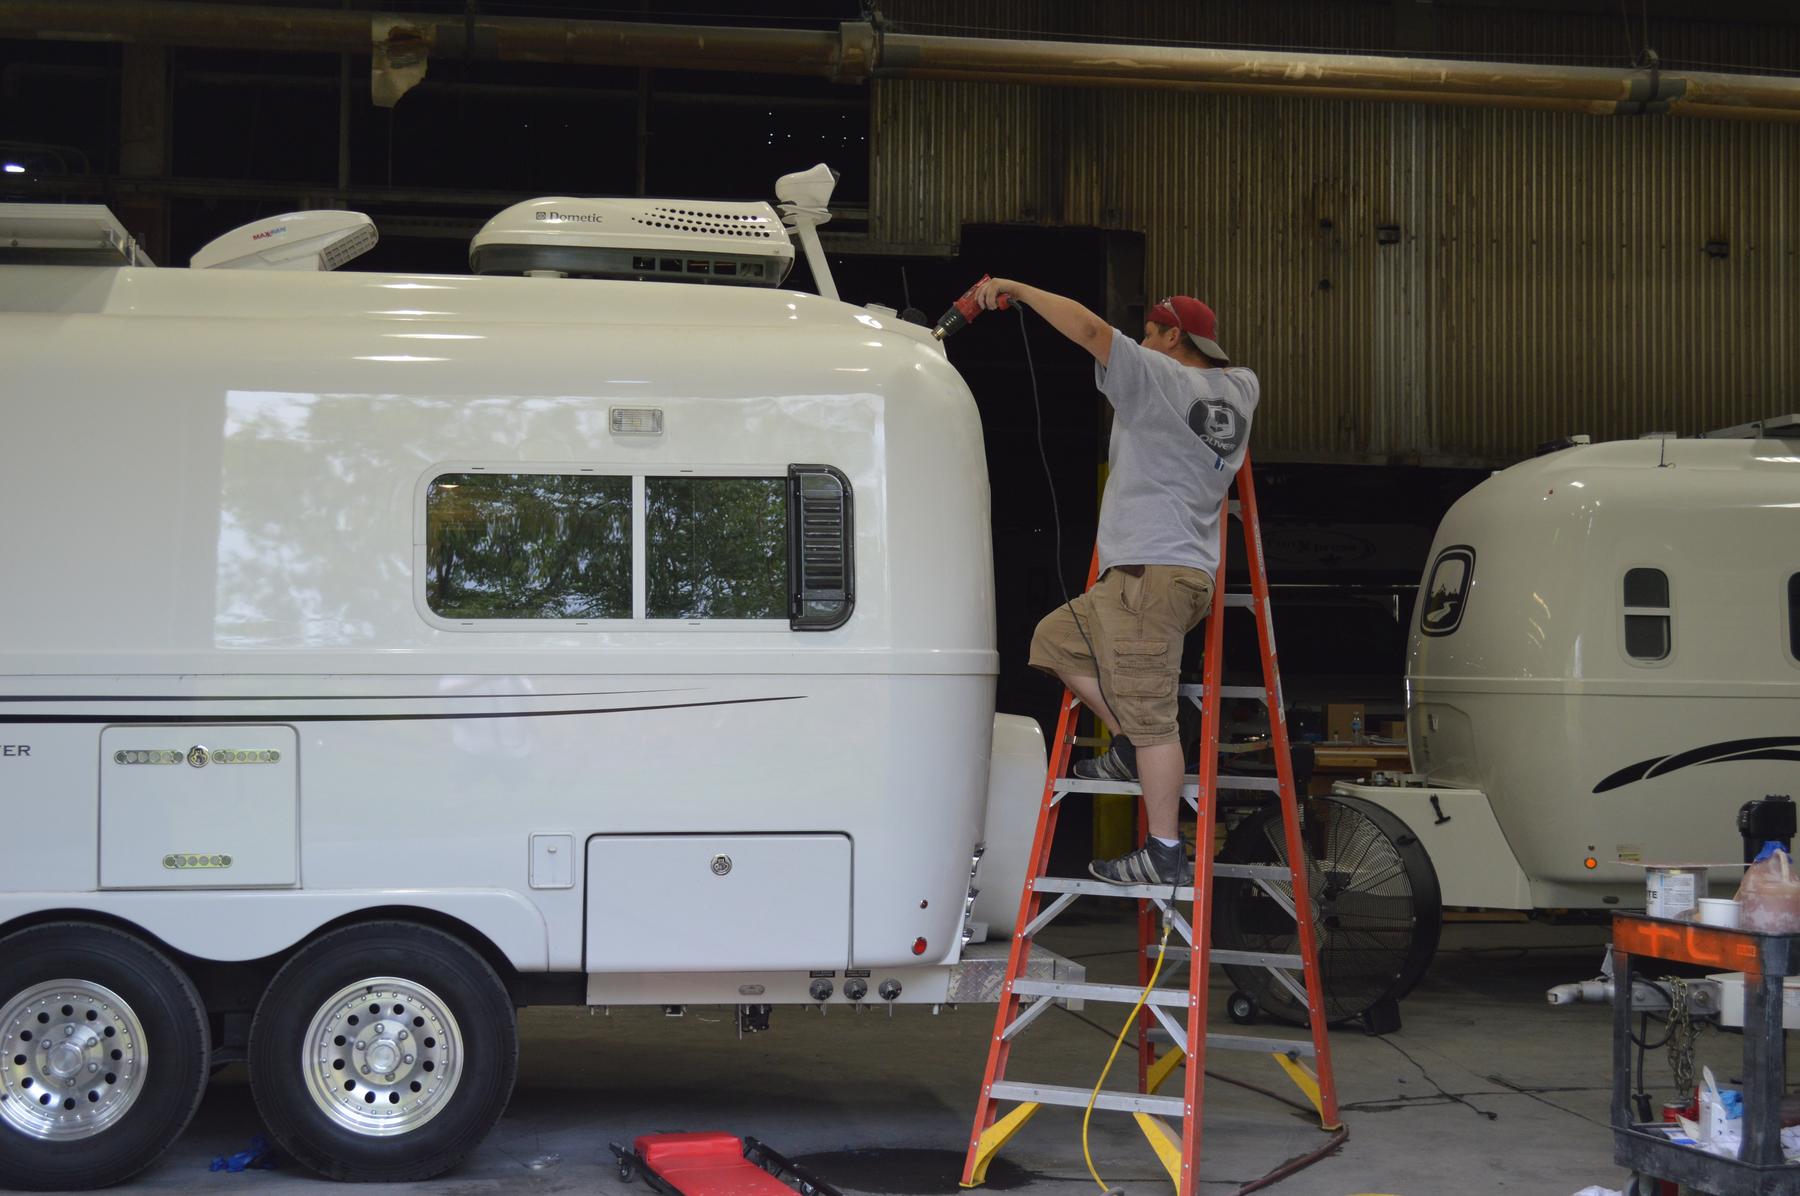
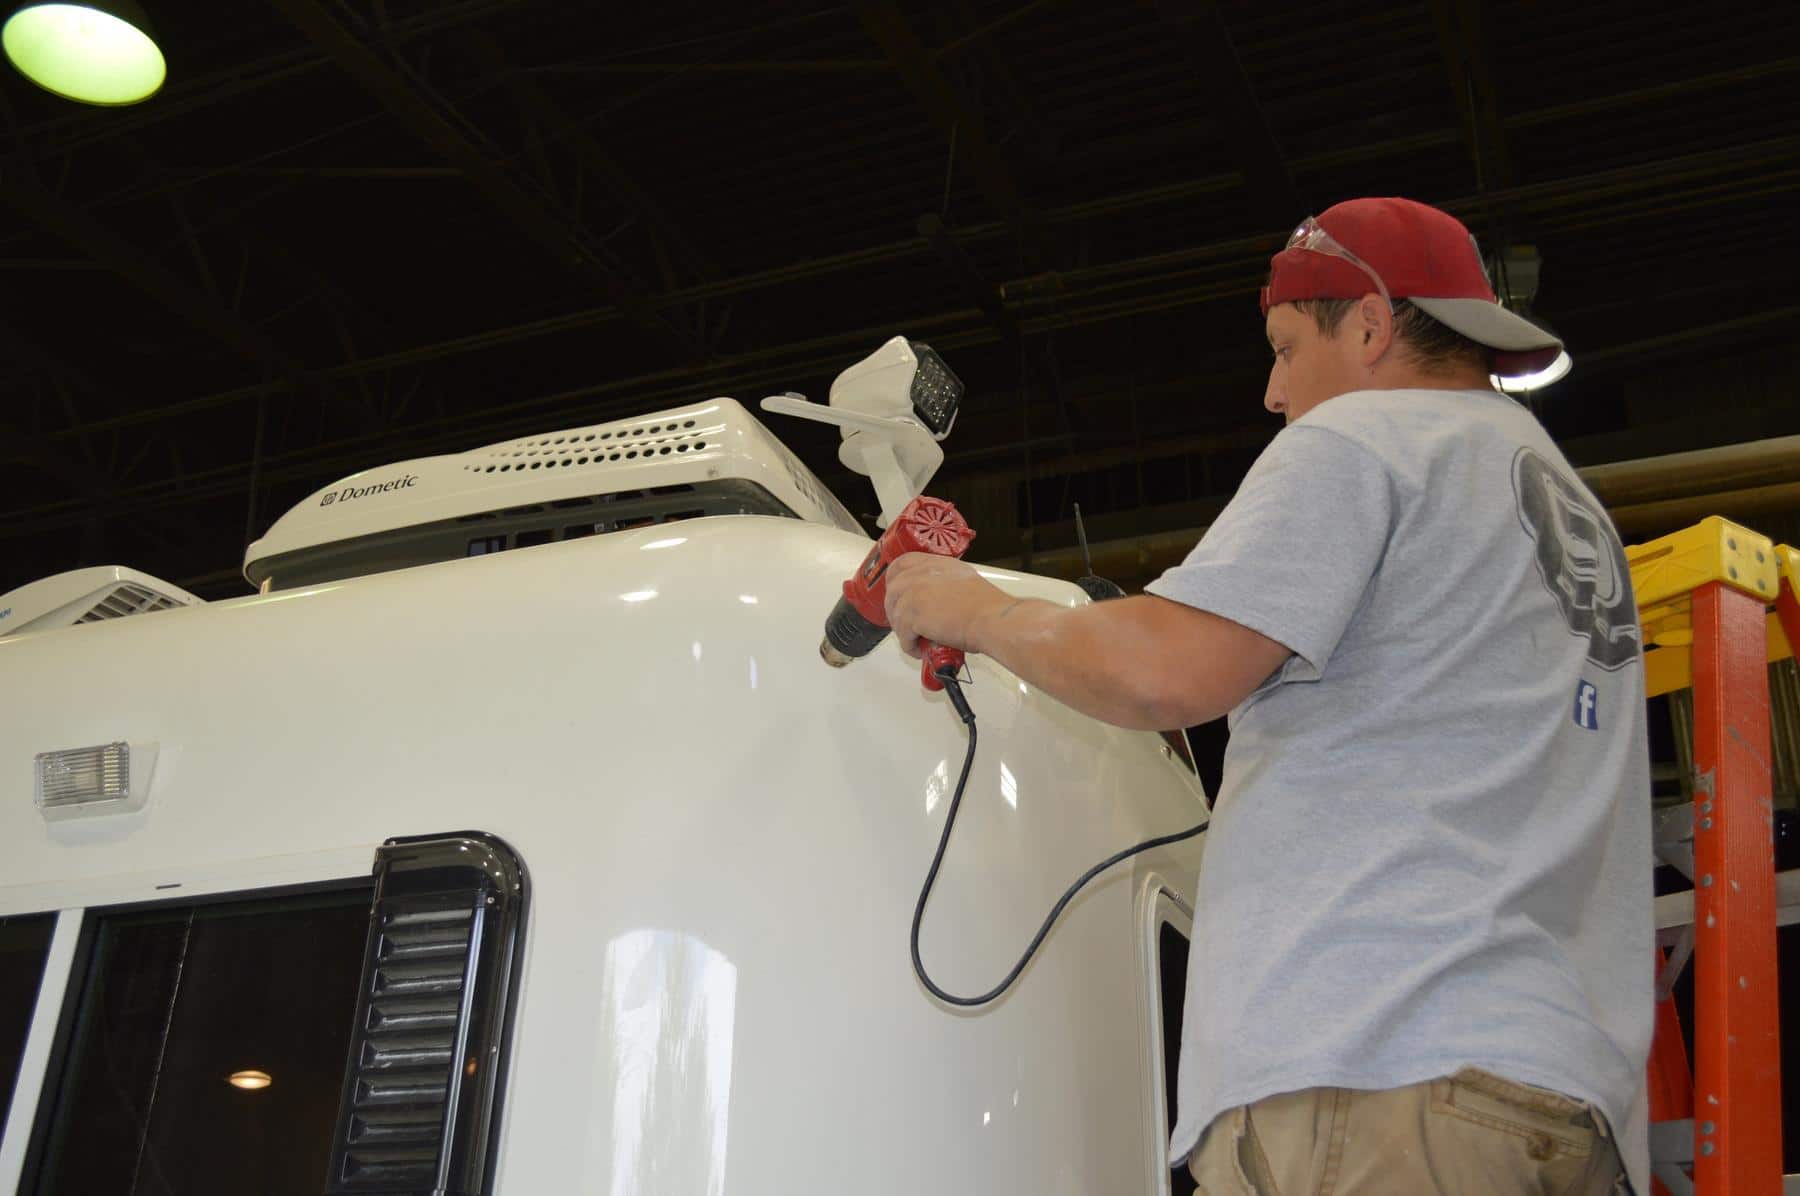
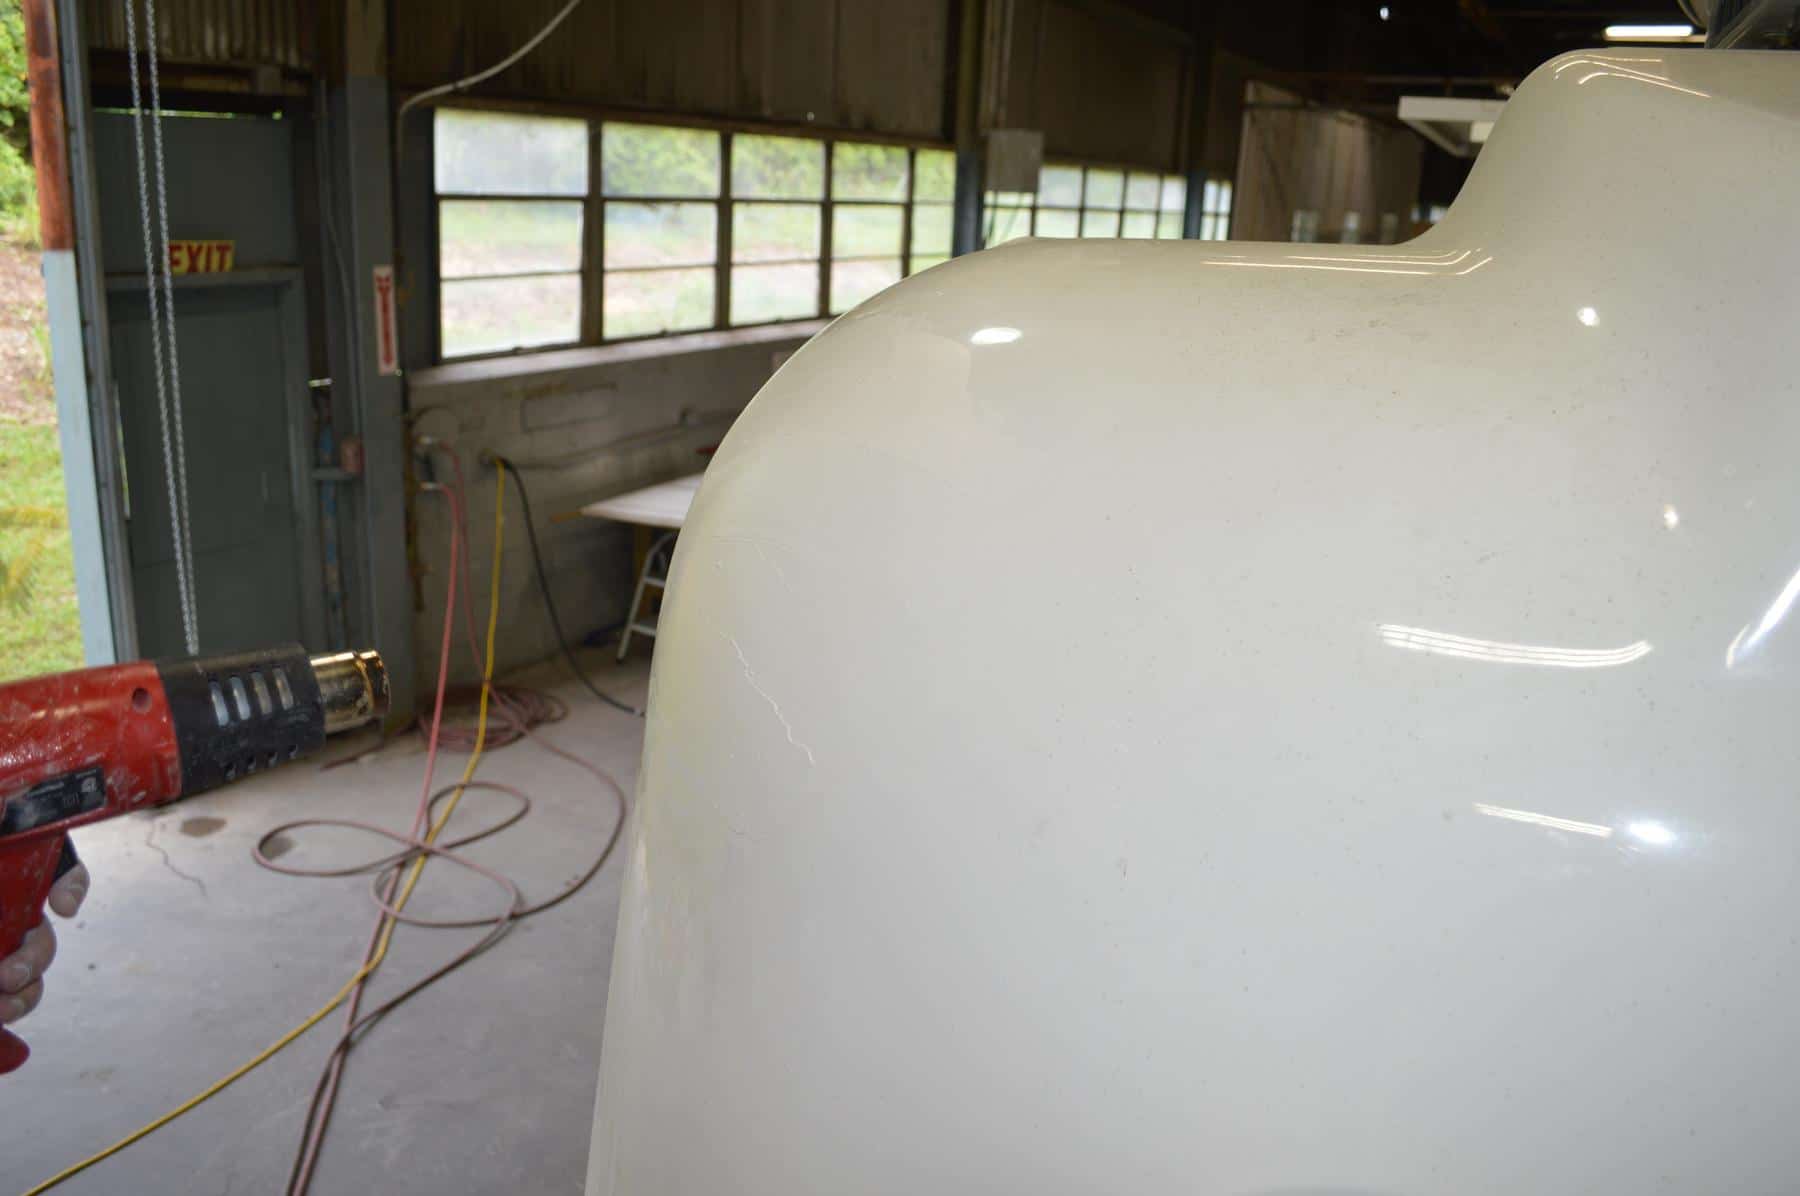
We’ve all had those “Awwww Shoot” moments where you wish you could have a do-over of the past few minutes. In July of last year I had taken the Outlaw Oliver back to the factory for an upgrade to the body where the rear jacks exit. This modification is now built into the mold and is standard on all current production models. While there I accidentally allowed the upper left rear corner of the trailer to come in contact with an “immovable” object. The first three pics show the results of that encounter. [attachment file=DSC_0918.JPG] [attachment file=DSC_0919.JPG] [attachment file=DSC_0921.JPG] The next day at the factory Phil Andrews started work on the hole. First, gel coat was ground away and the deformed piece was pushed back into position. Then the grinding, filling and polishing began. Now, you can't tell the hole was ever there. I cringe to think what a repair like this would cost if it had been an Airstream. I love fiberglass.
1 point


-
Recent Achievements
-


")


")


")