Leaderboard


Popular Content
Showing content with the highest reputation on 09/06/2024 in Posts
-
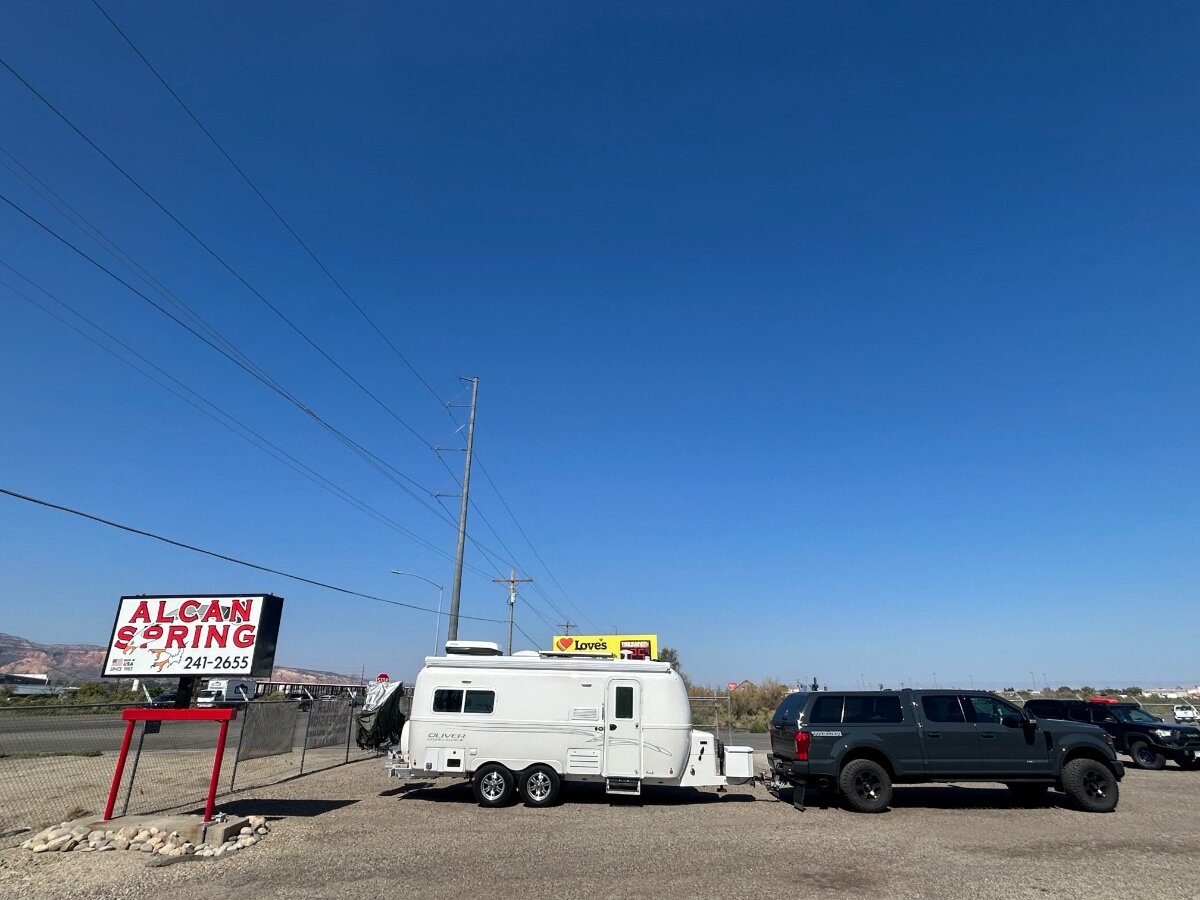
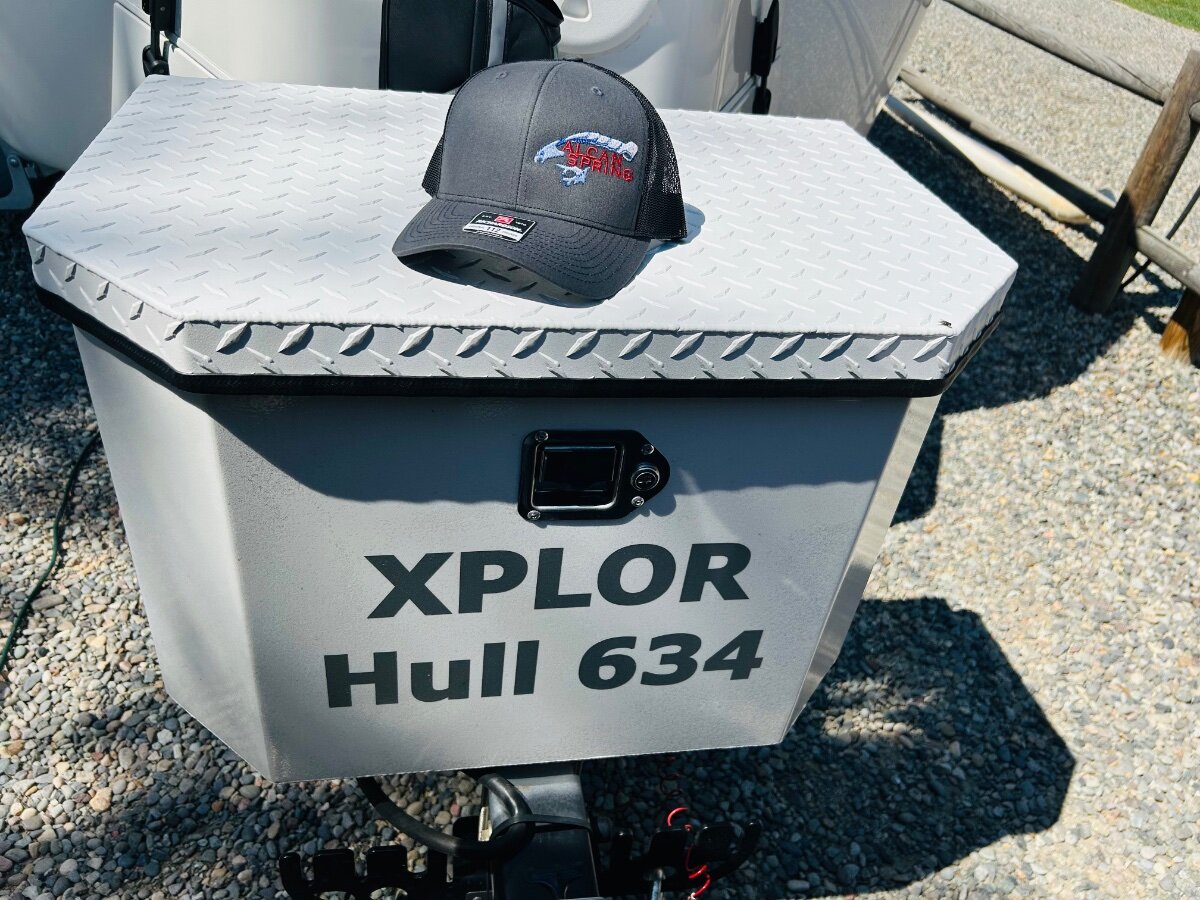
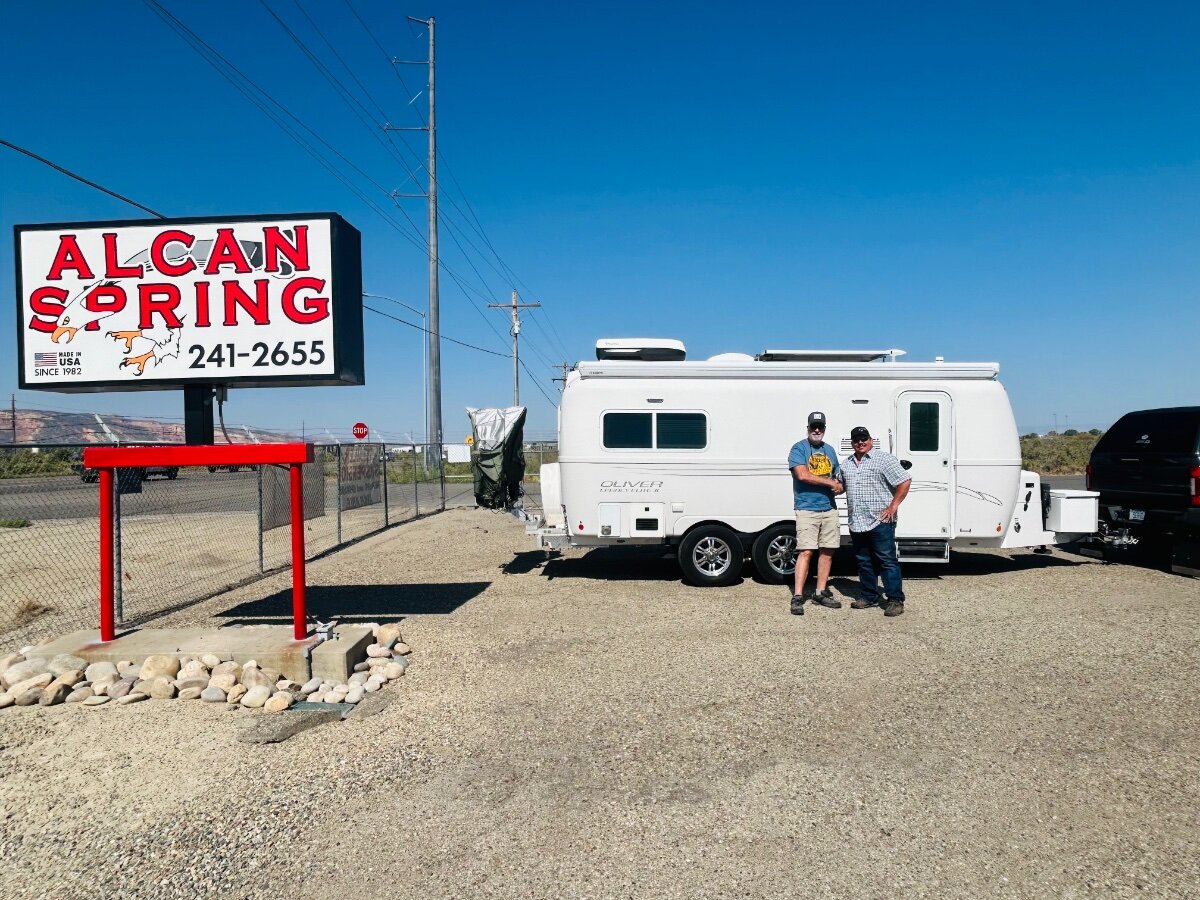
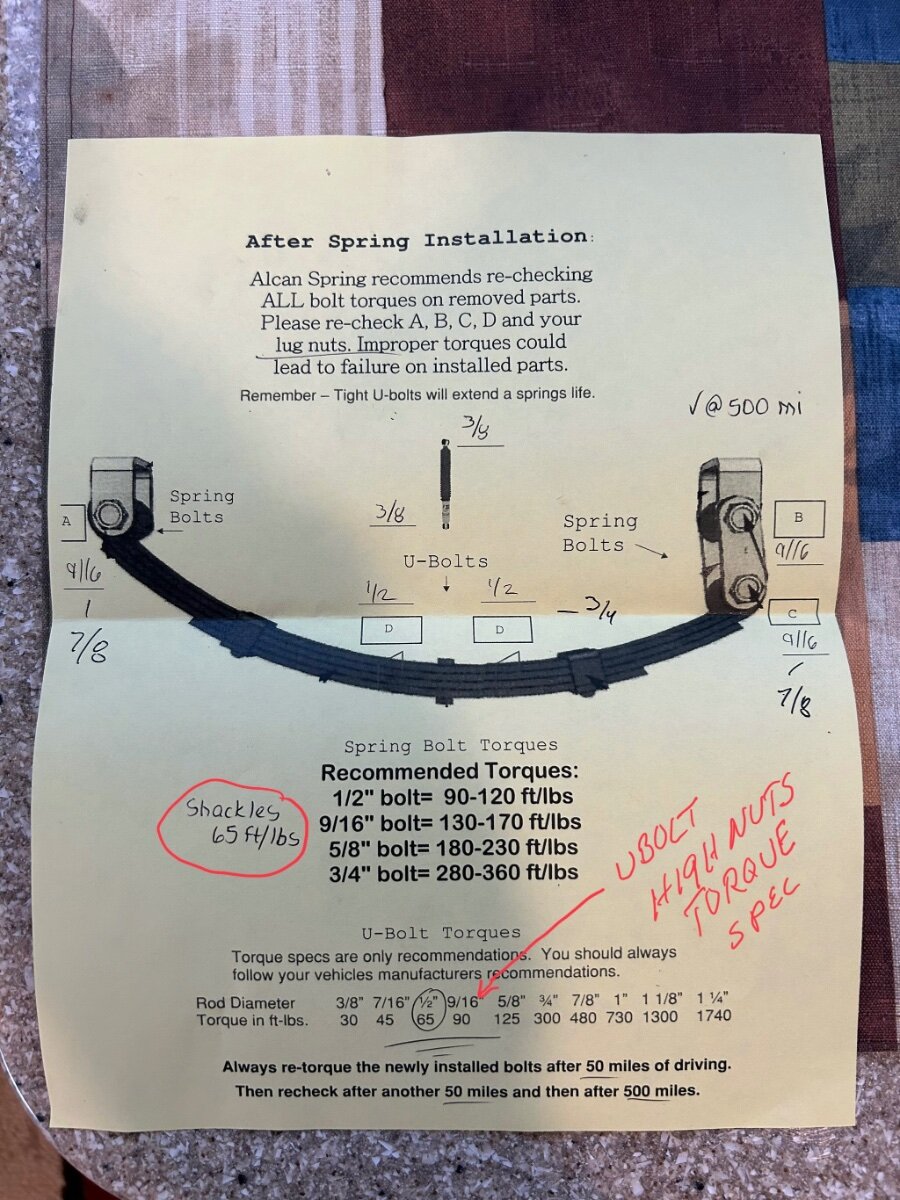
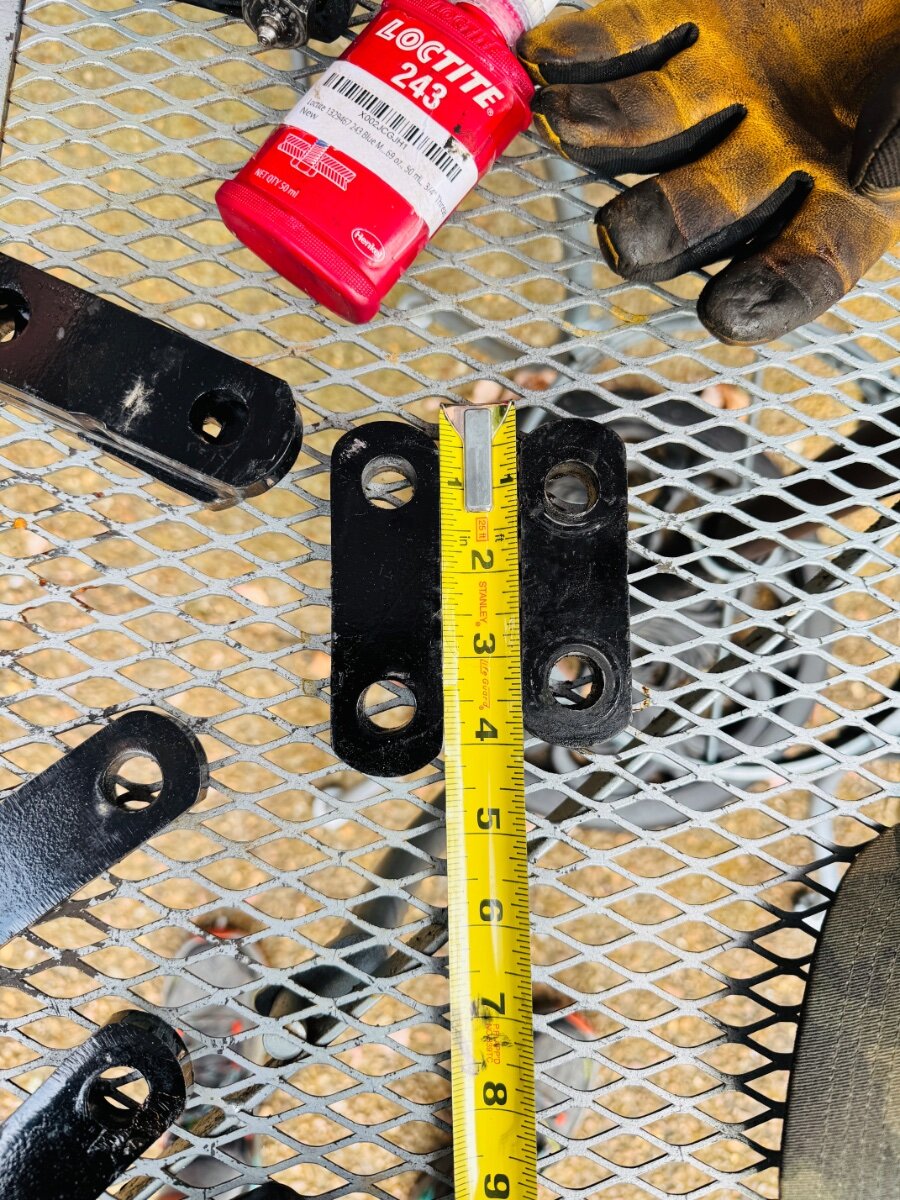
This morning we had the 5 leaf pack installed on Hull #634 XPLOR at the Alcan shop here in Grand Junction, CO. We had an excellent experience from start to finish. We opted for the upgraded heavier duty wet bolts, nyloc nuts, Alcan HD 2 1/2” shackles. Our Monroe shocks are still in good shape with less than 2500 miles on them. Over all very happy with the work performed by Tucker at Alcan, he has installed the custom 5 leaf pack on a number of Olivers. Lew the owner was excellent to deal with and explained everything in detail. If you have questions about the install, parts or pricing, give Lew a call. Now we can get on with our trip to Utah, Wyoming and maybe Montana. Onward & Safe Travels! Drop off early morning - yes we hit the loves to top off with diesel, saving 76 cents per gallon with our TDS Open Roads Fleet card. We love LOVES. Ha! Thanking Lew 2.5 hrs later after the new leaf packs were installed. Gotta have a little swag.. Decal swag - Optional upgraded wet bolts. Torque specs -
 9 points
 -
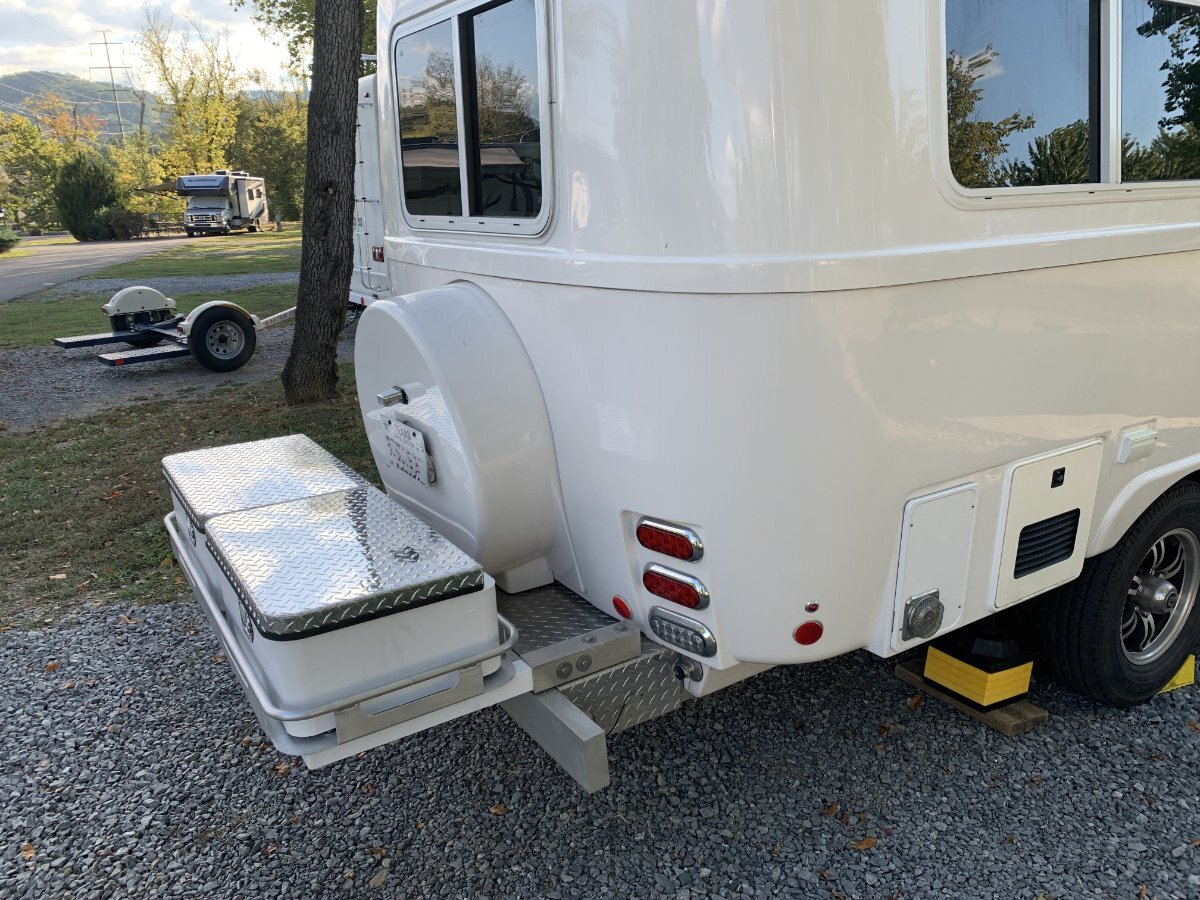
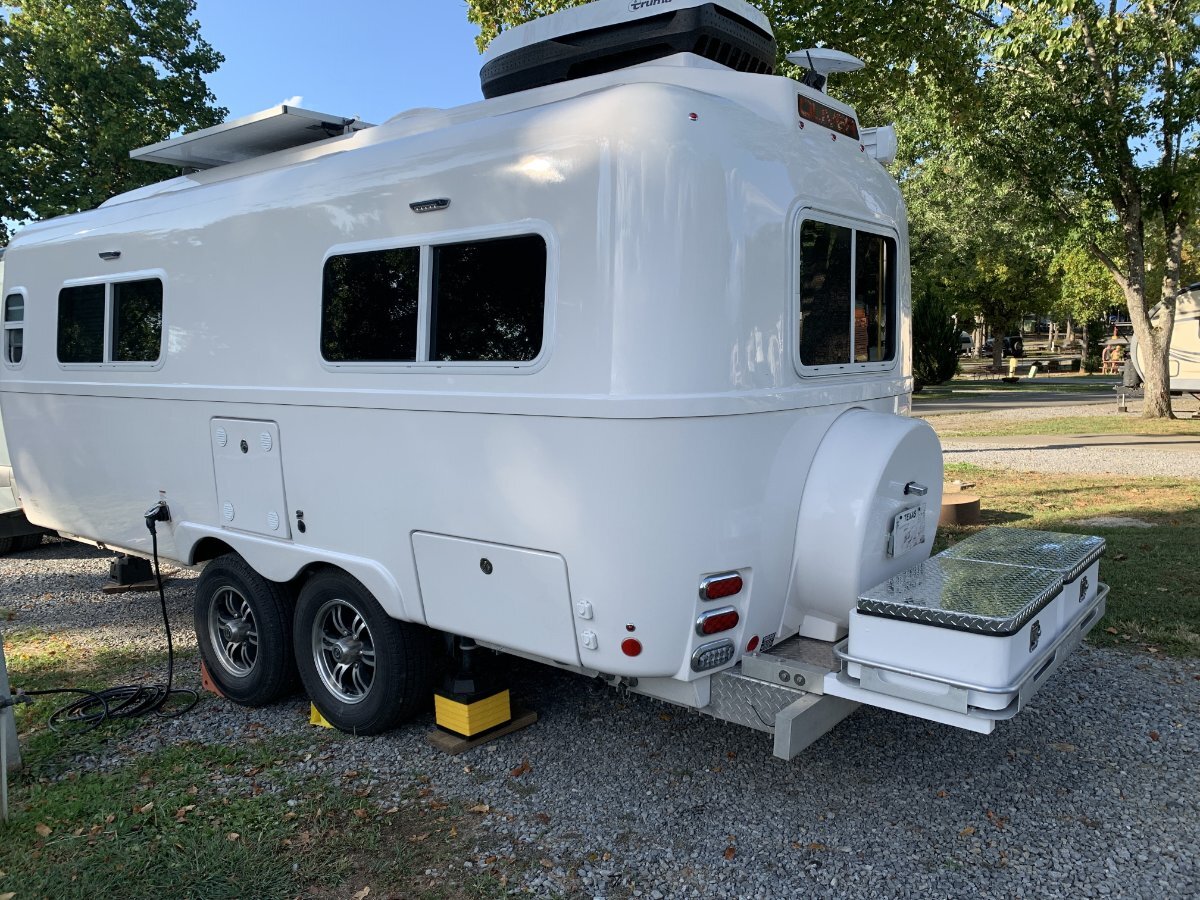
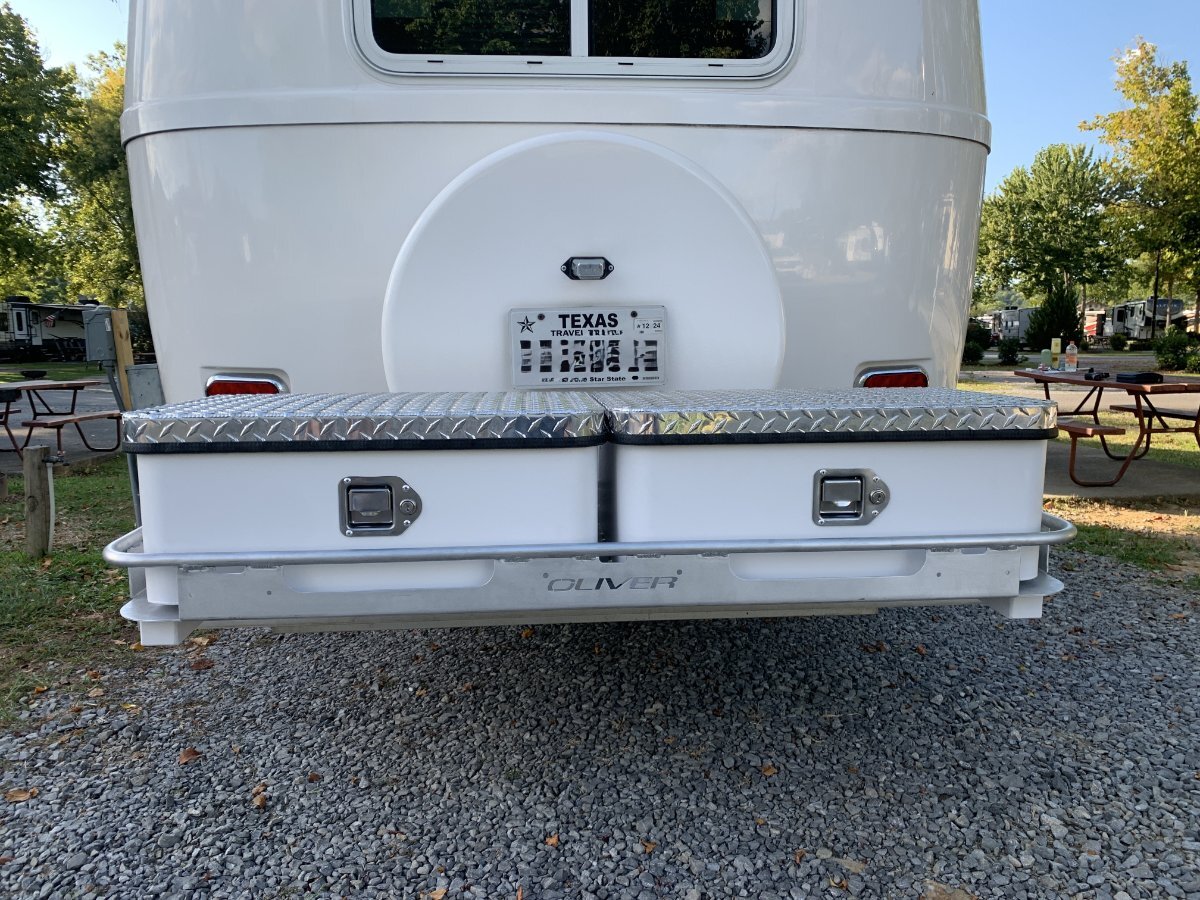
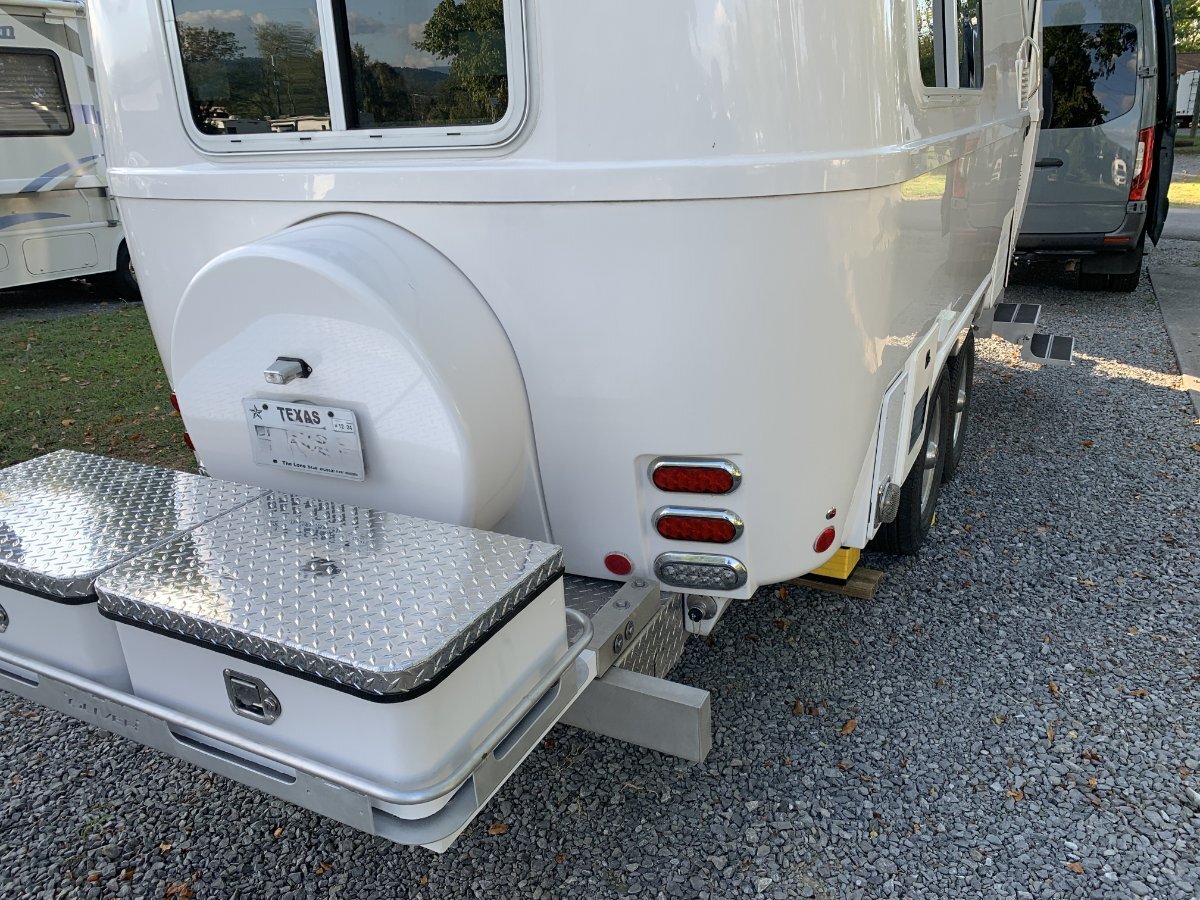
We were in Hohenwald this week and saw some new products made by SEA BISCUIT METAL DESIGNS on display in the Oliver showroom. One product caught our attention, so we decide to visit Johnson City. The rear basket carrier and storage boxes are very well crafted. We already have the OEM rear bumper receiver option so installation was simplified. Since we weren't using the bumper receiver on this trip, we replaced one for the other. We're very pleased with the quality and the design. The lockable boxes increase the secure outside storage, and they're easily removed from the basket in case we want to use it to carry odd shaped/sized cargo. We went with two separate storage boxes, but they also have a larger single "coffin" box that spans the width of the basket. The low profile doesn't cover the original license plate location, so no need to move the plate and rewire its light. The CNC cut "Oliver" name on the carrier is also a nice touch.
5 points
-
As some may recall, I have dealt with an issue regarding the ‘charging aspect’ of my Xantrex XC 2000; specifically its’ inability to keep my LFP battery bank at full charge when in storage on shore power. When first powered up, the Xantrex will provide an initial charge cycle, but thereafter no further charge maintenance; thus requiring a weekly visit to the Cow Barn to manually instigate another initial charge cycle to bring the bank up to par. In talking with a Xantrex tech on this matter back when, I was told the unit was likely defective and in need of replacement. No bueno! Since no issues with the ‘inverter aspect’ I opted to install an independent dedicated Cerbo/charger combo to satisfy my charging needs, which has been working great! Problem solved, right? Here’s a recent observation! In looking at the following chart provided upon request by Oliver, notice in particular Settings 20, 22 and 23. (Disregard the text statement at the bottom of chart). This chart is representative of most I’ve seen, updated to address the various recommended Xantrex settings for both Oliver models per battery type. However, I recently learned why Settings 22 and 23 are blacked out and that a charging profile can be customized via these settings, following a change in Setting 20. When scrolling through Setting 20, I selected USE (User defined) rather than LFP(LiFePo), as illustrated above. In doing so, I was then able to access Settings 22 (Custom Absorption Voltage) and 23 (Custom Float Voltage). In general, most LFP manufacturers will have an absorption value ranging from 14.2-14.6 volts; a float value may or may not be provided since not really needed for that battery type. Given I now have LFPs, the custom values entered in my application were 14.6 and 13.6, respectively. As best I can tell, making the above changes to these three settings caused the ‘charging aspect’ of my Xantrex to operate as designed. My battery bank has been maintained at 100% for the past several weeks since, which is in keeping with claim that the Xantrex ‘uses a multistage charging process to keep batteries at full charge when connected to shore power’. Go figure!
3 points
-
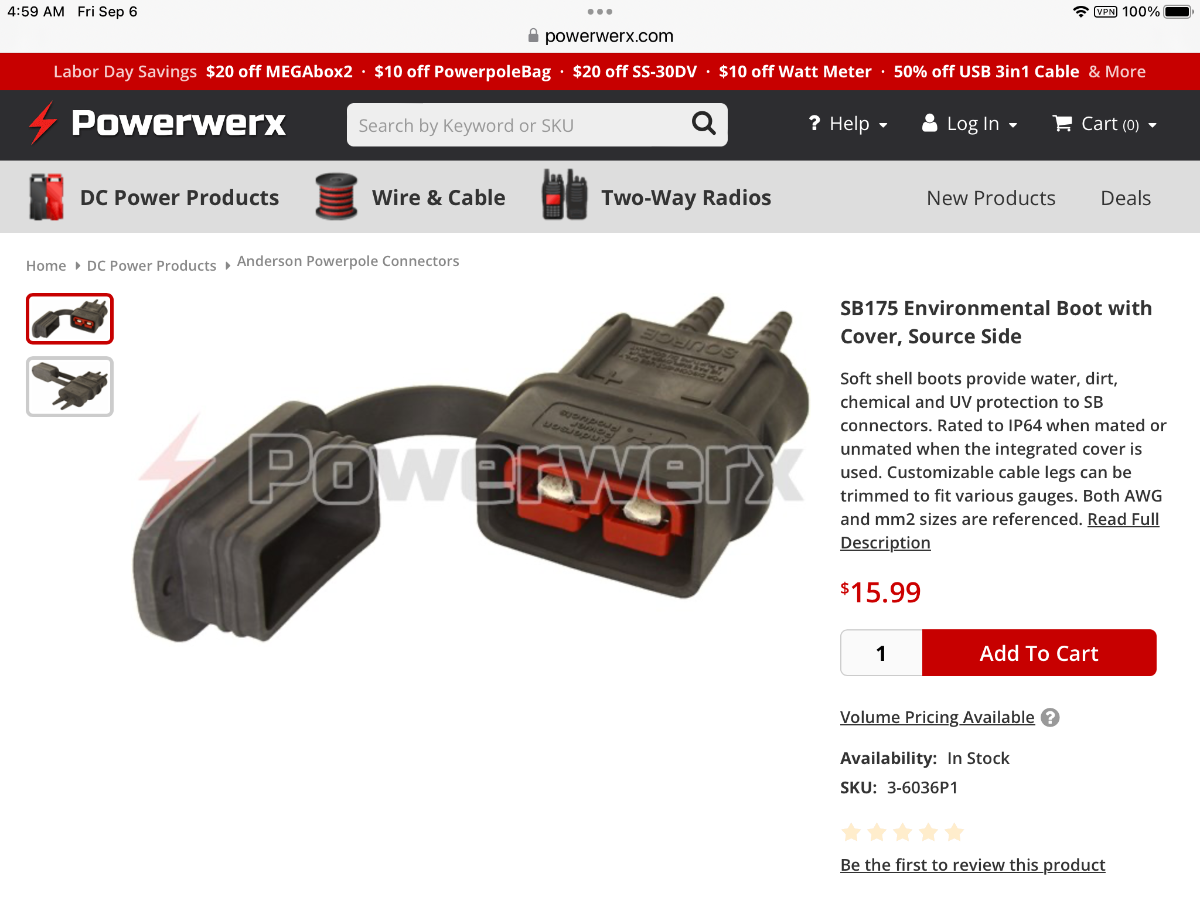
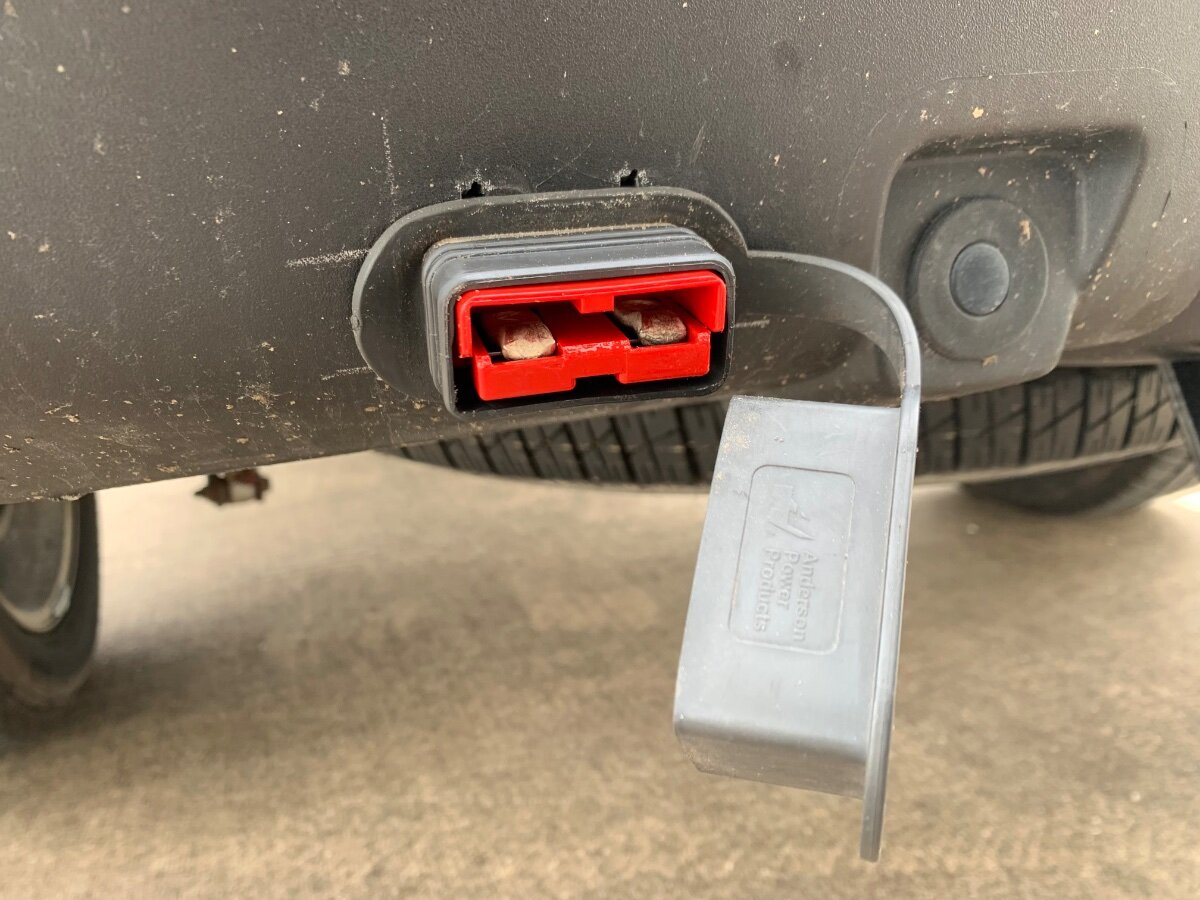
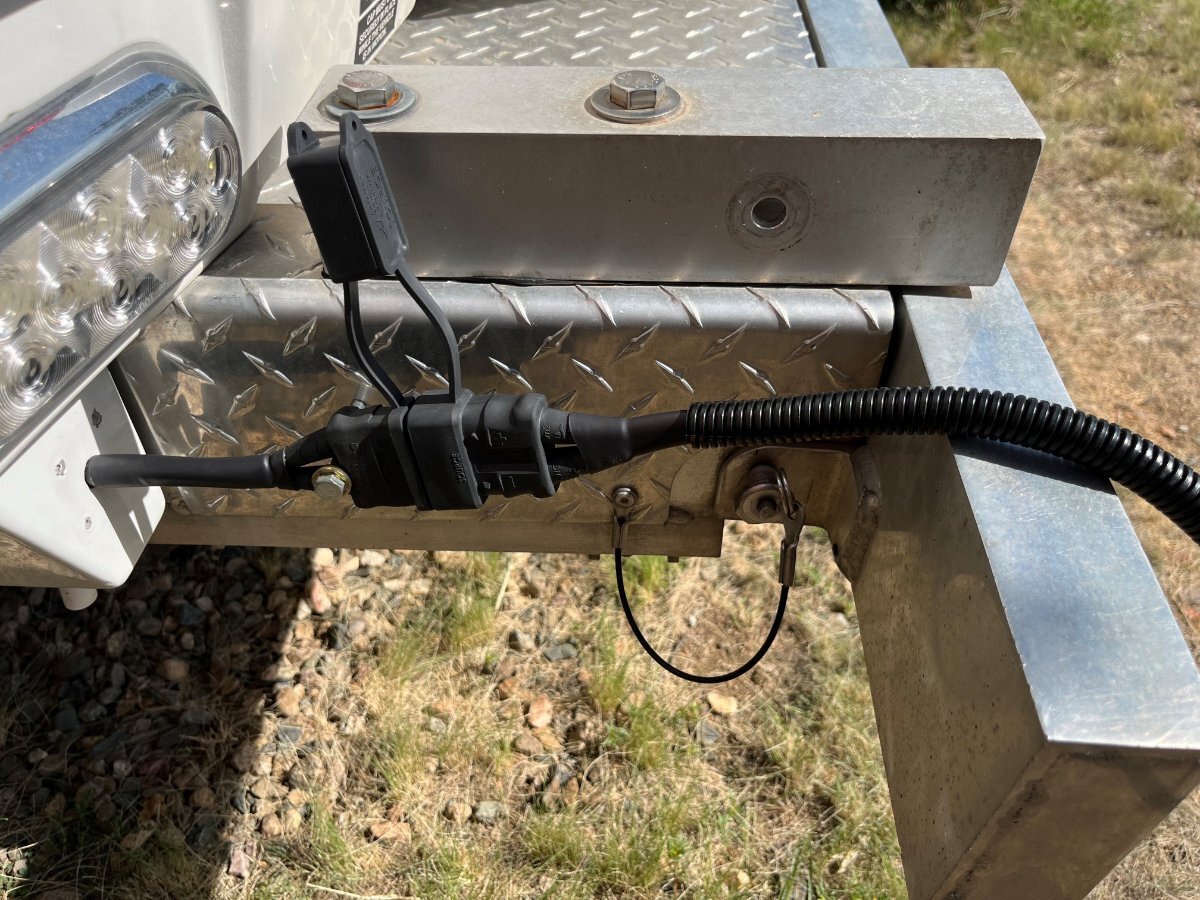
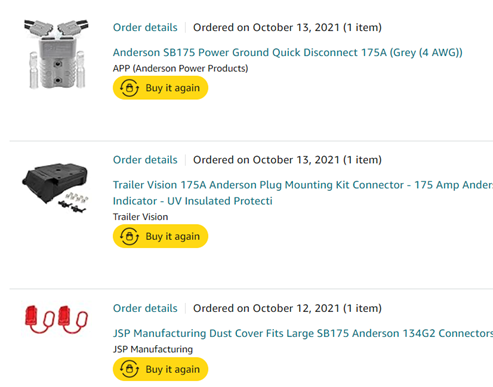
Another "handy" pilot and I did a post mortum on the damaged Anderson connector. Basically we believe it was crushed. Since it is under the hitch, we both knew where and how it happenend. My truck is pretty much daily used to haul a over full load of paraglider pilots and gear up a steep sketchy mountain road. Since I fly down, I use a trusted driver to take the truck down the mountain in 4L, mostly gear 1 or 2 of ten on the transmission. There is a switchback that requires "jacking" the truck around. The angle of repose is such that the mounted Anderson 175 amp connector can be hit. One of the plastic guide pins on the TV side of the connector had failed on the way to Idaho. So I am somwhat suspect that it may be a knockoff. But the massive damage most likely was from the hillside when backing to get around a very tight "Y" in the fire road. PS: I used Powerwerk for purchase of three replacement shells and the environmental boot as suggested by RonBrink. Many thanks!3 points
-
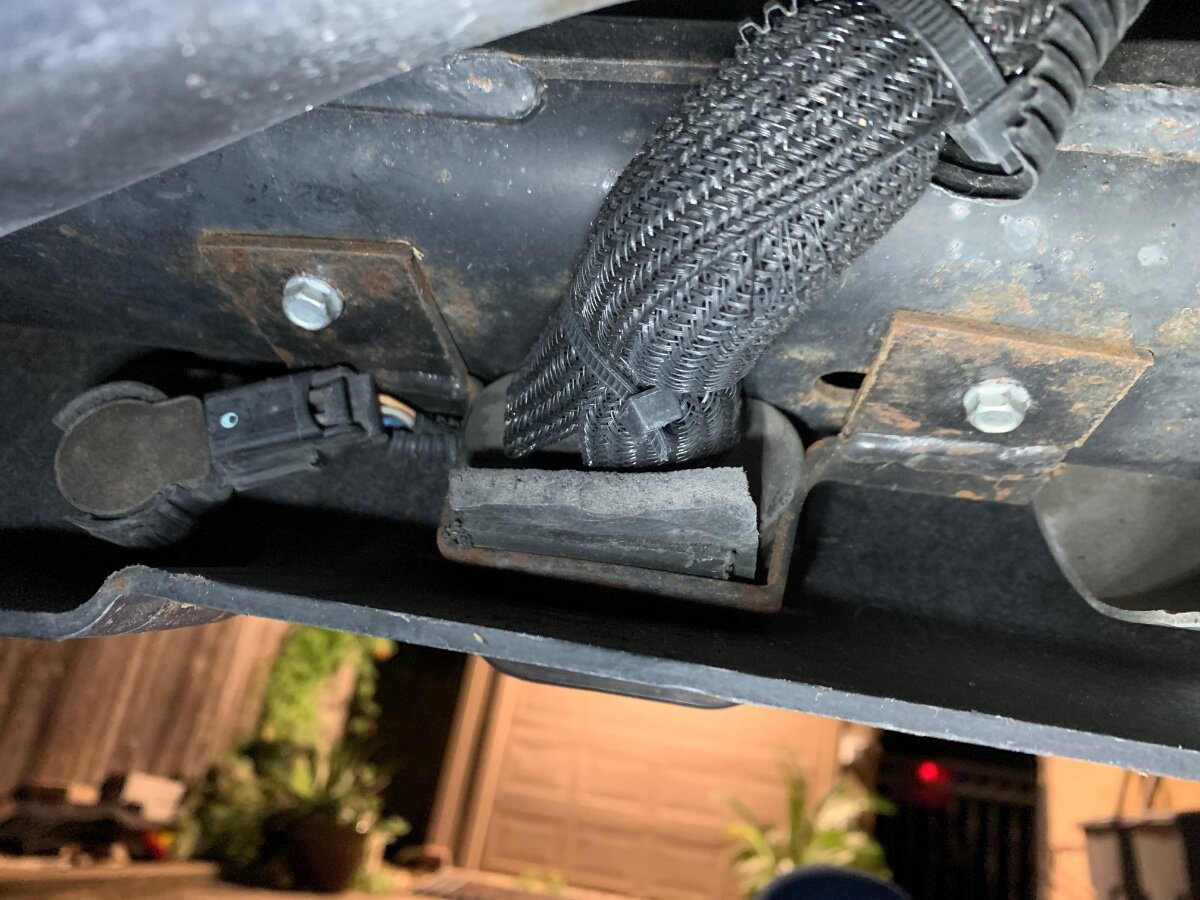
That was exactly what I did. Used a light and mirror from within the forward dinette seat hatch to eyeball a prospective point of entry; care must be taken to avoid existing plumbing. Once identified, a 1/8” drill bit was used from outside taking care to only penetrate the hull thickness. Then another look from within to verify a clear path with no obstruction for a larger hole to run the cables.3 points
-
@rideadeuce, so happy to see your young engineering assistant and his great smile crop up in your photos from time to time. So important to get the young ones interested and involved.2 points
-
This is also true with the Victron MP2 setup where "User Defined" allows you to manually set charge rates to battery manufacturers' specifications. For Epoch batteries, the Absorbtion rate is 14.2V and Float 13.6V.2 points
-
Ditto. Was not difficult at all.2 points
-
Yes, the basket and boxes are sold separately. If you don't already have the dual receivers for the OEM bumper hitch, then you'd have to get those too. The basket is very solidly mounted. There is no free-play.2 points
-
The Anderson Environmental Boot is the only way I know to ensure a waterproof/dust-proof connection with the SB Series products. Although a product-specific mount is not offered, I was able to improvise a secure thru-mount at my TV bumper. 1of2 mating boots required. Custom hanger bracket bent and welded to my specific application. The slight protrusion, as mounted, is of no hindrance. A familiar pic showing bumper-mounted boot. A familiar pic showing mated boots.
2 points
-
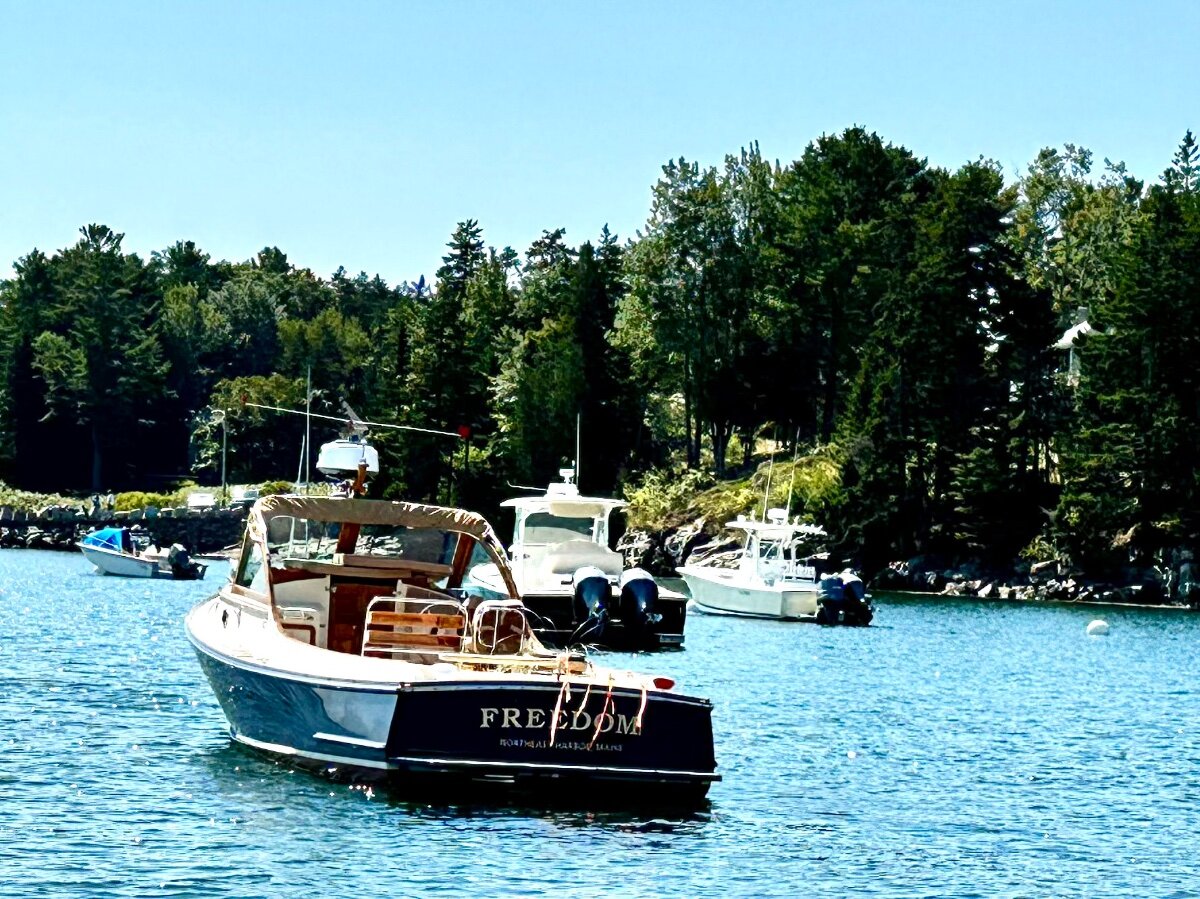
Some pix from Acadia NP this week.
2 points
-
Hello Snackchaser, You were spot on with your advise. It was indeed a polarity issue and I verified that by switching around the pos/neg at the Victron. I have now ordered the 5.5mm to SAE that corrects the polarity issue. Love the Starlink Mini. Thanks again. Tim1 point
-
Impressive! Do you hire out...?1 point
-
My 2017 LE2 has a MaxxAir Vent Fan with Remote that does have a temperature controlled Automatic on/off feature. I can also set the fan speed for this automatic feature. Mossey1 point
-
Like many, I have been tempted to purchase from Amazon or eBay for such incentives as less money and free shipping, but it only takes one negative review that a product is a ‘knockoff’ to bring me back to reality! To answer your question, no I have never had or seen a failure as you described. For piece of mind, I buy direct from powerwerx.com to ensure authenticity.1 point
-
@jd1923 The Renogy 400W portable solar panel will likely be my next want, but for now pending installation of the Atmos 4.4 is forefront; one mod at a time!1 point
-
btw, this is a real bus! rated at 400A, 5/16” of tinned plated copper. You want copper vs. brass and 1/4”+ for high amperage. The OEM bus I relegated to a low amp split bus is brass plated and <1/8”. https://a.co/d/2fpogyT1 point
-
Yes, it has not been smooth sailing. I keep blowing the fuse in the 12 volt cigarette connector. I am on a trip and don’t have my tools. There is a possibility I may have made a wiring error but I have not had time to get into it. Before I left for the trip, it was fine so just not sure. Will let you know.1 point
-
If you want a comfortable ride do not go with a 3500 and avoid the camper/snowplow package. There is a big difference in ride quality as the capacities increase.1 point
-
@ScottyGS Whichever 3/4 ton you decide to go with get the 360 camera/camera trailering package! I did not and biggest mistake!😔1 point
-
@ScottyGS With your wife having back surgery, in addition to your investigation of what 2500 to buy be sure to check out what passenger seat is available on your selected truck. Lots of trucks do not have the same mulit-adjusted seat as the driver seat (so not as comfortable), You want the passenger seat to have the same 8 point adjustment that the driver's seat has so she is comfortable. (unless she is the driver) PS: I personally like the RAM 2500 Longhorn 3/4 ton truck. David @GraniteStaters had a RAM 1500 and upgraded to a RAM Longhorn 2500 with air suspension that he used all last winter traveling the south during the winter. He loves the truck. I suggest that before you give up on the RAM check with David.1 point
-
Hoping everything we need while traveling is now more accessible. I've had the beds in the house for 2-3 months while working on it. Hope when we get them back in there and made, they can stay put. 😂1 point
-
Our inverter upgrade placed the new MP2 Inverter under the streetside bed (turn ON/OFF via Bluetooth), which created a lot of room under the rear dinette seat. Both buses in the picture are B+ positive (I just purchased the two-color set and decided to use both). Look closely at the RHS of the upper bus to see the 4/0 cable coming from the inverter & batteries. This is the 400A main bus, with 400A ANL fuse from the batteries. The two solar chargers, and soon a DC-DC Charger (white space top-right), all feed into this bus. Two breakers in the picture are from the solar chargers. The third breaker (bottom center) creates a 40A sub-bus for most connections (lower bus with black cover). New home for the stabilizer jack and other fuses.
1 point
-
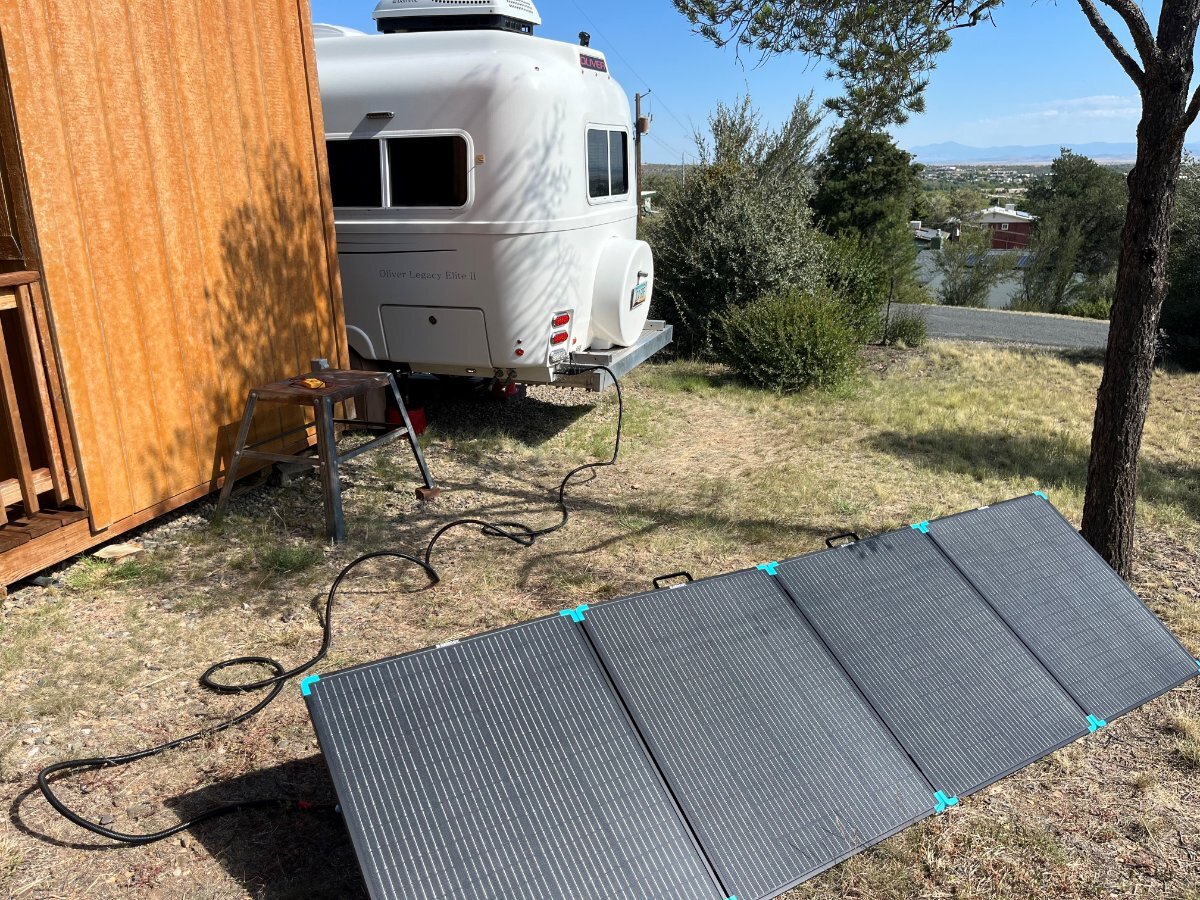
It's been partially to mostly cloudy for the last 3-4 days which will happen in our Monsoon Season. I was able to get a good reading at 366W at one point when the sun was strong. You can see total charging current at 38.7A with 26.1A from the suitcase, leaving 12.6A from the Blue Sky MPPT rooftop solar. When it's cloudy here, it's cooler too. I've been able to run the old Dometic P2 all day for two days now, no shore power, thermostat set at 82F though I will kick it down 76F while I'm inside. It's been low-mid 80s during the day, but keep in mind the Oliver is sitting in the sun and the sun is strong when the clouds do roll by (and more solar charging). SOC has ranged from 85% as you see at 11:45 AM and would get down to low 60s, one day lowest was 55% late afternoon. This should work great when I replace the old P2 with an efficient A/C model requiring half the amperage for when it is truly hot outside. Another great mod for old hull # 113! 😂
1 point
-
Finally, leaf springs do not hit the Easy-Flex. Installed the 2 1/2 in shackles Lew sent me without difficulty. Two jacks, 13/16 socket, 11/16 socket, 13/16 wrench, 3/8 and 1/2 in torque wrench, hammer, vise, Impact wrench, wrags, and LockNLube grease gun. I know I was 2 out 1500 on the coupler issue but I can't believe that I am the only one this was happening to after upgrading to the ALCAN springs. Happy that I did not cut them to fit and theoretically the increase in 1/2 in shackle length should lower the camper by the same. So the first pull up the driveway will be the test but I did cut off about 1/2 in of bolt length on the back of the bike rack to make up difference. Again, just happy that everything is back together and working. Looking forward to fall trip and going on the ALCAN eventually! Best, Mike BEFORE AFTER
1 point
-
My DC-DC only puts out a partial charge when idling. Revving the engine should show an increase in output.1 point
-
I installed the below pictured Anderson SB 175 amp connection system a couple of seasons ago. I noticed several weeks ago that one of the plastic termnal guides had broken off. Yesterday, when I detached, the quick disconnect literally broke into several pieces. It appears to have either solared out or been chemically damaged. I'm wondering if it was a knock-off product as I have never had an Anderson Disconnect fail before. Have other owners seen this happen? Also is there a better housing for the TV plug to keep extreme road dirt out of it when in use and not in use? The below one does not. Thanks GJ
0 points


-
Recent Achievements
-


")


")


")

