Leaderboard


Popular Content
Showing content with the highest reputation on 11/24/2024 in all areas
-
I am looking for recommendations on a really decent orbital buffer. My goal is to stay ahead on waxing the gelcoat and keep it looking good on our Oliver for years to come. Suggestions? Thank in advance! A worthy read - https://olivertraveltrailers.com/blog/everything-you-need-to-know-to-take-care-of-your-fiberglass-rv/2 points
-
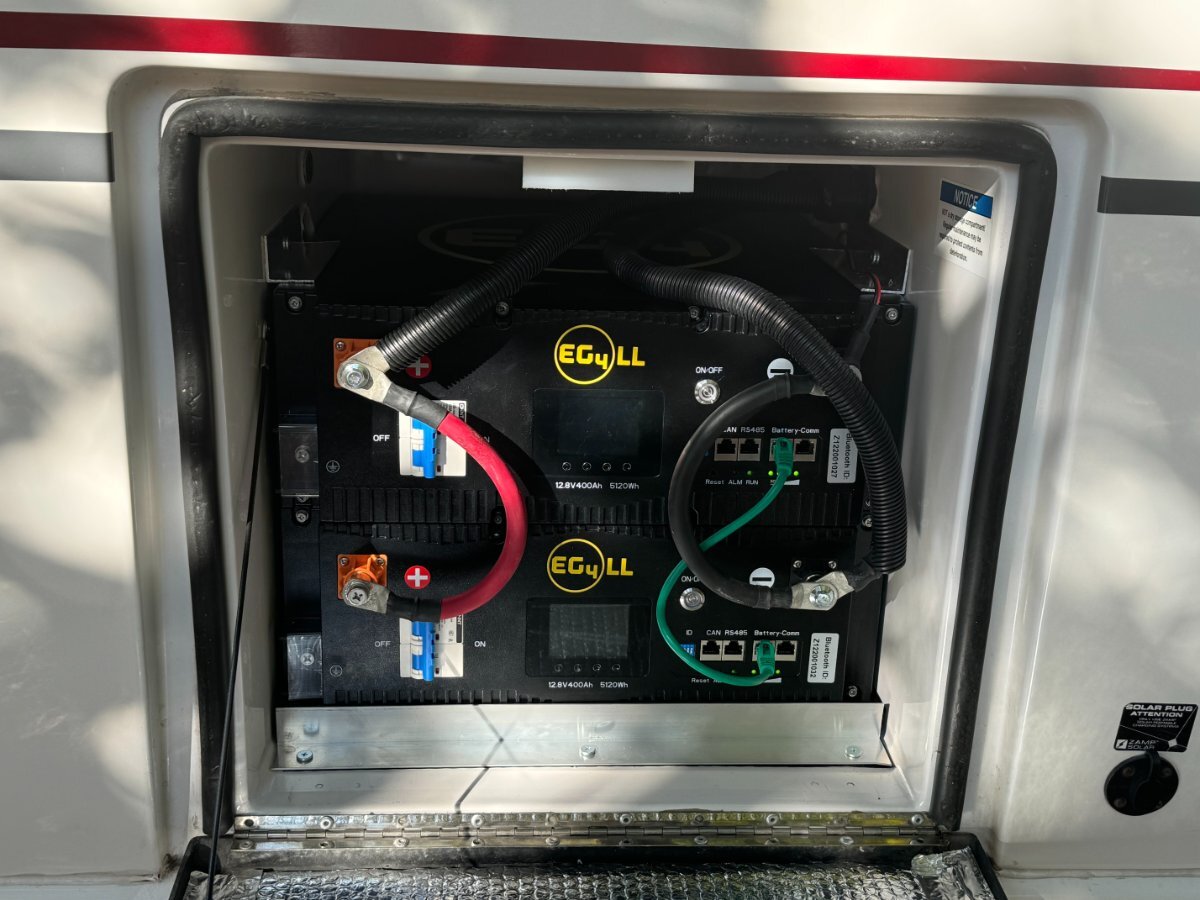
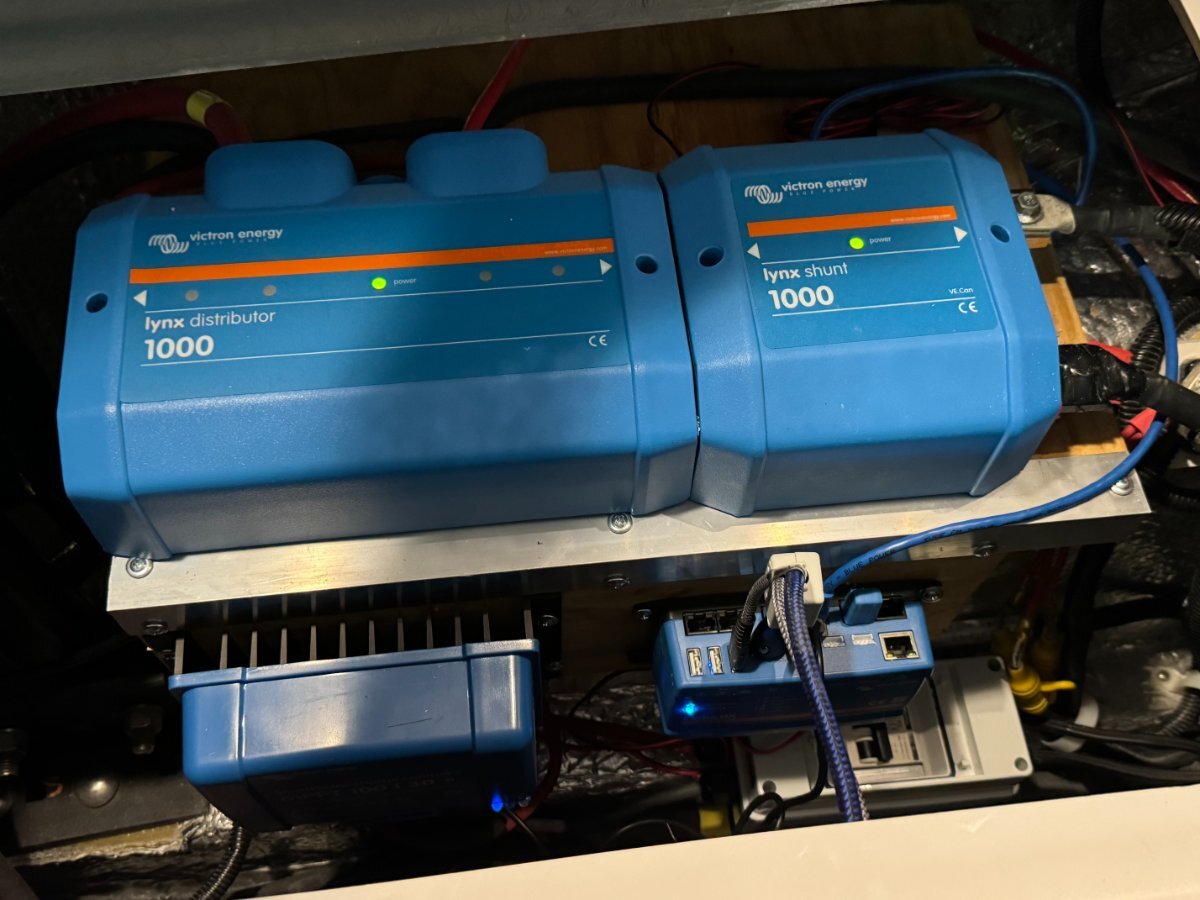
I updated my batteries with assistance of a friend who does solar installs for a living. This is a bit different than most of the installs I have seen here in that we used two 400 AH EG4 rackmount batteries. After removing the rackmount handles from the batteries and the battery tray from the Oliver they fit perfectly. There was a bolt in the bottom of the battery cabinet that was an issue. We put in 1 inch square aluminum rods on the floor of the cabinet to raise the batteries above the bolt head. We also replaced the Xamp solar charger with a Victron solar charger 100/30, added Victron lynx shunt, Victron distributor, and Victron cerbo with a touch screen (7" model). This fit perfectly in the hole left by the removal of the Xamp solar charger. To get the cables from the cerbo to the touch screen I ordered an extra HDMI extension cable and USB cable (approx. 15'). I ran the cables to the back of the camper in the tray behind the cabinet and then down the wall in the back, under the basement, and back up under the street side bed. Trying to pu the wire down next to the pantry would not work. It was too tight. I believe Victron is planning on replacing the HDMI cable with the small USB connections this spring. Didn't help me, but maybe it would help you. In addition we added a solar disconnect which you can see below. In the pictures below. These batteries can be powered off and the breaker thrown to disconnect. They also come with automatic fire suppressants, two per battery. Cost was $1200 per battery (400 AH, each). This was the first stage of the upgrade. At some point I may replace the Xantrex 2000 inverter, but for now it works well for us. Unfortunately the Xantrex and Victron do not talk to each other. That is why you don't see information on the touch screen about the AC loads and AC input. We have taken it on a couple of trips now and we do not come close to making a dent in the batteries. I added an extra battery in case we need to replace our 3-way fridge in the near future. So far it is doing well. I replaced a power board on it a while back, but since then no issues. Parts are harder to come by now though.
 1 point
 -
You’re gonna be very pleased with the shelf, won’t have to bend over as far to reach supplies and worry about kicking things off the deck. I considered the outriggers, but working on my paver driveway has proved very stable thus far without them. However, in your situation where the scaffolds may be stacked for home maintenance, indeed a necessity. Regarding washing, I use a foam cannon in tandem with an electric water pressure sprayer and extendible brush. The pump motor only runs when actually spraying and I bought a FOB device to operate the pump from atop the scaffold. Good luck with the new equipment and be careful up there! At minimum, consider a rope or chain at top of scaffold, Chris may yell ‘dinner’s ready’ and you forget where you’re at!1 point
-
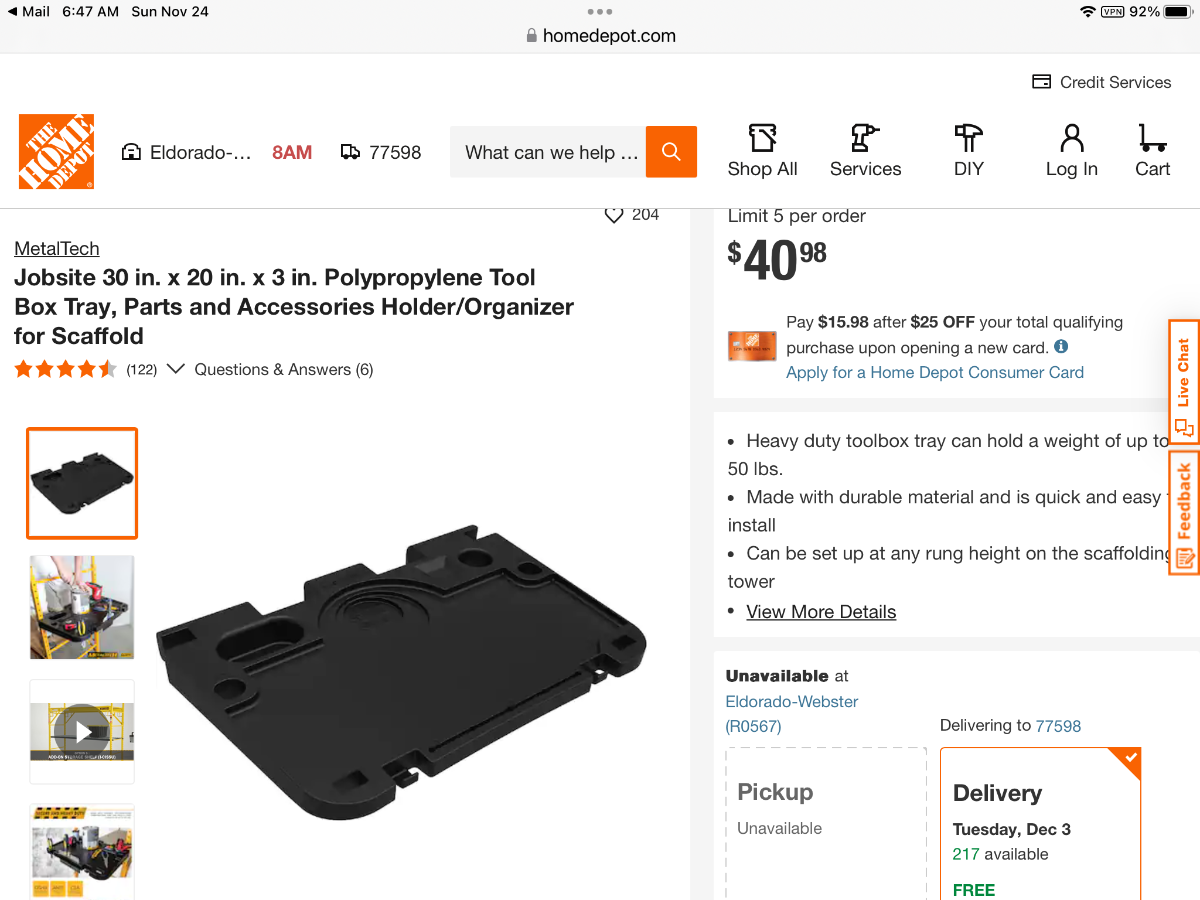
That is an excellent savings, thanks for bringing this to everyone’s attention! Mine is the 1,100 lb. load capacity model with a solid deck, typically less expensive, but the ‘Special Buy’ on this 1250 lb. model is a real deal! The MetalTech guardrail system for fall safety is pricey, so I fabricated one using fence railing and gate components. I found this accessory very useful, as well!
1 point
-
Some of you have the Metaltech scaffolding. If not, now's the time! I'm glad I did not pull the trigger before. Check out the sale at Depot. At this price, I may get two to stack since the 39" extension and other accessories are double this price point! MetalTech Safeclimb 6 ft. Baker Scaffold with Platform and Included Trap Door, 1250 lbs. Load Capacity I-CISCH1 - The Home Depot1 point
-
When you read the attached post, almost everybody is suggesting the cracks come from wind causing the door to bang, my belief too. Most who have these cracks do not have the friction hinges. Also, the cracks that @Steve-Gwenne, @Mike and Carol and I and several others have are NOT the same that @Galway Girl is showing where the laminate has pulled out of the frame. It appears that @mossemi may also have the more extreme issue but we have not seen a picture. Our cracks are minor, most are straight horizontal lines that look like stress cracks that follow the structure of the surface. Like Mike wrote, we will be living with ours. The cracks in our door have likely been there for years, and after 9 months use of the Lippert product they have not gotten worse. I've had RV doors almost pull my arm out of its shoulder socket, gotten several bruises, heard too many LOUD bangs, not anymore! Yes, it takes a little push, but I do love how the door stays open exactly to the angle I've opened it.1 point
-
Our door has plenty of cracks and I’m not sure why but it may have began with the wind pulling the door out of my hand while opening from the inside on a windy day. @jd1923's post about the additional hinges from Lippert would help with a windy day but as stiff as they make my door opening and closing, they just might be causing additional stress on the door frame. My door was cracked when I installed the extra hinges so I really don’t know if they would have prevented the cracks from happening to begin with. I have tried to remove some of the small pieces of the white plastic and they are somehow glued, epoxied or whatever to the styrofoam. I do think sun exposure is a contributing factor. Mossey1 point
-
We are here, La Posa South!😊 IMG_0139.mov1 point
-
Thank you. My AGMs were still doing pretty well, but we were up in Canada this summer for five weeks and we were having to work hard at not pushing them too hard and using voltage to guess at the state of charge was rather annoying. I decided to go ahead and replace the batteries and enjoy the upgrade myself instead of waiting until they had to be replaced.1 point
-
Here is the article on upgrading hull 505. it included new inverter and batteries. https://4-ever-hitched.com/ggs-blog/f/lithium-battery-upgrade?blogcategory=Electrical+Upgrades1 point
-
Do yourself a favor and pick up some E6000 adhesive too. I haven't found a brand of wool pad yet where the "loop" section of the pad doesn't pull away from the pad well before the wool section is worn out. The second the edges start to pull away on them I remove them completely and re-glue with the E6000 leaving a 10lb weight on it overnight. Haven't had one that I've re-glued this way come apart yet.1 point
-
I too would do that if unable to stabilize with cam-lock wheels. I’m careful when positioning and once the cams are set it stays put. With the shape of the Oliver, the only potential point of contact on the sides is where the top and bottom halves are joined. However, extra caution is needed forward at the propane cover when straddling the tongue. The rear is not a problem.
1 point
-
Same here - but D calls it a "sickness"....1 point
-
I made the chore of ‘upper’ washing and hull maintenance much easier and safer by modifying a scaffold. Next go when the gelcoat needs love, I will work in 24”x24” increments within the area of reach for the various stages required to complete the polishing and waxing process from each positioning of the scaffold. Generally two per side and one each end, roof to top of windows. Once around then down on ground for the ‘lower’ reaches. Hopefully this will save a lot of time and energy!
1 point
-
That's exactly the way you should be doing it, especially if working alone. Seems like you're not getting anywhere sometimes, but it is still more efficient doing each step to completion.1 point
-
Our storage is under cover, so the only time we’re exposed to the sun is while camping. When CGI did our trailer they noted that it was not oxidized very much for a 7 year old (at the time) trailer. Covering definitely helps. Mike1 point
-
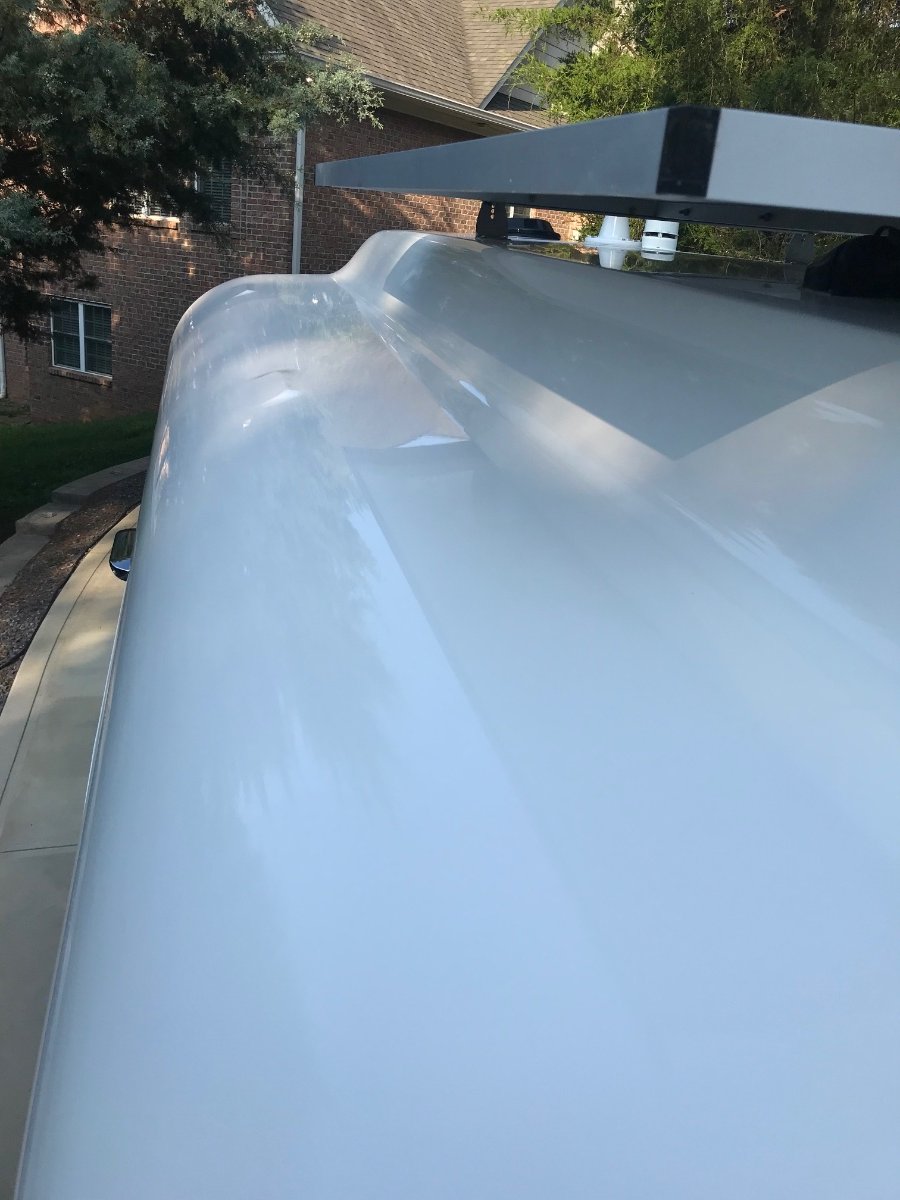
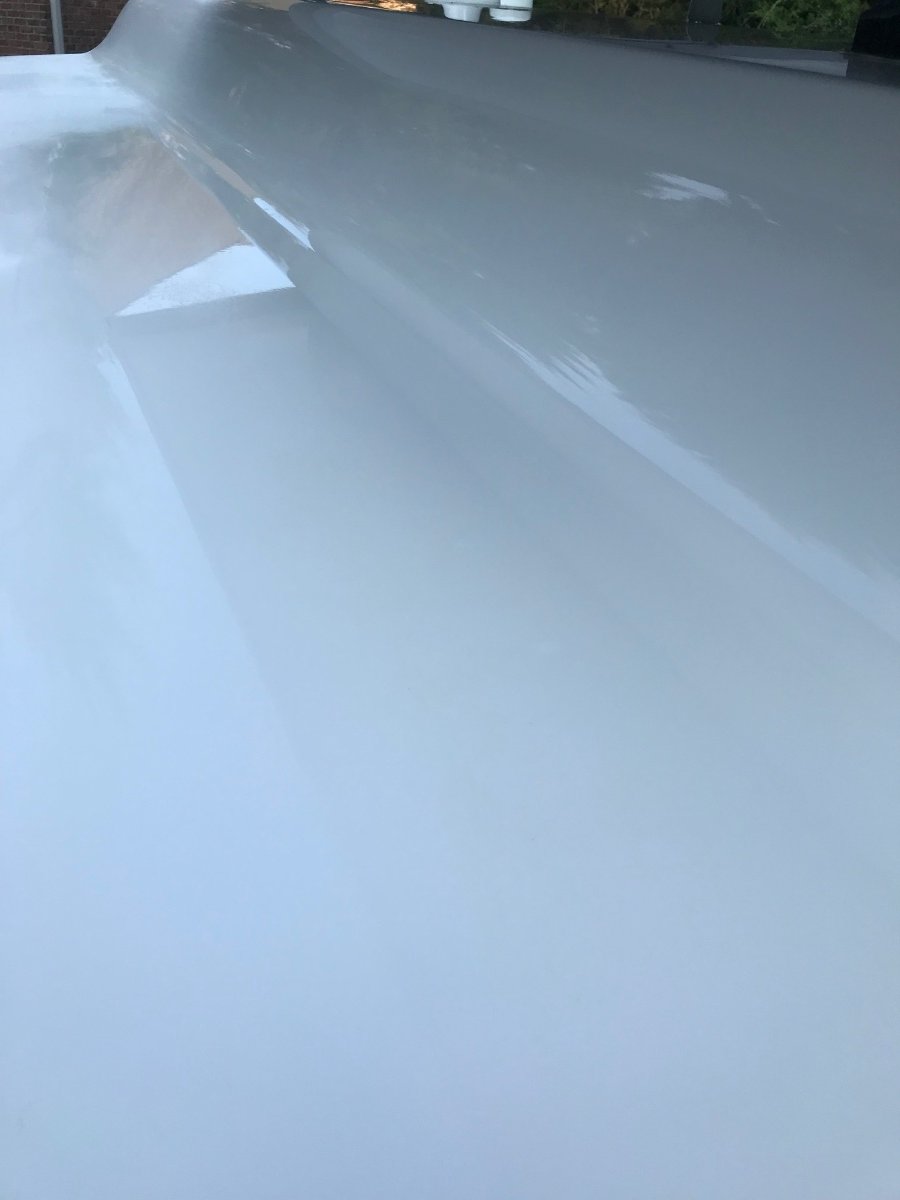
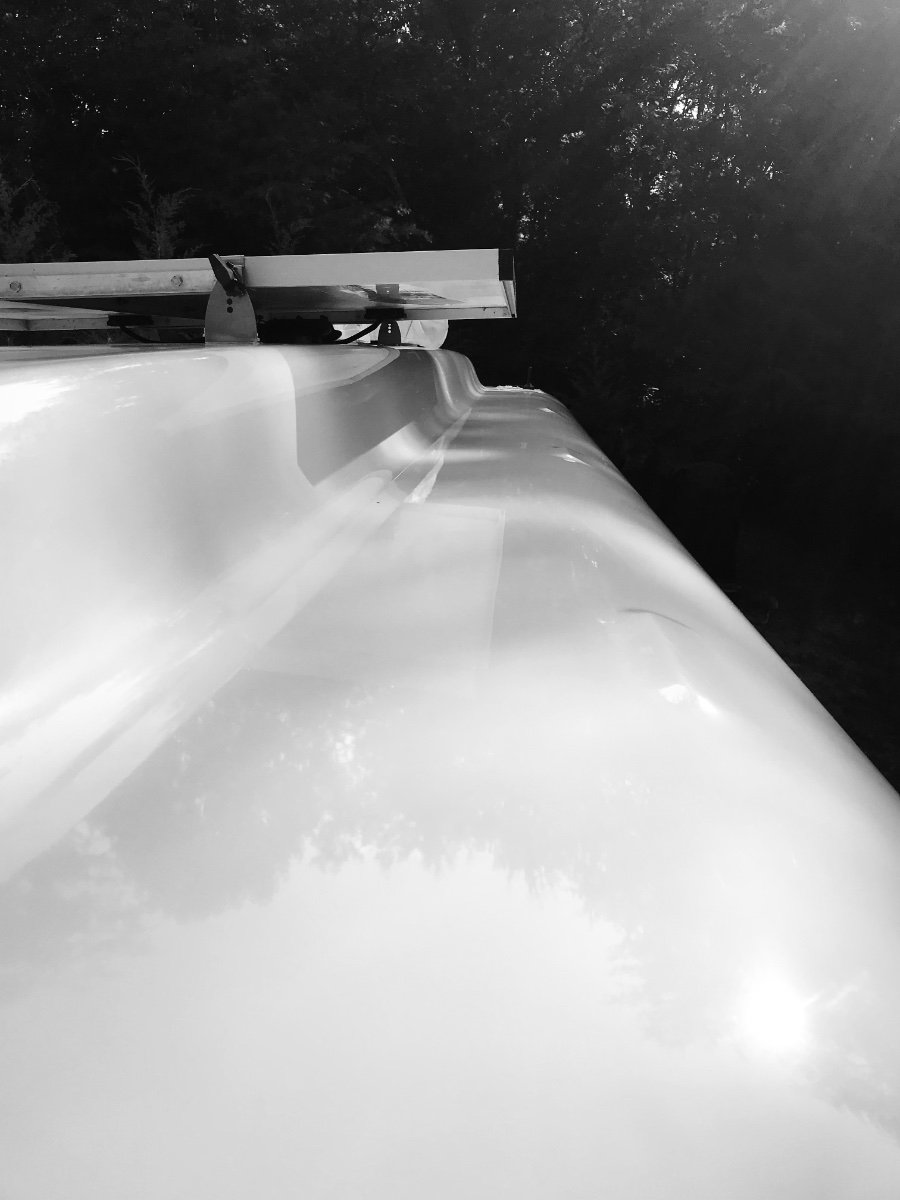
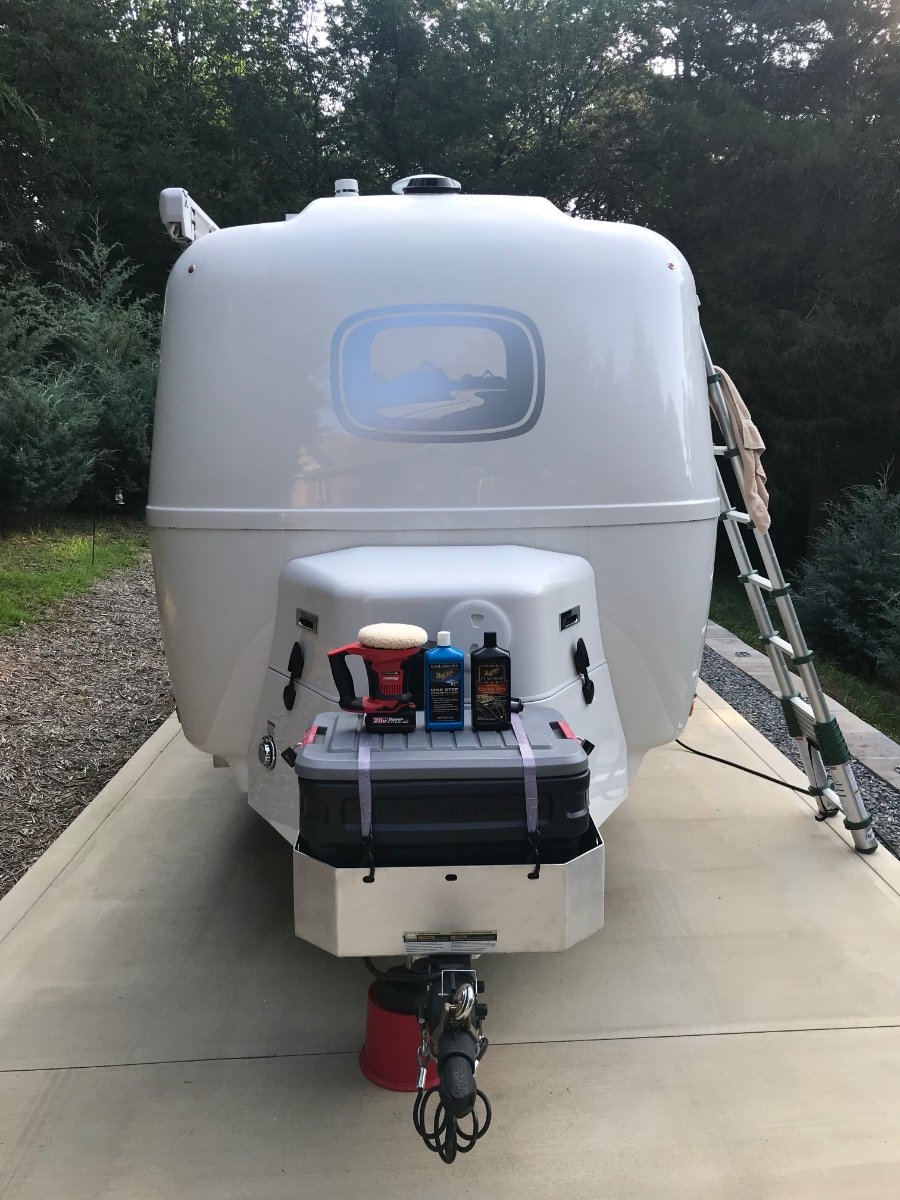
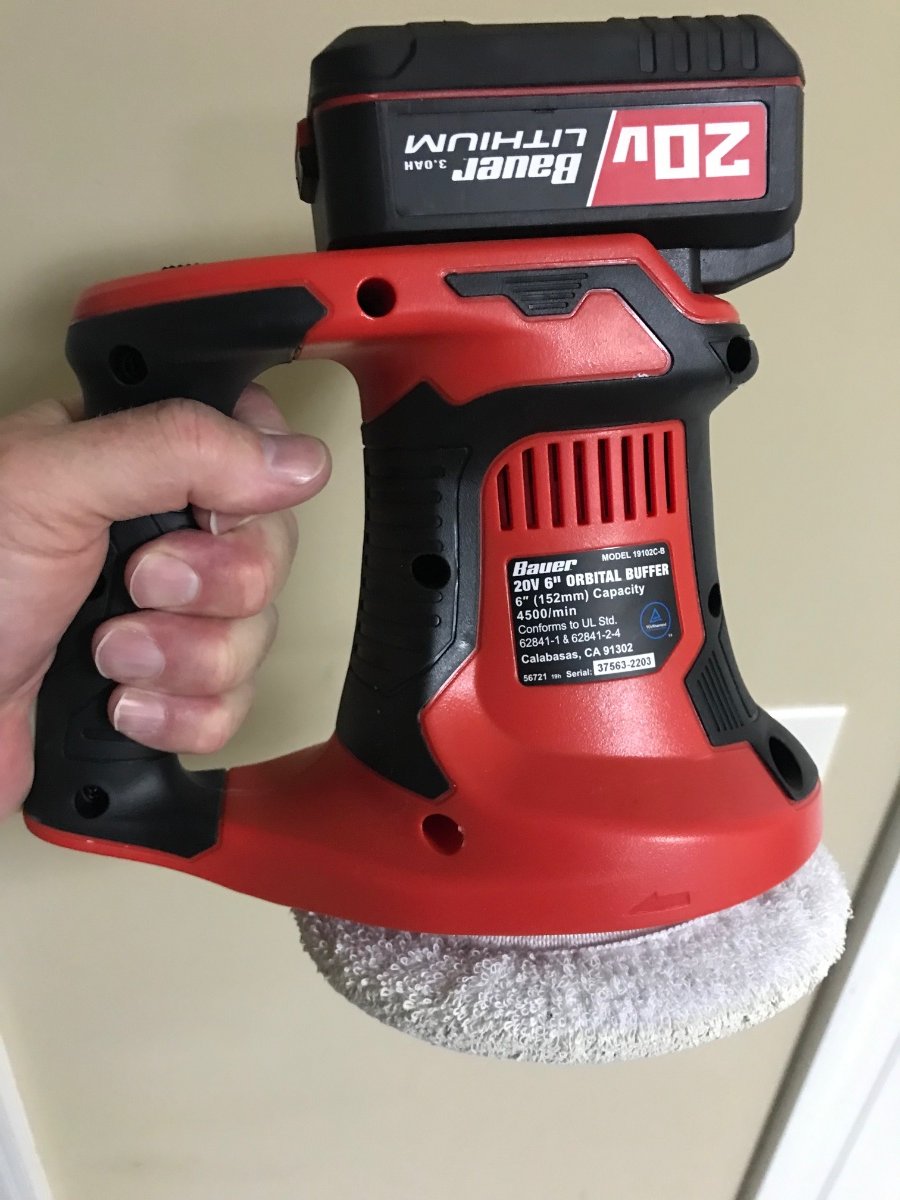
Yesterday evening I purchased this HF cordless buffer/polisher and honestly was very skeptical about how well it would work despite the very solid reviews. I thought for $30 why not give it a try? I had light to medium oxidation beginning on the street side front roof top corner and all along the top of the street side roof which I wanted to remove. I have to admit my wife and I were both really surprised and pleased at how well this 4.83# buffer removed ALL the oxidation with ease using Meguiars #67. Our Ollies roof top now looks as good if not better than the day we took delivery. Note- I never needed to replace the lithium battery during use. As mentioned I used Meguiars #67 with a terry cloth polishing pad on this little buffer which easily removed areas of oxidation. I then followed up with a buffing pad after applying Meguiars Premium Marine wax. 💯 % satisfied and happy with the final results. Letting the buffer do the work, I really prefer to work smart not hard.😎 The buffer is light weight enough that you can actually use it with one hand (perfect). The ergos of the handle felt very comfortable as I never got tired of using it while working up on the ladder. Another thing I liked is I was able to use the buffer under the solar panel over hang a plus. A 💯% keeper. Thanks to everyone’s buffer thoughts and suggestions, I have found what works really well for me at a very reasonable price. I would not hesitate to purchase this buffer again as it really brought the shine and beautiful luster back to our gelcoat and saves a ton of elbow grease. Happy Camping and Happy Polishing! 😊 A few photos - This area had the beginnings of oxidation…it’s gone now. The shadows are reflected shade from our trees. Very happy with the luster of the gelcoat completely restored to our Ollie. Just clears the solar panel. 👍🏻 Terry cloth pad -
1 point
-
I do not use a buffer. After washing in the spring, I hand apply the Maguire's 67 Compound Buffing/Polish to the Ollie to remove any black water stains. It is a easy rub on application and whipping off after drying. After the Maguire's 67, I use the Maguire's Premium Marine wax. It is also an easy application and whipping off after it dries. I do the same in the fall before putting the Ollie to rest for the winter. After owning a number of fiberglass boats and cleaning and waxing them, I find the Maguire's products very easy to apply and whip off with a clean rag. No need for a rotary buffer as it is over kill, in my opinion.1 point
-
Jim, Thank you for your post. I am trying to decide which one would be the best choice for work on our Oliver. The video is really helpful. https://shurhold.com/blogs/all-blogs/choose-the-right-polisher-for-you1 point
-
Having answered that question hundreds of times to people I delivered boats to over 20 years, I always said buy the one offered by Shur Hold marine products, They are light, do a great job for the weekend buffer. If you want to step up and work your arm use what the pros use Dewalt or Makota . If your hull looks good try Buff Magic by the company or 3M finesse.1 point
-
I already had this feeling, but you have all thoroughly convinced me that there is no way in the world I will ever polish our Oliver! I'd rather install new leaf springs, a new fridge, new A/C, add lithium and upgraded charger/inverter, and rework the furnace ducting than buff the Oliver in 2x2' increments, three times over! This detailing sounds like prison life working a rock pile. Save money on that buffer. For now, our Oliver stays oxidized. The upper front is/was pasty flat when we purchased it used last summer. When we get home from our next trip (leaving Sunday for 3 weeks) I will pressure-wash it quickly upon return and cover it for the summer. After Labor Day, I'll look for a local detailer. If we were any reasonable distance from CGI, I would make an appointment there for sure. I already contacted a Phoenix based ceramic coating chain. They advised me that they would not work on our Oliver due to its age and oxidation. They prefer to quickly coat new paint on new vehicles only. I need to find a company like CGI in the SW.0 points


.thumb.jpg.e34bf01ef7f7d5e99ad31856d45afbeb.jpg)


-
Recent Achievements
-


")


")


")


