Leaderboard


.thumb.jpg.e34bf01ef7f7d5e99ad31856d45afbeb.jpg)
Popular Content
Showing content with the highest reputation on 08/21/2025 in Posts
-
I was going to say this same thing.3 points
-
Traditional vs inverter A/C? The compressors on traditional roof mounted A/C units cycle on/off, and run at only one speed when on. They typically require soft start circuitry when powered by a small generator. Roof mounted inverter A/C units use a variable speed compressor. They tend to be quieter and more energy efficient than traditional units, and the compressors don't cut on and off suddenly (and loudly). These units don't require a soft start add on since the compressors already start up slowly. Inverter A/C units that run on 12 volts DC are popular with the off-grid camper van folks. I'm only aware of two 120 volts inverter A/Cs available (in the USA) today; the Turbro mentioned previously in this thread by @jd1923, and the Furrion Chill Cube. The Furrion is not low profile, but the Turbro is. I have neither, but if I were shopping for a new A/C today I would look at these first.3 points
-
Have two 30lb tanks and never even bother to weigh them. Run one tank until it's empty , switch to the full one, and then just plan on filling the empty one as soon as I can.3 points
-
Thanks so much for the write up. It taught me a lot. I also learned I need to upgrade my annual inspection process.2 points
-
What I was referring to was for those that want to easily disable the charging wire from the tow to the trailer without having to cut any wires.2 points
-
@johnwen, my apologies for the delayed response to your question about mounting the PoE Injector on the forward wall of the basement, where I located the On/Off Switch. I had not seen your question. I don't see any problem locating the PoE Injector on the wall, as you suggested. I would not mount it on the basement side of the wall, but on the back side of that wall. Drilling holes for the mounting may be challenging from inside the space under the rear street side access hatch. I chose to locate my PoE Injector and Router Mini under the aft dinette seat, since that space is more easily accessible having to move only the seat cushions and not the street side mattress.2 points
-
Yes, that is the same brand we used, but brush on as opposed to spray. Be careful to tape what you don’t want protected or you’ll ruin your circuit board!2 points
-
Hello again, friends. We are now Oliver Legacy Elite II owners! Our now good friends Jim and Maggie Posey have decided to sell their hull #1452 due to health concerns to us. We are so excited to join this forum now as owners instead of “wannabes”. We humbly seek your knowledge and suggestions to improve our Oliver experience.2 points
-
Hello. Yes we have had the same issue with our fan. The fan began to open and close on its own, or not open at all. Friends who have a van conversion told us this is a know issue with MaxxAir fans. The fix is to replace the circuit board but first applying a specialized silicon used for electronics to the board. There are lots of YouTube videos detailing how to do this. The caveat is to be careful in taping off the parts of the board that should not have the silicon applied. We used a spray can of the silicon, our friends used the kind that is brushed on-probably doesn’t matter which kind is used. Regardless, the silicon is fairly expensive. We did that and it has worked so far. We also had the lift mechanism shatter, and we replaced that. Finally, the remote quit working and we replaced that as well. We use the fan all the time; it’s a great fan, just requires a fair amount of maintenance.2 points
-
The idea here is to understand what is required to service Dexter Nev-R Lube Bearings while on the road given a bearing failure. Specific knowledge, parts, and tools are required and it’s important to be ready for this issue that is likely to occur, sooner or later. Whether you are the person working the repairs or not, understanding this is equally important! Having the required bearing parts kits and the correct size bearing press tools would allow you to work this repair DIY, or at ANY local service shop, anywhere you happen to be in your travels when a bearing might fail. Without spares and tools, you’re stuck. No local repair shop will have the parts you need and very few would have the bearing press tools in the correct sizes on hand even if they have air tools and a press! Note this recent statement from an Airstream owner: “We're on a five week adventure and experienced a bearing failure that sidelined us for 5 days. I got the bearing from the local O'Reillys Parts Store...the other components I had to order from an online source. Despite all the Truck and Trailer industry in Oklahoma City, nobody had the spindle washer, nut or snap ring I needed. The bearing was easy to get and much cheaper than the Dexter option. It's the other parts that hold the hub on that can be challenging to find if you need it right now to get back on the road.” Once you remove the bearing cap with a light chisel or similar tool, this is what you will see --
 1 point
 -
Great write up and valuable information for the DYIer @jd1923. When I had Oliver Service swap my original axles out two years ago for the never lubes, I was told so far they had not seen or heard of a reported failure of the Never lube bearings on Olivers. At the time of my swap out, I believe there were over 200 trailers sold with the Neverlube bearings. None the less still always an inspection items along with the brake system. We can only hope these never lube bearings are never fail. 😊1 point
-
@johnwen, your guess was correct. The switch mounted on the forward basement wall connects to what had been a spare circuit on the fuse block via a junction. Three wires are connected by a Wago lever connector: wire from switch wire to the Mini Router wire to the fuse block If you used the same lighted rocker switch as I did, it has three wires, one smaller than the other two. This small wire needs power for the LED light in the switch. Don1 point
-
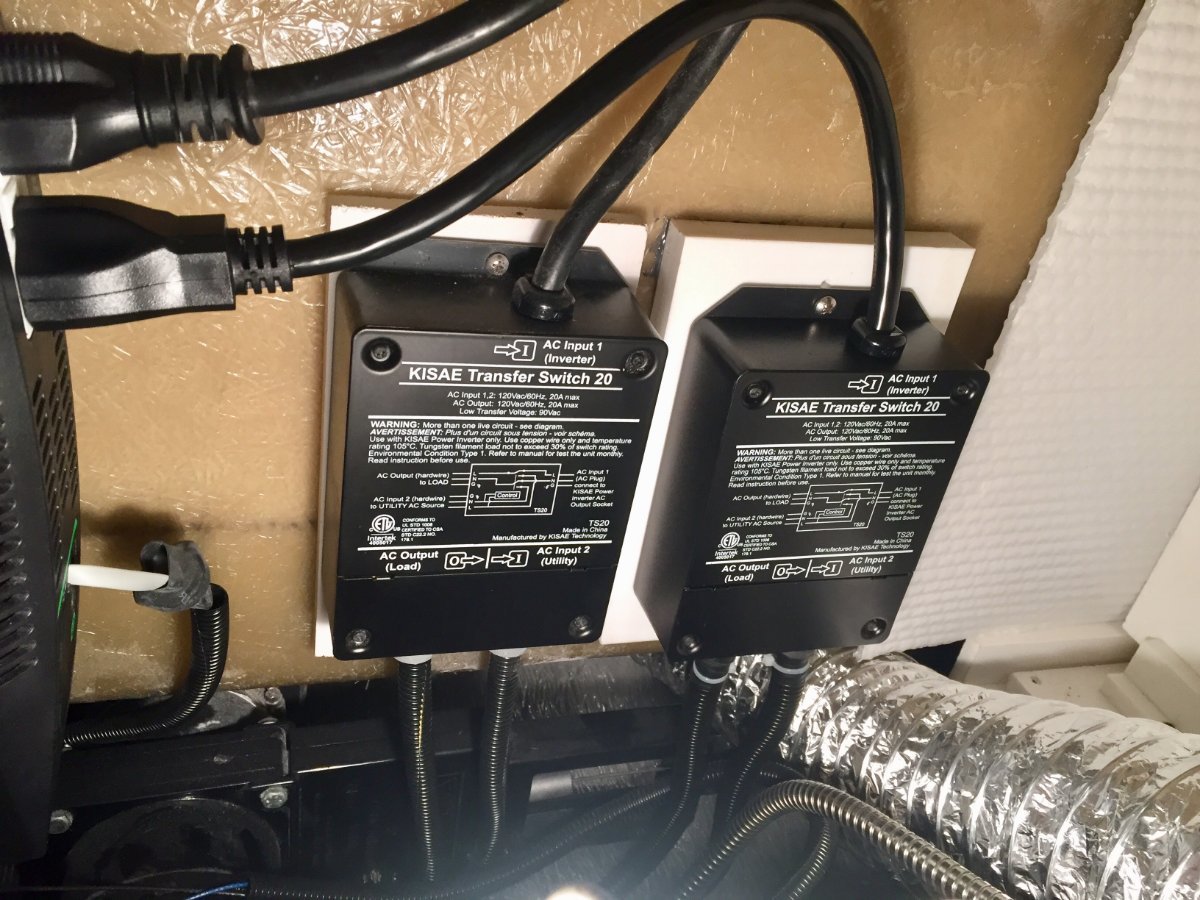
Besides the huge improvement in the sound level there is also another area where it surpasses the Dometic AC that I had replaced. The Houghton with the compressor running draws 10 amps while the Dometic was pulling 16 amps. So I decided to install a second transfer switch for the air conditioner to test it running off the batteries. It was 11 o'clock in the morning on a cloudless sunny day the temperature was 88 degrees. I had my batteries 400 Ah fully charged with 340 watts on the roof and 230 watts remote ready to feed it. I set the thermostat at 70 degrees and turned on the AC. Once it brought the temperature down to 70 I noticed it was cycling four minutes on with the compressor and four minutes off. I left it running until about 5 o'clock and was surprised to see that the batteries were at 97 percent. So I was happy with those results but time will tell if that is the norm. I put the picture in to also show it's nice low profile. Paul
1 point
-
Well it's been a year since we walked into the Oliver showroom dreaming about hitting the road. It was a big step for us since we have never owned an RV and we really did not have any idea if we would even like hauling a travel trailer across the country. Nevertheless, we bought our Ollie I in July 2024 right off the showroom floor. Within a couple of months we had both retired, watched a hundred videos, and were ready to launch. Our first 3 outings were to a corp of engineers campground near our home in Nashville. Since those shakedown trips we have put 12,000 miles on the Ollie, spent over 70 nights in it, visited 17 states, attended 2 Oliver rallies, and visited 11 national parks. We weathered 100 degree heat waves, teens in Arizona, dust storms in west Texas, and hail storms in South Dakota. We have fielded questions from dozens of folks curious about our little Ollie, and their comment is nearly always the same - "That thing is cute." Thanks to all who have answered questions for us during our first year, and it has been great meeting you all at the rallies. And thanks to the staff at the mother ship who have been so responsive in answering questions and helping get the bugs out over the last year. The folks at Oliver are the best in the business. Bob and Barb P.S. If you would like to see some of our photos from the first year feel free to request to join our instagram. (It is a private account but we would love to add you.) campbells_olive2roam1 point
-
I’ve been using the Dometic equivalent for years and like that levels can be quickly checked while the tanks are still mounted. I also installed GasStop Emergency Propane Shut-Off Valve Gauges on each of three 30# tanks, and find the level indicator very helpful and accurate.1 point
-
@jd1923, I agree with your preventative maintenance philosophy and with having the right tools to deal with necessary repairs. I would rather spend the time and, if necessary, the money to address maintenance/repairs at home, or in nearby shops, rather than some remote location while traveling. Your description of checking the brakes and tightening the self-adjusters caused me a flashback to teenage years and a hands-on lesson in replacing brakes shoes and rebuilding wheel cylinders, under my Dad's direction. I still have the brake adjustment lever tool acquired then. Due to the limited storage space and desire to avoid adding unnecessary weight, I am inclined to adopt your approach, to carry only the critical bearing press fittings you have identified and a couple of sets of replacement bearings and associated parts. On the road, I would be most likely to seek out the nearest shop to perform the repair. Failure of wheel bearings is among the few potentially disabling items on the trailer. Failure of other items, such as water pumps may be inconvenient, but not likely to prevent returning home. I will add to my maintenance list an annual check of the bearings and brakes by lifting the wheels of the ground. Thanks for your detailed responses to my questions. Regards, Don1 point
-
Do you know the approximately mileage on the failed bearing? Zero miles. I did this work on a brand new drum-hub assembly that was removed from an axle damaged during shipping. This drum was untouched and I wanted to learn this procedure and prove it can be worked on the road when needed. How did you discover the need to replace the bearing? Noise? Inspection by rotating the wheel while lifted off the ground? You are towing close to 6000 miles a year. You should check your bearings and brakes annually or realistically every other year (I'm always on the realistic schedule, so much to do with limited time to do so). I jack up the Oliver using the stabilizer jacks. Get each wheel off the ground and spin them. The Nev-R Lube bearing should make no discernable noise. Listen to the bearing first. If hearing is not one of your keen attributes use some kind of conduit or device to listen more closely. Any slight dragging or scraping sound means the bearing is worn to some extent. Bad sounds, replace it while home vs. chancing failure on the road. If I had 30K on a trailer and ONE bearing was making bad noise, I would replace all 4 at home and have another 5 years of safe travel, period! Preventive Maintenance is a science. These Nev-R Lube bearings can last less than one year, or 100K miles over 5 years. Check the forums, it just depends (and perhaps due more on installation precision vs. component manufacturing). Then you should check the brakes. Generally when working an inspection of brakes they will be somewhat loose, and the rear axle will be looser than the front. Do this after bearing inspection as you want the shoes loose so that noises you hear first would be associated wit' "da bearings" vs. "da shoes." There are two inspection ports on the back of the brake backing plate (when you order new axles these are left open, buy an 8-pack of plugs)! You want to tighten the self-adjusters until you hear and feel the shoes making light contact with the drums, softly scraping. Next, have the TV connected and have a helper hit the brake pedal or pull the lever on the brake controller and feel, yes feel for yourself, that the brakes are engaging as they should! When you feel it, you will understand. 🤣 If you do no feel it and believe you did everything right... Check the amperage to the drum brakes, troubleshoot that! It appears you are recommending owners of OTTs equipped with the Nev-r Lube bearings invest in the... Harbor Freight press kit, but carry onboard only the 6 pounds of necessary tools from the kit to ensure the job could be performed by any competent brake/suspension repair shop wherever the failure happens to occur. Exactly! First, make sure you have 2-4 bearings and 1-2 sets of replacement snap-rings, main washers and spindle nuts. You can carry a 25 LB LARGE Bearing Press kit, or you can know which fittings you need. One reason I did this work was first to show it could be done and second to document the correct tools and press plate sizes we need! If you have the correct sizes of bearing press parts, you're more than half-way there! Trust me and bring this small toolset, or bring the entire bearing press kit and you could help any stranger along the way! 🤣1 point
-
For sure, but not a "little more expensive" but A LOT MORE EXPENSIVE! I don't get the pricing structure re the Nev-R Lube 6-on-5.5" hub/drum assemblies. We can special order a full axle for a little more than $1000, but one hub/drum assembly alone is $650 plus tax! There is also the space consideration. These 12" drums are large and heavy. https://www.etrailer.com/Trailer-Hubs-and-Drums/Dexter/8-388-80UC3.html1 point
-
Welcome to the group, Hull #1045, Jolli Olli1 point
-
@FloraFauna Thank you for the feedback. That is the exact product and application that I was looking for feedback on.1 point
-
Welcome from #1290. I have seen a few cases where people had to sell due to health issues. I wish the previous owners well. The forum is a good source of information. Look at all the videos in the Oliver University too. They can answer many questions too. John1 point
-
Welcome to the group and congradulations on your purchase. To help with any future questions you may have, it would be very helpful for you to list your vehicle and trailer identification in your signature.1 point
-
Congratulations and welcome to the community! Tom & Doreen #13211 point
-
I’ve had problems with the under the tank ultrasonic sensors so I purchased the Truma hand held sensor. It’s expensive but it works well. I’ve also used the (free) method by which you pour hot water down the tank and then feel for the temperature change. The Truma is as accurate as the hot water method (which is very accurate).1 point
-
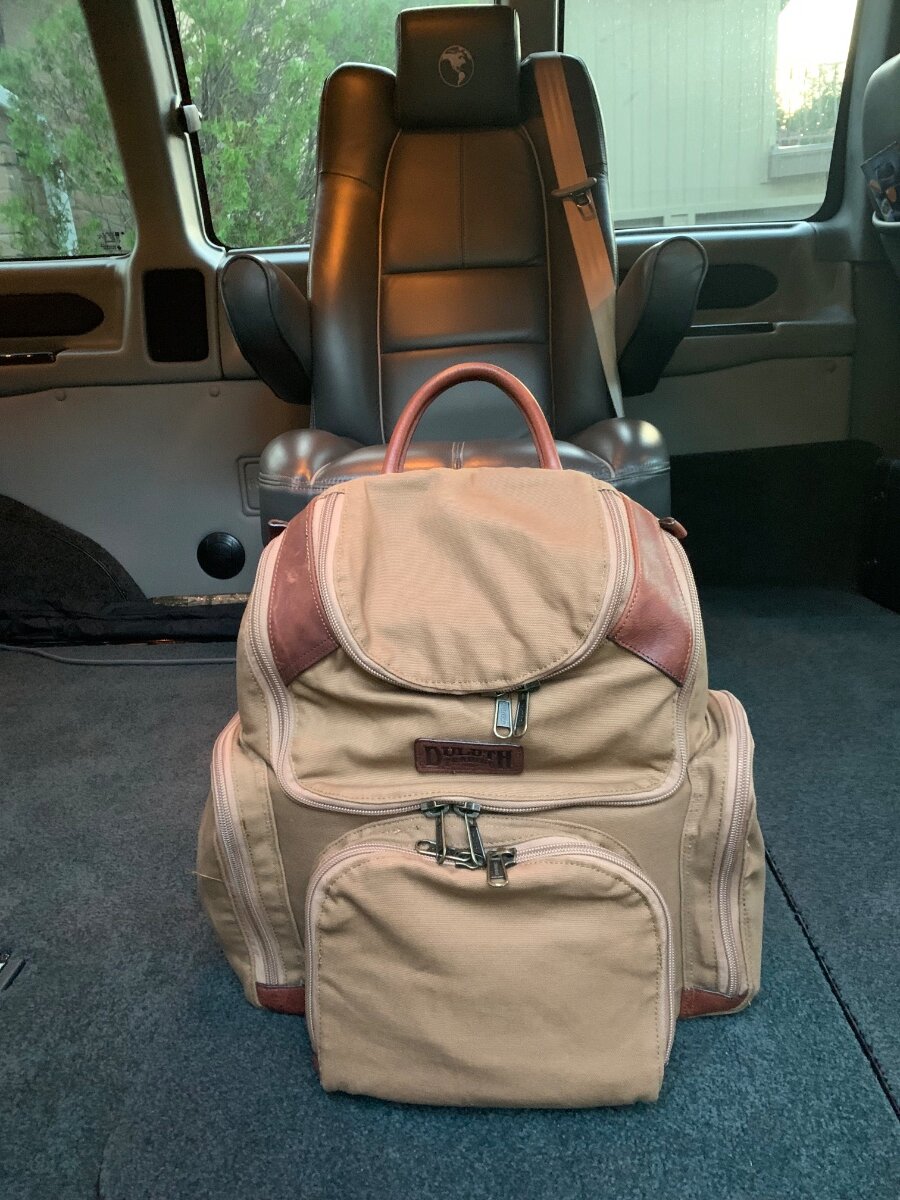
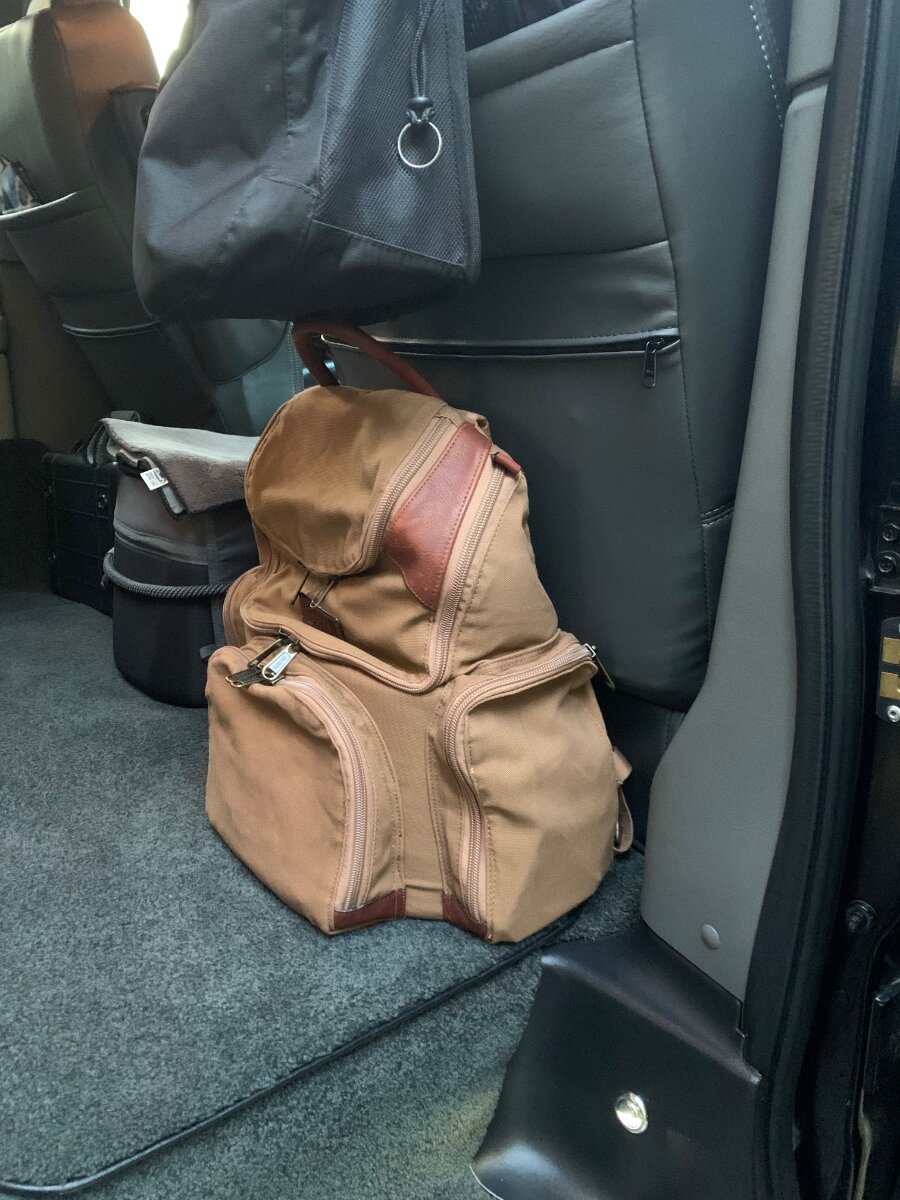
“One is none and two is one.” Like minded here Ron. My past years of military training and deployments have always kept me thinking contingencies. Better to have it and never need it than need it and not have it. As we use to say prepping for deployments, you don’t want to be left flapping. That is what’s great about the compact Mini, well done, nice pack and kit! 👍🏻1 point
-
I have long cords, short cords and some in between; charging accessories and adapters if need be; suction cups and magnets for pole and rooftop mounts, or anywhere the satellites can see; all nicely packed away in an emergency communications bug-out-bag near me!
1 point
-
Yes, tow vehicle description is in my signature. Very happy with the product.
1 point
-
This is the bearing after pressed back in. You can feel it bottom out, when the air tool starts making a noise. Then the snap-ring fits into its groove. And we know the snap-ring is right when you grab one end by the hole, pull it towards the other end and the entire snap-ring stays in the groove while it circles around a bit.
1 point
-
That’s what I ended up doing. I made up a wiring harness with the switch and cable to run to the fuse box, and fed it through the switch hole. Then connected to the POE injector mounted just beside where the wires came through. It worked well for me.1 point
-
This only occurs when you're connected/towing and should not be an issue, given engine runing, alternator charging. Ever test voltage after your truck has been sitting for 24-28 hours? This would be a first step. You need to get your truck diagnosed independent of the Oliver. Your truck being weak starting could be battery, starter motor, ground or an assortment of issues (again nothing to do with the Oliver). Best wishes, JD1 point


-
Recent Achievements
-


")


")


")

