Leaderboard


Popular Content
Showing content with the highest reputation on 09/15/2025 in all areas
-
We just had to remove and replace the spare last week while on a trip to Roswell NM. It was the first time we had to do this on the road. A slow leak developed on one of the tires. We aired it back up, but after about 10 miles it needed to be topped off again. We were on US 380, about 50 miles from the nearest tire service so we decided to switch to the spare. We found a safe pullout for the tire change (not easy on this highway with its narrow shoulders). The spare can be rolled along the bumper once the retaining screw has been removed so you don't have to reach over the basket to lift it. The basket did have to come out a little more than 5 inches, but it didn't have to be removed completely. We don't carry a lot of weight in the bins, so sliding the cargo tray in/out was easy. Sure, it would have been easier if it wasn't there, but it wasn't difficult. It helped to have two people. The wheel and tire weigh about 60 lbs. The fiberglass cover is much less. I did the lifting and MA helped with the alignment and getting the retaining screws threaded when putting it back together. If you're going to the Texas rally next month then we can show you, you can try for yourself.5 points
-
Texas doesn't have a lot of public land, so if you're passing through the Wichita Falls area in north Texas and need a place to stay for one night or more, we can recommend Crossroads Luxury RV Park. We had a flat nearby and limped into this park with little notice and they really took care of us. Great service. Clean park. All the amenities we need.5 points
-
Stone Mountain SP NC, tow vehicle shake down trip. It handles Ollie easily. Added a couple old photos of Stone Mountain from the meadow and from the top.
 3 points
 -
We opted for the manual door lock in our 2022 Elite II based on reports on this forum of folks getting locked in or out of their Olivers by failed RV Lock units. No issues with key duplication. We keep a spare Oliver door key in a compartment in our tow vehicle. Low tech, but so far, no issues.3 points
-
We also own a 2022 Elite II, Hull #1291. Having read too many posts on this forum about the Demonic AC unit sounding like a jet taking off, and that Oliver was making the much quieter Truma AC unit available on 2023 models, we opted to postpone our delivery from September to November of 2022 to get a Truma. We paid a premium for the upgrade, but we have not regretted our choice. Although expensive, in your shoes, I would schedule an appointment with the closest Oliver dealer to swap the Demonic for a Truma. If you have strong handyman skills, you can consider a DIY install. with one of the brands referenced in jd1923's post above. There are informative threads on this forum with detailed "how to" instructions. And, please update your footer to include your Hull #, tow vehicle and other important data, like you see on the above posts.3 points
-
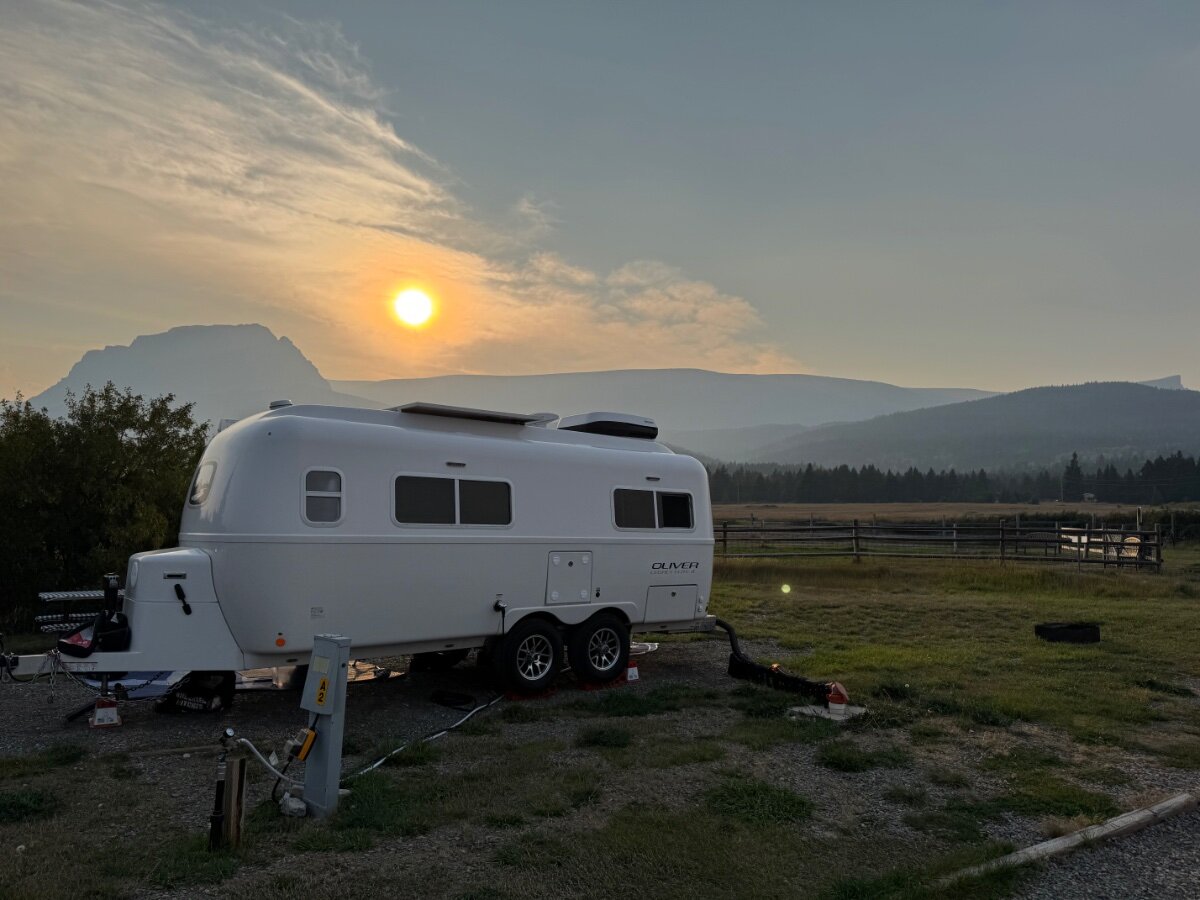
Last night in East Glacier. We saw 2 other Ollies (including ADKcamper) 4 Casitas, 2 Scamps and 2 Escapes. A veritable fiberglass convention 😃3 points
-
After cleaning and burnishing I was told by Jason to cut a light criss cross pattern in the block and mounting point as well ( I used a vibrating saw with metal cutting blade) . Light cuts not too deep. Then I cleaned again & let dry. its held tight for 3 years so far.2 points
-
I prepped both surfaces by sanding then cleaning with alcohol, used two-part epoxy and has stayed put for 3yrs and 30k miles2 points
-
Yeah, the OEM Dometic A/C is a horrible POS and to not bother your next neighbor, and to get some sleep yourself, you will eventually replace it (sooner rather than later). Search on this Forum for keywords like Atmos, Tosot, Turbro, Greenland and Pioneer, maybe even Houghton is still viable (nice if Houghton brings an inverter A/C to the states).2 points
-
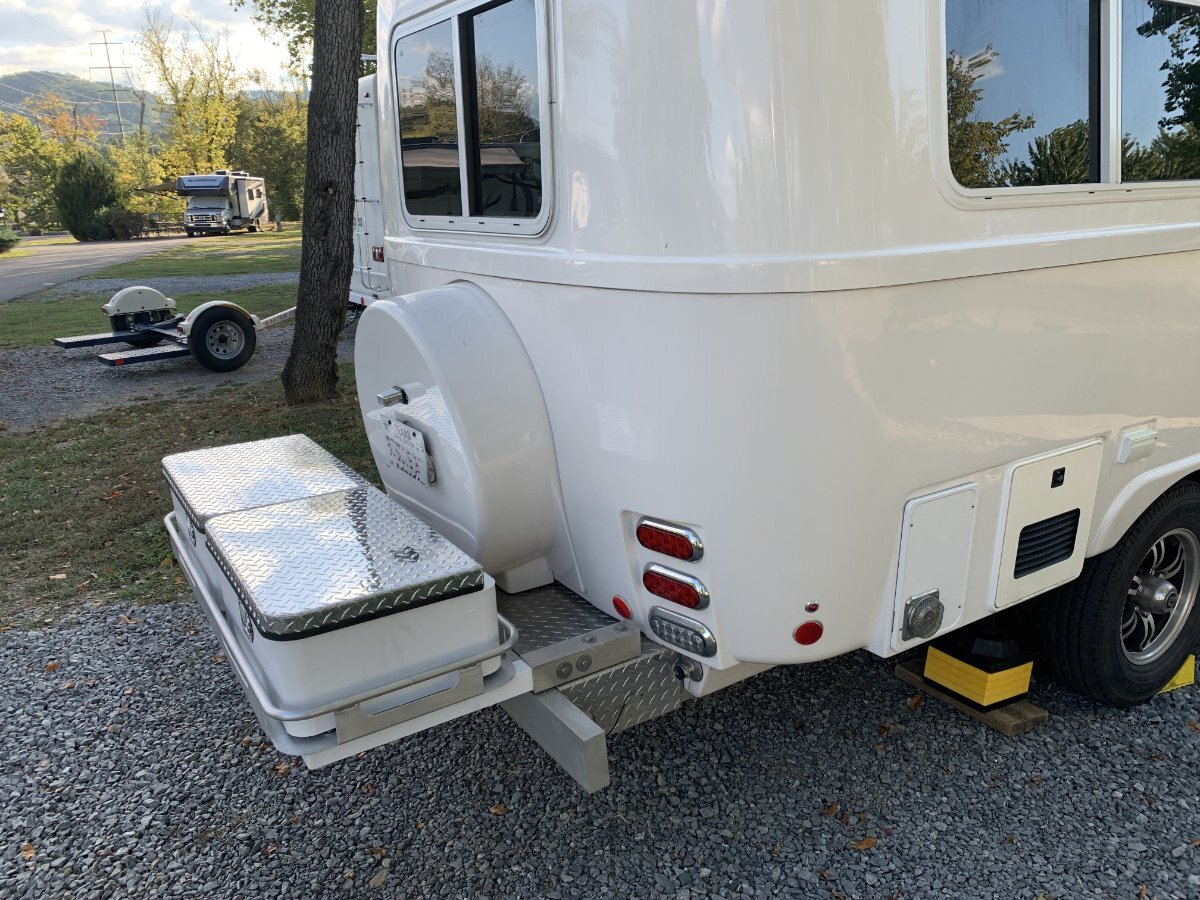
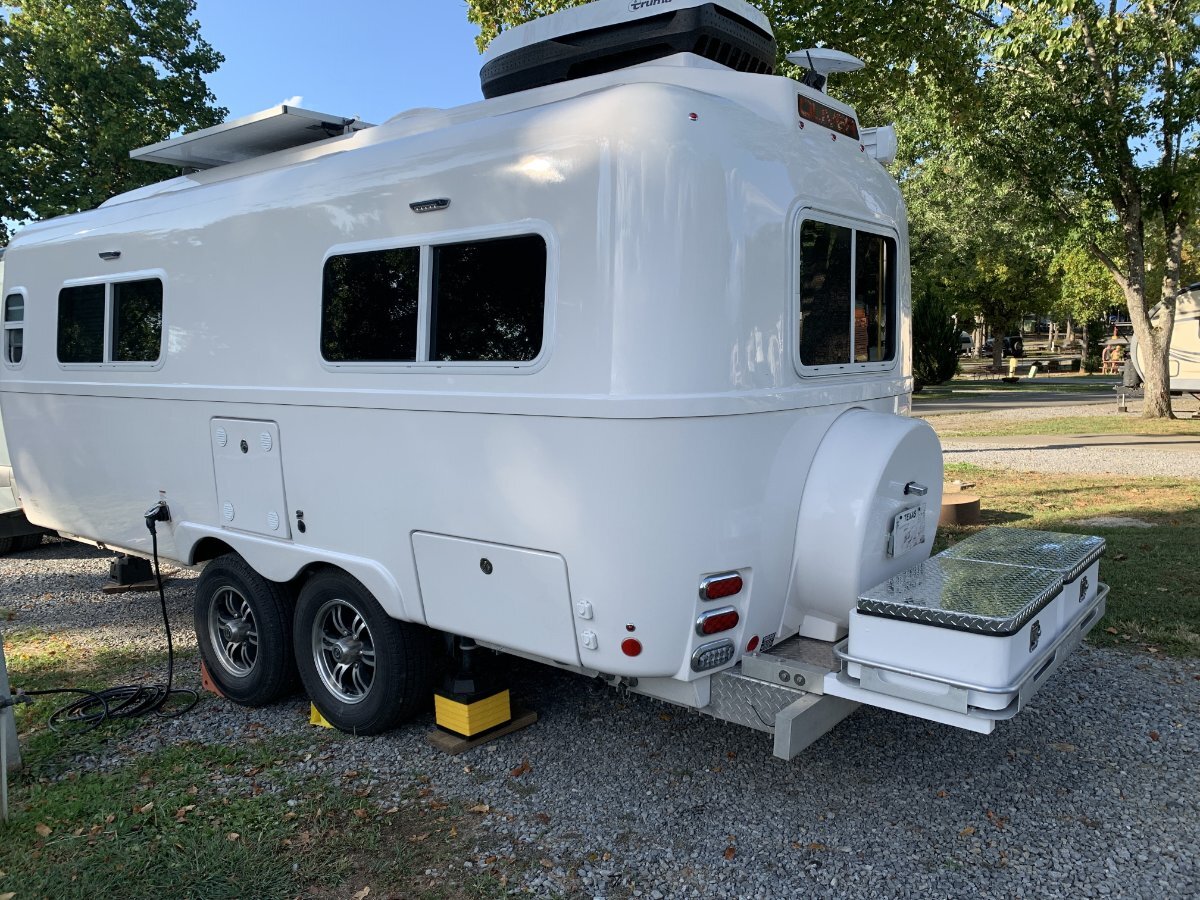
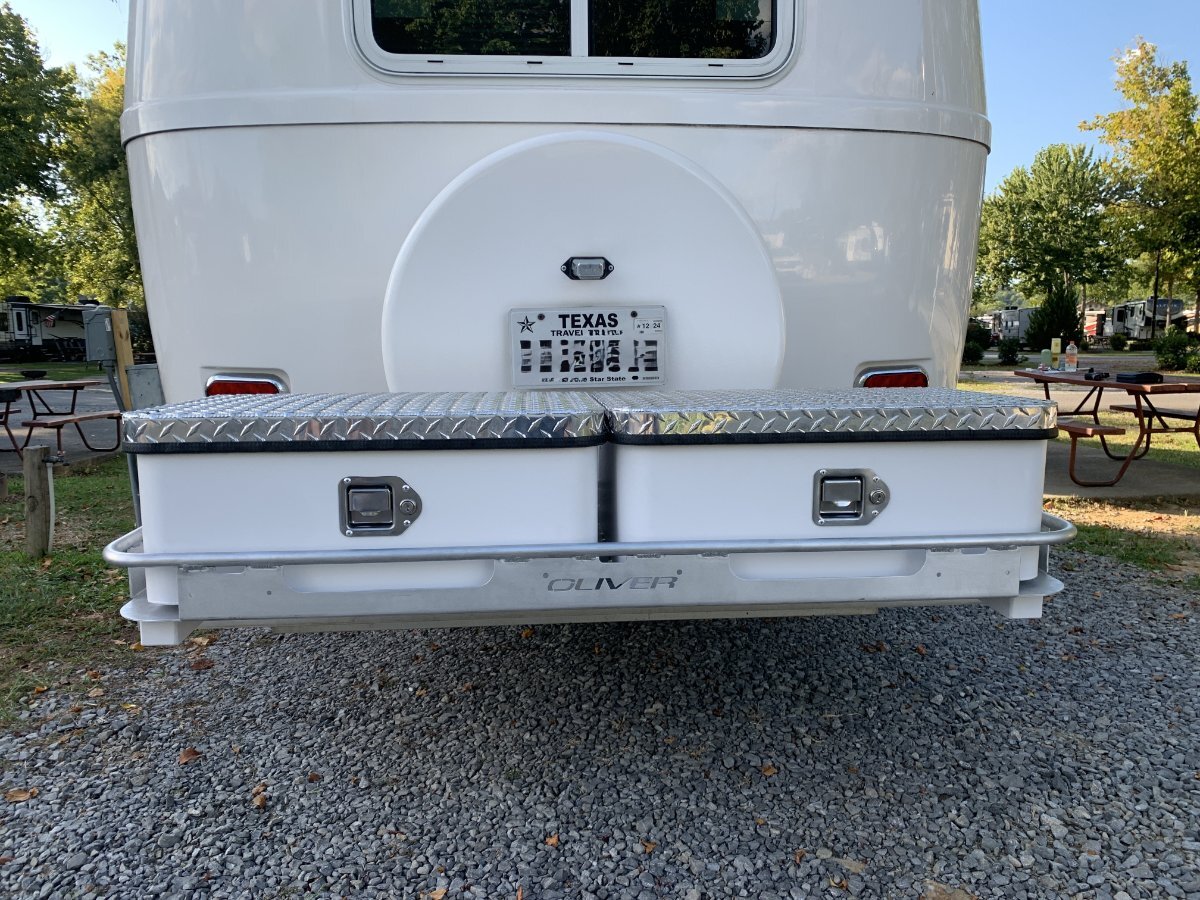
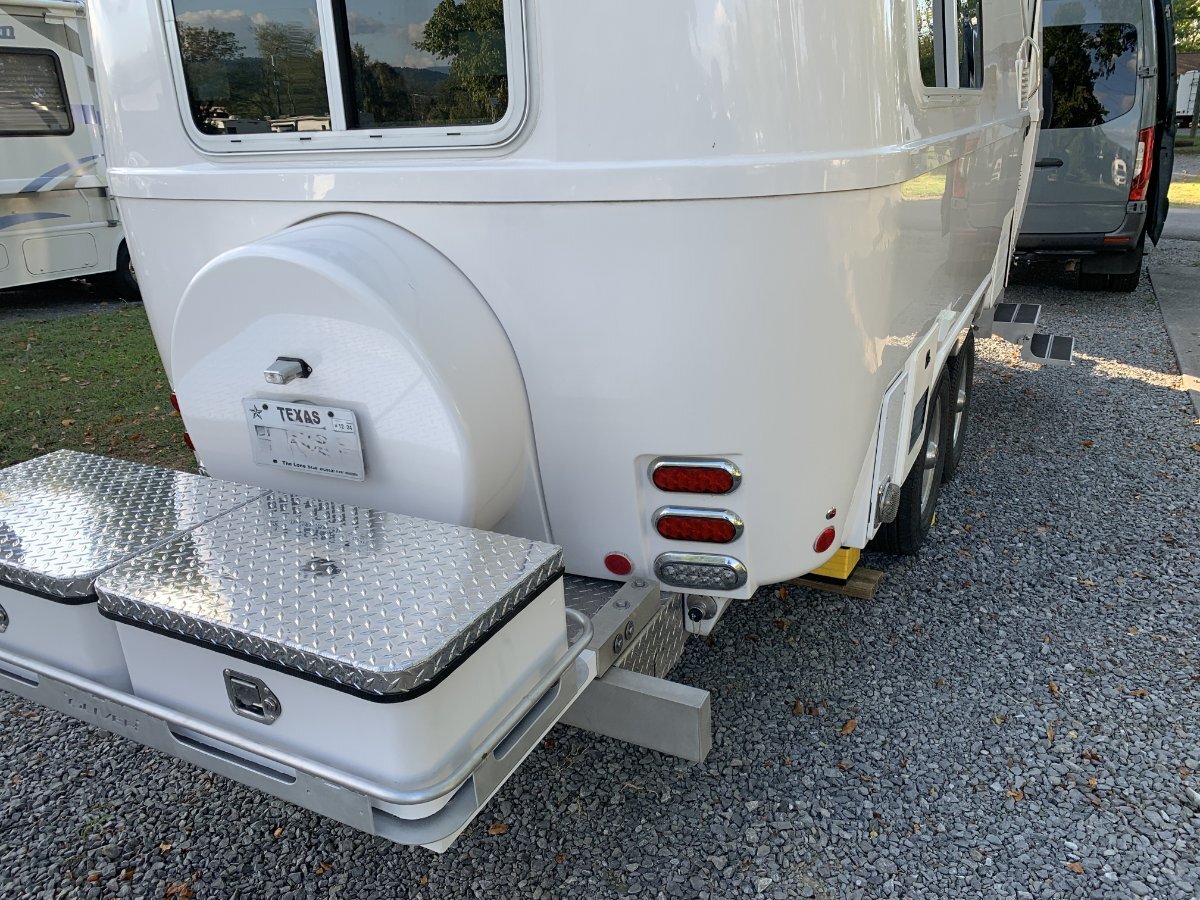
We were in Hohenwald this week and saw some new products made by SEA BISCUIT METAL DESIGNS on display in the Oliver showroom. One product caught our attention, so we decide to visit Johnson City. The rear basket carrier and storage boxes are very well crafted. We already have the OEM rear bumper receiver option so installation was simplified. Since we weren't using the bumper receiver on this trip, we replaced one for the other. We're very pleased with the quality and the design. The lockable boxes increase the secure outside storage, and they're easily removed from the basket in case we want to use it to carry odd shaped/sized cargo. We went with two separate storage boxes, but they also have a larger single "coffin" box that spans the width of the basket. The low profile doesn't cover the original license plate location, so no need to move the plate and rewire its light. The CNC cut "Oliver" name on the carrier is also a nice touch.
1 point
-
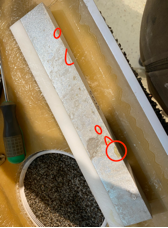
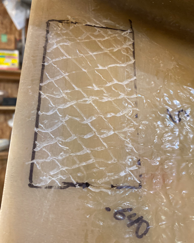
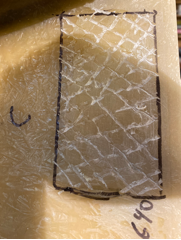
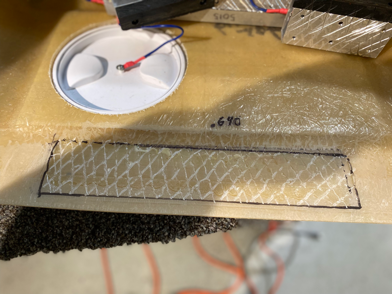
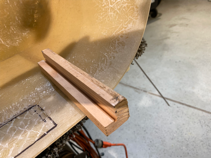
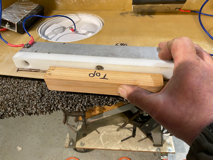
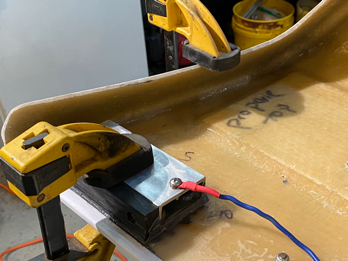
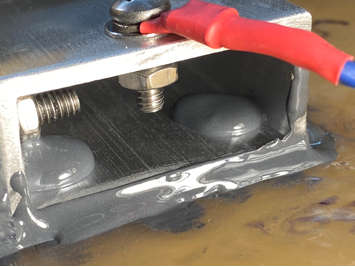
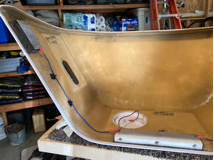
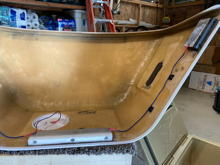
I bought my Oli used at 10 months old (2020 hull# 648). When I got my Oli one of the small Aluminum support bars was missing in the dog house lid. One my first voyage, We lost the other one within the first 40 miles. I noticed I had a bad habit of lying down the access port cover, so I fixed up a 18g wire and hooked to the large support bar and to the back of the access port cover. Just one year as the owner on one of our 5 day outings, I got to the camp site and went to open the access port to turn on the propane; The large bar had fallen off, and was hanging by the wire. I was going to call Oliver to order 2 more small bars, but since I am out in the cold when it comes to Olivers Warranty I decided to make Aluminum Support bars. I had left over 1”x2” Aluminum rectangle left over from mud flap installation (Original rectangle material was 1”x1.5”), and I had a few small pieces of Black 5/8” thick Ultra High Molecular Weight Polyethylene (UHMW) lying around. The large bar that I still had only a few very small areas that had the resin attach to it (marked in Red), and the area where the bars came off where real smooth. The surface of the aluminum had a fair amount of oxidation. I cut a couple pieces of aluminum with a Angle grinder cut-off wheel, and the UHMW was cut to size on a table saw. I counter sinked the UHMW with a 3/8 spade drill and drilled out for a 10-24 SS screw. I also tapped the aluminum with a 10-24 tap for attaching the UHMW. I got a little carried away when I attached the UHMW to the aluminum, I used blue lock tight and lock wash and nut on the back side. I was paranoid of the aluminum support bars falling off again, so I go a little carried away with the mating surfaces to be attached. I used a 1/16 angle grinder cut-off wheel and cross hatched the aluminum, I then drilled and tapped 1/4-20 threads into the aluminum. The 1/4-20 holes are NOT for bolts but something extra for what ever I used to adhere to the Aluminum. I also sanded the aluminum by hand with 40 grit sandpaper for metal. For the Fiberglass I sanded down the original area with the 60grit sanding pad on a angle grinder. I left one small portion of an edge for locating the bars side to side. I used a Dremel tool with a carbide bit to cross hatch the fiberglass. Finally I did a final hand sanding with 40grit sandpaper. I made a tool for locating the aluminum support bars from the edge of the of the fiberglass. I took measurement from the impressions in the fiberglass from the resin, and the one Aluminum bar that I had. I calculated the offset of the bar .640” from the edge. This measurement was including the white trim piece. I didn’t realize that the trim would just come right off. If I had to do it over again, I think I would done the measurement without the trim piece. Note the picture shows me holding it without the trim on the shell, but I did not use it that way. Note the wires in the second picture. Before I mounted the bars I made a couple of security straps. I figured that by some chance one of the bars would come off I Attached 16g wire with heavy duty eyelets to each bar. That way I will not loose any more support bar if they cam unglued. The next question was how to adhere the support bars to the fiberglass. I felt that my 2 low tech options were JB weld or Gorilla glue. I research both, and both seemed to be a reasonable option for adhering aluminum to fiberglass. I have used Gorilla glue a few times and never had any problems with it besides the bottle has a short life span in Oregons high humidity after it is opened. The JB Weld had a fractionally higher shear factor than the Gorilla glue did, and I have use JB weld in so many applications and it has never failed. I flipped a coin and JB Weld won, although it might have been a 2 headed coin. I ended up using 1 package of the Professional size JB Weld, and one of the regular size. to do the job. I used a Bondo plastic putty tool to spread the JB weld. I put a small amount on the fiberglass just enough to fill the cross hatching squeegeed across the fiberglass. Then I put a large amount on the Aluminum cross hatching. Put the Aluminum bar in placed and then clamped. Note the trim piece in place. Below is of one of the bar ends. The puddle of JB Weld on the inside of the bar is what pushed up through the 1/4-20 holes. Here are the tools I used for the JB weld. The 3M adhesive remover worked great for cleaning up the JB Weld (sometimes I can make a mess). The final Product. I secured the wires with GB 1” square adhesive back wire tie downs to keep the wires out of the way.
1 point
-
LOL. If it doesn’t, I am in serious trouble 🤣1 point
-
WOW! That Ford 350 should handle the Ollie easily. What's to shake down? Nice! Bill1 point
-
Our Oliver came with the Lippert chrome manual lock. We also read here regarding many failures to the touch pad and batteries loosing charge at just the wrong time. $220+ for keyless entry, sorry no thank you. Our hull being 10 years old, the door lock is still working as designed but gear mechanisms and striker parts do wear out over time. I found this on Amazon and at the time it was only $50, same lock in a nice white powder coat. It's for when we need it or when we may upgrade our entrance door. And yes, extra keys are easy to have on hand too! Just match the code on your key to your order. https://www.amazon.com/dp/B00S2IELG6?ref=fed_asin_title https://www.amazon.com/Pair-Keys-Global-Link-Precut/dp/B0BQWVR6YP/?th=11 point
-
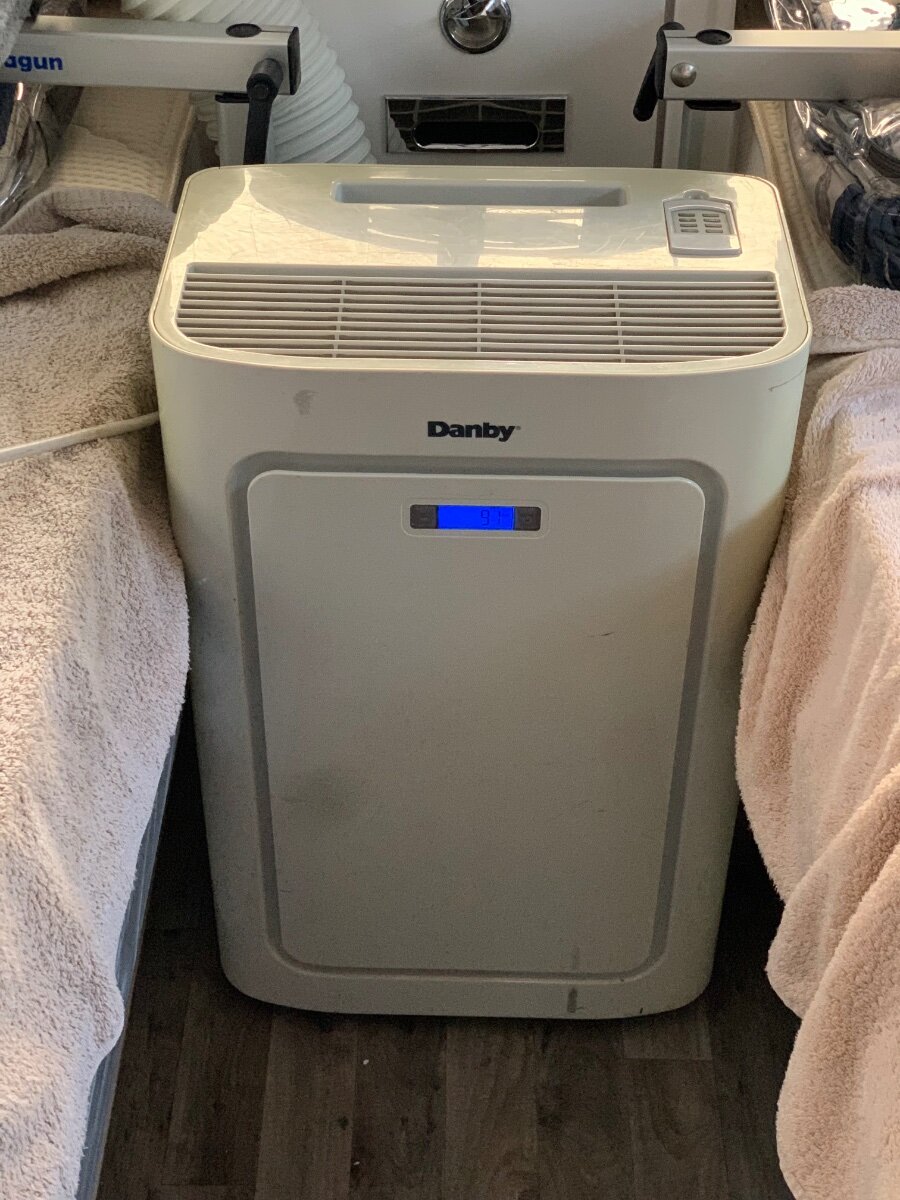
I did the same with a portable air conditioner given me and generally used when working in confined spaces, garage or shop for heat relief. Shown here being used in the Oliver, vented out the side window, when replacing the noisy Dometic Penguin ll last summer. Useful in a pinch, but certainly wouldn’t want to travel with one and endure the encumbrance! Unlike the DPll, my Atmos replacement is quite both in and out; oftentimes I can’t even hear it running when outside the trailer, so don’t think all RV rooftop air conditioners are created equal.
1 point
-
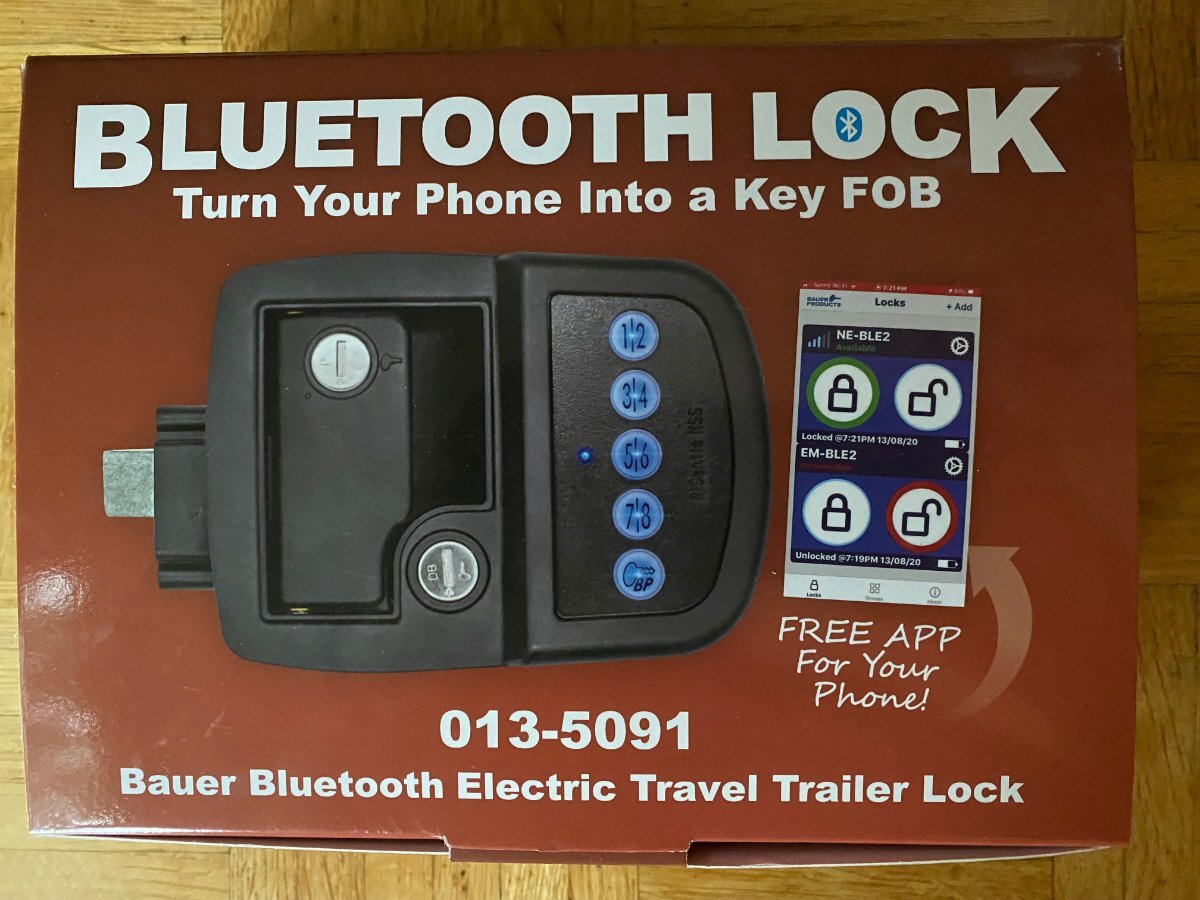
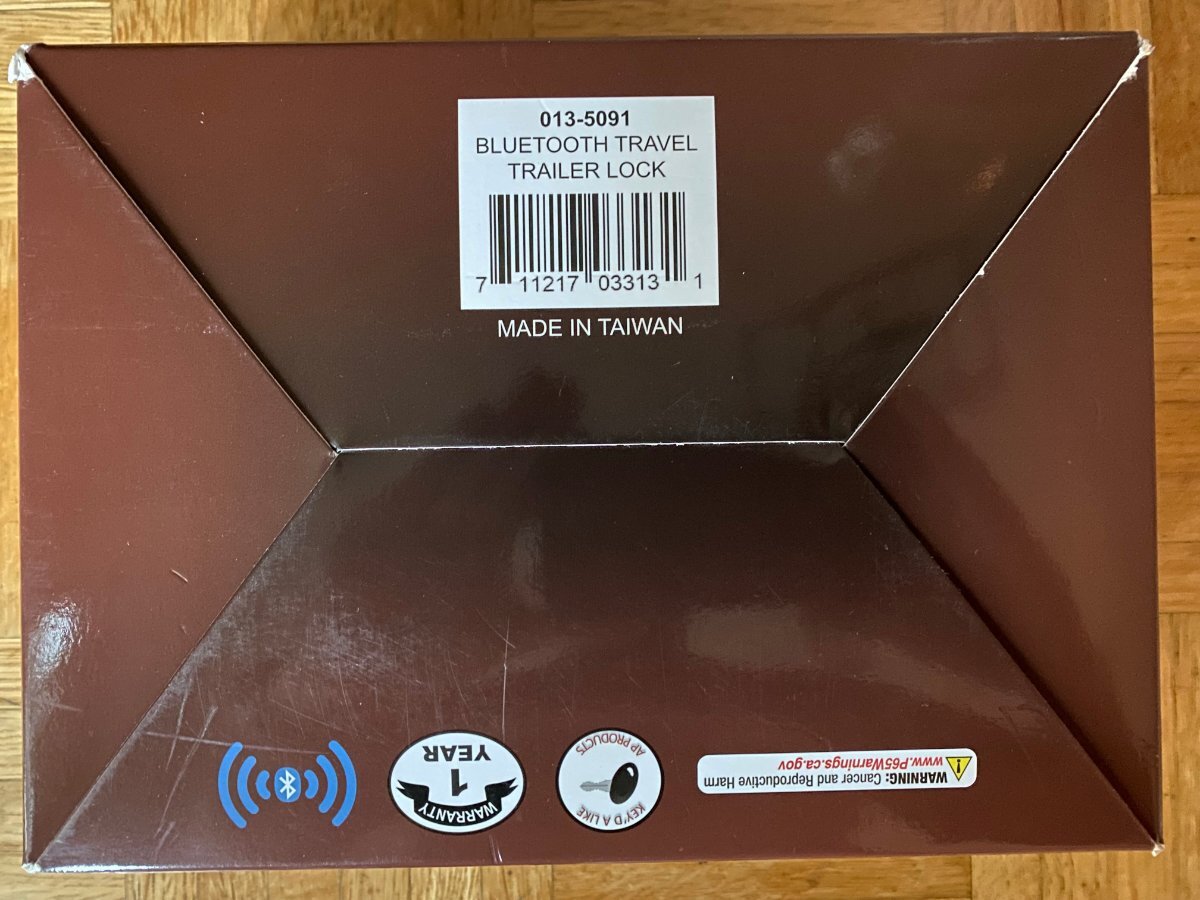
@Patriot thanks for the suggestion, here you go: https://www.campingworld.com/bauer-bluetooth-keyless-rv-entry-door-lock-124590.html?objectID=124590&queryID=46bc1a32228c9fdf516d0676ebf18aca&indexName=production_na01_campingworld_demandware_net__CampingWorld__products__default Also, E-trailer has a nice video review here: https://www.etrailer.com/RV-Door-Locks/Bauer-Products/BA53UR.html E-trailer also has spare keys for the lock too.
1 point
-
Important Update: Customer Support & Service/Parts Department Changes Dear Oliver Travel Trailer Family, As we continue to grow, we are making important changes to better serve you. Beginning September 5th, our Customer Support Department will be relocated to our production facility and will now be managed by our Plant Operations Team This change allows us to dedicate resources more effectively, ensuring you receive the specialized support you deserve. What’s Changing Customer Support Managed by our Plant Operations Team Primary Contact: Brett Johnson Handles phone support, warranty questions or warranty parts requests Additional team members will be added to strengthen support capacity Phone: 888-526-3978 (select Option #2 - Technical Support) Email: support@olivertraveltrailers.com o Hours of Operation for Phone Support Monday - Thursday: 7:00 am - 4:30pm CST Friday: 7:00am - 11:00am CST Closed Saturday & Sunday Service & Parts Remains at our Sales & Service facility Primary Contact: Mike Sharpe Handles service scheduling and parts purchases Phone: 888-526-3978 (select Option #3 – Parts & Service) Email: service@olivertraveltrailers.com Hours of Operation for Inside Service remains Monday - Friday 8am - 5pm CST Important Notes Starting September 5th, the Phone Support Department and Service & Parts Department will be completely separated. Mike will not be taking phone support calls, and Brett will not be scheduling service. Emailing either department will automatically create a ticket in their system. However, tickets are not shared between departments. Why the Change? As Oliver Travel Trailers continues to grow, we want to provide a better experience by having team members focused on specific tasks rather than managing multiple roles. This separation ensures that your questions and needs are addressed by the right people more efficiently. We appreciate your understanding and support as we take this step forward. Thank you for being a valued part of the Oliver Travel Trailers family.1 point
-
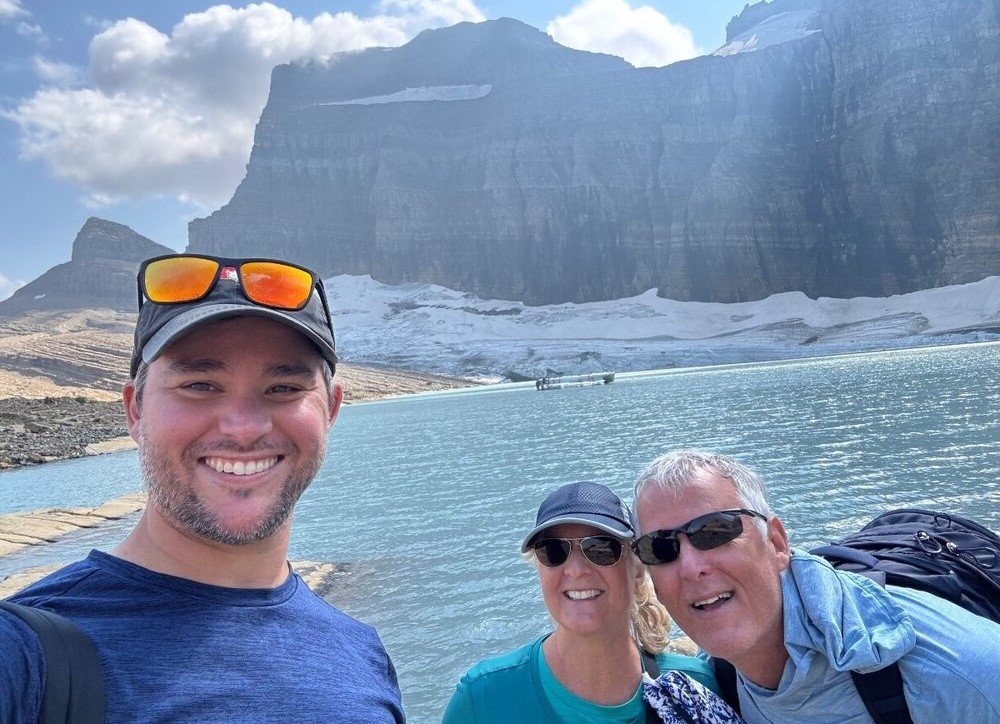
Glacier National Park Grinnell Glacier hike with our son who joined us in our LEII for 5 nights! (All that humanity kept setting of the “propane” detector every night 😜)
1 point
-
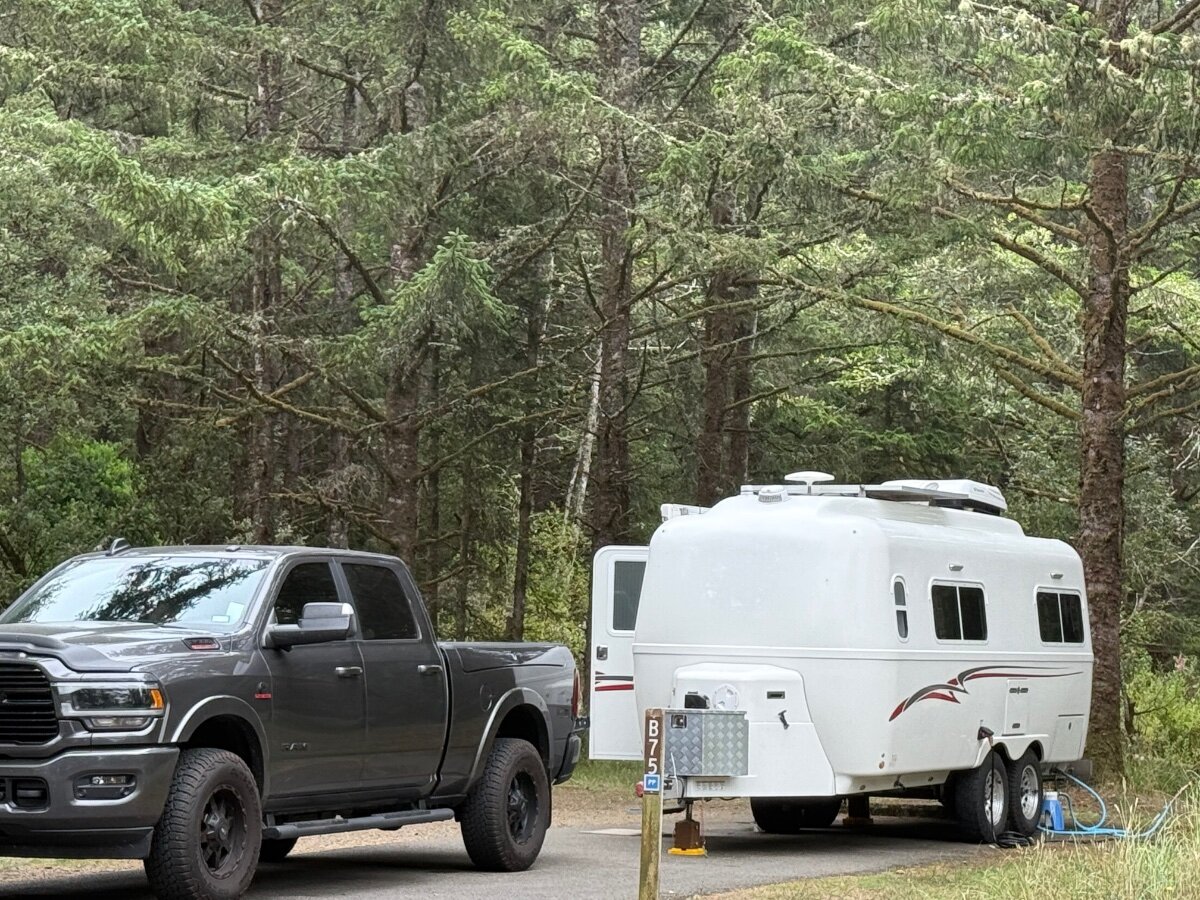
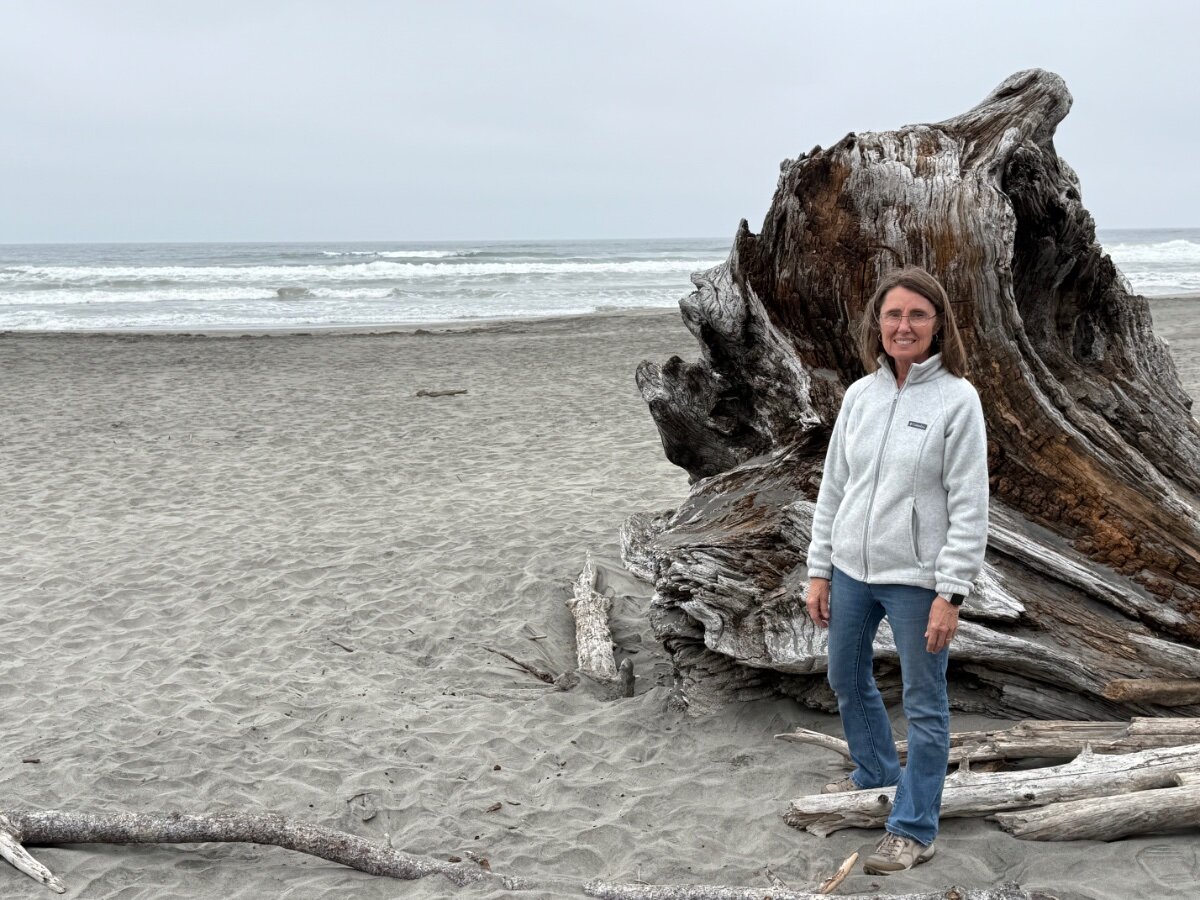
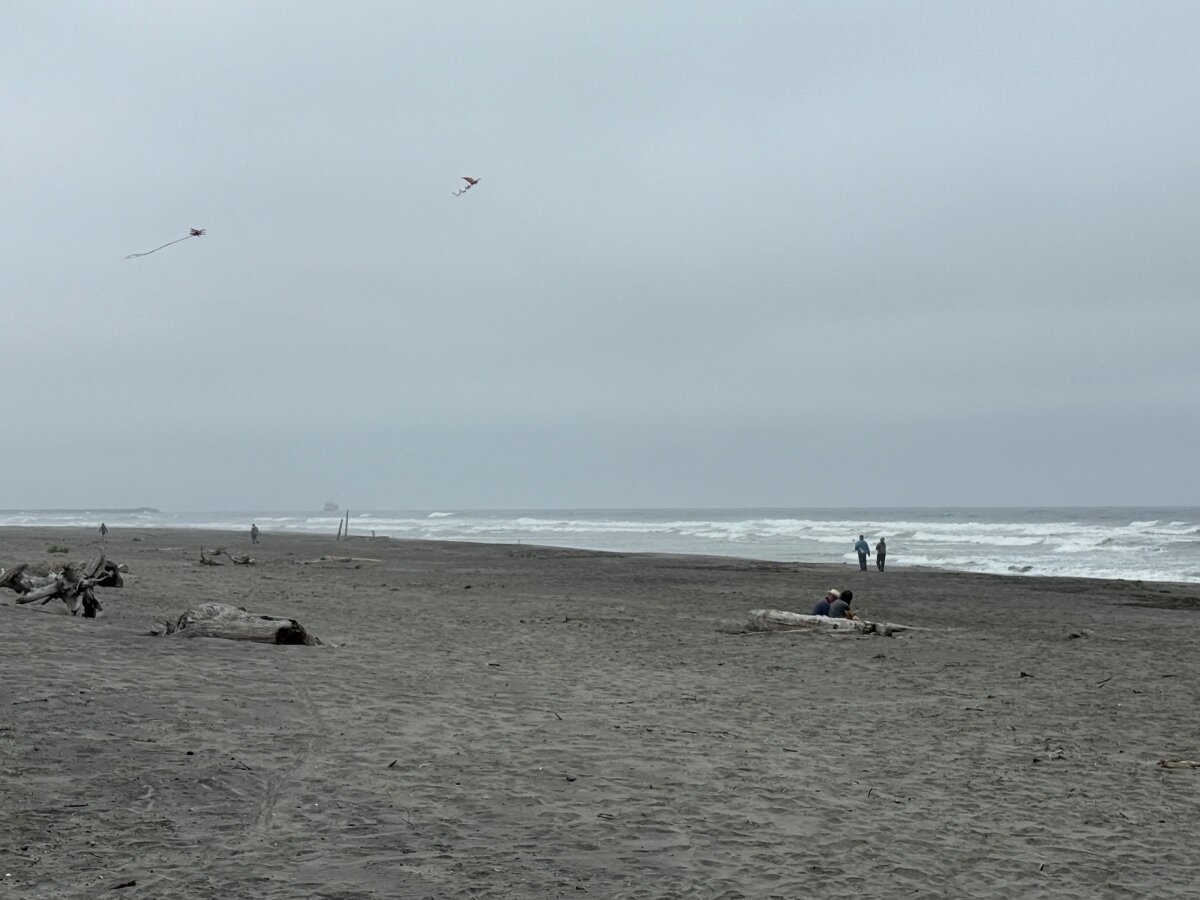
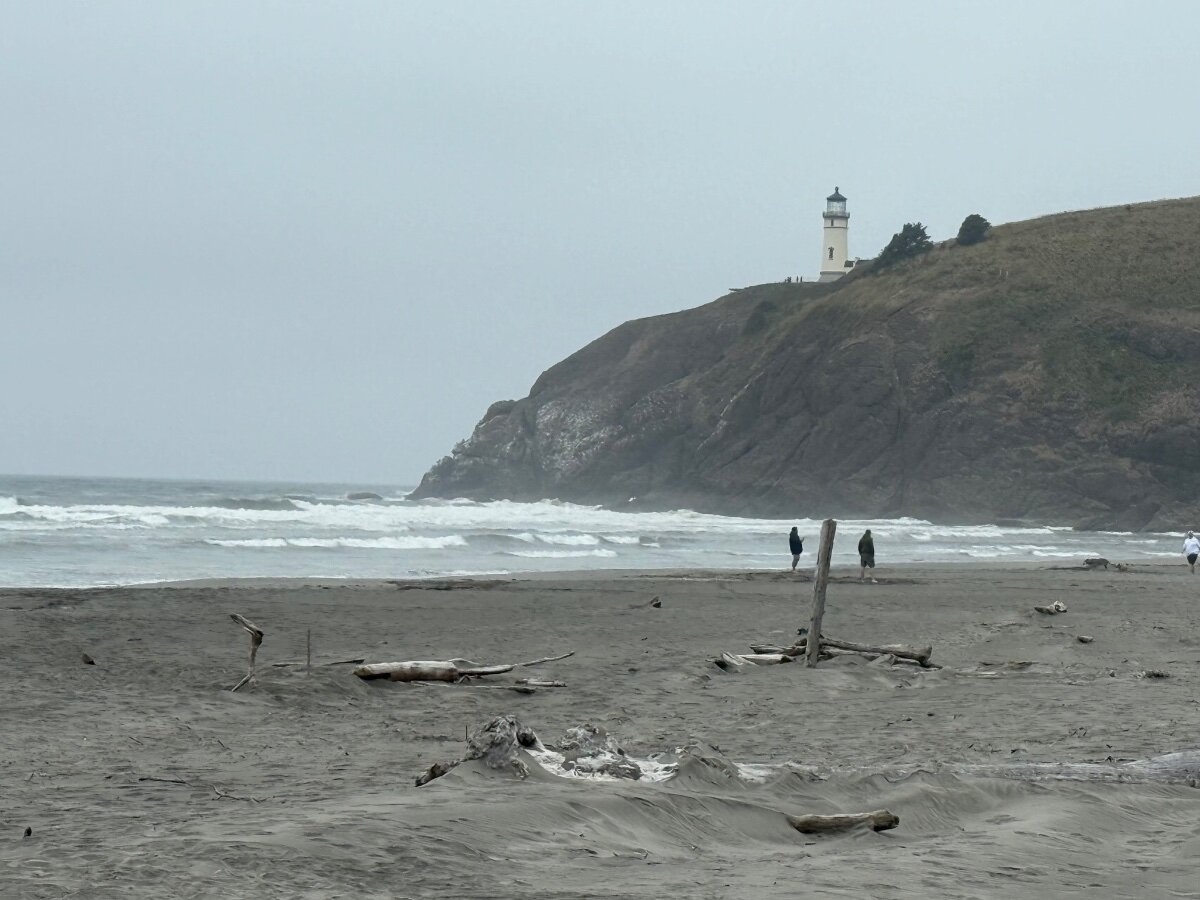
A little further up US101 after Tillamook just across the border in Washington is Cape Disappointment State Park. It’s a big park and was full the days we were there. A lot of sites on the beach, ours was about 50 yards from the shore but we still heard the crashing waves all night. The weather was cool and gray, probably normal for the end of August.
1 point
-
As mentioned here and on numerous other forums, brake problems are caused by a faulty ground 99% of the time. Finding it, however, can be quite a job. I had been plagued for some time by brakes not working and a "Trailer Disconnected" nuisance warning on my tow vehicle, especially (but not always) when braking. Connecting to another tow vehicle produced the same result, so the problem was the trailer itself. The lights always worked, but the brakes didn't. I replaced the trailer wiring harness (outside) after finding that it had been spliced using butt splice connectors and wrapped with electrical tape. No help. Cleaned the 7-pin connectors at both ends and treated with dielectric grease. No help. Replaced/greased all electrical brake connectors under the trailer and checked all (I thought) connections I could find, both inside and outside the trailer. Continuity and resistance tests on the brake magnets were right on, but the problem persisted! ARRGH! Out of sheer desperation I traced by hand the wiring harness inside the trailer from the front all the way to the back – not real easy to do since portions of it were inside protective sheathing. All the way in the rear on the streetside I felt butt splice connectors inside the sheathing. Opened it up and the connectors appeared to have once been clear but were now green. When I cut them open I found they were so corroded that only about one small strand of wire remained. Apparently, this is why the small current from my multimeter would get through and produce good test results but not so for the larger current required to activate the brakes. I replaced them with heat shrink butt splice connectors filled with dielectric grease and voila! No more problems! Hopefully this might help someone who may experience similar problems. I'm sure I spent at least a dozen hours on this one.1 point
-
Last week we were camping at a TX state park for our first outing since April. Around mid day the temperature was well over 93 degrees and we decided to turn the AC on. Had forgotten how loud this thing was but we had no other choice. Shortly thereafter a family with 3 children camped next to us in a tent. The next morning the neighbor ( visiting from Holland) came over, introduced himself, very polite and very respectful and asked if we could turn off our AC because they did not sleep the night before because of the noise. In desperation I started looking for options and decided to go to a close by Walmart store. They had a 6000 btu portable unit and looking at the size and measurements looked OK to me. Installed it at the very back between the two beds with the air exhaust and the moisture drain through the back bottom door, plugged in and it was an instant relief, noise level was very low, low enough to have a conversation and listen to the radio. Next morning my Dutch neighbor came over to thank me for not using the AC. Will try to improve the installation by building a removable “door” for the left rear storage compartment with an opening large enough to accommodate the AC exhaust and prevent potential critters coming in.0 points


-
Recent Achievements
-


")


")


")

