Leaderboard


Popular Content
Showing content with the highest reputation on 11/17/2023 in all areas
-
2019-Elite-II-Augmented-Plumbing-Diagrams.pdf455.61 kB · 20 downloads Repost: I had been trying to figure out the same thing as both Cedar Forks and GeronimoJohn...so I combined together the works from GeronimoJohn and Cedar Forks along with the original 2019 Elite II Factory Plumbing Diagrams into a complete PDF.7 points
-
FYI, my forward AC outlet is powered via the Xantrex, thereby the Dometic CFX 75DZ in the truck bed can be operated on AC when underway or in camp, if need be. A DC-DC charger more than makes up for respective amp draws on the house batteries by it and/or the OTT’s Norcold. However, I too mostly rely on a portable power station to run the Dometic, but on occasion when that power source is depleted due to insufficient solar input, an extension cord from said outlet to fridge is a viable alternative. I have also run an extension from the Oliver for use of a battery charger on the power station while simultaneously running the fridge on that DC source. That said, you may not need to install the additional Anderson, unless planning to operate in inclement weather while underway.
 3 points
 -
Welcome to the forum Joe C - I have a set of these and they have served me well. https://www.amazon.com/gp/product/B07KYK3WLL/ref=ppx_yo_dt_b_search_asin_title?ie=UTF8&psc=1 Patriot🇺🇸1 point
-
Life seems to be all about this. I don't take risks, but I also don't worry about what I can't control.1 point
-
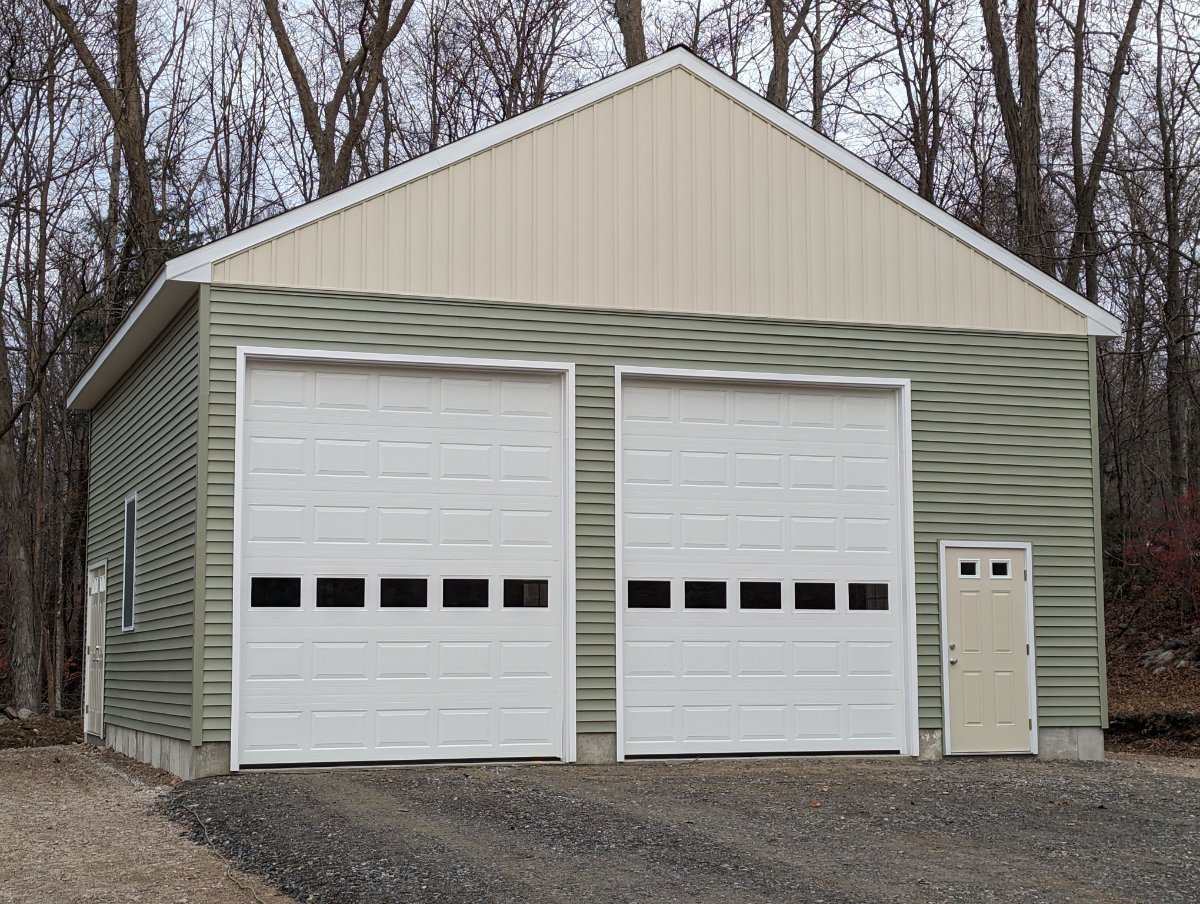
Our garage is almost done. Just need electrical run and installed before Eggcelsior can move in. Hoping to have it indoors before the first real snowfall.
1 point
-
Thank you! Two on order; one for the front like you've added, and one on the street side, near the garage door. I'm also adding a small Anderson outlet on the front, so that I can run the fridge in my truck from the Oliver instead of the Bluetti. I appreciate the link!1 point
-
A RotoZip spiral saw, or like product, will make circle and straight cuts much easier, faster and precise. Used mine when installing a forward receptacle in the propane doghouse; the result, very smooth cut edges in the fiberglass. In close quarters, the spiral bit can be set to a depth slightly beyond the fiberglass thickness. As 2008RN suggest, proper PPE and a shop vac should be used.
1 point
-
1. Taped off the whole area with painter's tape. 2. Drew circles with a compass. be very careful where you place the holes so you don't damage any thing behind it. 3. Drilled 4 2" holes at all of the cardinal points along the edge of the diameter. 4. Used a jig saw with a metal cutting blade to cut the diameter of the deck plate holes doing 1/4 circle at a time. Note, I cut the 2 deck plate holes and the Access door to the storage bay. I fried one whole blade, and dulled another. I wore an N95 mask and googles, and used shop vac to help suck up the fiber glass while cutting.1 point
-
I do believe I have high jacked and sidetracked this thread and I sincerely apologize.
1 point
-
My chili recipe can solve that problem! GJ1 point
-
rich.dev thank you so much for the diagram. Better than the one that is on basement cover. jd1923, here is a picture of the deck plates on the Curb side. The forward deck plate is a 6" and the aft deck plate is a 8" which replaced a 4" deck plate that I had a hard time getting my arm any farther than my elbow. I bought the deck plates from West Marine. I like the lift handle. You lift the handle and twist the 90 degrees, and the deck plate comes right off. The deck plate are not water proof, but it really doesn't matter inside the the cabin. The only thing I didn't like was the color was off white. They said it was "white", but as you see they are not pure white. I can reach all 4 configuration valves from the forward deck plate. From the aft deck plate I can reach the hot water shutoff, the fresh water drain, and 2 of the configuration valves. Note that you have to change all of the valves by feel, but I have no problems reaching, finding and turning the valves.
1 point
-
Forgo the 4x4 if you want to add extra cargo capacity to a 1/2 ton pickup. The problem with this is finding what you want in a 2 wheel drive will require the unicorn to also be able to fart rainbows.1 point


-
Recent Achievements
-


")


")
")
