mossemi
-
Posts
1,789 -
Joined
-
Last visited
-
Days Won
43
Everything posted by mossemi
-
Maverick, My Andersen hitch was purchased from Amazon in January 2018. It came with the black cone and silver whale tale. When Andersen offered the upgrade in late January 2018, I called and they sent me a red cone which I installed. I haven’t experienced any noise with the red cone, but I still can’t turn it by hand. Did your upgrade include the red cone and silver whale tail? And they now have a newer version which was referenced to in an April service bulletin. Mike
-
At the 1 minute and 4 second mark of the video, as the whale tail is being turned by hand, the voiceover states that production models cant be turned while uncoupled and unloaded. I have never seen a whale tail being turned by hand other than in this video produced by Andersen and mine certainly can’t. Mike
-
And to add to topgun2's post, here is a YouTube link that shows my method. Which is to connect the longest chain if both will not reach and then pull out turning away from the connected chain. As you will see in the video, it’s pretty easy. Mike
-
 And that looks like a remote we all could operate.?
 -
Very nice looking clock. Thanks
-
[postquote quote=174853][/postquote] [postquote quote=174918][/postquote] I wonder why KWR has multiple remotes and hobo only has one. Mike
-
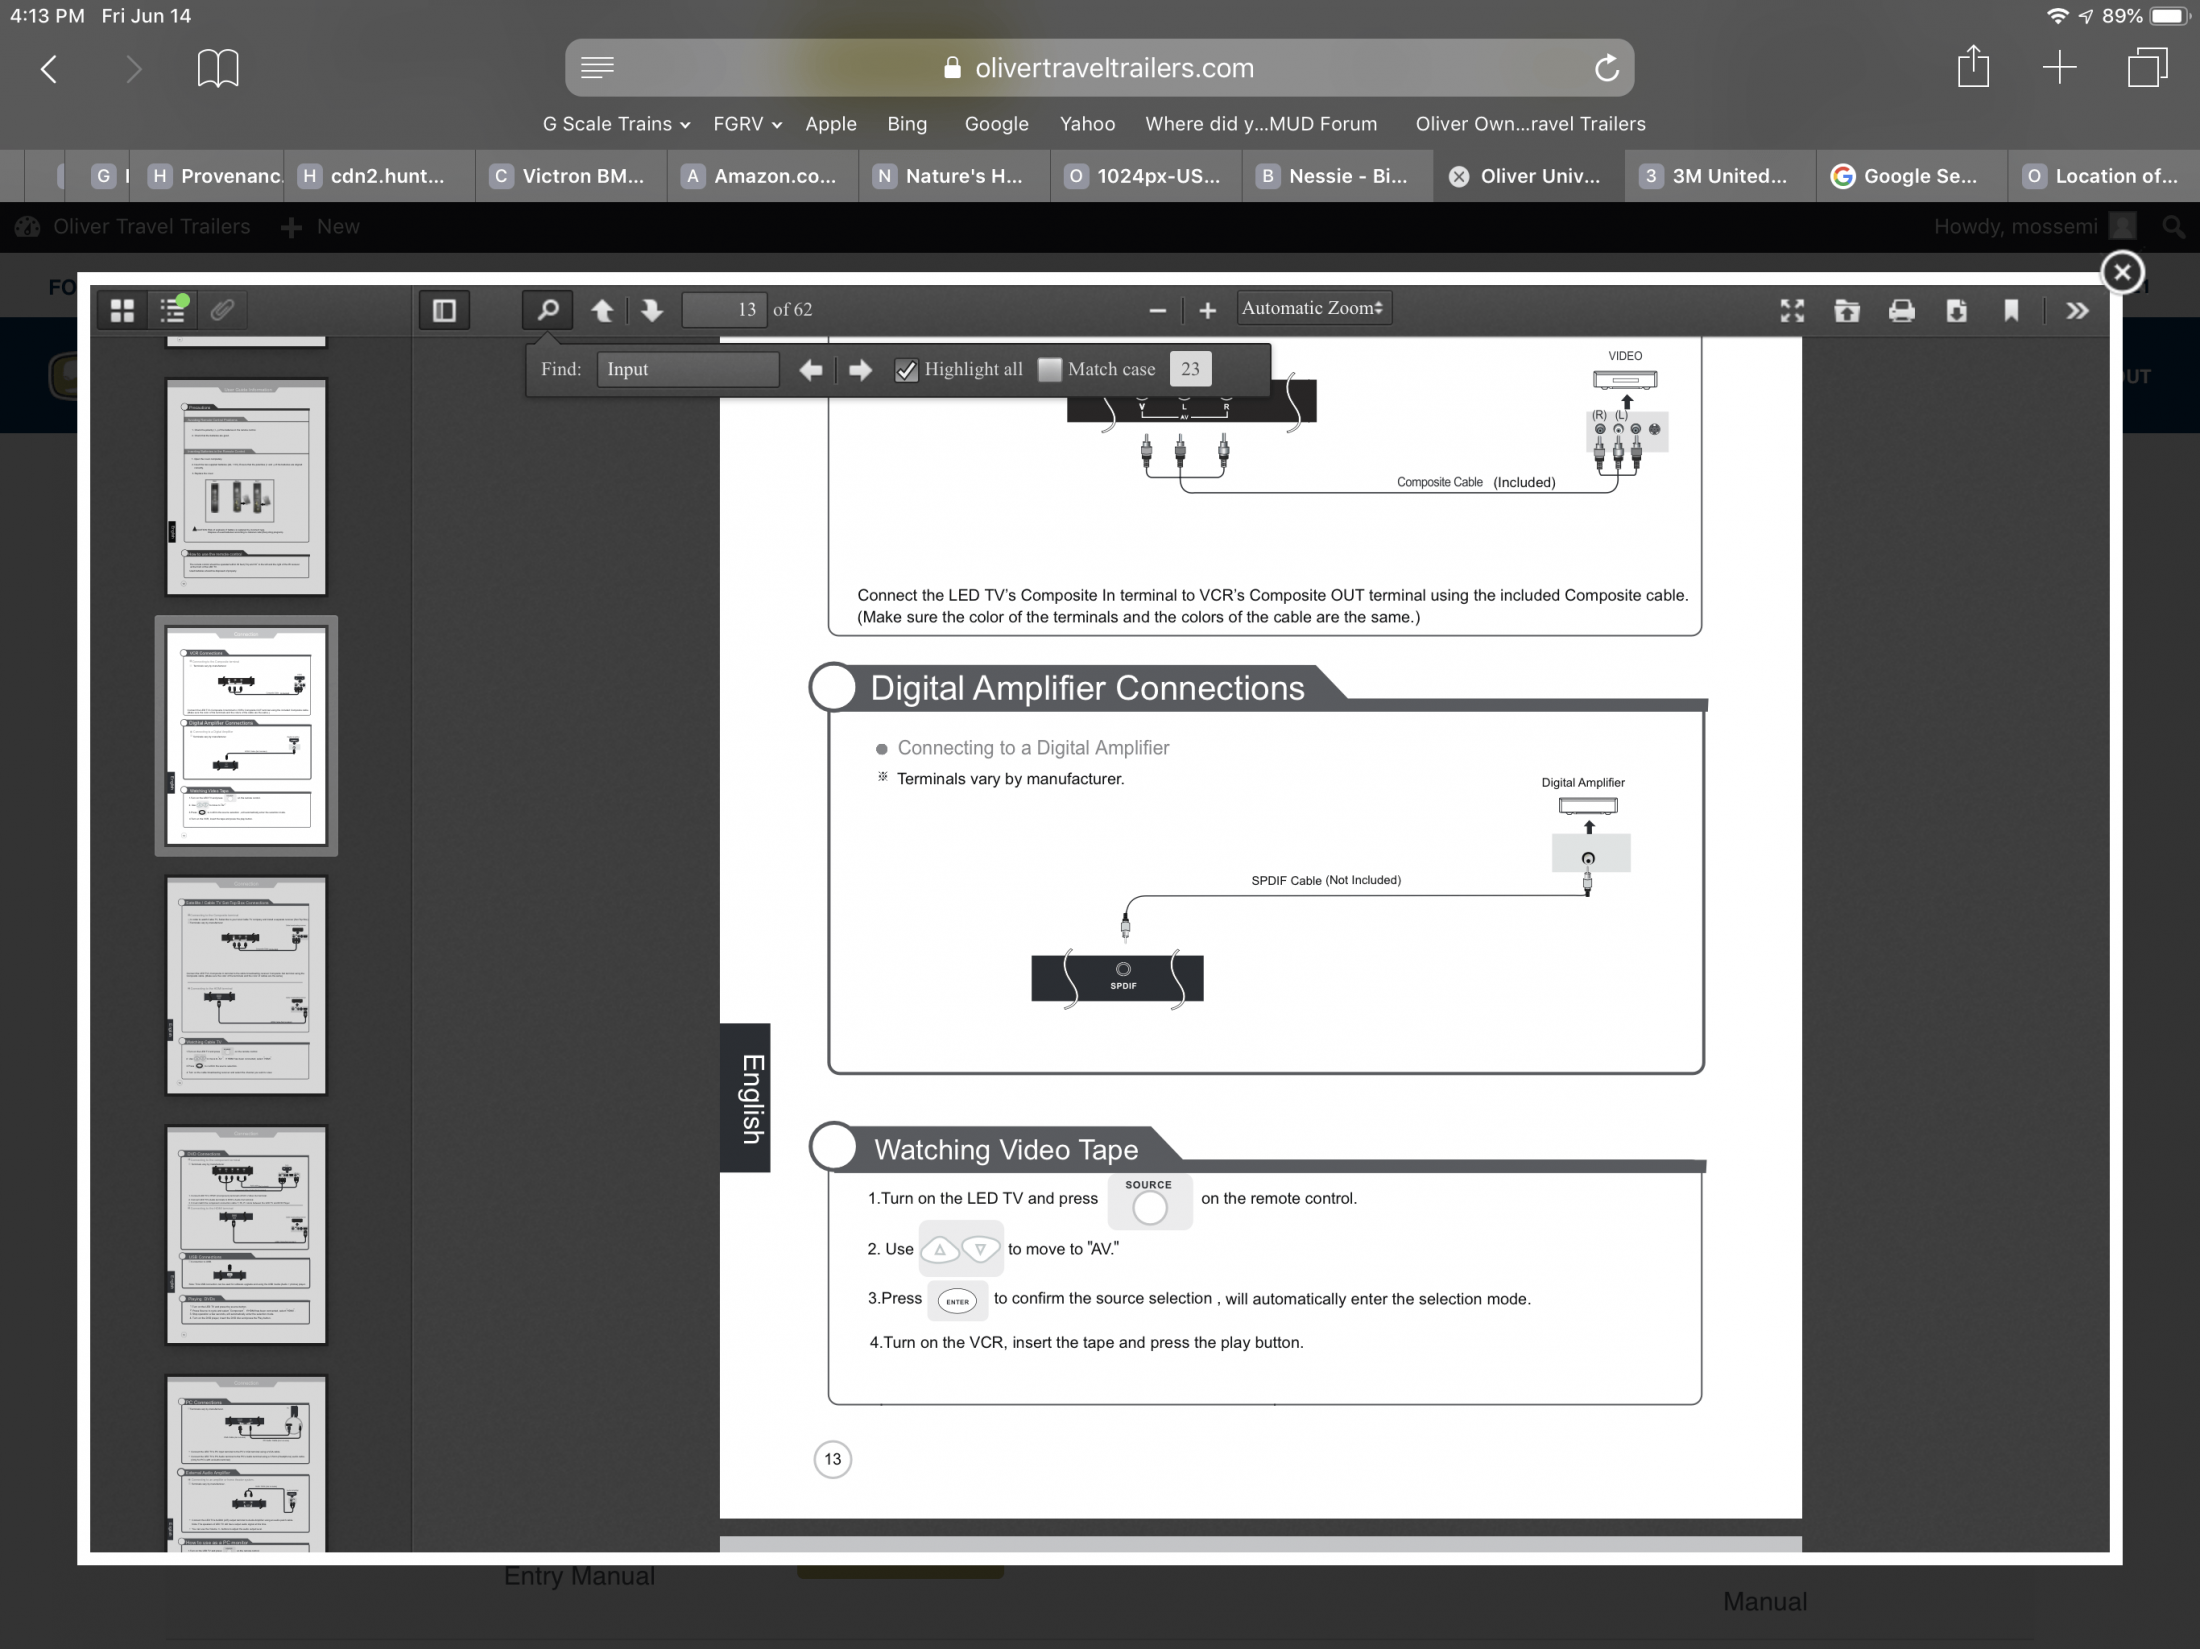
That snapshot is from the 2019 Jensen TV manual. Have you read it? If so, does it apply to your television?
-
Location of fuse for the outside courtesy lights?
mossemi replied to nrvale0's topic in Mechanical & Technical Tips
Glad the manual gave you some guidance. There is a lot of information in the Oliver University for your research, be sure to explore. Since you do not have a build scheduled yet, a trip to the factory would be a great informational venture if you haven’t already done so. You would be able to see the inner/outer and upper/lower hulls as the plumbing and electrical work was completed before the hulls were put together so if you did decide on the 50 amp project, you would be better prepared. -
According to the television manual,

-
Looks good and now you’ll be easy to find if I ever get the the northwest. Happy Flag Day ??
-
Location of fuse for the outside courtesy lights?
mossemi replied to nrvale0's topic in Mechanical & Technical Tips
A wiring diagram for what? Your profile is blank, so I can not provide any support without knowing which model Oliver you have or want and which year it was or will be produced. If you would like to research it yourself, go to following link and find your trailers manual. The diagrams are in the back of the manual. http://olivertraveltrailers.com/oliver-university/ Mike -
Location of fuse for the outside courtesy lights?
mossemi replied to nrvale0's topic in Mechanical & Technical Tips
[postquote quote=174781][/postquote] This is the breaker panel in the attic that I am referring to in my earlier post. I’m not sure which fuse panel you are referring to.[attachment file=174791]
-
What is the height of the coupler height on a Elite II
mossemi replied to Trainman's topic in Towing an Oliver
Try this link. http://olivertraveltrailers.com/topic/elite-ii-coupler-height/#post-129575 -
You’re not using the air fresheners that have the new boat smell are you??. Just kidding. We had a hard time with the factory new smell also. Our trailer is parked alongside the house so if it’s not raining it’s open. One thing that seems to help us is vacuuming up any fiberglass dust I come across whenever I am below decks messing around with electric and plumbing. I have also wiped down most all of the walls, floors and equipment below decks with wet rags. All of our efforts have been beneficial as the smell is really not noticeable any longer. Good luck.
-
Location of fuse for the outside courtesy lights?
mossemi replied to nrvale0's topic in Mechanical & Technical Tips
Excellent, you found your problem. I checked your profile before I asked which model and year because my method of troubleshooting is to start from the beginning and there are year to year changes in each models manual as the company improves their products. So I went to my 2017 LEII and turned on every 12v DC light, inside and outside which included the outside courtesy lights. I then went to the attic breaker panel and turned of the last breaker on the left, labeled Cabin Lights. All of the lights went off including the outside courtesy lights. So I now know that all lights are controlled by a single breaker and if I remember that, I’ll know when I begin troubleshooting in the future that if a single light or set of lights are not working, it’s not a power problem coming from the breaker. For my future reference, I went to my printed manual and made a note that the cabin light breaker controls all of the 12v DC lights Mike Edit: The basement light fixture is not powered by the cabin light breaker in the attic. -
Location of fuse for the outside courtesy lights?
mossemi replied to nrvale0's topic in Mechanical & Technical Tips
Let’s start with which model and year your Oliver is and then we can start troubleshooting. -
Then it’s time to start coloring your signature map?
-
So obviously you all are on your way. Safe travels! And I guess you both are now 20/20?
-
Well, don’t leave either of those valves open by accident on your way north or you might become the star of Ice Road Truckers. Mike
-
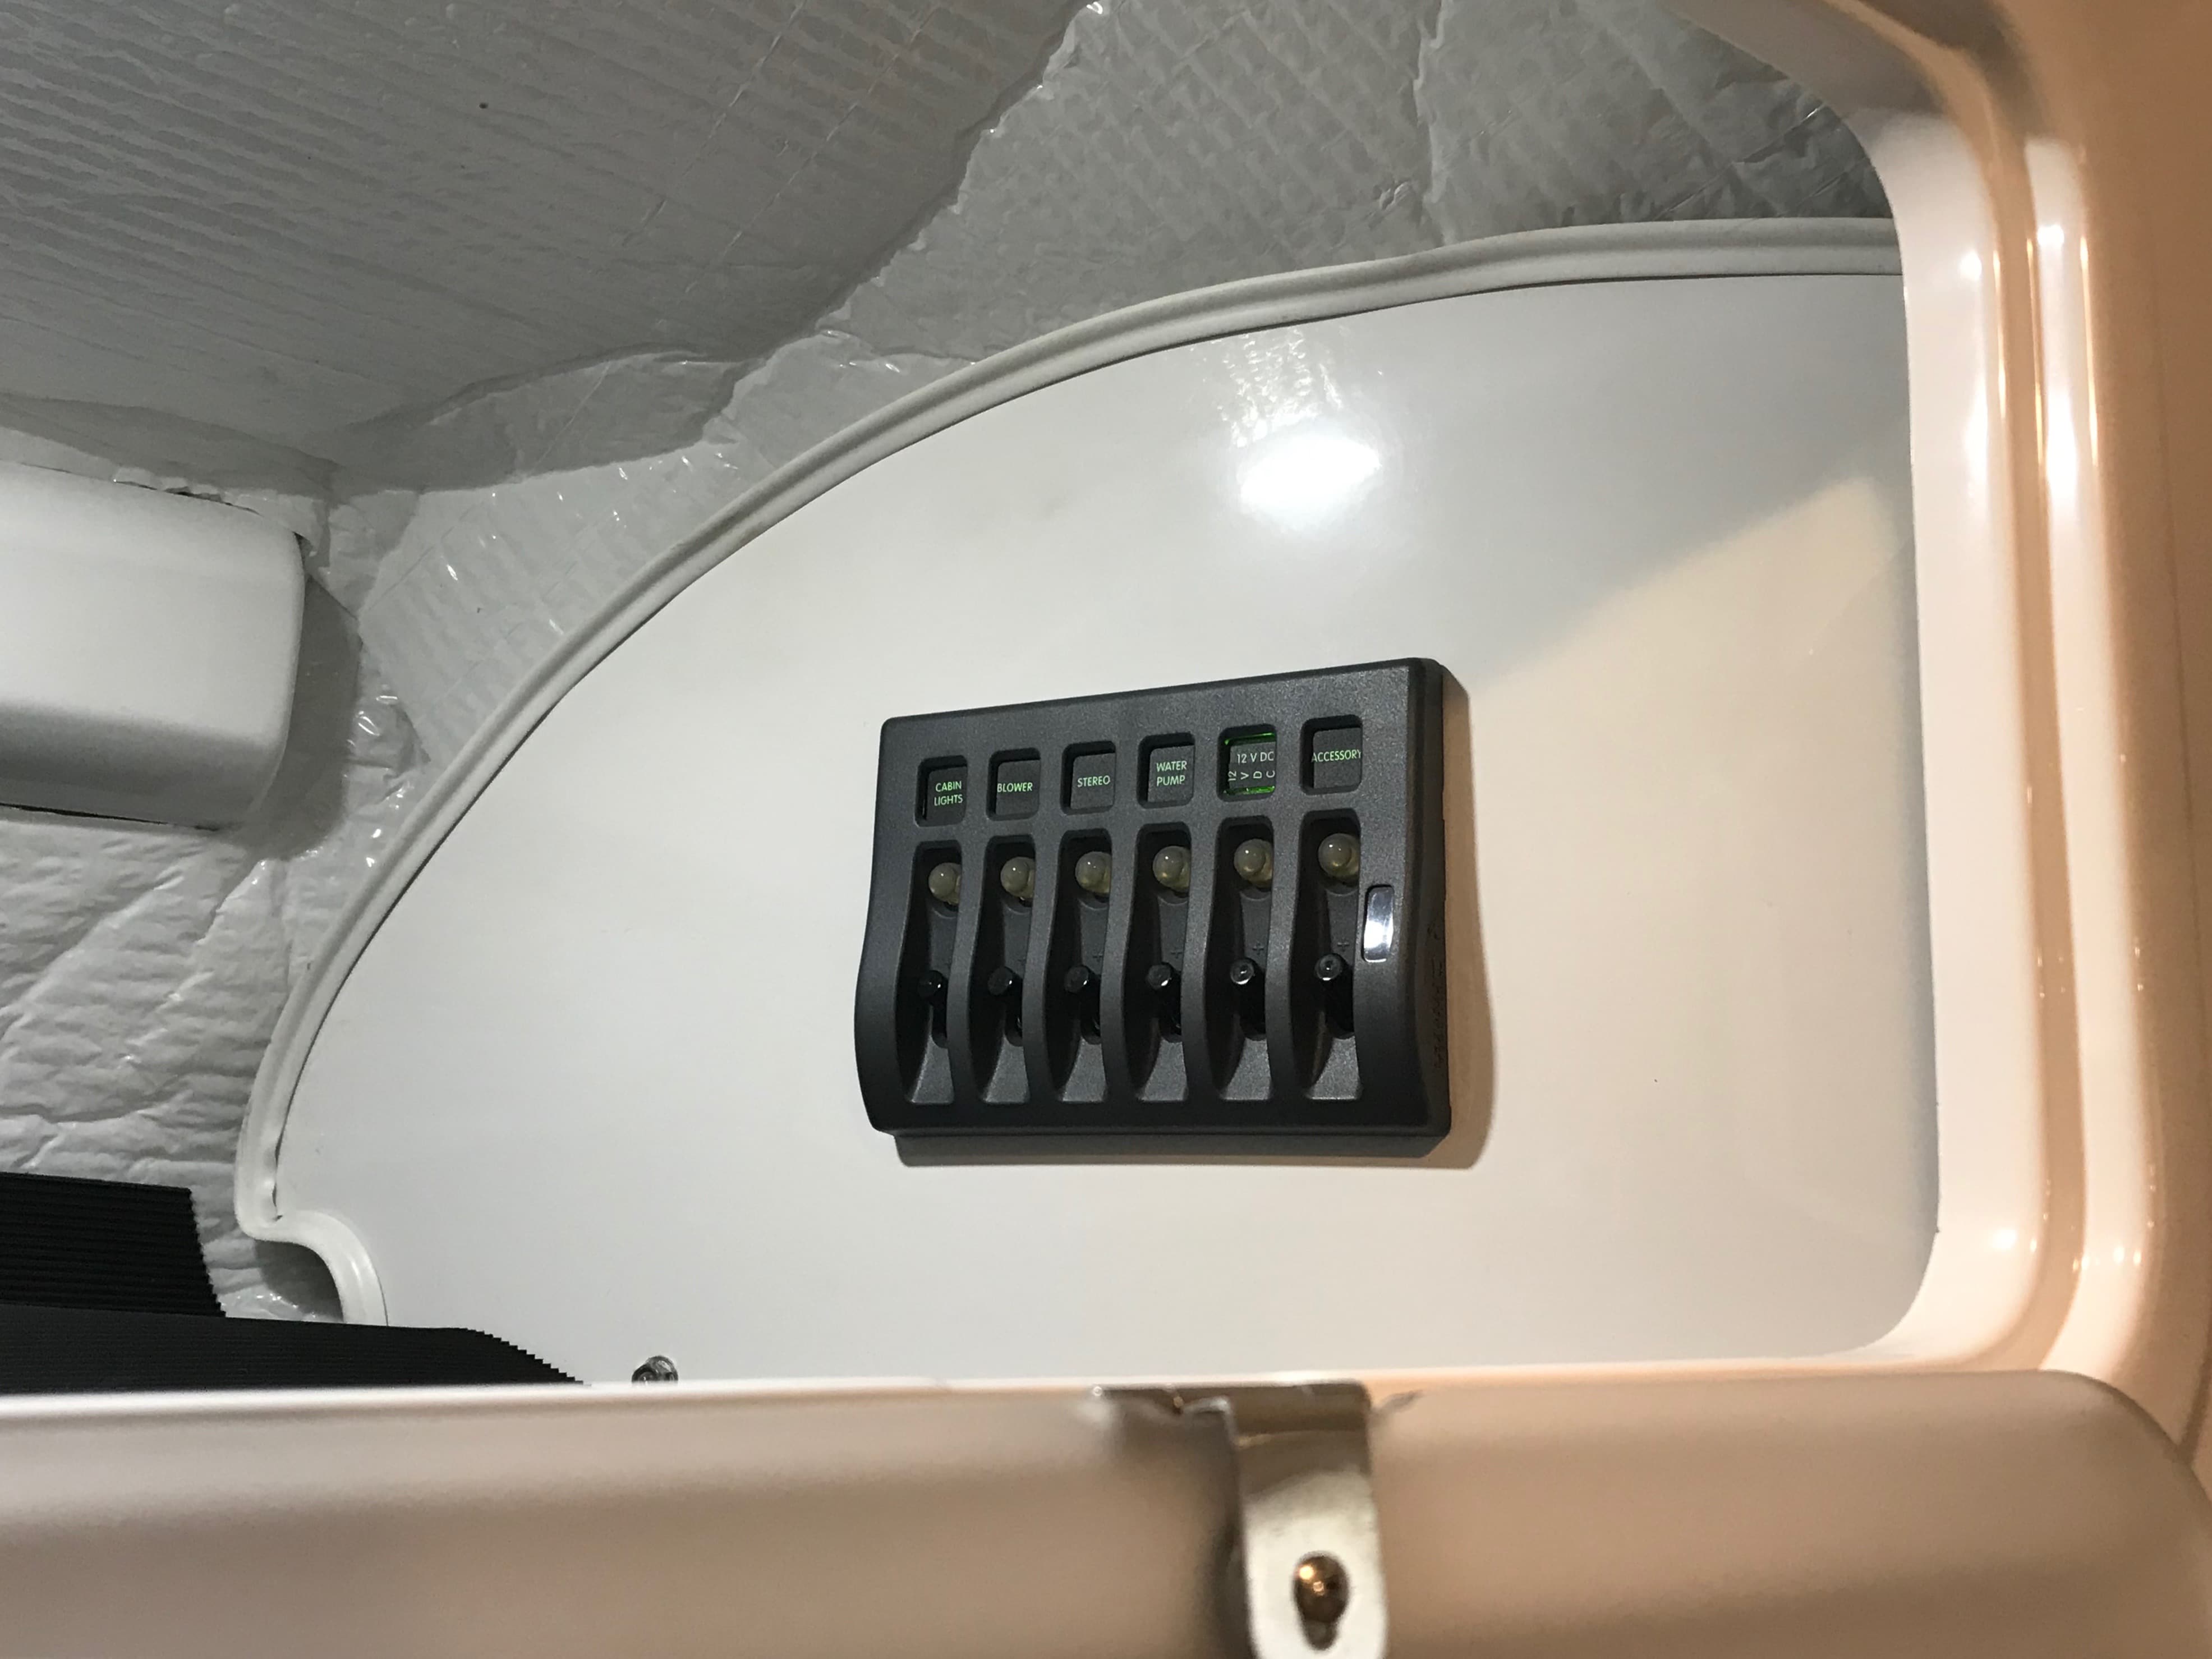
Custom switch placard, matching the OEM Oliver ones?
mossemi replied to John E Davies's topic in Ollie Modifications
I would suggest putting a temporary cigarette lighter plug on the transmitter power wires and use that for testing. Maybe try the camera in the back window or run the cable from the camera to the transmitter through the window. I am not familiar with the camera, but based on JD's install it seems to have an extension cable that can be used to mount the transmitter further away from the camera and closer to the display/receiver in the tow vehicle. I would also suggest putting the switch and transmitter in the area of the main lighting switch panel just inside the door if the transmitter did not work in the attic area. Oliver mounts their camera switch there and the wiring is already there. It's also easier to route the extension cable on the curb side, as you don’t have the pantry to deal with. Keep us posted. -
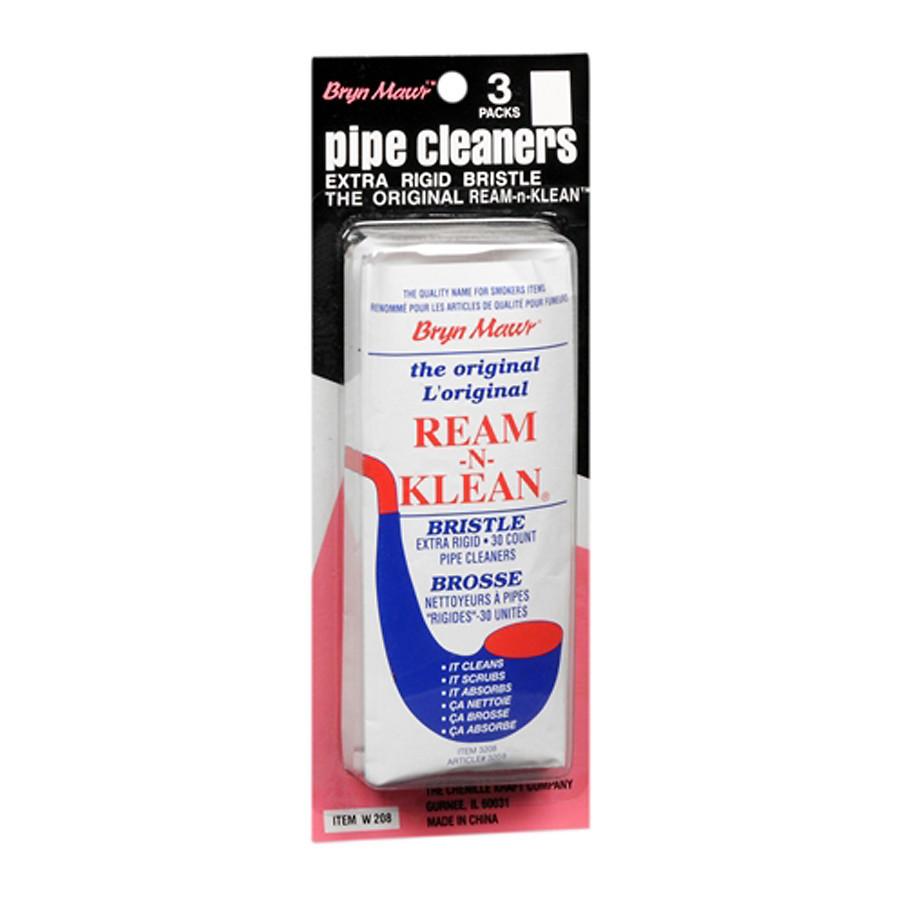
This is the pipe cleaner that I use because my father-in-law smoked a pipe and Krunch found them in her mother's sewing machine cabinet, so they were cheap. As others have posted, there is a variety of products that will wick water from the window tracks through the weep slots and I am sure there are others items we haven’t thought of yet. But I will say that although the Ream-N-Klein pipe cleaners do rust after months of use, their ability to stay in place while on the road at highway speeds is amazing. We put new cleaners in place for our trip to the rally and when we got home after 2100 miles, they were all still in place. They have been so dependable that we don’t even think about them anymore. You can test the effectiveness of any wicking product whenever you wash your Ollie. Good luck and happy wicking,
-
But the instructions for moving the television to the center of the attic was still applicable to my trailer.
-
I moved my television to the center mount location in March for many of the same reasons mentioned in this post. I used Mike and Carol's suggestion of a door knob protector to cover the old wiring hole into the attic. I did not like the looks of the door knob protector because the mounting tape was too thick and it left a noticeable gap between the protector and the fiberglass. So I went back to Amazon and bought a 2" white plastic hole plug that worked perfectly. The only problem is it came in a bag of 25. So I have 24 left. If you want to do this mod or already have and need a hole cover, just let me know via PM and include your address. I drop one in mail for you. Now what's on tv? And that’s not a tow vehicle?
-
Your statement about an extra hot water drain line made me go look at the plumbing schematics and search for a hot water drain line. It doesn’t look like there is a drain on the hot water side at all, let alone an extra one. I understand the drain function of the hot water heater, but I thought that was a winterizing, filter cleaning or descaling function. Is this something the Truma rep at the Rally suggested? What is the purpose of the extra hot water line drain that you and Steve have and where is the valve and drain?
-
I was researching your aerator mod and found this on the Delta Faucets website. <b>Delta Faucet · 6 months ago Thank you for your question, Danny! </b> <b>The RP80524 Essa wand does not have a removable aerator and the wand itself is not meant to be disassembled. The face of the wand has soft, rubber Touch-Clean spray holes which allow you to easily wipe away calcium and lime build-up with the touch of a finger. If you suspect a mineral buildup inside, you can unscrew the wand from the hose and pour a 50/50 solution of white vinegar inside, otherwise a new wand would be needed.</b> <b>Best regards</b> This is the model faucet I have in #193. So it appears that this mod is not doable without changing the faucet as well. Dang it! And the list keeps on growing.
- 13 replies
-
- 1
-

-
- water
- water saving
- (and 1 more)