Ronbrink
-
Posts
1,171 -
Joined
-
Last visited
-
Days Won
36
Everything posted by Ronbrink
-
What is your rotating sequence?
-
You have made reference to this before. I’ve always heard the AUTO setting is for running the heater, not the AC; at least for later model Olivers.
-
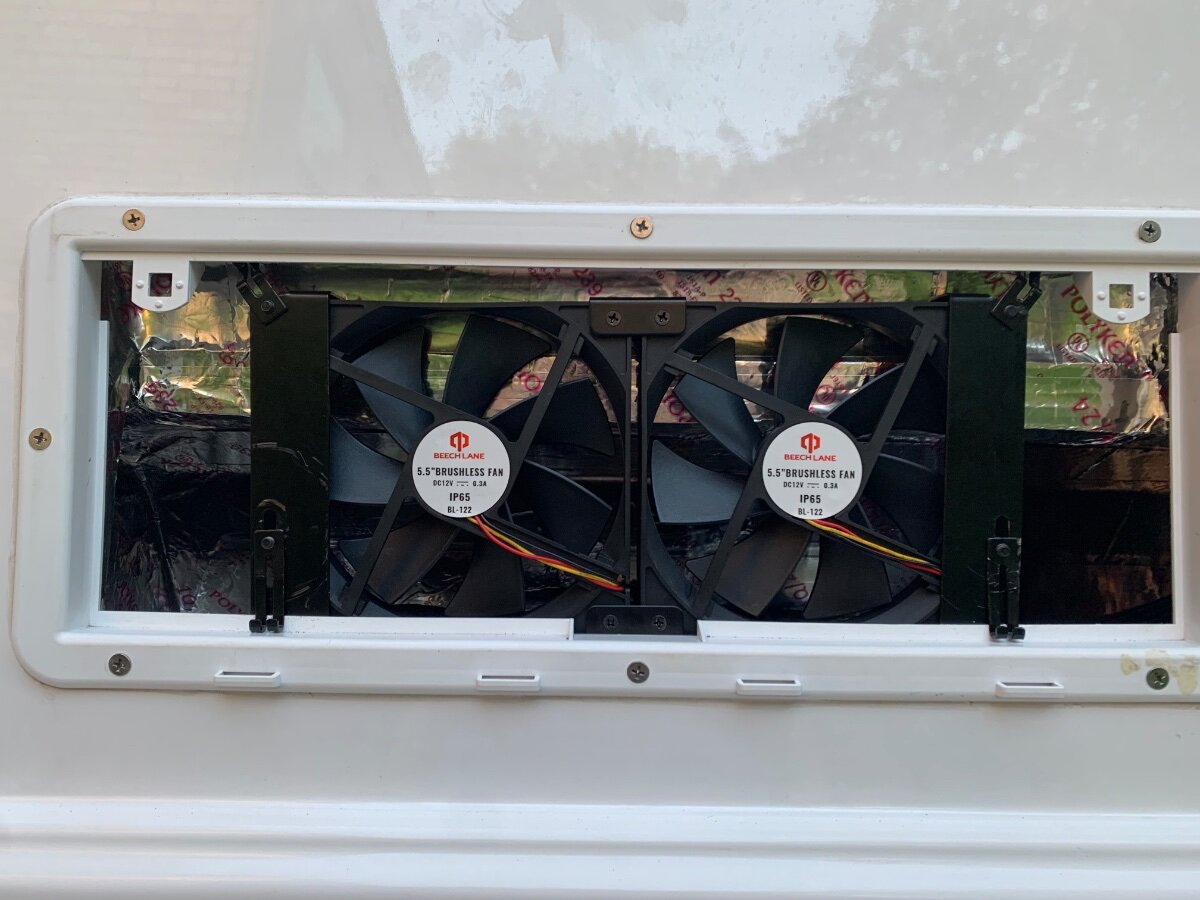
 Upon completion of wiring requirements I was able to test the fans both upright (as @MAX Burner and @dhaig mounted theirs), and laying flat and facing upward; the upright orientation seemed to produce better airflow through the upper vent. The panel control was routed into the cabinet above the microwave for easy access and convenience of use; the blue tape is temporary, I will likely use either Velcro or a hook to stage it at the upper front corner when unneeded.
-
I checked if my fans would fit on the cover/vent in like manner as you, but unable to make it work without some trimming. Next tried fitment as @dhaig shows in his above pic, but now thinking laying it flat may be more efficient. What think you? (A change was made to my initial post once I realized you both had the fans facing the same direction, my bad)
-
You should be able to look at the backside of the breaker panel and see the color of the romex wiring feeding into it; yellow 12, white 14. At least that’s what I was able to do in my 2020, all 12/2 to be exact.
-
I referenced the Technical Specifications for both the GREE and ECO-COOL, as posted online, with the same findings as @jd1923. Your reference material could be up-to-date information.
-
According to product specifications, the GREE and ECO-COOL both use R410.
-
I would think not, regarding additional platform/fiberglass support. There would be some wiring mods (no wall thermostat) and the condensate drains rooftop; remains to be seen if there will be a mod to adapt the Oliver’s thru-hull drain line.
-
What sets the Atmos 4.4 apart from the other similar brands you listed is the type of refrigerant, R32. As I recall reading, requires a lower operating pressure and thus, more energy efficient.
-
Indeed, but impressed thus far! More energy efficient, competitively priced and much quieter than the Dometic, mine is the 11,000 BTU model. I have read some discussion on Houghton vs Atmos. In watching videos on performance you can make your own judgement on the db levels and energy consumption being reported. Most interest and testing is done running off an inverter.
-
Upon contact a couple weeks ago, I was placed on a waiting list for a white unit, said to take 8 weeks for their shipment to arrive. They do have in stock however, black units.
-
sdgelkhart.com, $1350 delivered was my quote. See pic for a forum to visit to obtain in depth information on the Atmos 4.4, including installation and performance testing videos.
-
I believe the community consensus is to disconnect the 7-pin charging wire, either within the plug housing or inside the Oliver, upon installing lithium (lithium iron phosphate) batteries. OTT routinely does this during a build when an upgrade to lithium batteries is opted. Reason being, the TV alternator does not have the proper charging profile for lithium. You can however, install a DC-DC charger and utilize the TV’s charge system to maintain the house batteries.
-
I do recall an owner or two having issue with the hole cutout being left in the black tank and causing a blockage and/or preventing the gate valve from closing.
-
Inexpensive Helpful Modifications
Ronbrink replied to Wandering Sagebrush's topic in Ollie Modifications
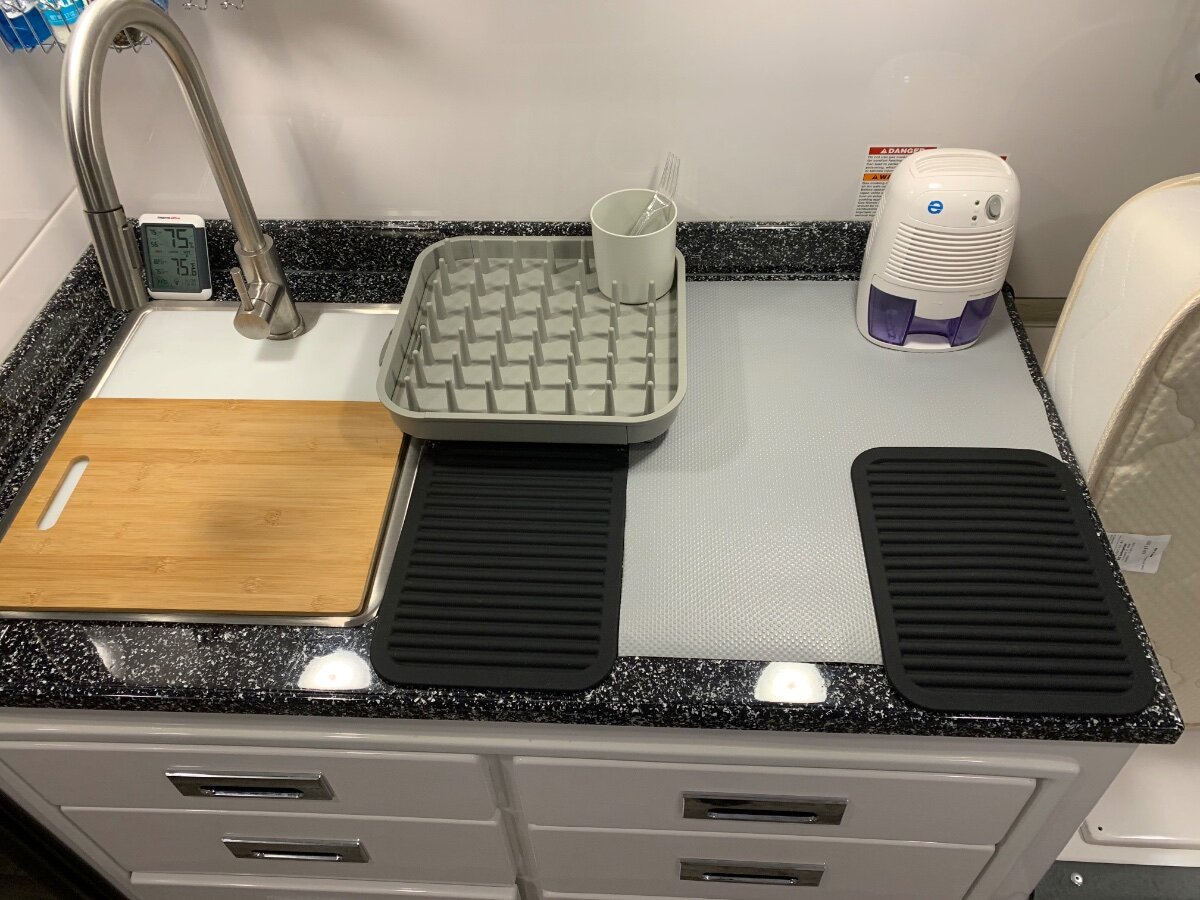
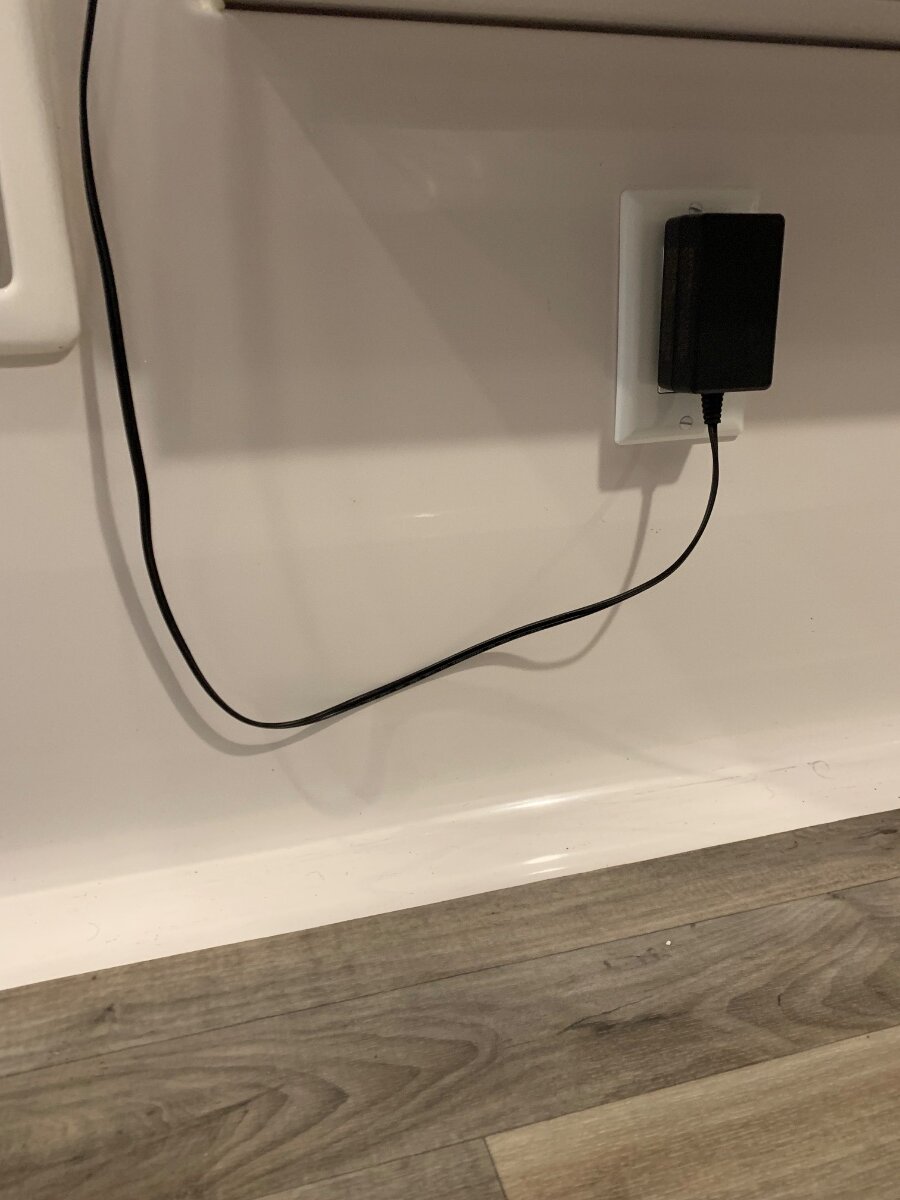
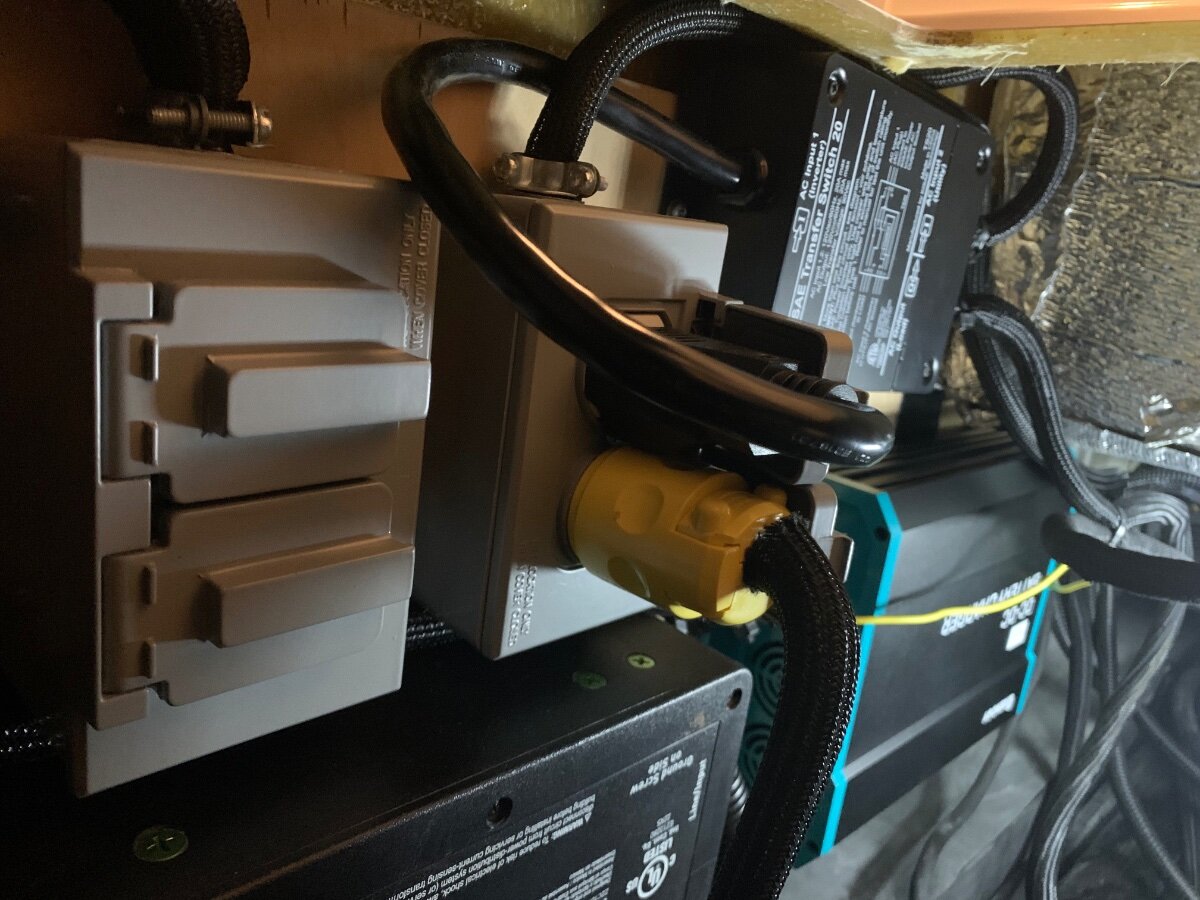
Please be advised, the breaker installed was a 20A not the 30A as mentioned in my reply. At the same time a second 20A breaker was also installed in the panel and wire routed to the nightstand where two desktop receptacles with USB ports were mounted atop that table, then further routed under the curbside bed to the receptacle shown in my January 15 post above, A dozen simple mods!, Additional USB ports. I stage a small dehumidifier in the galley on the stovetop cover and its’ wire can now be run down the wall and along the mattress for power. A third 20A breaker installed provides an auxiliary receptacle inside the rear seat hatch for miscellaneous use; light, fan, etc. Nightstand AC/USB outlets very handy for staging/charging electronics. Dehumidifier cord off counter as opposed to leading upward to the under cabinet outlet; makes for a cleaner look. Dehumidifier cord/plug below curbside twin bed. Miscellaneous duplex outlet inside dinette hatch on left. The receptacle box to the right is an expansion of the Xantrex setup to enable use of the LFPs to power the Dometic a/c.
-
Inexpensive Helpful Modifications
Ronbrink replied to Wandering Sagebrush's topic in Ollie Modifications
My 2020 OLEll had three blank breaker spots in the electrical panel. I installed a 30A breaker in said panel to power the forward exterior outlet, as well as an interior outlet at the rear dinette seat next to the panel. The interior outlet also has USB ports. Does this answer your question? -
Using a Foy support for a Foy (Overland) Laguna Table
Ronbrink replied to Doug S's topic in Ollie Modifications
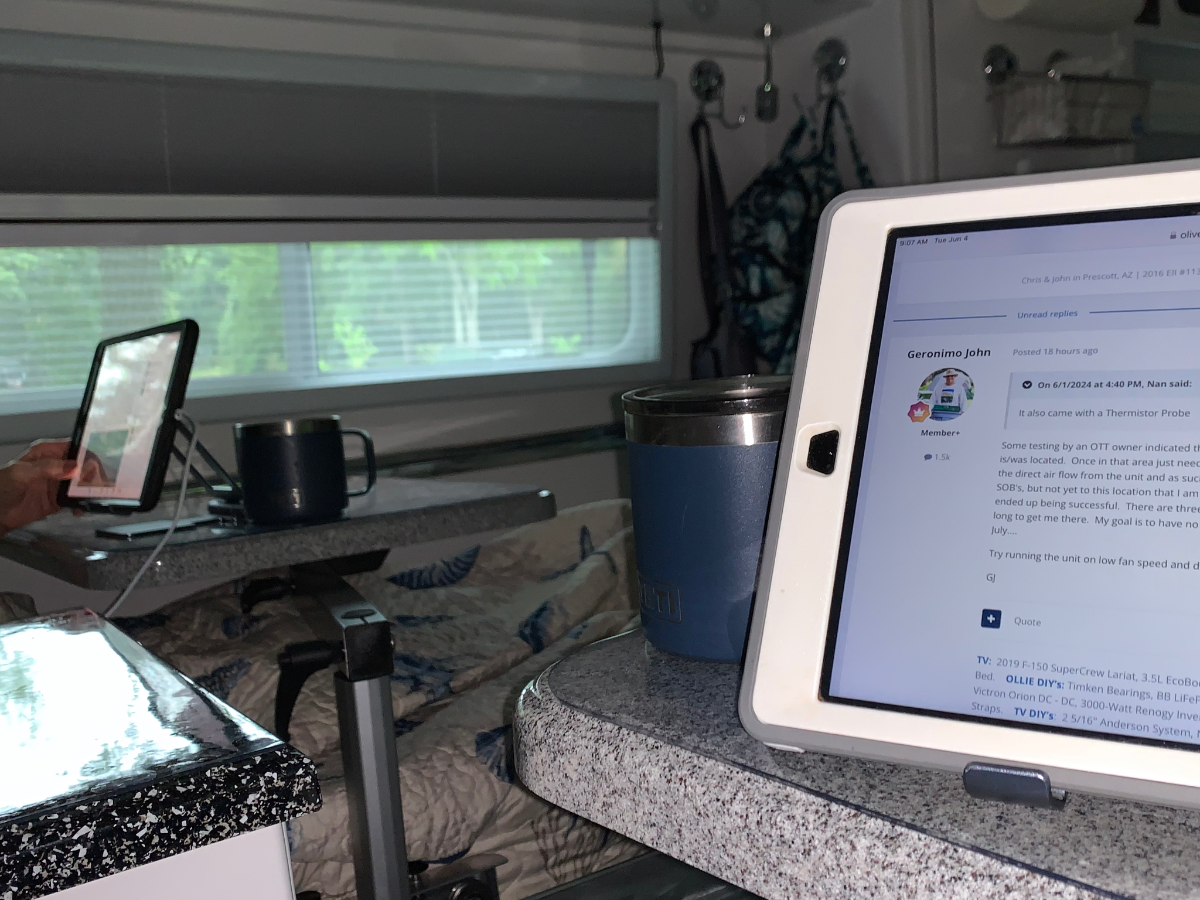
Very pleased with the final outcome and usefulness of our dual Lagun tables; throughly field tested for durability and functionality. My wife adapted well to her own table after a few years of me ‘hogging’ the single original table. The fabricated components of the dynamic system developed remain to be powder coated ‘white’ to better blend in with the Oliver’s interior; perhaps next seasonal camping lull. A cup of Joe and dose of @Geronimo John’s ‘words of wisdom’ to start this day. Life is good!
-
I credited the idea to another Oliver owner (name unknown) in a response made to a post by @Wandering Sagebrush entitled ‘Inexpensive Helpful Modifications’, September 15, 2023, Ollie Modifications. This was one of ten mods I featured, some my own and others credited. May be worth another a look-see!
-
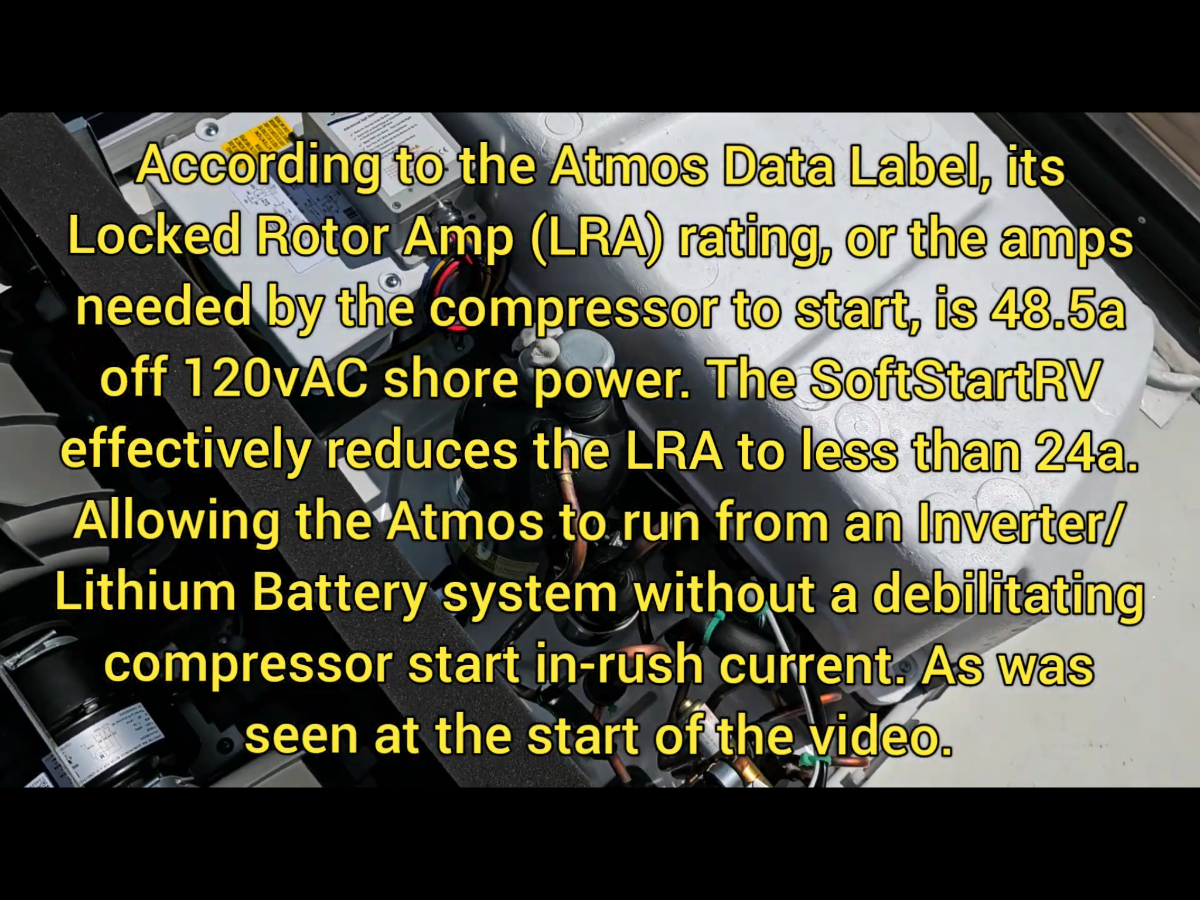
Just watched a video on installation of a SoftStart on an Atmos 4.4, necessary to resolve an inherent issue regarding LRA. Also, a screenshot of the dual squirrel cage fan blower in the Atmos for higher airflow, and sound reduction both from outside and inside the RV; 4 fan speeds, including Sleep mode. A few other notes on the Atmos 4.4: (1) condensate drains on the rooftop, (2) the R32 refrigerant requires a lower pressure, thus more energy efficient, and (3) 12,000 BTU heat pump.
-
Understood, but everything is bigger in Texas, including the heat and humidity! Waiting to hear from current installers about unit size in a few Sprinter Class B motorhomes, which appear to have comparable interior space as an Oliver, as well as other performance measures.
-
I went back and read where the aforementioned FB owner understood the dehumidifier to function only in Low cool mode per his conversation with SDG. I reached out to him for an update on his purchase and pending install. Also read where SDG is testing soft start type devices on the Atmos 4.4, and independent others claim the new Micro-Air ‘Breeze’ is actually a better choice over the SoftStart brand. I will follow this closely, but my thought of reinstalling my Micro-Air 364 currently on my Penguin ll was nicked due to issues of memory and rebooting; however, not a problem reusing SoftStart devices on the Atmos. Later
-
Very good point, thanks for stating! @Geronimo John, I failed to emphasize that the Cerbo can be set to disable charging of my LiFePO4s at low temperatures, thus eliminating any concerns of damage during freezing conditions. The SOC can also be set to maintain a partial charge (40-60% range) for LFPs being stored for more than a month.
-
There is an owner on the Oliver FB that received an order from SDG, but no report yet on the install. The Atmos 4.4 is a 15K unit, and there are claims that it is much quieter and more energy efficient than the standard Penguin ll Oliver currently installs. I have talked to the company owner and following reports by a couple of SOB owners. Although preliminary reports are promising, there have been some discrepancies in the marketing of these units; specifically, (1) a claim that soft start was built into the unit, but found not to be the case and (2) it has an inverter compressor. The heat pump is a good feature, as well as the dehumidifier which may operate separate from cooling. I have read where the Atmos 4.4 is same as the Gree A/C with the only difference in type of refrigerant. I will pass on further information as made available.
-
Running a dedicated 4 AWG ground wire directly from the TV’s battery to the rear bumper Anderson port, then continue the run of same size cable directly to the DC-DC would likely solve your problem.
-
@SNY SD UP, take heed to these words of wisdom; oftentimes cost saving measures are our demise! Safe travels!