topgun2
-
Posts
7,752 -
Joined
-
Last visited
-
Days Won
464
Everything posted by topgun2
-
 You Tremor guys are really a tough bunch! Usually those bears get a little touchy when it comes to burgers!😆 Bill p.s. DougS - If you get anywhere near Asheville on your trip an you need help, just yell.
 -
Funny thing about that - my sleeping bag really doesn't look much different no matter how much time I take to "make it up" or direction I place it in.😇 Bill
-
Originally I/we slept with our heads at the rear. However, with the corner radius and the nightstand at the rear I/we found that the room for one's elbows was diminished. So, we "flipped" and now not only are the elbows happier but the risk of cracking the inner hull has been lessened😂. Bill
-
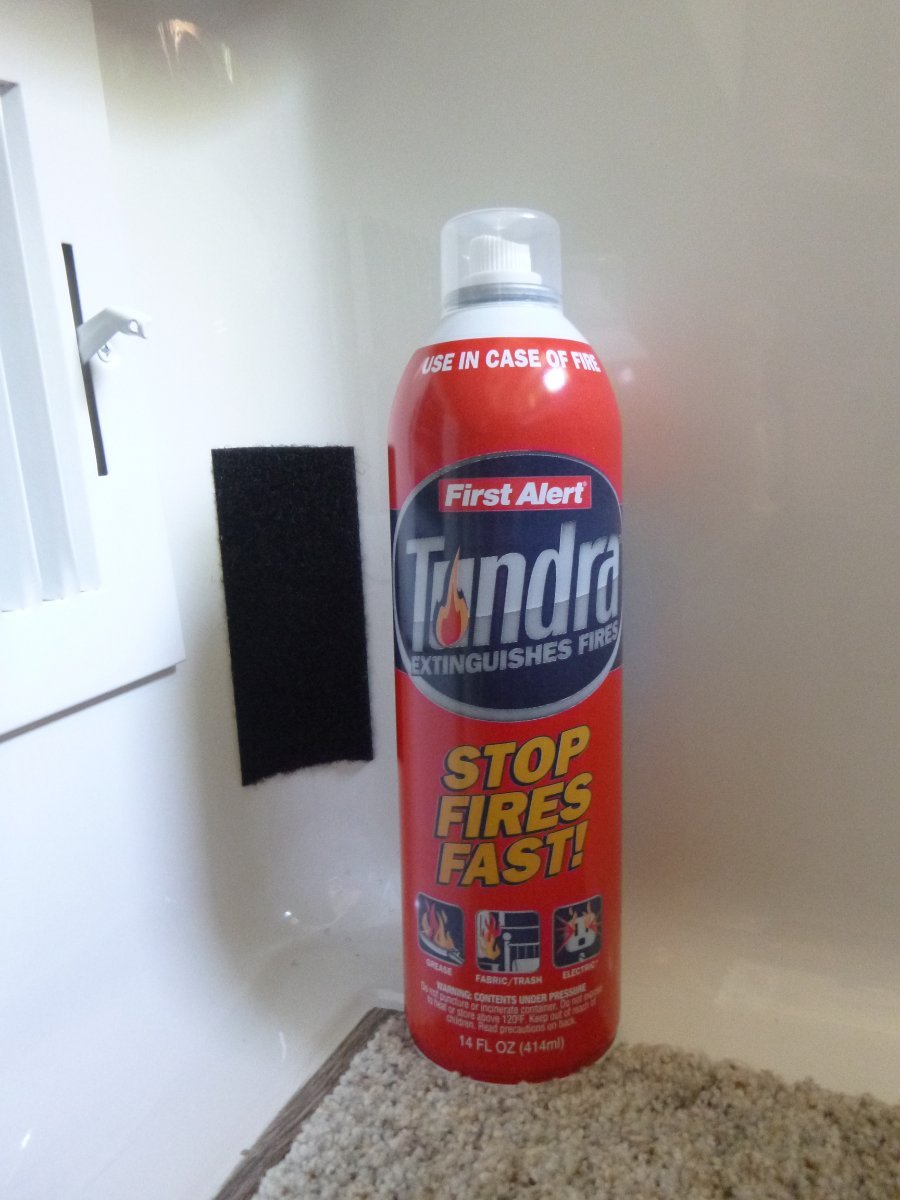
That is the reason I did an extinguisher near the nightstand below the beds. Bill

-
Glad to know yet another member of this "club". I've always guessed that there are a fair number of us as owners of a camper that is not afraid of getting away from those crowds. Yes, Glacier can be absolutely wonderful (as can be most of the other more popular National Parks to certainly include Yellowstone) but they can be terribly crowded. As you mention - planning is the key in order to navigate in and around these crowds and still see the more popular spots AND really enjoy those spots in these Parks that are rarely seen by the "crowds". Bill
-
John - There are a number of videos on YouTube relative to this subject. HERE is one of those videos. The instructions of opening the tank valve remain the same in all instances, however, with the addition of the Gas Stop valves you have added an additional step in that you must now "prime" the Gas Stop's by depressing the "guage" five times (actually once or twice normally does the job, but, I believe that the instructions said to depress it five times. The lever you refer to only shows you which tank you want to draw propane from first. It does not start or stop the "automatic" change over feature of the regulator. The "secret" to defeating the automatic change over regulator is to only open the propane tank valve on the tank that you want to use first and keep the other tan's valve closed. When the first tank is empty, the automatic change over feature will try to get gas from your other tank, but, since the valve on that tank is in the closed position, no gas will flow. The benefit here is that you will know when you have run out of gas in that first tank. However, the bad news is that you will have to manually go under the propane cover and open the main valve on the tank you were NOT using in the first place. Murphy's Law states that the only time you will run out of propane in that first tank is when it is dark, cold, raining/snowing, bugs are BAD, your significant other is not happy, the dog is not happy and you are half in the bag.😉 I make it a habit to refill that empty tank as soon as possible such that the old Boy Scout motto of being prepared is satisfied. Of course, you can always use the automatic change over feature and save yourself the issues involved with doing it manually. However, the downside here is that the automatic change over feature will NOT tell you when it has "changed over". This means that you will have to monitor your tanks in some fashion to determine when the "automatic" thing has actually happened. For obvious reasons it is usually a BEST practice to at least know when you have emptied that first tank. Yes, after opening the main valve (and priming the Gas Stop valves if you have them) it is good practice to light something in order to make sure that air has been purged from your gas lines. I'll usually simply use the cooktop stove inside the Ollie (as you are doing) to do this given it is easier to actually see when the flame is lit. Of course, the furnace or the fridge could also be used but both of those devices involve control boards that automatically open/close the propane valve located near that device and this could result in malfunctions that complicate the simple issue of getting the air out of your lines. You could also use external devices such as a fire pit or propane grill to do this, but clearing the air out of the lines to that device will not necessarily clear the air out of the propane line INSIDE the Ollie. Hope this helps! Bill p.s. There are guages (such as the Mopeka) that can be used to reasonably measure the amount of propane left in each of your tanks. Or you can use experience (and that warm fuzzy self righteous feeling of confidence in yourself that you will never forget something as important as having enough propane in your tanks) to help you keep your propane tanks in operating order. But, I have tried a couple of the tank guages (not Mopeka) and from my experience - they simply do not work well enough to be of much value. Given my years of experience in making my annual two month fly fishing trips to the Rockies, I know that my first full propane tank will last about 6 weeks. This knowledge actually helps me to NOT be surprised when my cooktop stove either goes out or fails to light. Note that if I "know" that this first tank is getting low, and, I need to use the furnace or the fridge is critical (its hot outside and those great steaks are waiting for the grill that evening), I've been know to temporarily switch the tanks . But I will always then treat the very low/empty tank as if it were totally empty and get it refilled as soon as possible. There is nothing "wrong" about actually using the automatic change over feature of the regulator (and many people do use it). I simply prefer to really know for sure without having to "worry" about keeping an eye on the regulator looking for that telltale red in its little window.
-
Welcome to the Family! Exciting times . Hopefully you have already started getting VERY familiar with the Oliver University. This not only will make your delivery go much smoother but it should help you way on down the road too. In addition - perhaps when you get bored with the University, you could simply start scanning through the Forum. Threads here run the gambit of things that cover both new and old(er) Ollies, places to see and do, problem solving, mods, etc.. Have fun! Ask questions. We're more than happy to help a fellow member of the Family. Bill p.s. thanks for helping us all out with your Service! There are a bunch of us ex military types here and we know the "drill".😉
-
It is extremely rare for Oliver to change a delivery date once it is set. Things like weather (particularly near the delivery date) can have an effect but given that your delivery is in April that factor should be of little concern. I'd go ahead and make the reservations. Having said that - I'd spend at least two nights in the camping area of Oliver. The first night you WILL be tired and it would be better to simply relax, have a nice dinner, settle in (i.e. more you stuff into the Ollie, make your beds, get the fridge at least partially stocked, look over (maybe) some of the material you will be given and then get a good night's sleep. The next day you can go through all of your systems and check all things to make sure they are as they should be and you will be right there are the Service area in the case you need help. All of this is done without the "worry" of also having to move and re-set up camp. Here on the Forum it has been said many times by many owners - try to stay in the area for a few days so that if you find something you don't think is working right you are only a short distance from Service. Good luck and it will not be long now! Bill
- 12 replies
-
- 10
-

-
I've heard the same thing. In fact, I just saw a YouTube vid the other day where the person that did the install was testing the Bluetooth out to about 100 feet plus. Good luck! Bill
-
Cort - Thanks for letting us know. Propane does some "funny" and "interesting" things at time - especially in the colder months and or at altitude. The more you know about these things the better able you are in locating and/or repairing the issue when it happens. If for nothing other than "peace of mind" it was good that you got it checked out though. In at least one of the posts above someone mentioned the Gas-Stop product's ability to be used to test for propane leaks. This was one of the reasons I spent the money to buy a set of them. It is recommended that you get your propane system "pressure tested" annually. However, I must admit that I only get mine test about once every five years (unless I've been working on it or suspect that there is a problem. The Gas-Stops give me a bit of "insurance" that I'm not taking unnecessary risks in this area. Bill
-
Seeking repair advice for a small roof crack
topgun2 replied to Sak's topic in Mechanical & Technical Tips
It appears as though you have already decided on the direction you are taking in order to "fix" the issue. However, after my first year of ownership I two noticed a reasonable heavy "scratch" on the roof of my Ollie. I showed it to a couple of the Service guys while at the Owner's Rally and they instantly knew what had caused it - one of the solar panels had bee "dropped" on the roof during installation causing the scratch. No problem - about 6 months later when I was in Hohenwald for some other things they repaired it and now I can't even tell you where it was - those guys really are that good! Bill -
Dinette Table and Pantry Counter Extensions
topgun2 replied to Ronbrink's topic in Ollie Modifications
Just gotta love the "warmth" of wood! Ron - I don't believe that anyone has done this type of thing with fiber granite before. Yes, there have been some extensions made for the kitchen counter top but nothing to the extent of what you have done. Good job! Bill -
So, are you saying that you will not be blowing off that awning at 0 dark 30 just before getting that early start on a long drive day?😁 Sure do wish that ALL fellow campers were as considerate as you are! Bill
-
Interesting! But, what is that white stuff on the ground?😇 How's the shunt working for ya? Bill
-
I believe that Mike and Carol replaced the operating arms on their fan. Perhaps a private message (PM) to Mike would be in order. Bill
-
EGO 765 battery powered leaf blower for drying our rig.
topgun2 replied to Patriot's topic in General Discussion
-
And there is more - That looks like a Harbor Freight suction cup that is holding the antenna to the Ollie. If that is correct then there will be no holes to drill and/or fishing of wires. Great idea both in form and function. Bill
-
Certainly I'm no expert on this subject - but - why are you wanting a DC to DC charger in the first place given that you have AGM batteries? What am I missing here in that I assume that you are still getting a charge via your alternator in your tow vehicle? Bill
-
Jason - Sorry about that - If I had thought for just a minute and/or looked at your signature I would have realized what the "problem" is. Those fancy new awnings sure are nice given how easy they are to deploy, but, that ease of use has a cost. For what its worth - I bet that I've only used my old style awnings a dozen times in the past eight years. Bill
-
There was at least one owner that had a "problem" with the door lock which prevented them from being able to operate it. I believe that that was a problem with the "electronic lock" and not the door itself - but - that is at least one situation where this rear "emergency" window came in handy. Bill
-
EGO 765 battery powered leaf blower for drying our rig.
topgun2 replied to Patriot's topic in General Discussion
See - I told you that "payback" could be tough! -
EGO 765 battery powered leaf blower for drying our rig.
topgun2 replied to Patriot's topic in General Discussion
Be careful - "payback" could be tough.😇 -
Are the green's cups bigger over there?😁 I've also past that aircraft many times but instead of being able to tell you what it was, I always wondered exactly how they landed it on top of that little post! THAT really does look like a great campsite! How was the weather? Bill
-
How so? What was the difference between your previous awnings and the one you have now that makes the previous ones so much easier to clean? Bill
-
I'd question that remark due to the fact that the previous "slider" window had a screen that could be considered a hindrance to getting to the "red handles" that are also used to open that window for "emergency purposes". By the looks of it I'd be willing to bet that the manufacturer of that window makes a screen for it. And, with regards to any of these windows being "blocked" by a screen - I know what I'm doing if I really have to get out of that window! Bill