jd1923
-
Posts
3,216 -
Joined
-
Last visited
-
Days Won
240
Everything posted by jd1923
-
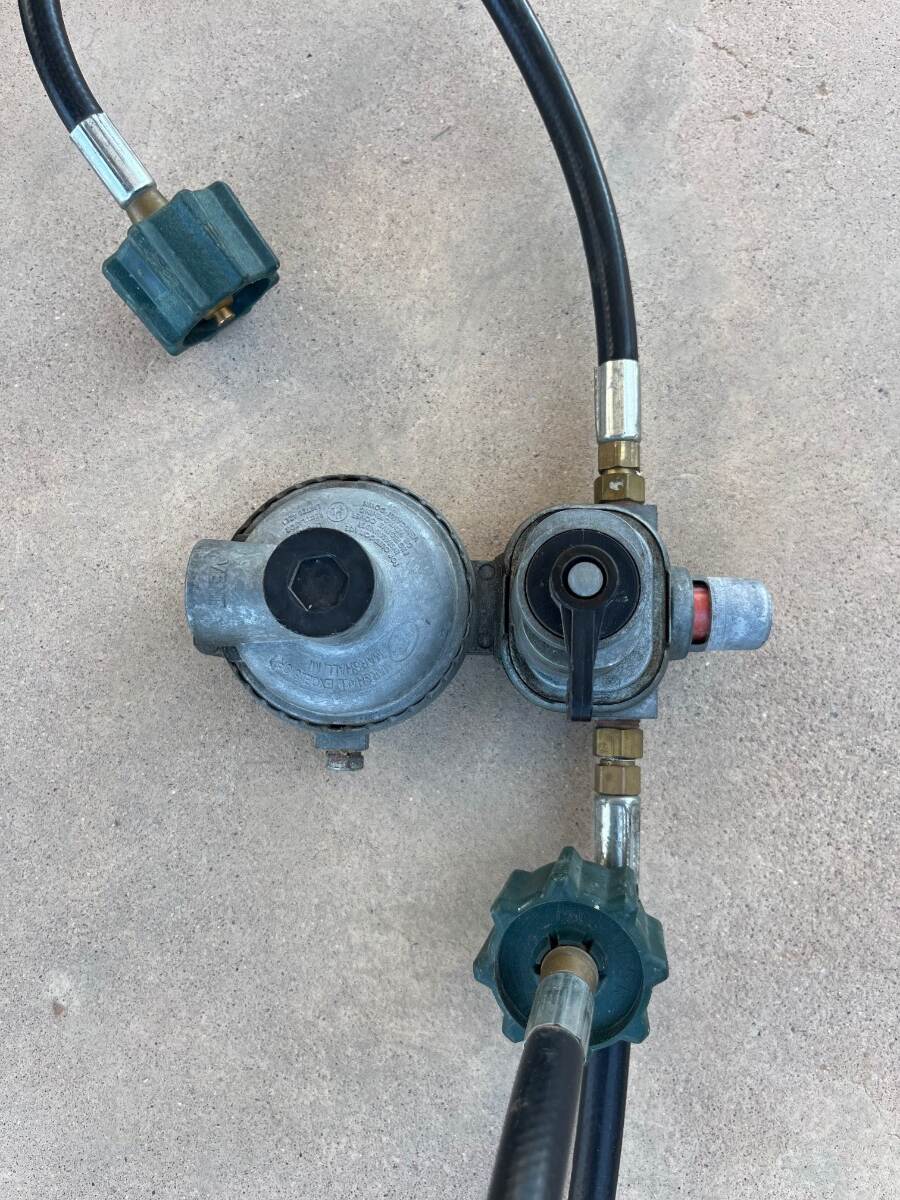
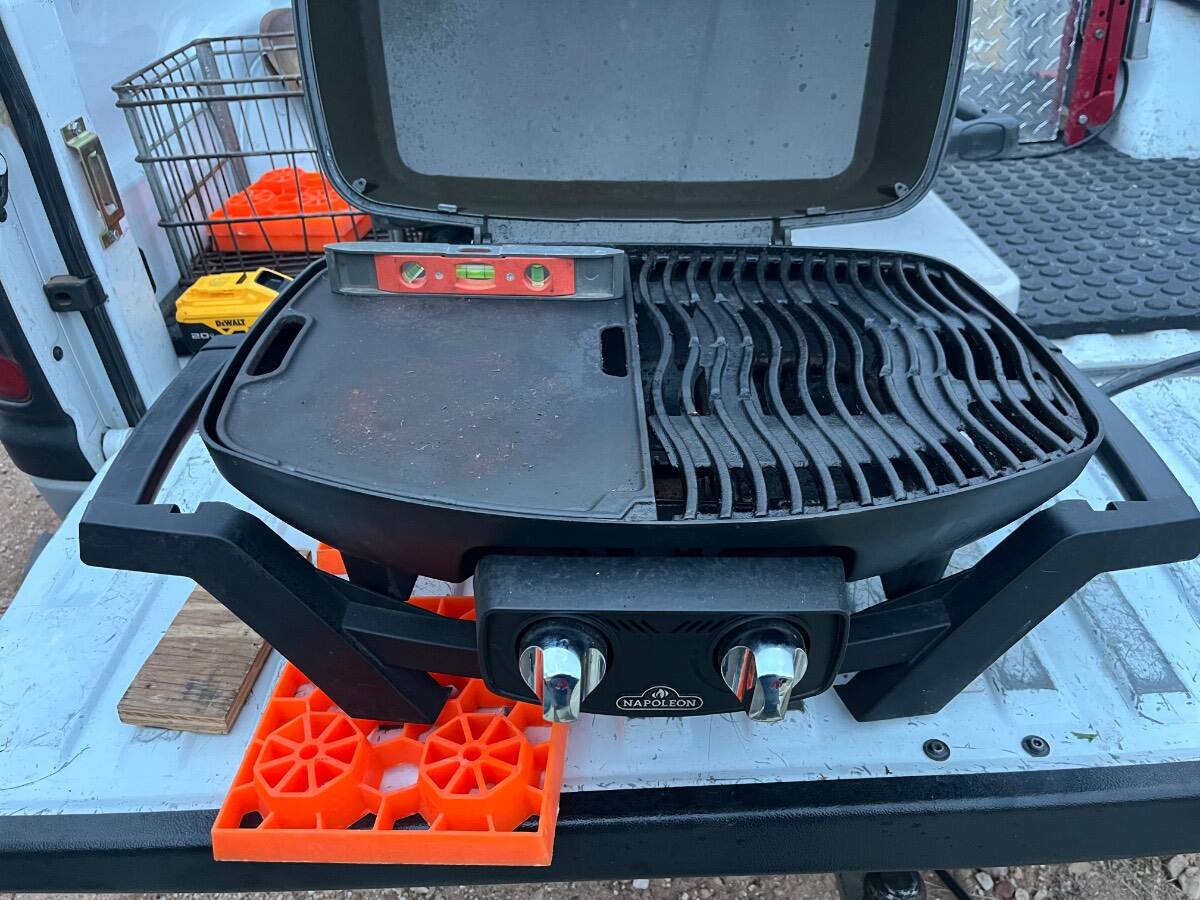
I took a look today at my original regulator to see that OTT installed a Marshall Excelsior MEGR-253 which is rated at 225,000 primary cylinder BTUs. It’s hard to read but front pic shows the brand name and rear pic lists the model number. Recently I installed the Fairview GR-9984XF which is acting up! I purchased a kit just like this: https://ebay.us/m/Opru0 Maybe these kits at this price are knock-offs resulting in my issues. The regulator I just purchased is the Marshall Excelsior MEGR-253H. The H stands for High output, rated at 350,000 primary cylinder BTU. Our hull was running fine, for 10 years, on 225,000 primary cylinder BTUs, showing the high output units are unnecessary but they cost about the same at $80. We run our fire ring almost every evening and often the 2-burner Napoleon Grill and don’t want that feeling again that the furnace will not start! It appears OTT moved from Marshall Excelsior to Fairview at some point. I’m going to toss the faulty Fairview, install the new MEGR-253H and keep the old MEGR-253 as a back-up! 😎

-
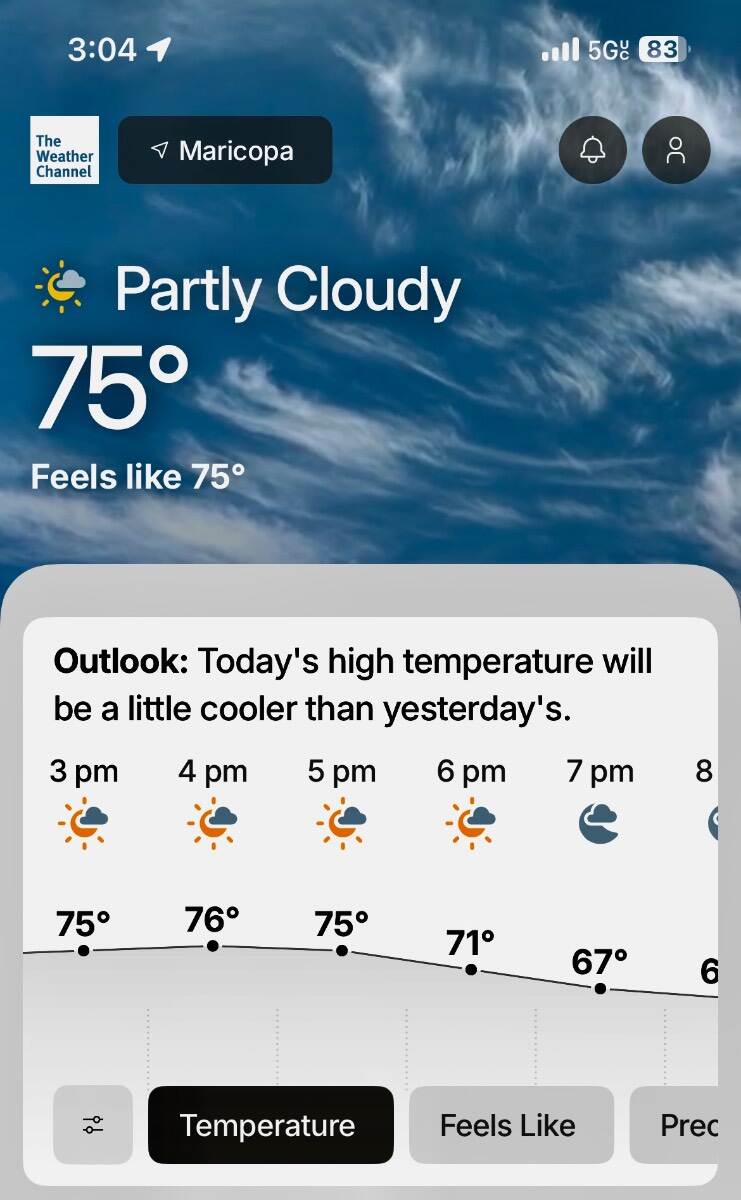
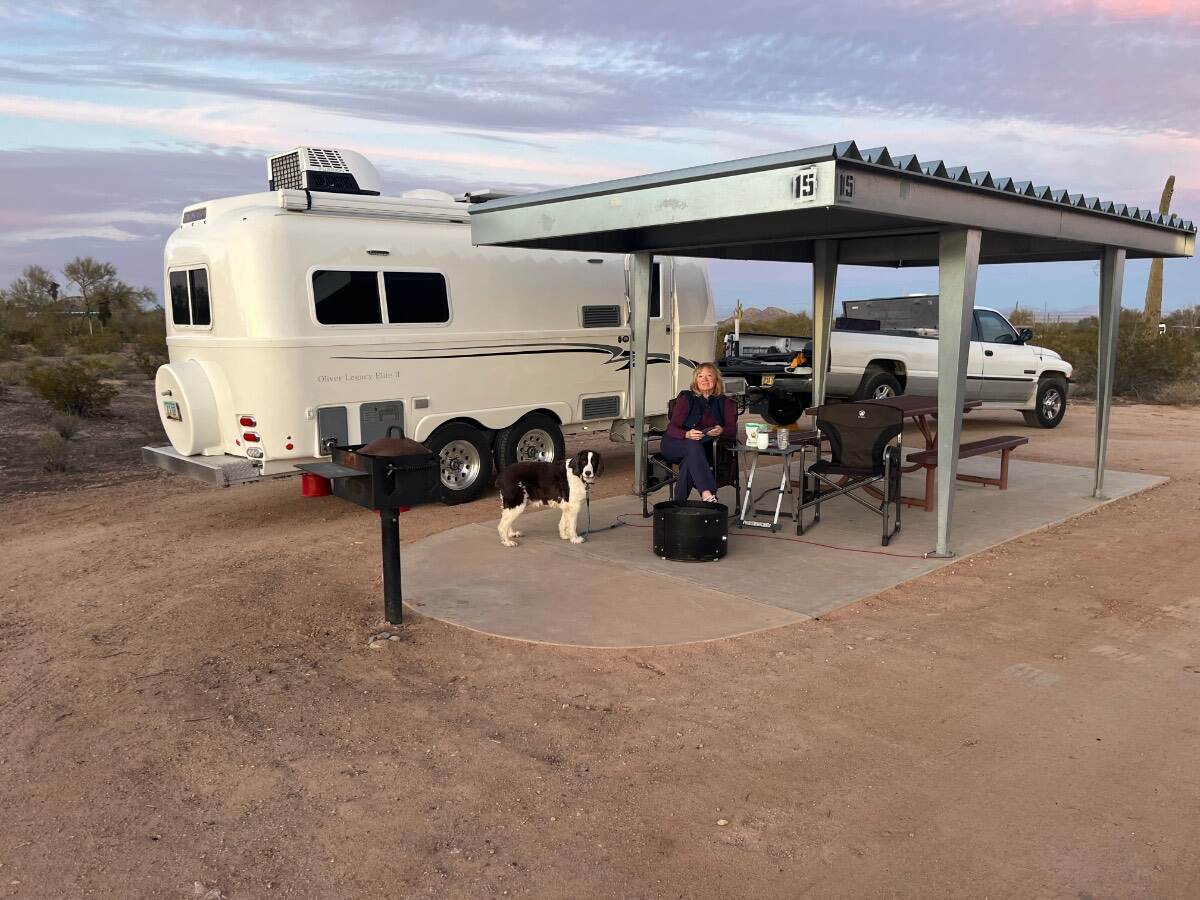
Why are there a million Snowbirds in Arizona every winter? It sure beats shoveling snow! We’re back at West Pinal Park (for the warmer weather).
-
This is the model I purchased recently. Thanks Craig, I read an earlier post of yours citing this model. The original regulator, now 10 years old was still working. After reading advice here to replace such an old unit with new, I did so. The old saying, “should have left well enough alone” has come to play! At first it was the sounds, but I can see reasons for sounds as listed above. In attempt to eliminate the sound, I closed both tanks, released line pressure and started again. It’s a sort of a mechanical reboot! The sound went away temporarily, but then we could not start our indoor appliances (HWH, cooktop or furnace). Meanwhile our fire ring was still burning… What? And after 20 min, the outdoor fire slowed down. The fire ring on high was like it was set to low! So I did the mechanical reboot again (after turning off the fire ring). Then the furnace started and everything was back to normal. It’s not the BTU capacity of the regulator, since I doubt I was running 100 BTU, let alone 260 or 345! My brand new GR-8894 regulator has an intermittent issue. So, I will replace it again! On the advice of another Oliver owner, I purchased the one @Geronimo John just cited as the HO regulator that American Copper lists! My understanding is that Marshall Excelsior makes a quality Made-in-USA product. I’ll let you know how it goes… 😎 https://a.co/d/0drkfrTK
-

Custom Mud Flaps for the Tow Vehicle and Oliver
jd1923 replied to jd1923's topic in Ollie Modifications
One week on the road. Besides 700+ miles so far, we’ve run 30+ miles on washboard dirt, and through some muddy washes too! No dirt on the rear lowers and no splatters front of Ollie due to the wider TV mud flaps! 😎
-
Got to take care of your wonderful Oliver garage! 😎
-
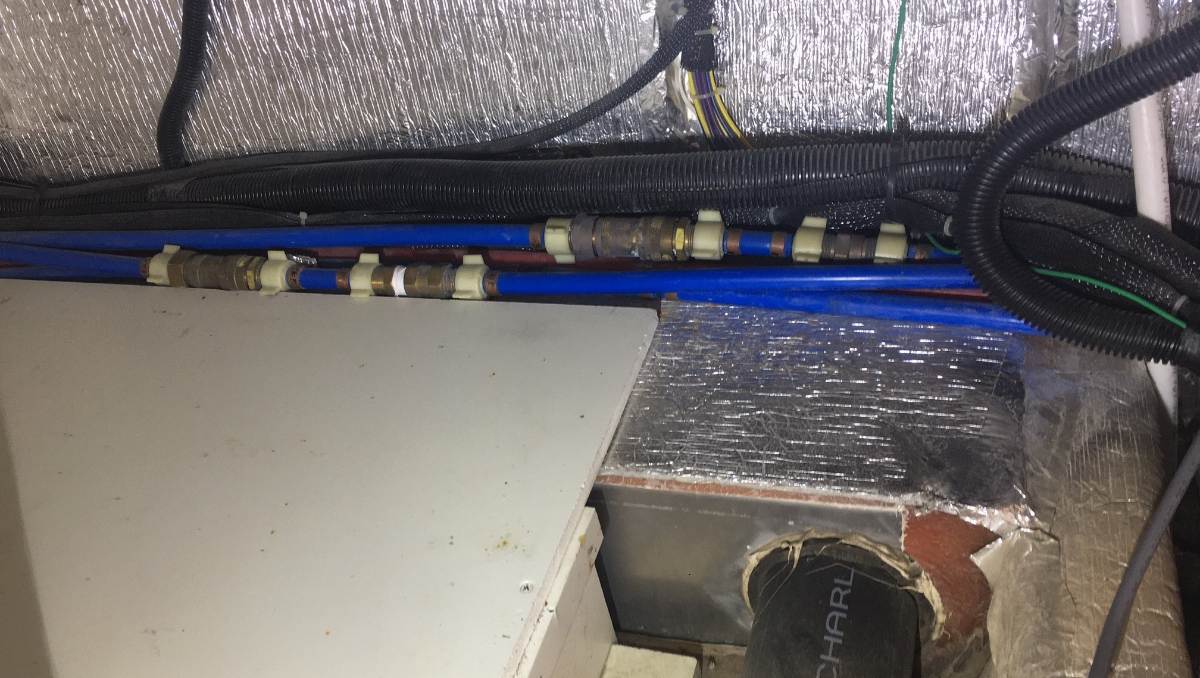
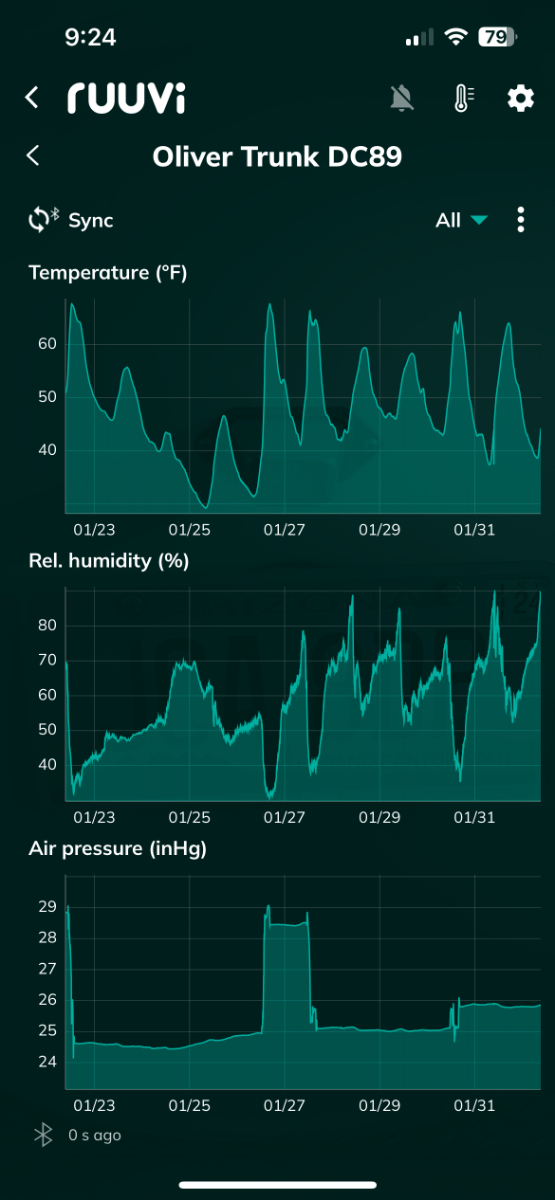
Yes, as I wrote, "the water inlets plumbing is very close to the furnace." It's not like the furnace and water lines are front and rear! The majority of water lines are within a few feet of the furnace. Yes, the inlets are on the streetside of course. What is that, six (6) ft or 2M from the furnace? I call that "close!" Also, there should be no water from the backflow preventers (check-valves) to the inlets (see pic). The water inlet should not be frozen unless it was not allowed to drain or the check valve has failed allowing water to pass. Therefore, if all is working correctly, the inlets having no water could not freeze. The water lines are full from the check-valves to the water pump (and back to the outdoor shower), and ALL of these water lines passing directly by the furnace! The water should conduct the heat from the furnace as well. I have added vents for basement airflow. I have also added a return air filter to slightly impede cold air from being pulled from the cabin center aisle vs. the air space of the basement. No basement panels are opened! My Ruuvi to check basement temps is directly under where you see the backflow preventers and restrictors in the picture. Cabin temp right now is 65F and rear basement temp is 43F. In our hull #113, when the cabin is heated by our furnace to 62F (our sleeping temp) the basement reading will be above 32F. The colder it is outside, the more often the furnace will cycle, spreading some heat to the basement. Someone else would have to chime in that does true winter camping! Notice at dawn on one day the rear basement temp fell down under 30F for a couple hours. We were still at home on 1/25 and it was cold, thermostat set to 45F at that time!
-
Agreed, I believe my new regulator is failing!
-
My new regulator makes a whistle or high-pitch tone at times. Like tonight, while we have the fire ring burning. If I close the tank it stops and when I reopen the tank the sound changes or it may go away for a while which just happened. I do not remember any sound coming from the older original regulator. I have very good ears and many people may not hear it. Is a high-pitch sound coming from the LP regulator normal?
-
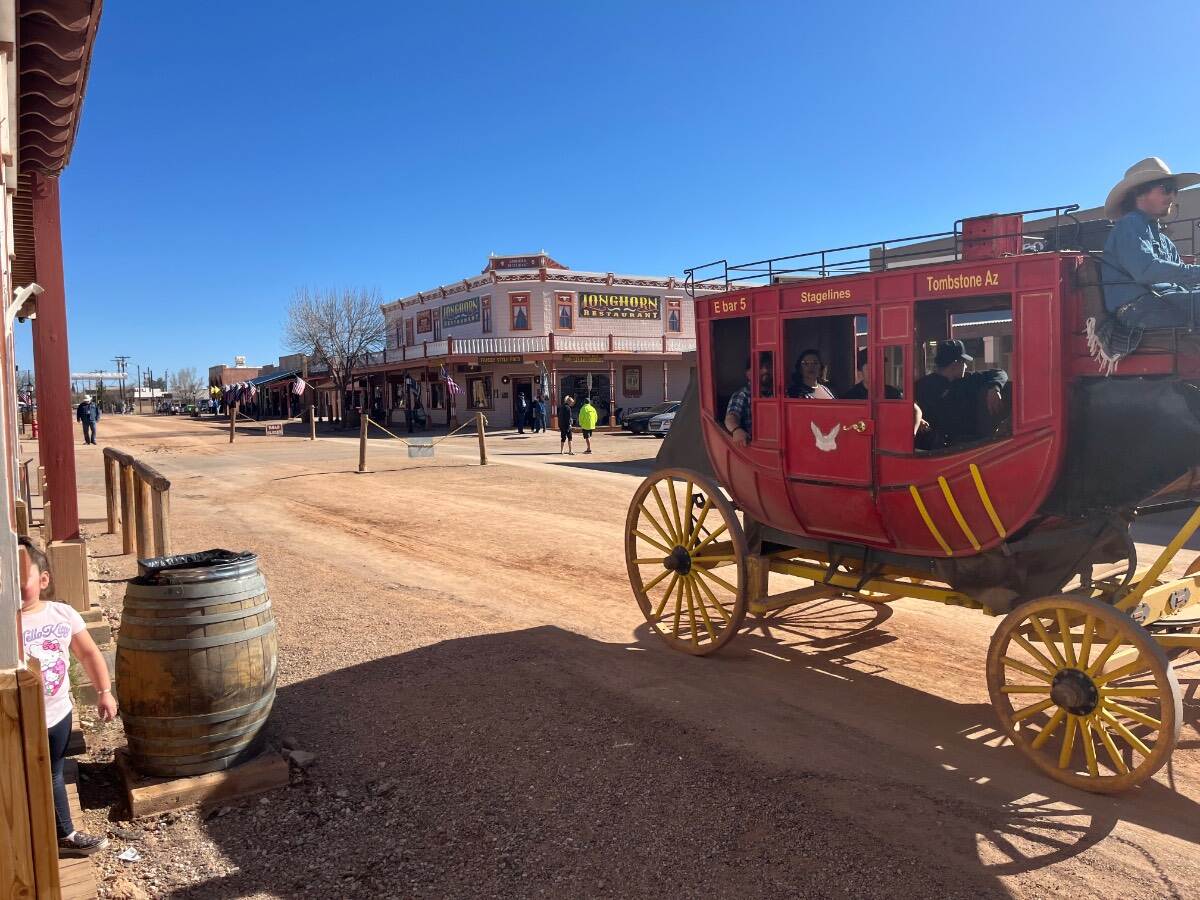
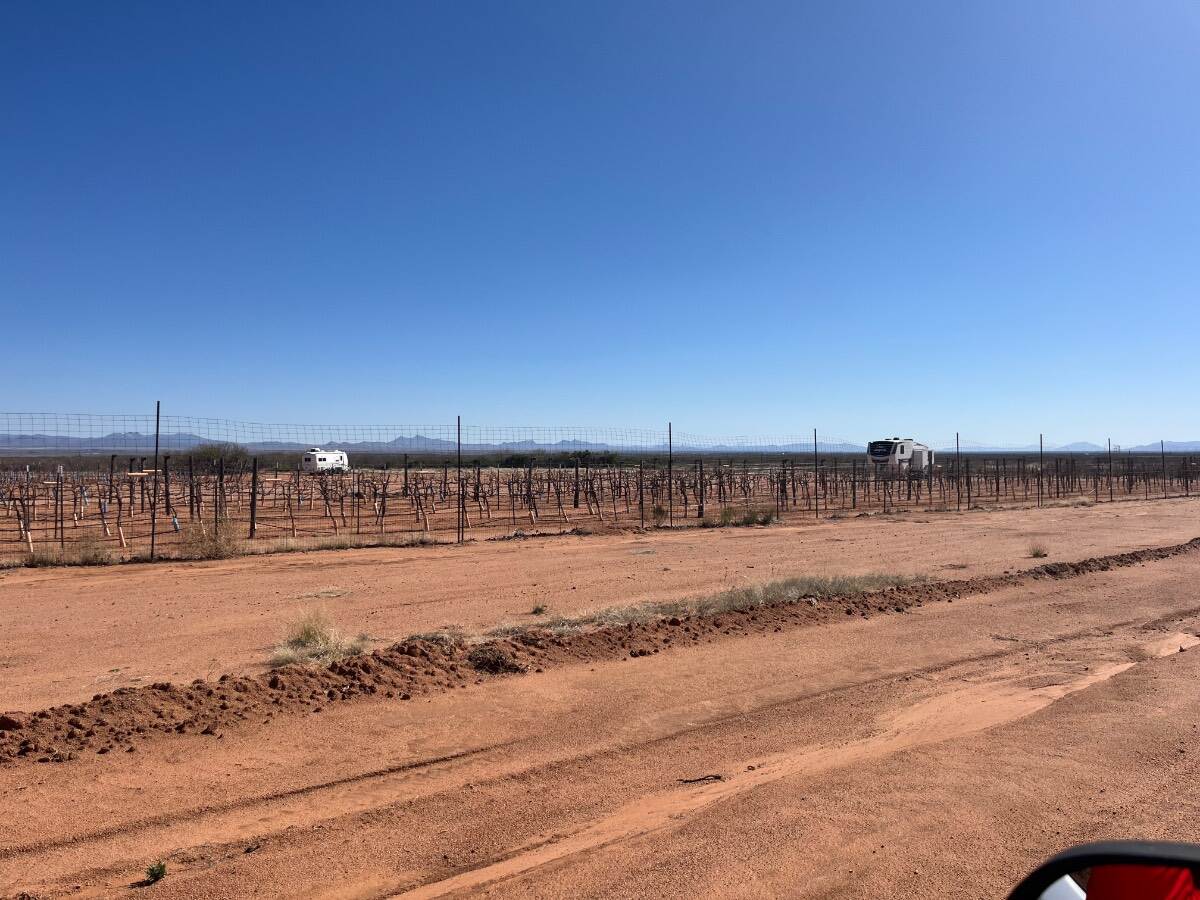
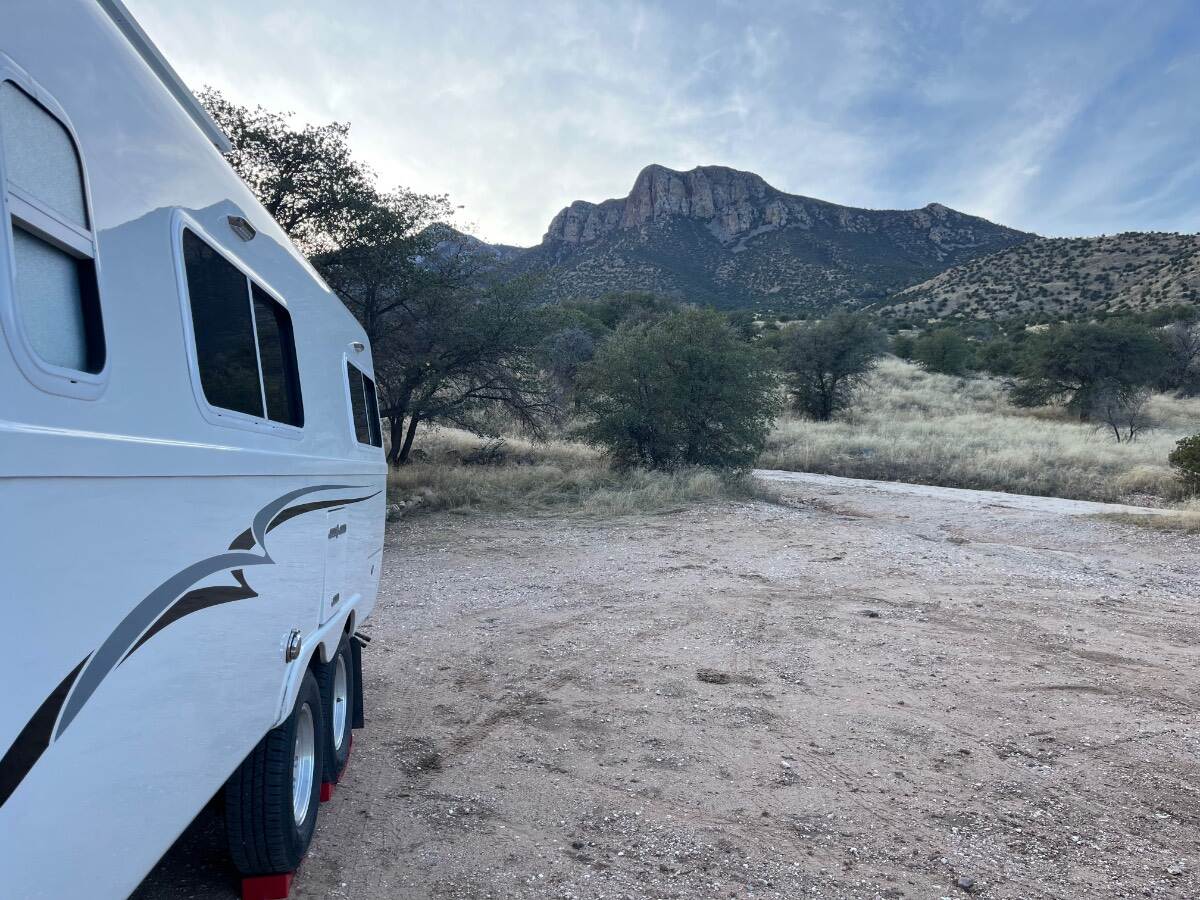
And we thought a couple cloudy days, high of 50F at altitude in the Huachuca Mountains was not good Arizona camping! Was a sunny 65F today, lunchtime in Tombstone! Camping two nights at Hofmann Vineyards in McNeal AZ. Heading back to The Valley tomorrow, where highs will be in the low 80s! 😎 IMG_7362.mov
-
There was more going on center of town, but not anywhere to park the Oliver. If you stayed at an RV park and detached, you could spend more time. No big box stores! A Safeway SW of town on Hwy-92 and the closest Walmart is in Douglas.
-
Not easy pulling the Oliver through Bisbee AZ! Drove up to Mimosa Market, which had great reviews, on the north end of town, only to find it’s only open 4 half days a week. It seems Bisbee has more closed real estate than open stores. As we drove up, I realized there was no turn-around, had to back up a side street to get back. Crazy narrow roads! We ate lunch at Bisbee Breakfast club, the only open business in the vintage Lowell area. Cool old storefronts and classic cars everywhere!
-
I asked since this has happened to those running space heaters, but first I've heard of the water inlets freezing when furnace is being used as the sole heat source. The water inlets plumbing is very close to the furnace along the rear wall of the Oliver. When the Oliver interior is kept above 60F, the furnace should be running long and hard enough to keep the rear basement and water inlets well above freezing! Given "the fresh and city water inlets were frozen" they must have water in them and they shouldn't up to the backflow preventers. Good practice is to allow those ends to drain prior to capping them off. They can also fill when check-valves leak. And yes, when plumbing has frozen when full of water the PEX could burst. You will not know until it is thawed, filled again with water and brought up to pressure to test for leaks.
-
Have you been using the furnace?
-
After seeing this, me too! Why are the leads bolted together? Why were they all loose? Can’t tell unless you invalidate warranty by sawing the case open!
-
Please remember the context of this thread, re leaving the trailer with plumbing ready, weekends in Clemson SC. It’s not about long storage in cold climates! Average January low in Clemson is 36F and in Prescott AZ it’s 22F (it’s not Phoenix up here)! Average Jan highs in both towns are in the low 50s. The good weather in Clemson SC is certainly more mild than in Prescott AZ. Based on the 36F average, 2 of 3 winter weekends in Clemson will stay above freezing. I still contend @Hoosier’s original plan is good as was written!
-
I wasn't interested in having a hatch under the bathroom sink. To do so, you lose the towel bars and external storage. However, you need to get in there to straighten out the heater ducting and to add vents. Just get a flexible putty knife under the panel, pry it off and then remove the remaining caulk. I went with a rubber seal and 4 screws to hold the panel which can be removed again when needed for service. I also do not believe in winter storage that includes having beds on their sides and/or panels to basement areas open for periods of time. Add ventilation, do it right, and then you can leave beds and panels alone. The link below shows the mods I've made. Exactly, I also have a Ruuvi temp sensor on the rear wall of the basement. When the furnace is running set low at 45F, it can be 20F outdoors and that coldest interior area will be just above 32F. If not, set the thermostat a little higher.
-
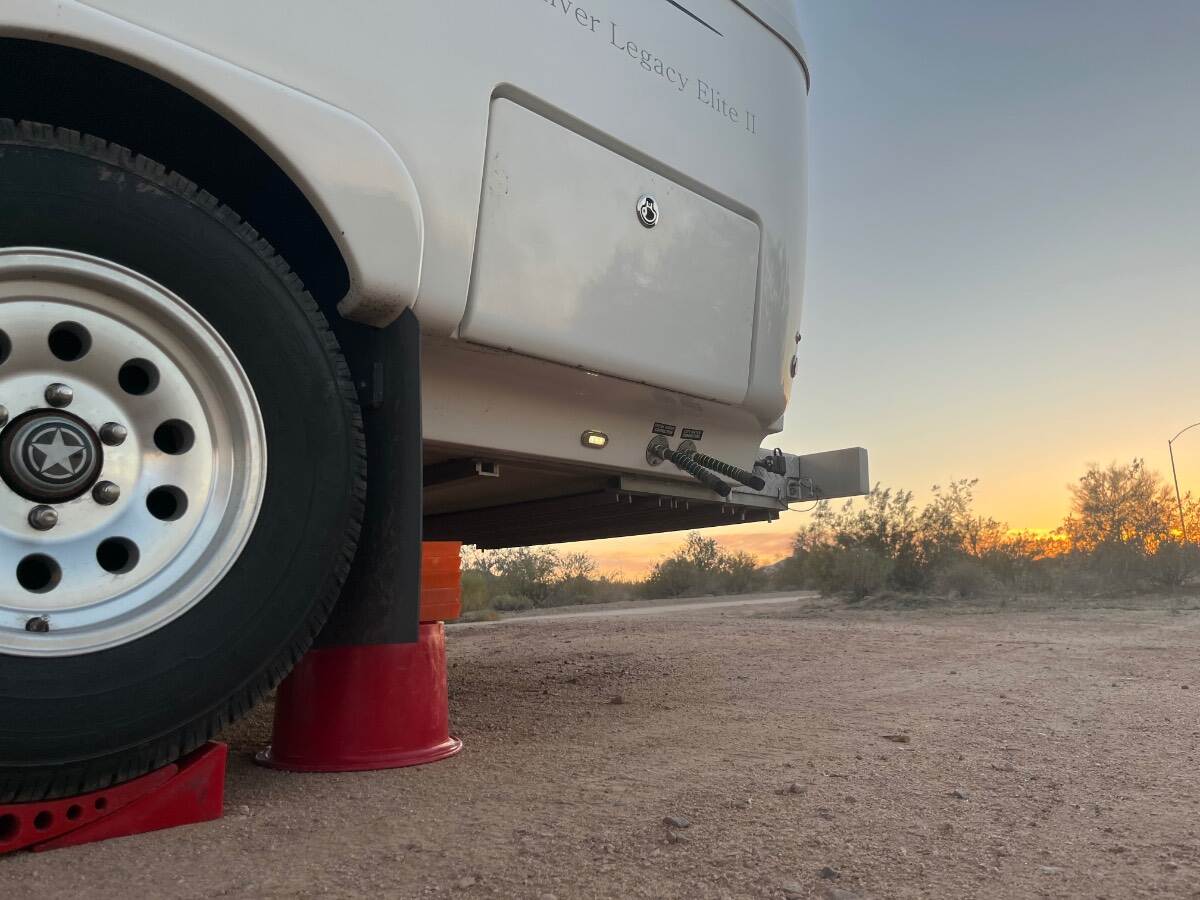
Had to get out the old level today…
-
Well stated David! $25K in suspension upgrades OMG, on that Thing?! 🤣 Where we live, 8 out of 10 trucks have lifts, and why do they extend wheels past the fenders?! Not a thought given to suspension geometry which keeps the Jeep shops in business. I’d bet Lew was correct, in that this couple did something wrong! Did they follow the torquing instructions? The shackles on our Olivers are cut double-thick steel, with no welds, so no worries! 😎
-
I believe you have a solid thoughtful plan. It’s about what I do all winter long since we travel on-n-off and get spells of overnight lows to 20F or below. Instead of doors open, some of us have added vents to pull air through the basement when the furnace is running. Given you can check temps remotely, you’re also covered for the unforeseeable! 😎
-
First year recommendation, stay south until May! Enjoy camping on the Gulf Shore or in the Smokies or somewhere else nice and get past this first winter! 😂 I’ve not had good experiences with covers and prefer going without. Put a cover on our tow vehicle, a couple summers ago, to get rub marks from the wind and the Pack Rats were thankful for the dark space. Never again! Our Ceramic Coating professional said the same without me asking. Our Oliver, now freshly polished and coated will live outdoors in the Arizona sun and elements. An indoor space would be nice, but not happenin’ for us either. I sold the Calmark cover that came with our hull used to @grweber1 in Minnesota where I guess a cover is needed for lots of ice and snow! Maybe Gary can chime in. I imagine his covered Oliver is deep in snow by now! I like the idea of shrink wrap. It will not blow in the wind and scratch the gelcoat. You’d winterize first, have your LiFePO4 batteries at 60% SOC and disconnected. If you’re getting your 28’ boat done, ask for a package deal to include your new 19’ rolling hull! 😎
-
Favorite restaurants in Sierra Vista, anybody? We just stopped in the German Cafe for lunch! Jaeger Schnitzel and Spaetzle. 😋
-
I remember that. Sierra Vista certainly lives up to its name! We’re camping in Miller Canyon, just south of town in the Huachuca Mountains! 😂
-
A week ago, we arrived in Quartzsite on a Monday afternoon! After a great birthday weekend for our son at home, we’re on way to Sierra Vista! This spot is a nice drive, just 3 hours from home. We had to stop at AJ’s for meats and loaded twice-baked potatoes, and there was traffic in the valley… Arrived here at West Pinal Park, 22 miles west of Casa Grande. A GREAT stop-over at $10/night for those who are driving into AZ not wanting to go further into Phoenix.
-
Me too on our new unit. Just hold the regulator up with on hand as you spin the wing-nut with the other! All’s good! 😎
-
Given your driving South, I wouldn't worry (then I'm not the worrying type)! 😎 Say it's in the single digits when leaving the North... Not foolish to fill the fridge, except for things like dairy or lettuce, for example, that would be wrecked when frozen. Leave the fridge OFF when it's below freezing, as it will not function and cooling is unnecessary (it's already cold)! Later when you get south and start to camp, you'll have the LP and furnace ON. When the Oliver is warm enough to live in, it's warm enough to operate your refrigerator.