Leaderboard


Popular Content
Showing content with the highest reputation on 02/22/2018 in all areas
-
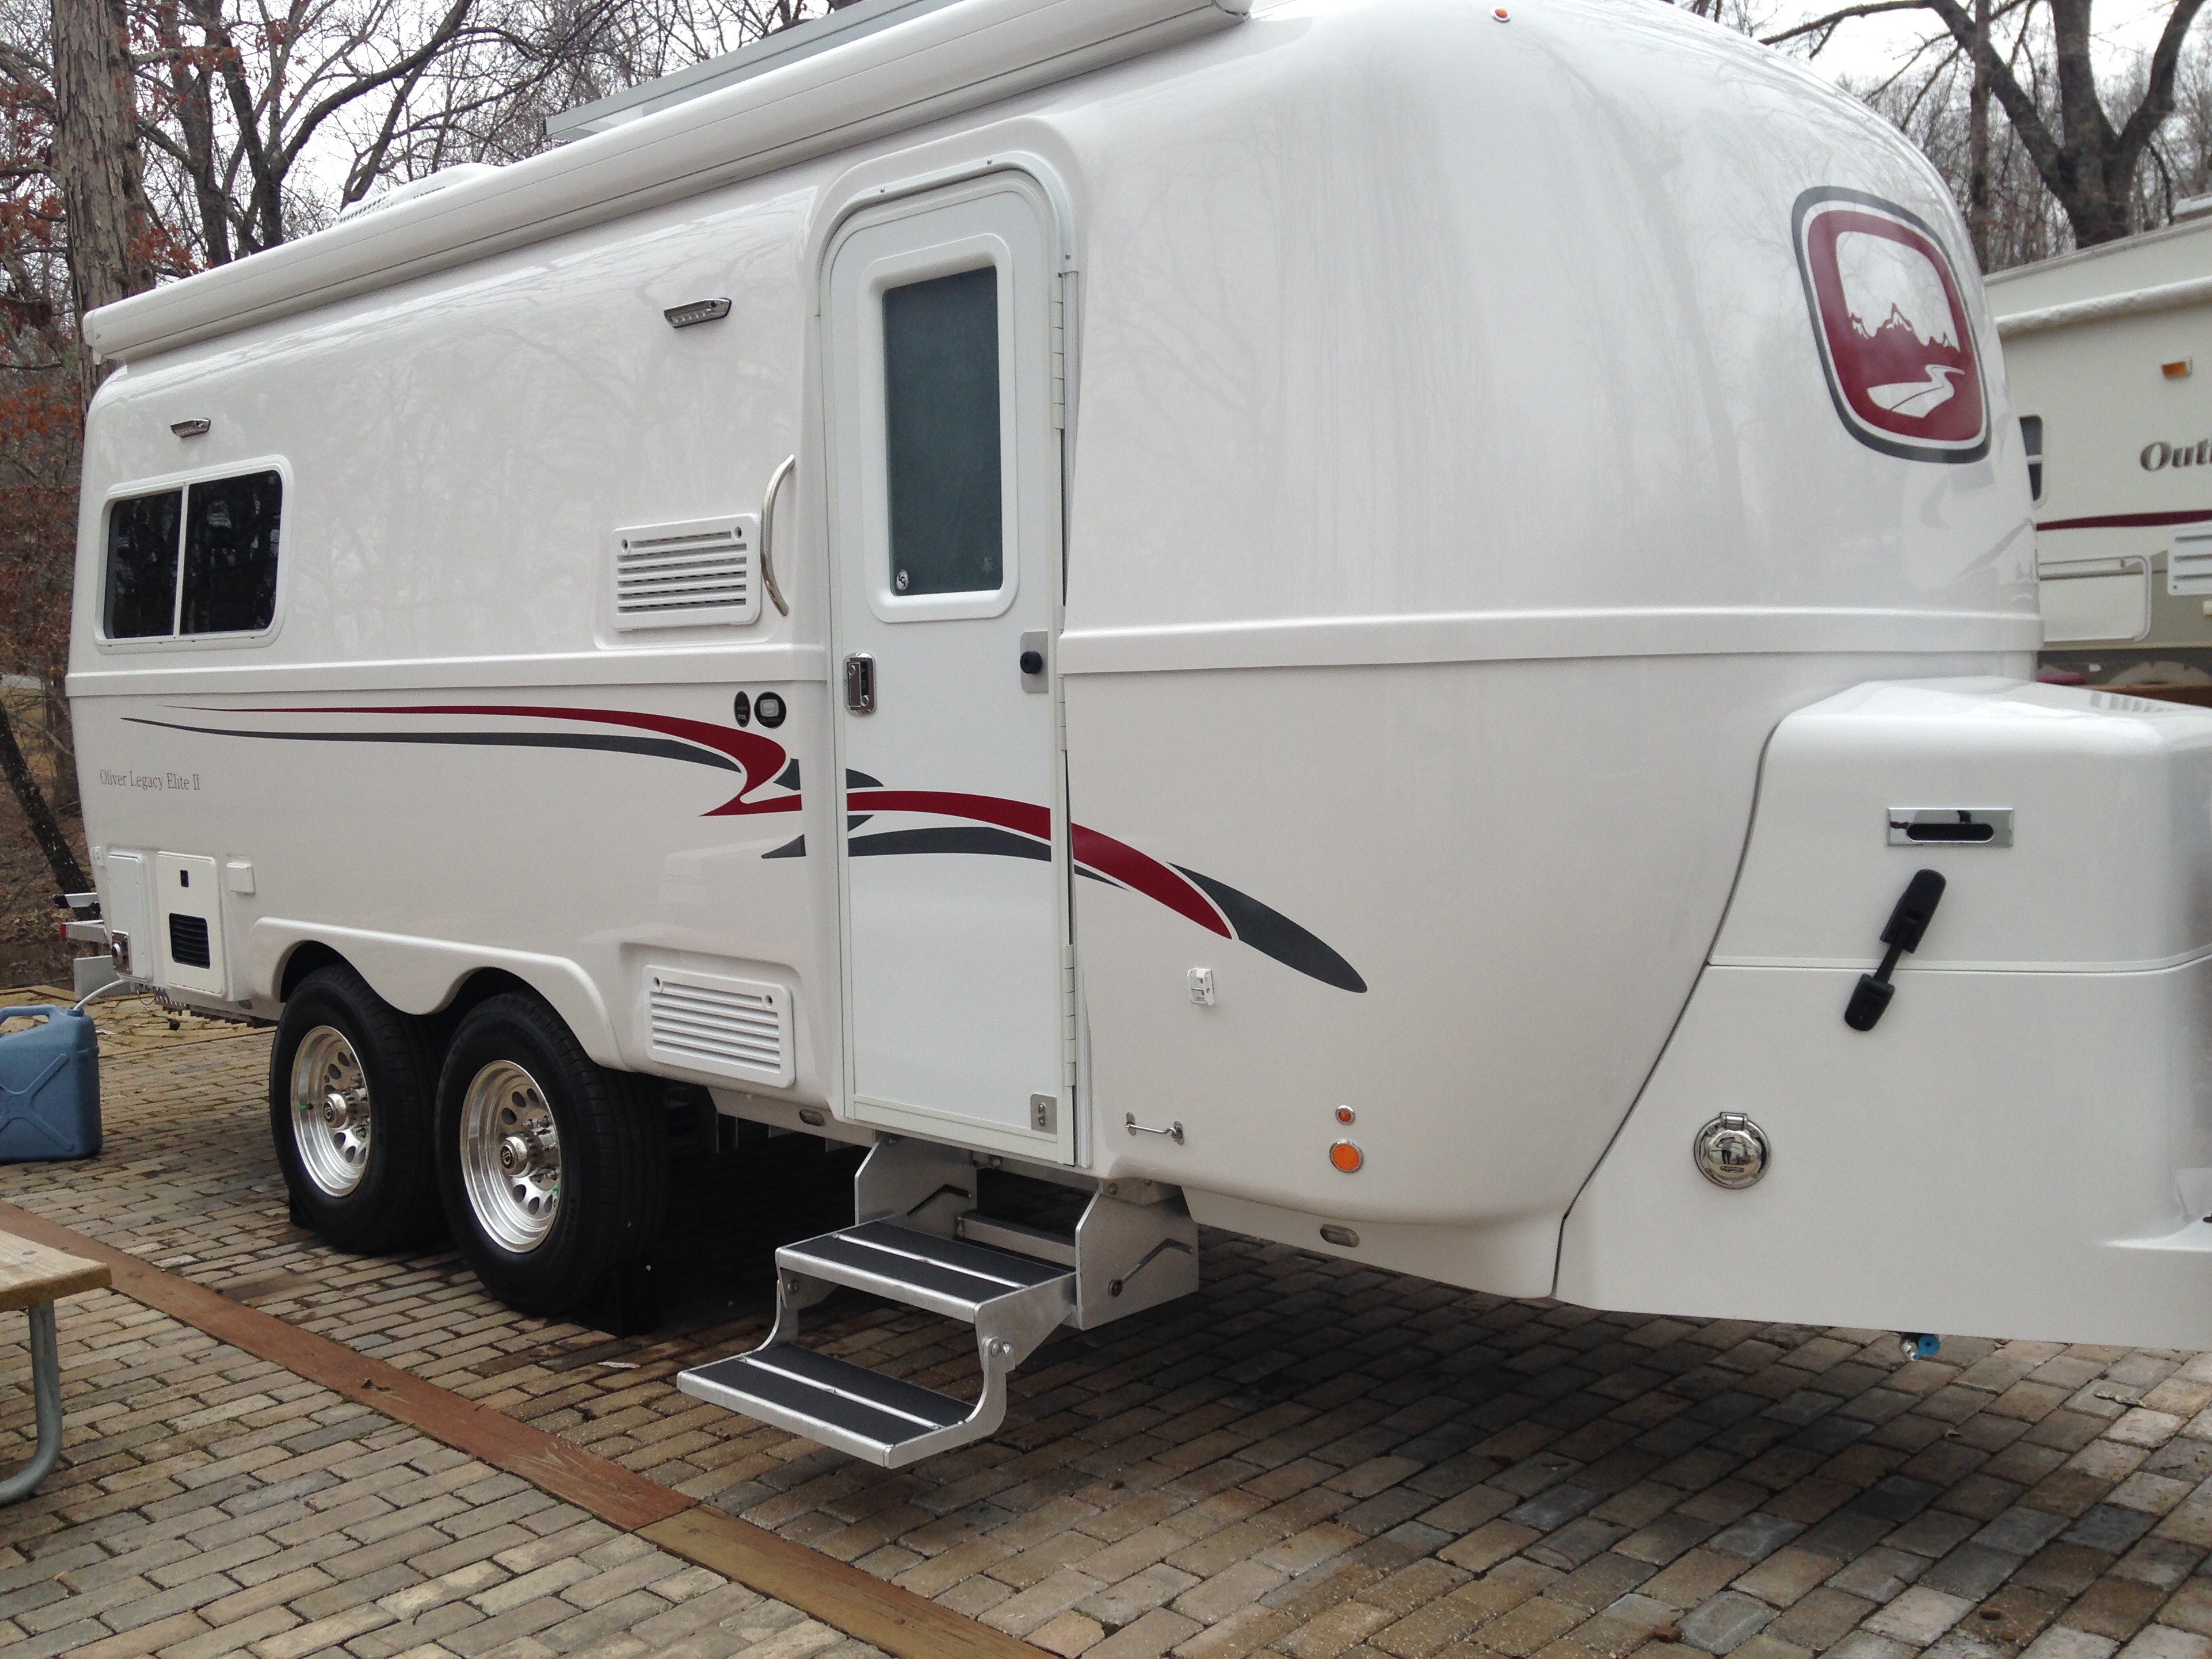
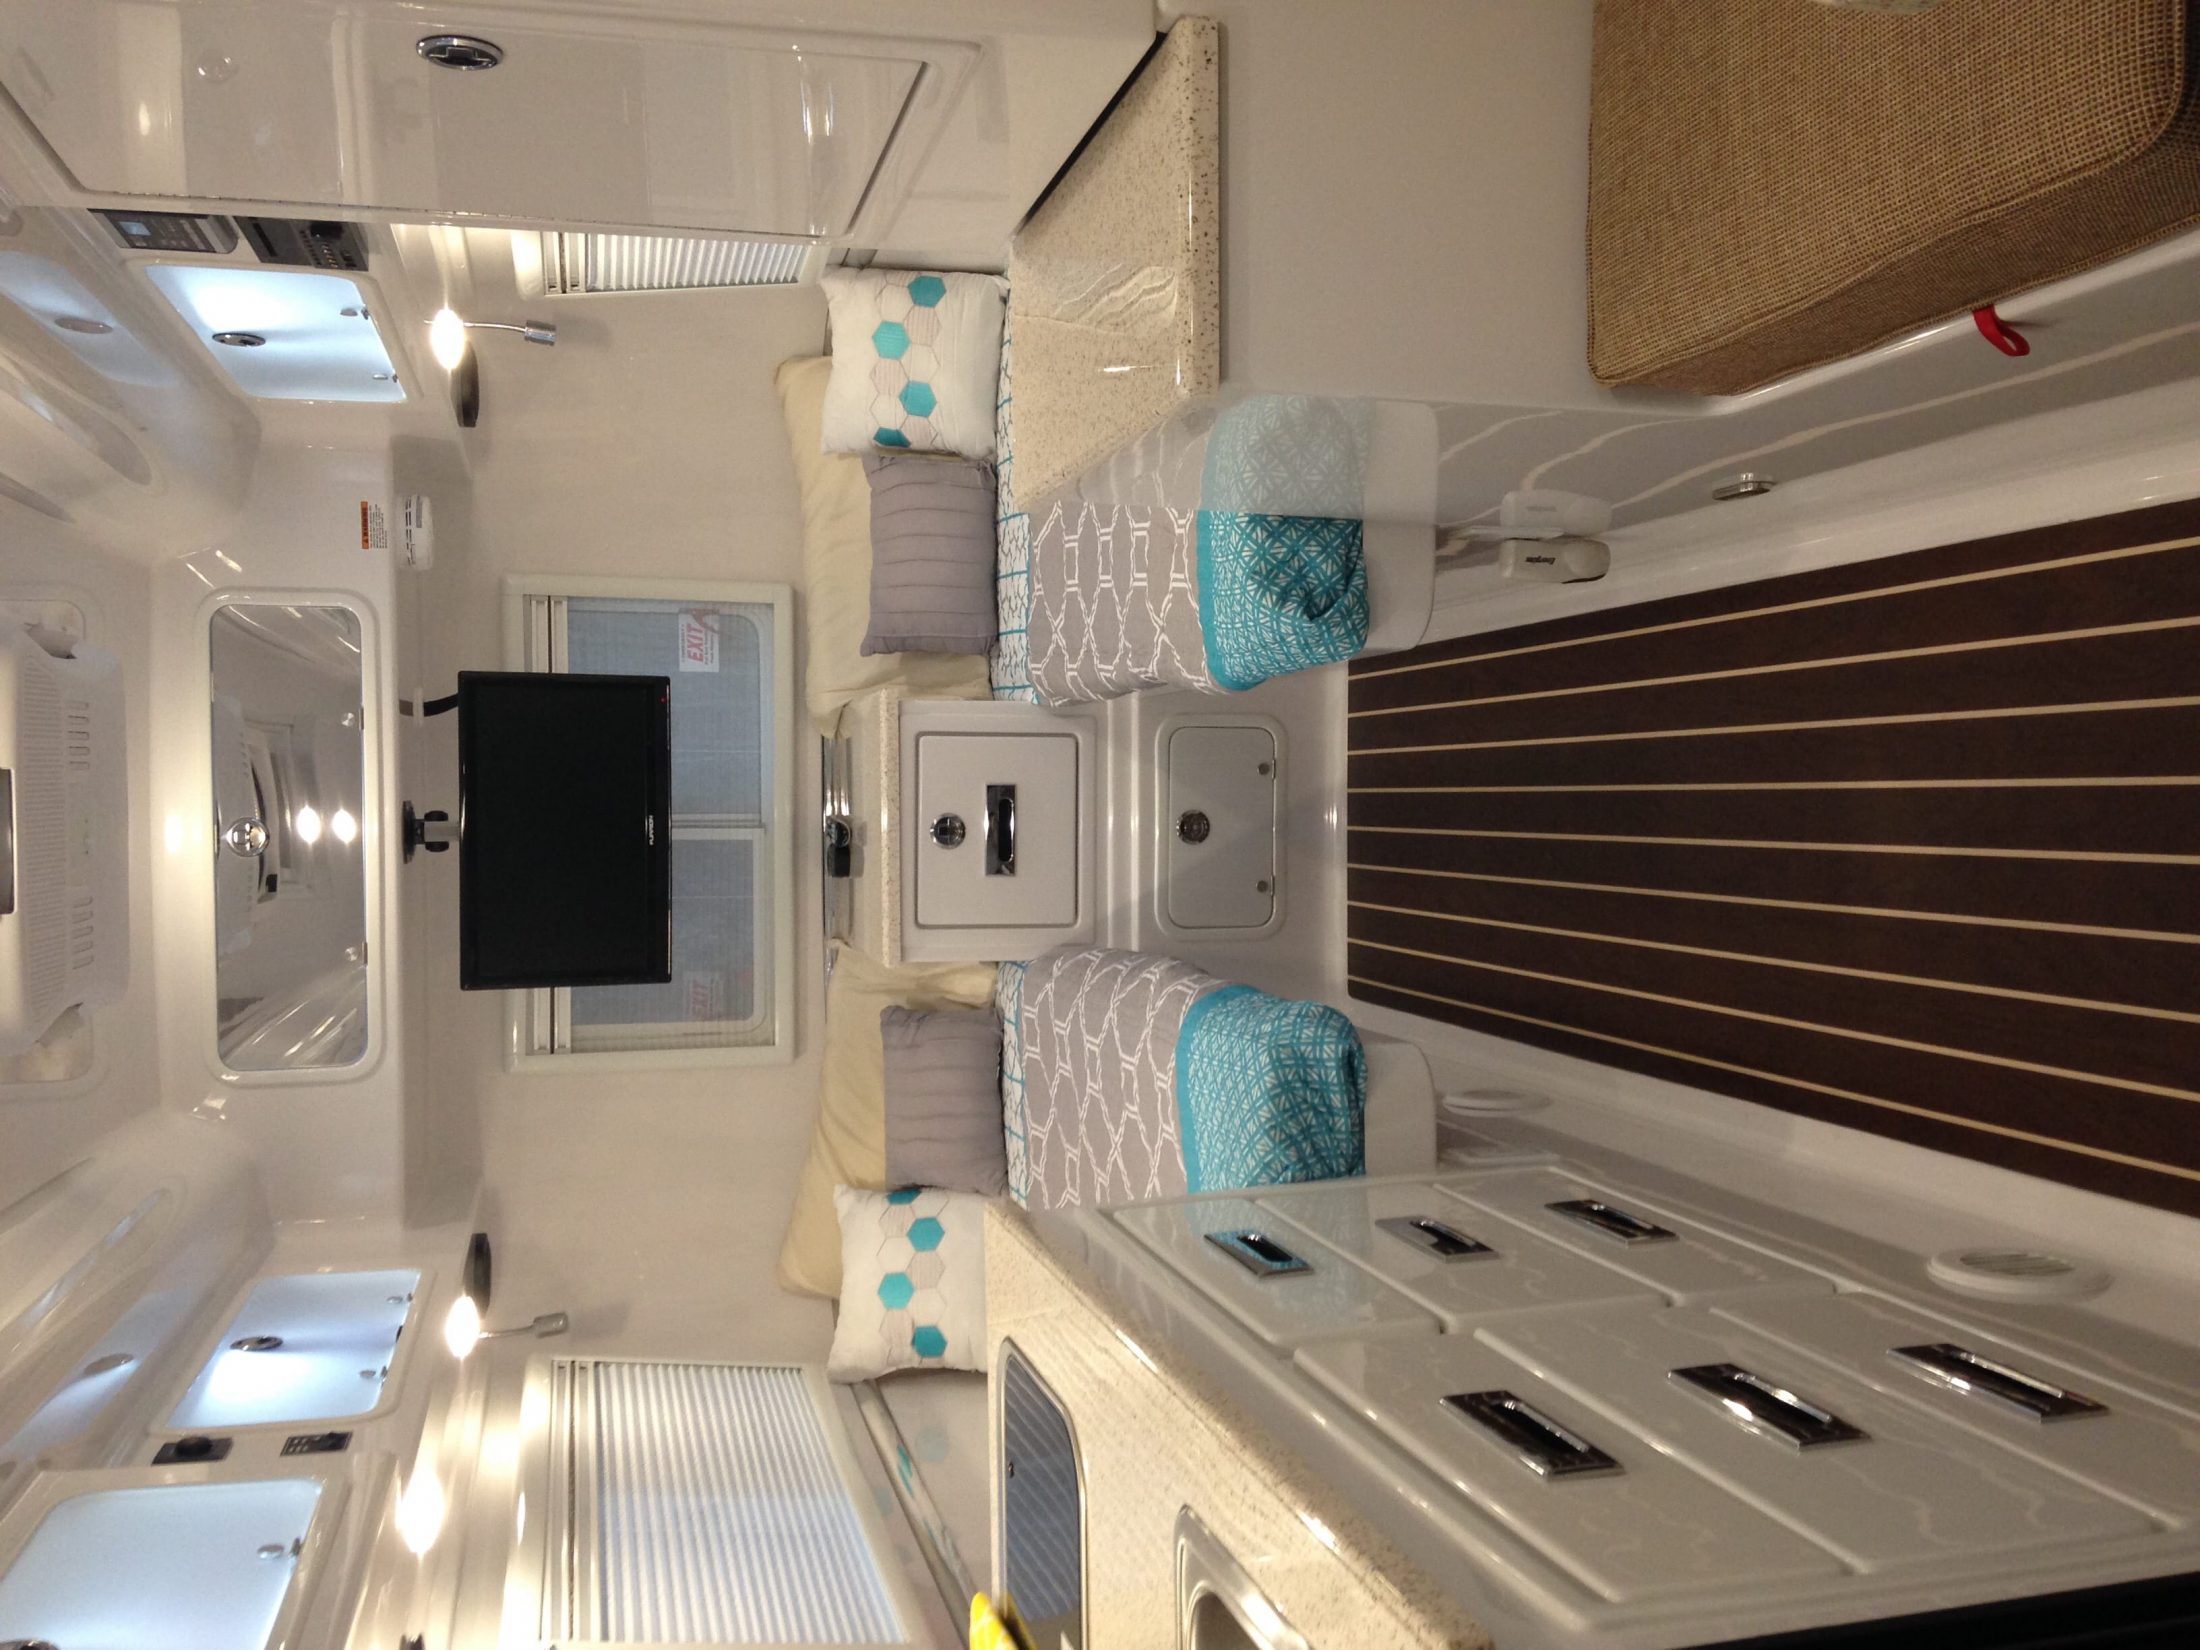
June 21, 2008 - The Outlaw Oliver Elite Looking Forward Twin Bed Interior Leaving the Factory March 16, 2014 - The Outlaw Oliver Elite II Tali inside the new Twin Bed Model Steve and the Fur Crew3 points
-
When a trailer is carried into the Oliver Travel Trailer factory to have the wheel bearing repacked or any other type of work on the wheels, how do they lift the trailer?2 points
-
It’s been a couple of years, but when we got our pick up orientation from Tommy (now retired) he told me to use the jacks if I needed to change a tire. Since then, I have used the jacks to raise the trailer a couple of times. Once in our local tire shop parking lot to get metal stems and a rebalance with TPMS sensors and once in the brake shop lot for a brake service. Both times the trailer was connected to the truck. I ran the front jack down for stability, then raised one side at a time. I also have 8” blocks that I always use so the jacks are never extended very far. If I was on the side of the road I would use the jacks to change a tire for speed if nothing else. When camping I always build a lego platform for each tire to level the trailer then use the jacks to stabilize. I don’t know why the guidance from Oliver has changed, could be liability. Mike2 points
-
The question about the jacks has evolved over the past year or so. Originally, Oliver's message about the jacks, though unwritten, was that they could be used to lift the trailer off the ground - and the jacks are certainly strong enough to do so. That's what we were told on our factory visit, and it was touted as one of the advantages of the trailer. And so many owners have for years done just that and continue to do so. But then there were some discussions here about the frame flexing on some trailers when jacked up, and some new and prospective owners asked whether they should really be lifting the tires off the ground when camped, and at that point Oliver responded by changing/clarifying their recommendation to using them only for stabilization. Some took that change as gospel, and some took it as Oliver saying, "Well, since you're forcing us to give you a legally binding recommendation, we're going to have to give you one you don't want to hear." But until Jason's comment above, the recommendation to use them for maintenance has remained in the manual. So they've either just realized that discrepancy in their message, or have decided to get more strict with their recommendation for whatever reason. I suspect the owner's manual will be rewritten to reflect Jason's comments, and what you do with your own trailer will, as always, be up to you.2 points
-
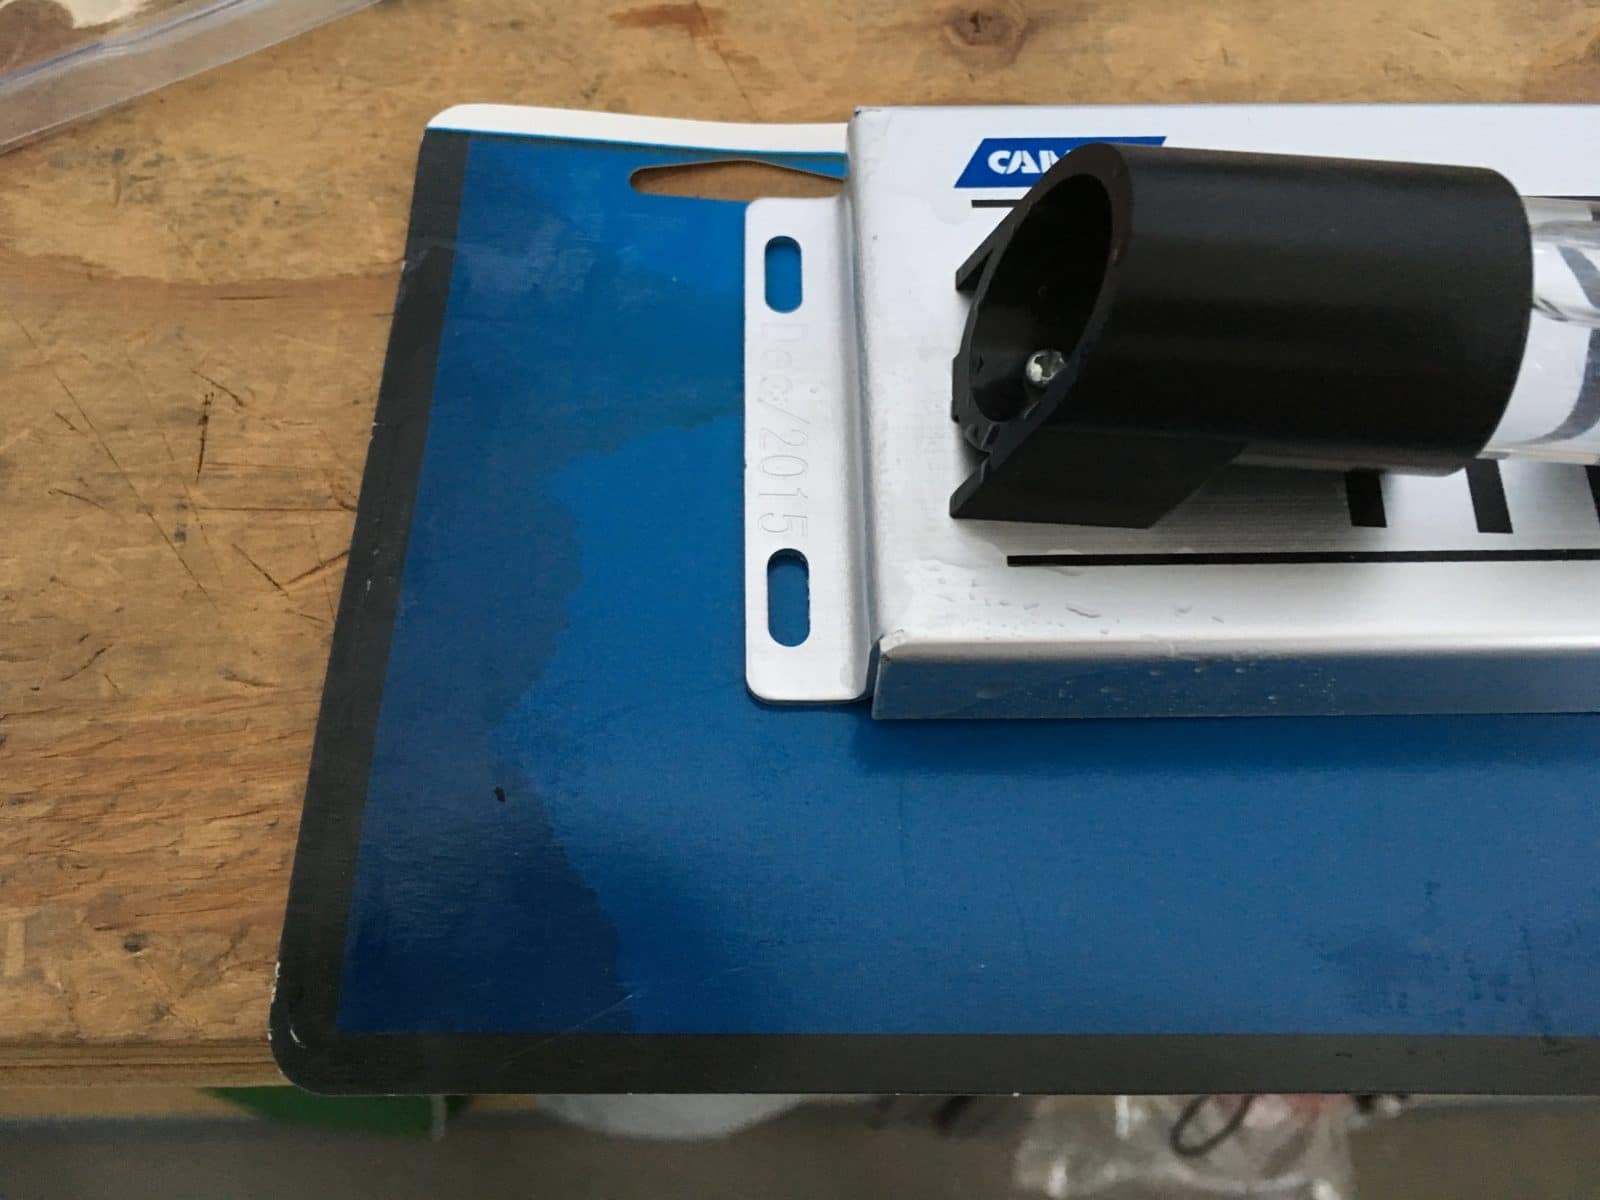
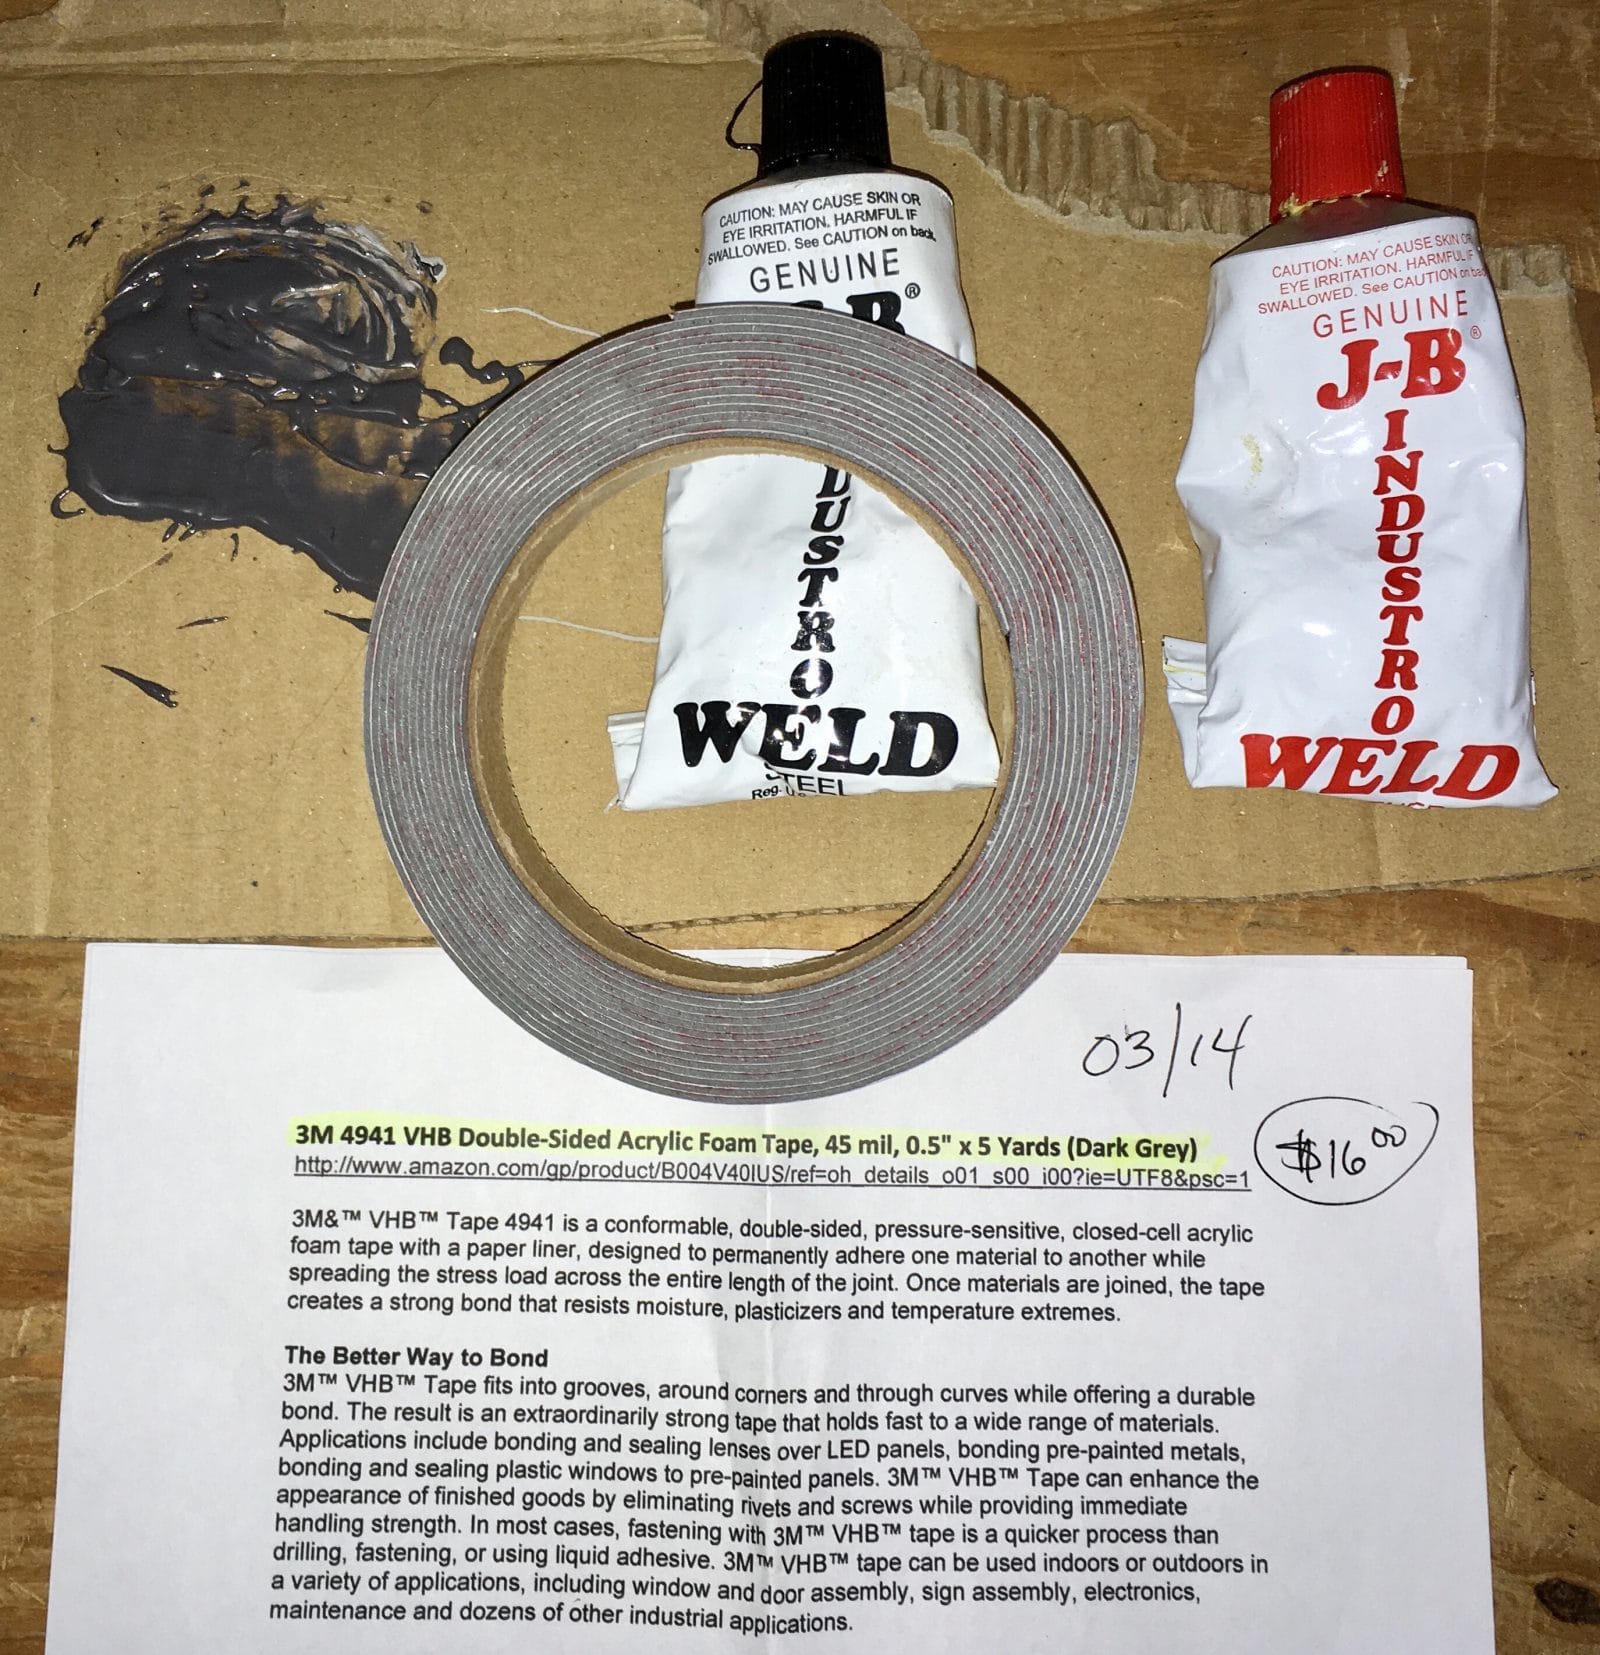
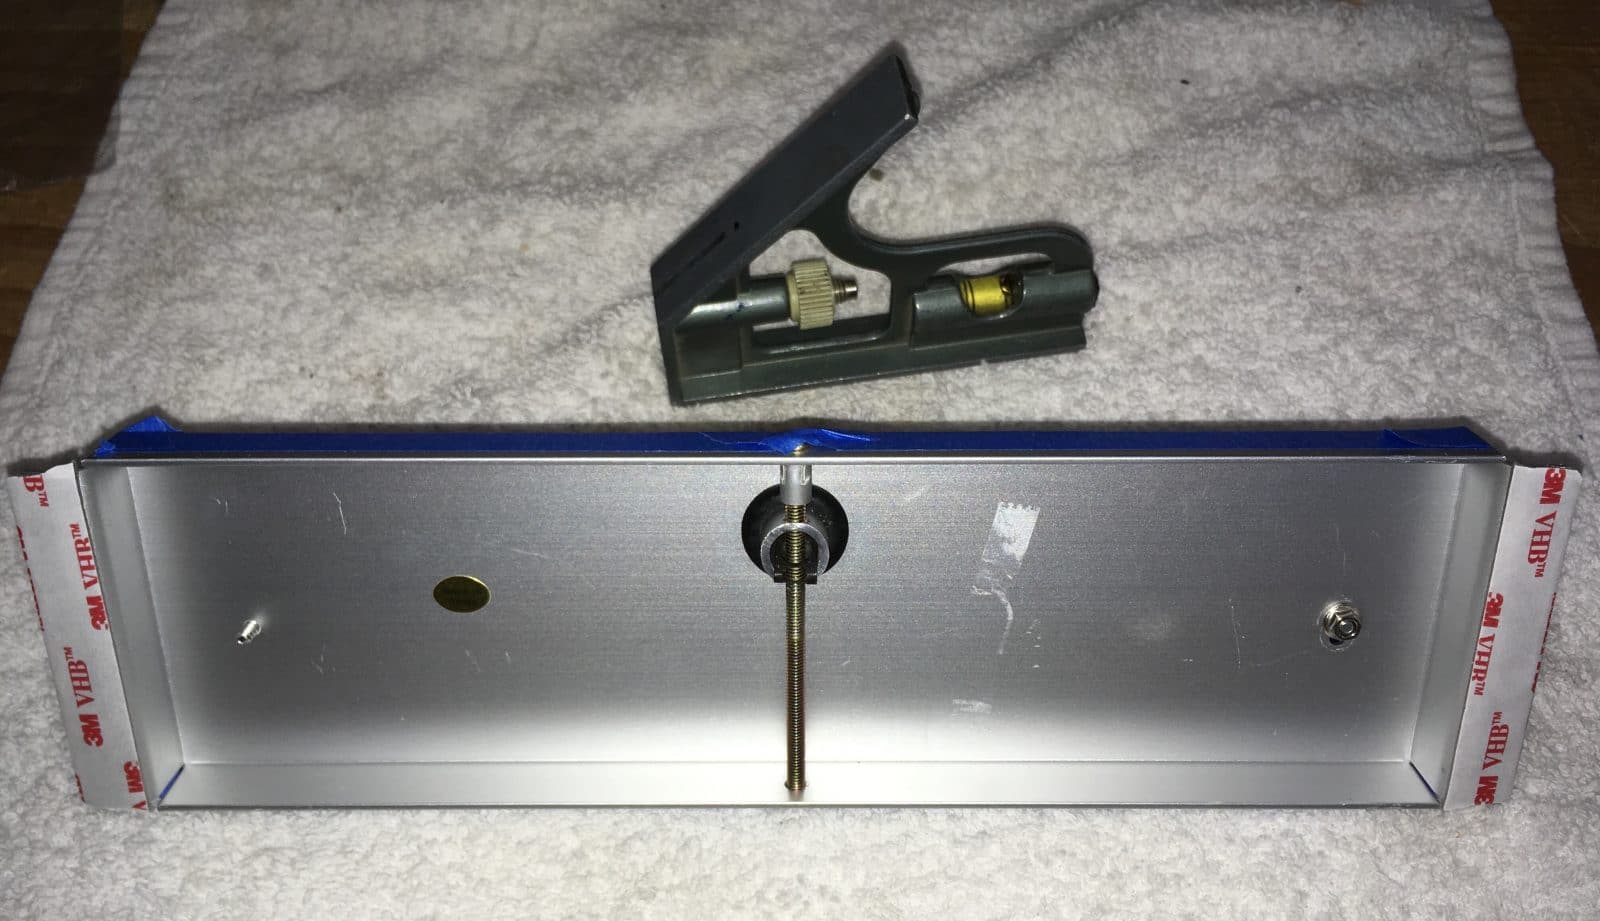
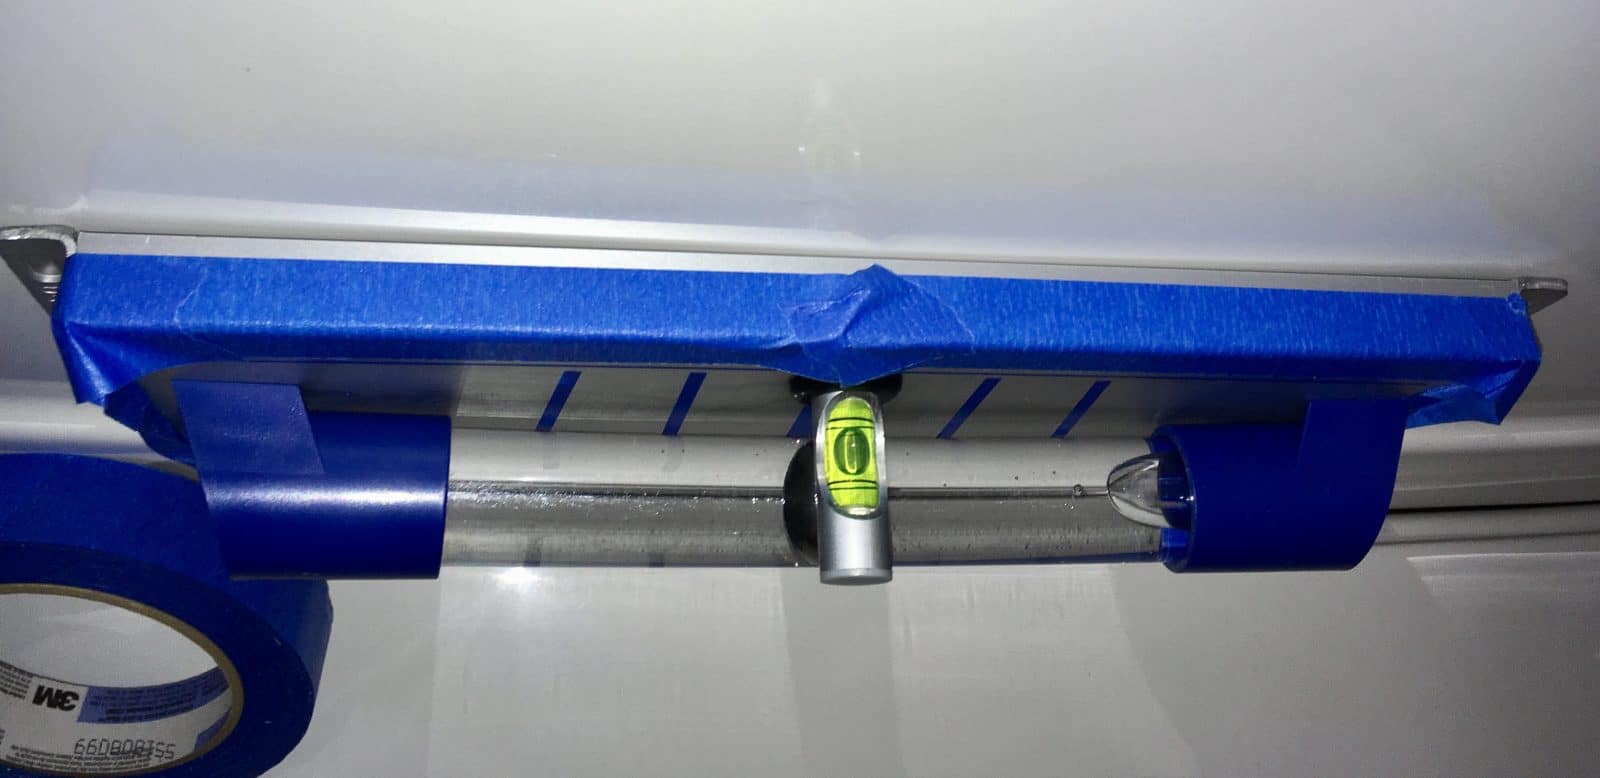
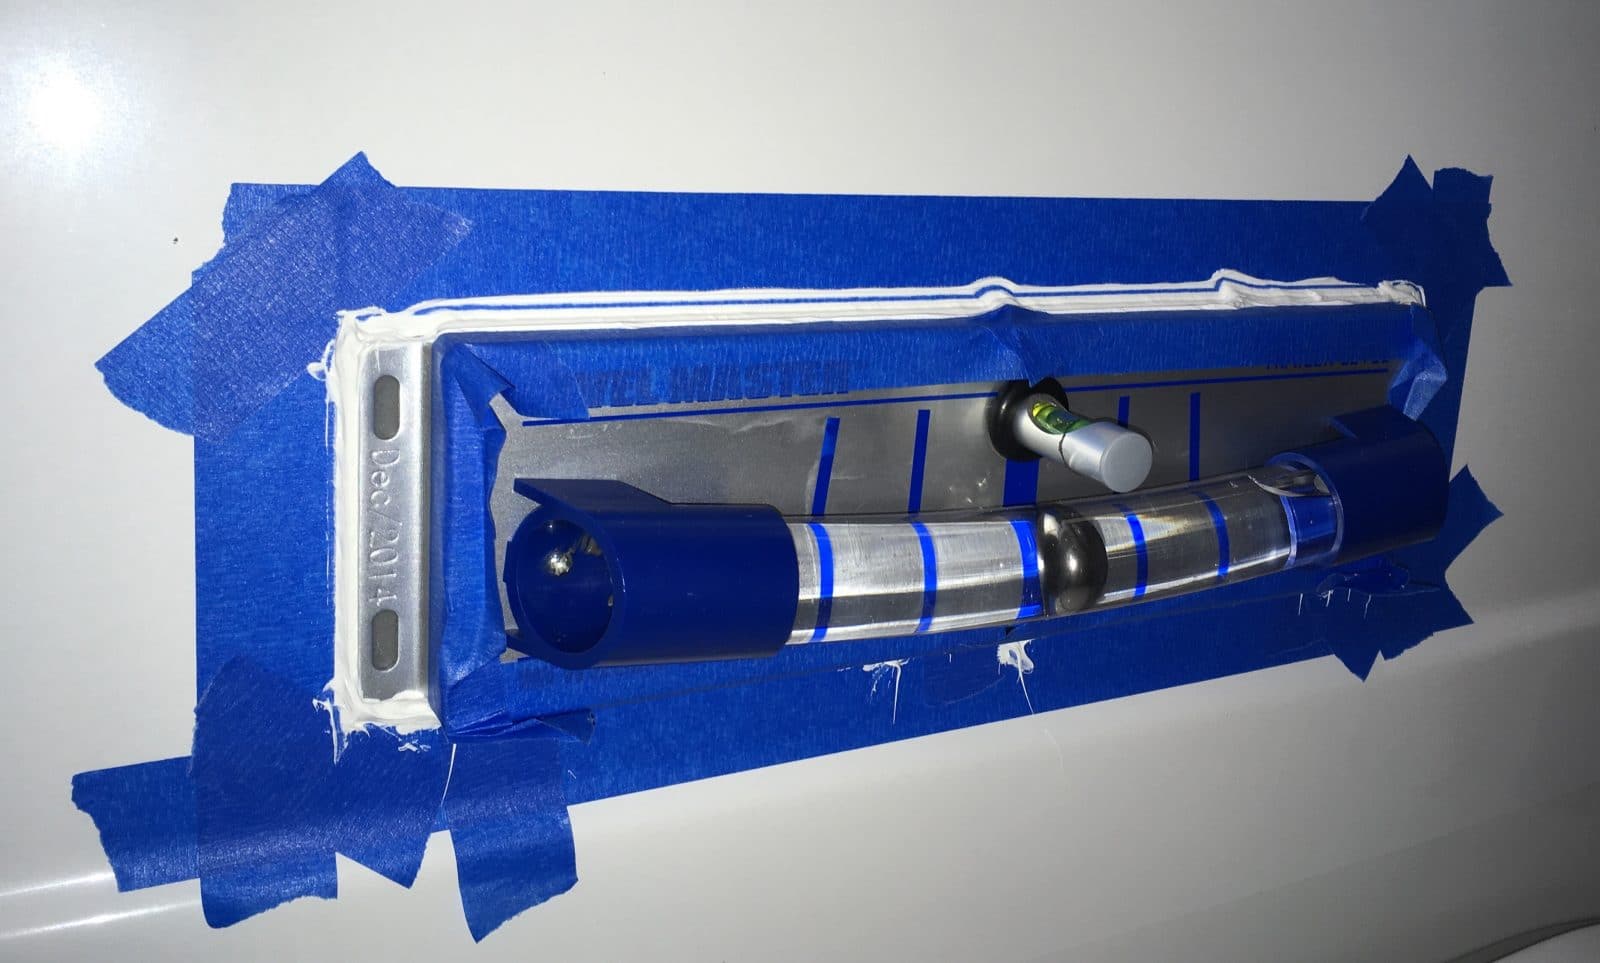
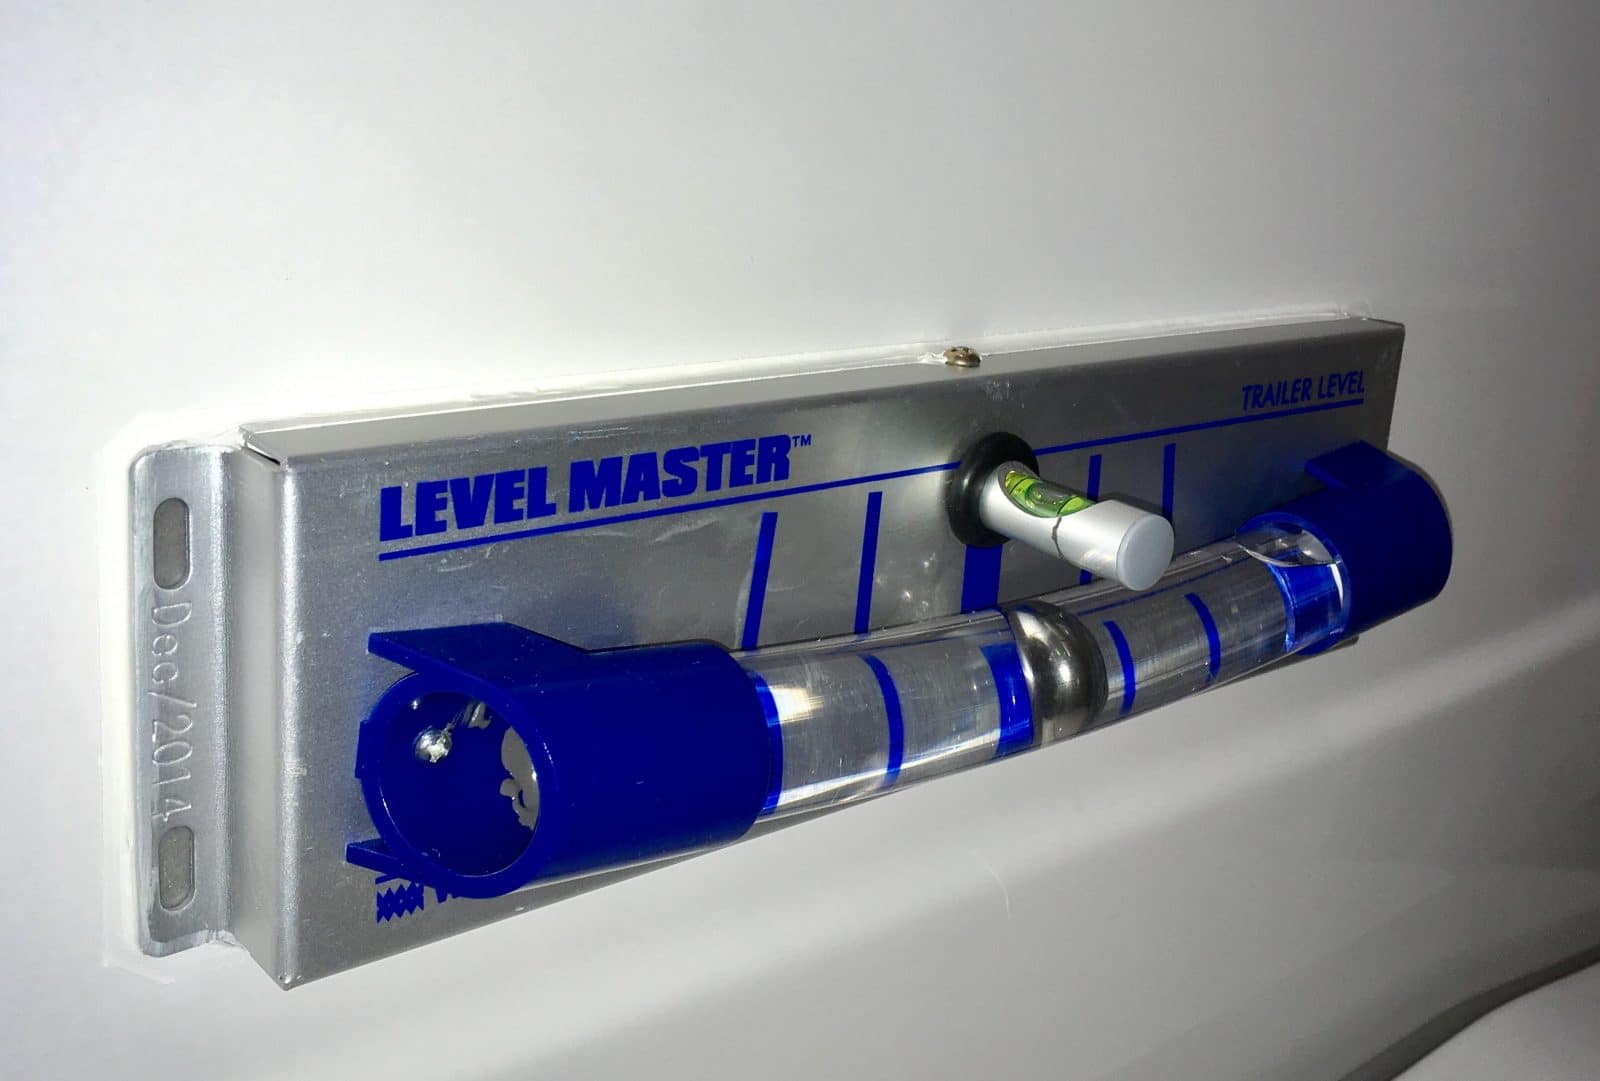
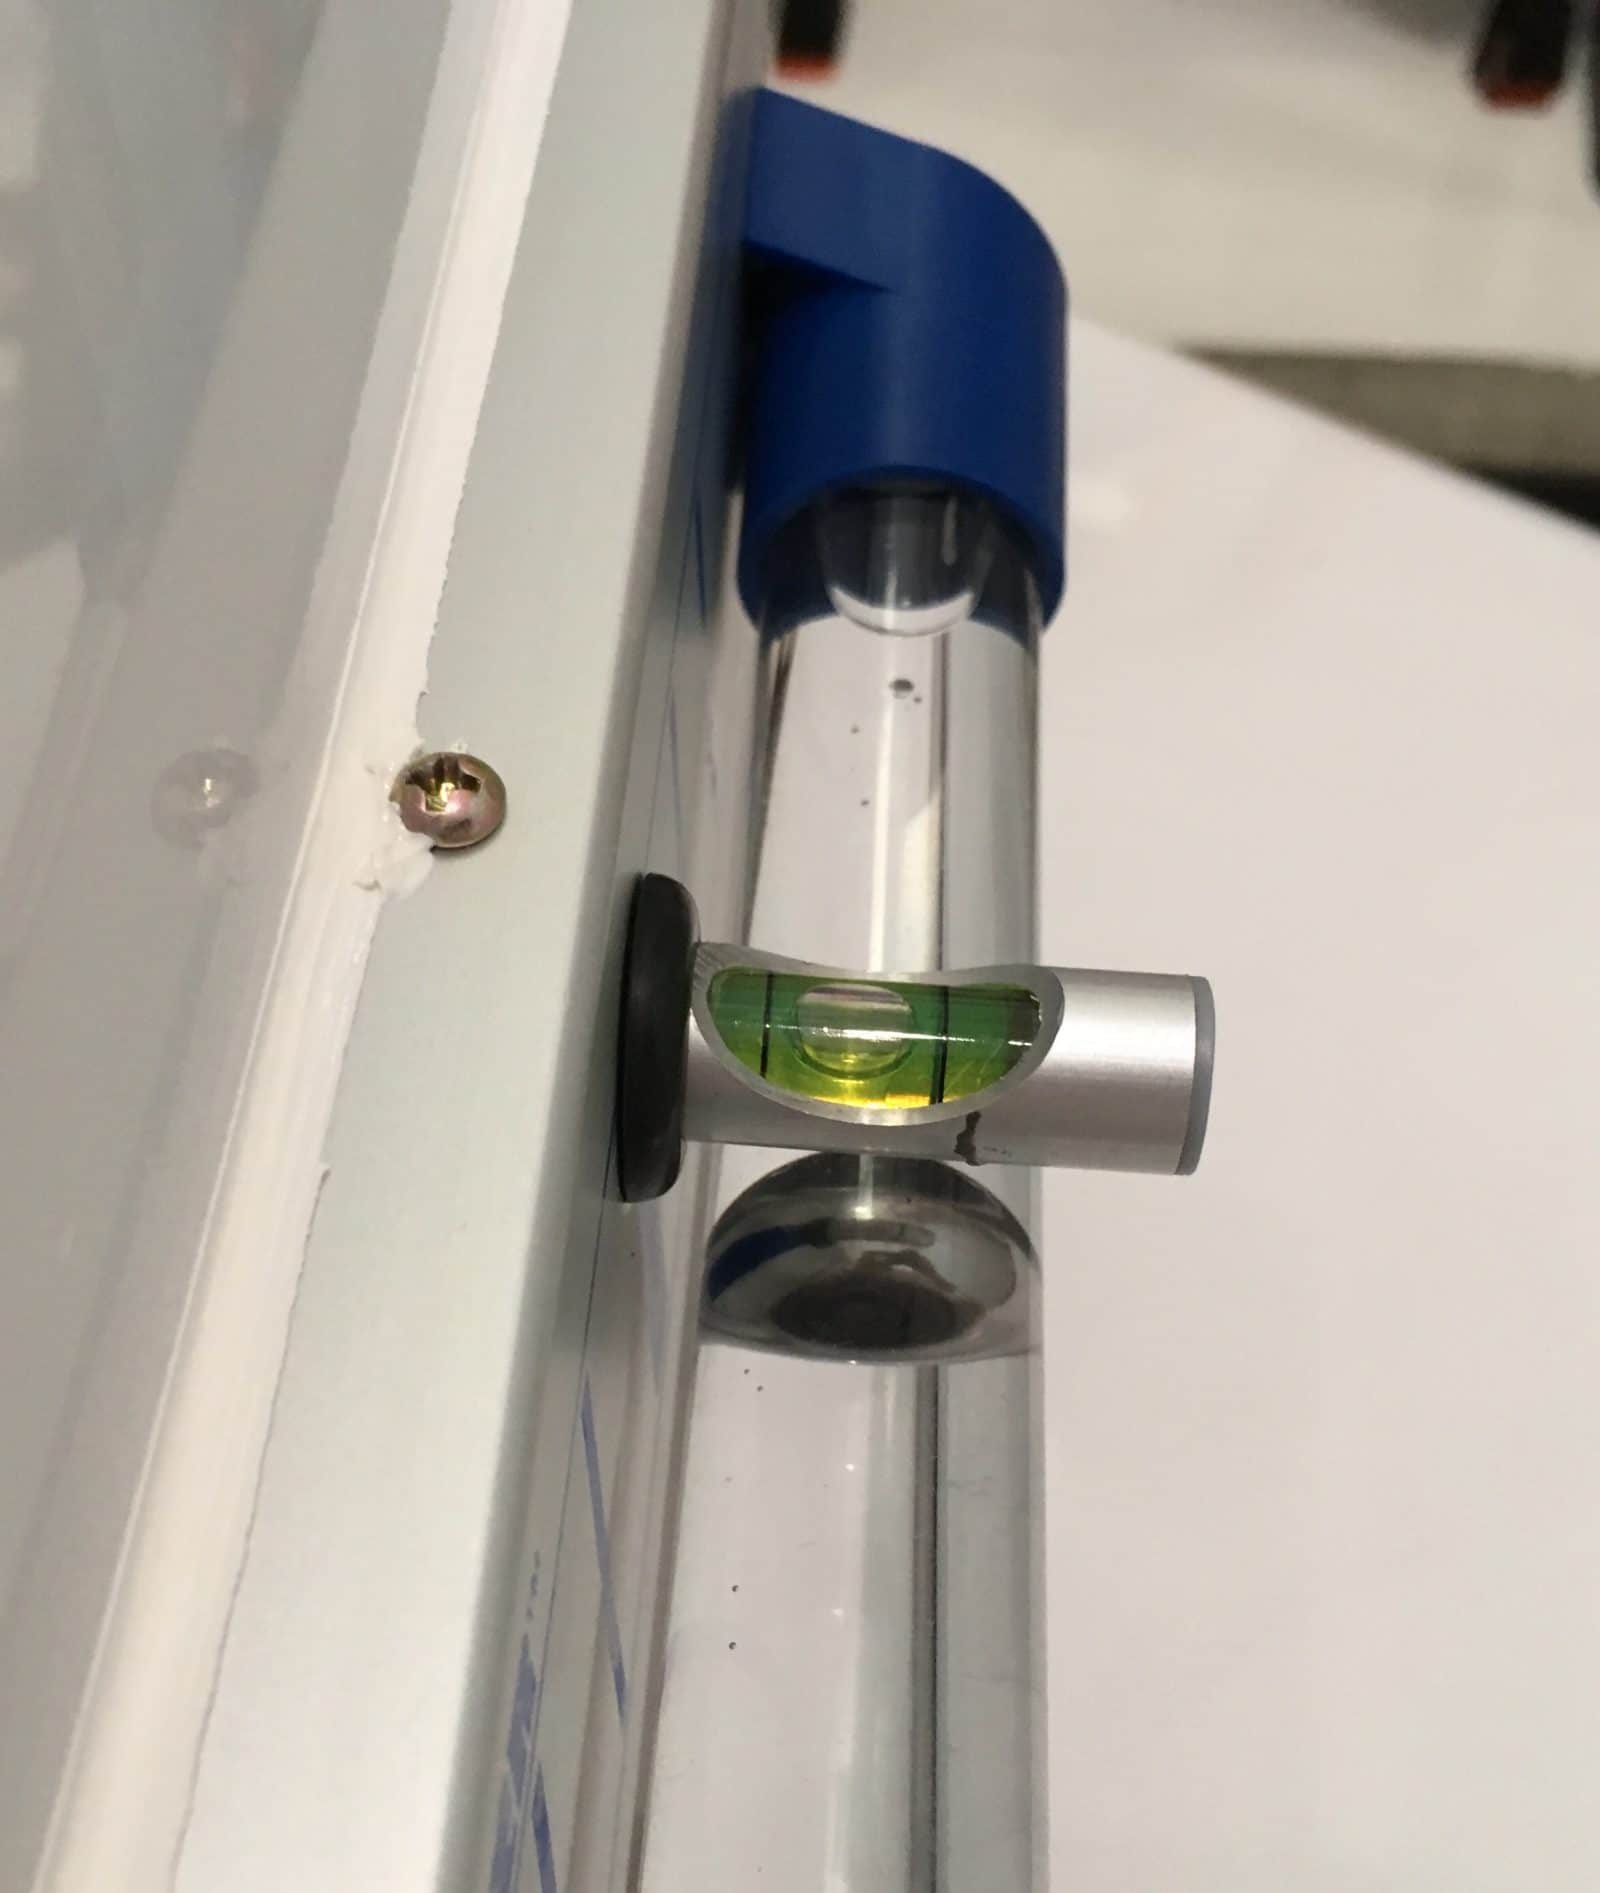
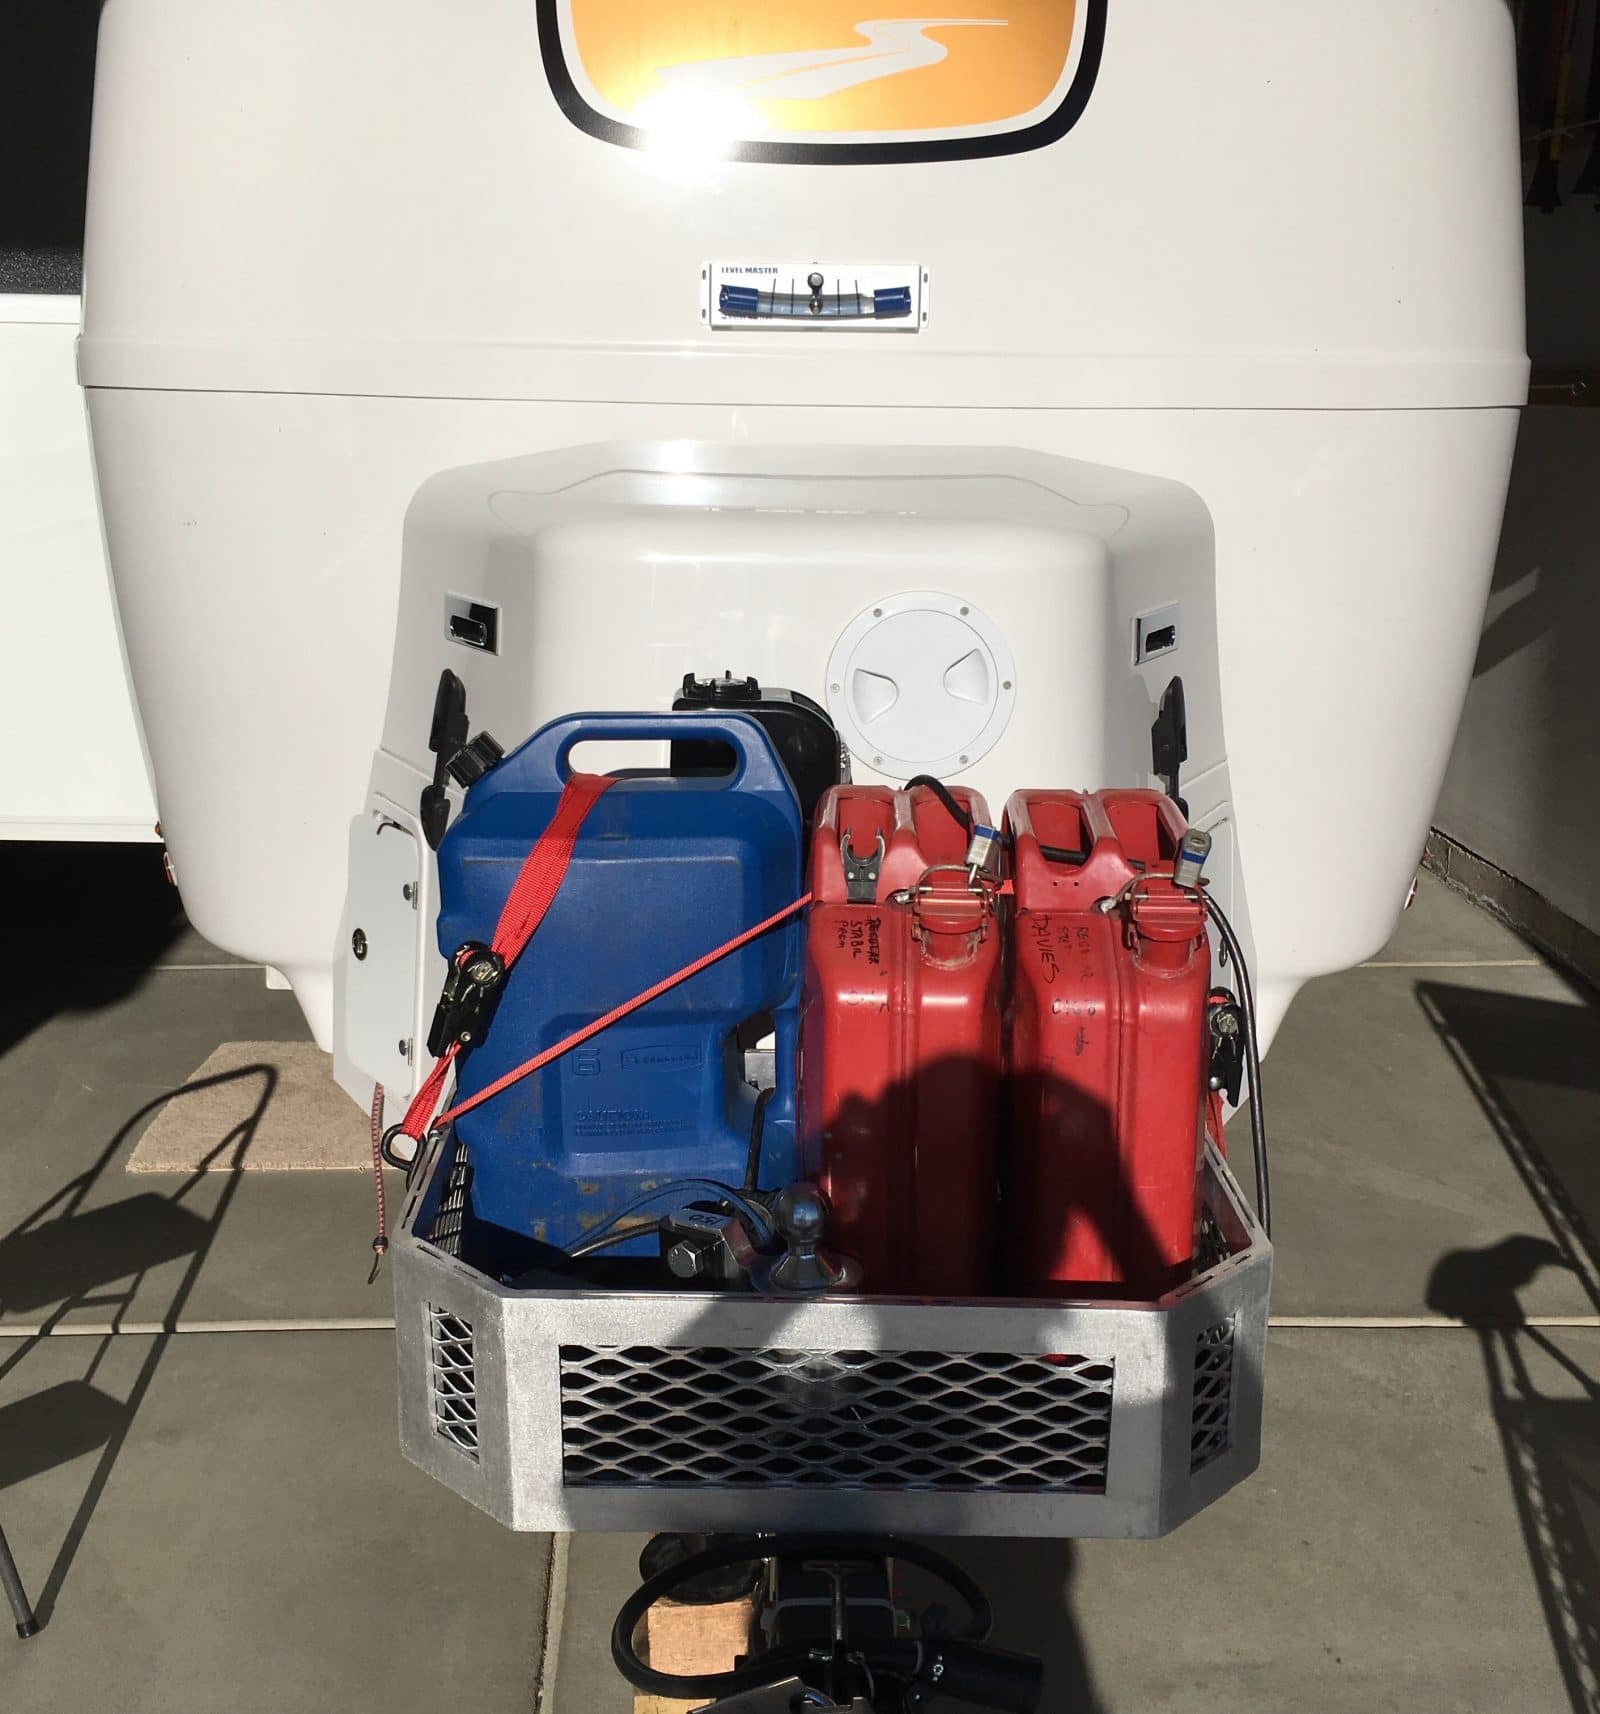
I originally wanted the Camco 25563 level because Amazon had it on sale for less than $15.... The one I received had leaked badly and there was oil all over the inside of the packaging, and the cardboard was soaked through: I arranged for a refund and another level through Amazon's painless return system. The next one I received had ALSO leaked, though not quite as badly. I returned that one and decided that maybe Camco was not a very good choice for this particular device. I went by the local RV Stealer parts department and found a similar model made by Level Master. It was $34, but it was not leaking, so I brought it home. After test fitting it where I wanted it to go, I pro-actively sealed the two ends where the factory plugs go, to prevent any future loss of fluid. Parts used: https://smile.amazon.com/Wheel-Masters-6700-Level-Master/dp/B000V55NB0/ref=sr_1_1?s=automotive&ie=UTF8&qid=1501042191&sr=1-1&keywords=level+master+trailer+level JB Weld (or any good two part epoxy) 3M 4941 VHB Very High Bond Acrylic Foam Tape 0.5" wide (used for securing automotive trim, very tenacious!) White Marine Silicone RTV Adhesive Sealant, UV stabilized. Not regular silicone sealer. The "Adhesive" part of the description is important! Masking tape and assorted measuring stuff Carpenters level I carefully secured the level vertically in a bench vise and added a thick layer of epoxy to cover the factory "plug" in the hollow tube. I let it kick off (two hours) and then did the other end: [attachment file="IMG_2792.jpg" There is no way that is going to leak, unless it gets hit with a bird or large rock..... Here is the back, showing the small bubble leveling screw. It has a hole at the bottom where it turns, this must not be covered with sealant on the final step. Also shown is the two strips of VHB tape. Alone they are probably not quite enough, but with the adhesive/ sealant added afterwards it will be plenty strong:: I cleaned the front of Mouse with isopropyl alcohol, and also the surfaces of the level. I used masking tape to find the center of the front wall. My choice for height is based on being able to see the level over stuff piled in the rear cargo area of my Land Cruiser, so it is an inch above the belt line. [attachment file=IMG_2794.jpg] I leveled the trailer left to right using the rear bumper, double checking the inside floor ... and carefully stuck on the level. Once pushed down firmly there is no removing the VHB, but if you lightly position it, you can readjust it. Once in the correct location, push and hold each side hard for 30 seconds. Now it is stuck hard! Detail showing that there is a gap all the way along, in spite of the curvature of the wall, thanks to the thickness of the VHB tape: Mask off the perimeter, leaving gaps on the bottom at each end and at the hole for the small level adjuster screw. The gaps are for moisture drainage: Inject the adhesive/ sealant into the cracks all around: Work it in smoothly by dragging your finger along it. Do not lick your finger! I am sure it tastes really bad: Carefully peel off the tape, do not let the sealant dry first. Mistakes can be wiped up with a dry paper towel: Make sure the trailer is level fore and aft and adjust the little level: Done: If the big ball is a little off center, you can adjust the entire tube a _small_ amount by loosening the left screw (looking at the front of the unit) and then gently tapping that end down or up with a screwdriver handle. The mount is slotted for that screw and the nut is serrated, so you can retighten the screw after and the nut will not turn. DO NOT LOOSEN THE SCREW MORE THAN A TINY AMOUNT, just enough to move the tube, or the nut back there may spin around and you won't be able to tighten the screw. Then you will say very bad words, indeed.... I will post more pics when I next tow Mouse. This should make it a lot quicker to get the side to side leveling done, from the driver's seat, by simply driving along until the ball is closest to dead center. John Davies Spokane WA
 1 point
 -
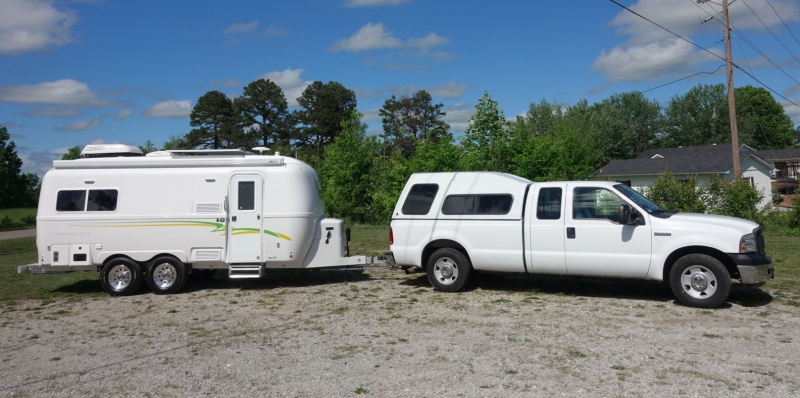
We are very happy campers.
1 point
-
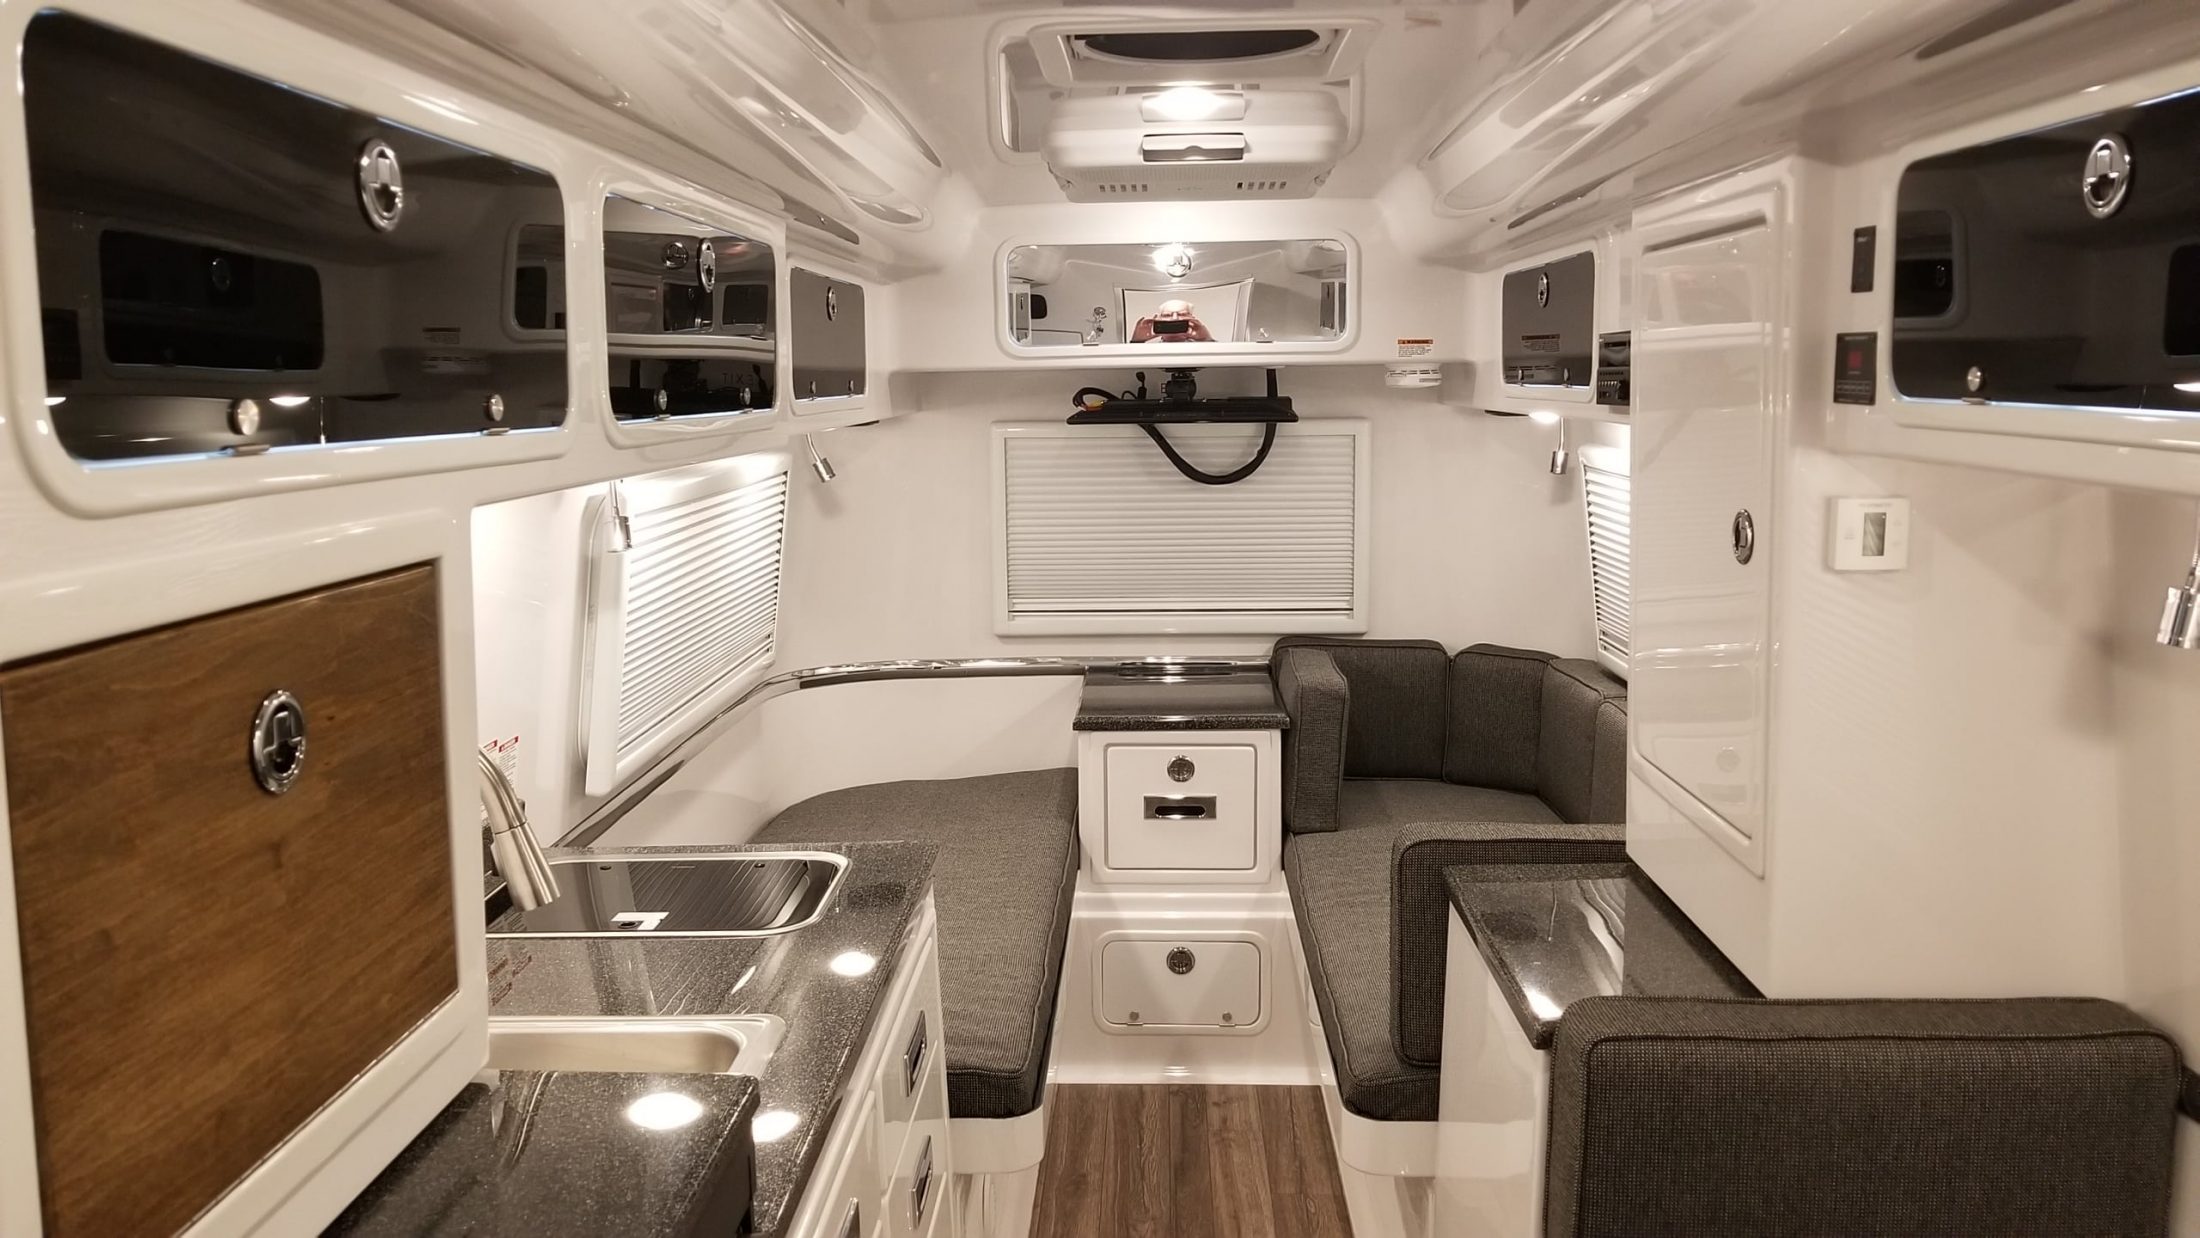
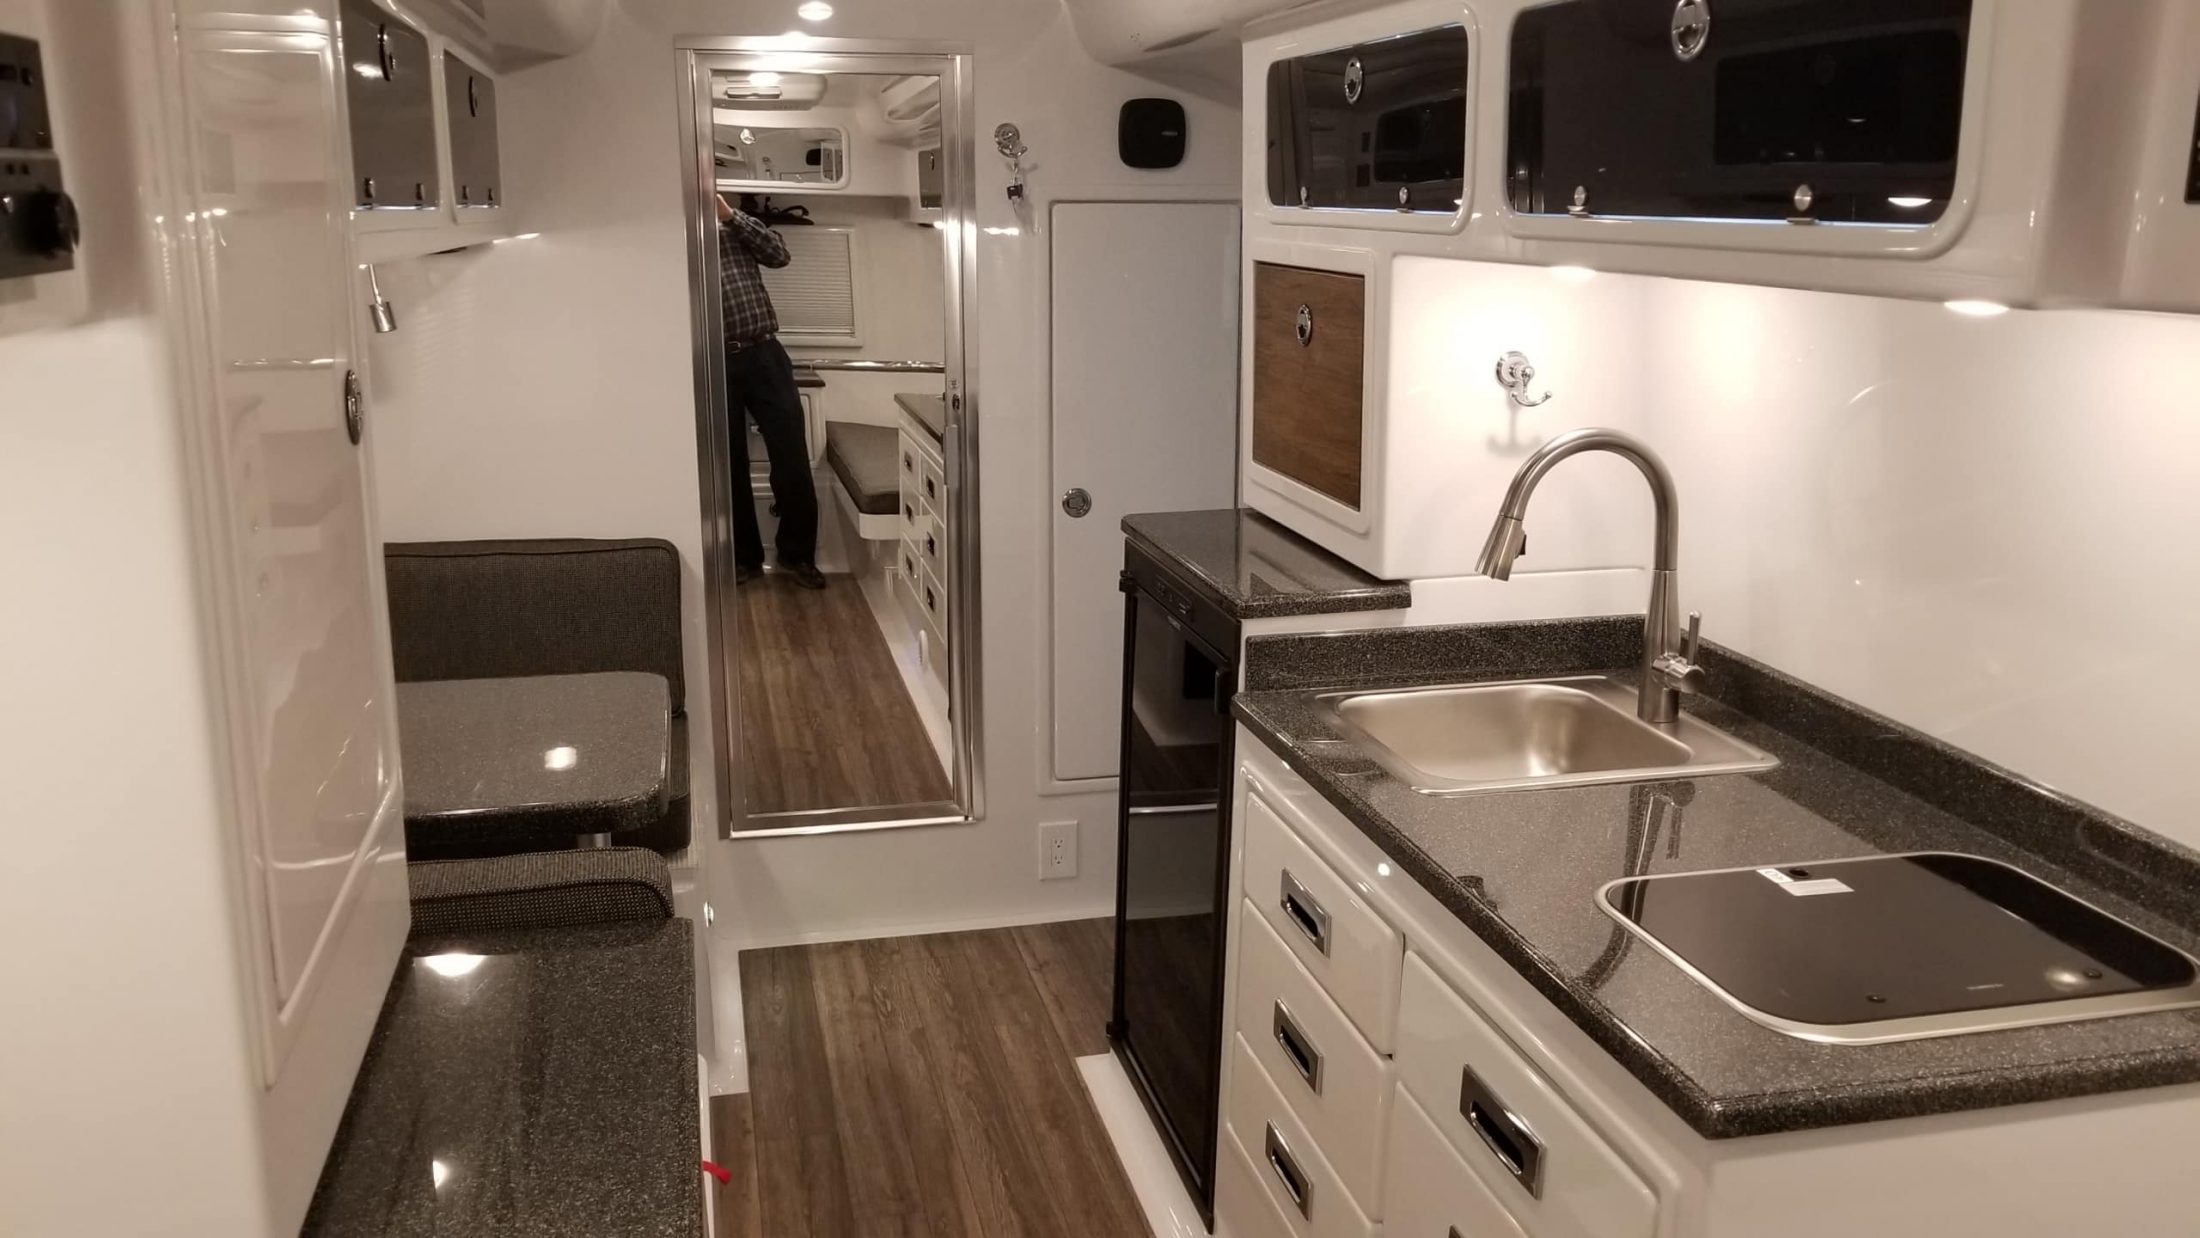
We took possession of our Ollie this week. We spent two nights camping locally (Natchez Trace) which turned out to be a great idea as it gave us time to field test all of the systems and get comfortable. We are now home and planning the maiden voyage - a three week loop thru south Florida. Happy Campers with big plans - looking at her makes us want to leave home.
1 point
-
If you’re on the side freeway with a flat tire and for some rare reason, you have a jack failure where do I tell the wrecker driver to place his jack to lift the trailer to change the flat tire? Where are the lift points on OTT's? Jack failure is rare but it does happen.1 point
-
1 point
-
As I was perusing airforums this morning I stumbled across this post and thought I would share it here for those who might be looking for something different for their flooring. The first post is pictures and a few further down gives the contact info for who did. It's Teak looking carpet/rug/mat http://www.airforums.com/forums/f240/teak-look-carpet-178033.html1 point
-
The folks who buy the really high end overland rigs like the Earth Roamers are definitely rich, tho there are plenty of young DINKs - Double Income, No Kids - with lots of cash invested in accessories for their 20 year old Land Cruiser. It is very easy to sink $30k into a $10k vehicle and still not be quite “finished”. Then there are the people who just want to travel and explore and a stock 4wd Vanagon or a Silverado with a camper top may suit them fine. The motorcyclsts fill out the rest of the spectrum on their Dual Sport or Adventure bikes. Some travel the world, most just pretend and limit their trips to the local area. You do see kids and dogs at these rallies, but mostly it is couples of all ages. If you are interested, consider visiting Flagstaff at the end of May..... this is the best event in the country, by far. It’s an easy two day trip from Colorado Springs.... https://www.overlandexpo.com/west John Davies Spokane WA1 point
-
I simply ran the HDMI cable from the TV to a splitter input. Then the HDMI cable from the Furrion to the Splitter. A second HDMI from the Dish receiver to the Splitter. When I want Dish, I simply dial the splitter for input from the receiver. When I use the Furrion I dial the splitter to have input from the Furrion. I ran a triple RCA cable from the TV to the Furrion to be able to use the 4 speakers when using the Dish and also the Furrion. PM me if further questions. Bob1 point
-
I've reposted my question under the Thread Question for the Oliver Travel Trailer Factory???. I'm a big supporter of OTT and I'm not trying to be difficult, but I feel that this is an important question that needs a clear and concise answer. When I drop my trailer at an RV service center, I'd like to have a paper that I've printed off of the manual to hand to that center explaining how to lift the trailer for things like repacking the bearings, etc. I have included this and other questions on that thread, so hopefully, I will understand how to handle these situations soon. kountrykamper thanks for asking the question to start this thread. Hap1 point
-
Hi Keymaster, As you may already know I have experienced a jack failure on our first 2014 OTT while in the middle of nowhere Alaska. Also, this is not a request for service just a question that I've been asking for several years and still don't understand the answer. I suppose I a little on the dumb side but reading your reply here and reading the 2016 Elite II manual leaves me even more confused. What is a "special tire ramp"? In the thousands of miles that we have traveled while RVing I've seen many RV's with both tires flat on one side of the trailer flat after hitting a really bad object on the road. If I purchase a "special tire ramp" and both tires are flat will it still work? When I take our trailer to an RV service center to have bearings packed how do I explain to them the proper procedure to raise the tires? Where "is the steel section of the subframe"? A picture would be nice. Also while I'm at it I'd like to request a [Question for the Factory] section on your forum page. Thank You. Hap1 point
-
@kountrykamper @hap I reached out to Jason Essary and here is what he said: First part is that on the Elite II we don’t have to worry about jack failure for the flat tire as you should not use the jack to raise the trailer. You would want to run the good tire up onto a block or special tire ramp to lift the other tire off the ground for easy changing. Jack spots. There aren’t any built in jack spots per se like you might find on a car or van with a special reinforced area for the jack. The best place would be to place the jack on the steel section of the subframe as close to the tire that needs to be lifted. DO NOT put the jack under the axle or leaf springs. Thanks, Jason1 point
-
Hi @hap, Glad to see you have reached out to us on the forums. However, you could best reach us by putting in a ticket for any of your questions and concerns. The ticket system is found here: http://olivertraveltrailers.com/service/ I reached out to Jason Essary and here is what he said: First part is that on the Elite II we don’t have to worry about jack failure for the flat tire as you should not use the jack to raise the trailer. You would want to run the good tire up onto a block or special tire ramp to lift the other tire off the ground for easy changing. Jack spots. There aren’t any built in jack spots per se like you might find on a car or van with a special reinforced area for the jack. The best place would be to place the jack on the steel section of the subframe as close to the tire that needs to be lifted. DO NOT put the jack under the axle or leaf springs. Thanks, Jason1 point
-
We now have an appt at Oliver to have it evaluated. Jason actually called me saying he had been notified that we were having a problem so someone here passed it along to him. Thank you to whoever that was. This forum is fantastic!!! We’ve got some other things to be checked out so figured we make a trip back to the Mothership ? will keep you posted. Thank you to everyone!! Angela1 point
-
WINTER STORAGE OF CAMPER When storing the camper for the winter you will want to ensure that it is done properly so you don't run into any issues when you get ready to get it out of storage. Winterize: Make sure you properly winterize the camper with an RV Antifreeze. Using air to blow out the lines will NOT remove all of the water in the system. There are valves throughout the camper that can hold the smallest amount of water, freeze and crack causing an unwanted repair. Make sure the filter or anode is removed from the water heater and it is empty. Batteries: The on-board batteries are susceptible to cold weather and can drain even when disconnected from the camper. It is best to leave the camper on a charge keeping the batteries topped off. This will prolong the battery life as well as ensure that the camper has 12v power when it comes out of storage. Tires: The tires on your camper may develop flat spots if left sitting on concrete/asphalt while being stored. This is okay as the flat spots should straighten out as you drive the camper down the road about 10 miles and the tires heat up. Even if the camper is being stored inside a building, if the building temperature is not regulated to stay above freezing and/or the building heat source fails, then you may have something freeze inside the camper causing damage. Winter Usage The camper is designed to be used during the winter months just as you use your stationary house. However, the biggest difference is that with your camper you may turn off the heat source and travel to your next destination. This trip might just be enough for the water left behind in your water lines, water filter, toilet, and or water heater to freeze and cause damage. Recommendations: While traveling in freezing temperature (32 degrees) it is recommended that you drain your water heater, cut off the water to the toilet and flush to remove as much as the water from the toilet as possible. Depending on the outside temperature and how long your drive will be, this may not fully protect against freezing. It is best to use RV Antifreeze to pump through the lines when in extreme temperatures to ensure that nothing freezes. What factors impact how quickly your water will freeze? Water Mass - 6gallons of water will take longer to freeze compared to 1ml of water. The valves inside your camper may have less than 1ml of water resting on them as you travel creating a potential freeze condition. Water Temperature - The starting temperature of the water before it loses its heat source. Water that is in the cold lines may already be at 50 degrees and it only has to drop to 32 degrees for it to freeze. Hot water in the lines requires even less time compared to cold water to freeze. Outside Temperature - If the outside temperature is 0 degrees then the inside temperature will fall faster than when traveling in 32 degree weather. Speed of Travel - When traveling down the roads at 70mph the wind chills across the camper can drop the temperature quicker. *When traveling during the winter months please keep up with each states laws for campers. Many states do not allow the propane system to be on while driving on roadways, bridges, and tunnels. Space heaters may keep the main cabin warm but may not provide a sufficient heat source for the water lines between the shells.1 point
-
We have always blown out water lines. As a matter of fact, we blow them out twice. We wait 10 or more minutes to let any bubbles or droplets roll to a low point and blow again. We don't want to dilute any antifreeze we put in in the next step. With the second blow there is a lot less resistance in the line, so you can move any remaining material. Always amazed on how much the second blow removes. We used to do between 40 and 50 winterizations each winter at a campground we were at and never had a frozen or broken line in the Spring. The 10 or 20 minutes it takes is a lot less time than it takes to replace a water line...1 point
-
You are just a wealth of information, thanks for all your posts. We need to put you on retainer.1 point
-
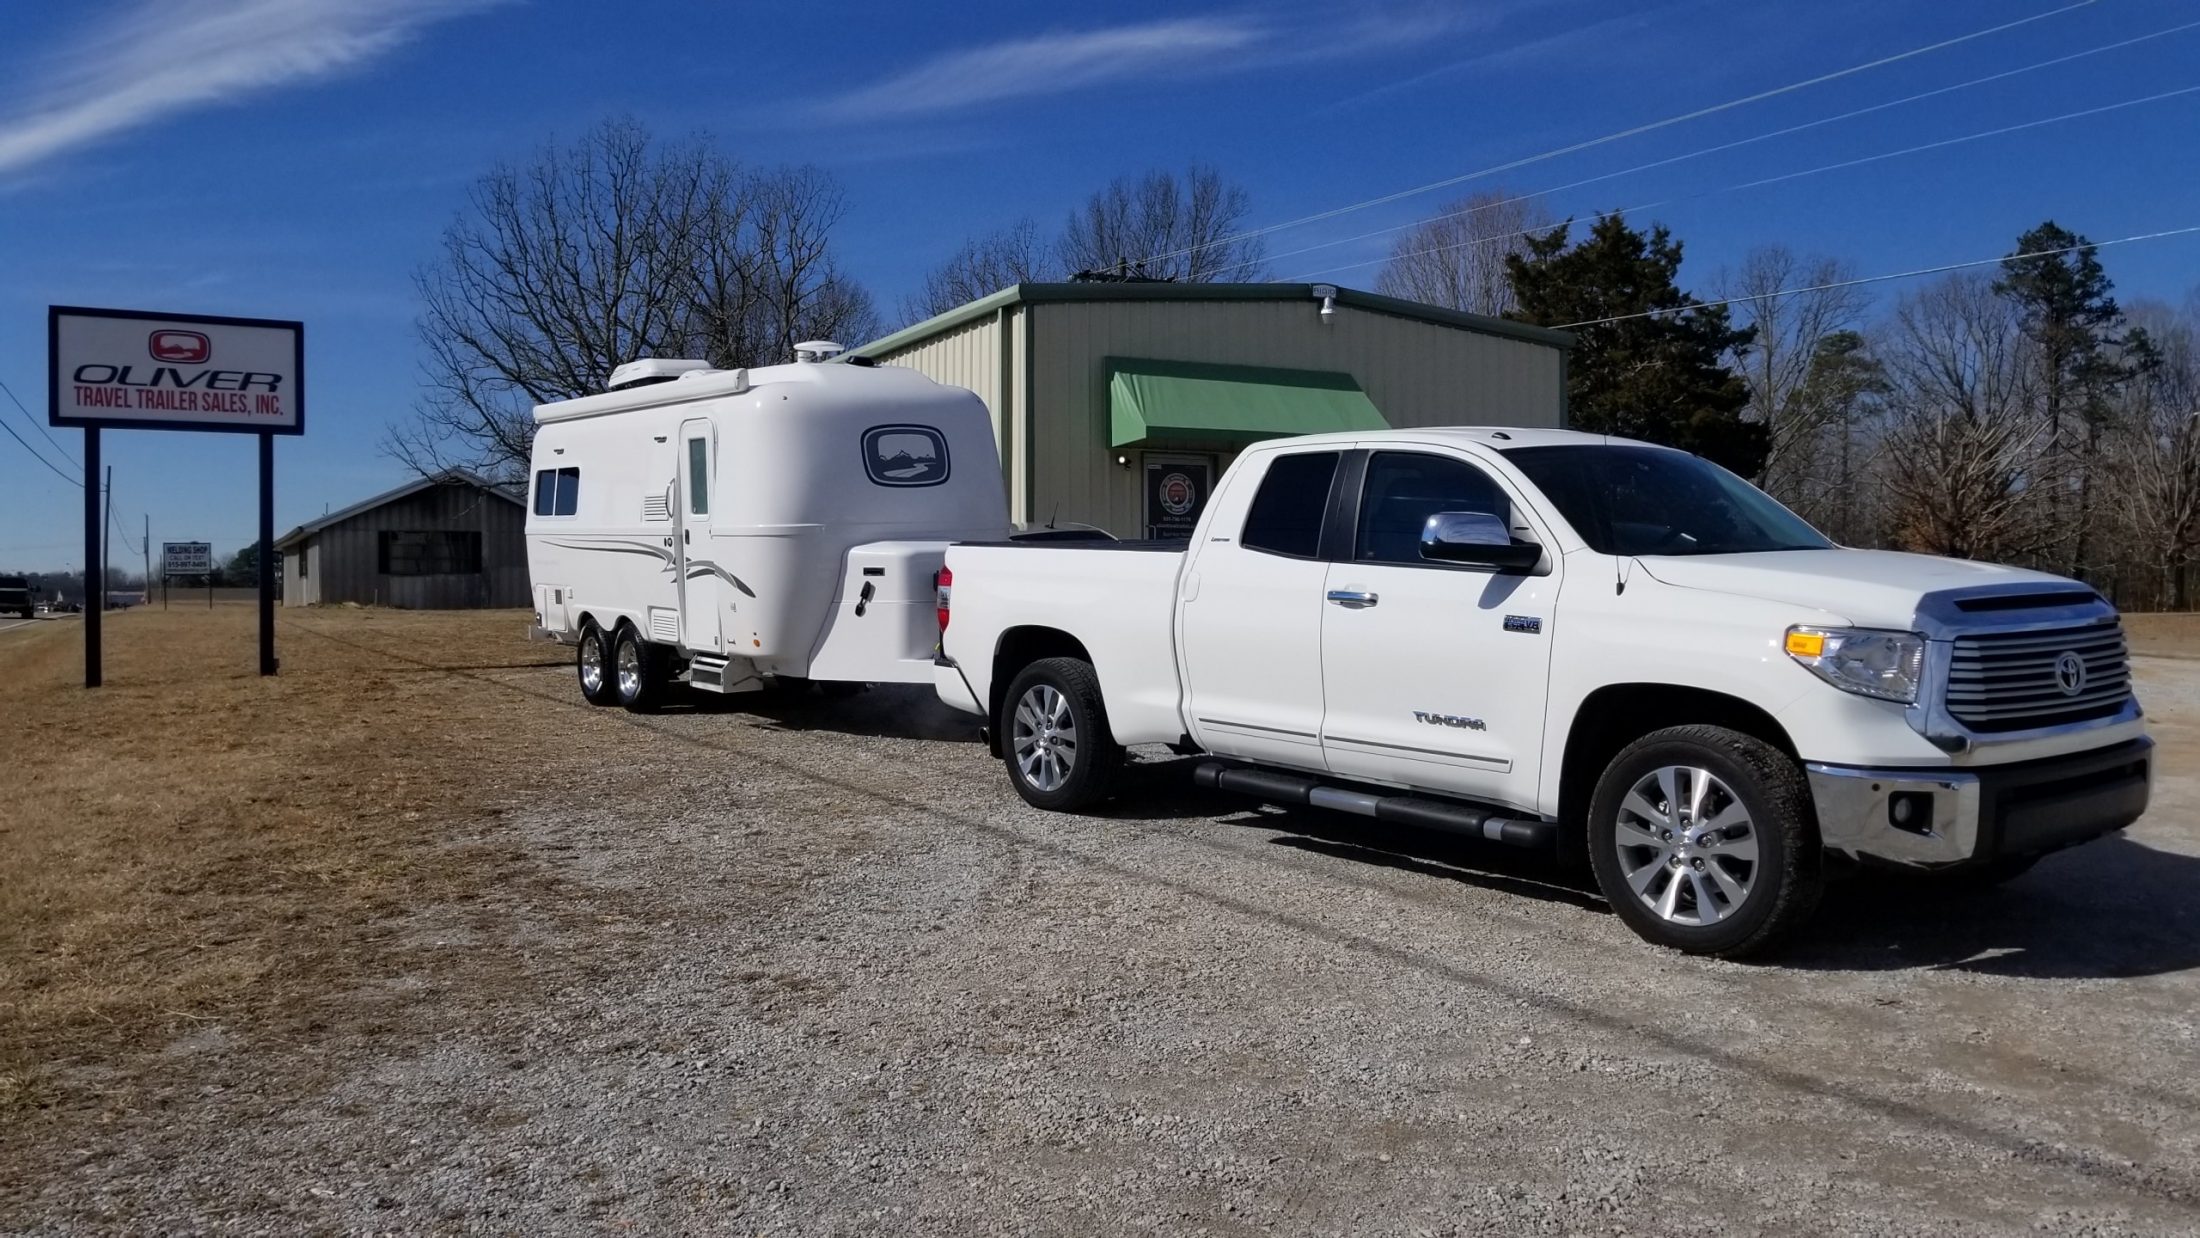
My wife and I took delivery of our new Oliver. Pick up went very smoothly and Jason did a great job going over all the features and answering questions we had. We are looking forward to many great adventures and can't wait to meet other Oliver owners and learn as much as possible during the upcoming rally.
1 point


-
Recent Achievements
-


")


")


")


