Leaderboard


Popular Content
Showing content with the highest reputation on 05/08/2021 in all areas
-
On the other hand, you’ve demonstrated the ease of repairing those connections. Of course, if the leak had been someplace less easily accessed, then you’d have had a very bad day. It’s a bit of a trade off, but obviously I mostly agree with John since I went through and replaced all of mine with brass and crimps. Very glad that you were able to get things fixed so quickly. After you’re done with your trip, you might think about doing some zip tying of plumbing and electrical wherever you can reach. I think securing those lines so that they can’t vibrate too much goes a long way to preventing those sorts of leaks. Keeping a spare fitting or two (elbow and tee) in a drawer isn’t a bad idea either, since they can crack.5 points
-
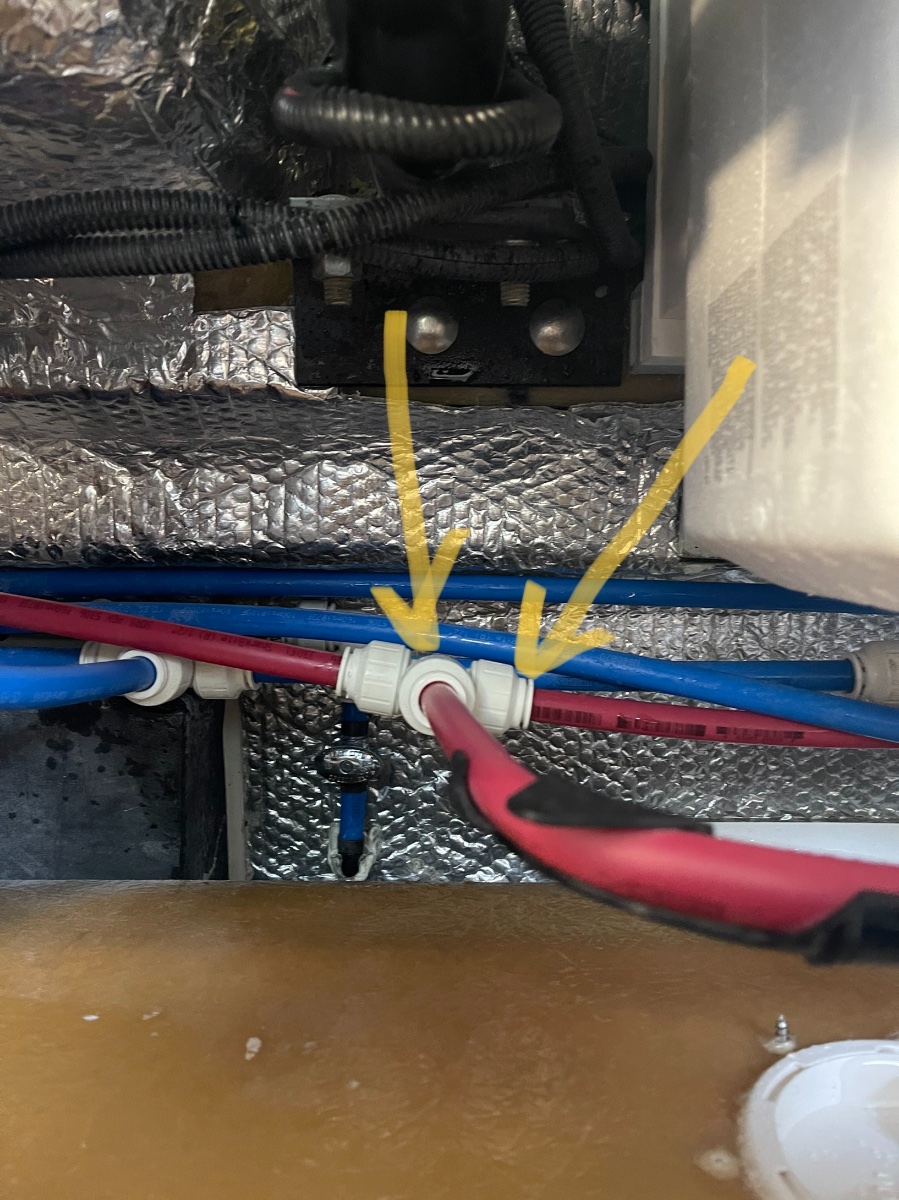
Ok found the GUSHER. Water was coming out of the top connection but pushing back in place fixed it. The connection on the right seemed fit, but water is pouring out there with pump turned on I completely disconnected and reconnected all sides of this t-fitting and that seems to have fixed it. thanks for the help y’all!!!
 5 points
 -
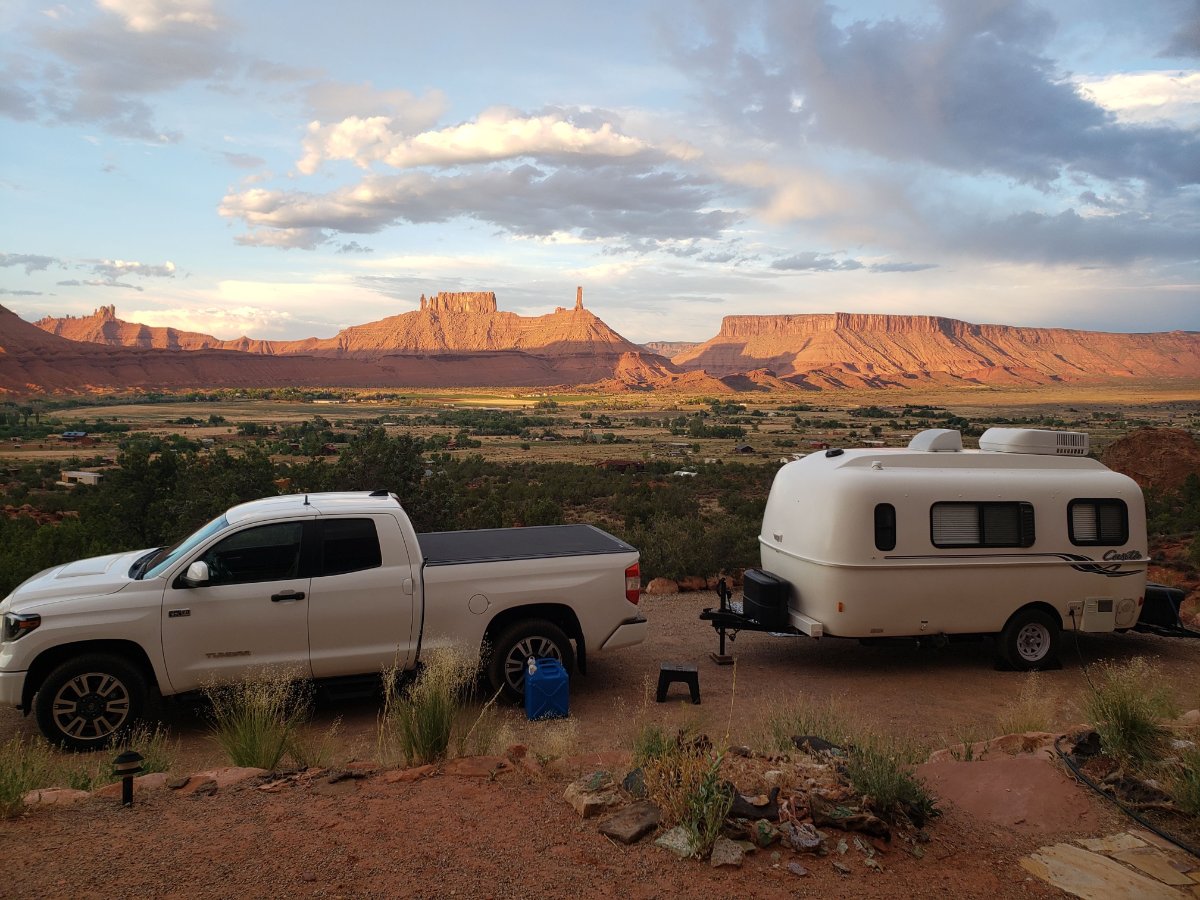
Hello from Ohio! I am Claudia, a new prospective owner of a Legacy Elite II. I couldn't be more excited to join the Oliver family as I've dreamed of owning one since I saw one at our Ohio Casita Rally a few years back. I joined here in 2016 but only occasionally looked at the classifieds. I've owned a Casita for nearly ten years and have loved every minute of ownership..to the point that my trailer was named "OCD" for Obsessive Casita Disorder, LOL. I have lived in my trailer for up to five months while managing a National Forest Campground and have traveled a great deal. I absolutely love being outside and the camping lifestyle. I usually travel with my dog Rex. I'm really looking forward to digging my teeth into the Oliver University and the experience and knowledge from this forum. My success with my Casita was directly related to my membership over at Casitaforum where long time owners freely shared their knowledge and passion. I really hope to repeat that here. My tow vehicle is a 2020 Toyota Tundra TRD Sport and the picture was last year in Utah!
4 points
-
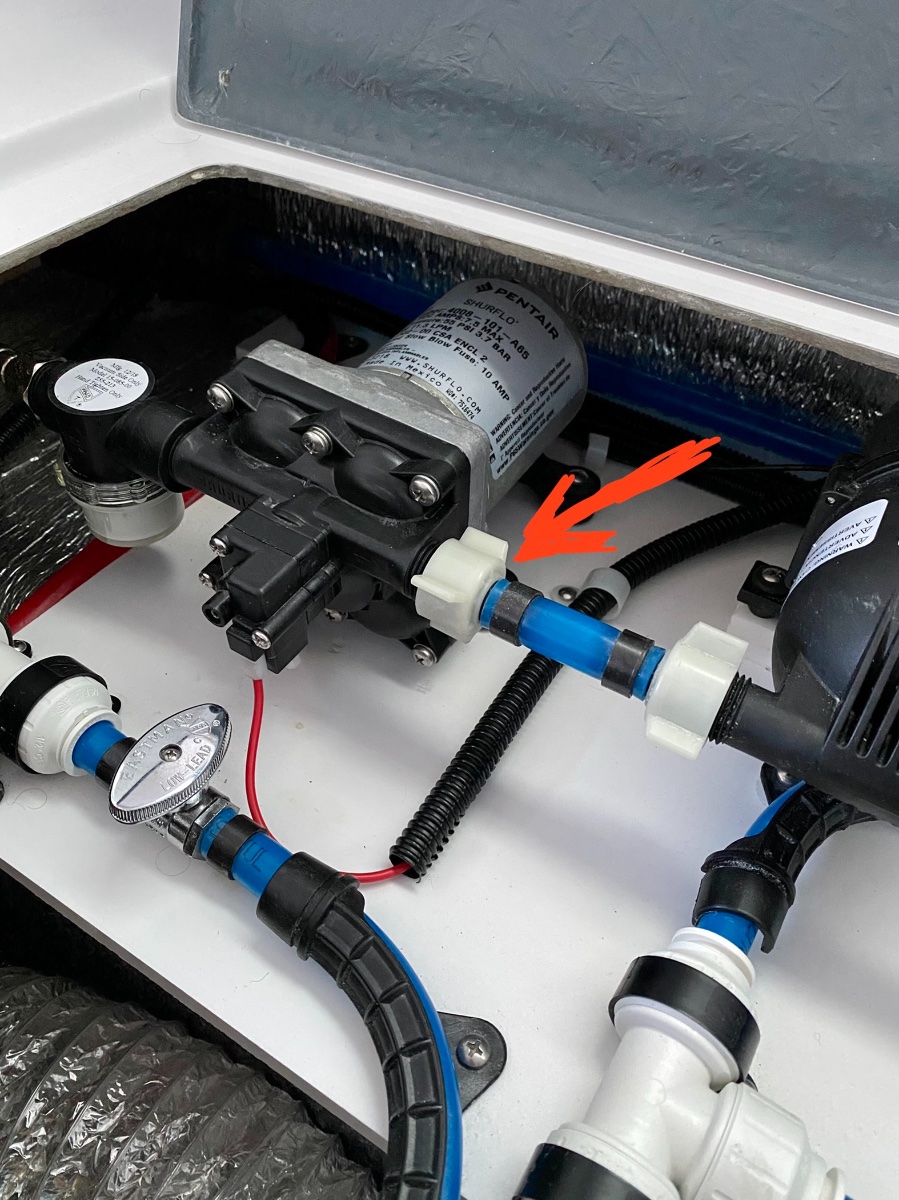
We had a similar issue. The fitting on the pump outlet had vibrated loose over time. Check all the fittings you can reach under the curbside bed and make sure they are all tight. You said you can hear hissing under the bed so it should be pretty easy to spot the leak once you open up the access hatches.
3 points
-
While your checking out what’s going on under the curbside bed per Hobo’s advice, turn the water back on to see if you can make it leak again.. check out these connections, there are a bunch of them... if they are leaking, try pushing the tube hard back into the T... if it’s not seated right it will sort of click back into place..
2 points
-
Hearing hissing and the pump not shutting off lead us to a leak... one on the lines had worked itself loose from its T fitting.. it needed to be firmly pushed back into place and has been fine since...2 points
-
Hey jordanv, I'd say you definitely have a leak (or three) somewhere downstream of your pump. Did you experience a deep freeze or a pressure spike in your water source? From your pictures of where the water is leaking (more like pouring) out, it looks like it's coming from the front portion - around the bathroom. You may have to remove the shower caddy from the vanity to have a look at that plumbing. There are weep holes all around the Ollie so wherever the water's coming out will help you narrow it down (assuming your Ollie is fairly level). The blue tube is the fresh water drain so that's not likely a problem. The other weep hole looks like it's in the back and only a drip, so perhaps some water getting back there from the "main" leak? I know you should disconnect your battery (trip the main breaker) and if you don't see an obvious break in the plumbing somewhere, you can use compressed air to locate the "hiss" without actually doing any damage with more water. Best of luck and keep us posted. I have had a few plumbing leaks crop up here and there after 3K+ miles on our Ollie - but plumbing is plumbing and it all eventually leaks. 🙂2 points
-
I just saw that Garmin has released a "small" update for the 890. Apparently this update is for the iOverlander portion and brings it up to date. This might be helpful for those that are soon to be on the road to the "Non-Rally". Bill1 point
-
Susan, that lock, plus the collar lock, is what we've used for 13 years. Even if the Blaylock is cut, the collar lock would keep the hitch from opening. More effective, imo, than collar lock plus ball bearing. At least two more minutes and tools...(John's estimate).1 point
-
I could get through that in a five minutes with a battery powered saber saw.... the pin is hardened, which it should be, but "aircraft grade aluminum" will cut like butter. On second thought, make that 60 seconds per side, assuming a new blade and a fresh battery in my saw. Then the ball falls out. If the housing was forged steel it would be fine with a high quality padlock, not a $10 one. You have a 2" coupler, unless you specifically requested Service to upgrade it. John Davies Spokane WA1 point
-
Hello Claudia, you will enjoy owning an Oliver over the Casita. We were owners of a Casita for eight years plus several other travel trailers but the Oliver is an excellent trailer.1 point
-
Welcome, Claudia! Hopefully you’ll find this group as helpful and encouraging as the Casita folks. Mike1 point
-
Thanks Bill and all. I did it yesterday and it was super simple. Different from the video at the top in that the zerk were on the outside vs facing inside (which seems like it might have been much simpler). I had 8 per side -- 2 on the top of where the Dexter attaches. Those were angled zerks, so they were pretty easy too. I did pull the wheels off for ease of getting to the zerks. Now that I know what I'm doing, I may try it without removing the wheels next time. All told, probably a half hour and next time it'll be quicker - unless I forget everything I learned this time (and that's as likely as not to be the case). Since I took the wheels off, I didn't need the angled grease gun tip, but next time when I try it with wheels on, I can see how the angled tip will help.1 point
-
Welcome to the world of RV/trailer ownership, where if something isn’t loose or broken, it’s about to. And Olivers are at the top of the quality list for trailers. Other brands have far more problems. Unfortunately the RV industry in general just isn’t up to the same standards as the automobile industry.1 point
-
This is one reason I prefer to not use that kind of fitting, it is super easy to make a connection, so that is good for the production line, but it relies on an inner o-ring to make a seal, and if the end of the pipe is not cut at a perfect 90 degrees or is left with a sharp burr, it can fail later. They have no place in an RV that gets beat up during towing…. They are very expensive, but for an in-the-field emergency repair they make sense for most owners. Just do it correctly or it may not end well. A copper fitting with stainless crimp rings is much better, more compact and a tenth the cost (after you have bought the correct ratcheting crimper and a PEX cutter.) I am glad you got it fixed, but do not assume it will stay that way. 🙁 In the future if you get a significant leak turn off all shore power, 120 volts AC and water can be deadly. Use your regulator any time you connect to an unknown water source, even to fill the tank. A good adjustable “full flow” one with a gauge is better than the little brass thing that just restricts flow. Buy a BRASS 90 degree hose elbow, and place it so the regulator points towards the rear bumper, that will support the regulator and an inline Camco blue filter and keep it all off the ground and out of the dirt, while looking professional. It’s a big learning curve, hang in there! John Davies Spokane WA
1 point
-
Sounds like a line has completely severed. I would start with the simple and look under the curb side bed for any obvious leak. Odds are you only have one leak somewhere but it's enough to flood the basement where the scuppers are allowing it to release. I wouldn't panic. Also, just curious as to whether you are using a pressure regulator on the incoming water? Keep us informed. 2 Hobos (Paul)1 point
-
EDIT, I was able to reserve my prime spot at a former FCFS campground today at Recreation.gov for three nights in early July. Even with a significant rate increase it was just $34.50 total (with the geezer pass) plus NO Online Reservation Fee, State Sales Tax, Discovery Pass (visitor pass) requirement or Just Because We Can Fee,. So the system is now up and running properly. Cool. John Davies Spokane WA1 point
-
Any old sharp bits or fine tooth metal blades or hole saws will be fine. Don't use coarse ones, or those intended for wood. TAPE THE AREA FIRST to prevent slips and foul language. I like the 3M blue masking tape, it can remain on for a week without getting hard to remove. Wear vinyl gloves, and use a coarse sandpaper afterwards to remove all the sharp bits, 80 grit wet or dry is fine. There is a reason it is called fiberGLASS! those shards can go under a fingernail or into your skin, and being transluscent, they can be hard to see and retrieve with tweezers. So it is best to avoid getting skewered in the first place. Drilled holes for screws should be countersunk slightly to remove the white gelcoat, otherwise it can crack and flake off when you drive in the screw. It is not at all hard, just take care and wear a mask for any dust. I like to place a shop vac hose close by, tape it to the surface if you need to, and run the vac while drilling. That will take care of 80% of the mess. Place some paper towels on the other side of the panel to catch debris that falls on that side, which is usually minimal for drilled holes, but it can be significant if you are using a jigsaw or sabersaw…. If the panel has a no core or a glass core, no worries; OTH if it has a wood core like the bathroom partition, you must seal the newly exposed wood to prevent moisture entry and rot. Several coats of marine spar varnish (clear) works great. Take a look at this thread, there are lots of holes there: https://olivertraveltrailers.com/forums/topic/5301-how-to-lithium-battery-powered-vent-system/ Post pictures! John Davies Spokane WA1 point
-
The roof has no problem supporting my lard behind. I try to spread out the load have used pads before, but mostly just kind of lean out onto the roof, and also kneel where needed. Sure Top gun, bring it over - oh wait I may not be here..... I'll leave the materials out - just in case. Roof panels are NO problem. I have never regretted the roof panels or the solar set up. And now that I i have the smaller gen set - bring it on - seems most of this summers trips will be hook up free anyways. JD - is that a speck of dirt I see on that roof? Nah, probably just the skid marks of some bug that though it could hang..... no chance on that surface. RB1 point


-
Recent Achievements
-
")


")


")


