Leaderboard


Popular Content
Showing content with the highest reputation on 07/24/2025 in Posts
-
Agree with jd1923, call Epoch. There is a guy there named Steven who seems to be the expert in tech support. I would also at least check the voltage with a meter on the two batteries to see if they are both at the same charge voltage before calling. If not then you might have a bigger problem than an errant Bluetooth issue. Email request take forever to get a response at Epoch or at least this has been my experience.5 points
-
Towing a trailer safely—especially one over 3,000 lbs—requires more than just hitching it up and driving off. One of the most critical components in trailer safety is the brake controller, which synchronizes the trailer’s electric brakes with your tow vehicle. 1. What is a Trailer Brake Controller? A brake controller is an electronic device installed in the tow vehicle's cabin that sends a signal to the trailer’s electric or electric-over-hydraulic brakes. This allows the trailer to brake in proportion to the tow vehicle, improving stability, stopping distance, and overall safety. There are two main types: Time-Delayed Controllers: Apply a preset amount of braking power after a delay when the vehicle brakes are applied. Proportional (Inertia-Based) Controllers: Use a motion sensor to apply the same amount of braking force as the tow vehicle in real time. For smoother, safer towing—especially on varied terrain—a proportional controller is highly recommended. 2. Proper Setup of Trailer Brakes Brake Gain Adjustment "Gain" is how much braking power the controller sends to the trailer. Start with a gain setting of about 5.0 (mid-range). Perform a slow-speed test (around 20 mph) in a safe area: Manually activate the trailer brakes using the controller lever. The trailer should slow the vehicle slightly without locking up its wheels. Increase gain if the trailer doesn’t brake enough; decrease if it jerks or skids. TIP: Re-adjust gain if your trailer load changes significantly (e.g., adding water or cargo) 3. Safety & Maintenance Tips Brake Sync Check: Ensure braking feels smooth and proportional. If it’s jerky or the trailer pushes/pulls, adjust the gain or inspect brake components. Manual Override Lever: Know its location—it can be used independently in emergencies (e.g., trailer sway). Inspect Brake Pads/Shoes: Just like your vehicle, trailer brakes wear and need regular checks. Pre-Trip Check: Ensure the brake controller is powered, brakes engage, and lights/signals work. Breakaway Cable & Battery: Confirm the cable is securely attached to the tow vehicle (not the hitch). Make sure the camper’s battery is charged so the breakaway system works in an emergency. Tip: 2026 models include a dedicated breakaway battery pack—test it before each trip to ensure it's functional. 4. Final Reminders for Safe Towing Always stay within your vehicle's towing capacity (check owner's manual). Distribute weight evenly in the trailer, with 10–15% on the hitch. Use a weight-distribution hitch as needed. Drive cautiously—slow, wide turns and extended stopping distances are critical. Tow Smart. Tow Safe.5 points
-
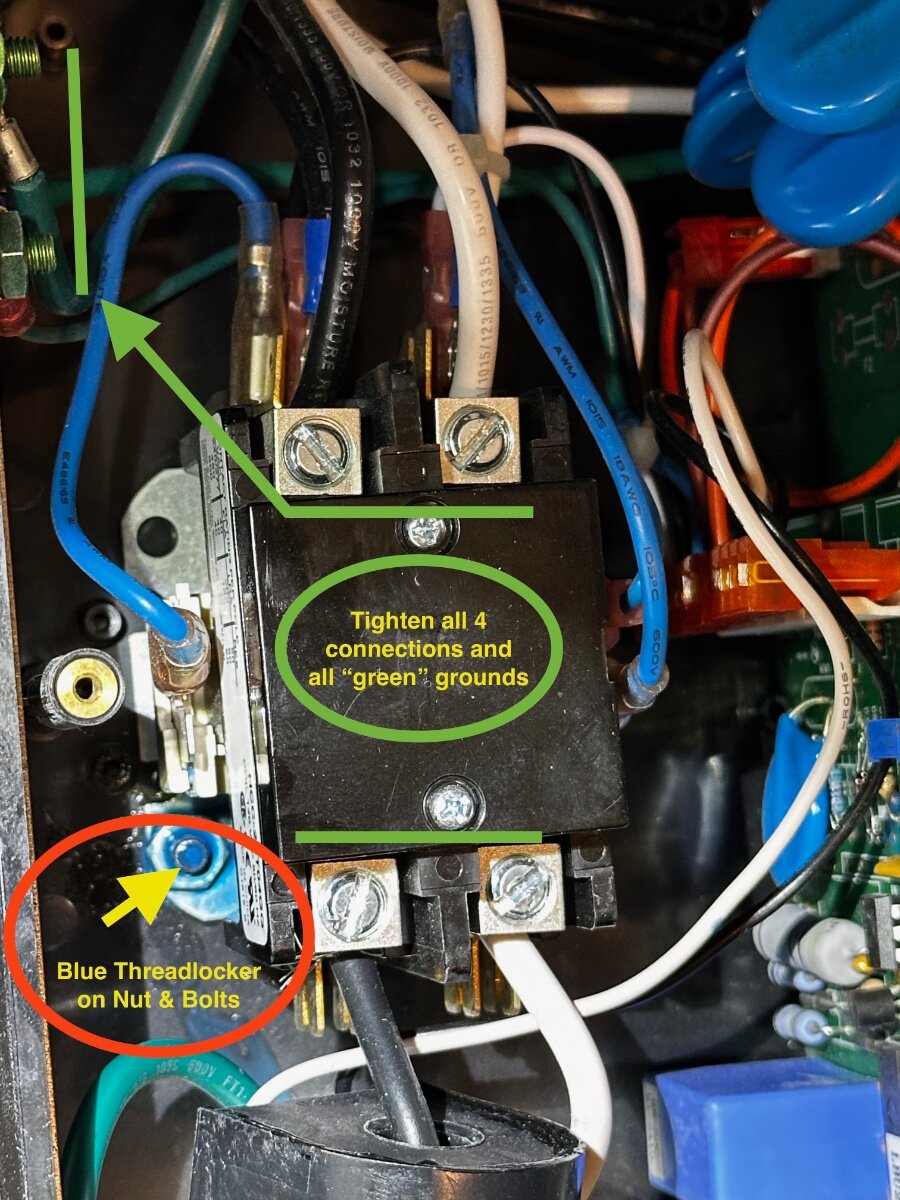
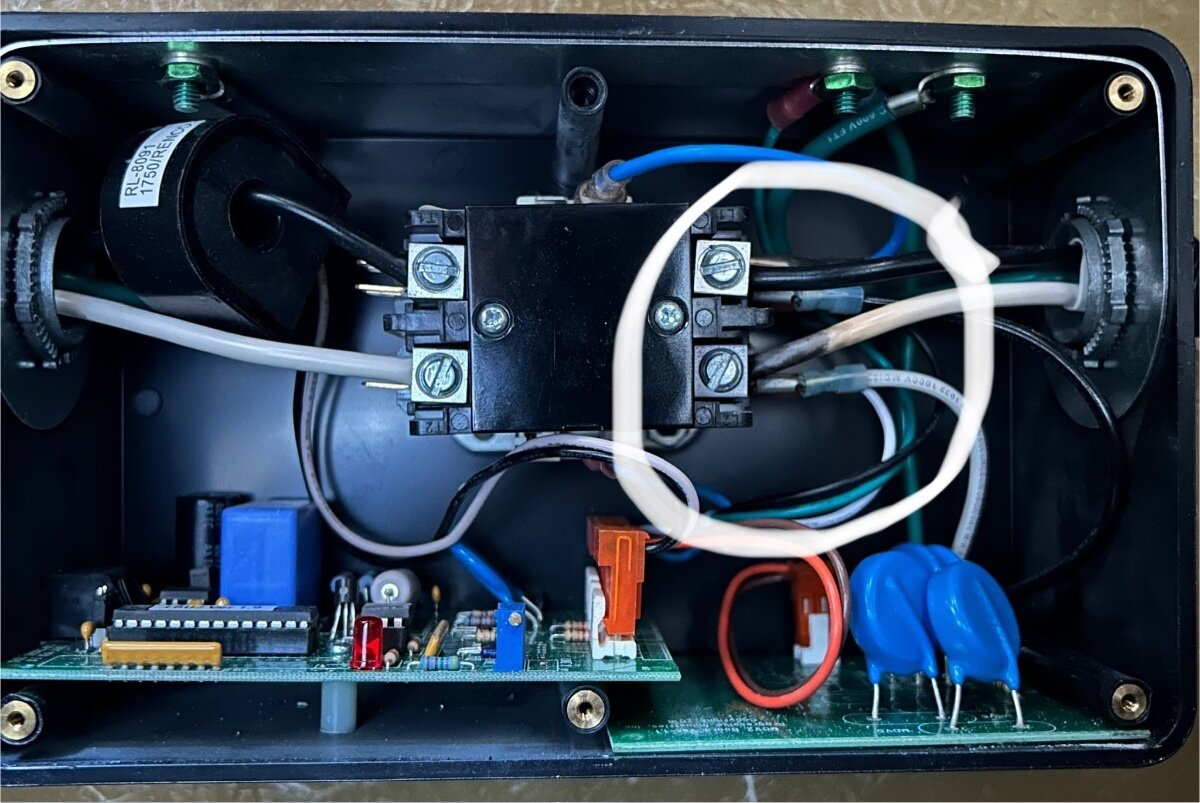
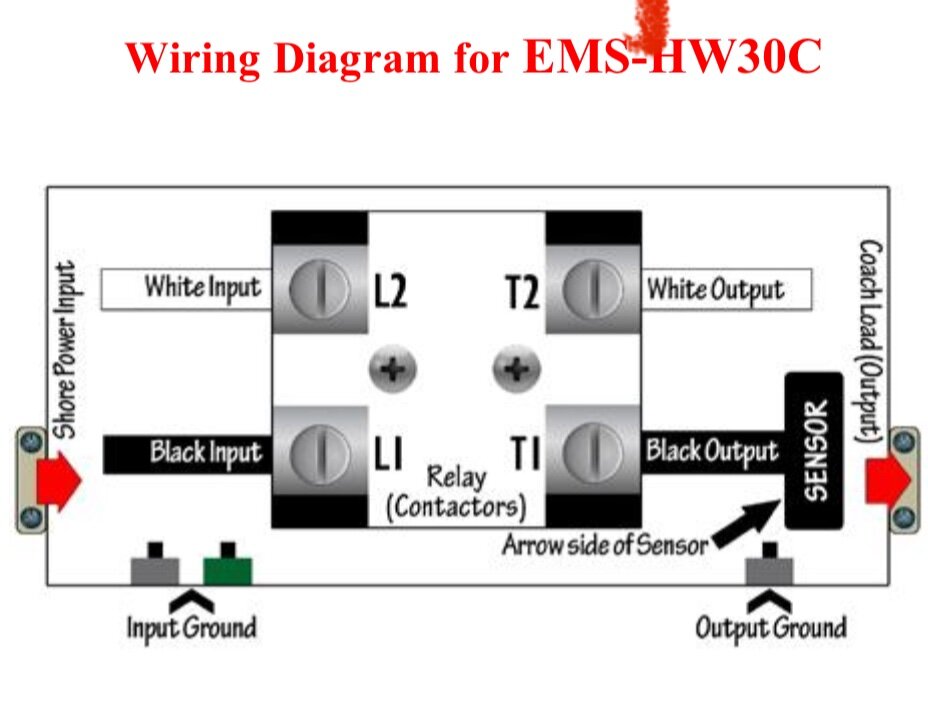
In a recent facebook post the Progressive EMS that is located under the rear dinette seat came into question. The poster had been concerned about the other posts about the transfer switch and decided to look at the wiring in the EMS Unit in the same dinette seat bay. Below is one of the pictures he posted showing his burnt wiring (in the white circle). He also posted a videos showing the main power switching board completely loose as the bolts holding it in place had fallen off. Since I already check the connections on the transfer switch each year, I decided I would also check my Progressive EMS unit as well. Good thing I did as the bolts had fallen out just as in the Facebook Posting. EMS and Transfer Switch Locations: Under Rear Dinette Seat (next to Pantry). Looking down into the under dinette seat you'll see the Progressive EMS is held onto a vertical mounting board near the aisle. It's held in place by 4 - #2 phillips screws into the board. The Progressive transfer switch is across from the EMS on the forward wheel hump (for units with front and side street power inlet option.) Safety FIRST- Make sure you're not connected to street power and that your Inverter is OFF. To be really safe you may want to shut off batteries as well. 1) I placed a towel under the EMS unit work area because I've lost more than one screw down the abyss. 2) Removed the 4 #2 phillips mounting screws from the corners up the unit. (Note - to access the top front screw you likely will need to detach the cable that connects to the remote display...it's a network clip connection.) 3) Tilted unit so it was facing up. 4) Removed the 6 - #1 phillips screws holding on the lid. 5) Inspected the wires and none were scorched. 6) Wiggled the main connection board and it was very loose...one of the two nuts holding it onto the 2 mounting bolts was loose, lying in the bottom of the case. 7) Checked for bolts (thread through back of case) Luckily the bolt was still attached to the case. (They are phillips head countersunk bolts. Which after working on them I taped them in place from the outside.) 8 Reconnected the bolts to the nut putting on blue thread locker. 9) Checked tightness of all the lead screws and the bolts on the 3 ground lugs (green). See PIX below: 10) Put lid on and then re-attached to mounting board and re-attached remote display network wire. Tested with shore power and all was well Tricky Bits: Getting my hands into the bolt area was a trick. I got a proper size nut driver and put a bit of tape inside to hold the nut flat in place. I carefully threaded the nut driver down to the bolt which had blue thread locker already drizzled in place. Progressive Transfer Switch inner connections above: I've submitted a ticket to Oliver, and a letter to Progressive Industries and requested a service note about yearly maintenance. Here are the wiring diagrams from the PD Manual for this item: Craig - Hull 505 - Galway Girl
 3 points
 -
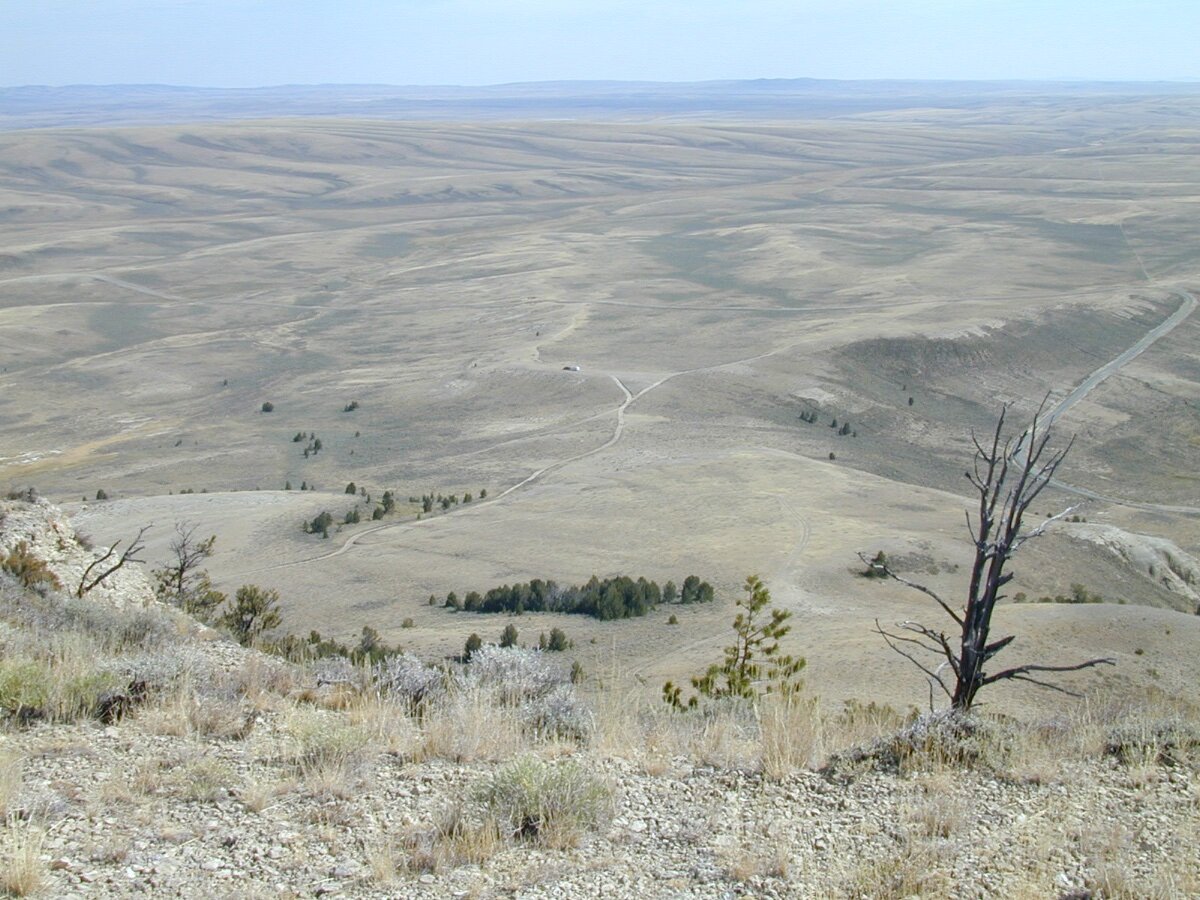
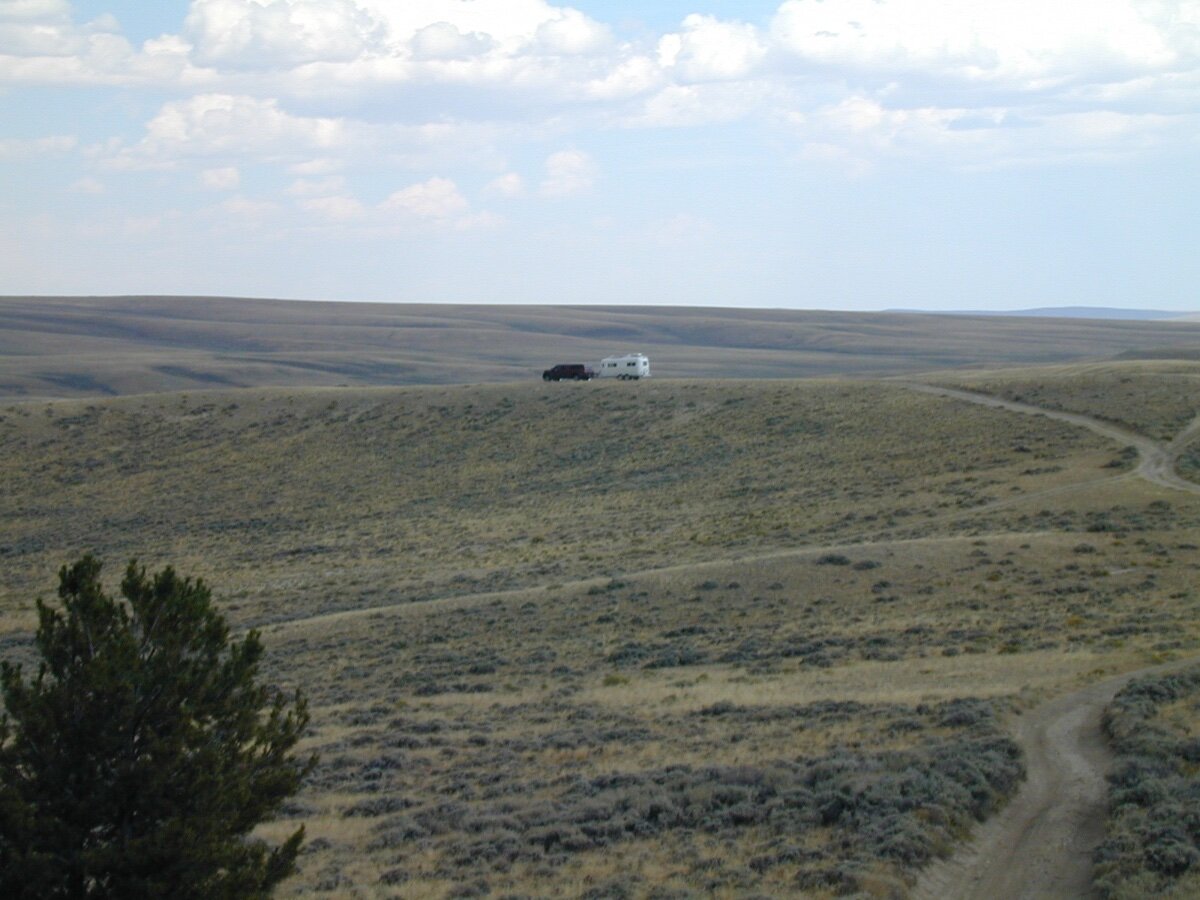
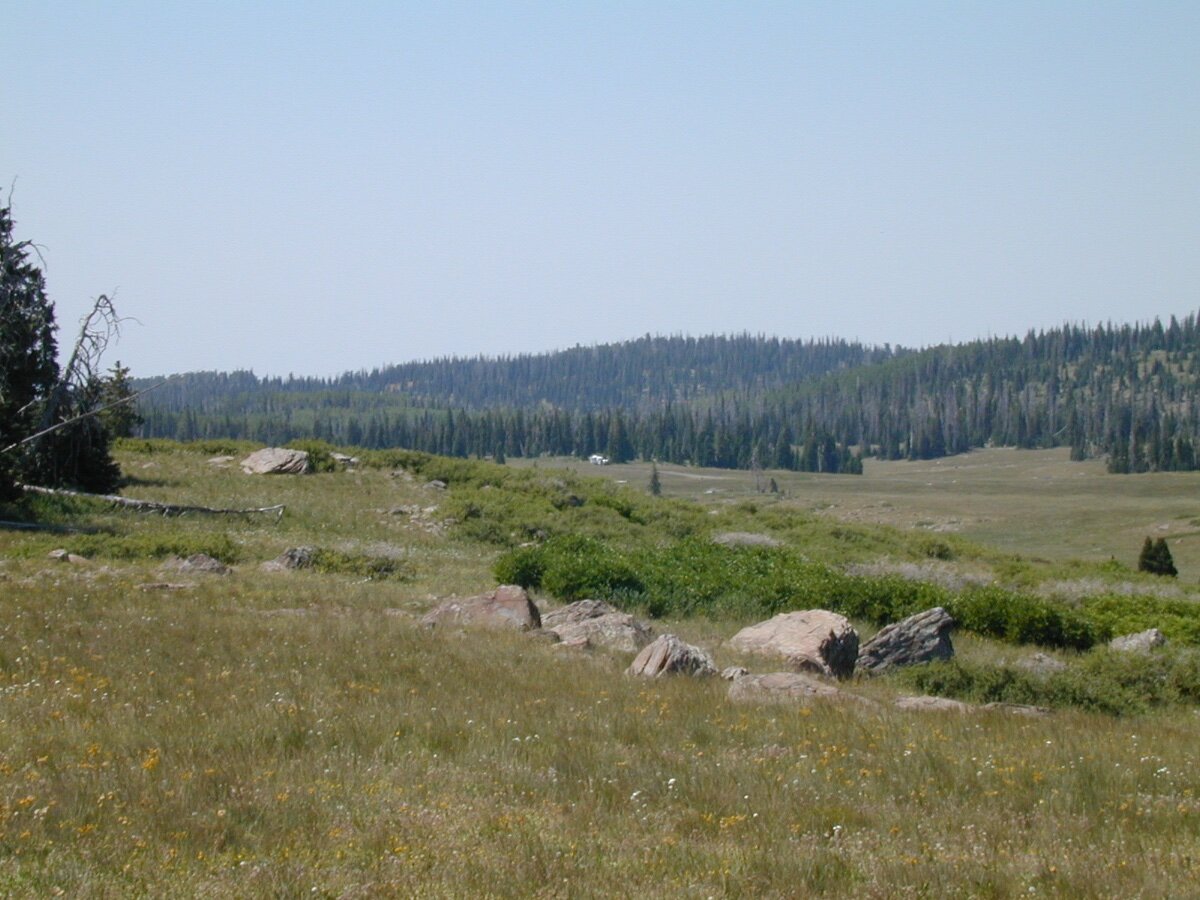
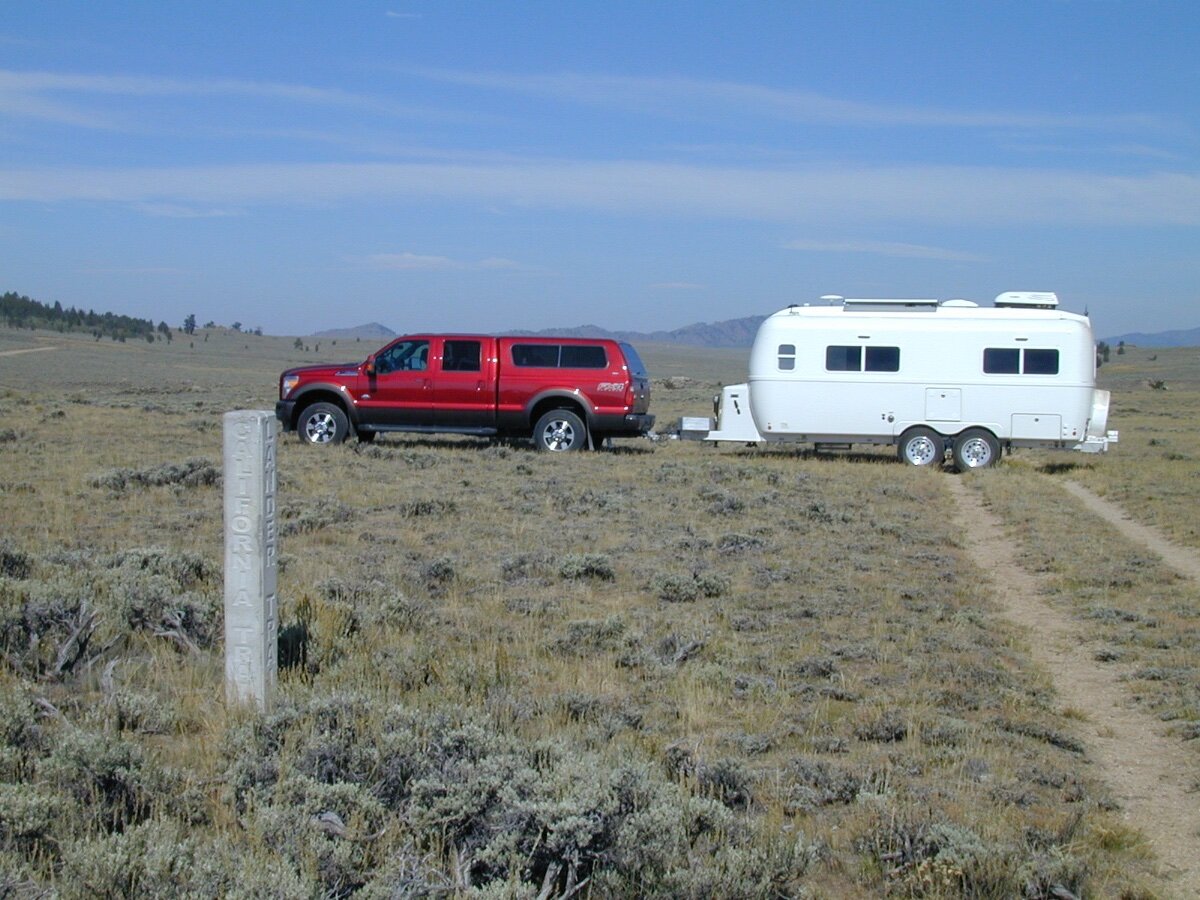
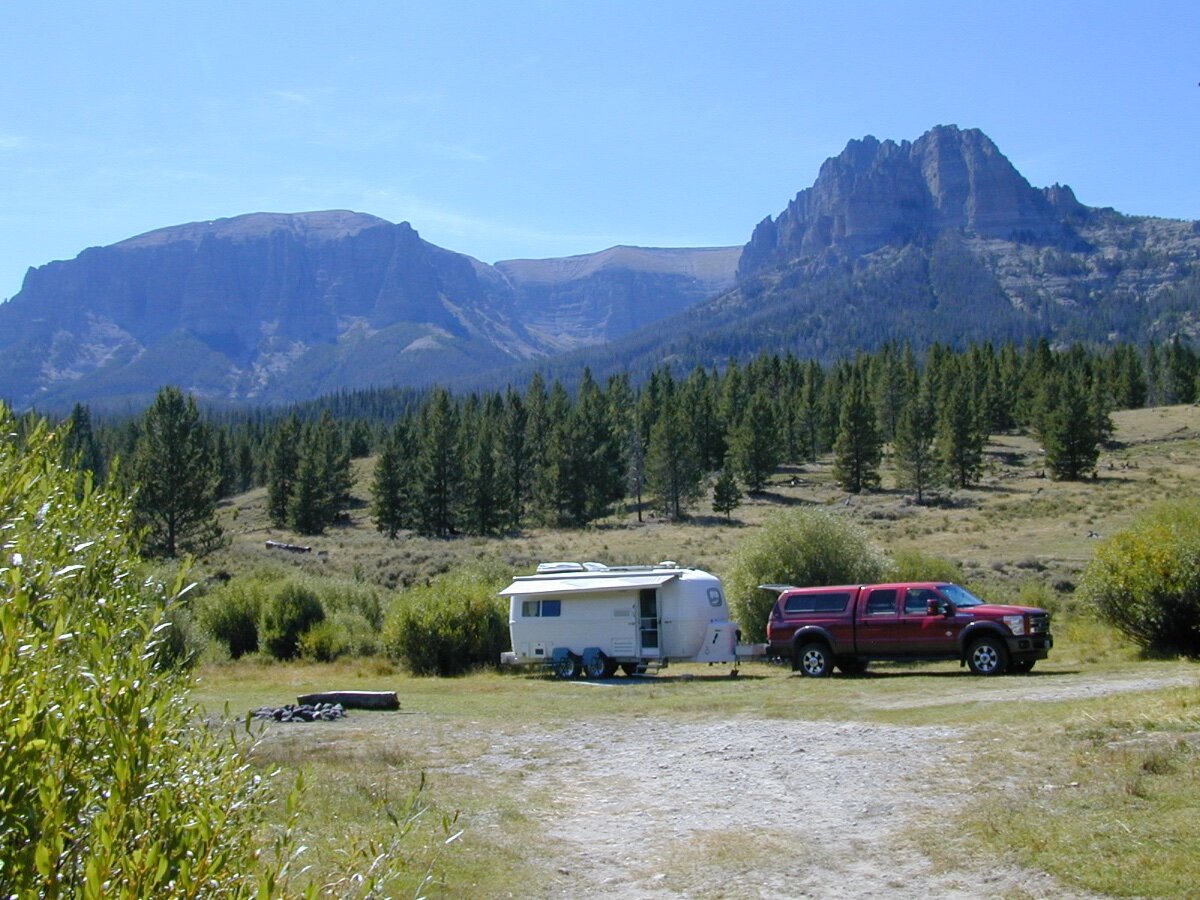
Boondocking Off the Grid require good maps, physical activity and curiosity, Utah and Wyoming.
3 points
-
We have never had an issue with water running off on our roof from the either of the (2) condensate cups in the unit. We had our “Demonic” Penguin removed and retro fit with the Truma Aventa in May of 2023. At the time of the retrofit, I spoke to the tech doing the install about over flow on the roof possibly occurring. He said that its really important to have the trailer dead level when your set up and running the Truma. The condensate cups are not very deep and can fill quickly, and the drain tube handles this under normal operation. ✅ I learned that it’s really important that the (2) Truma condensate tubes do not have a kink in them. This will result in the cup(s) not draining properly into the OEM condensate drain lines. I think this may have possibly been an install concern early on. This would cause the condensate cup(s) to over flow onto the roof. The tech mentioned that he would make sure that the tube would be installed kink free. It works as designed and I have never had condensate water dripping off my roof. I am not suggesting that anyone here is not setting up their trailer dead level. But in order for the 2 small condensate cups to drain properly this is how it’s designed. If you are set up dead level and you still see water dripping off your roof, you may have a kink in one of the condensate drain hoses or maybe it’s just plugged up.3 points
-
@Patriot It looks like you had all of the latest technologies growing up! 😉 Mossey
2 points
-
Bluetooth dead on one? Maybe Epoch tech support can reload app or replace battery. The non-communicative battery is likely OK. If worried, disconnect cables and see if both batteries show good voltage. It’s more than likely there, working as should be, just not sending a Bluetooth signal.2 points
-
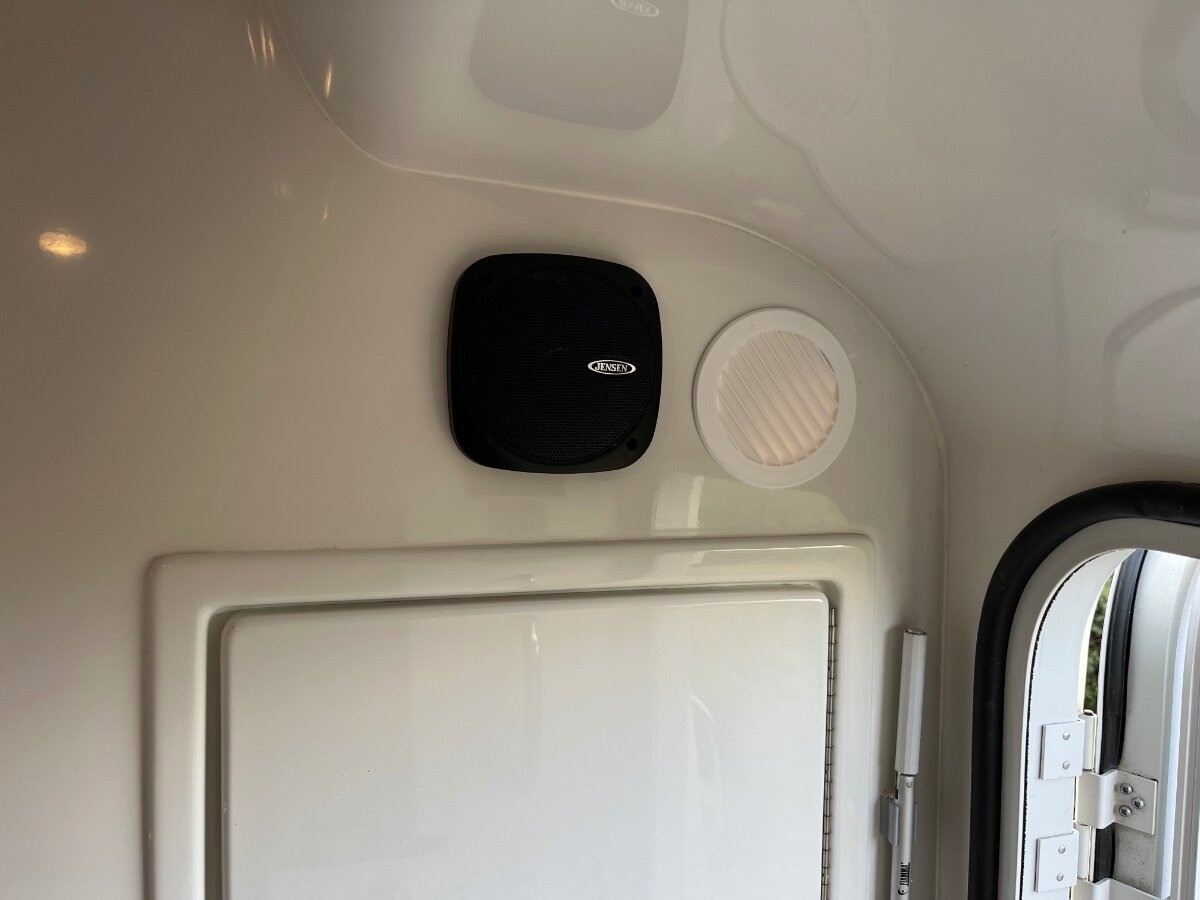
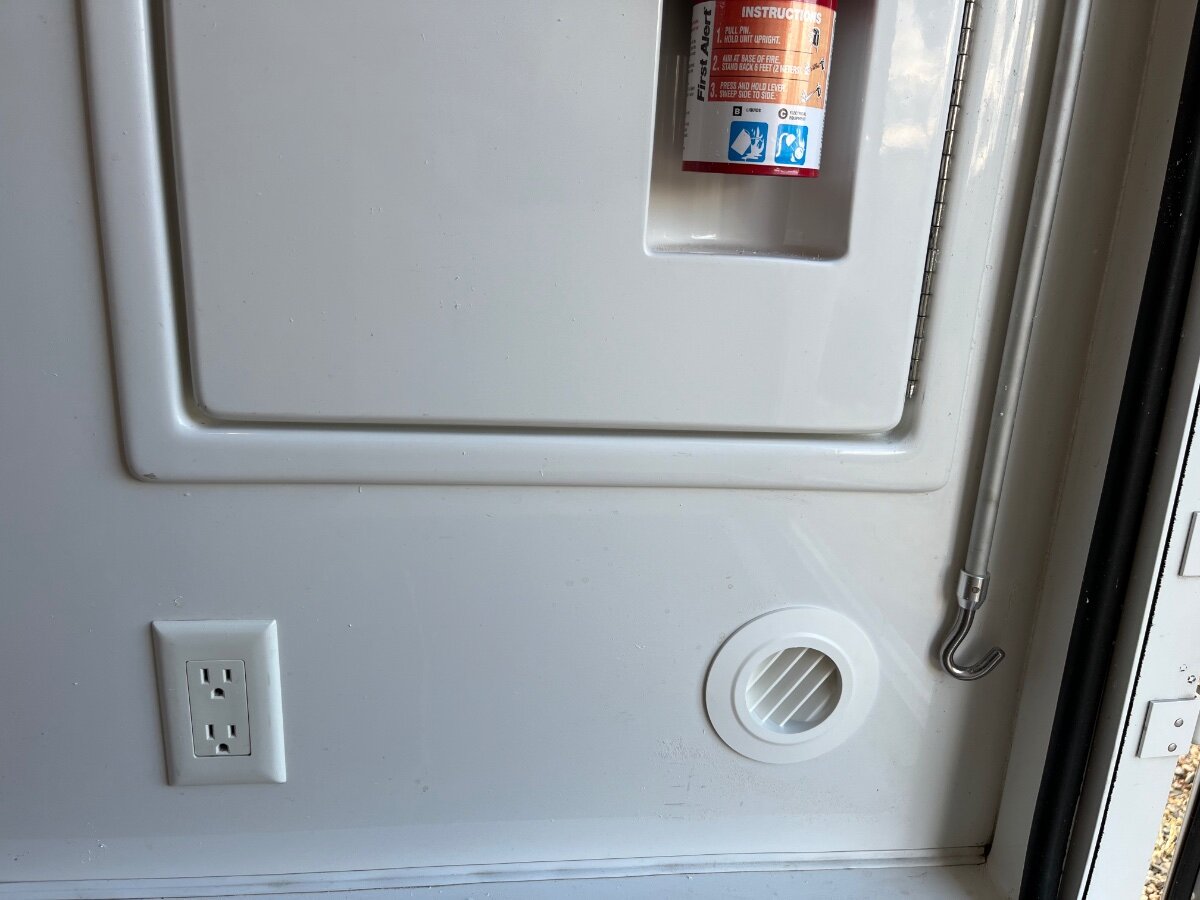
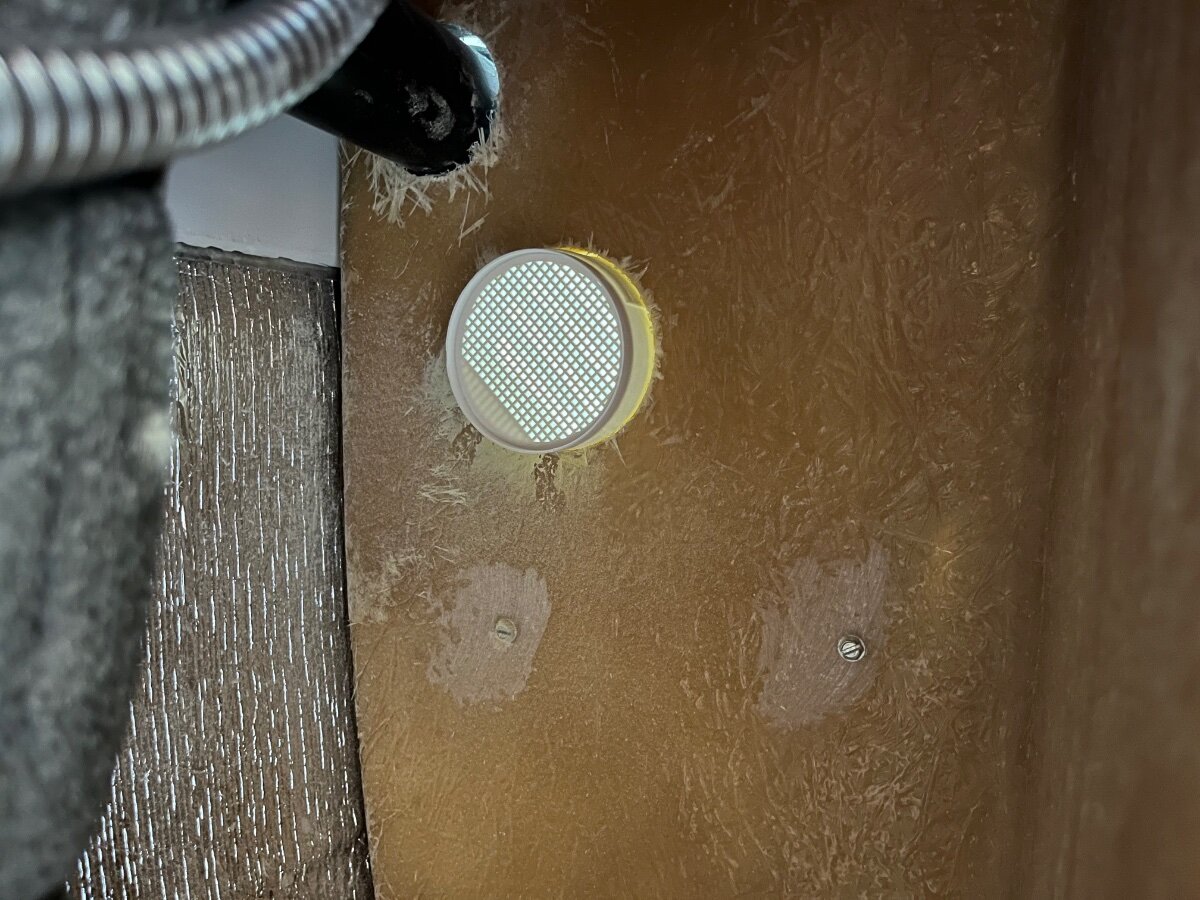
Me too. Copied some who posted here. I purchased one 4” vent (over closet door) like others had, then went with 3” vents on the rest. I like how the upper closet vent lights up the entrance when the closet light is on. Make sure your drill is on a clutch setting!
2 points
-
I added 2 vents, one in the bath above the mirror in to the closet and one at the base of the closet out to main room. I went up near the ceiling for the vent because I wanted the warmest air to be vented and to avoid water from shower entering vent to closet. I did this because back when I added heat runs to the street side and tested various spots in Oliver for temperatures during 10 and 12 below zero out side temps I found that the closet was the only place that came close to freezing. So now the bath no longer pressurizes when the furnace is running and the warm air is forced into the closet and then out the bottom vent and into the living space. Also takes care of the problem of when running the ceiling fan having to open bathroom window.2 points
-
Hello, I purchased an (2019) Oliver elite ii hull 489. Never owned a camper. I have a lot to learn. Haven’t taken it camping yet. i was opposed to campers generally because I think they are built like complete disposable garbage. Oliver is an exception …..won me over.. plan to pull it with a 2014 Tundra 5.7 liter. At least for the time being. Hope to upgrade rig before too long. Seemed to tow really well driving it home. Will probably stick with tundra, but I’d like one with a plusher trim and/or a bigger fuel tank.. I live near Paris, Texas. GG1 point
-
Hi All, My 2 Epoch 300 ah essentials batteries have been working great for 6 months after initial installation...until today. One of my batteries no longer shows up on the Epoch app. I tried turning the bluetooth off and back on and rescanning but to no avail. I'm updating all of my apps at the moment and I'll retry scanning. I've tried on wife's phone...no luck seeing the 2nd battery either. All wiring looks fine and I've made no changes to hardware or software. If one of us is connected via the app, the other phone won't see or connect so is there a possibility someone else at the campground has connected to one of my batteries? Of course Victron is closed for the day and I'll call them tomorrow. I don't see any unusual drain...still at 90% using the inverter for the television and device charging. I could uninstall and reinstall the app on my phone but am hesitant since 2 separate phones are having the same issue. Any ideas ? Thanks much, John1 point
-
Welcome from Hull #1045, Jolli Olli1 point
-
1 point
-
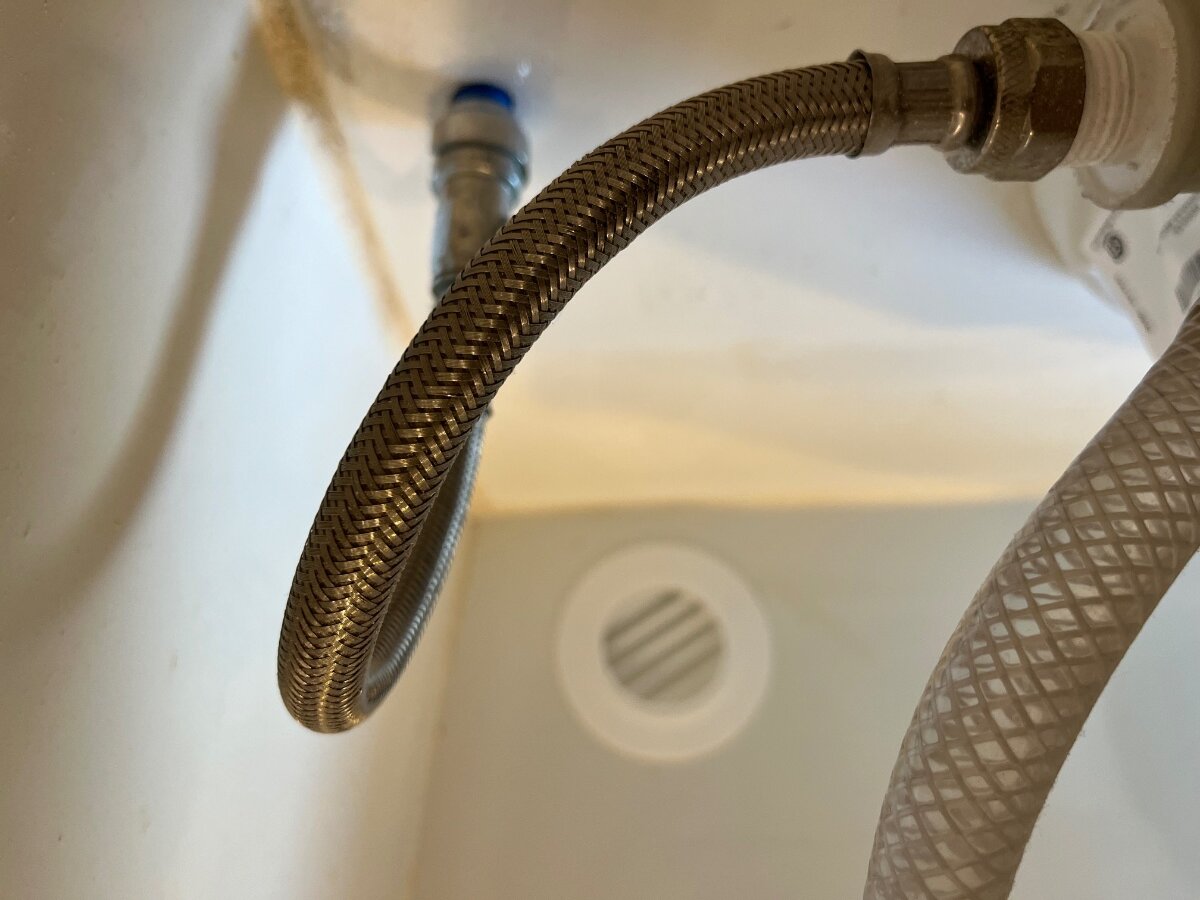
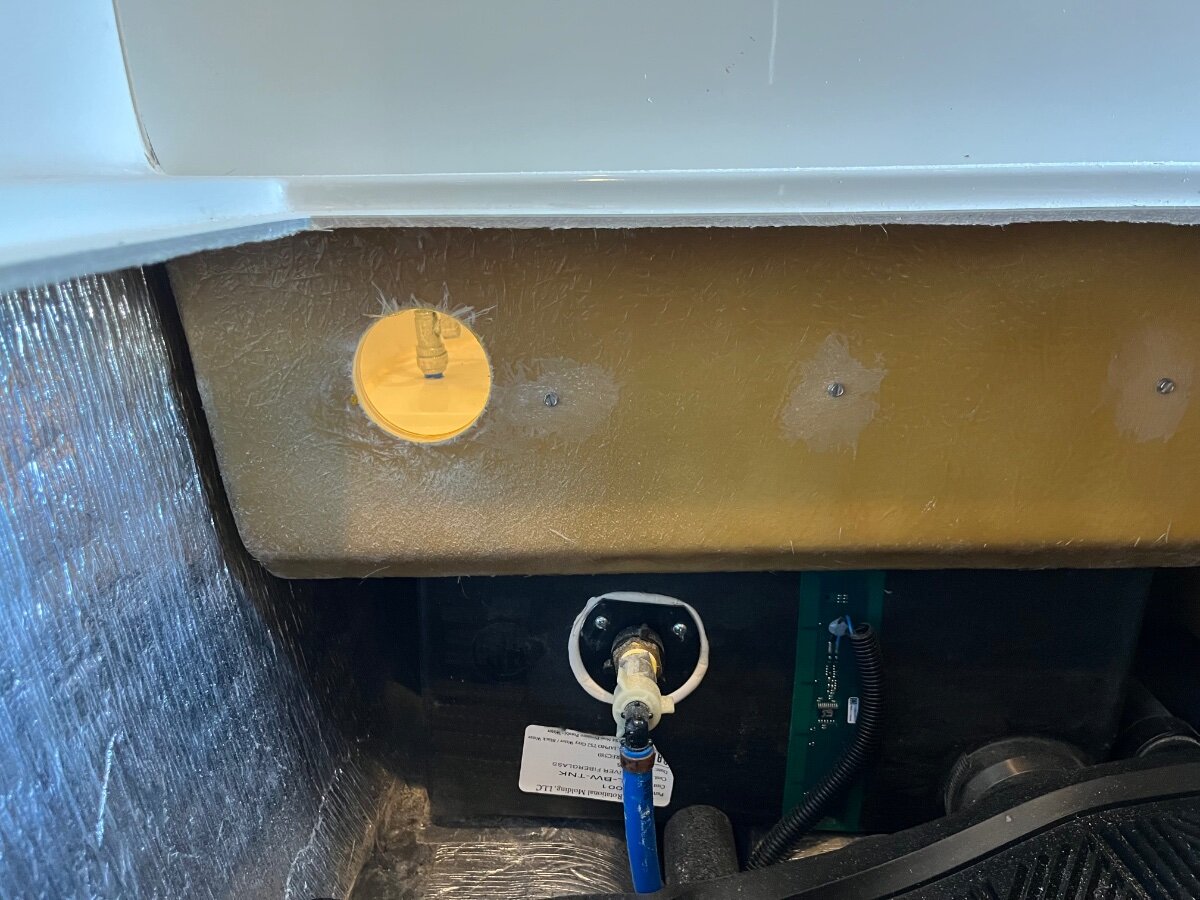
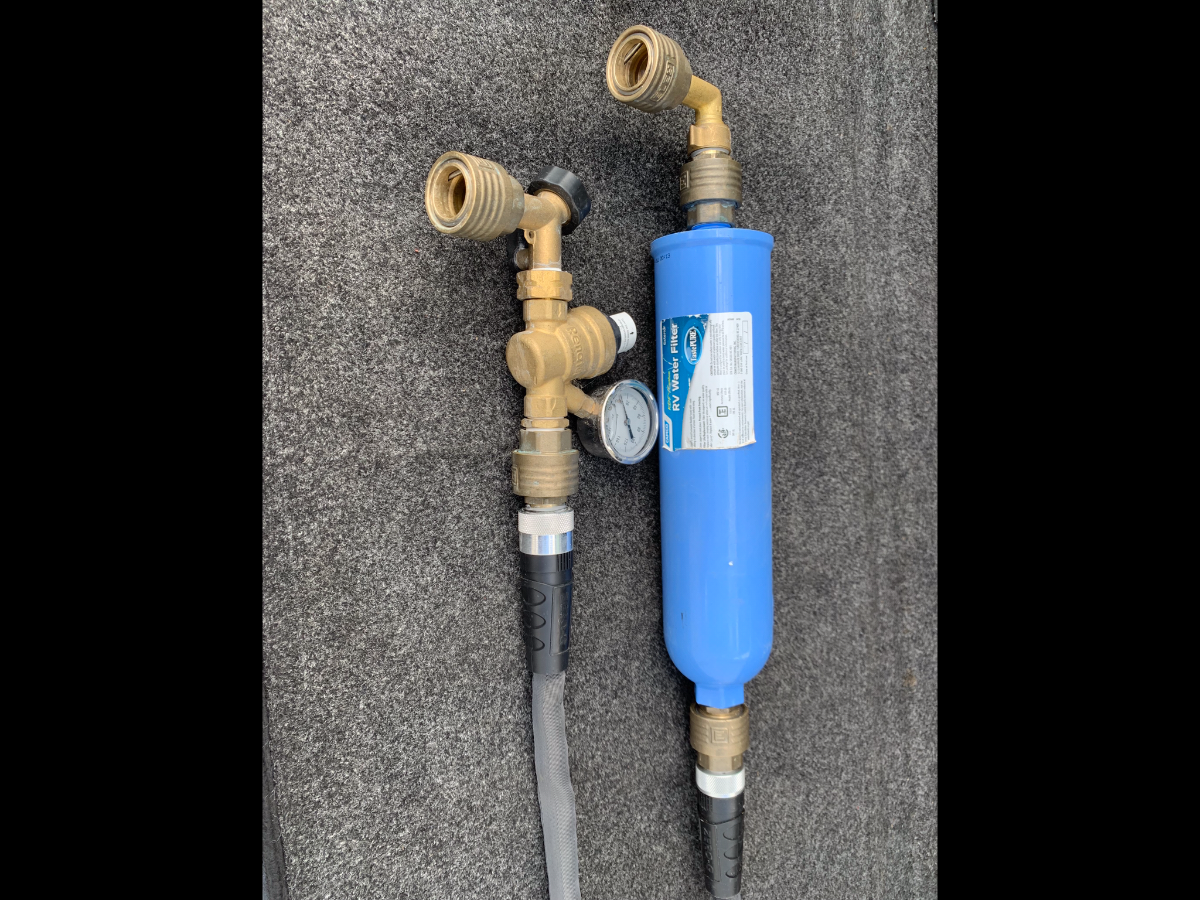
Since the 1/2” hose is only used for washing/cleaning, it is fitted with an adjustable spray nozzle which provides adequate stream volume for its purpose. To ensure max pressure, I have a ‘Y’ fitting at the spigot, thereby enabling full CG water pressure for this setup and use of a typical water pressure regulator valve for the Oliver’s water supply. You are correct however, in recommending the larger diameter hoses where max volume is of more benefit to the need. That said, it is important to use larger diameter fittings to prevent flow restrictions; ELEY commercial duty hose QC sets are 3/4” full-flow and designed for standard 3/4” GHT hoses, faucets and watering tools. Here’s a pic of my spigot and Oliver connections.
1 point
-
I added 4 vents, including two (top and bottom) in the closet. See my post from January 31, 2023 above in this thread.1 point
-
The diameter of the hoses are different; gray is 5/8”, blue 1/2”. I have two dedicated gray hoses, one for freshwater hookups, the other for black tank rinse; and a blue hose for general washing and cleaning. The black tank rinse hose lives in the rear bumper compartment with the other dump equipment, the other two in the basement.1 point
-
I added a top and bottom vent for the closet, but it's hard to know or measure how much airflow has improved. But you can be certain that it has improved over having no vent at all. At the same time I added a vent in the bathroom that allows the pressure from the heater duct to flow out under the dinette seat, then through the basement back to the furnace intake. This was a significant improvement for bathroom heat. You can feel air flow through the new vent, and it actually holds a tissue in place from the back pressure. FYI, I used a hole saw and taped the surface to prevent chip out. It worked great! Cheers! Geoff1 point
-
Because of so many recommendations, yesterday I bought a 25 foot marine and RV Gorilla hose from Home Depot. Like John, we do a lot of boondocking and often fill our tank from our Scepter Military water cans. I was unaware that they "...do not work for filling the fresh tank via the boondocking port..." This will not present a problem for us as I have a dedicated set-up for that purpose but I mention it here for the benefit of others that might not have known. On Home Depot's website, this is a buy one, get 20% off on the second one until 07-27-2025. I believe I'll get another for a dedicated black flush hose. They are so light and compact they'll take up only about 10% of the room as the old hoses presently do.1 point
-
Ditto on the Zero G for us. Get the dark gray hose, not the blue ... we went through several blue ones because of leaks and finally tried the dark gray, the end fittings are much easier to screw onto a faucet. I'm not sure they still make the blue hoses but if you find one, do yourself a favor and don't buy it. We are very happy with Zero G. Best of luck, John1 point
-
OK just checked my PM's and looks like my charger has found a home in csevel's Ollie! 👍 Onward. Dave1 point
-
Right you are! I was thinking of the service rating for the trailer. It is a 45 amp charger. Hope someone could use this. I was hoping to keep it "in the family"! Cheers, Dave1 point
-
FYI This part number is for a 45A charger, making it an even better deal, if that is possible. 😉 Mossey1 point
-
No experience with this SL pole setup, but years of using the same suction cup mounts on an actual 16’ fiberglass flagpole from the same company; a WeBoost antenna was also mounted at its top. I never had a suction cup loose grip. Yes, they do require a daily check and a couple strokes of the integral pump to maintain adequate suction; a visual indicator on the pump is used to ensure optimum suction. If there is too much obstruction at the Oliver, I like that the SLM can be mounted on the van with magnets while parked in close enough proximity to the campsite for Wi-Fi reception in the trailer. That said, I have parked at the COW Barn several times in like manner and been able to operate the Atmos via the Cielo and steam movies.
1 point
-
@Ronbrink Ron, I like everything about this SLM mod! It’s seamless, clean and neat it appears and easily deployed. I also like that you can locate it in different walls on your Oliver, vs the flag pole stationary flag pole mount on the front cargo box. Have you had any field experience with this yet? How well do the suction cups hold on? Do they have to be checked periodically? Well thought out and executed! Thanks! David1 point
-
I will mail it out to anyone who could use it FREE of charge. PM me with your address if you are interested! Dave1 point
-
So glad to hear that the 103 listed as still missing is now down to 3. 100 have been accounted for and are alive.🙏🙏🙏1 point
-
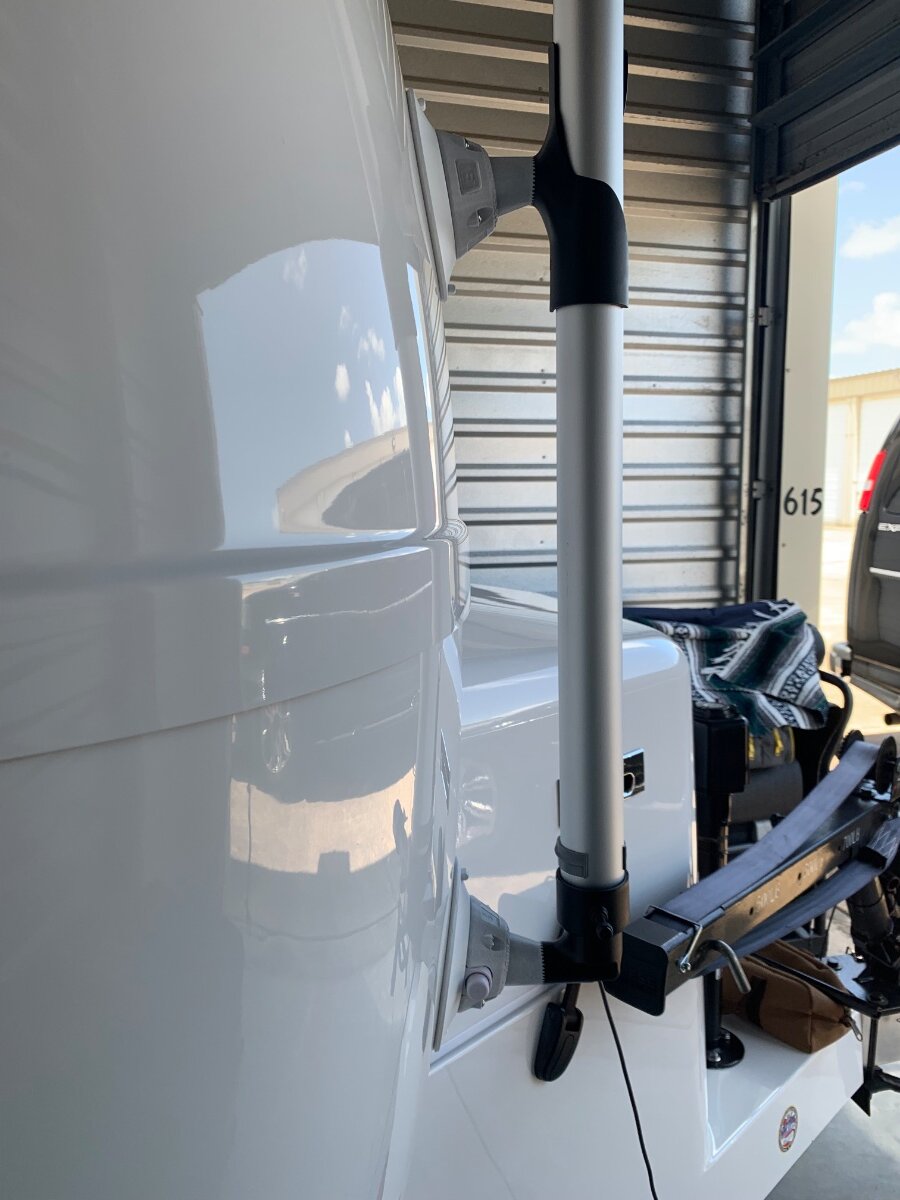
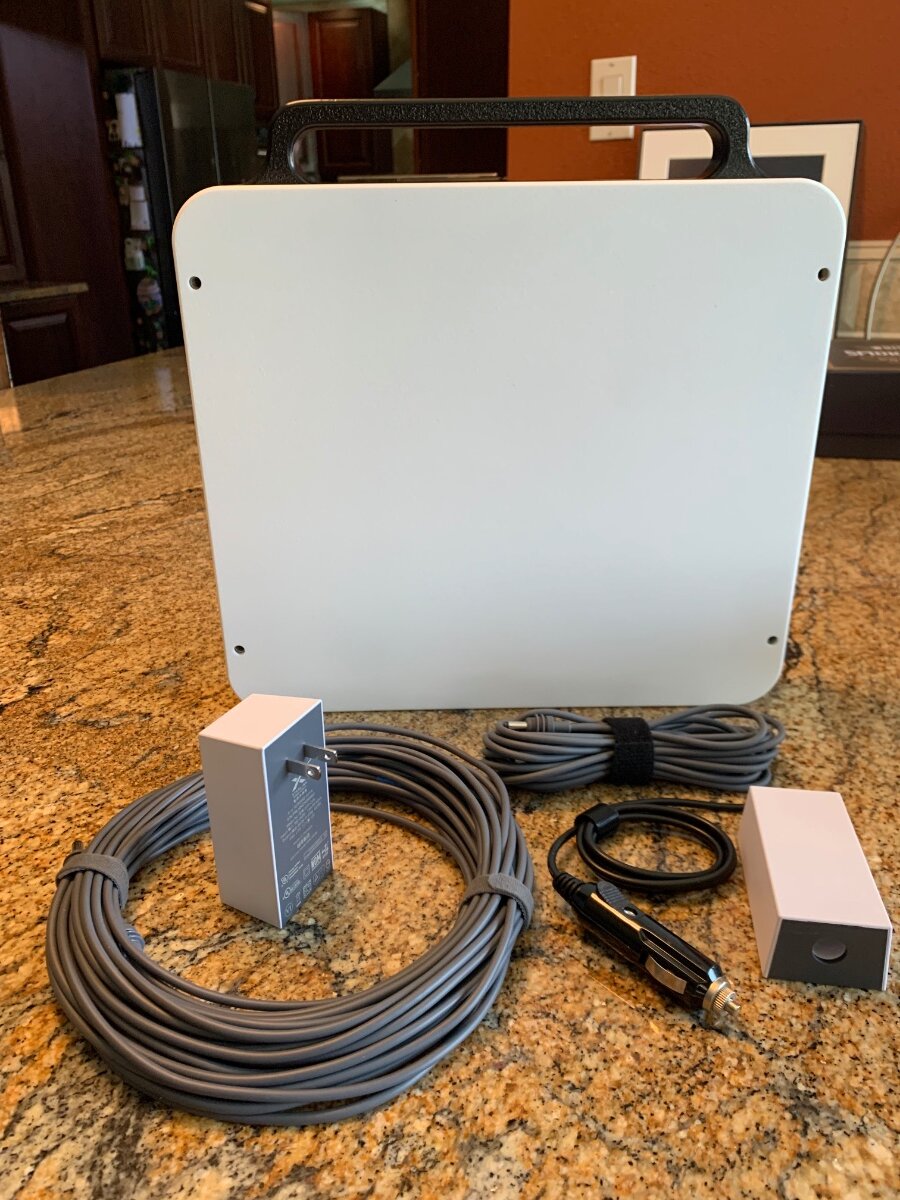
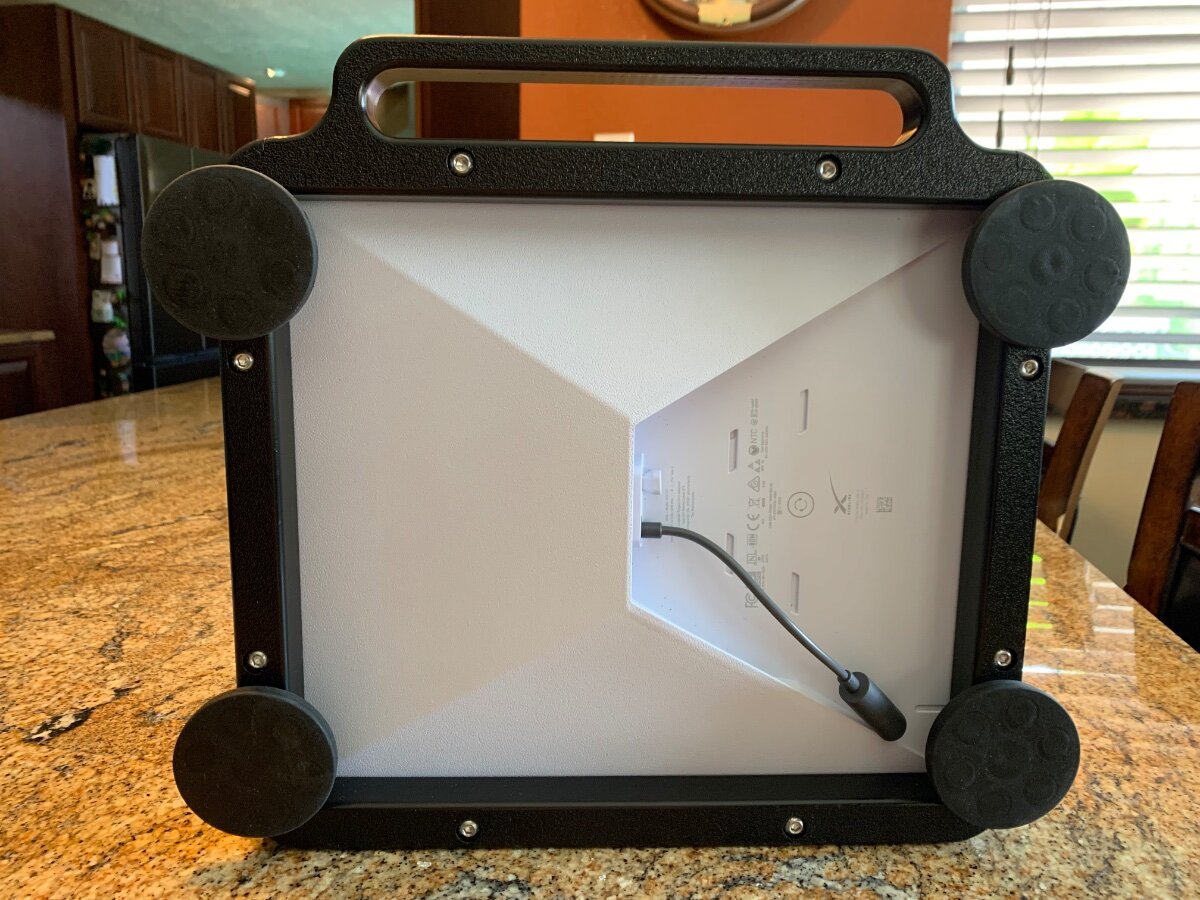
I purchased my SLM in May and since encased it in a Veritas Vans mount with an optional handle and magnets for securement on top of the Savana van when underway. I also bought a 12’ (three 4’ sections) pole with suction cup mounts from FlagPole Buddy for alternative use on the Oliver. Although these angled suction cup mounts are primarily marketed for Airstreams, they similarly fit the Oliver. Pole (two 4’ sections) shown mocked up in COW Barn.
1 point
-
Nan, if CGI did your coating, I'd contact them on best practices. My guess would be cleaning ONLY the area where the tape will be used, with something like isopropyl alcohol, to remove the coating. (We had to do that to remove years of wax when we applied ours, years ago. )1 point
-
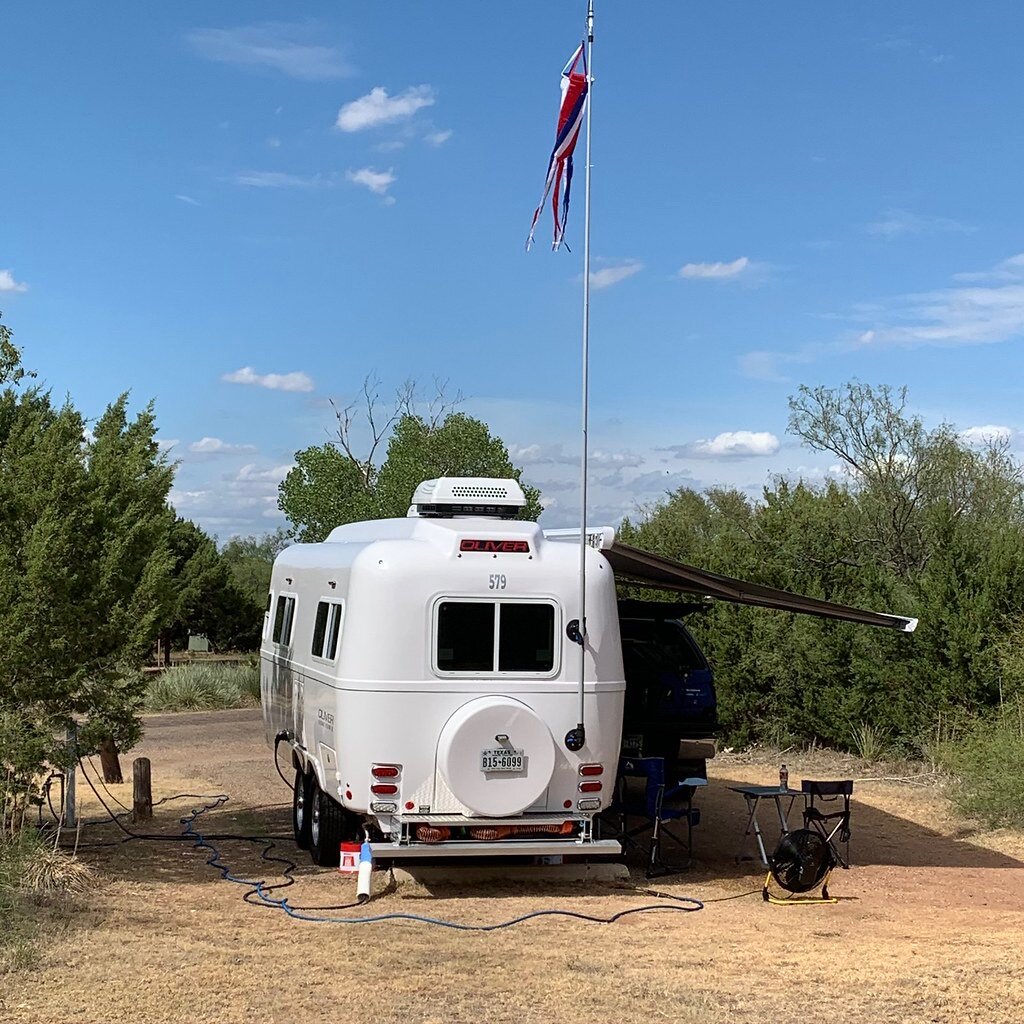
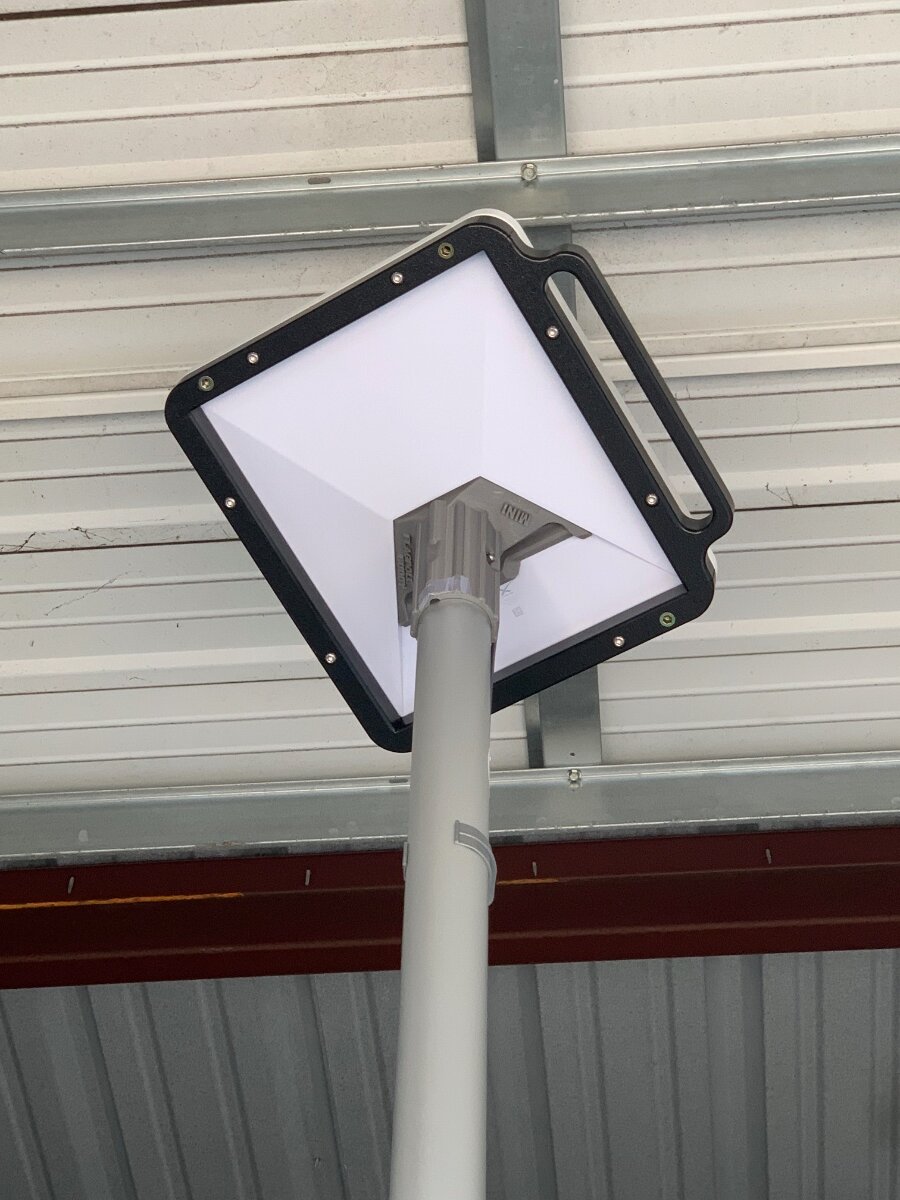
I purchased my StarLink Mini in the spring during a great sale at Home Depot, and now,. Bosker and I have been on the road from San Antonio for about a month and a half. So far we've had decent broadband connectivity through Verizon utilizing our iPhone's hotspot or a Verizon Jetpack for our internet. We're now staying overnight at Clark Canyon Reservoir, in southwestern Montana, where nary a Verizon signal will reach. No problem. Attatched the 90° flagpole mount to the hitch receiver, snugged the Mini antenna / router onto a 12 ft pool cleaning rod and ran the connector cable to a 100W DC outlet on the curbside of the trailer --- And POOF! Bob's your Uncle, we are connected to the internet. Easy Peasy Love this gadget! Update: Downloadspeed - 242 mbps / Upload speed 4.97 mbps
1 point
-
George Strait is also doing a benefit concert here in our hill country town of Boerne (“BER-nee” for out of staters!). It also sold out in a day or so. George lives here and does a lot of local charity work with his buisiness partner Tom Cusick who is a local business owner. Great folks. George Strait Hill Country Benefit Concert Mike1 point
-
Mike, I got me one of those after Hurricane Hugo...worked great until the next hurricane came along (7 years later) and hooked it back up on top of the pipe. That's when I found out about the leather gasket. Dried and shriveled and beyond repair! John0 points

.jpeg.9fa66e46f831c25160ee87ea89dcf4f0.jpeg)


-
Recent Achievements
-


")


")


")

