Leaderboard


.thumb.jpg.e34bf01ef7f7d5e99ad31856d45afbeb.jpg)
Popular Content
Showing content with the highest reputation on 11/05/2025 in all areas
-
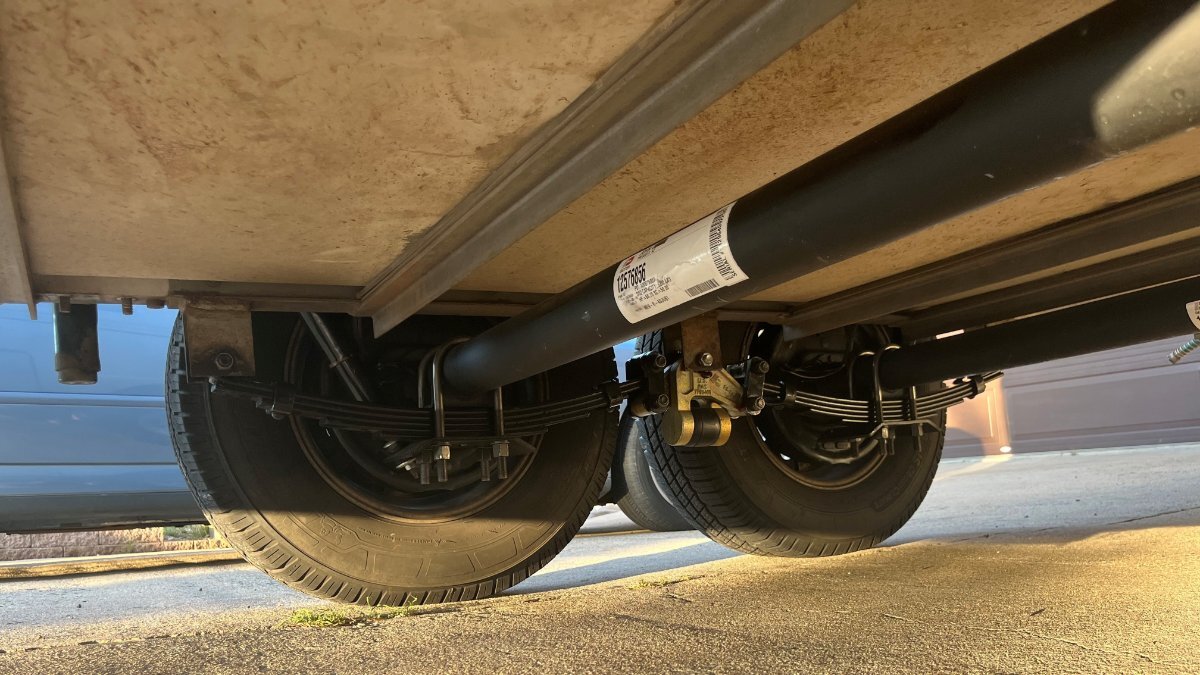
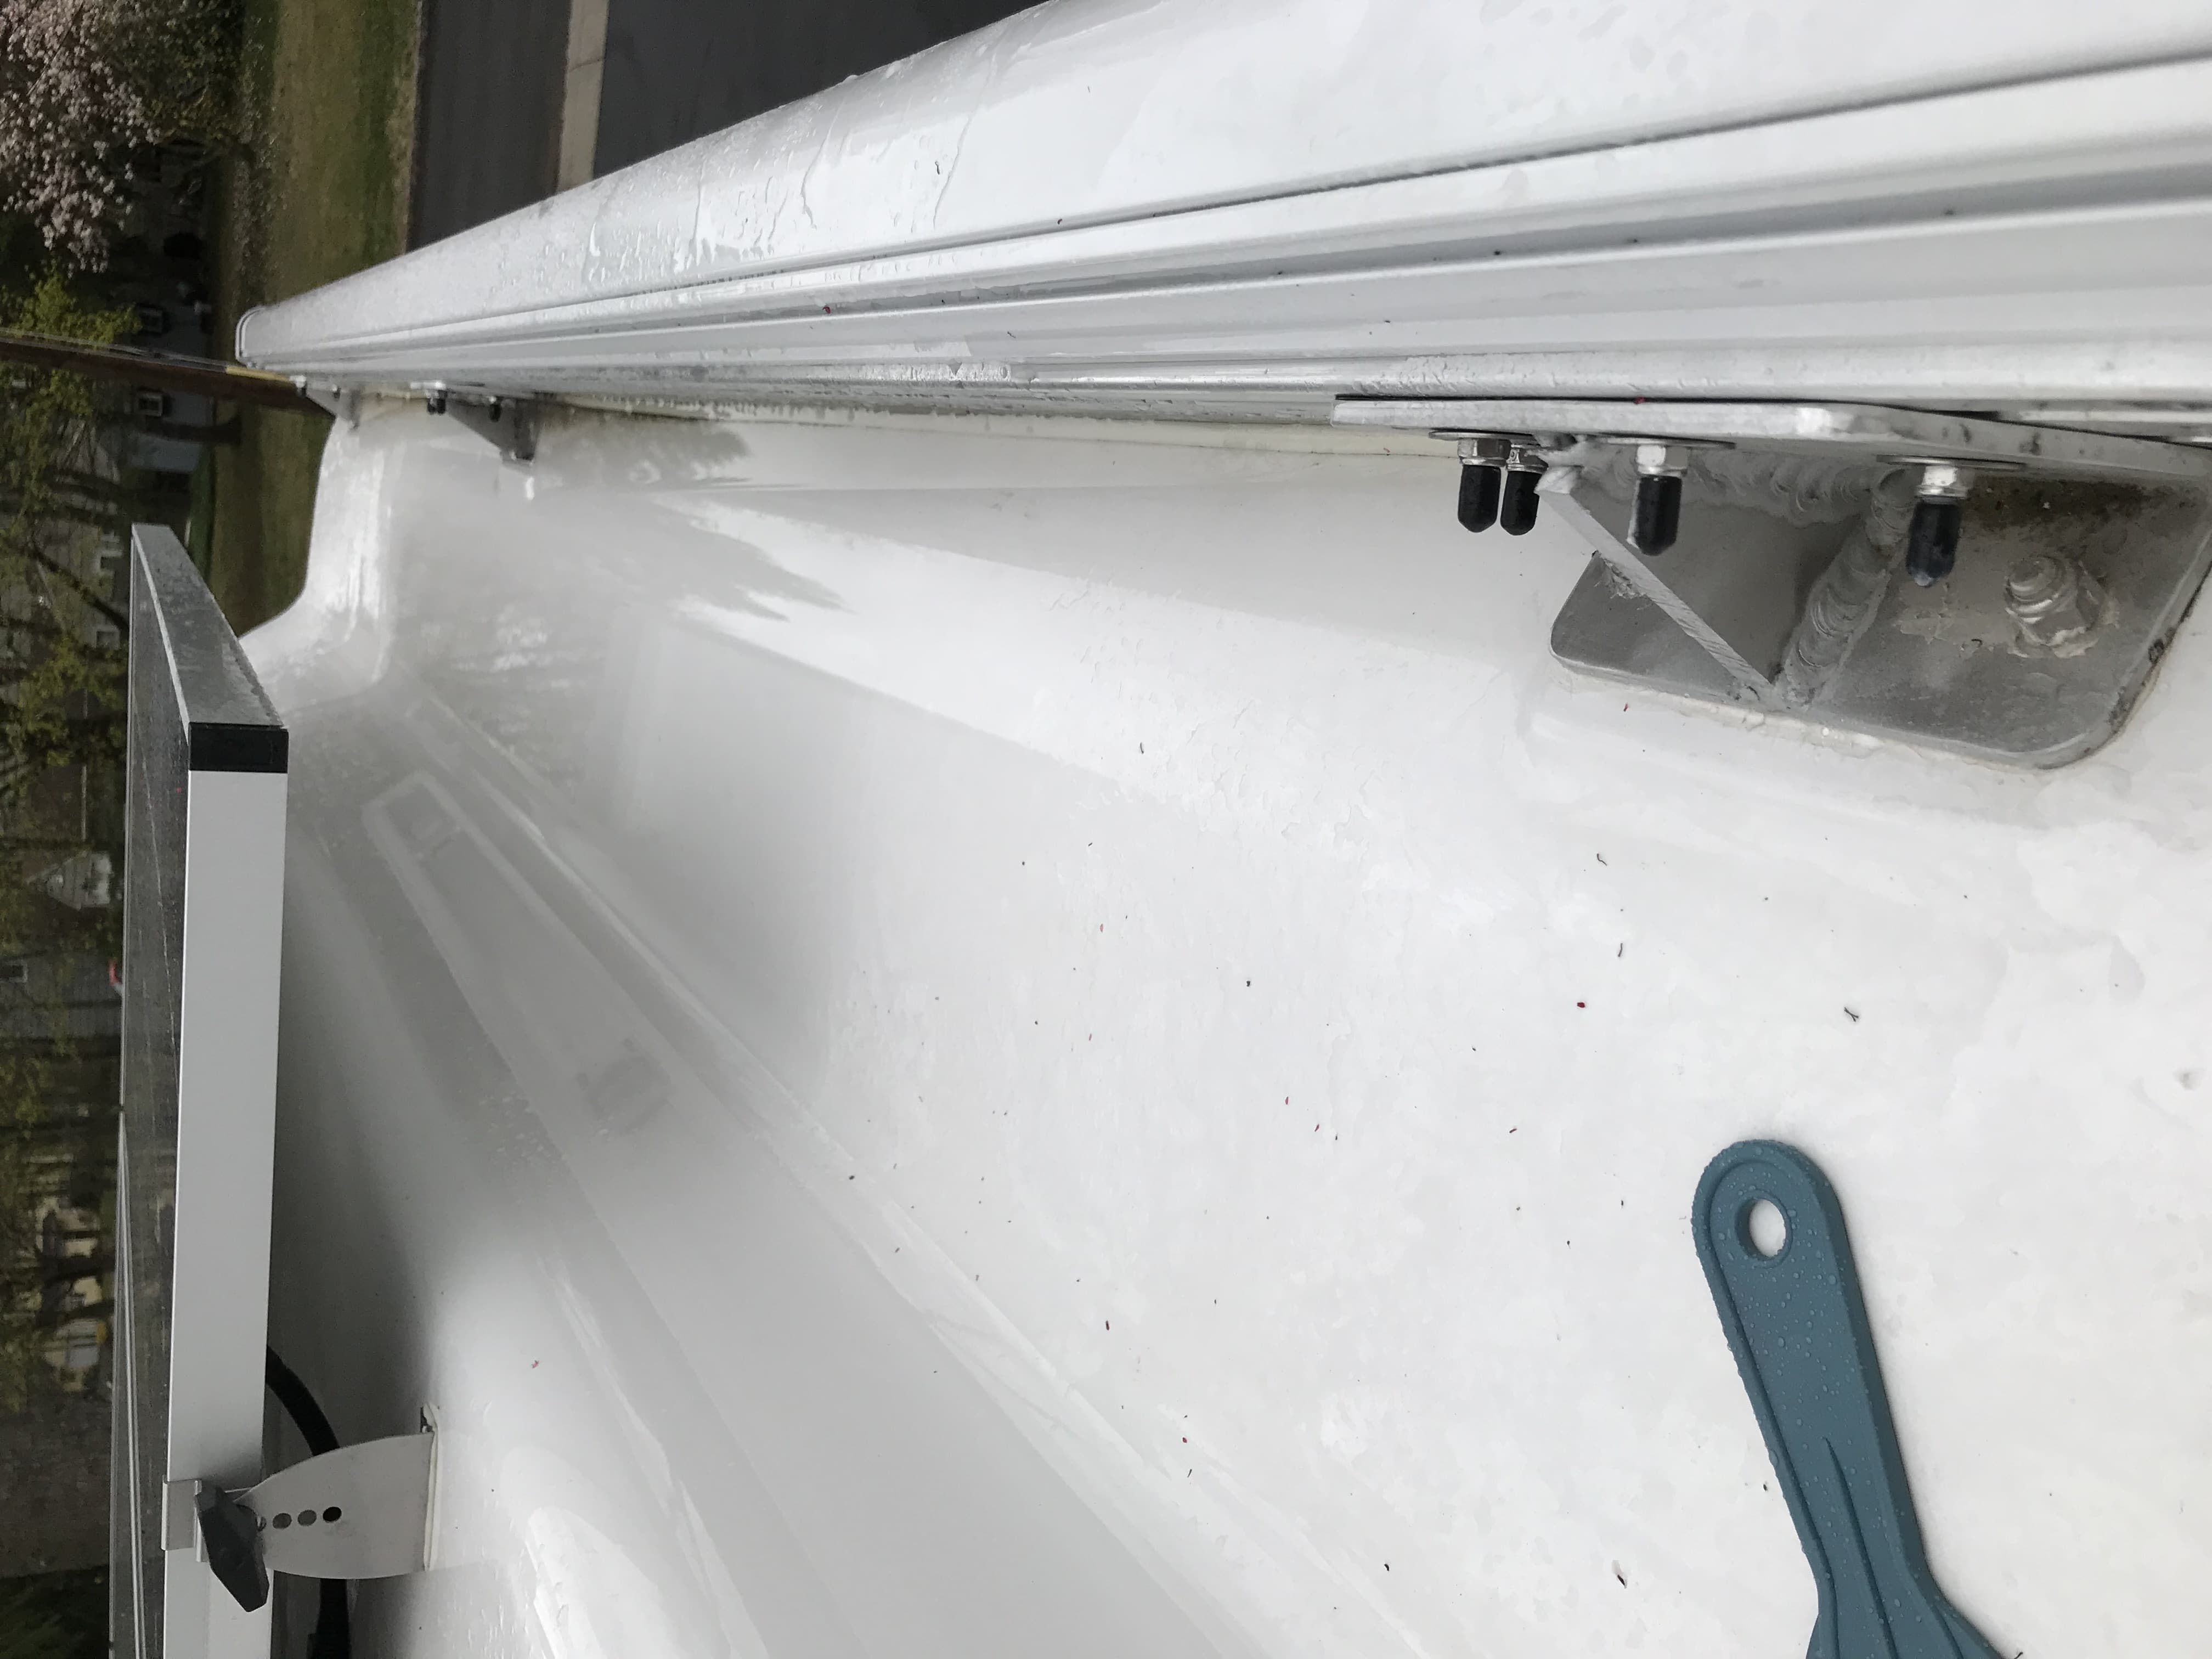
Agreed, E2 means no ground connection. Given you are certain shore power has proper ground (be sure) then it would be within the PI EMS. Make sure ALL 6 connections (3 in, 3 out) are clean and tight. The 4 you see quickly in the picture are the hot and neutral connections. Then look closely at the green wires which are bolted to the case of the EMS (inside top of the case in picture). I can see that one of these could get loose easily.
 4 points
 -
Episode 17:2 points
-
Episode 16:2 points
-
Wish I had been able to stay the last day (I missed the BBQ), but had a good time and enjoyed seeing some familiar and new faces!2 points
-
In 10 years we’ve had our Oliver serviced by Oliver service folks twice. Every other time has been by a local RV repair shop with no Oliver training. Most RV issues are generic and a qualified RV tech can almost always get resolution. Oliver has covered my warranty issues when addressed at my independent RV repair shop. Even when we temporarily had an authorized Oliver service location at Princess Craft RV up near Austin (2 hour drive) I stayed with my local guy, just 10 minutes away and very competent and trustworthy.2 points
-
More than a few people have had issues with the ground and neutral connections inside the EMS itself. That's the first place I'd check.2 points
-
Gary- it's likely that the support arms got bent or damaged when the wind got a hold of it. You'll probably have to have someone pulling out hard on the awning while someone else cranks it to get it open to see what the damage is.1 point
-
Is it safe to assume that you didn't forget to also pump a bit of anti-freeze into the black tank clean-out port? Bill1 point
-
AND have a purge feature when first opening the tank valve. No more trips inside to check for gas flow at the cooktop!1 point
-
Ok, that sounds better. There is significantly more resistance when I pump antifreeze through the city water port. It goes, but not real easy.1 point
-
As you might already know - Those tank gauges are "GasStops". They are primarily designed to automatically stop gas flowing in the event of a major "leak". However, they can also be used to detect a slow or minor leak and they are a "gross" source of determining how much gas is left in the tank. GasStops can be found at Camping World, Etrailer, and a bunch of other places to include HERE on Amazon. Installation is very simple. Bill1 point
-
A couple 30 mile test drives so far. I've torqued everything 3-4 times now. 90 ft-lbs on the U-bolts, 80 lbs on end spring bolts, 65 on the shackle bolts. After 30 miles with very little trailer brakes, I manually tightened the self-adjusters the the point it was difficult to turn the drums by hand. Next test drive my brakes were 4x better. When any of you are going to Alcan for this service and return there to re-torque, I'd also ask them to tighten the shoes. Don't leave Grand Junction and tow any steep mountain declines until the shoes are properly seated. One of the rear stabilizer jacks started to slip with all the ups and downs doing this work. However, I maintain/strongly recommend using the onboard jacks for service and tire changes vs. the risk of damage using some aftermarket jack. My next Oliver project is restoration of all 3 Barker VIP 3000 jacks! 😎 With Nev-R Lube bearings and ALL new suspension parts, it's relatively carefree. Check the bearings/brakes every couple years. We don't tow as many miles as many of you do. I left the center caps off for now to check bearing and drum temps. I'm not carrying a spare set of leaf springs anymore. Since I have a drum/hub with bearing off the first axle set, I'll put it in my toolbox. It should just sit there in case. If I sell the other axles, I'll buy 2 Nev-R Lube bearings and I already have correct bearing press and tested its use. It's a good feeling towing a reliable trailer down the road and no worries about the next rocky Forest Service road either! Hull #113 doesn't waddle like a duck anymore when entering a service station driveway or crossing RR tracks on an angle, she's tight, she's done! 🤣
1 point
-
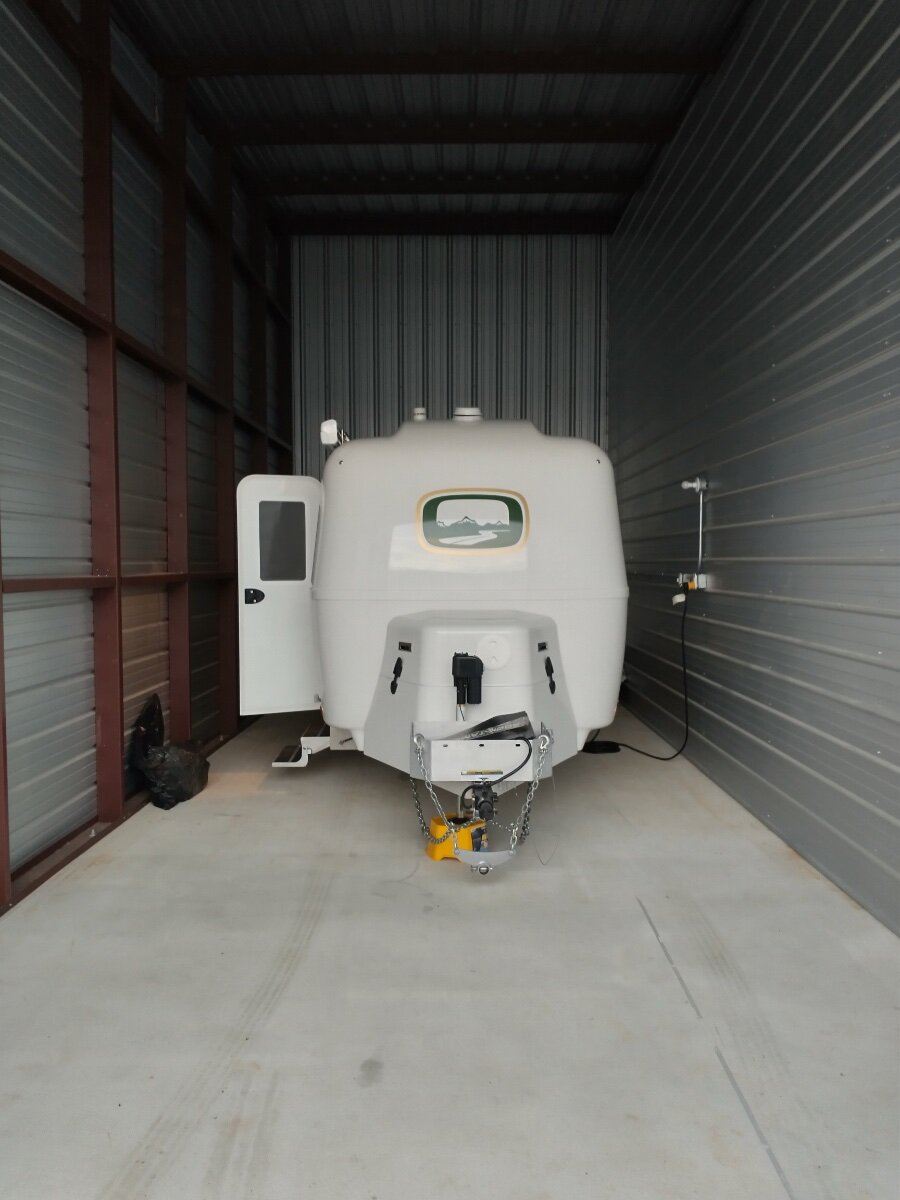
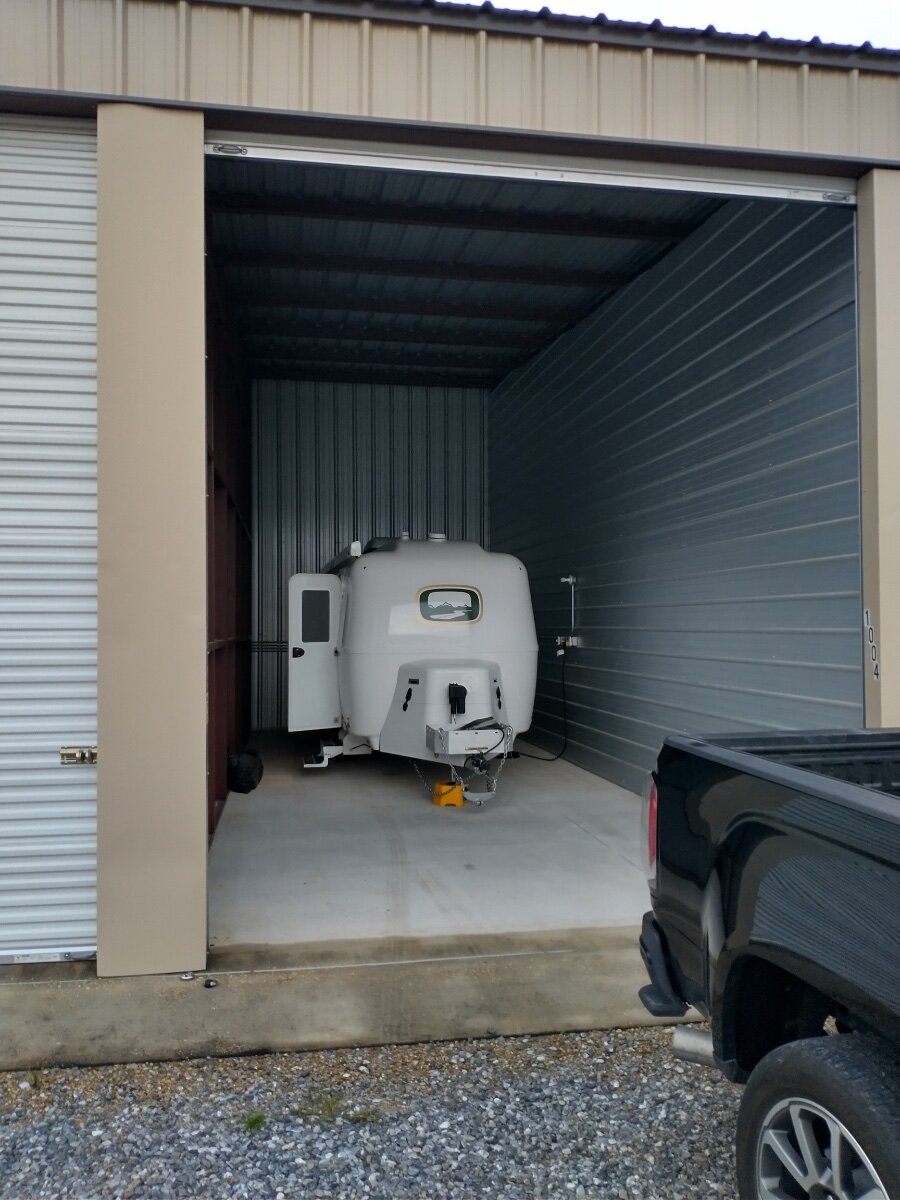
If you have the property, that’s a great option. Since we’re all but full-time, we have no property. We opted for indoor storage to keep not only the sun and birds, but the millions of mud-home-building insects out of every nook and cranny. Pricey - but worth the cost!
1 point
-
Looking good! Aside from the dirty back end, it looks great. We have an older (much older) sailboat that has been sitting in the Louisiana sun for 25+ years and the deck is very pasty/chalky. The gelcoat has worn completely away in a few places, but when it’s aggressively cleaned it regains a good bit of gloss. No idea how thick (or consistent) the gelcoat is on the Ollie, but I would imagine it could take several years of chalking and cutting before you’d run out of surface that would polish out. I’ve had several pressure washers. Judiciously used, they can be real time-savers. That said, they just plain don’t get ALL the dirt off. You need a sponge or rag or washing mitt to get down to the actual surface - even if you’re not trying to remove tree sap, bugs, or bird droppings. That’s takes good old, US made elbow grease!1 point
-
OK, we love you guys. Our old 10-year-old hull #113 looks better, pasty white only when cleaned, rarely every washed, let alone waxed, LOL (get a pressure washer)! 🤣
1 point
-
At the rally last month, I noted the demo trailer had the weather stripping applied about 4 or 5 inches below the brackets vice right up against them. It looked really nice and you can see where the collected water and debris issue is mitigated. I got the product information from them and will be ordering the same weather stripping to replace on both awnings on my 2018. Always hated the stained, brown water running down the corners. I didn't see any other trailers modified the way but I liked what I saw.1 point
-
Last May Oliver service replaced our awning seal under warranty and they also drilled out our awning brackets so they drain properly and they now do. The new awning seal was installed just low enough that there is no longer an issue with water puddling and water drains off as it should. When washing the roof of our Oliver I did not see any water puddling along the awning seal or brackets as it just drains off the rear of the trailer as designed. When I wash and detail our Ollie I usually have it a little nose high to facilitate water draining off the roof area. The water also drains off when the Ollie is level. I am fine with how the new seal works now. Regular washing keeps the seal and roof area nice and clean.1 point
-
I agree the seal really holds an inordinate amount of trash behind the awning, as do the mounting brackets (as JD shows), but I think I'm going to live with ours for awhile. I'll just hit the area with a good strong water blast when Ollie gets a bath. At some point it may become history, but for n0w, not. At some point, I've got to just use the Oliver, and stop re-engineering stuff...…… well, that and buying more chairs....and, and, and... RB1 point
-
At some point they change awning vendors and quit using the Fiama awnings and went to another brand. Maybe the brackets changed then. I pulled my seal off after a couple of years, it was starting to crack in a few places, didn’t look good and was a big collector of pine needles, leaves, dirt and other gunk. I guess it’s a personal preference thing. Mike1 point
-
I’m in the Reed camp. The seal keeps out the water when it’s raining and let’s me be out of the trailer under the awning. As for the junk that collects up there, I once a month go up with a water pressure wand clean it all up.1 point
-
I'm resurrecting this thread because I just picked up my rig (on 04-11-2019) and see that water pools behind the awning when the seal is in place (see pic #1, IMG_6248). Although I like the idea of preventing rain from running down the entire side of the rig, I don't like 2-3 inches of water pooling back there. The water pools around the awning brackets and much of the bracket is submerged. I suspect that the holes for the bracket bolts go all the way through the outer shell, thereby presenting 8 potential leak points. There is evidence of sealant on only some of the mounting brackets and bolts, so I would assume a steady diet of pooled water would find its way into the rig up there. I'm trying an alternative to removing the seal altogether, which is to slide in a small drain tube in each "pool basin" (see pic #2, IMG 6250). We'll see.
1 point
-
We spend a lot of time on the Pacific Coast where rainforests abound :) We camp in severe rain like the 1/2" drops coming down for days on end in the winter and set the awning out to keep dry. Unfortunately, with the seal gone, you will no longer have a dry spot outside unless you have a Clam or another tent. We can use the awning as a dry entry and keep totally dry with the seal. But without the seal, depending on where you are... sand and water will blow and pour off the roof, splash off of the door seal, the fridge and window seals and there will be no clean dry place to sit without that seal in place. Wet blowing sand is the worst... One of the reasons that we sold our Casita was because it was only sealed by me half way across. Seals are simple to add back on if you ever find the need. I sit outside under the awning with the fire going with it raining all around and keep dry and comfortable with no leaks behind me dripping down my neck... If you don't camp in the rain then the seal is not a big deal.1 point
-
Mine was removed several years ago . . . no regrets . . . wish I had done it sooner.1 point
-
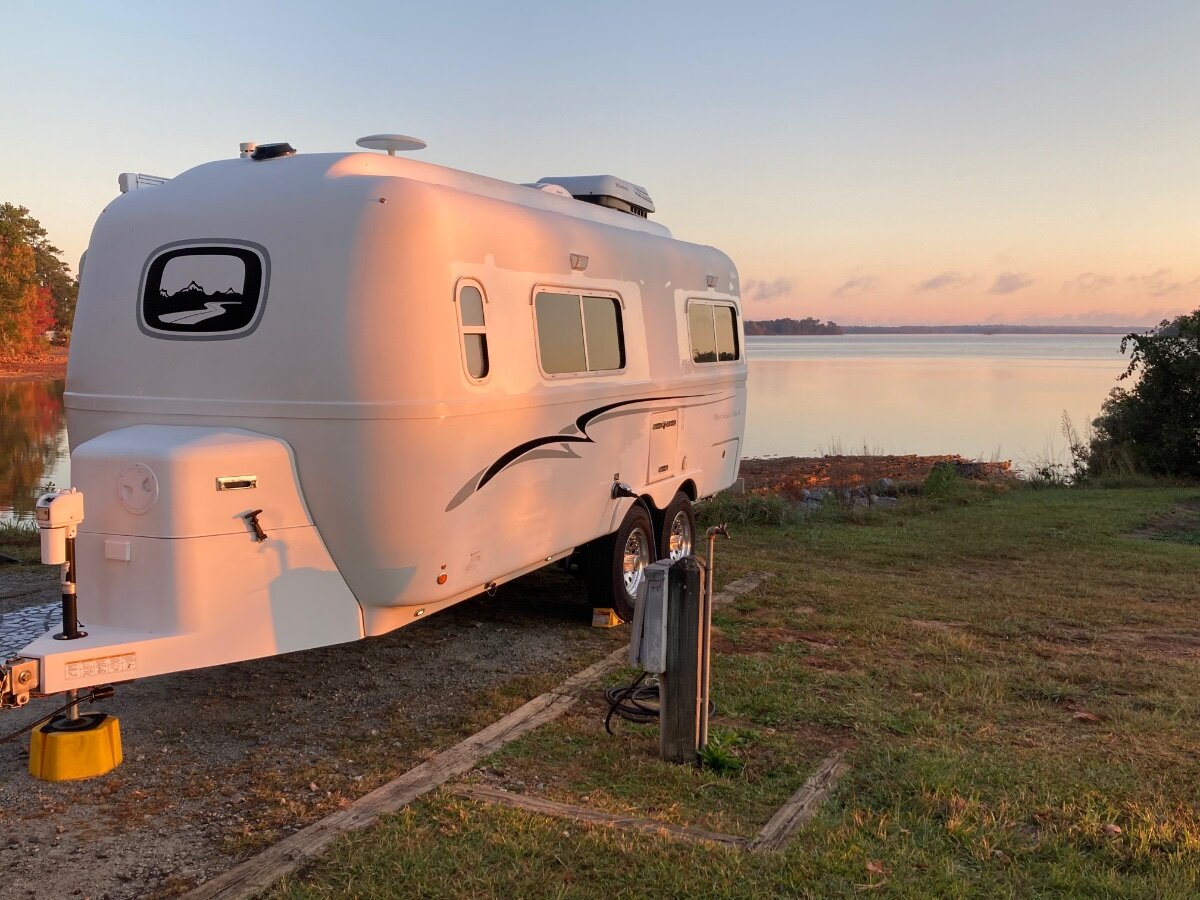
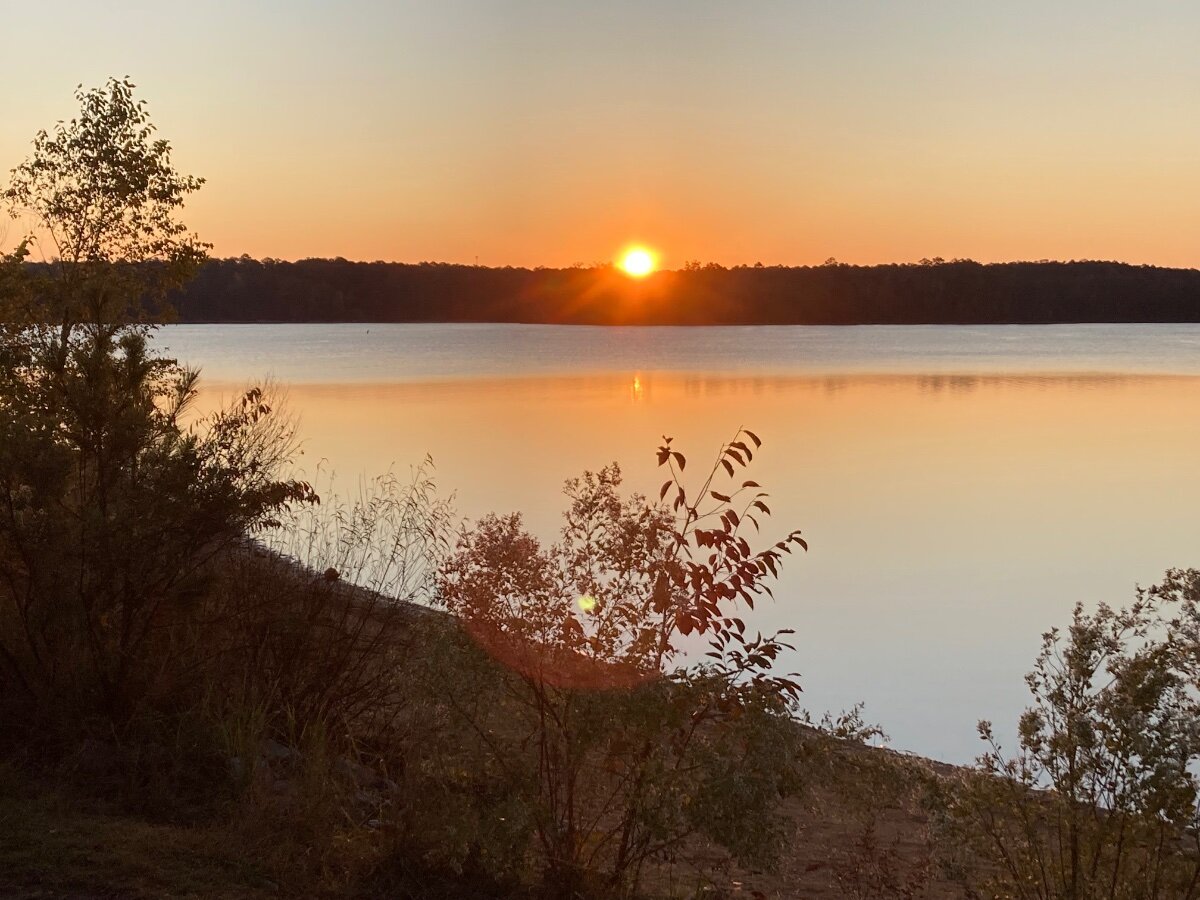
Mistletoe State Park GA, close to Augusta. Very nice State Park. Sunrise on site 12
0 points
-
My intent was to try leaving it off, but after seeing how badly the curb side of the trailer streaks, I’m thinking now that I will install the new seal I purchased. The problem - as I see it - is that even with the seal removed, the awning creates a narrow gap that does catch tree debris. These are held here and create the streaks. The street side - in our case with no awning - has nothing to slow down the flow of water or trap debris, so everything washes right off. I was (un) pleasantly surprised to discover that after I removed the seal, cleaned off the whole roof and around the awning brackets, and cleaned and buffed away the streaks - it rained that night - bringing down tree litter - and re-streaked the curb side even worse than it was before!0 points


-
Recent Achievements
-


")


")


")

