
Leaderboard




Popular Content
Showing content with the highest reputation on 08/19/2019 in all areas
-
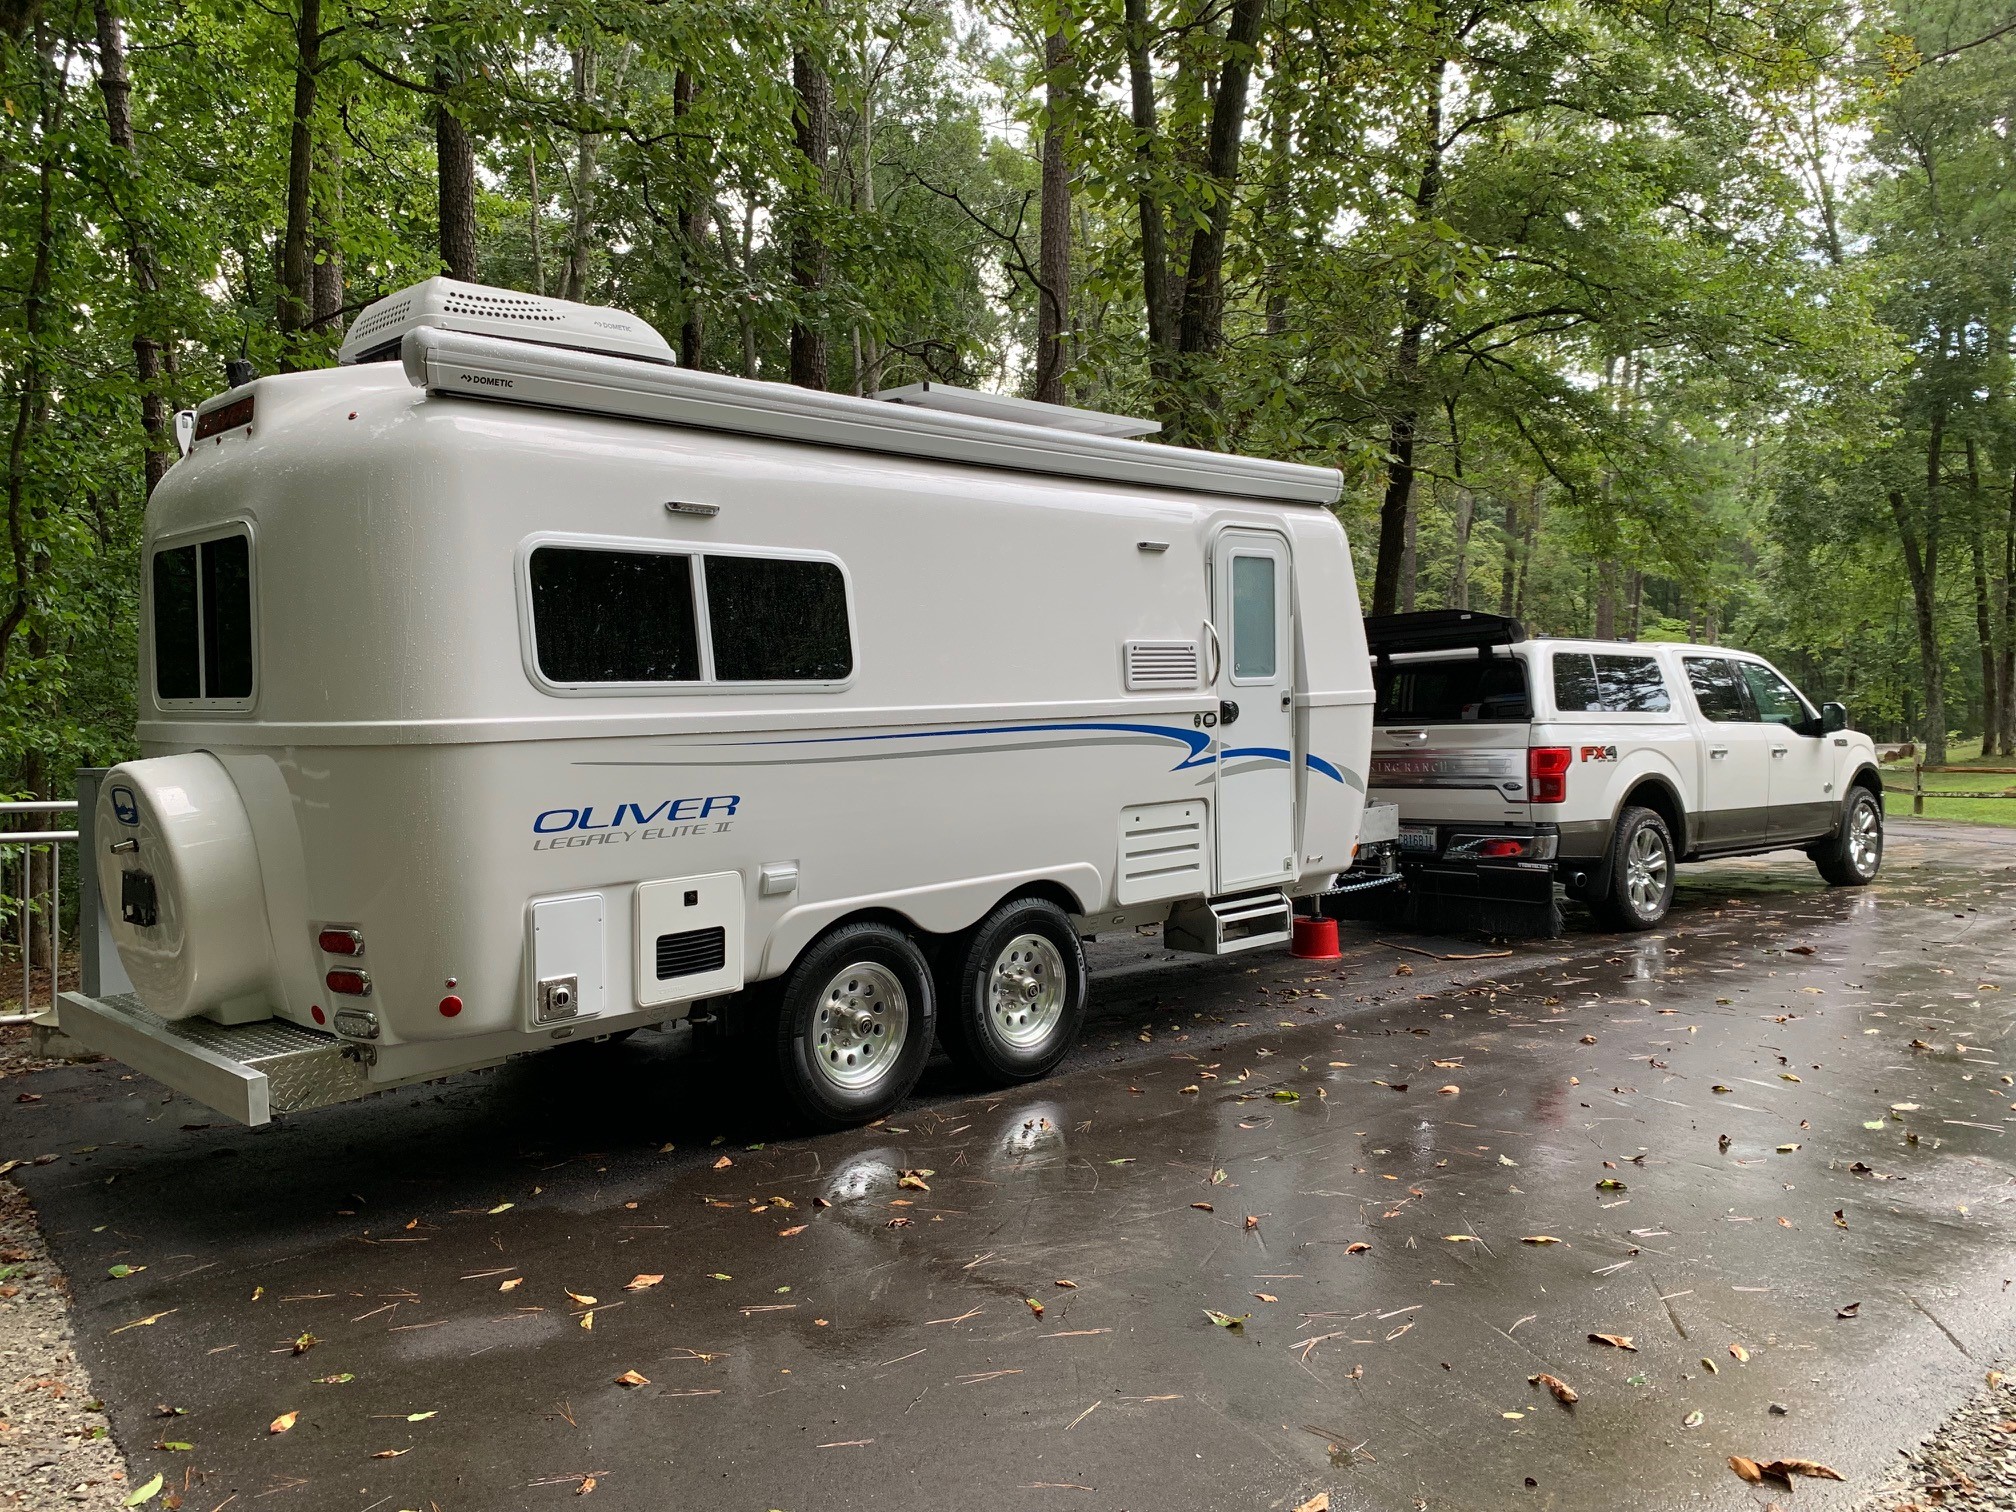
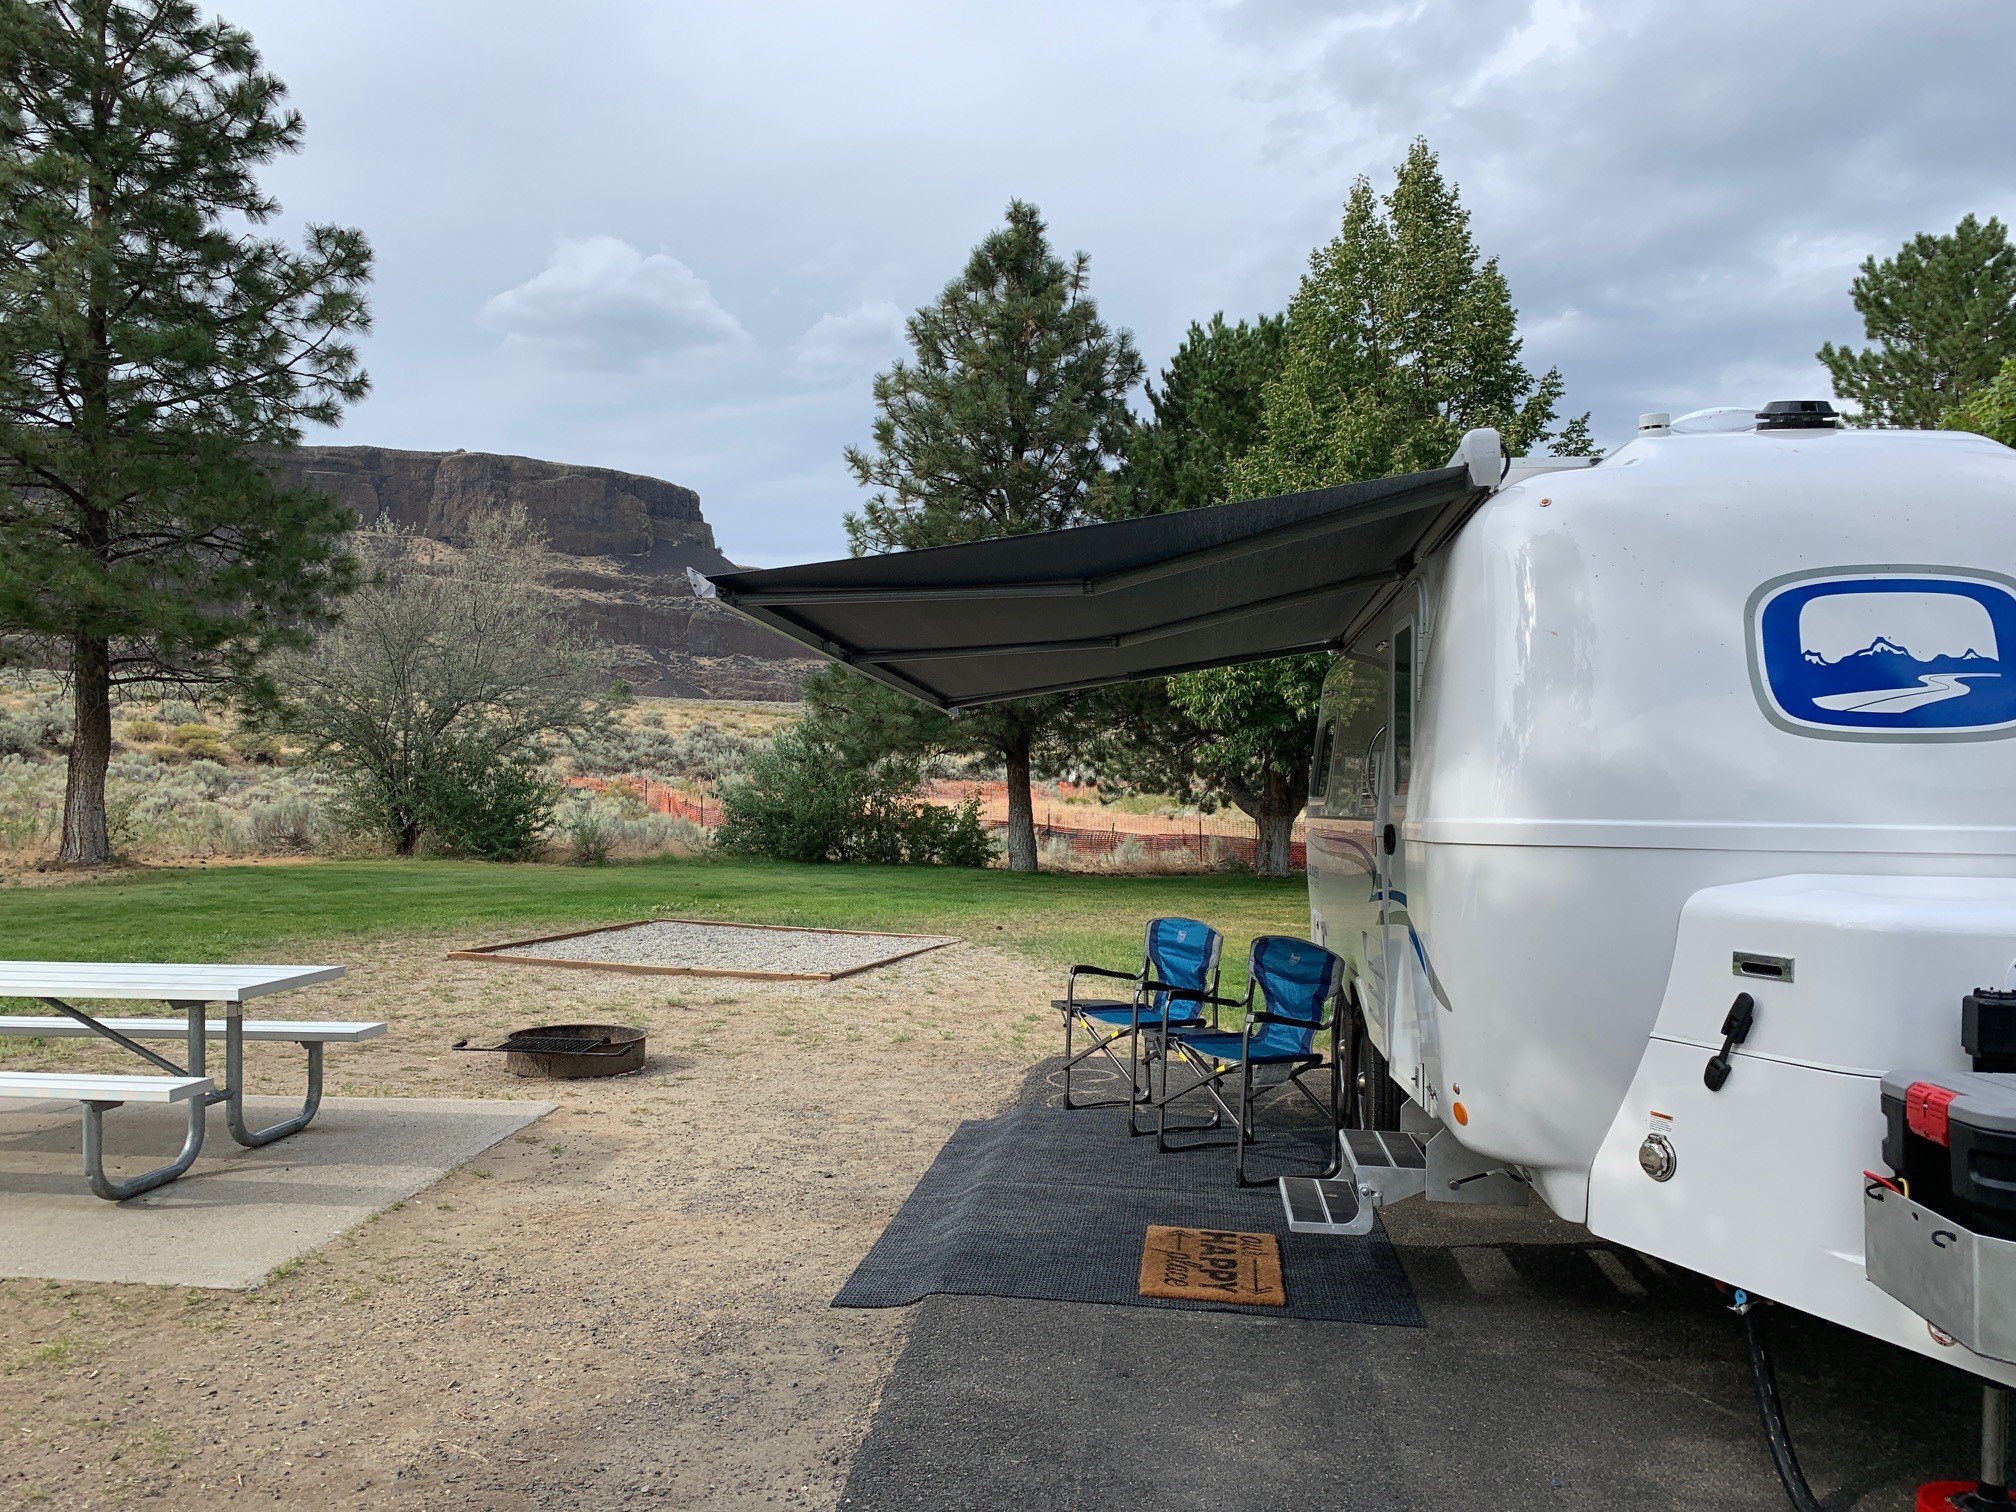
Hull 505 made the trip from it's birthplace to it's new home Washington State this week. First Campsite and Last Campsite Attached.
 3 points
 -
I asked for this awhile back same question.
2 points
-
I have two of those Xtreme heaters in my early model Elite. But they do not run on DC power, and at 350W times 2, there would be a toll on your battery's amp hour storage. If camping in an overcast snowing environment, solar replenishment to the batteries would be at a minimum. They work very well if shore power is available for the long term. They are positioned to protect my external shower and the water heater, which are my unit's vulnerabilities. Pete1 point
-
I have done a fair amount of camping in some cold weather but have never run into any frozen lines so far. Thus far we have seen some teens, to 20's or so for a few days running but knock on wood no issues yet. Hope this helps. Rob1 point
-
I think one or two people have installed marine bilge heaters, like these. There are two problem areas where water lines tend to freeze - front curb side and rear street side. Mainly, it's the toilet and bath sink that gets affected, though if the lines in the rear freeze, then it can prevent you from refilling your tank. The lines in the rear also have connections and check valves that can be damaged in a freeze.1 point
-
I have used this stuff for a couple of years with zero issues. https://smile.amazon.com/gp/product/B0006V0LNY/ref=ppx_yo_dt_b_search_asin_title?ie=UTF8&psc=1 I don’t understand the black streaks, I have never had anything but stellar shine. It is very important to follow the directions, maybe that can cause problems. Strip any existing wax by washing with Dawn dish detergent. Follow up with a wipe down with a good paint prep product, I use the 3M Adhesive Cleaner, which is standard for many body shops. This lets you get off the tar, bugs, sap or other glop that is bonded to the gelcoat. Once it is “baby bottom smooth” apply the Rejex in the shade, buff it out and let it sit in the shade overnight. It’s a lot of work but the results are jaw dropping and it stays looking nice for a very long time. Bugs come off easily, diesel soot stains (on an older TV) wipe off, most of the road road dirt rinses under just high pressure water at a quarter car wash, no soap needed when your are on the road and want it to look reasonably clean. I use it on every car and truck, my canoe and my Ollie.i am not going back to any other product, no way. John Davies Spokane WA
1 point
-
My experience with Rejex was that it caused black streaks on both my trailer and truck. And it actually beaded less than bare fiberglass or paint. That aside, having used both the rejex and dura gloss, I can say that the dura gloss goes on easier and so far is still going strong after waxing last spring.1 point
-
No problem John. I was happy to stumble across it. Very well presented and informative I thought. There's a lot to learn maintaining our trailers! Dave1 point
-
Looks good, true getting it level and in the center takes a little time measuring, but it's worth it in the long run. Now if everyone shows up at the Oliver Rally next year I will know who is who by there trailer logo. trainman1 point
-
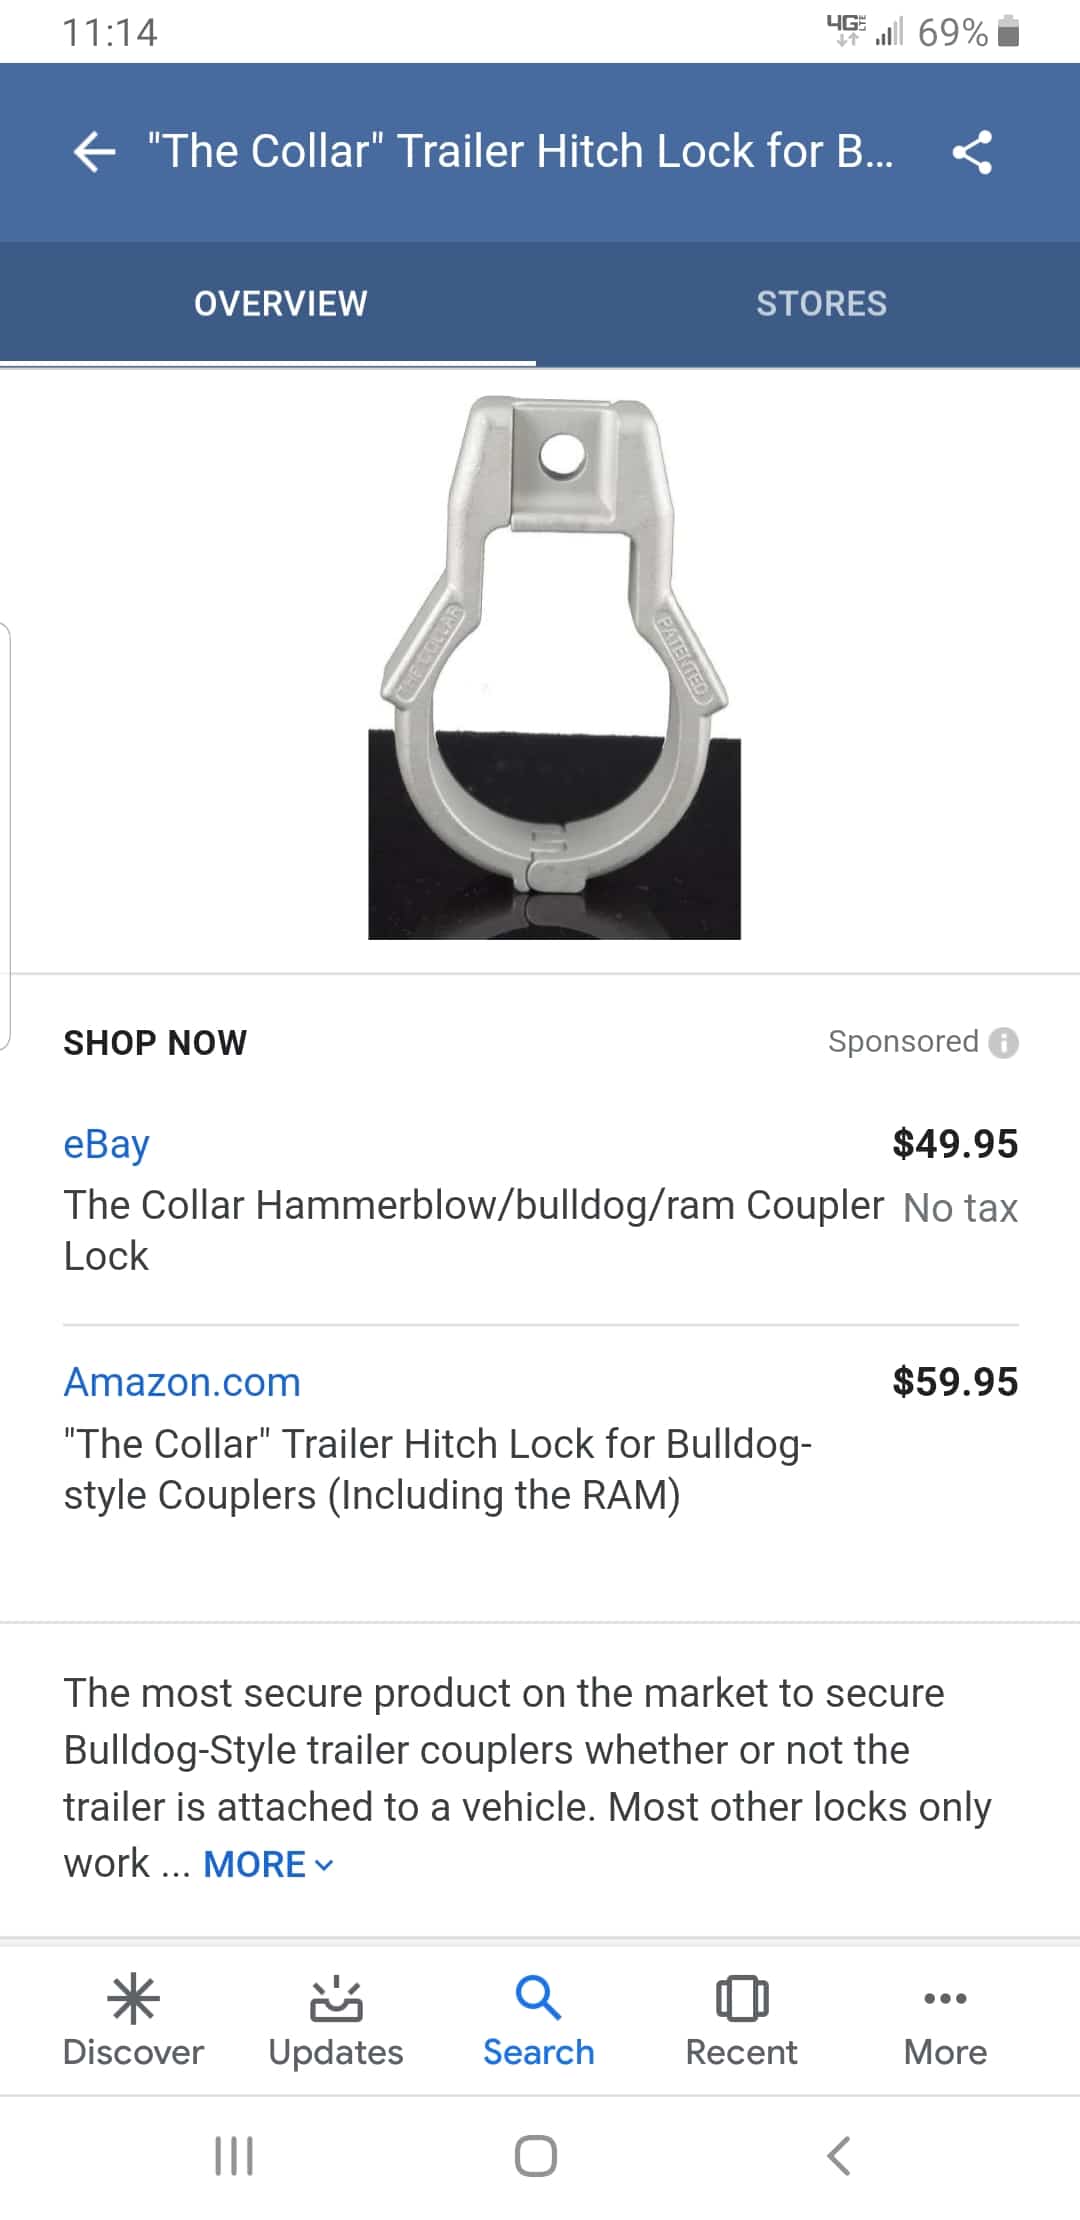
We use a bulldog collar lock. Traveling, or at camp.
1 point
-
Installed the compass today easy install with soapy water solution. The hardest part was getting it centered no edges to measure to find the center. Had to use the thumb level tool.
1 point
-
Newshoes - Other than how the finished product looks, you're right - functionally there would not be hardly any difference. Even with allowing this product to "normalize" it still resists the 90 degree bend around the windows. After a couple of years with no problems, mine too came loose at the ends on a couple of windows - note that the 3M tape didn't become un-stuck from the Oliver but actually lost its grip on the gutter itself. To fix this problem I simply got a product called "E-6000" ( avaiable at WalMart ). I removed the 3M tape from the part no longer sticking, applied a thin layer of E-6000, held it place with painters tape for 24 hours and have not had a problem since. Good luck. Bill1 point
-
Yep - yours truly was another one of the three with hull # 269 being the third. Certainly a mini-rally it was with a pot luck supper, sharing stories and mod ideas, Ollie tours and attendance prizes (well, maybe no prizes but the view was wonderful until the hail and t-storm hit). Thanks go to ED & Marsha AND Greg & Terresafor making it a good rally. Greg really makes some mean chicken legs! Bill1 point
-
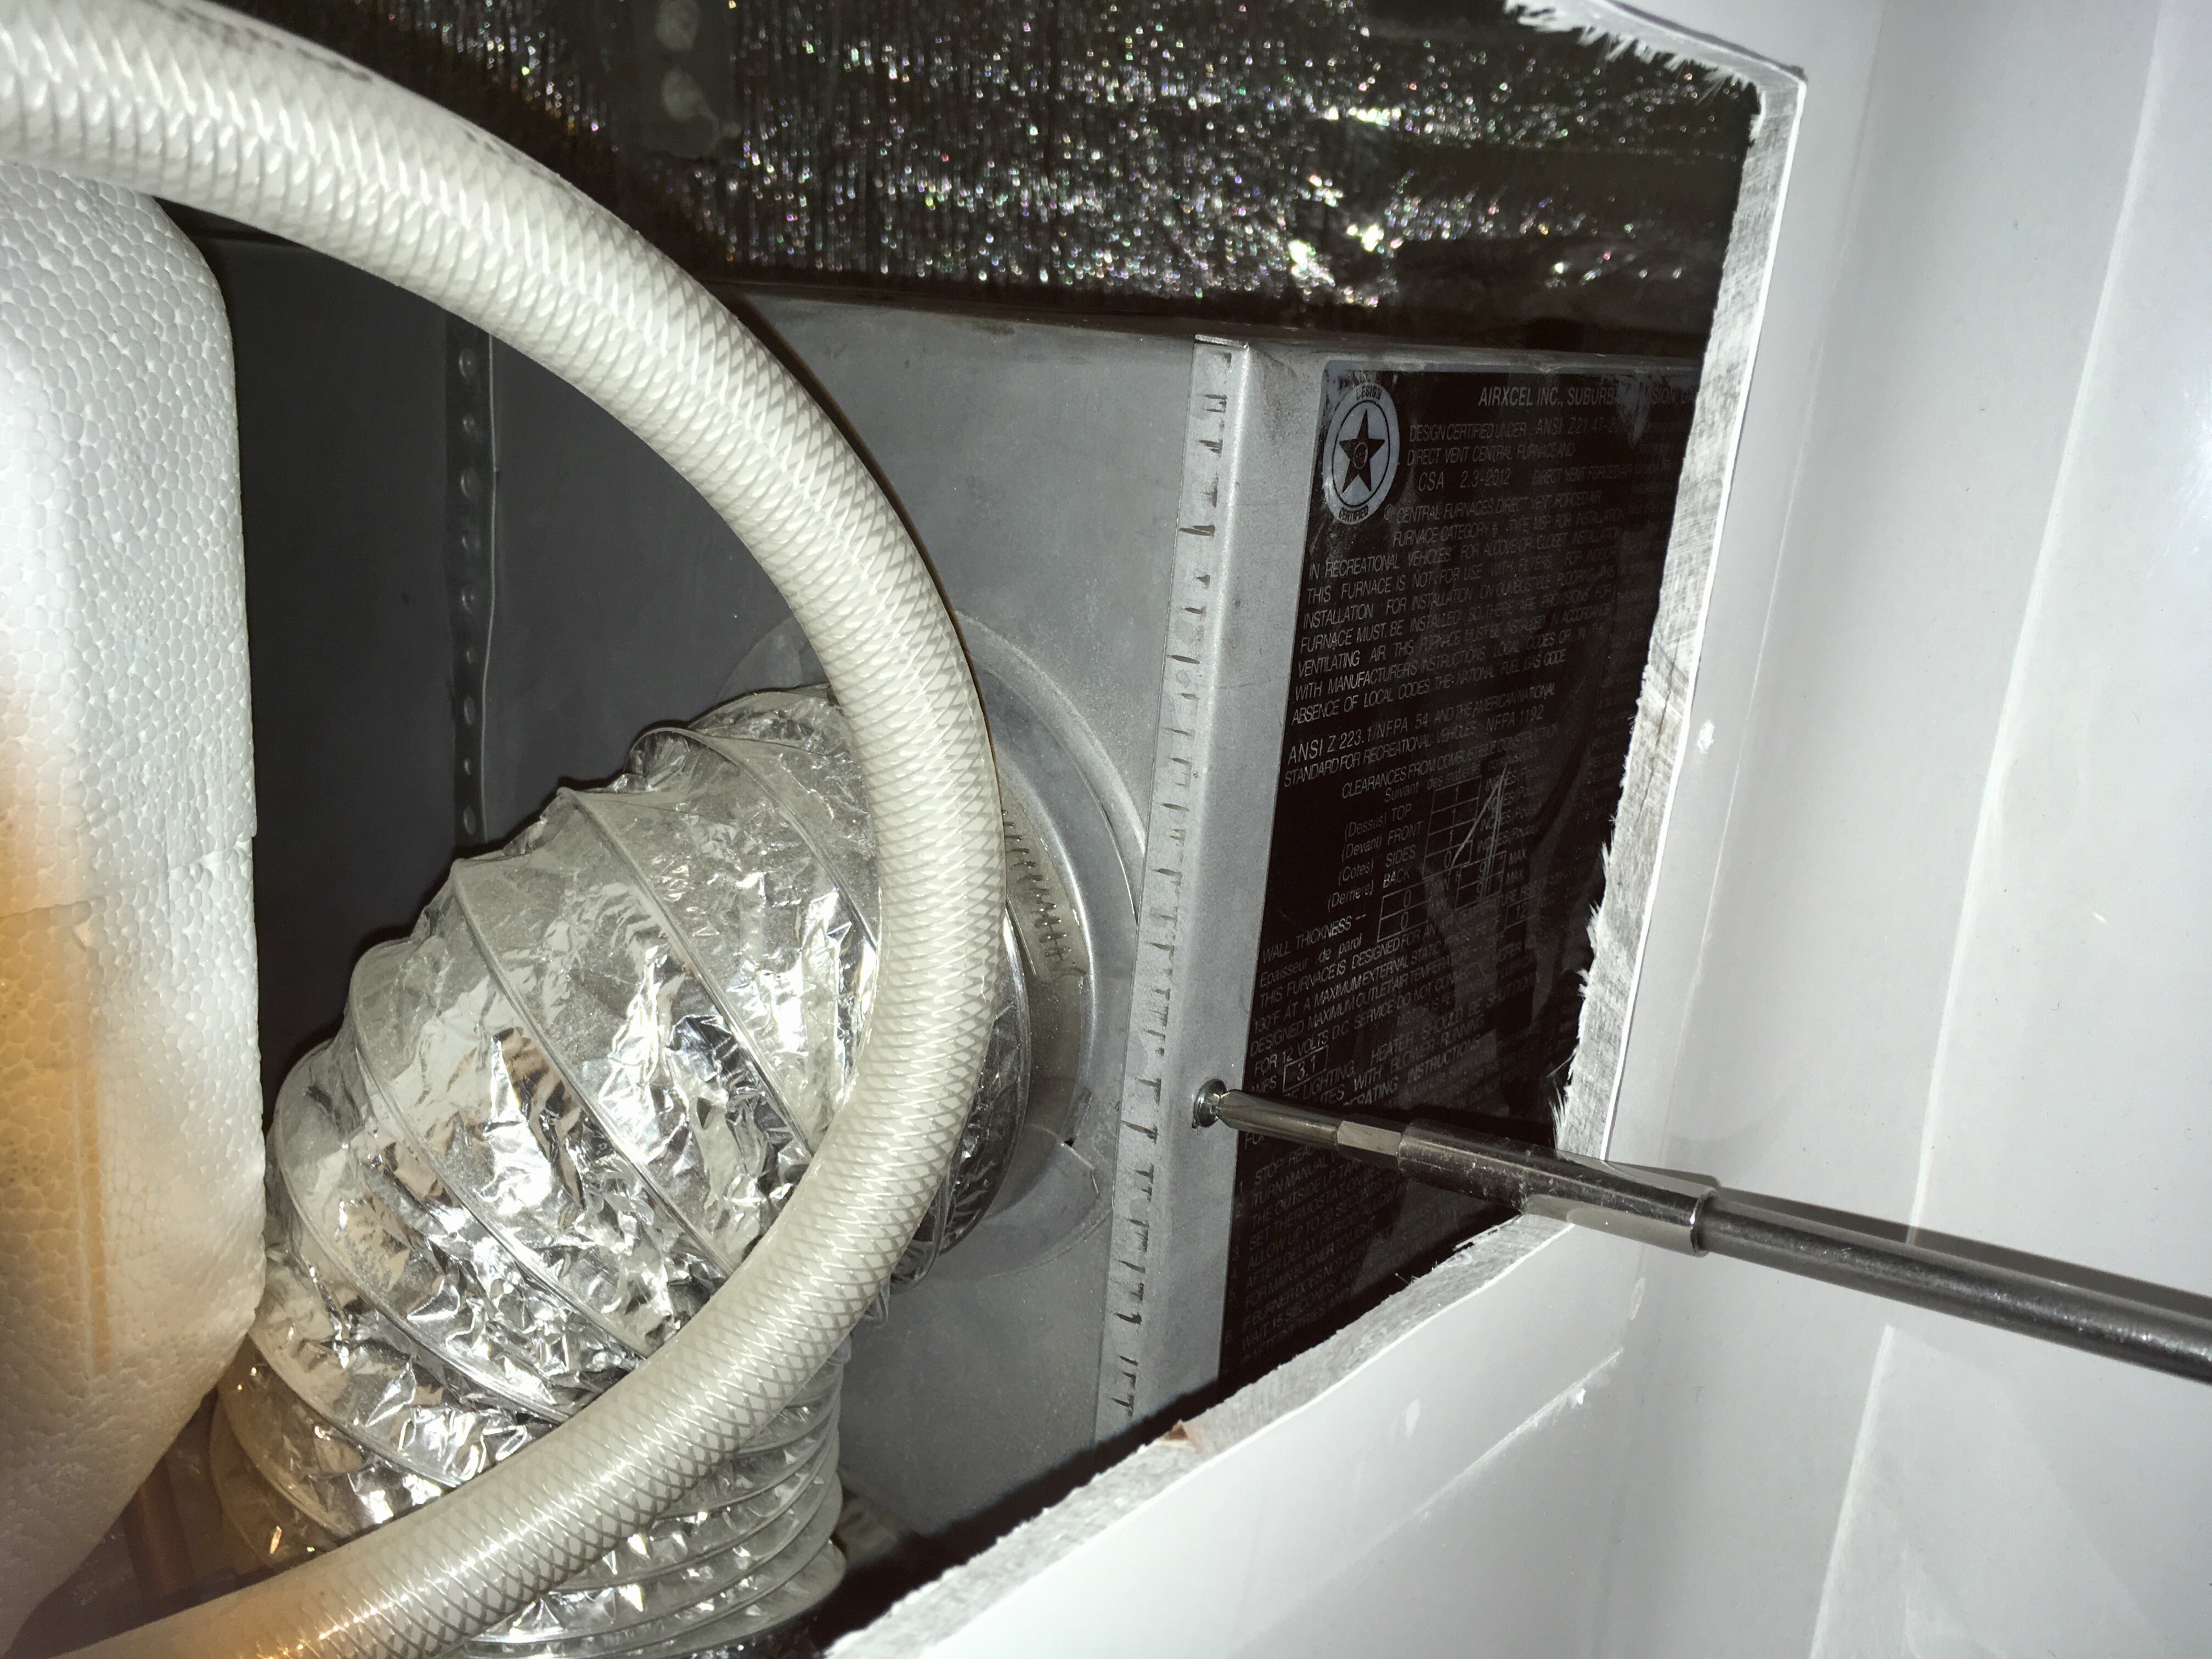
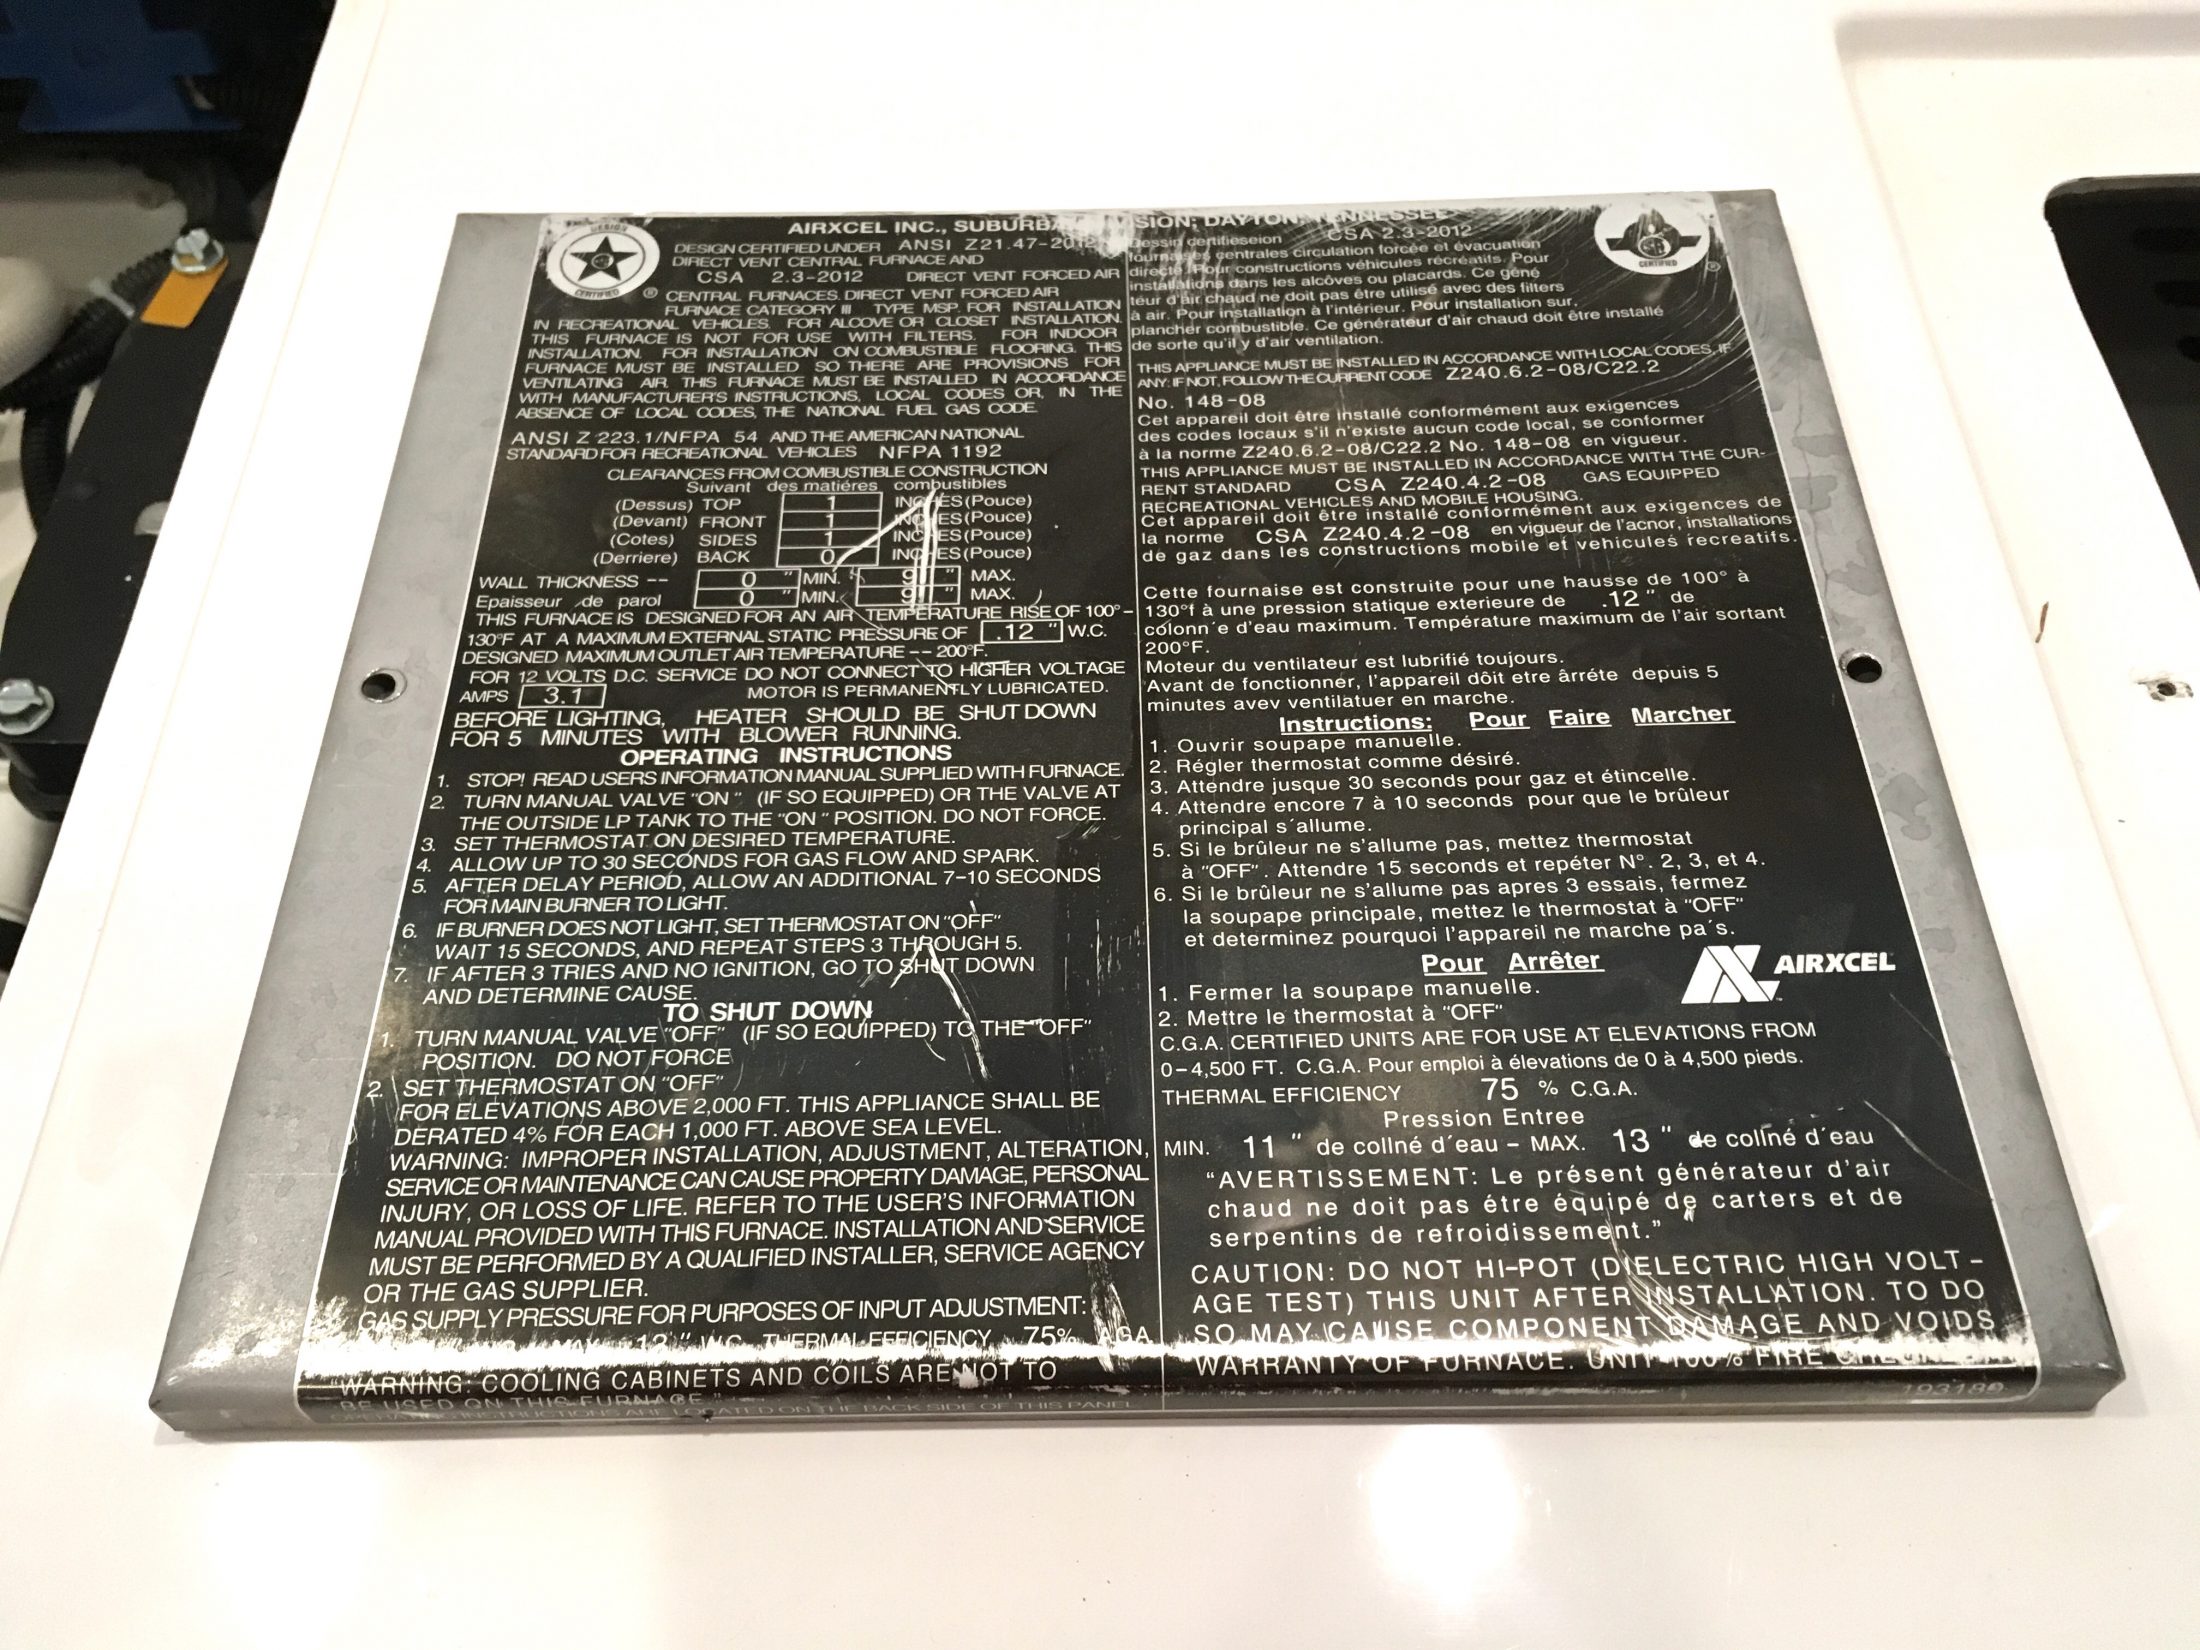
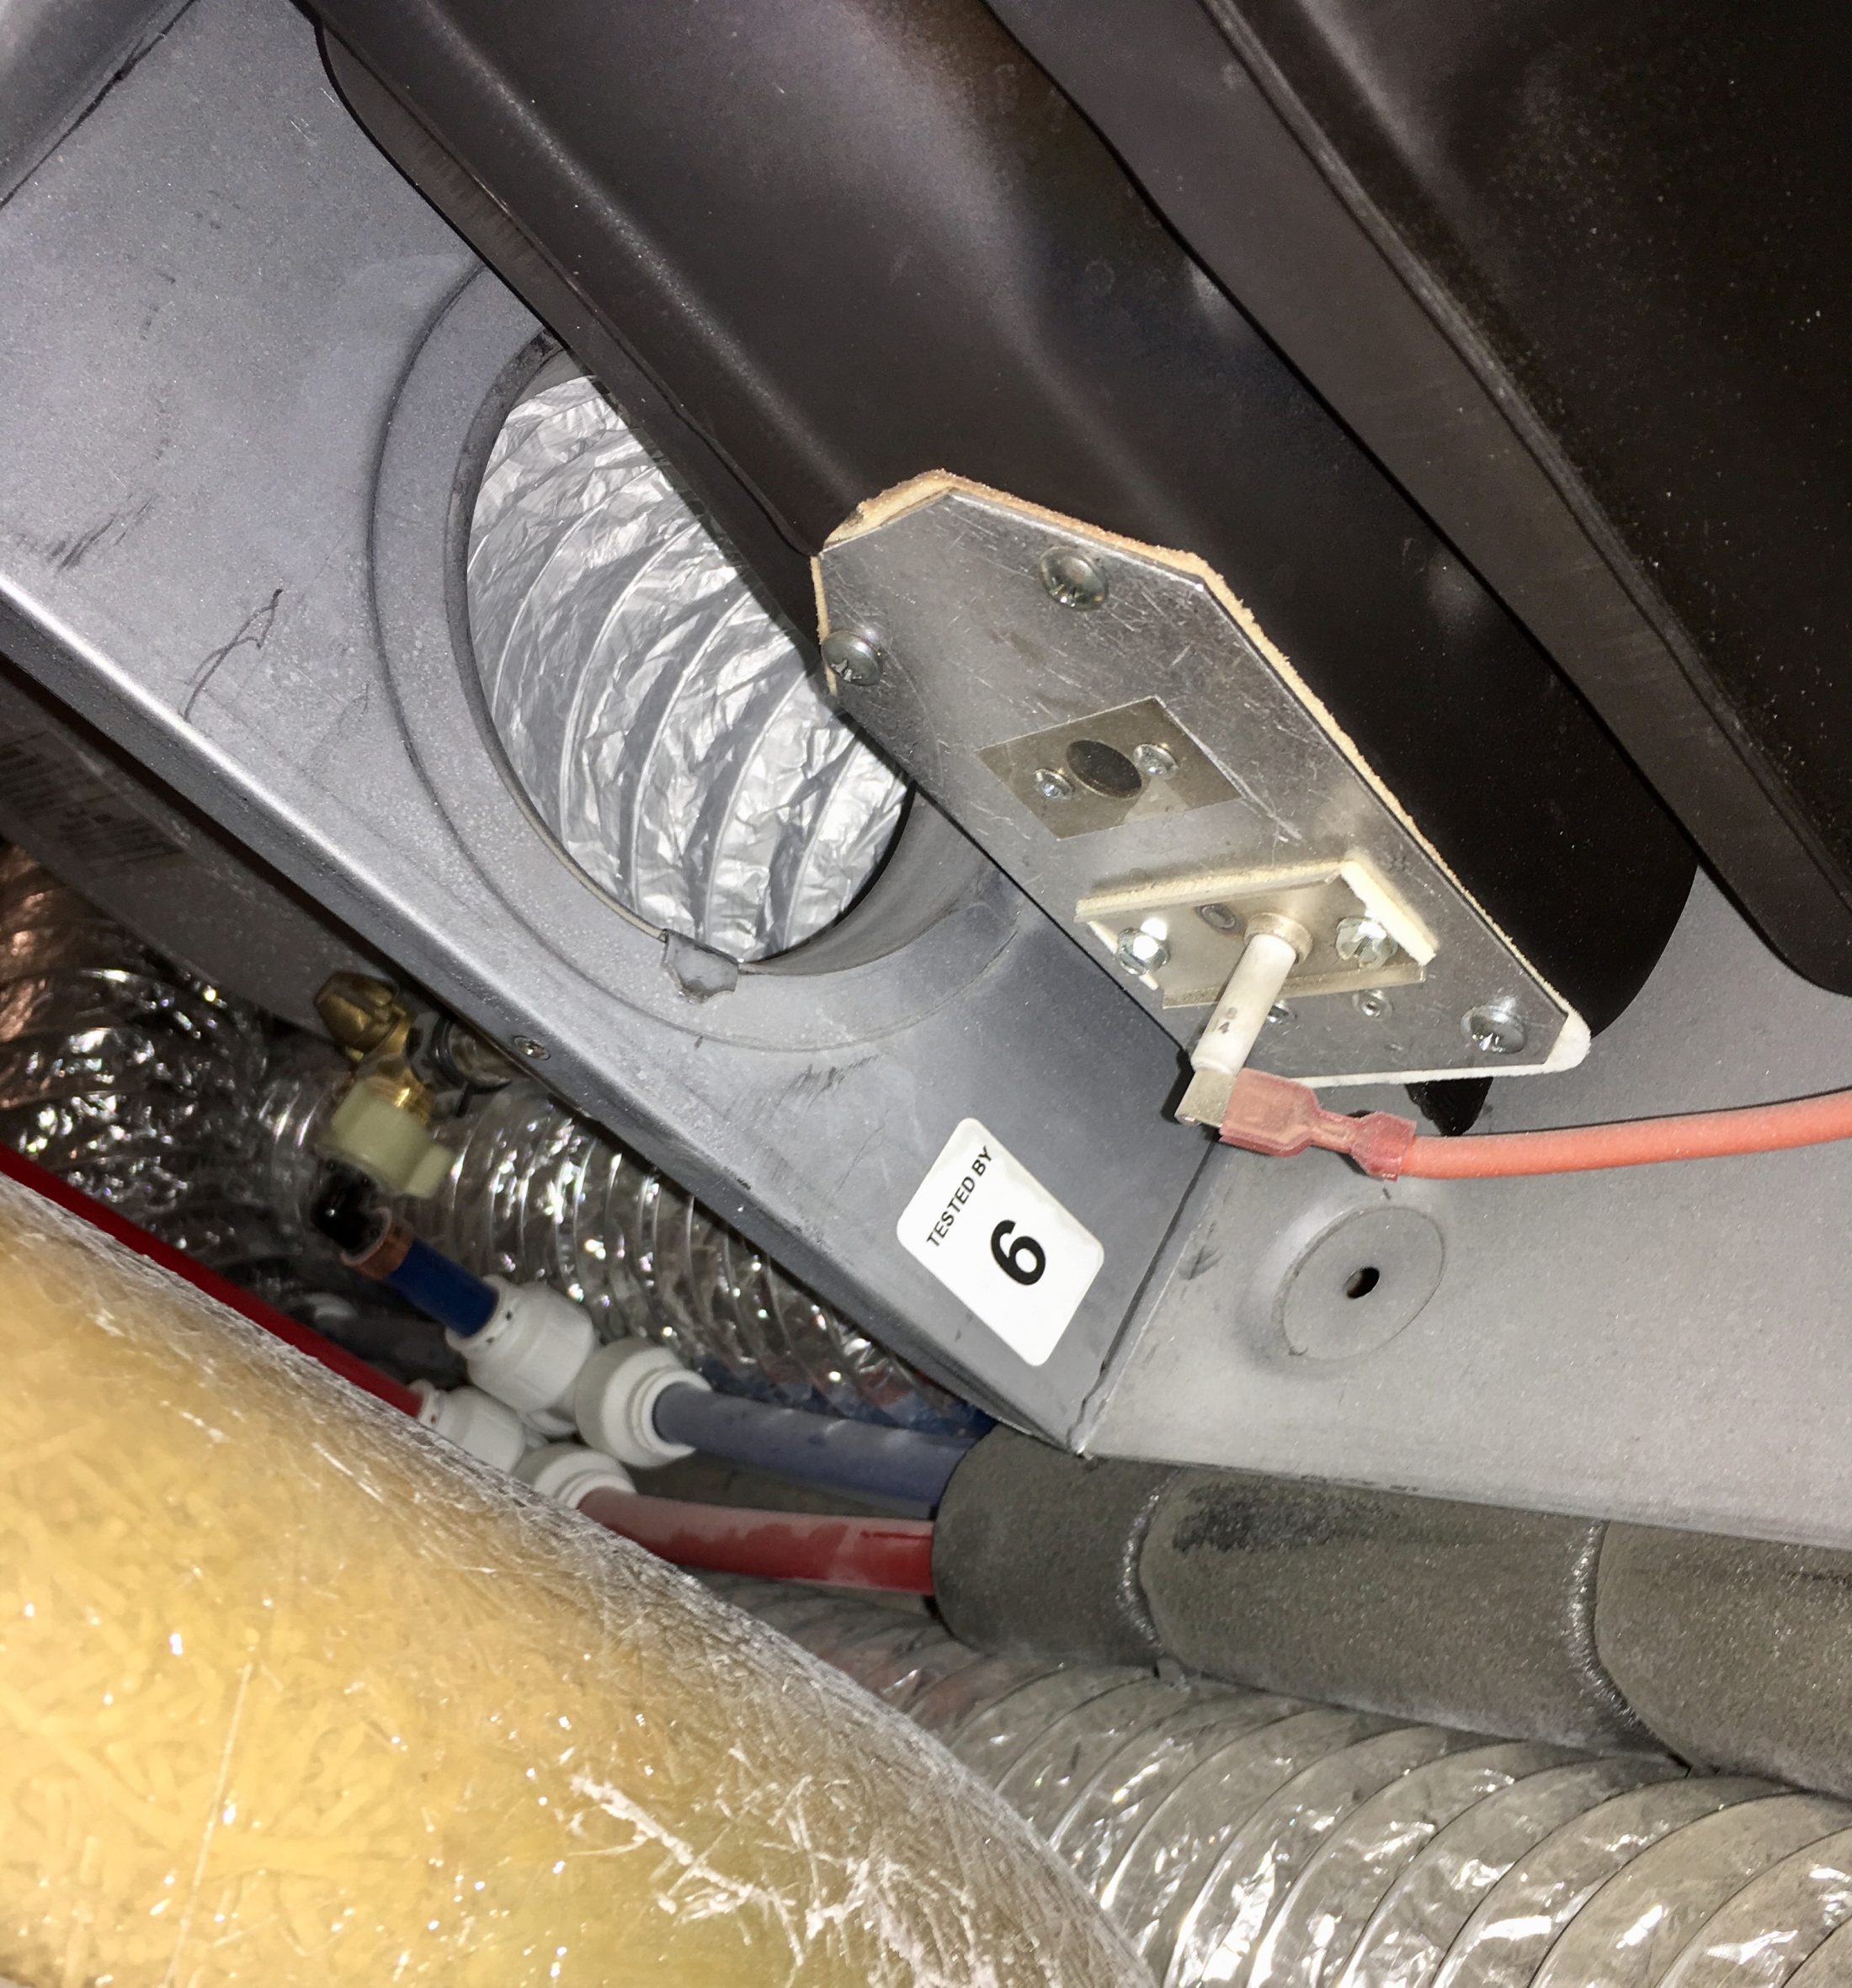
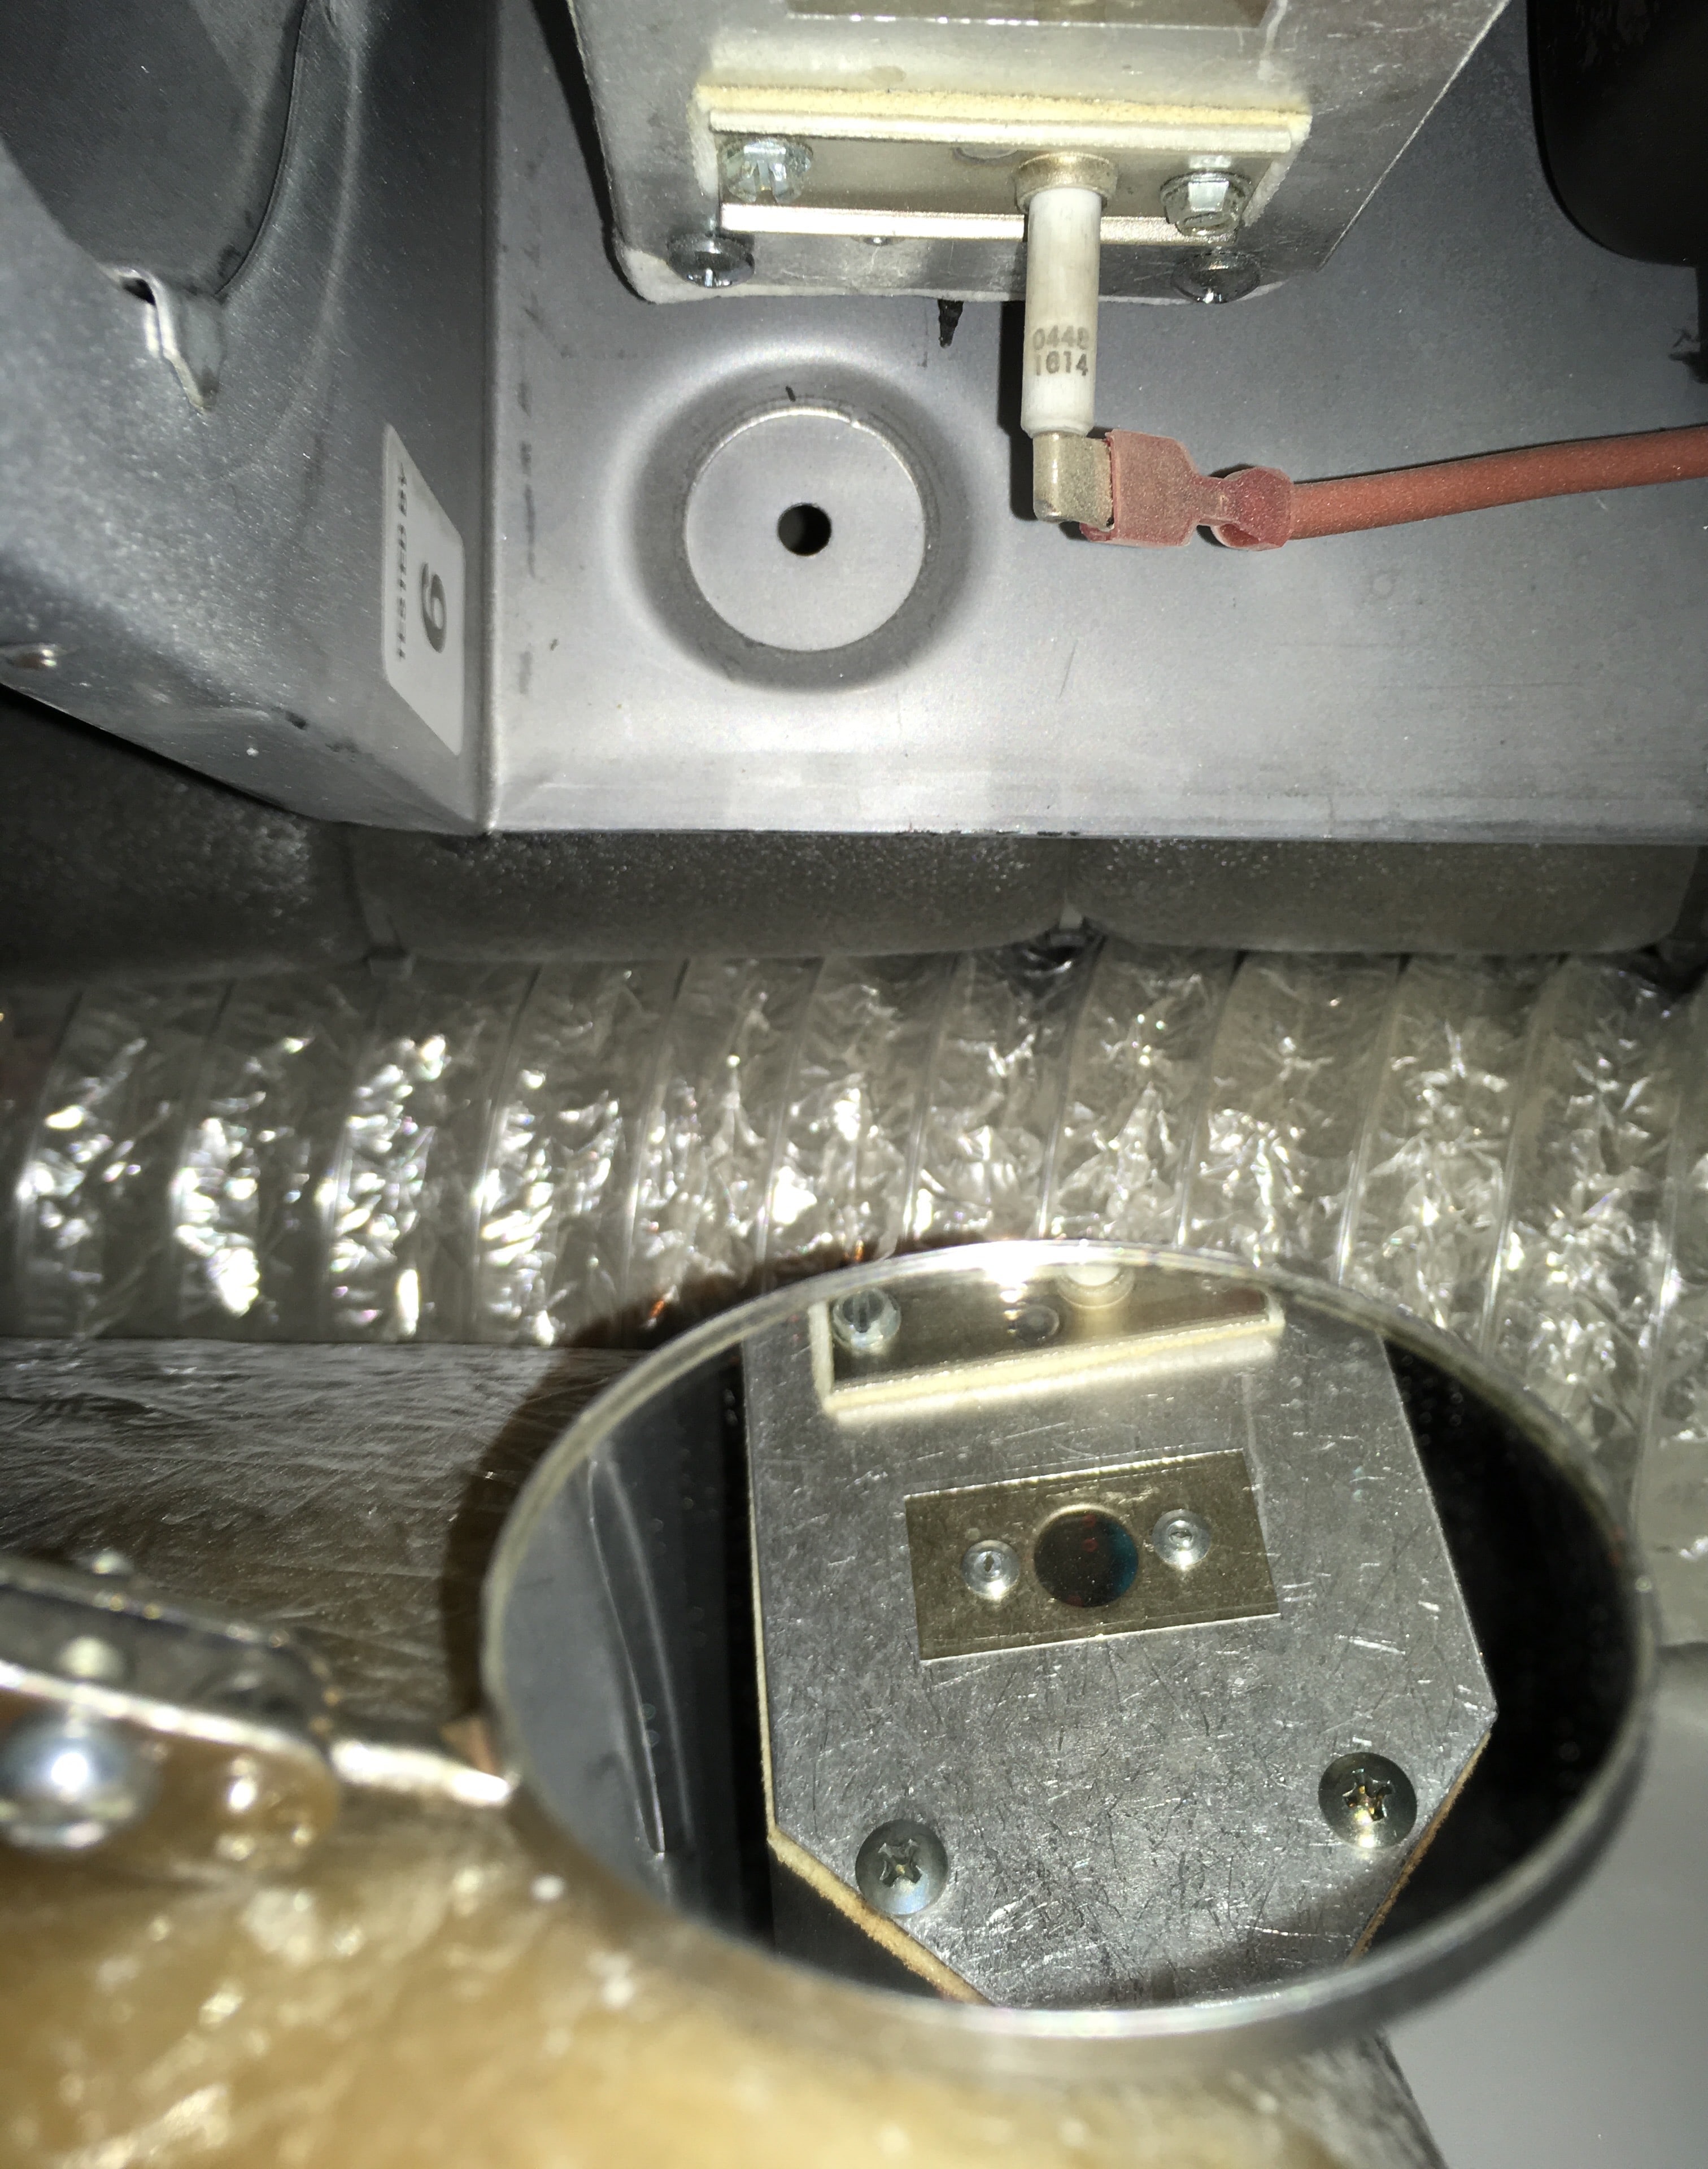
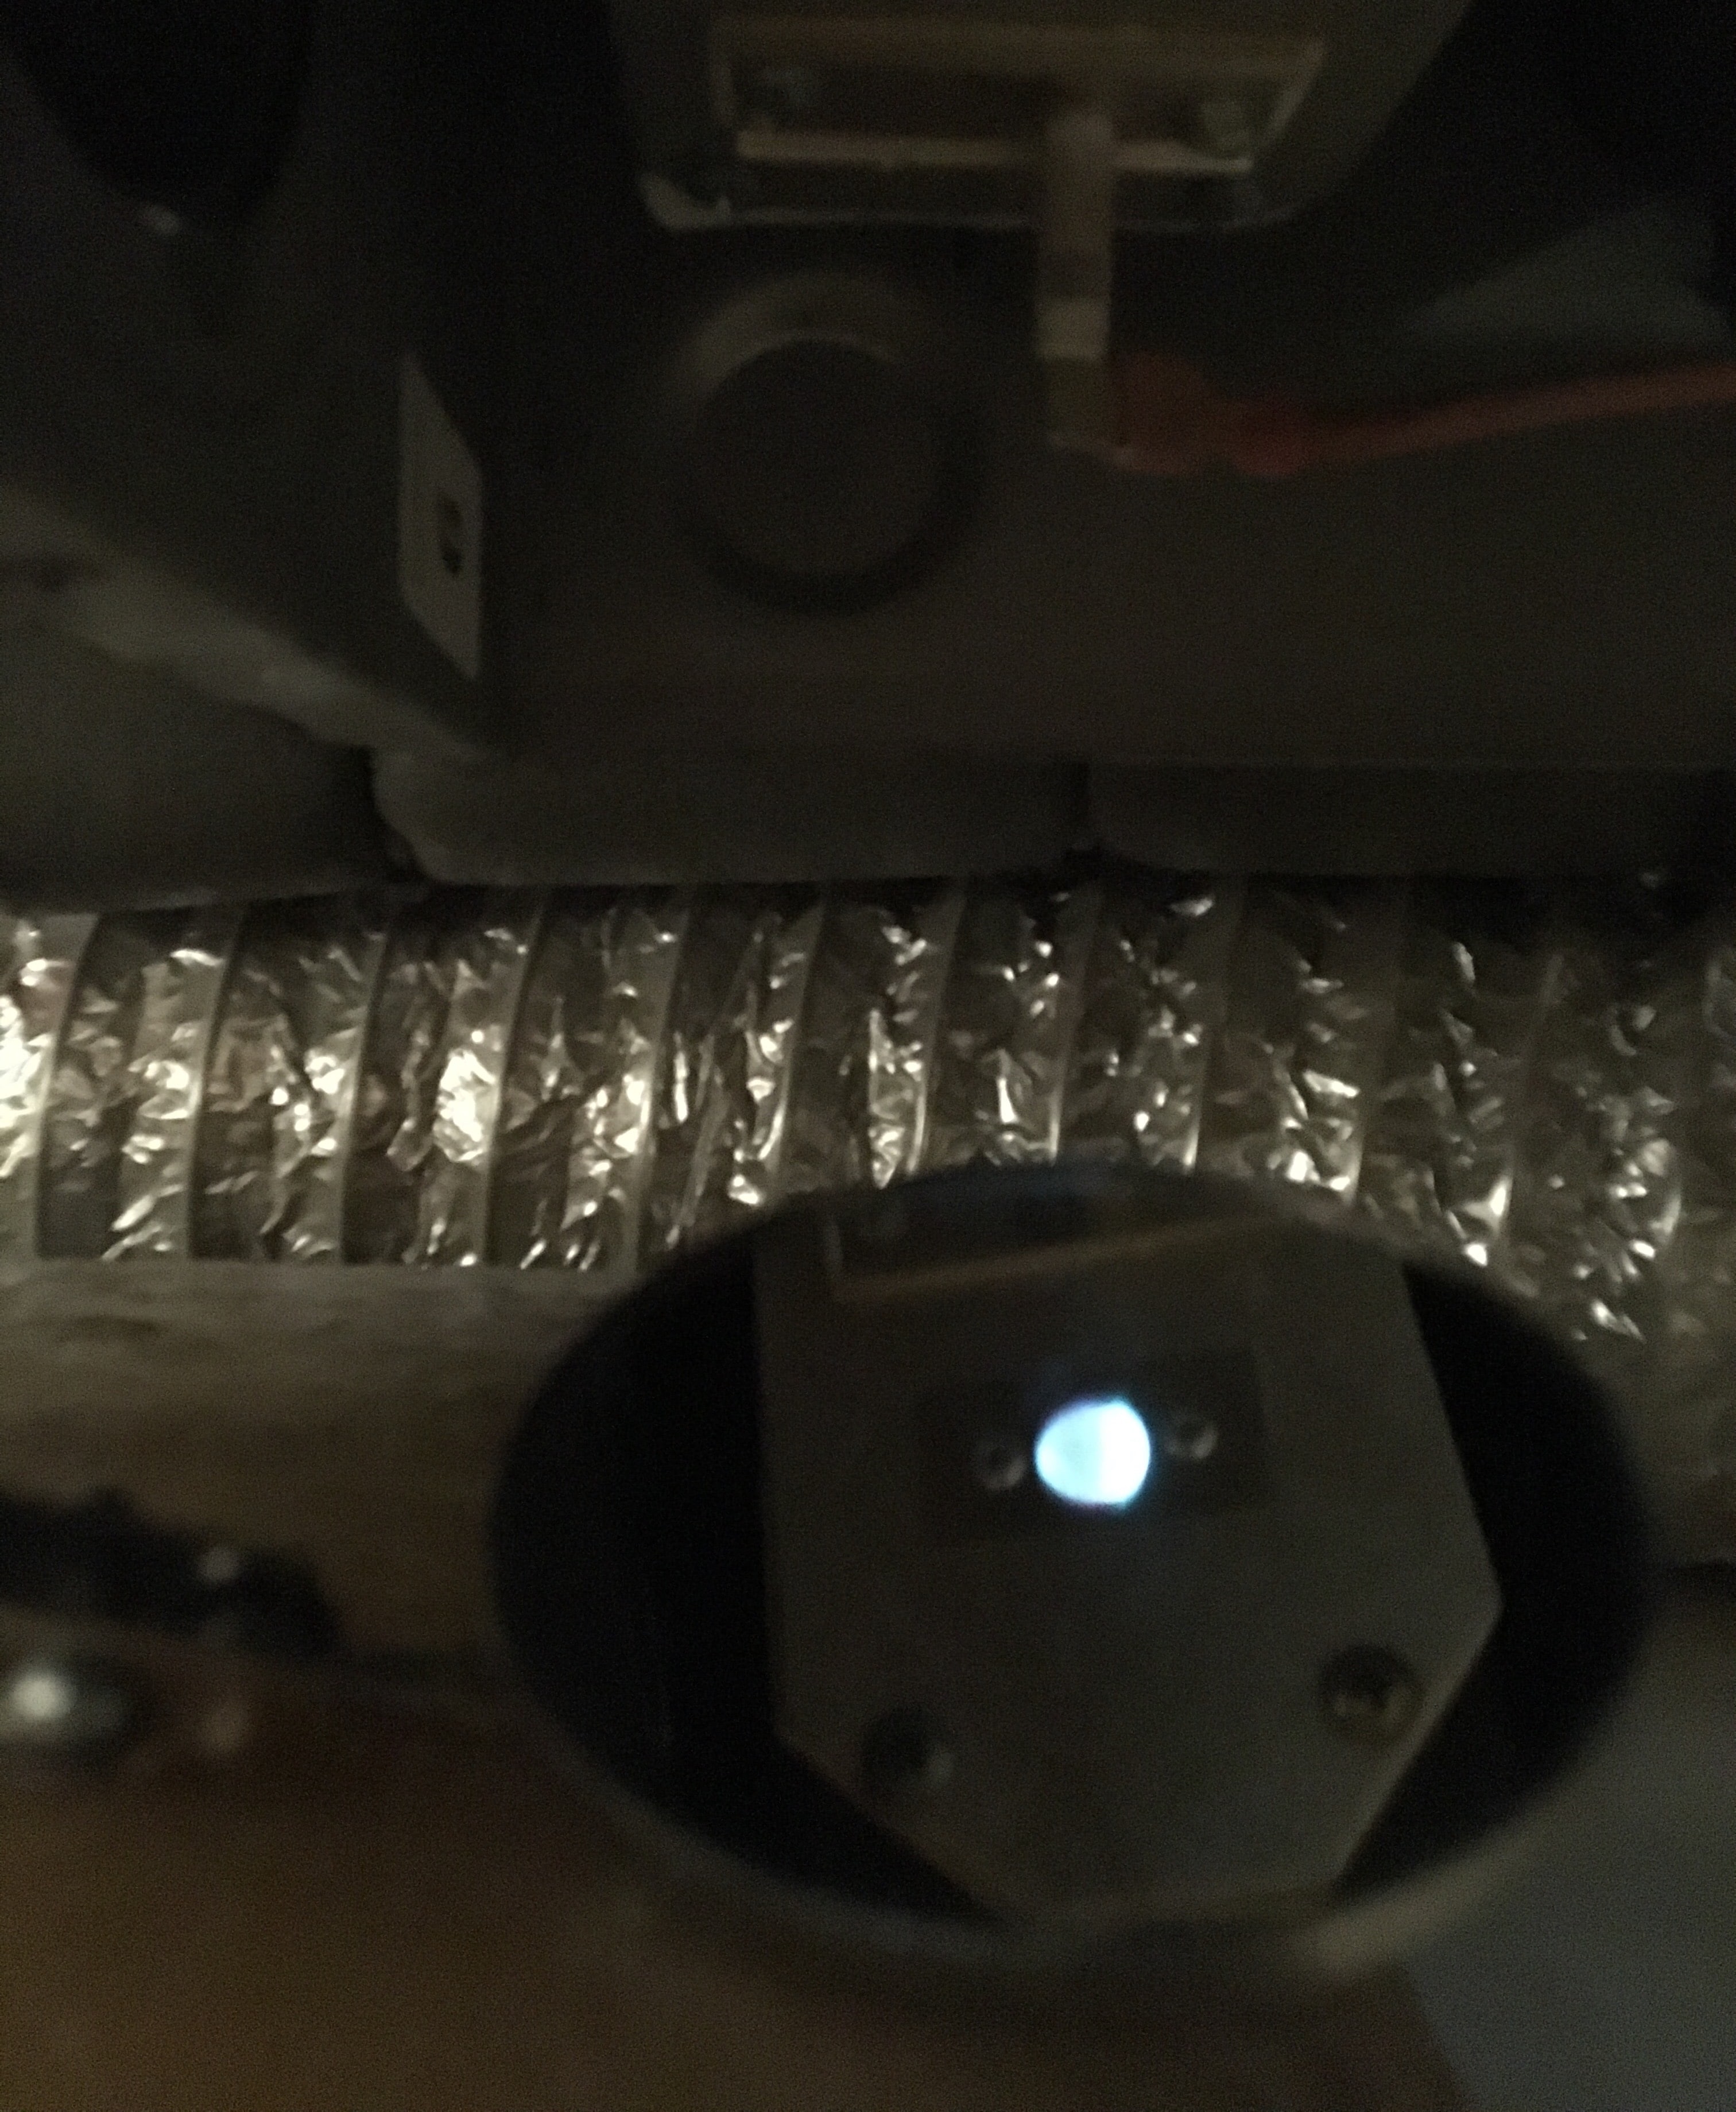
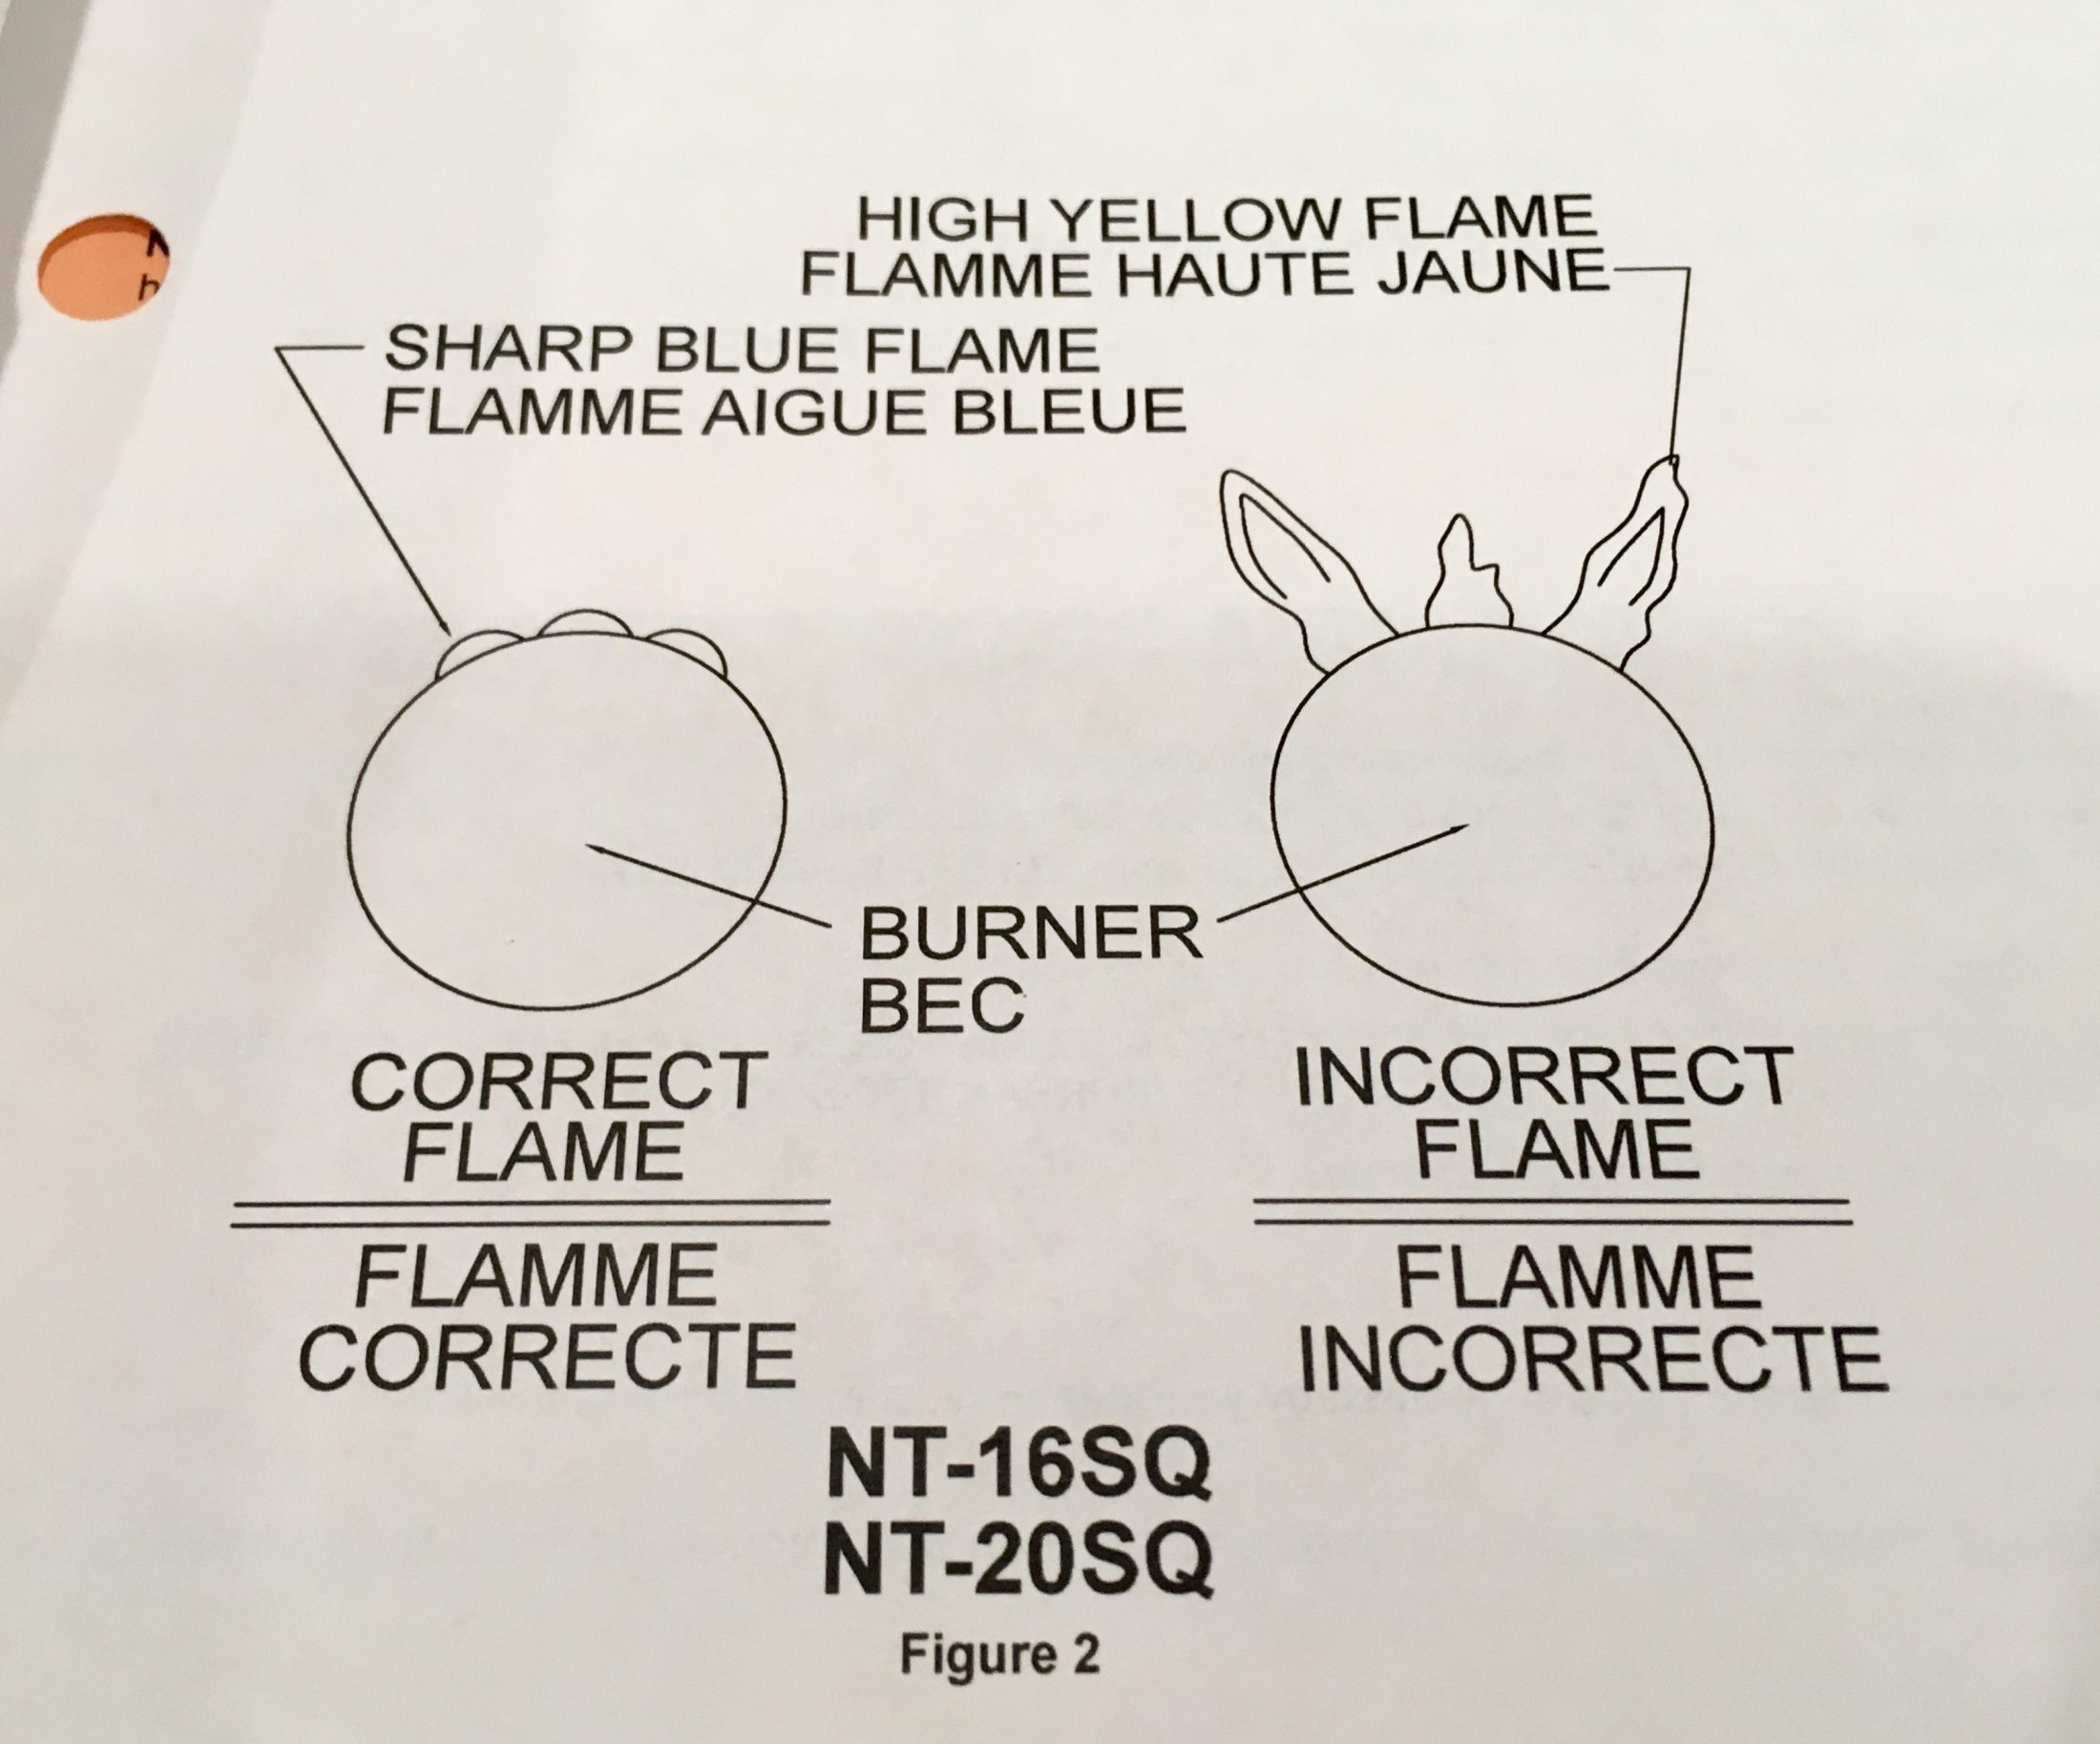
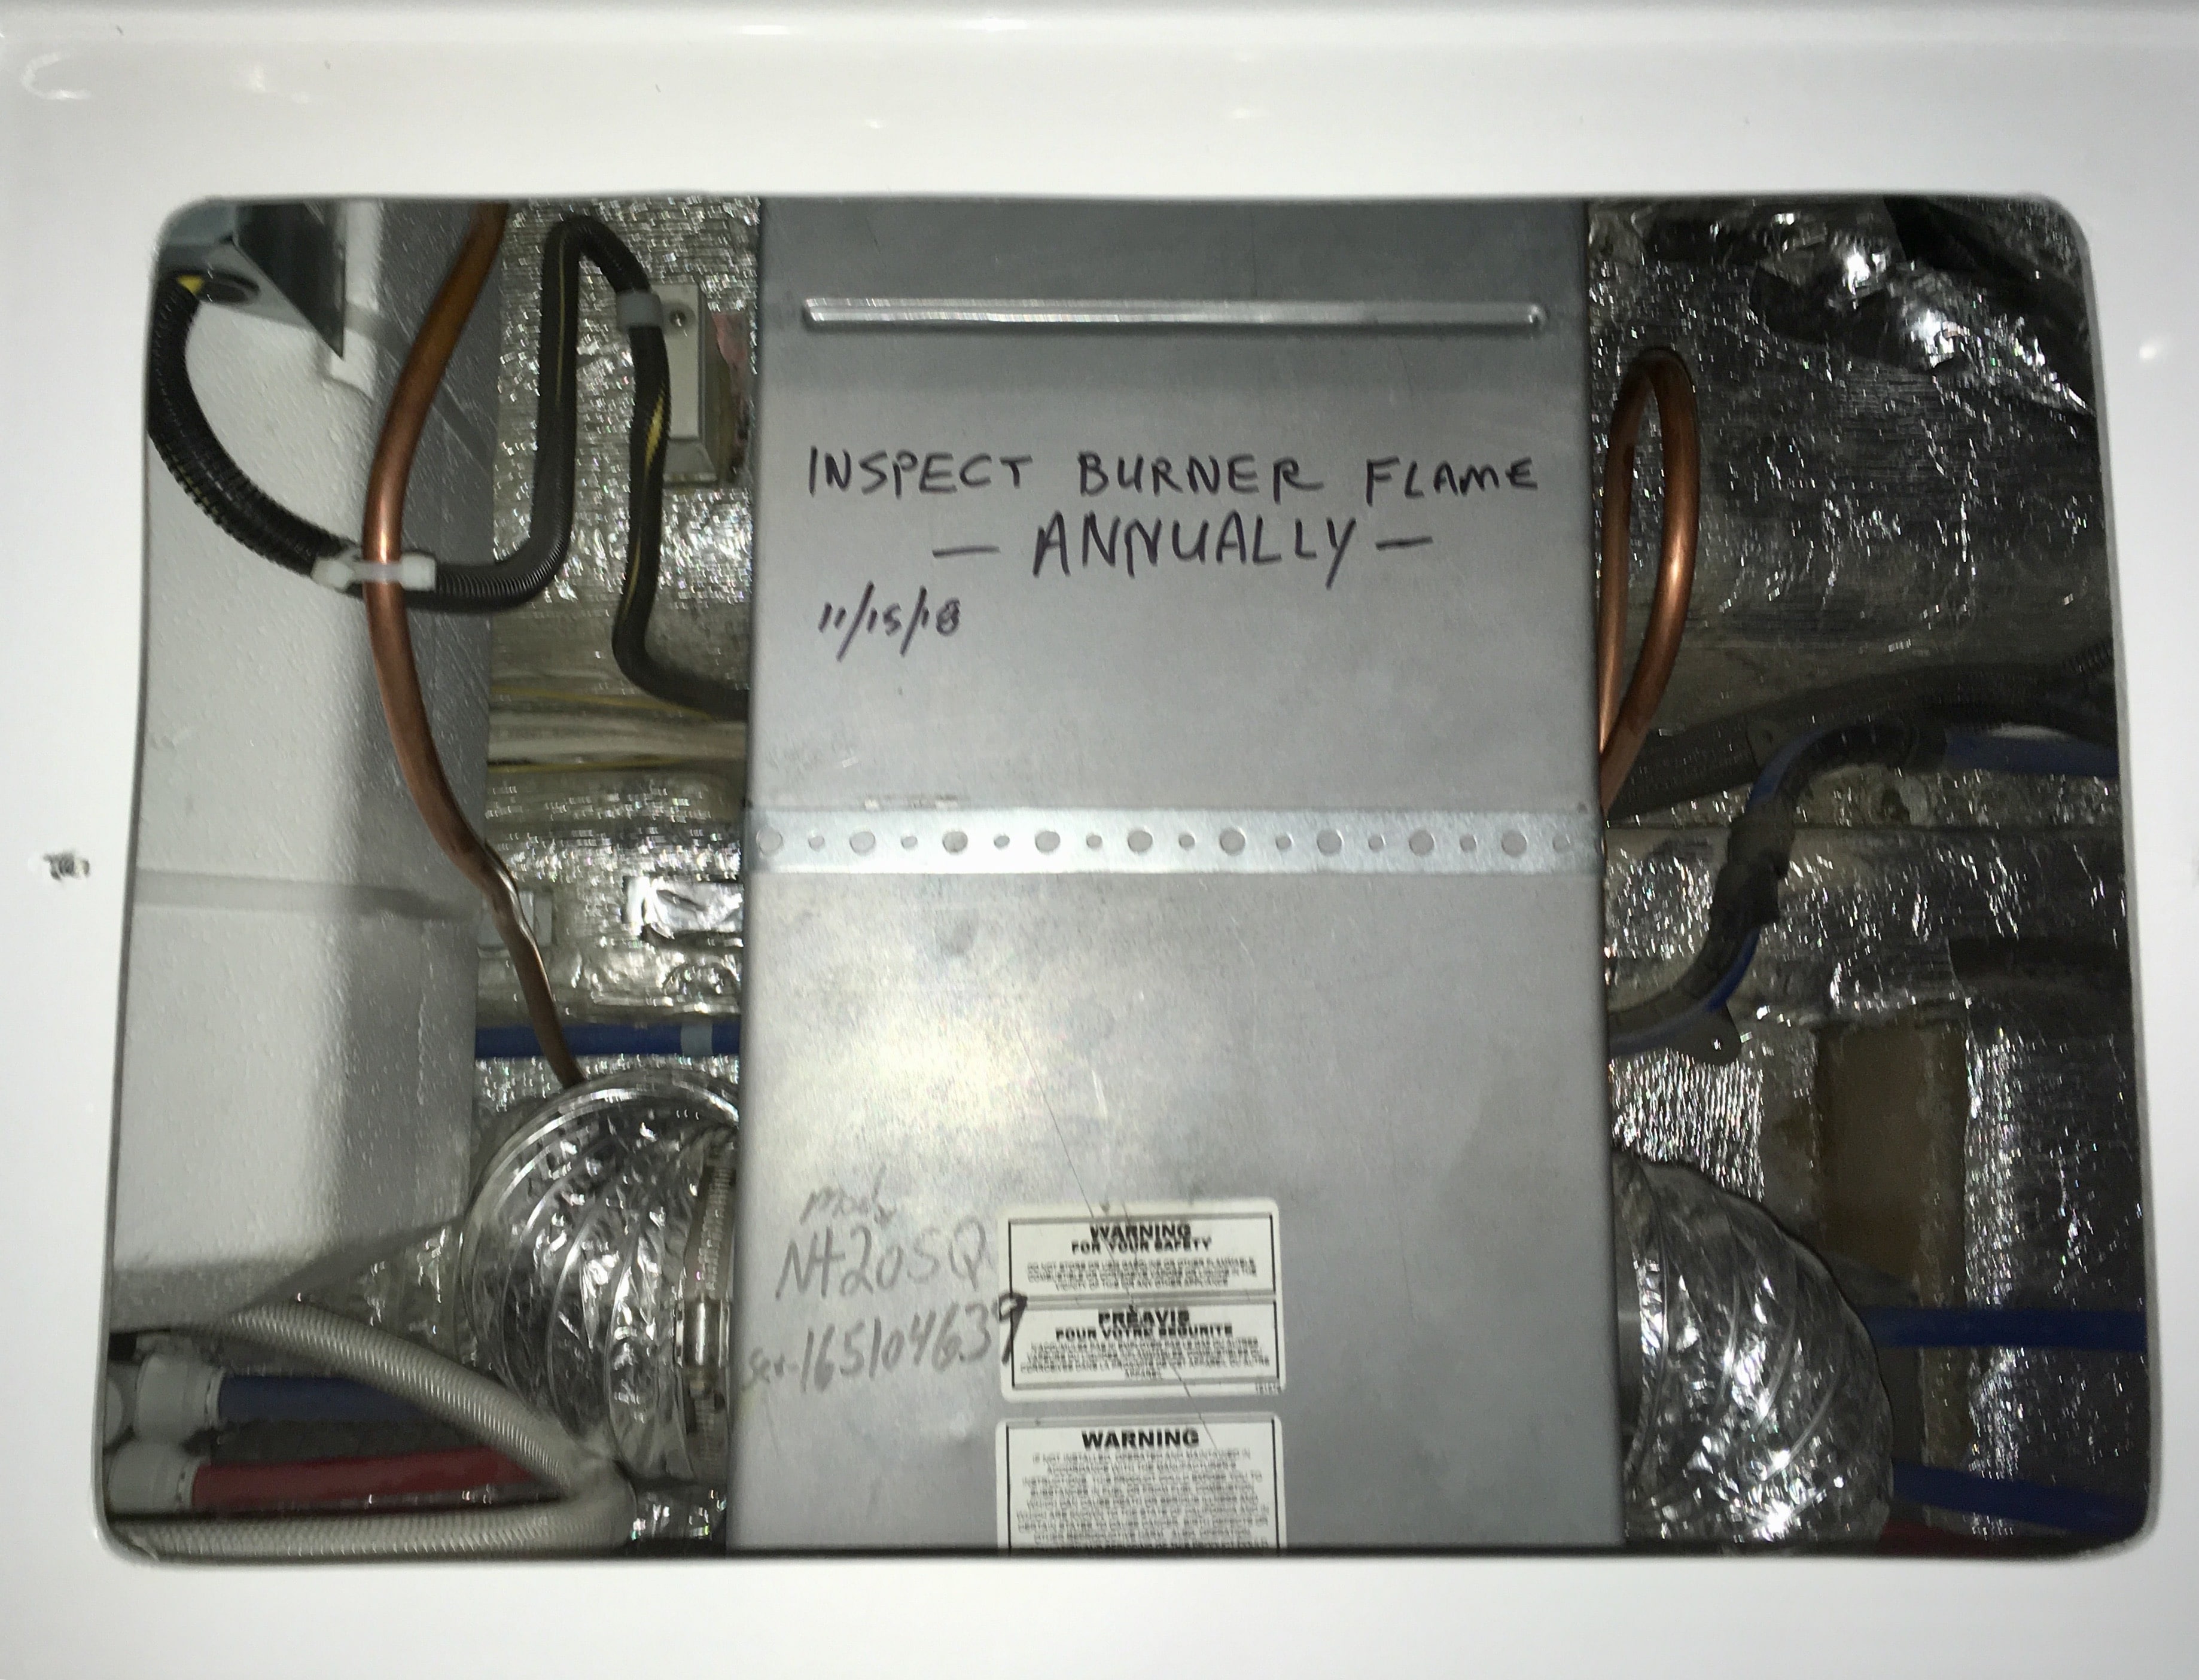
Actually you can't do a whole lot without taking it completely out. You can look inside the two outside holes to make sure they are not blocked, and to look for soot, which is a sign of distress (or high altitude use). You can however get to the ignitor, and view the burner flame from inside the trailer. The manual recommends an annual check of the flame to make sure it is OK. Here is how you can do that. It will take about 30 minutes. Remove the rear top access panel under the mattress, on the curb side, and also remove the air return grill, (two screws). If you have a work light, drop it down in the hole so you can see. CAUTION: the screws to be removed are stainless steel and non-magnetic. If you drop one it may disappear forever under a pipe or duct.Be prepared to find a replacement. I did not drop any...but it was a close call a couple of times. Remove the front screw of the furnace cover, easy: The second screw is hard to reach, it is on the other side inline with the first one. I used a stubby to get it out: Remove the sheet metal cover. Here it is with a bunch of instructions, on BOTH sides: I don't know the purpose of putting the operating instructions INSIDE the furnace. The bottom of the fiberglass cover would be a more logical location....! This is what is inside the opening, it's an air plenum of sorts to distribute air from the fan, which you cannot see. The silver plate holds the ignitor, which you could easily change in a few minutes, and it has a small clear window for viewing the hot stuff inside the burner can. I don't know exactly what would be accessible if you removed that plate. Notice that Oliver puts foam insulation on the water pipes below the sharp edges of the furnace housing. Bravo... The area is very hard to see directly!!! I used my phone to take pictures so I could see what was there, and I used a 2 inch round mechanic's mirror to watch the flame. Here it is with the furnace running, with a camera flash: And this is sort-of what it looks like, no flash. With your bare eyes it is easy enough to see the flame. The flame should be blue and stable, no yellow or flickering: If the flame looks good, put the cover back on and write down the info for future reference: If the flame doesn't look as it is supposed to, there is a problem and the furnace will have to be removed and checked by a professional. While you are at it, visually inspect around the furnace to make sure the ducts and the gas connection and wires look OK. John Davies Spokane WA
1 point
-
Dave, thanks so much for that video link, I am going to add it to my thread on servicing the furnace. John Davies Spokane WA1 point
-
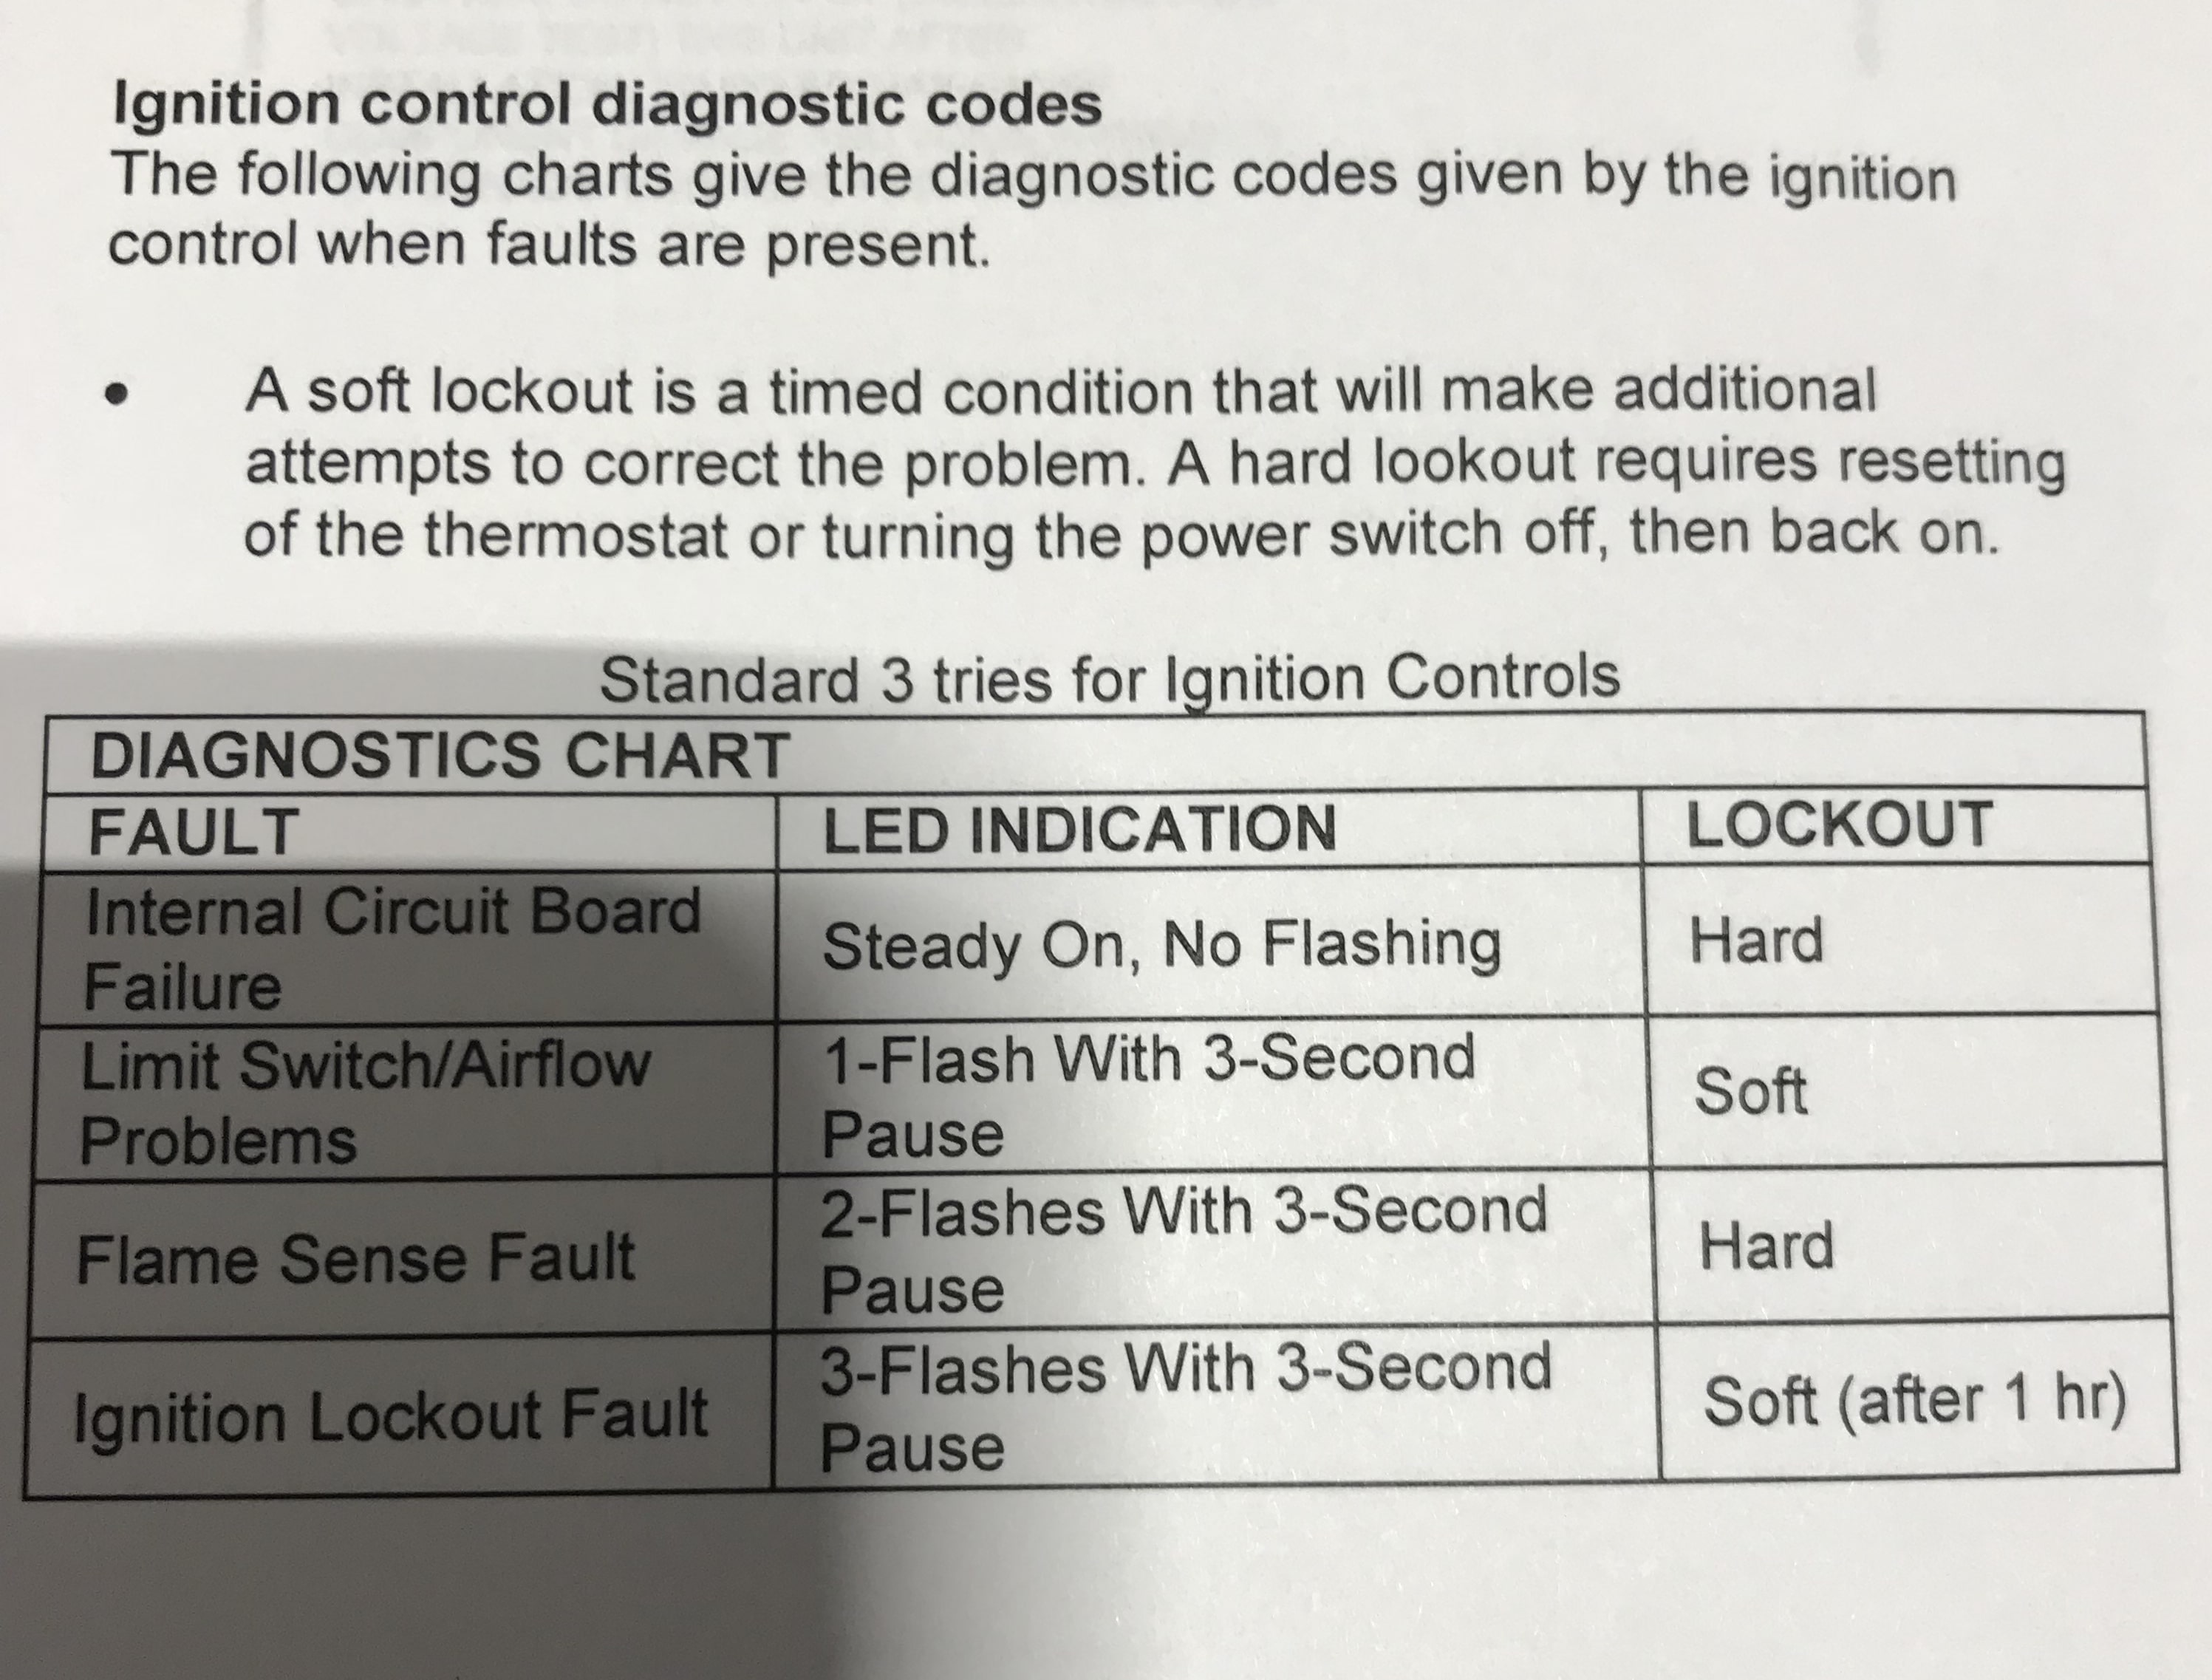
Routlaw, Check out this video, very informative. I think all you have to do for access is remove the exterior cover. The exhaust port tube slip fits into the furnace inside so just slide it out gently, then remove the large cover. But verify with Jason first!! I've not opened mine up all the way like this yet. Check out the LED flashing on the board, the codes are in the manual you should have gotten from Oliver: 1 flash w/3 second pause: limit switch, airflow problems 2 flashes w/ 3 second pause: flame sense fault 3 flashes w/ 3 second pause: Ignition lockout fault Dave1 point
-
Three Olivers in Bakers Hole National Forest campground the other day, all within sight of each other. Our neighbor thought we were all traveling together. It was great sharing a meal, conversation and a hail storm with Theresa and Greg from Wisconsin and Bill (Topgun2).1 point
-
We do not have our Oliver yet. But I can tell you that this issue is not unique to Oliver. If you go to a Casita facebook or forum you will find pages dedicated to what sets off propane/CO detector. Conversations with owners of other brands will tell you it will affect any tightly build trailer. Some precautions to take. Maintain airflow, do not block sensor and vacuum the unit occasionally. Careful what you store on the floor. Be careful of the cleaning products used, especially on the floors. Some products will give off fumes for hours after use and collect once the trailer is closed for the night. Be careful using aerosol products inside your trailer. Put the deet on outside. Dogs especially farty ones and the detector often do not get along. Lastly some have taken to carrying a portable wand to double check the false alarm and rewiring a cutoff switch or pulling the fuse.1 point
-
Correction to the above - it looks like my hose was in fact a knockoff of the Zero G brand, like Chris warned against. I got mine at Home Depot and just assumed that they were carrying the original brand. When I went back to replace the hose I noticed that what they carry has identical packaging but a different name. And then when I checked at home I saw that the old hose was an even different brand.1 point
-
To put this issue to rest, the factory stopped installing the valve in the black tank flush line. There is still a back flow preventer.1 point
-
Looking at the photos, I’m wondering if this eze gutter would be a good alternative to the foam seal for under the awning. Just a thought.1 point
-
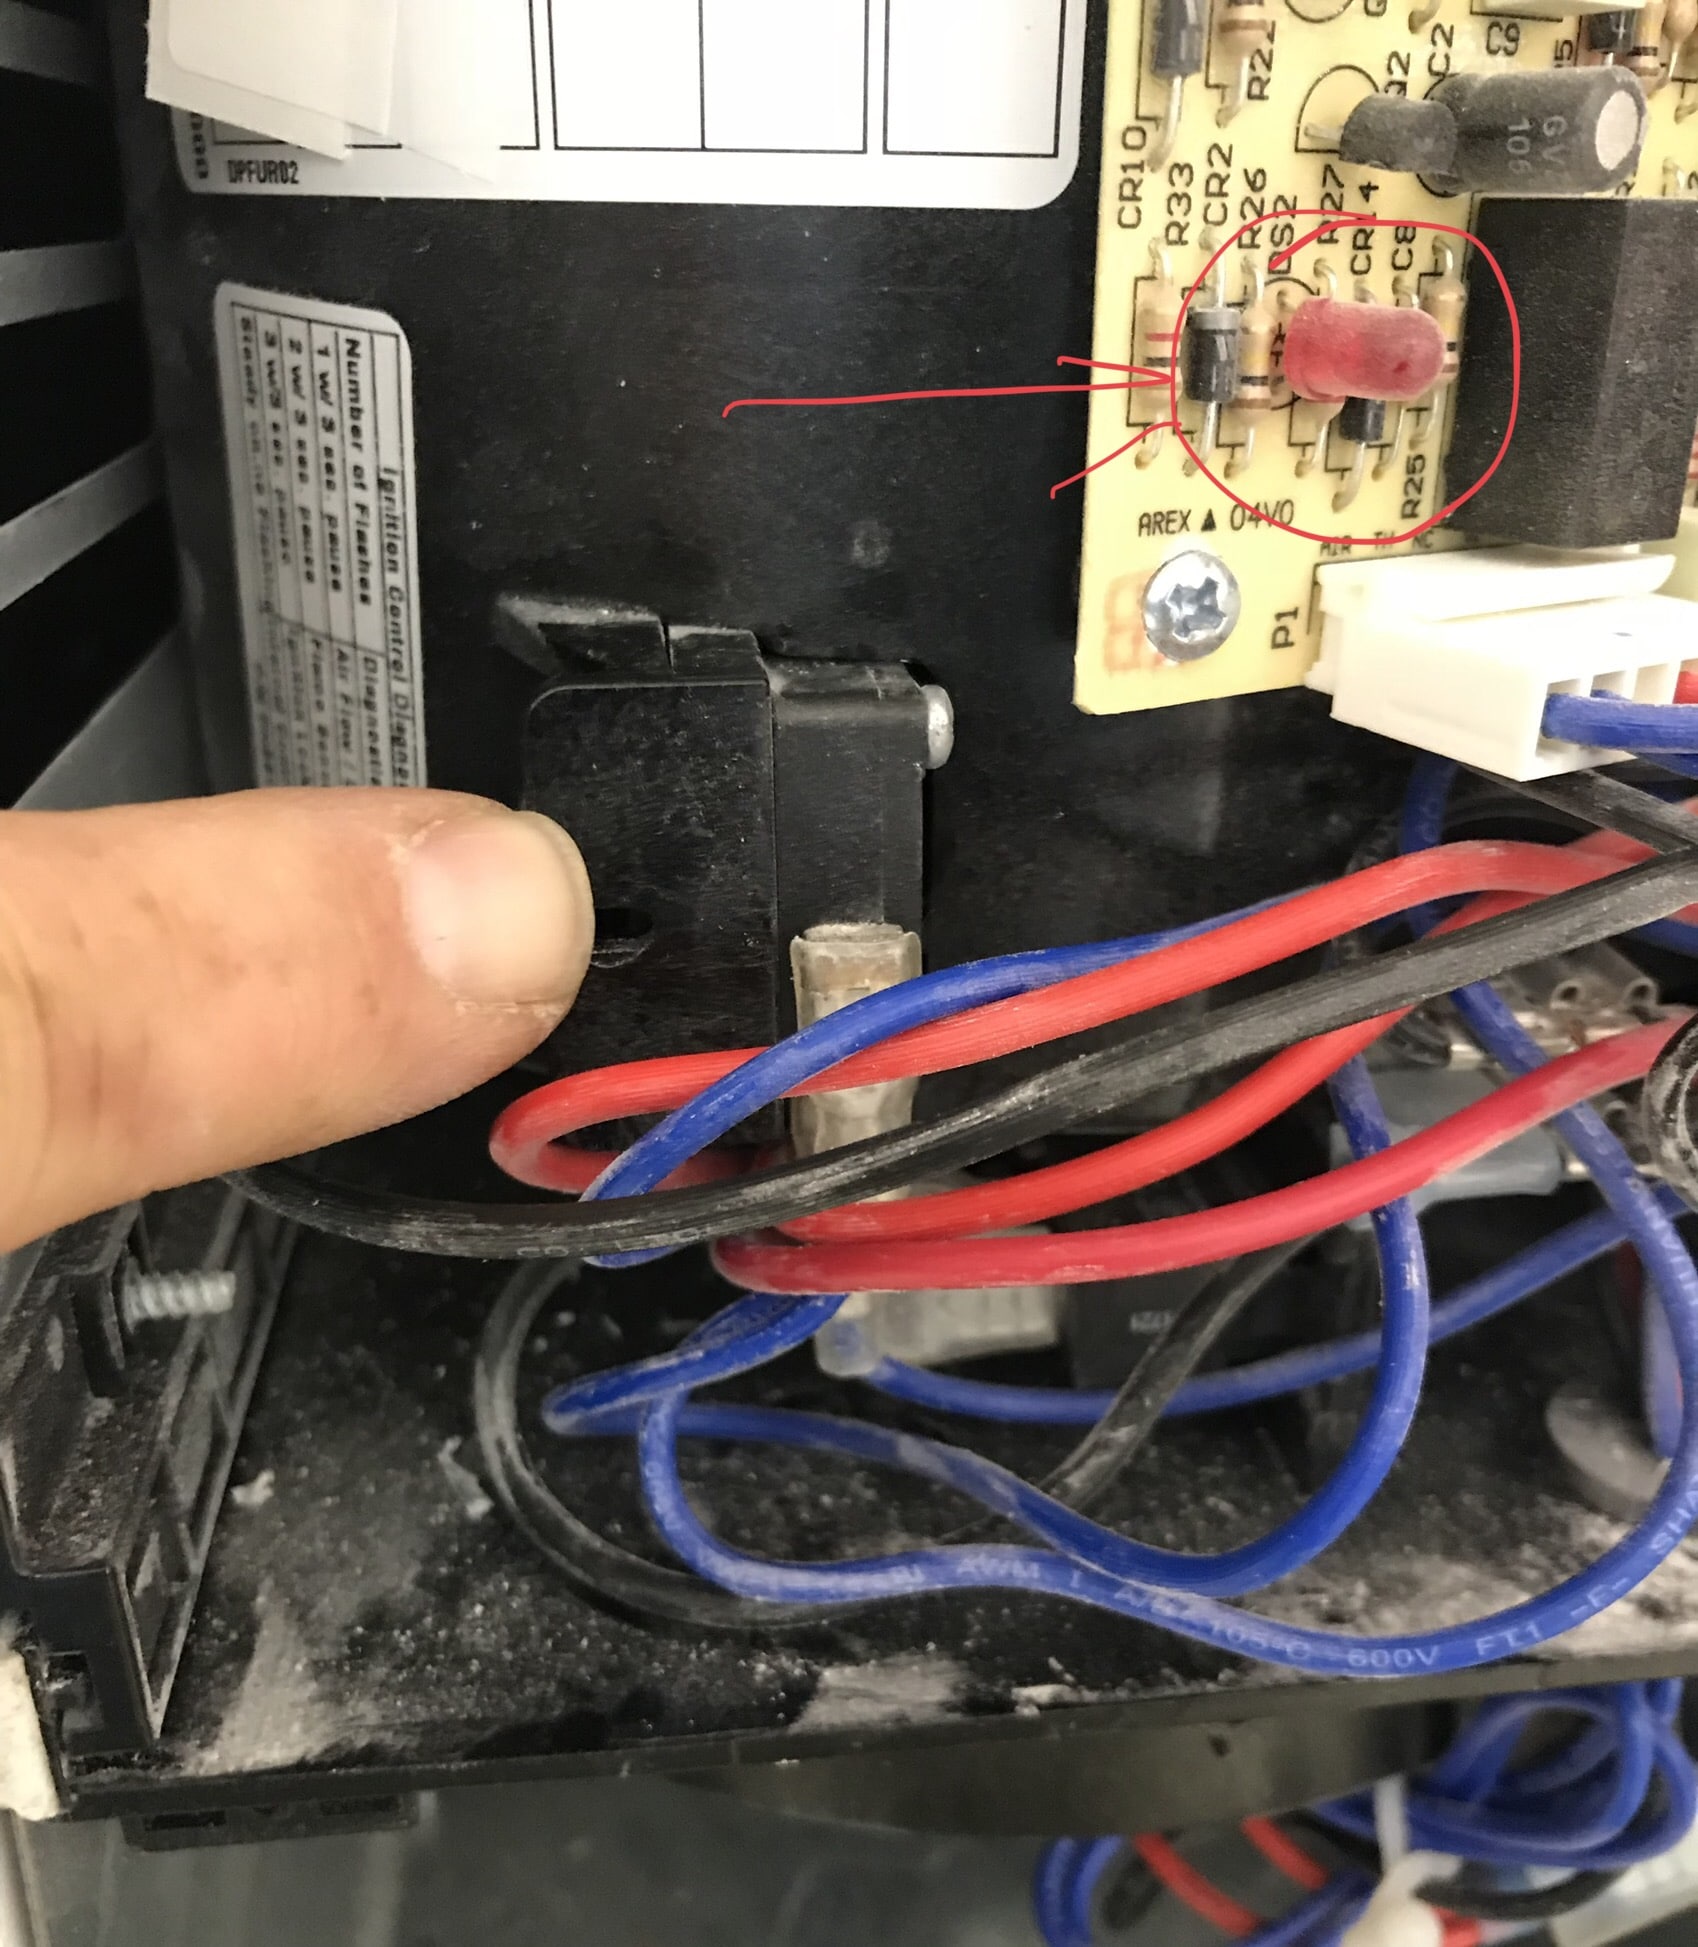
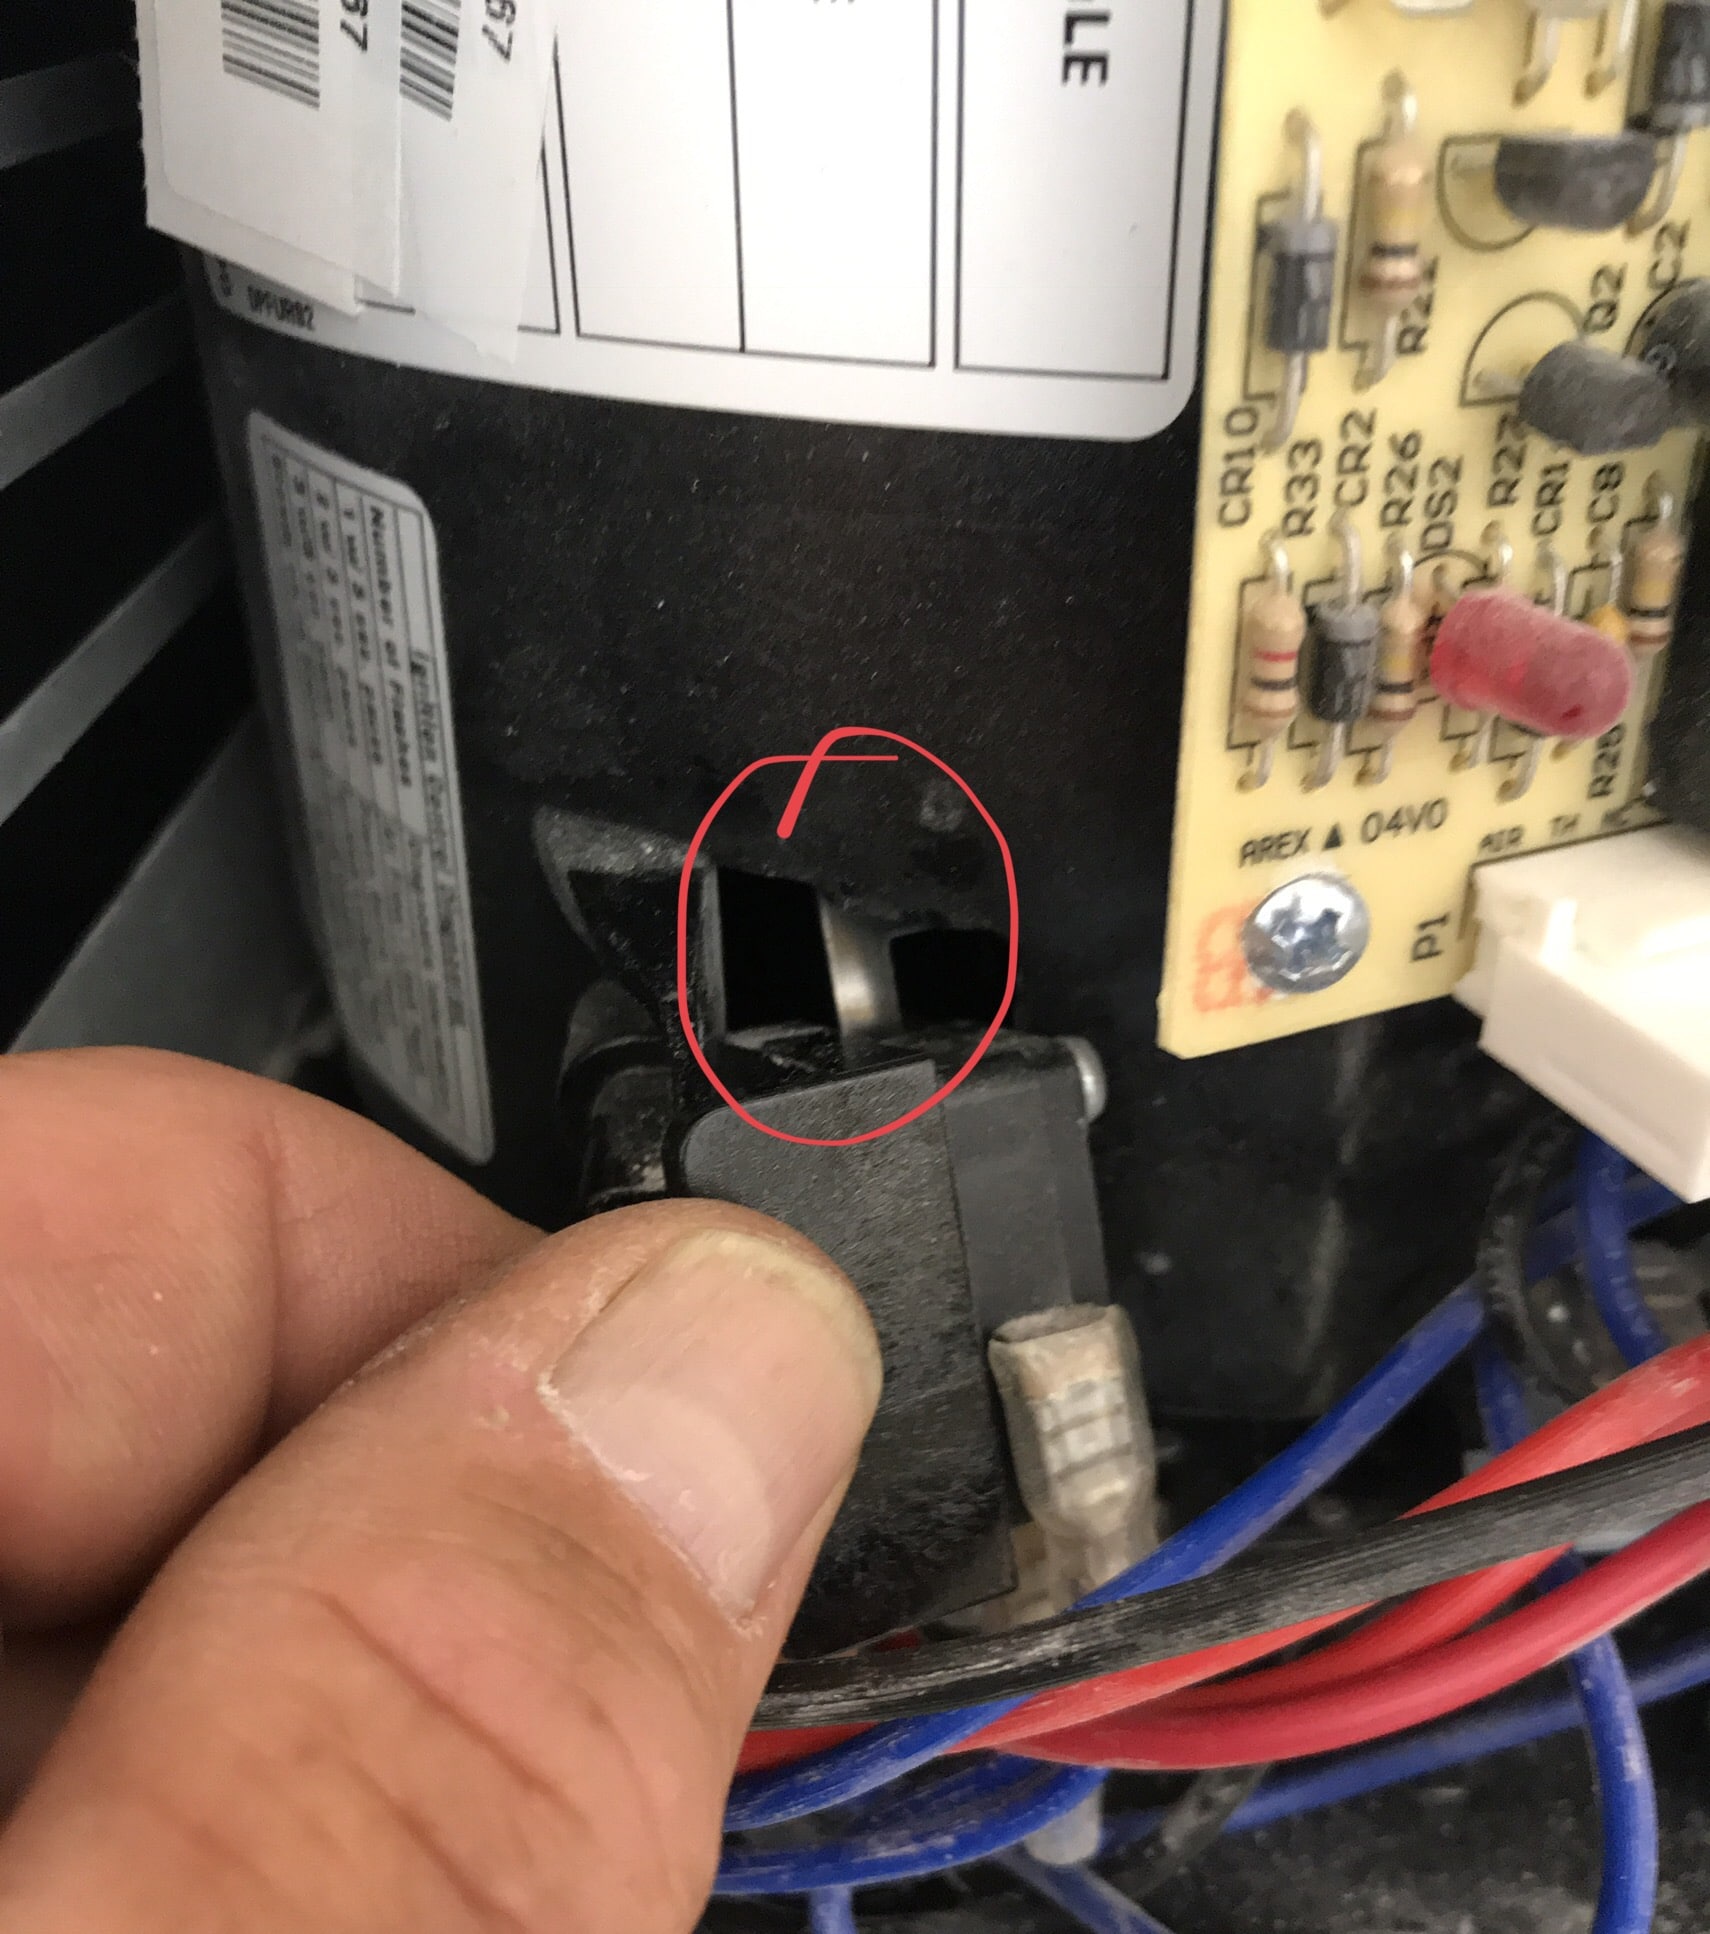
Darrell, Remove the furnace outside cover. Have your wife start the furnace inside while you watch the LED on the control board. Count the number of flashes between the 3 second pauses. Look on the table below to determine the fault. If it’s the “Limit Switch/Airflow Problem” fault, CAREFULLY pull the sail switch out until you see the small bright metal sail. Use a pencil and GENTLY work that sail in and out and listen for the switch to click. Replace the sail switch and try to relight the furnace. Watch the LED again. Report back on what happens. Bill
1 point
-
I finished editing the video and put it on our blog on here. The Truma portion starts on pg10 http://olivertraveltrailers.com/topic/reed-karens-blog/page/10/#post-661751 point













-
Recent Achievements
-
















