Leaderboard




Popular Content
Showing content with the highest reputation on 11/12/2026 in all areas
-
Yes, DC-DC charging is the best electrical upgrade we have made, period! We use it, connect the cables every time we tow. For those of us who travel in a series of short stays (average 1-3 overnights) you'll never need to plug-in again (given 600+ Ah lithium). We spent about the same money on our DC-DC charging system that we spent in adding a 400W suitcase solar system. We've used extra solar rarely, on the rare occasions when we stay in one place longer than 3 days. The DC-DC charger is a better investment than additional solar. BTW, my issue here was in my failure to configure the engine shutdown detection voltage parameters. Geoff pointed me to the issue. The YouTube video I posted above got me to fully understand the settings. I reconfigured voltage settings in a minute and we're back to getting 40+A. That's +40 Ah added to battery SOC for every hour on the road.3 points
-
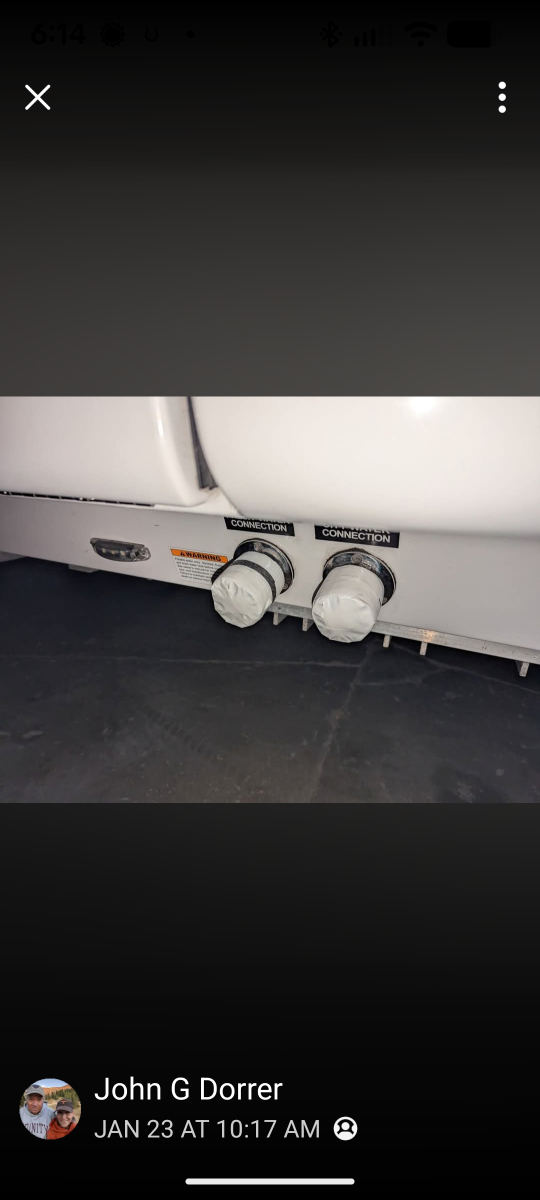
I have foam insulation around the outside shower knobs. I have Reflectix that fits outside the outside shower and covering the the floor and entrance to the basement. Two layers on the basement floor at the entrance. Pipe insulation caps for the 4 exterior connections. Soft foam in the ends and tape. 3/4" pipe insulation, cut and a piece added to allow a snug fit on the connector.
 2 points
-
Smart move. Wish i had thought of this when i was working on mine.2 points
-
My advice would be 3. Keep in mind, forecasts are often wrong and it could go colder than expected. And I agree with @jd1923 that 2 is the worst option for several reasons, the main one being nonuniform heating where a cold spot could cause a plumbing freeze.2 points
-
I'm just now seeing this thread. Lots of great info! When we did our 5700 mile cross country trip in September, it was the first trip to truly test my 50A Orion DC-DC install: Oliver and RAM DC-DC Charger Installation. Like others discussed earlier in this thread, I had to tweak/lower the Orion voltage "trigger" settings numerous times to get it all dialed in. The smart alternator would often be charging at a voltage too low to trigger the Orion to charge. It's a bit of a balancing act to dial it in such that the engine shut-off setting is low enough to not get triggered (and shutting off charging while gong down the road), but also not so low as to fool the Orion into thinking the engine is running when it's not. As others have said, it's also important that the negative connection not be direct to the battery post because of the battery control module. When I got it all dialed in, I was seeing a 45A Orion current, which is what I have set as the maximum current in the Orion settings, and I was happy with that. In my install, I used 2AWG on the vehicle side, and 4AWG on the trailer side (shorter run with the Orion under the front dinette seat). I wanted the heavier cable on the vehicle for two reasons: 1) Because it's a fairly long run, and 2) in case I ever want to power anything else through the rear Anderson connector. With the observed 45A current at the Orion, I saw an approximately 0.9V voltage drop. With lower currents as the Oliver batteries got close to 100% charged, the voltage drop obviously went down. I call these drops "approximate" because I was comparing the digital voltage reading shown on my truck dash with the reading at the Orion from my Victron app. I haven't found a reason to think these readings aren't accurate, but they were not taken with my multimeter as we were driving along 🙂. As several have mentioned here, going with 1/0 would be even better and provide more headroom, but for now I seem to be getting good performance with mine. 🤞 I will say, a DC-DC charger is a game changer. We boon-docked several times on this trip, and the Orion would have us all charged up by the next stop.2 points
-
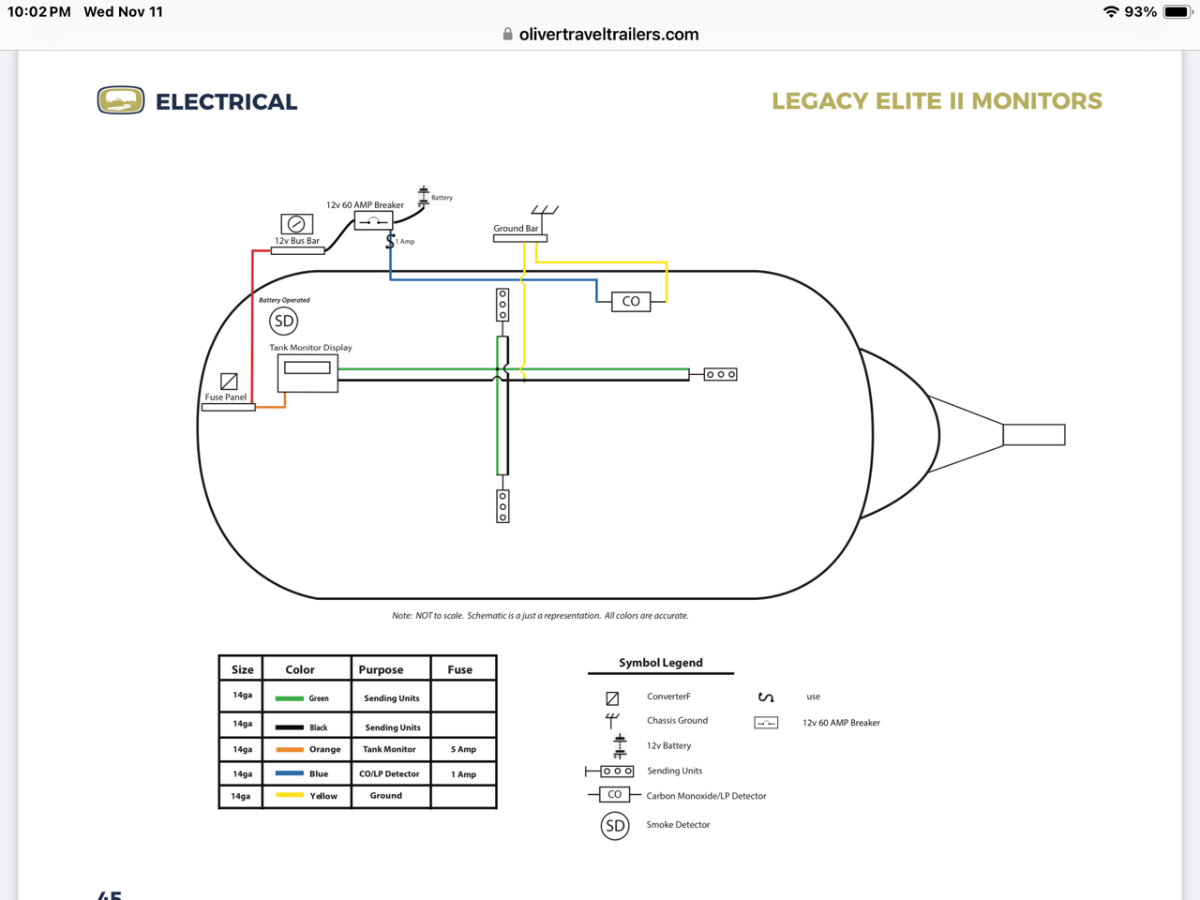
I also have a 2021 model. My 1A in-line CO fuse is under the street side bunk, attached to the 60A breaker. See snip from the 2019 Owners Manual in Oliver University. The 2019 wiring diagrams are the most similar to 2021 models I have found.
2 points
-
After a long wait, I have finally finished the Big Bend series from last year...2 points
-
Better fill up in NC prior to the end of the month when the gas tax gets reinstated.🤑 Bill2 points
-
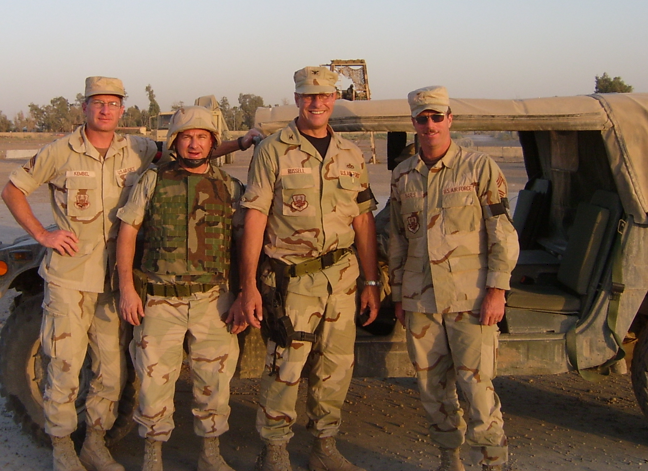
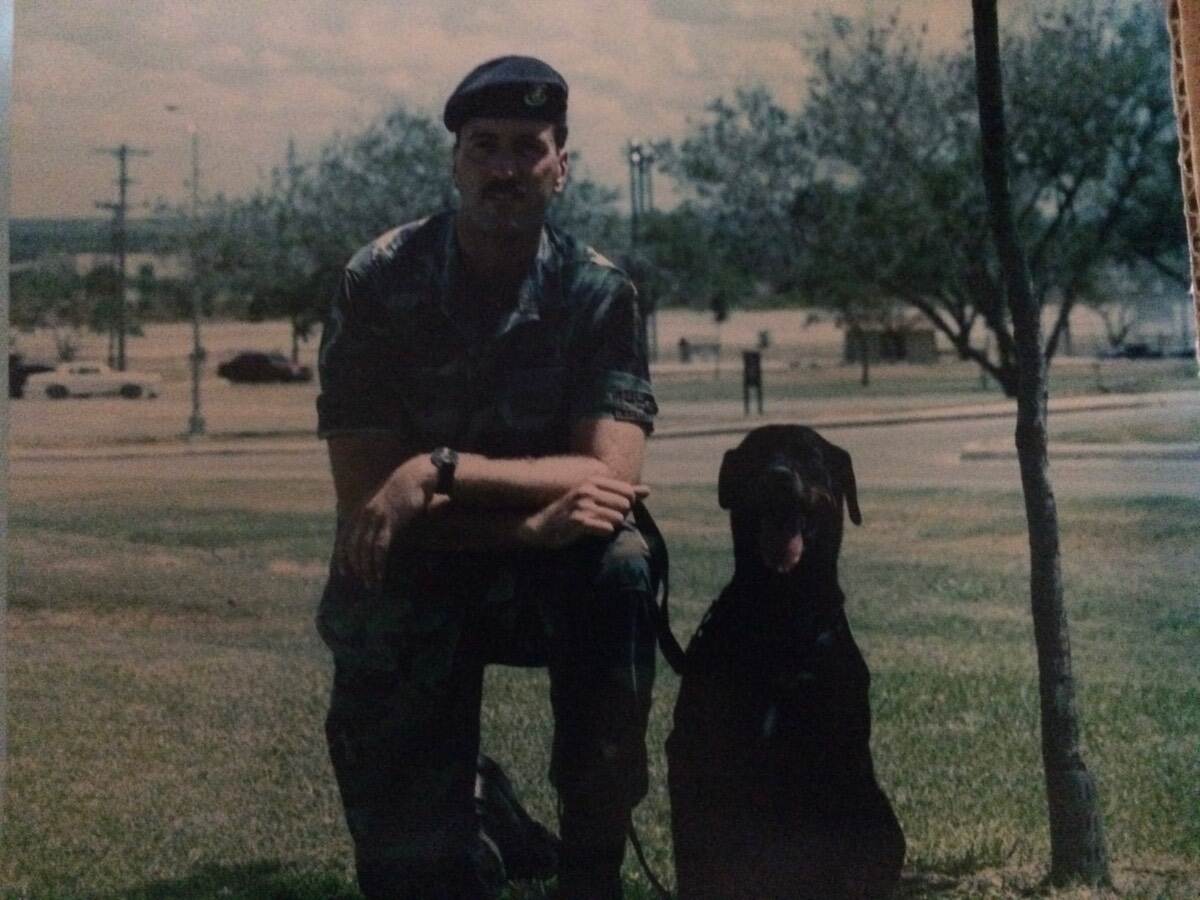
Lord please bring peace to the our fallen Service Members, and may they be proud of their family that they left behind. GJ 2004 CENTCOM Tiger Team at Qutar before deploying mostly by convoy to multiple locations in Iraq.
2 points
-
I have done 3. Figure it runs over night when I basically I am not there (since I am sound asleep). I have also left it running when I am camping but away for the day and it is going to get chilly before I get back. Not saying my actions are right or wrong. Your mileage may vary.1 point
-
I'm thinking JB Weld it in the hole and pray I get to 50,000 miles and upgrade to 5200's. (That's what I did). 🙂1 point
-
Mike, I'm guessing you mean no power to the CO monitor only and other things like the cabin lighting works. You likely blew the fuse when cutting the wires. I've done that too often where I should just locate and remove the fuse first! So, our hulls 5 years apart are going to be different. Look at the wiring below the CO monitor inside the front of the rear dinette seat and there should be an inline fuse there. If not, follow the wiring if you can and an inline fuse may be at the other end of the wire at a positive bus. Yeah, it will be a thin inline fuse holder for the light 1A fuse. Look at the +bus where you'll see 3 big yellow inline fuses for the jacks. See if there may be 1-2 other fuses attached there, but my first look would be below the CO monitor.1 point
-
It would only be worth it for those who pay for Roam Unlimited 12 months a year (then monthly plans are likely the same as the original Mini). This service bundle could be of interest to new full-timers who travel regularly where cell service is limited. We pay the $10/mo Standby Plan 6 months a year and then only what we need when we travel. When you have a viable cell router and antenna you need Starlink much less often. The 5G cell SIM card adds $30/mo to our cell plan which is much less per Gb than Starlink. Regardless, we would not travel without Starlink for when we need it. For those still holding out, now's the time to get the original Mini before this becomes the only available option! The Mini keeps getting cheaper too, now only $149 ($12.41/mo for 12 months). Are they advertising any better performance in their new product? It boots faster and has a built-in quick swap battery (after you buy an extra), and having an extra is truly a must unless you want to be offline every time it needs charging. We have 2 external batteries and plug-in options and when you swap a battery, of course the Mini reboots. If the Mini 2 has hot-swappable batteries, that would be cool!1 point
-
To ALL my brothers and sisters in arms who have served, and those still serving, thank you for your sacrifices and the freedoms that ALL Americans still enjoy today. Freedom is not Free. Patriot 🇺🇸
1 point
-
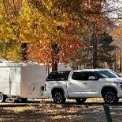
We had a blast at our first Oliver Rally! Took the attached photo walking our dog early one morning. What a beautiful venue.
1 point
-
I hope this discussion does’t discourage anyone from installing a DC to DC charger, they still are a great addition for off grid boondockers. This thread addressed a couple of unique problems that are not the norm. In most cases, a properly installed charger with default settings will work fine, and I highly recommend them for anyone who has ever found themselves rationing amp hours on a road trip.1 point
-
Who would think that 26 novels could be written involving a Wyoming Game Warden and his family. Even if you haven't had the chance to spend much time in Wyoming, these books are easy to read and are reasonably enjoyable without being overly complicated, trashy or trite. All of these books are available as audio books too. Bill Also, there are a couple of similar series to include a Maine Game Warden and the Walt Longmire series1 point
-
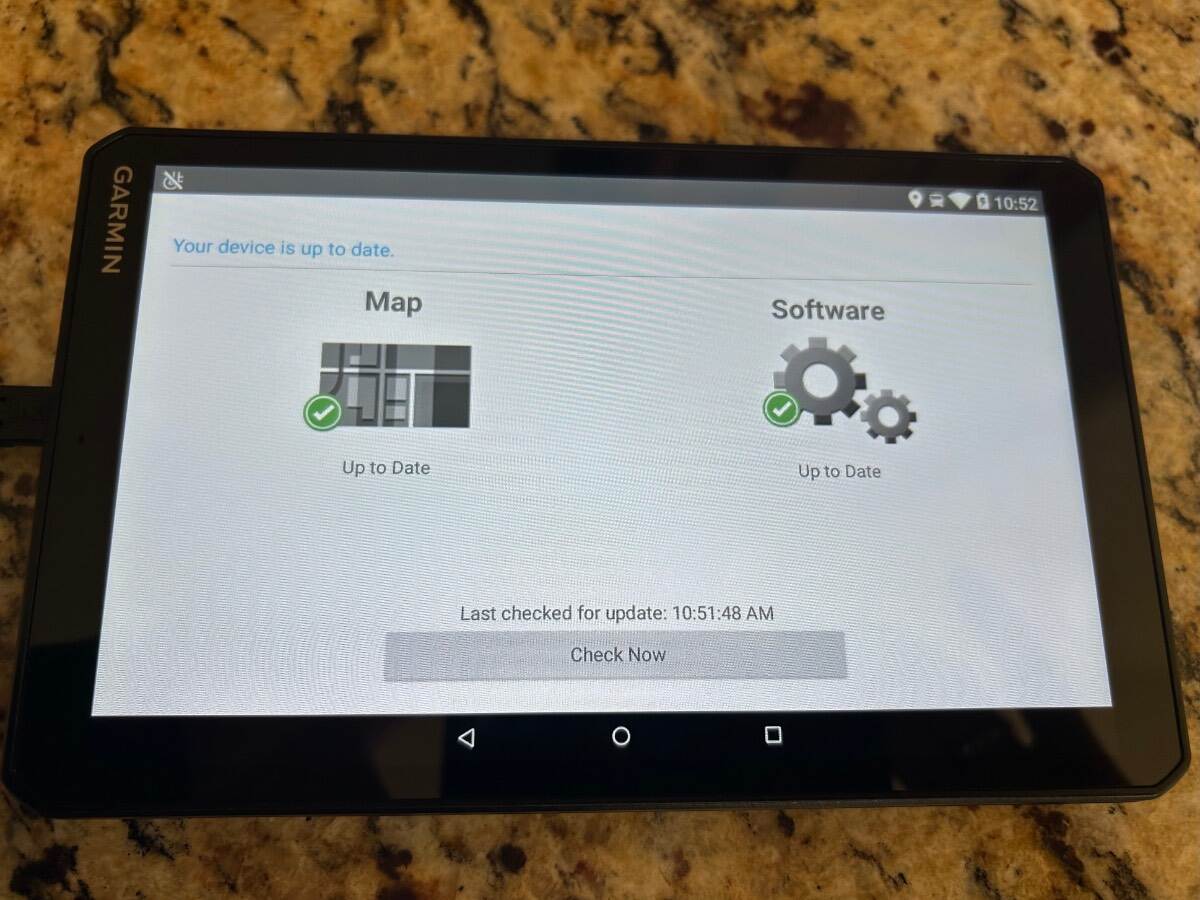
Just updated our Garmin 890 RV…and we are good to go! Thanks for the reminder @topgun2 and @rideandfly.
1 point
-
Updated our 10 year old Garmin Nuvi 2757 last week with Garmin Express and updating our Garmin RV 780 this morning. Found a new battery for our Nuvi on Amazon when it needed to be replaced.1 point
-
Hey Steve, first off this is nothing to do with your new grease gun! Love a power grease gun! 😎 Zerk grease fittings when screwed in are held in place by just 2 threads. They can easily strip after greasing a few times. I had one strip just before I replaced our axles/springs last year. Your current fittings sb 6mm (.236"). I know they are on Dexter wet bolts, so likely the same on the EZ Flex. Replace your Zerks, not with a metric size but with the SAE 1/4"x28 size. Two methods... 1) Also get a 1/4"x28 tap to get the new threads right. 2) Just push/thread in a new 1/4" Zerk into place to form new threads, then throw out that piece and lightly thread in a new 1/4"x28 Zerk. Choice #1 would be the correct method. Choice #2 has worked for me several times in a pinch1 point
-
This happened to me a couple of years ago. There was no way to retap the hole without removing the axle as it was a top zirk and I was not prepared to do so. Eventually, i got a new zirk to somewhat thread into the existing hole. It was a real struggle, do to the limited access, and i recall i did remove both wheels. I cant recall but i might have used a metric threaded zirk of a slightly different size. I doubt its threaded in properly but it has held in place now for a couple of years. I am very careful when i apply grease through that one and i do not use a power grease gun on the oliver. Not a pretty or satisfying fix but so far it has worked.1 point
-
Going through what few pics that I took at this year's Owner's Rally, I was reminded of a visitor that was there each morning as I drank my hot chocolate.
1 point
-
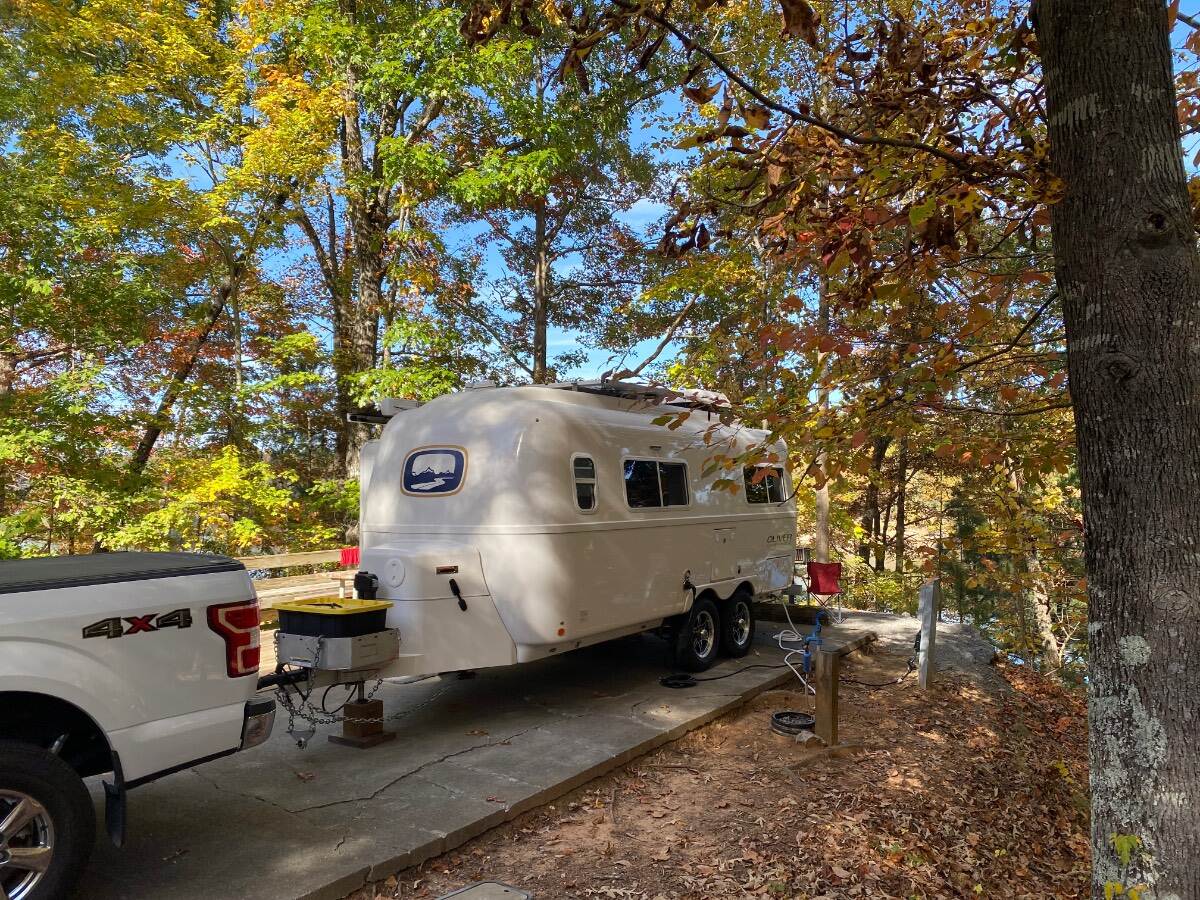
#1218 near Elijay Georgia at COE Doll Mountain Campground put this one on your list as it is fantastic It’s a 13 on a scale 1-10 We missed the Rally due to Spousal units part time beach gig schedule. She was making F250 $$$ 😎 Headed to the Smokey mountains
1 point
-
Thank you to everyone for another great rally — it’s always a joy meeting and reuniting with the members of our beautiful Oliver family! A special thank you to *Nancy* for her hilarious and highly popular Morning Coffee With Oliver Halloween setting; you deserve an award for bringing so many laughs! Safe travels to all, wherever you are headed — I hope to see you down the road.
1 point
-
Bosker and I really enjoyed this year's Guntersville Oliver Rally. Well done Ollie team! Bosker especially enjoyed his cameo on the Morning Coffee at Oliver, with Aaron and Jason.
1 point
-
Lost Mine trail was our favorite!1 point
-
My M7 thread checker can start in the existing hole, but I don't want to bugger up the aluminum threads on the gauge, so I'm not forcing it. I couldn't use my drill index because there isn't enough clearance in situ. I looked for an M7 set screw to use to help start the thread, but there doesn't seem to be one. So I'm going to get a short M7 hex head screw, notch the end, and use a ratcheting box wrench to create the threads. I'm also going to go ahead and get the M8 self tapping grease fittings. They are recommended for hole sizes .299" to .303" diameter. I'm already sloppy loose on a .250" diameter. fitting, but can't get my calipers or internal micrometer in there to measure.0 points

















-
Recent Achievements
-