Jump to content

Geronimo John

Member+
  • Posts

    2,025
  • Joined

  • Last visited

  • Days Won

    53

Everything posted by Geronimo John

  1. $1,600 for a replacement door? That's more than insane. What's even worse is buying from the same source that provided a badly designed door. Why not in place re-laminate the interior as suggested above? Can some of our plastic guys shed some brain cells on the concept. GJ
  2. Happy Thanksgiving!
  3. JD: Tilt. After our Alaska trip from Houston, I would for sure use tie-down strapS. The Alaska highways were not bad, but the ones getting up there were in places were. So much so that I had to stop and aid a fellow RV traveler who had broken the frame on his trailer. Corduroy roads it is called when the logs they used to construct the road finally rot and the road sinks and rises accordingly to the individual logs used as a road base. Dishes flying and jumbled interiors for any RV driver that does not take it seriously. Thank God for John Davis drawer straps Mod! GJ
  4. I also really like the AAV's. I have them in both our bathrooms that we redid. But swapping out the vent for an AAV in the case of our Ollie's would cause me to pause.... for three possible reasons: A. I suspect that Mr. Oliver put the stack where he did to take advantage of the venturi effect of air rising up and over the front of the trailer when on the move. Doing so in a "Low pressure area" would act as a controlled venting of the sanitary systems. Thereby presenting a clean smelling cabin upon entry at your next stop. B. AAV's are basically an air/gas version of a water check valve. Yes doing so in Ollie would allow air into the system to aid in flow. But it would not allow sewer gas to get out of the system. As "stuff" in our tanks accumulates, it degrades "passing gas". With no vent stack it WILL pressurize the system and most likely leak past the toilet flush valves or thru the "P" traps into the cabin. The result will be you and your spouse looking at each other wondering what the other ate that was disagreeable. C. I'm not a RV code guy, but the National Plumbing Code requires at least one 2" vent on every system to address this issue I suspect. GJ
  5. Likely they were on a fishing expedition. For a cable of course. Good luck with your effort. It appears that maybe you could add more solar there by running one of them over the exhaust fan. ??? GJ
  6. Mike: How about sealing the cracks with 3M and running a laminate to the edges of the door, and secure it with SS screws or SS pop-rivets it to the frame. To bond to the existing, maybe use a carpentry glue in the field between the four sides of rivets. For the window area, do the same thing by removing the trim, place the laminate, replace the trim and secure. Caulk all edges. Maybe a very thin white High Density Polyethylene (HDPE) would work well. Would want it very thin.
  7. So long as the door is structurally OK, and the cracks are on the inside: Would lamination of the door with a thin material to just hide the cracks be a solution? GJ
  8. Craig: It appears that the inside skin is being pushed into the hinge side of the door as shown in your picture. Did the outside skin at or near this location also show a compression failure as well? GJ
  9. Thanks Patriot. Foam core would explain the lightness of the door. From the way it cracked, I was thinking something like fake wood due to moisture intrusion. With foam core such cracking seems to be a bit unusual.
  10. Craig: Not good news for sure. Any chance you could enlighten as to what the interior material our doors are made from? Thanks GJ
  11. Good questions. Roger on doing the springs and shocks. I did so myself as they were 6 seasons used. That said, none of them were blown. Amazingly considering other owners experience with them. Why change the EZ Flex? I had several motivators. A. First, our first season with our OE2, the center bolt walked 95% out of the flange. Only explanation that made sense for a brand new trailer was that during the assembly of the frame process, the center bolt of the EZ Flex had been spun from the head. This caused some wear on the supporting arm bolt bores. B. So there certainly was debris in the lubricated channel. Casting doubt. C. Over time, the seals on the unit leaked grease and when doing so cast further doubt about what condition the bearing surfaces. Especially with heavy use and and lots of miles each summer. D. So, the last thing I wanted to have was a road side break down from the EZ Flex when I could have done it with the shocks and springs. E. Especially when it was so convenient to do so. GJ
  12. PS to the above "Reminders": Follow your spring MFG requirements on torques of the hardware. Especially for the U-bolts. For the U-bolts, they typically are to re-torque three times at specific mileage as they stretch out. Here is a sample of one MFG's requirements: Always re-torque the newly installed U-bolts after 50 miles of driving. Then recheck after another 50 miles. Then again after 500 miles. I checked mine again at 1500 miles and they were still good on torque. It is my opinion that after the initial and then four more torque checks (Initial, 50, 50, 500 and 1500 miles), I am done with it. I prefer not to adjust the U-bolt torques further as the bolts/nuts will have corroded a bit. Breaking that connection in my minds eye would not be useful or needed. GJ
  13. Roadside Spring Failure: If I were in your shoes, I would make sure I had a jack and three each 2" X 6" X 11 inch blocks of wood. Elevate the broken spring and slip the lumber between it and the frame. Lower and maybe use a couple of band clamps or at least stout zip ties to secure. Then travel carefully to a recommended shop. At least one owner just drove there carefully. That could be risky to your fiberglass wheel well area. Hence my insurance blocks suggestion. Local Garage: It is an easy job with the right tools. But not one that you would want to do on the side of the road or at a rest stop. To your question, YES, a local garage will have floor jacks, hydraulic jack, jack stands, dead fall hammer and other tools to make it just a simple spring change. It took me a couple of days working alone. What to Buy: You will need four springs. Be sure to also order out BRASS shackle bushings and "U" bolts with the springs. For other owners with older trailers like our 2018 OE2, when doing the springs I also changed out the EZ Flex. Two Reminders: Your suspension has bolts that have splines on the shank on the bolt head end. Make sure that these bolts are "backed-up" (as in fixed in place with a wrench) on the head end, and only then loosened from the nut end. If you turn the bolt head you'll spin off the splines. That has resulted in several owners experiencing the suspension bolts actually walking their bolts nuts off. This is especially imperative for the EZ Center Bolt. Also, the Wet Bolts (Ones with a Zerk on them), have two grease discharge holes near the bolt's shank center. This is where the zerked grease comes out of the bolt to lubricate the suspension. These two holes are recommended to be at 9AM and 3PM. This allows for easier greasing. Be sure to back up these zerked bolt heads when tightening as mentioned above. GJ
  14. A very easy swap is to just use the PR4 Dexters. They are 2400 pound rated. Perfect fit replacement for the PR4B the lighter 1750 rated ones.
  15. It does save fuel! Suspect that the 3.5 EB's have it as well. GJ
  16. Good news. Did the same testing on the ole Dometic Hammer Mill A/C and a Honda 2200. With soft start it did well. That said, when you Inverter dies, you should consider getting a 3,000 watt one. I did and glad I did. No longer worry too much if my love wants to heat up her tea when I have the A/C on generator....... GJ
  17. Bill: You hit the nail square on the head. I found it a PITA to install, and will find a cutting torch or cut-off grinder to remove them if I ever need to. Problem is getting the shackle on something under the truck, in a way to allow for pounding a moving target to install the pin, especially if doing this solo. Would be a PITA for sure. Like you, mine stay on our TV 24/7.
  18. Warning: This post boarders on becoming a rabbit hole discussion! OIL PRESSURE: Most modern engines are designed with the crank shaft providing the power to pump oil. This can be by direct connection, a belt or by gears. So generally speaking if the motor is turning it's getting oil from the sump. However, some 1.0, 2.7 and 5.0 Fords are among exceptions, so check out yours to be sure. My 3.5 EB oil pump is crank driven. So my concern is not with long down-hill runs and the engine not getting lube oil. It is with the auto start stop system, especially when towing. Powering up mountains with Ollie puts a LOT of heat into the engine block and especially the turbo's. If you shut off cooling water and oil, you will "bake your turbo's" and other parts as well. It is nearly always wise when towing, or off roading, or any other high power activities to let your vehicle engine run for a period of time before shutting it off. This is necessary to allow that latent heat to be transferred to the atmosphere. Some say that the period of time is when the aux fans turn off. This may be the right answer for their vehicles. I try to let mine run at least 7 - 10 minute after a long hot run. And don't ask what I think about the auto on/off systems......... ENGINE SMOKE WHEN DE-ACCELERATING: Carbureted Engines Not knowing which Audi engine is in play limit's my thoughts to "glitter generalities": Carbureted engines when cycled between high power and coast settings OFTEN cause the crankcase pressure to spike downward. If you have an ole fashioned crankcase manifold gauge you would see it go to a very high vacuum setting. True statement that confuses many. Said in simpler English the air pressure in the engine at full throttle for a non-turbo/super charged engines is just a bit lower that STP conditions. But when those big 4-bbl carburetors slam closed (Coasting), the air moving through the intake system gets sucked into the intakes. and it can't get much from the intake system to replace it as the carbs are closed down. So your vacuum gauge reading goes down in PSI towards zero. (For the Pro's: I'm not even going to try to discuss absolute vacuum concepts here.) So if the intake head is approaching a near perfect vacuum (Like not much air there because it is all sucked out with no intake air, THEN the crankcase below the pistons gets oil vapor sucked up past the pistons and into the combustion chamber... where it gets pushed out the tail pipe. This problem was generally ameliorated by a simple throttle return spring/cam. If the carb can't slam shut quickly, the intake can't go way low pressure mode and little oil vapor gets sucked past the rings and out. ENGINE SMOKE WHEN DE-ACCELERATING: NPN-Carbureted Engines For the Ford Ecoboost, and many other engines with turbo's, they pressurize the air intake system. The air pressure is modulated by a wastegate and throttle body. Unlike most carbureted engines, they have a PCM that manages the process and a key element of that process is the fuel injection system. For the Eco Boost with 10 speed transmissions, downhill pretty much is a walk in the park. Virtually all of us use our tranny to spin up the Ecoboost vs. glazing our brakes going down hill. I just ensure that the I keep the RPM's down to about 4500 or below. Ford says 5,000. For more info on this here is a good thread: https://www.thehulltruth.com/trucks-trailers/964289-eco-boost-10-speed-iengine-brakingn-tow-mode.html GJ
  19. What did you smell when you circled the Audi after overheating the brakes? If is was an oil smell, then Audi Tech is likely right. Did he inspect the tail pipe for black oily soot? Another easy test to narrow down the culprit. But if you smelled burnt brake dust, then the brake pads have glazed and the brake peddle force increases substantially to get any more braking. If you brake peddle force was significantly higher than normal, then most likely your brake pads should be replaced. Did the Audi Tech inspect the brake calipers? Were they crazed, cracked or burnt? The Audi Q7 can have a 4, 6 or 8 cylinder engine. Also many different transmissions too. What does your TV have? Makes a huge difference when going up/down serious grades. GJ
  20. Sewer gas smell I suspect. She had quite a time and covered a lot of possibilities on that one. I hope it is as sometimes I have the same problem... with my Ollie gas, not my personal effluence.
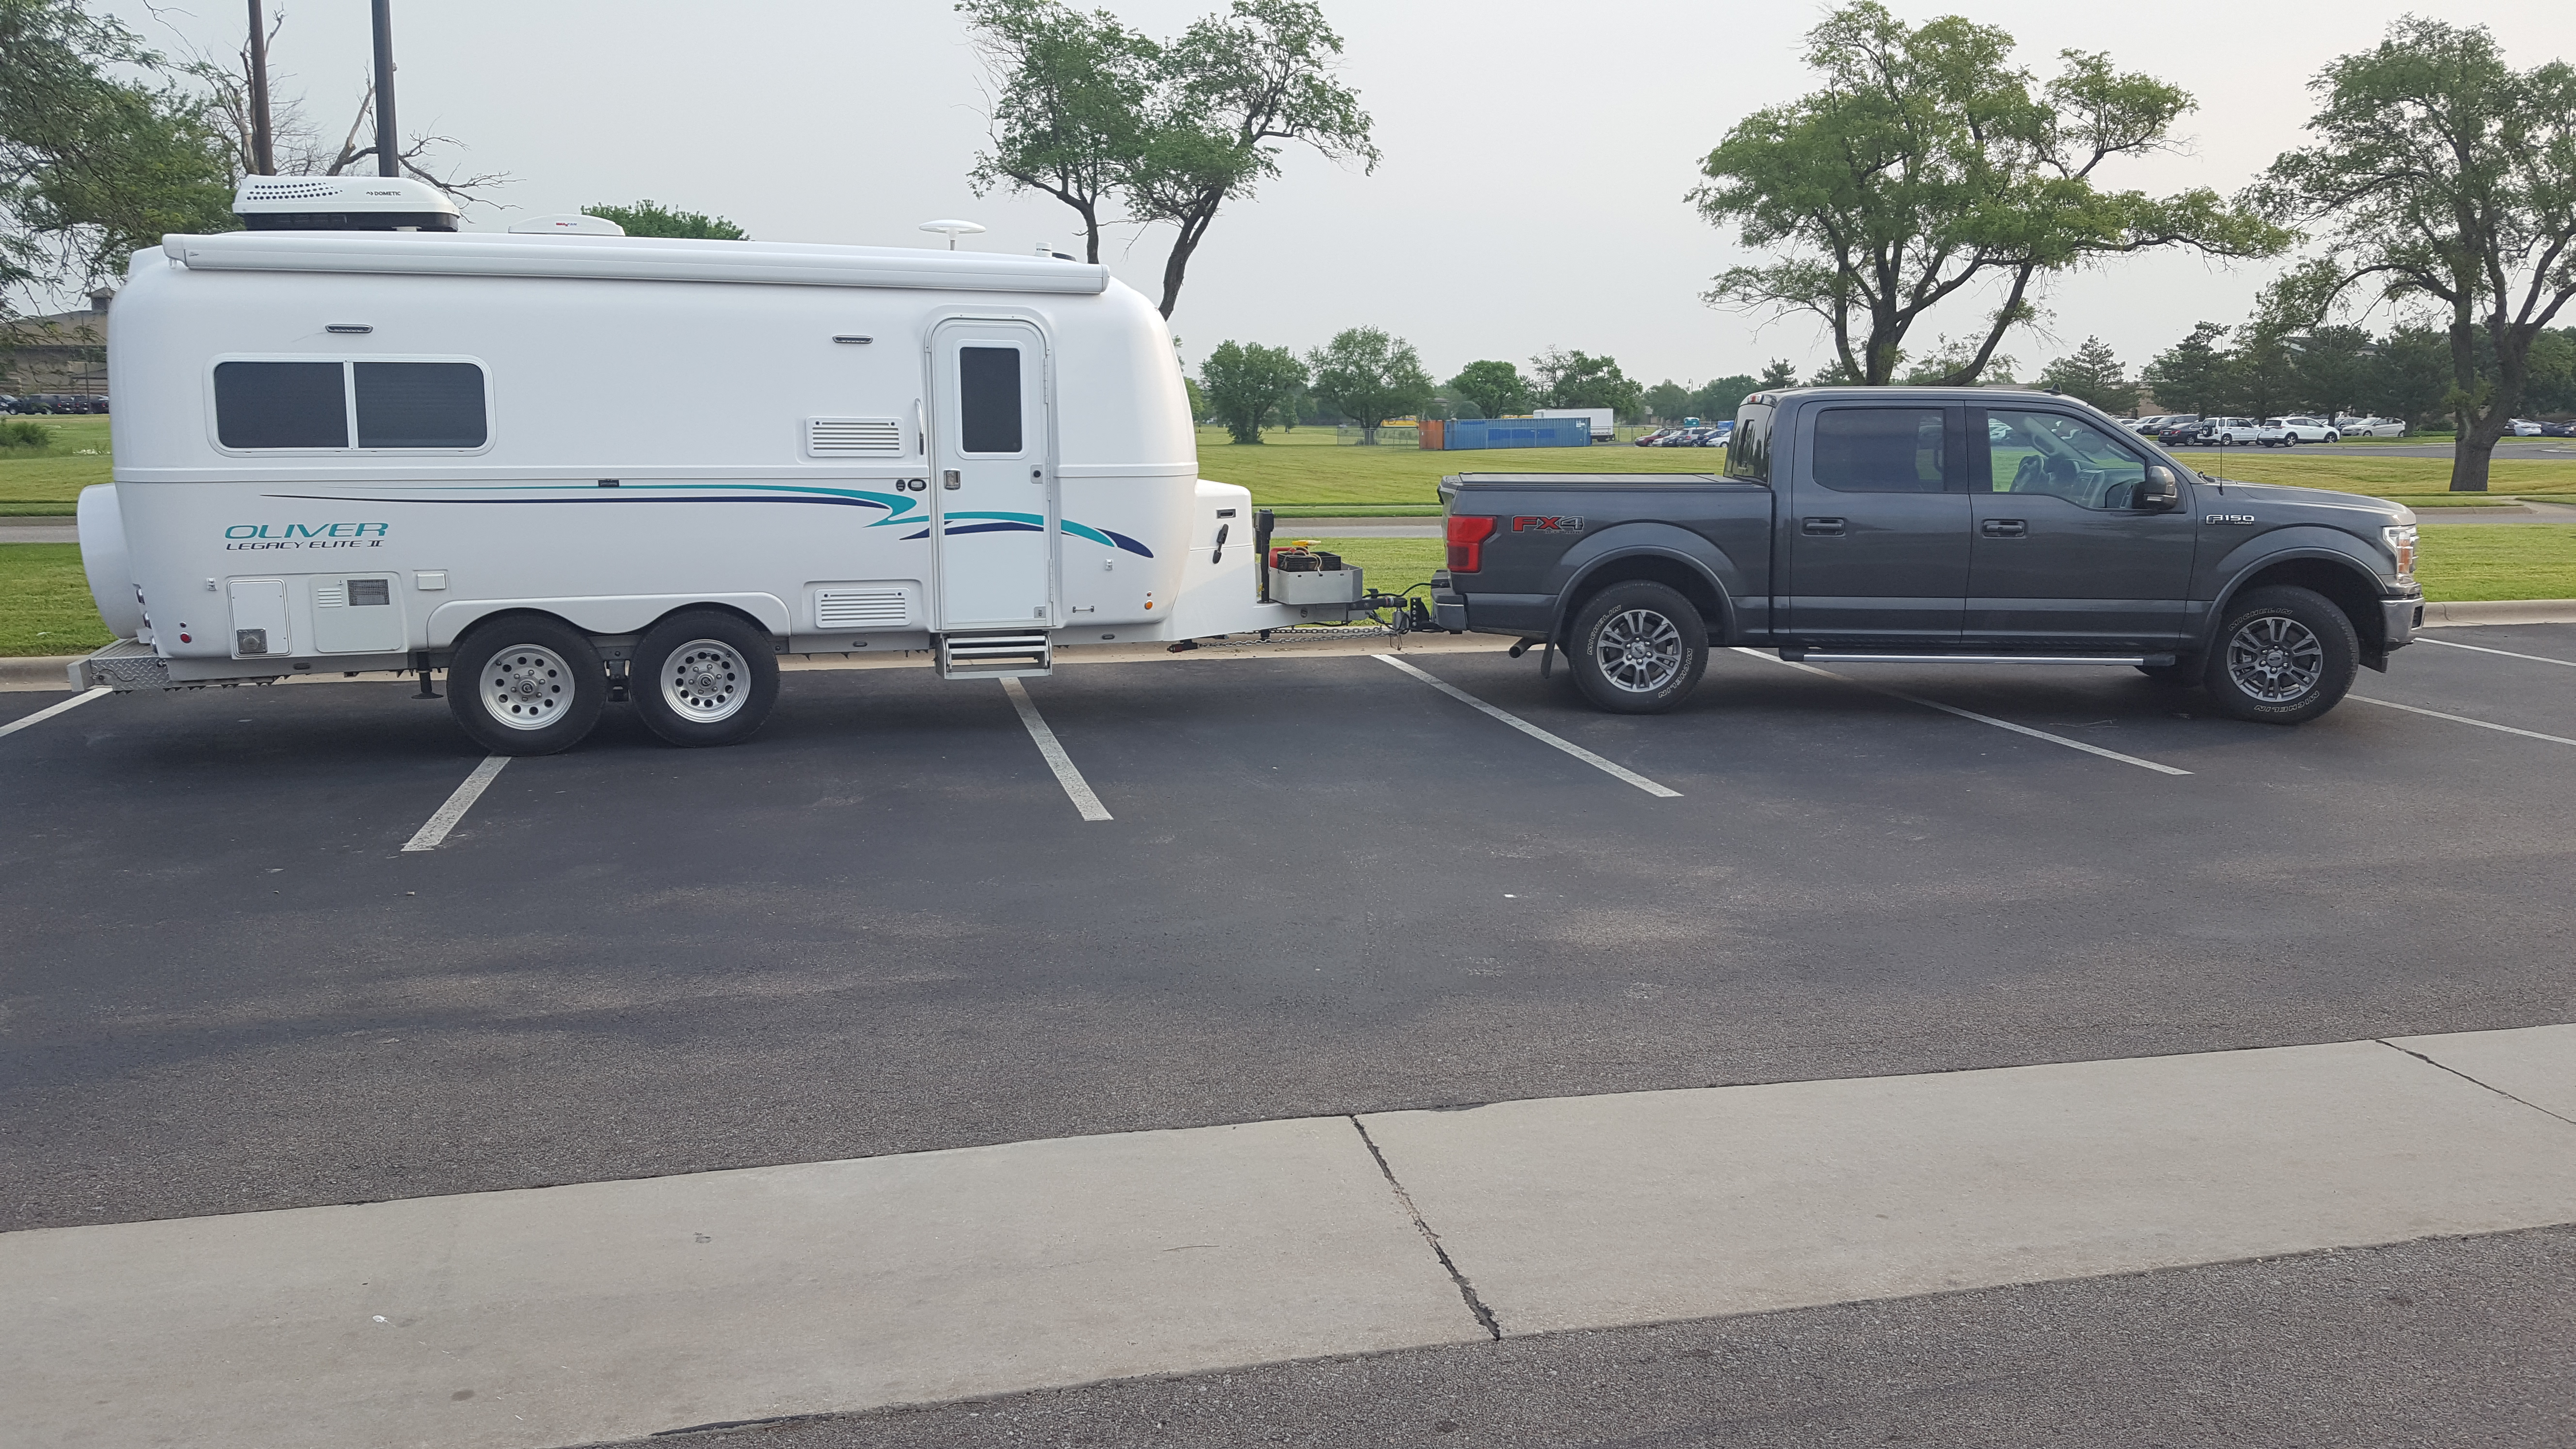
  21. This was a JD discussion several years ago. Below are what was recommended for our OE2's. It is not likely, but should these bit the dust I would get the 12,000 pounders vs. the 7100's. It sure solved the getting under the TV on our F-150.
  22. For those into DiY guides, here is my preliminary one for Trailer Braking Performance Test and IR Sensor. It also includes the Klein IR meter at a far more reasonable cost than I had anticipated. One of the two is a Most Sold and the other the Amazon Choice. I would be interested in getting IR reading suggestions from others for TV Disk brakes and OTT LE2 Drum brakes. What do you consider OK, Warning, and Danger temperatures? I'll be sure to use them in my update down the road. DIY - Trailer Braking Performance Test and IR Sensor.docx Also to be added is the de-rate (Decreasing) controller settings for gravel roads and increasing controller settings for steep descents concepts. GJ
  23. Wow. Glad you are a safe and experienced driver. As others have mentioned, I too adjust my controller settings when on the fly. This is even more important for the many owners using well equipped half ton trucks. This demands that we be even more cautious of velocity under tow and how hard we are working our brakes. This past summer we were way back in the Custer Mountain State Park and I sensed that my brakes were being overworked despite my using gears 1 and 2 of our ten speed tranny. I pulled over and my IR sensor indicated 350 to 400 on the TV and only 125 on the trailer tires. I bumped up the Ford OEM brake controller to 9 of 10 while on the steep parts of that afternoon. In retrospect, for our rig, our truck and Ollie both are just shy of 6,000 pounds. I have for years use a seat of my pants check of controller setting. It requires two tests: TEST A: On a safe lightly traveled road, get up to say 45 MPH. With the trailer brake controller set to zero (OFF) and your trailer connected, apply your truck brakes for a firm stop. Sense the travel distance and de-acceleration your truck brakes provided. TEST B: Repeat the above test, this time with your brake controller set at it's normal reading. Now manually apply the trailer brakes using only your lever on the brake controller. Sense the travel distance and de-accelerating your trailer brakes provide. The truck brakes generally will provide superior stopping power than the trailer brakes. However you should definitely feel the power of just the trailer brakes as they try to stop a 12,000 pound load. If not, adjust to a higher controller setting and repeat the process after everything has cooled down. I highly recommend and have used for 3 years the JD suggested thermal sensor pictured below. Cost was appreciably a bit less than the far superior Kline suggested above. But it gets the job done just fine. When doing the above tests, if you have an IR Gun, your readings should be about the same for the axle being tested. I.E. the disk brakes on our truck temp's should be in the same ball park. The drum brakes on our trailer should be as well. If you see a significant lower temperature on one brake as compared to its peers, it likely is not performing well and needs further investigation. Finally when really working your brakes on a long downhill run, it is a great idea to pull over at a safety stop and check temp's. Look for outlier readings. GJ
  24. Bill: Once again sage advice regardless of which product to be used. I tend to latch on to good recommendations and "immortalize" them into a Do-It-Yourself guides. Attached are two of mine that I intend on using in the Summer 2025 voyage around the US. As always, many much smarter owner's work has shamefully been copied for these guides. GJDIY - Ollie EZ Gutters From John D's Post.docxDIY - Trim Lock Drip Rail (Oct 2024).docx
×
×
  • Create New...