MAX Burner
-
Posts
1,681 -
Joined
-
Last visited
-
Days Won
68
Everything posted by MAX Burner
-
We're in Crested Butte, Co this weekend and have had a wonderful fall-colors tour. Our Tundra took us smoothly over Wolf Creek Pass (10,800') and Buffalo Pass on CO 114 (10,300') with no signs of struggling at all. We travel fairly light - used less than 1150lbs of our 1400lbs useful load. Tongue weight right at 495lbs. Fuel mileage for the 748-mile trek came in at 13.5mpg. Casablanca at Buffalo Pass... The Tundra is a good match for how we travel with our OTT, IMO. Cheers!

-
Wonderful WX here in Almont CO right along side the Gunnison River - phenomenal fly fishing... Currently mid-60's, no wind and wall-to-wall sunshine! Magnus and D got their bike ride in this AM - 3+ miles at 8,100'MSL.
-
Bummer - we've been in CO since last Wednesday, but headed back to NM tomorrow. You'll hit the peak of the fall colors next week, wish we could link up but previous plans prevail! Enjoy the Rockies! Cheers... A & D
-
Thanks, @Patriot - we've been getting a lot of similar complements on 'Ol Glory this trip. Your's is looking great also 🇱🇷! - great minds think alike! HA!
-
@John E Davies is right on. We've got 5 feet on the street side (wish there was 6) about 3 feet on the street side (wish it was 6!) that's the side where the work bench is located. 6 feet of clearance in the back but 18" of that is floor to ceiling shelving. With the minimal clearances we have, equipment, bikes, folding tablesaw, etc. can barely be moved around with the rollup door closed. Our hitch is only a couple inches from the rollup when closed - but we can step over it to get to the entry door. Your detached garage needs to be bigger by the way you describe its size. Get a CalMark cover and park it next to your "shop" - maybe add an over hang to the shop for added protection.
-
Boondocking at a HH near Pagosa last night - nice sunset at "84 Ranch"... En route to Crested Butte today for the fall colors show!
-
That's a well thought-out loading, down-loading, storage and equipment handling process. Impressive, brother!
-

Greasing Dexter EZ flex suspension.
MAX Burner replied to Ken_Judy's topic in Mechanical & Technical Tips
HA! Exactly what we do! Cracks me up! -
Greasing Dexter EZ flex suspension.
MAX Burner replied to Ken_Judy's topic in Mechanical & Technical Tips
With me on my Creepy Crawler - even on concrete - I can't manage to get my girth under the axles to reach the two center top zerks! Besides - I've got plenty of T's! HA! -
Greasing Dexter EZ flex suspension.
MAX Burner replied to Ken_Judy's topic in Mechanical & Technical Tips
NOPE, I crawl under the trailer (and destroy a T-shirt) and hit the zerks from underneath. -
Greasing Dexter EZ flex suspension.
MAX Burner replied to Ken_Judy's topic in Mechanical & Technical Tips
We've been using the straight one that we bought from LockNLube, it hits all 16 zerks with ease and doesn't pop-off. Works as a great combo with the Lincoln grease gun:
-
We had almost the exact same encounter with a blowout about 12 years ago in FL traveling on a secondary road at about 45mph. At the time we didn't own a standalone TPMS. We didn't realize the right side rear tire blew until we pulled over at a convenience store for a pee - walking back to the rig we saw what looked like a "ghost tire" (formerly a Goodyear Marathon) with only the radial material left on the rim. With a TPMS (which we've had ever since), at least would have known when it blew and proceeded accordingly rather than driving for an unknown distance on 3 good wheels/tires. Glad no injuries ensued....
-
Inexpensive Helpful Modifications
MAX Burner replied to Wandering Sagebrush's topic in Ollie Modifications
"BRAVO ZULU" goes out to @Mike and Carol and I stand corrected! We used the same ones, Bill. Thanks for the clarification... Cheers to inexpensive and effective mods - great post idea, @Wandering Sagebrush! -
Inexpensive Helpful Modifications
MAX Burner replied to Wandering Sagebrush's topic in Ollie Modifications
We used @topgun2's magnet mod, too! We placed a strong magnet on the inside of the dinette seat compartment with silicone tape and screwed another magnet on the corner of the door. This way, there's nothing "showing" on the outer gelcoat of the dinette seat... Holds the door open nicely. -
Very clean mod! Looks effective for its desired function! Great pix - thanks for posting.
-
We've used a "target" for years with our SOB and now our OTT. We only had approximately 9" of clearance on either side with the SOB, now much more with the Ollie. Whew! Parallel lines work for us - but the absolute game changer with when we added a front hitch to the TV... The camper had to been consistently placed correctly in its "spot" or like, @Townesw mentioned, we can't move stuff around it with the bay door closed. With the front hitch, you just steer the camper into place - no more "raised-voice" commands from Magnus and the lovely spouse. HA!
-
TWO straps fore/aft works well in our config. The 4/0 cabling holds the BBs as a "unit" the 2x 1.5" straps with cam-locks secures the entire bank to the battery tray. I'll get a couple pix to illustrate...
-
Understood. Frank's practice surely accounts for a lot of the guest activity. Personal preference, no biggie. What's interesting to me is this: So, there's (maybe) 1,450 Oliver hulls manufactured to date, assuming that most of those (but not 100%) of those owners are members - who are the other 6,667 forum members? And what are they looking for online? Potential buyers? General RV/Camper enthusiasts? Spouses of owners? One-time sign ups/Zero returns? All the above? At first glance, I guess it shows the folks at Hohenwald that there's a market base out there for the product. Thoughts?
-
Best Tire and Wheel Sizes on your HD Tow Vehicles?
MAX Burner replied to jd1923's topic in Towing an Oliver
As noted earlier, we are pleased with the mileage and longevity we've been getting with the Michelin Defender LTX M/S2's since 2017. Ran 3 sets on our RAM 3500 and averaged over 55k miles/set - most of which was towing a 25-foot AS. Still running them on our TUNDRA - no regrets. The Defenders match our "style" of driving for a TV - they may not meet others' style; but we'll stick with the Defenders 100%. Just my $0.02...again. HA! -
Borrow a drain snake and try clearing the plug mechanically instead of chemically.
-
Inexpensive Helpful Modifications
MAX Burner replied to Wandering Sagebrush's topic in Ollie Modifications
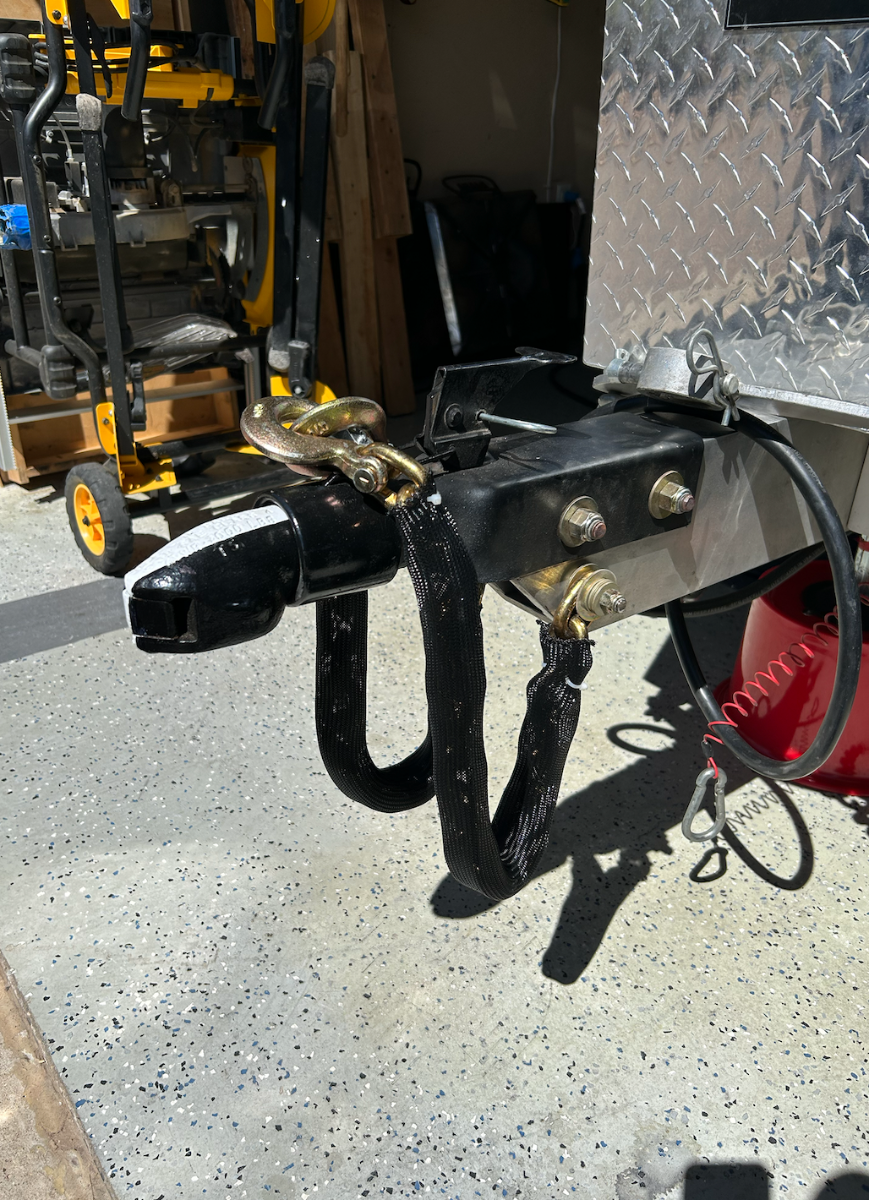
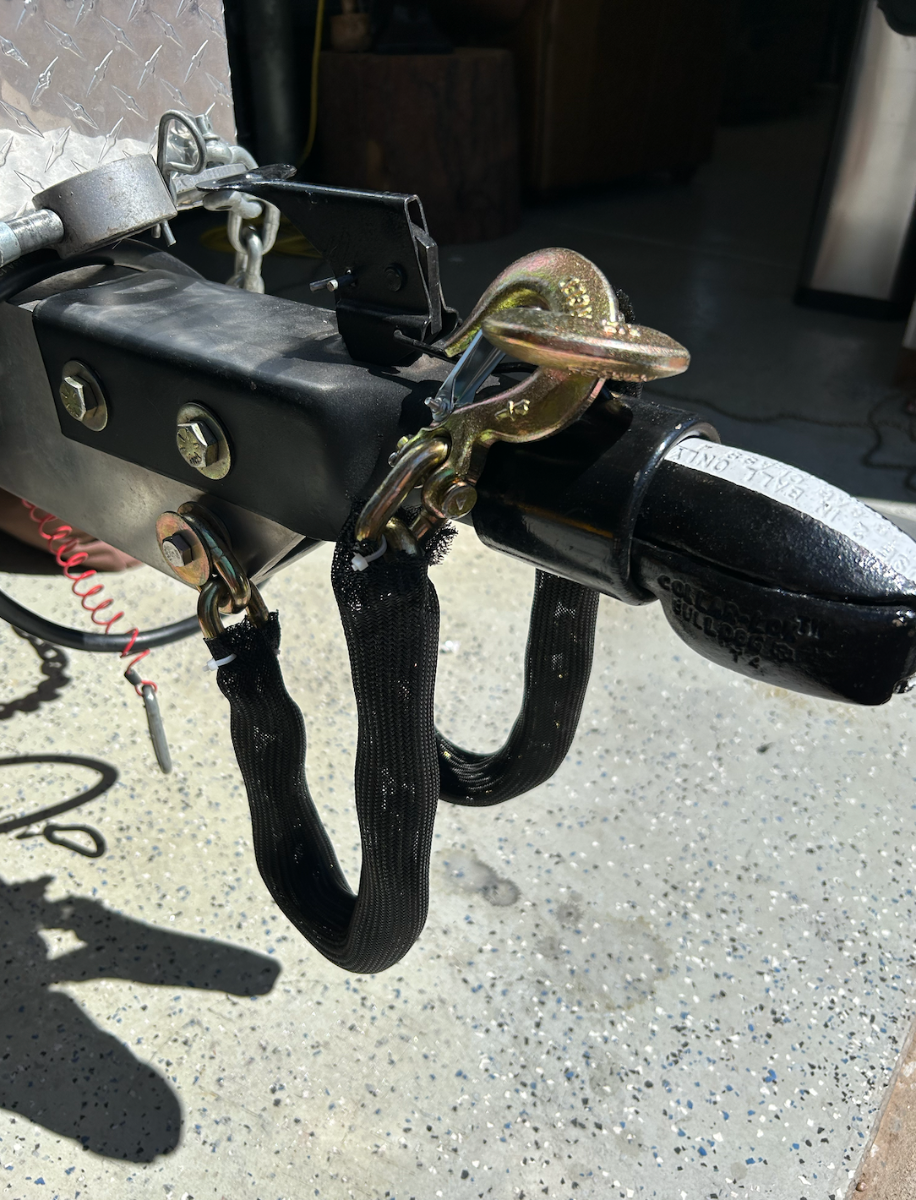
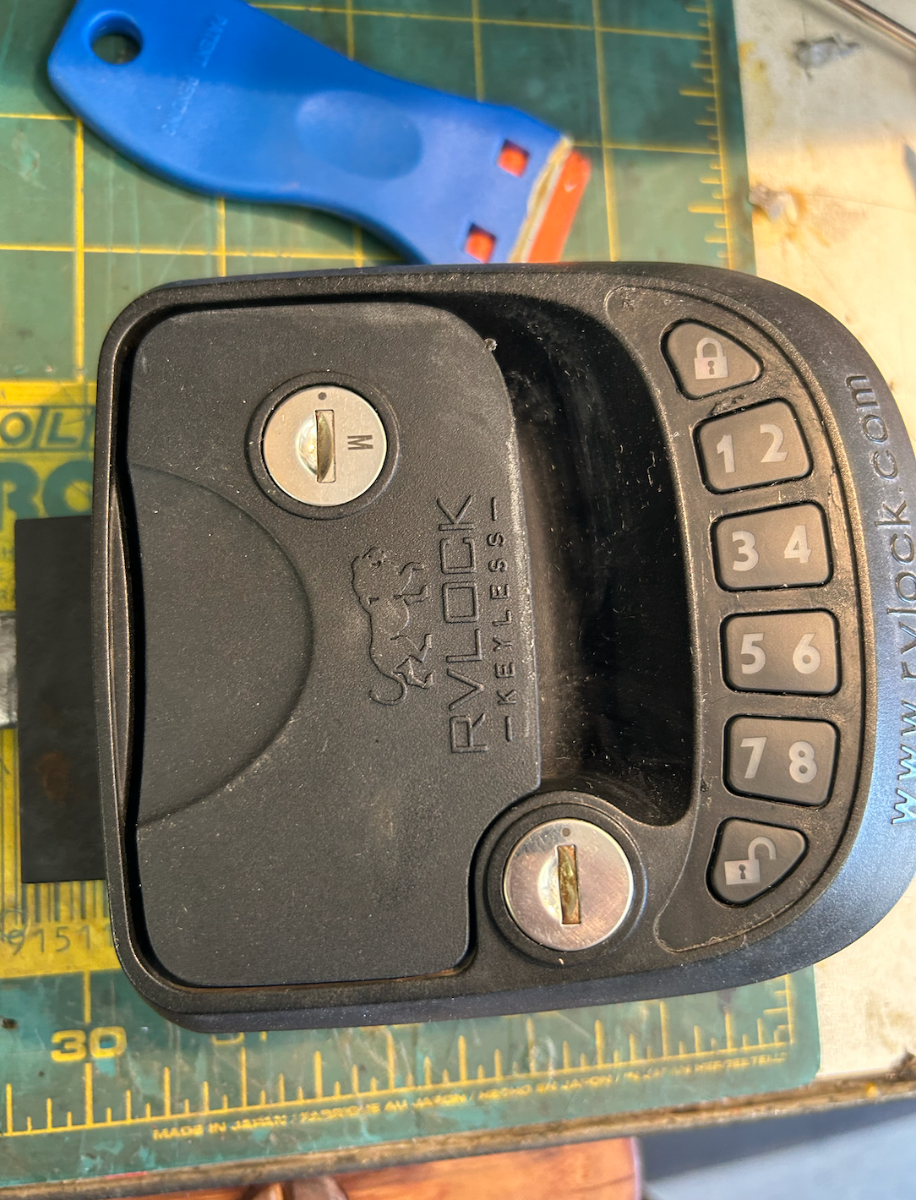
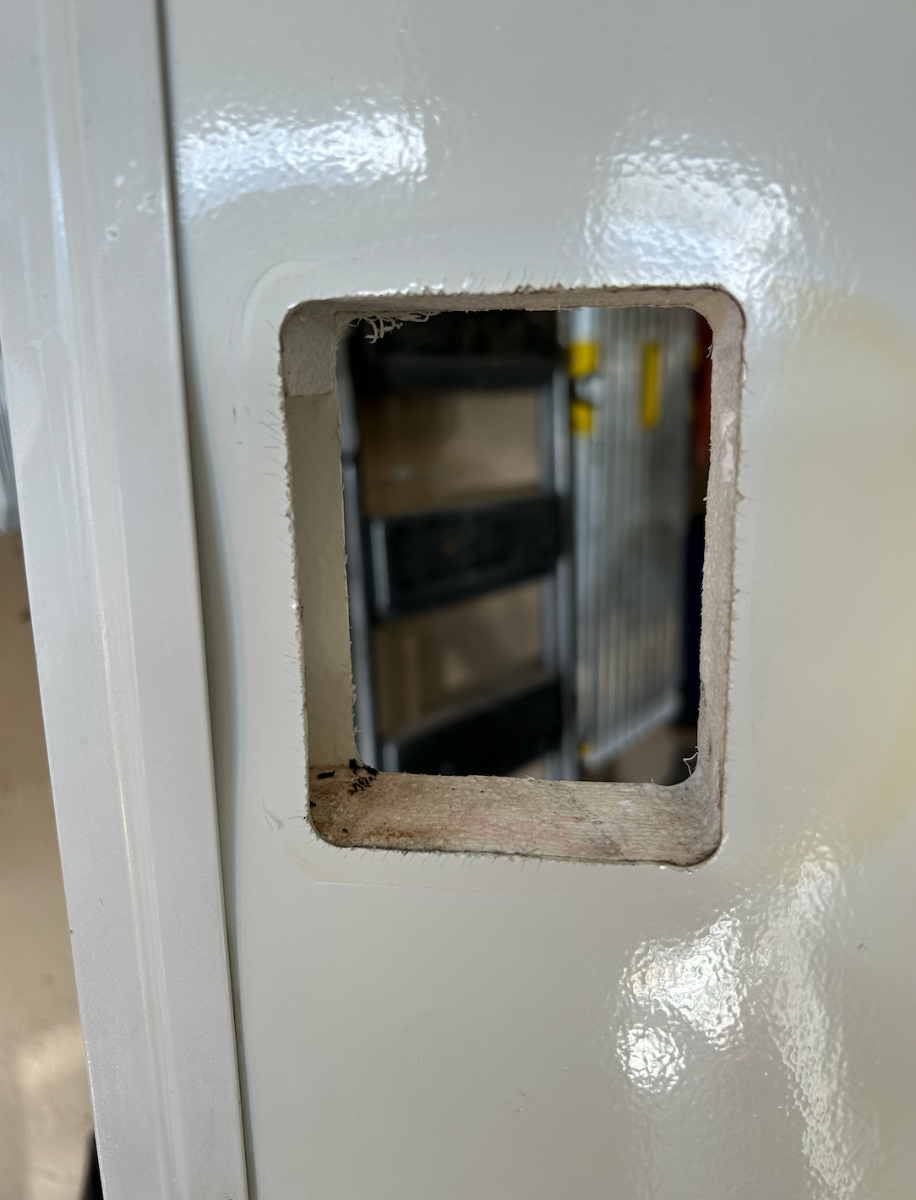
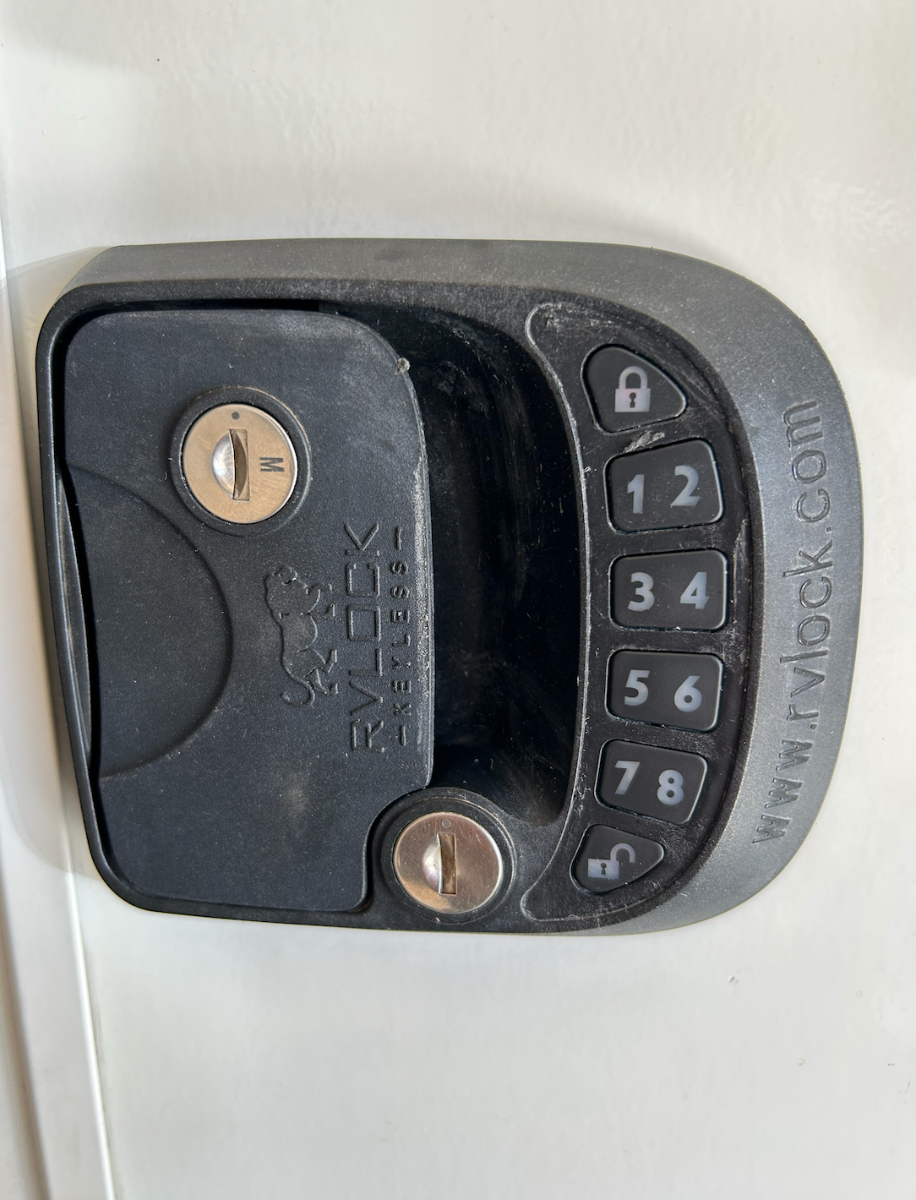
Not so inexpensive - but a couple quick and easy modifications installed this morning: 1. We became tired of hassling with the curly safety wires during hitching operations. Found some sturdier chains and hooks on Amazon, a 3/8" steel spacer, a grade 8 - 5" x 3/8" bolt and nylock, and with @topgun2's suggestion some 1" wire comb and a couple zip-ties - voila, new safety chains for about $65.00: 2. The key pad numbers on our keyless "RVLock" started peeling off a few months back. The standard configuration is a thin numbered membrane over the keypad area. For an extra $5 for a total of about $22 including shipping we received an upgraded pad. It should really be the standard pad unless someone wants to regularly replace the thin membrane all the time. The thin membrane before I started peeling it off completely with needle nose pliers: A judicious application of GOOF OFF to remove the residue of both the weather gasket and the thin membrane: The new fully rubberized number keypad neatly replaced the original white gasket: Carefully removing all the residue from the original weather gasket with GOOF OFF, replaced same with provided new weather seal: New rubberized keypad should last awhile longer than the original... Thoroughly cleaned off door surface area and mounted repaired keyless locking mechanism: One and done - good to go: Cheers!
- 59 replies
-
- 10
-

-

-

-
Spotted in Belle Fourche cg Devils Tower NM
MAX Burner replied to Boudicca908's topic in General Discussion
The Belle Fourche CG we stayed at was in WY not NM, HA, just say'n! Great that you were able to link up with them - small world stories like this are fantastic!!! -
Good call, Steve! So true! We'll likely chat with the HH folks once we're settled in and find out exactly what they'll allow. We have been allowed to grill at some but then not at others. No biggie - but part of the HH protocol. It may be that we'll be enjoying heavy hors d'oeuvres and a couple cold ones and call it "dinner." We're using this HH stop next Wednesday to break up the drive to Crested Butte, CO - probably won't un-hitch or even put the jacks down! HA! Will follow-up next week with pix of the trip and what we got away with doing at the HH stop. Thanks for the heads-up! Cheers, Art
-
Very cool, Mike! Nice pic! Seems like the older we are, the smaller the world gets.... Go figure! Cheers, A & D
-
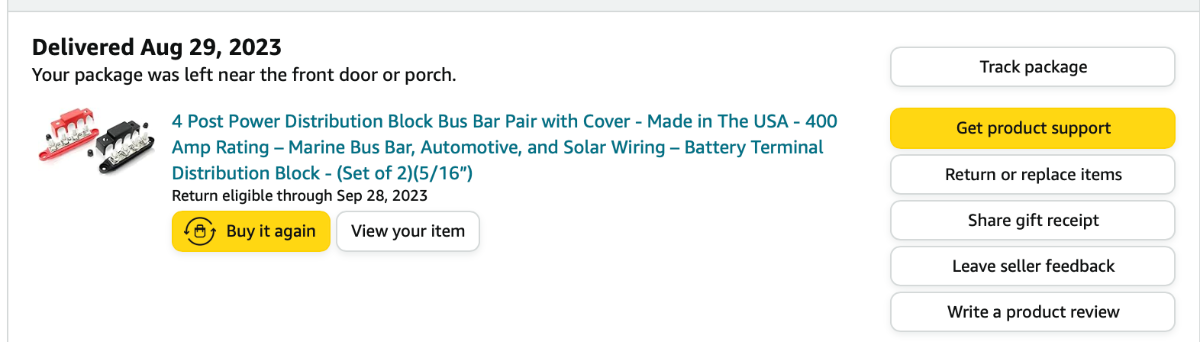
We went with he 400Amp busbar for the positive terminal connections needed at the BB battery bank. The 250Amp one would likely work but we're dealing with a potential max of 300Amp in the bank so that's why we used the 400Amp option with 4/0 cable all around. The original configuration used 1/0 cables. For an unknown reason, the PO did not tie down the bank. On our model, the strap hard points are stamped into the fore/aft rails of the battery tray. We used 1.5" wide 5-foot cam buckle tie downs which worked perfectly between the BBs. Similar to what you did, we wedged polyboard cut-to-fit in the gap on between the BBs and the tray rails. Any moderate bumps could likely bounce the BBs around w/o the tie downs - the tie-down arrangement provides an element of "piece of mind." Let me know if you need a pic of the tie-downs... We're happy with the mod and a full credit "shout-out" goes to @Geronimo John for his assist in making this mod come to fruition! Good luck with your battery switch install! Be sure to post pix of the project....