Leaderboard


Popular Content
Showing content with the highest reputation on 04/20/2024 in Posts
-
@connor77 we recently replaced our leaf springs with ALCAN's 5 leaf pack and had a couple of the wet bolts that were spinning (operator error on my part) so we ordered a couple wet bolt kit from e trailer and replaced them all. The kit is made by MORryde instead of Dexter but was an exact fit. The kit contained the 6 smaller bolts for the hangers welded to the trailer frame (leaving you 2 spares) and 8 larger bolts that already pressed into the shackles for both sides that fit into the ez flex equalizer. Below is the website link for the part we ordered, listed in it is the bolt sizes you were looking for. Hope this helps. Make sure to confirm these bolt sizes with your mechanic before ordering. https://www.etrailer.com/Trailer-Leaf-Spring-Suspension/MORryde/MR46ZR.html Features: Leaf spring mounting hardware upgrades your leaf spring suspension system Thick shackle straps, wet bolts, and bronze bushings are long-lasting and minimize intensive trailer maintenance Heavy-duty shackle straps replace your factory shackle straps 1/2" Thick shackles are more durable and twice as thick as most stock shackles Wet bolts with built-in grease fittings are long-lasting and ease maintenance Bronze bushings are more durable and last longer than the plastic bushings found on most factory suspensions Work with wet bolts to ensure a well-lubricated setup Quick, simple installation Shackle straps replace your trailer's factory straps Included bolts, nuts, and bushings replace your existing suspension hardware Includes: 8 Shackle straps 8 Wet bolts (for attaching the springs to your equalizers) 6 Wet bolts (for suspending your equalizers and springs from the hangers) 14 Bronze bushings (for spring eyes and equalizer bolt holes) 14 Locknuts Made in the USA Specs: Application: tandem-axle trailers with double-eye leaf springs Shackle strap length (from center of hole to center of hole): 2-1/4" Bolt hole diameter: 9/16" Wet bolt dimensions: 9/16" Diameter x 3-3/8" usable length 9/16" Diameter x 2-7/8" usable length Bushing dimensions: Outer diameter: 11/16" Inner diameter: 9/16" Length: 1-3/4" 1-Year limited warranty4 points
-
I found this product a few year ago and really like it, been using their dielectric grease for 7 or 8 years, as well. It took a couple trips to work all of the old grease off of the Bulldog after initially wiping clean with paper towels, perhaps a thorough cleaning with a solvent would have been a better approach. Most of all, since it is clear/opaque there is no soiling of self or clothes. I also use a hitch ball cover when unhooked to help keep the ball free of dust and debris, as well as a clean hand when handling the hitch.
 3 points
 -
One last tip that I could add is that I always leave my safety chains (or cables if you have those) attached until the very end of setting up. After a long drive, potential bad weather, and road weariness has set in, things can go sideways in a hurry! Lots of great tips above. Never put my van in neutral before but will start doing that. And always chock both sides of your wheels.👍 Dave3 points
-
The key issue is: With the splines worn off, OTT will certainly know the parts. But they do not have an "Official" solution to fix the spun splines problem. Lots of forum discussion of this topic. The root cause is likely some one tried to torque the bolts from the head end or it could have been done when manufactured. BUT, if it had been done when made, you would have seen the EZ flex Center Bolt Failure (As in walking out of it's hole) in the first season of use.... like mine did. The EZ flex bolt spline solution took me three years to figure out. And it has worked fine. Below is my EZ flex solution I posted several years ago. I'll find my DIY process summary and post it tomorrow. GJ ++++++++++++++++++++++++++ EZ-Flex Kit: Oliver uses the K71-653-00 Dexter EZ Flex kit. (8,500 Capacity Version installed) EXTREMELY IMPORTANT TO CHECK: If OTT was not using EZ flex devices on the vintage of your trailer, there is a possibility that your "Center Bolt" does not have splines on the nut end. Another possible is that if it did have splines, that they were damaged by tightening the bolt/nut from the bolt side. This will spin out those splines. The splines are absolutely essential for "Fixing" (As in prevention of rotation) of the bolt head. IF this is the case, it is essential that you "FIX" your bolt head. This is a life safety issue that has scared the XXX out of myself twice and two other owners that have been documented. There are a few ways to fix the bolt. Using one of these is one of those solutions. Search the forum for other solutions if you like. I did for the better part of three years, and did not find any alternatives that met my safety and effectiveness concerns. GJ Center Bolt Capture Washer Source: Barnes 4WD (828) 551-7616
2 points
-
Chasing an unchocked, or improperly chocked trailer, can be very scary. Did that one time, dramatically. (Someone else's trailer, about to run backwards down a slight slope, through bushes, to a ten foot drop.) Fortunately, a lightweight, small trailer, and three of us from neighboring sites got it stopped. Good chocks, well placed, follow instructions above. No issues.2 points
-
Lot of good points made here, have not thought of putting TV in neutral to let it settle but on more than one occasion have discovered there is a tension between TV and Oliver based upon how the last movements went, usually from backing up with a significant turn. What I always do now is take the tension away from the two by pulling forward usually a few inches or a foot max will do while straightening the TV front wheels. Some ground can be difficult to read the slope certainly and in this case front and back chocks work well. Like a few of you I have always taken a big rubber mallet and pound the crap out of those things so they are in tight both for rubber chocks as well as the Anderson leveling blocks. As for the X Chocks the company warns they are not meant to hold the camper in place, only to stabilize it once setup claiming the device is not strong enough to hold most campers steady. That said I have no doubt a lot of people use them in this manner. Good luck in the future2 points
-
Been there, done that, "got the T-shirt." I learned that my ability to accurately determine which way the campsite slopes is limited. So, I the started carrying chocks for both the front and back of each set of wheels. Before disconnecting the coupler, I ensure that the wheels are chocked both front and back, and rubber-hammered into place. So far, this has prevented unwanted movement.2 points
-
We camp on many campsites that are not level. Always put the level blocks under wheels on low side leveling Ollie (we use Camco Level Blocks) and chock the wheels on the opposite side. Then before jacking Ollie's hitch off of the ball, place the tow vehicle in neutral letting the trailer settle on the level blocks and chocks, next place TV in park and jack hitch off of ball without much movement.2 points
-
We had a similar issue until I figured out that Metal stems can be tightened down at the nut to stop leaking. To do the job, take off the sensor. Hold the threaded valve stem with needle nose pliers while tightening nut. Careful to not damage stem threads.
1 point
-
From the motor of our 2019
1 point
-
Yes they do and can even tell you the specific model and serial number of your fan. Bill1 point
-
We just watched your video during lunch. You can see how happy you are with the new trailer. I wish I could get Deb to commit to 100 nights a year! We were just 44 last year, and looking at 45-60 this year as of now. She's an avid gardener, and the best travel time is also her favorite time of the year in the yard. It looks like you're headed to the rally, so we hope to meet you there. We're on E-23. If you'd like, add yourselves to the list I'm collecting of attendees at:1 point
-
Attached is a DIY - Dexter EZ-Flex Center Bolt Spline Repair document mentioned above: DIY - Dexter EZ-Flex Center Bolt Spline Repair (20 APR 2024).docx1 point
-
Optical illusion. The pad is sloping down to truck. Had to raise nose 10” for trailer floor to be level and 3” low on curb side as well.1 point
-
Sorry, I was out of pocket. I love stuff like this. Looking good.1 point
-
Oh my goodness yes, now I see it!😃 For whatever reason when I looked at it earlier today I was thinking it’s a view from the top down!🤪1 point
-
For sure us too! ++++++++++++++++++++ If I am reading that grease inhibits movement, that would not be the case. For the Bulldog and the Anderson ball, I give both a short spritz from some white lithium grease aerosol. When I get to the next stop, I wipe out the Bulldog and wipe off the Anderson ball. The first is to help keep the Bulldog clean. The latter is to help keep my jeans or leg clean. +++++++++++++++++++ One more safety must when on any slope of a camp site: PLEASE remember to have your TV in Park and Parking Brake Set, and most importantly always keep at least one of your safety chains attached until AFTER you have unhooked and leveled her. If you have any problem at all, she will not be going far. GJ1 point
-
Important point!1 point
-
OK - let's see if we can narrow this down a bit. The "jack blocks" generally will not have anything to do with the trailer moving in the manner you describe. If blocks are not placed flat on the ground (i.e. they are on edge) then some slight movement could occur. But, with the Andersens shape and size this would be very rare if even possible. The Andersen "ramp levelers" are another story though. Obviously, even on flat ground, the curved shape of the Andersen levelers will cause those levelers to move unless the chock part of the system in put firmly in place. I also use the Andersen levelers and early on I started carrying a rubber mallet and use that to give those red chocks a tap to make sure that they are firmly set. I also use this mallet to set the regular chocks on the opposite side of the Ollie. This is not only safer, but it is much easier on the hands or feet that I used to use to try to firmly set the chocks. Finally, Rideandfly's recommendation of letting the Ollie "settle" with the TV in neutral is a good one. Bill1 point
-
John Dorrer: The same thing happened to me once on my relatively flat driveway. It scared the bee-jeebies out of me for a moment. In my scenario there was a slight decline to the right of the Oliver. Afterwards I investigated and believe that the problem was the way I placed the chocks. I placed the chocks behind each of the Olivers back wheels. Then as the tongue came up and off of my truck there was nothing to keep the Ollie wheels from coming forward. The tongue came up and then moved about 10" suddenly to the right (towards the Ollie's right). I believe that my Oliver "pivoted" on the right rear chock and because there wasn't anything on the left side to keep it from going forward.... it did. Since then, I have put my 4 chocks front and back on each side. It keeps both sides of the Oliver planted in place. I also think that because I was on my concrete driveway...and maybe the hard plastic chocks didn't "grip" on my concrete well ... it was a scenario that allowed the Oliver to move even quicker than it might have on a gravel camp-site.1 point
-
Shore/gen-> ATS->EMS-> Multiplus-> Breakers. When I removed the old inverter, I took down that part of the circuit and placed it back in the panel breaker (plugs/microwave) and then ran the shore power through the MP2 AC IN the AC OUT1 to the panel.1 point
-
Understood, everyone has their priorities and responsibilities; you definitely have a full plate! I know from reading your posts of the time and effort spent modifying your Oliver and upgrading your TV. I would think getting away with both while spending time with the family to be very therapeutic, as well.1 point
-
Hey, John; Alcan will absolutely install them at their shop rate in GJ. It's what they do! You'll have the piece of mind that they'll be R&R'd correctly. For arrangements, you can call either Lew or Mike at: 970.241.2655 Good plan, brother! Good luck!1 point
-
Do this from the inside. Remove shades. Slide screen to middle of window frame. Grasp lower left and lower right corners of screen frame. Lift the lower corners at the same time so that the bottom of the screen frame clears the track. Pivot the lower edge of the screen frame towards you and drop the top edge of the screen frame out of the top track. The rear screen is different. It has 2 clips on the bottom and 2 clips on the top. If trailer is not on fire, gently pull on the bottom frame until clips release then the top of the frame will fall free. The rear screen does not fit in a track so note the positions of the clips before removing the screen. If trailer is on fire, grab the red trapezoidal shaped tab, yank the screen out, fling it to the side, then dive head first out the window.1 point
-
LOL. For sure. The handholding was very much appreciated. We are still very seriously considering changing our truck. (Either airbag suspension or Andersen. Not both.) But that won't be until at least next year. Now I'm off to wander around my next National Park: Shenandoah for 10 days. And that's the whole reason I bought this thing. So the plan is working!1 point
-
Got some "Box Envy" going on over here... HA!1 point
-
Another good Andersen day. Took two tries. I'm calling that a win. In other news: 1) After yesterday's spectacular hike on the cliff trail, I drove 10 miles through Del Water Gap with my tailgate down. But NOTHING fell out. This is the first plus from our dramatic overpacking. Things are so crammed in there I don't even need the tailgate! 😏 2) We got a drawer stuck. I was able to slide a ladle in, push down on the offending dish, and get it to open. But this is the second time I wish I knew how to remove the drawers. Now that we have wifi, I'll go take a peek in Oliver U. 3) 4 days in Worthington State Park with no hookups, we used half our fresh water, half our grey tank (of course), maybe 1/3 a tank of propane, and left with 50% charge in our batteries (it was cloudy almost the whole time). That confirms my suspicion that fresh water is what will limit anything we do that approaches boondocking. (And I was using the campground shower. DW, refused cuz it was stinky.) And I now know that our major electric draws (beside the AC) are: jacks, microwave, hair drier, water pump. TV, radio, fridge and lights are almost nothing by comparison.1 point
-
By the way, after eight nights in subfreezing temperatures, we finally depleted the first propane tank. Very impressed. And I now know how the regulator works. I also know that you can Google the Truma error codes and get a wonderful description of what’s going on. I could not have asked for better automation.1 point
-
As an update to my previous post, after a email discussion with Frank C, we noted that the existing wall was too thick to accept the specified barrel nuts and let the thumb screws go in straight. I contacted McMaster and they did not really have any good option with a barrel nut that had a larger gap, I took the vanity cover apart and removed the barrel nuts. I then used a grinder on the inside of the wall to make the area where the barrel nuts touched thinner. Using new barrel nuts, the installation was a lot better with the thumb screws going in straight so that the washer set correctly to seal off the opening. Hope this helps anyone that will be making this modification.1 point
-
I follow Escape pages and I like mods done by Johnny Hung. He made a few with solar panels that slide out from back and both sides. Not only do they provide more solar power, but they act as exterior shades over the windows.1 point
-
This is a little different approach to adding additional solar panels. Mossey1 point
-
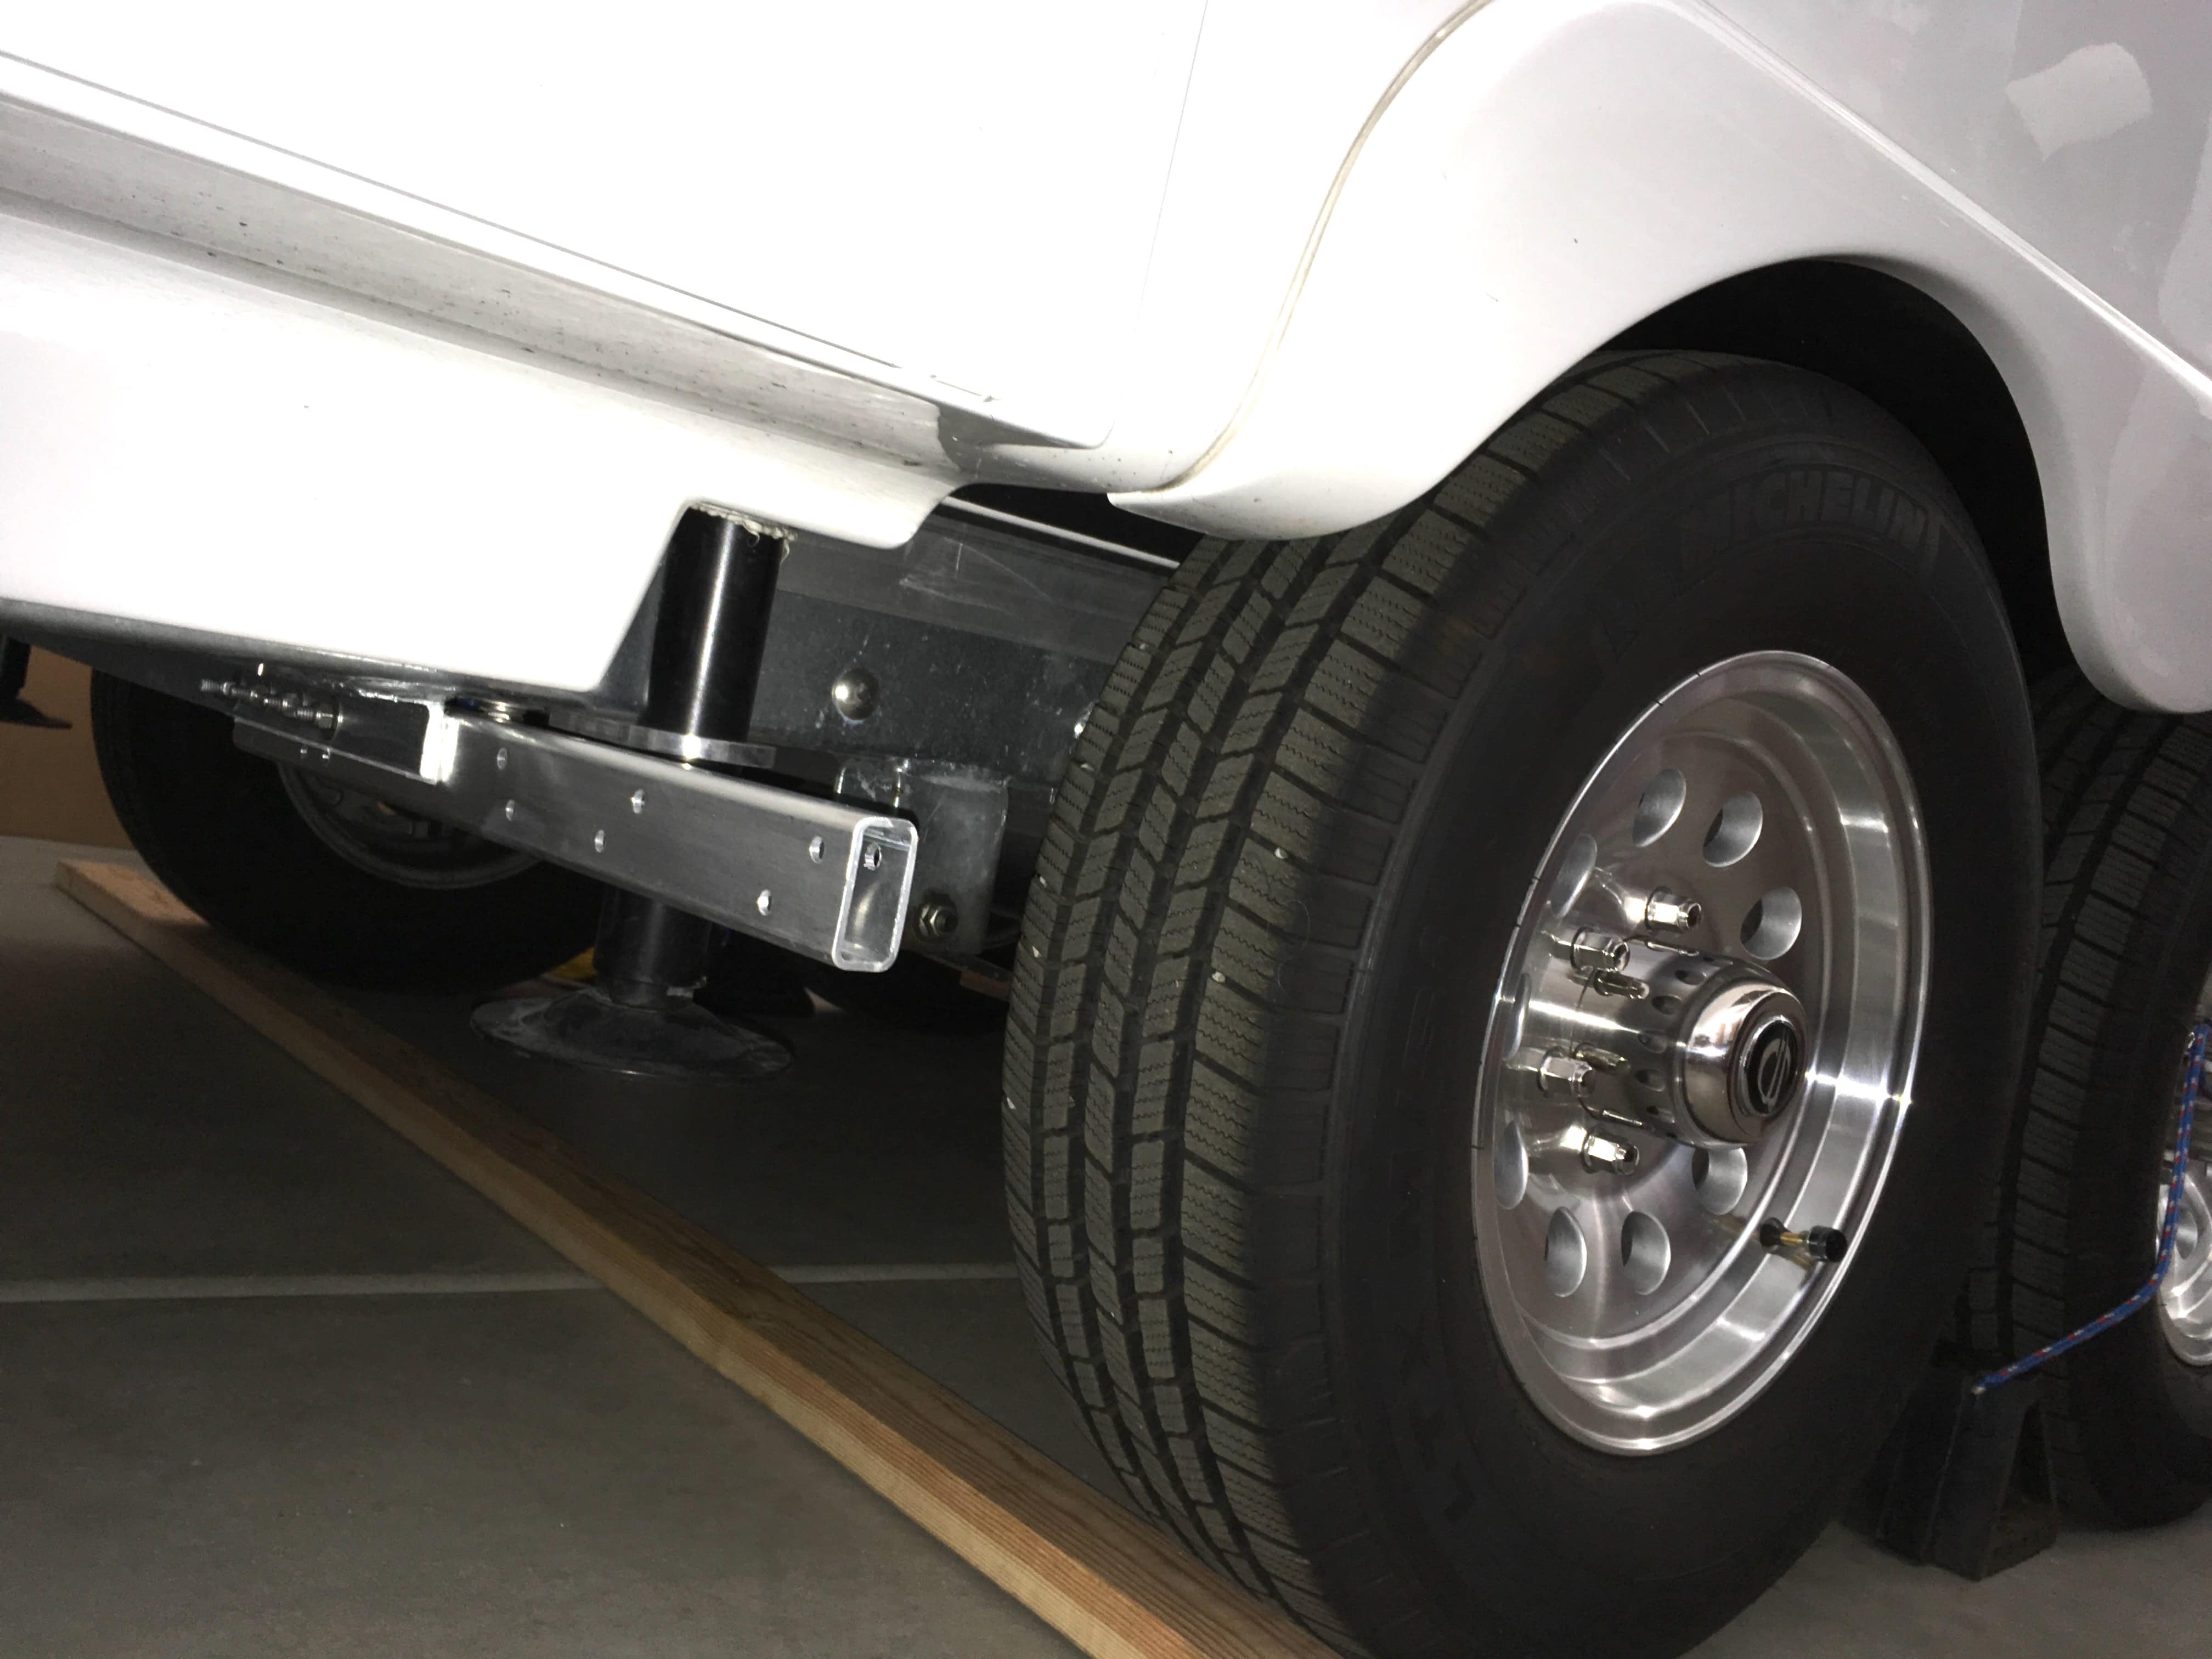
Teaser: rear mudflaps, a future thread: John Davies Spokane WA
1 point
-
I share everyone's thoughts on this. I also have learned the hard way (just minor scares, no damage) about chocking front and back of both sides, as well as putting the TV into neutral and letting it settle into those chocks. It's really more of an issue boondocking than when on a nice flat campground gravel/concrete/asphalt spot. Also, I almost always pull out my hitch ball and place it somewhere safe after setting up camp. I've got one of those funky GMC tailgates that can dent if dropped down on the ball.0 points
-
BLUSH!!! I knew the frame needed to come out, but for some reason the screen didn’t want to move (there was a lot of sand and dust from our DVNP dust storm), but a few gentle taps with a ball peen hammer freed it up. The glass is even still intact. Thank you!0 points


-
Recent Achievements
-


")


")


")


