Leaderboard


Popular Content
Showing content with the highest reputation on 06/13/2024 in all areas
-
Soo.. I have had great success! Between the vinegar and low pressure air in the line (about 25#) I was able to dislodge whatever was causing my blockage! Just so everyone knows, I'm by no means a first timer with RVs. I've had various trailers over the last 15 years and I'm not new to tools, compressors, trailers and trucks! (owned an excavating company with my ex) I have even done brakes and bearings on the ILOVHER. I don't however know much about electrical and plumbing, but I know enough to come here for expert help whenever something is outside of my field of knowledge! I thank you JD1923 for being up at midnight helping me out. I am very grateful and now have a handy tool for winterization or if this happens again. I don't normally filter water from my house as I know my water source runs through a softener but anywhere else, I use one religiously. I do use a water specific hose that is stored and secured end to end so no real chance of bugs/debris. I'm of the idea that my hot water tank may be backward siphoning or creating a vacuum and dragging junk into the cold line when draining the fresh water tank. I've read this on a few other RV forums so from now on, I'll just bypass before draining since I'm already under the bed moving the valve! I annually change my anode because I know what it looks like when I remove it! To each his own but it is cheap insurance and not hard to do. I usually have some degree of anode degradation and the typical sludge that I flush and brush out. Water quality differs at every campground. I use magnesium over an aluminum HW anode. Again, I'm super thankful to my Ollie fam for supporting me and getting me back into the woods! Thanks again everyone!7 points
-
In case anyone was wondering, I went with the Coopers
 6 points
 -
Great work and you knocked it out! Now enjoy your trip! 👍🏻👍🏻5 points
-
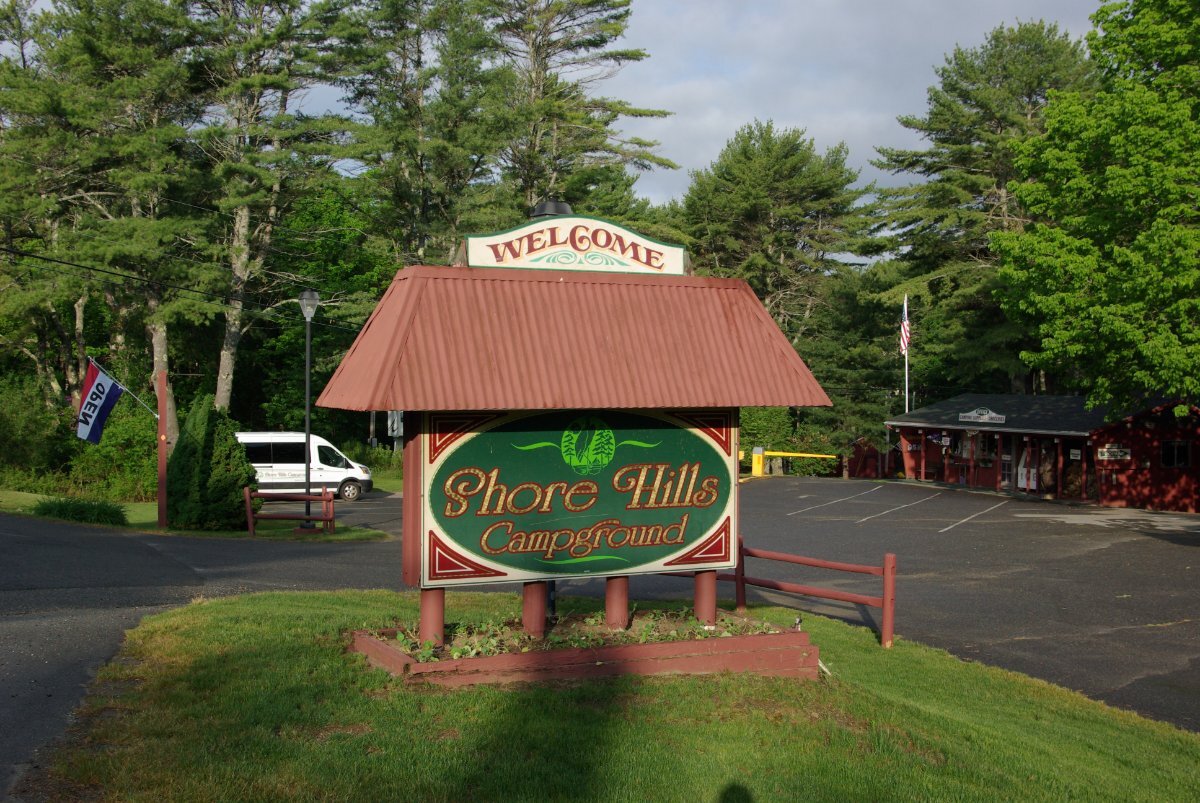
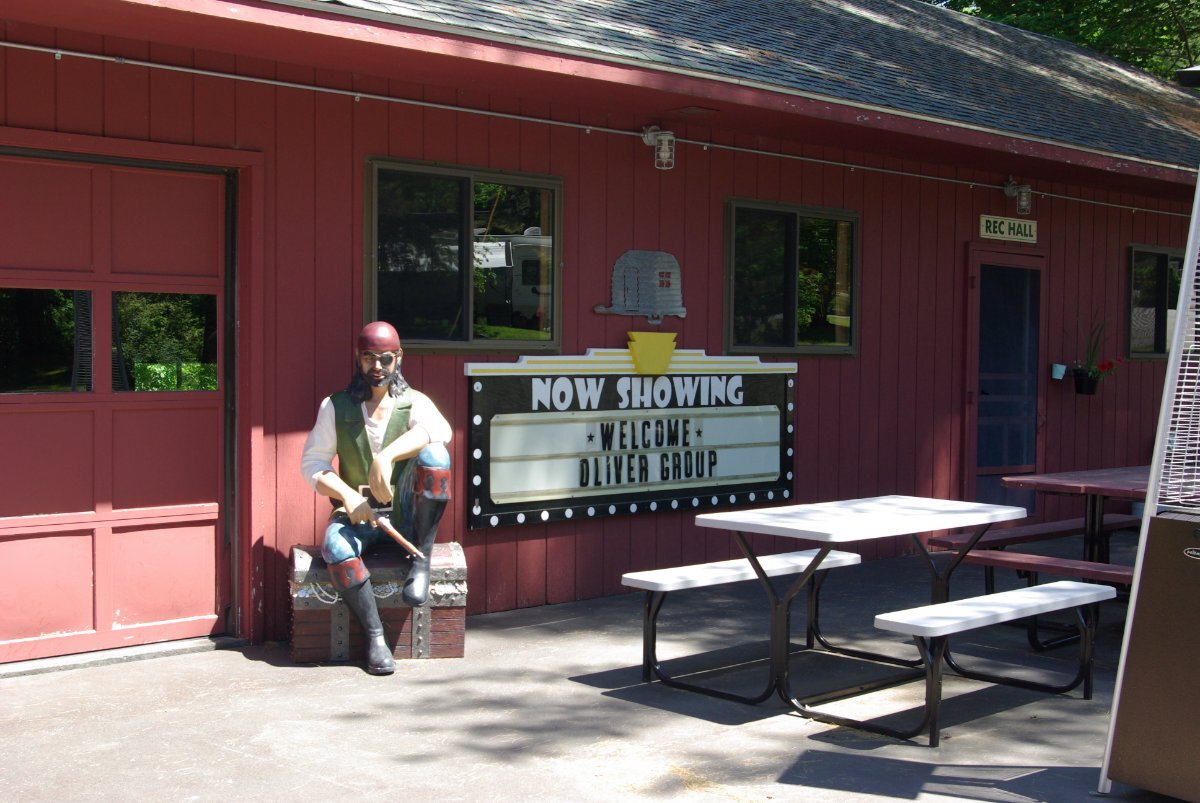
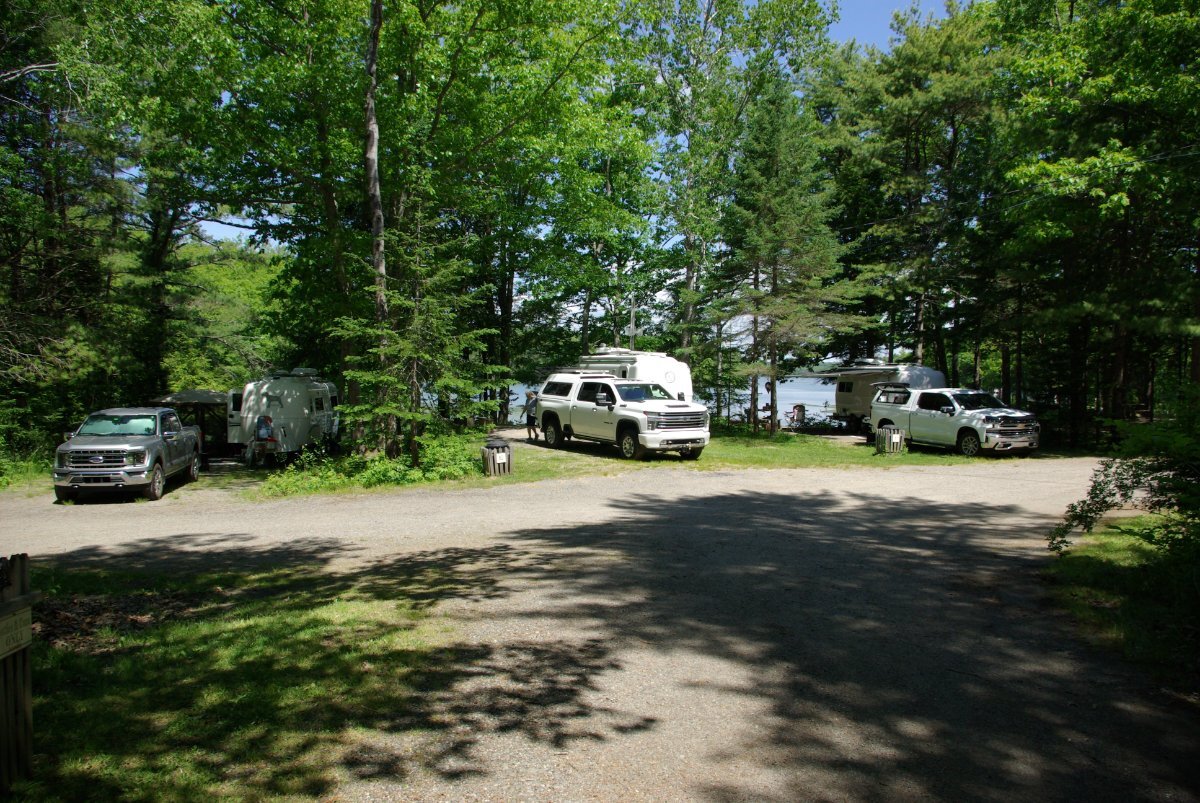
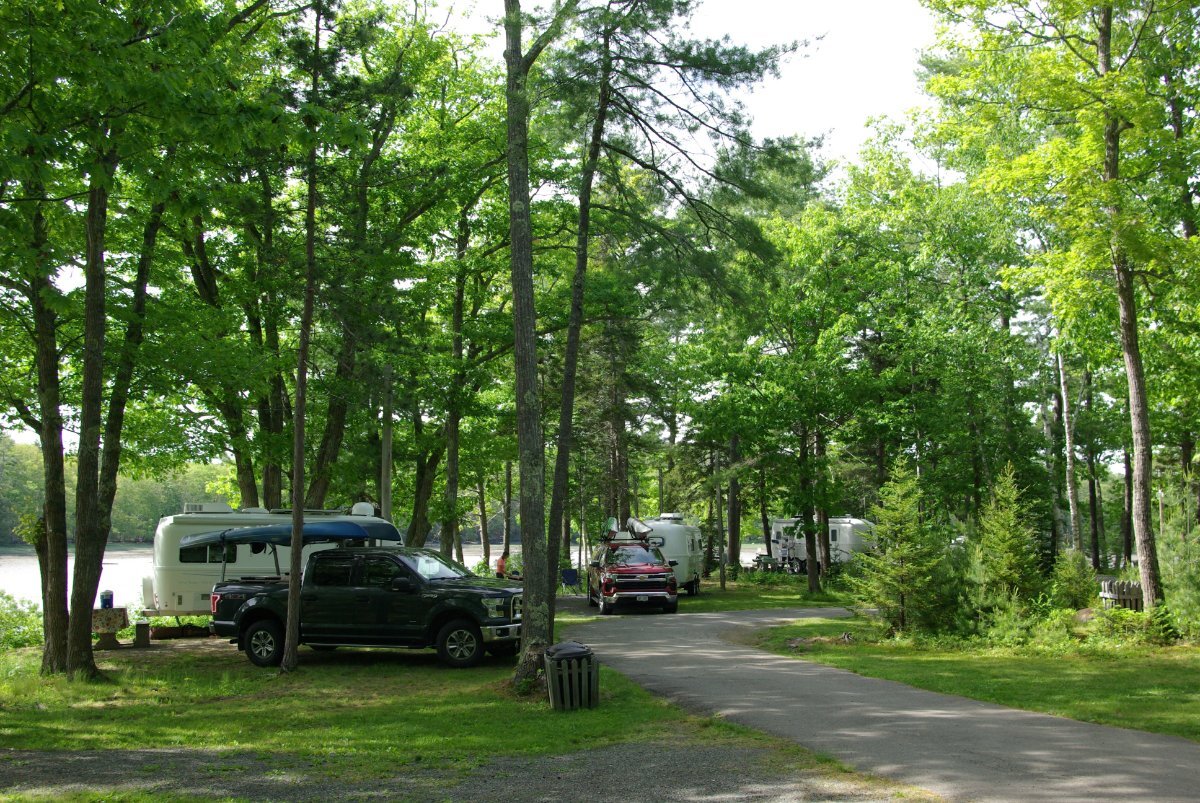
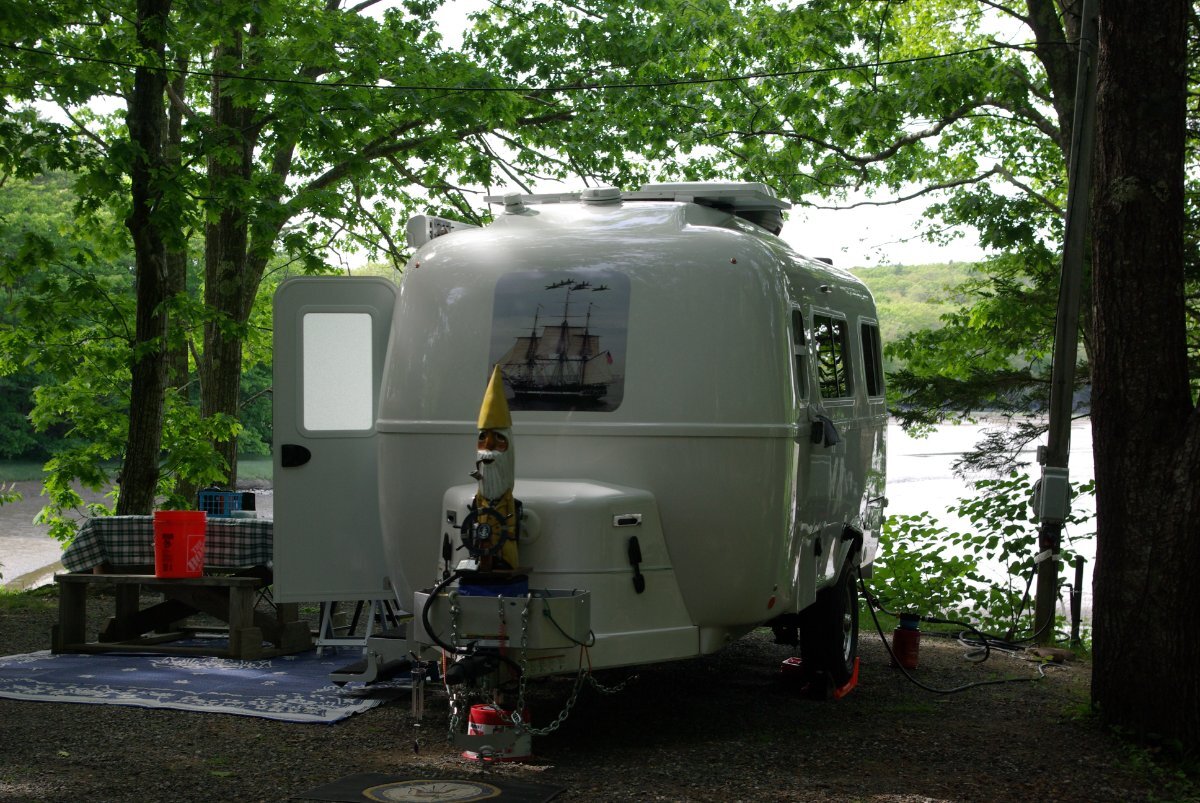
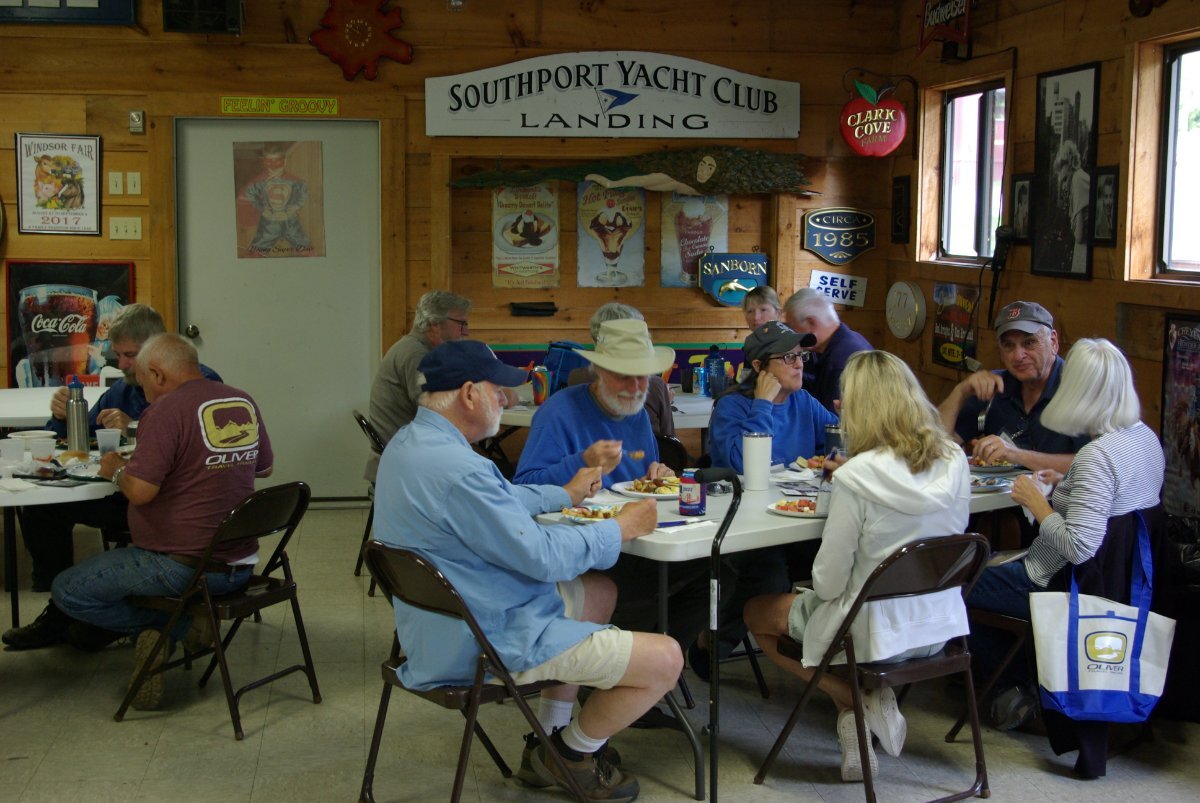
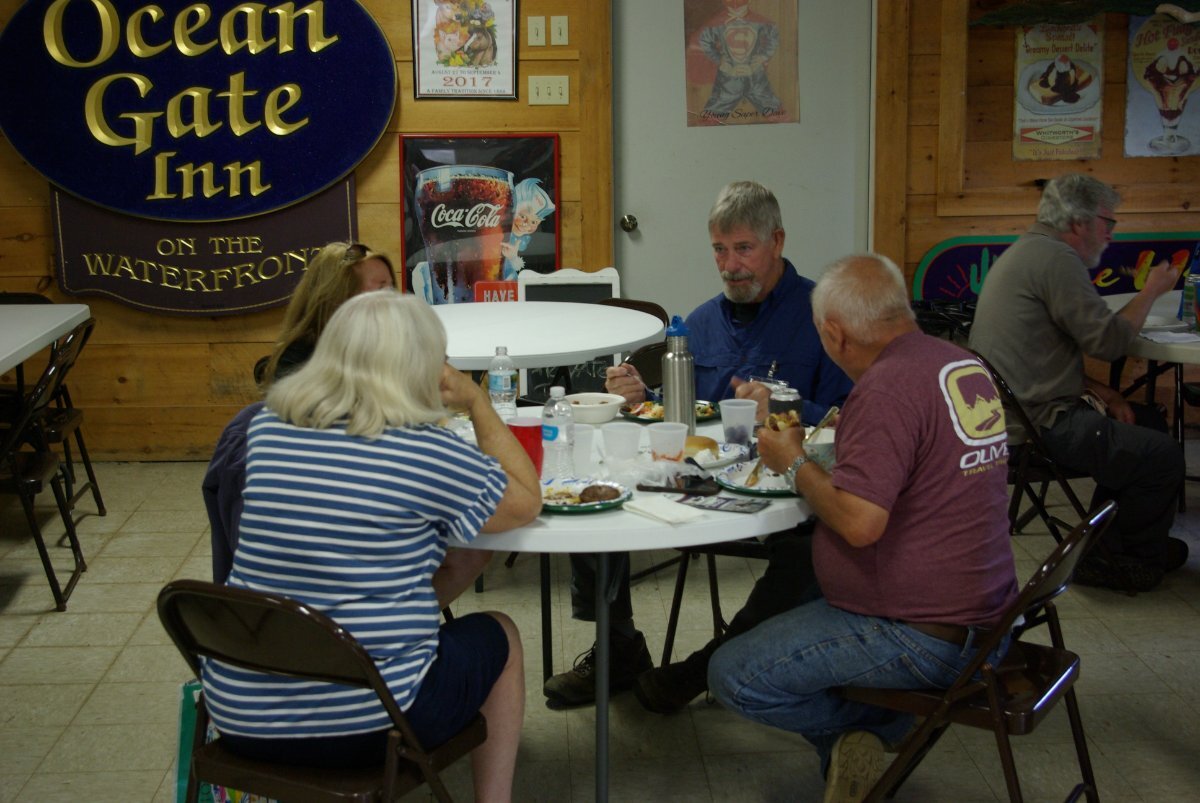
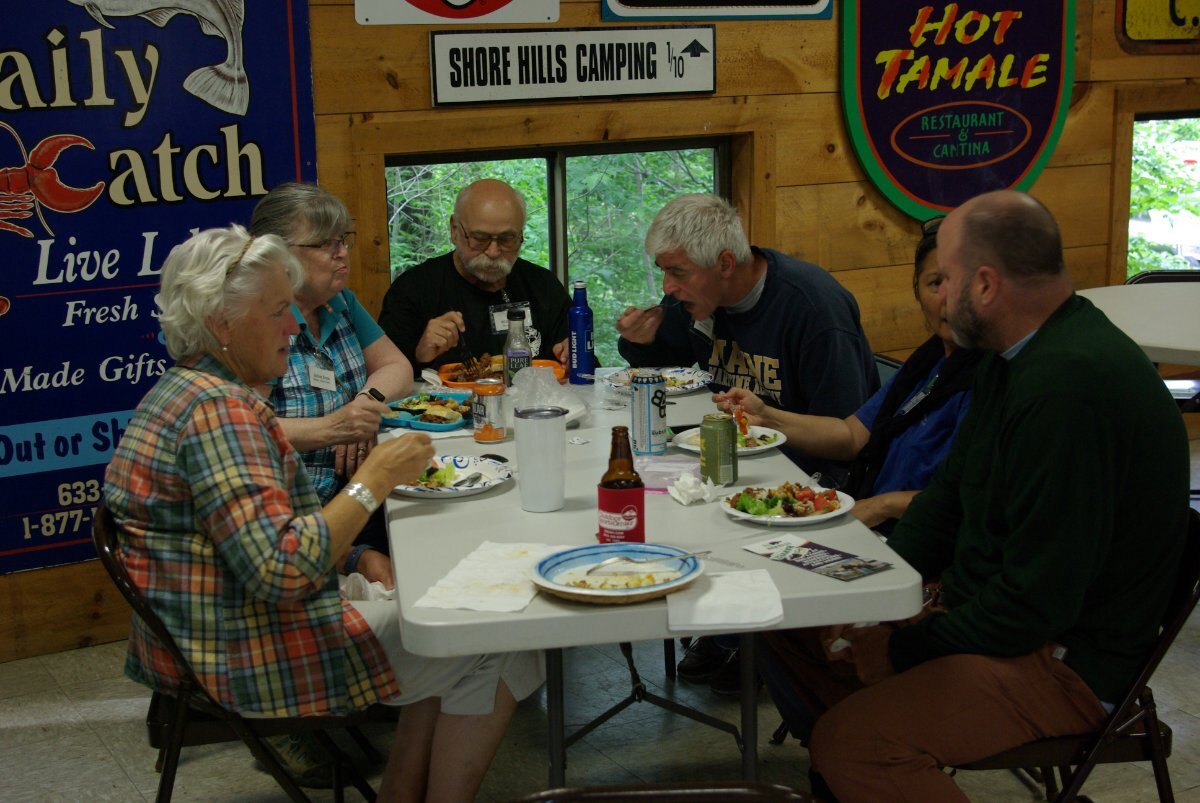
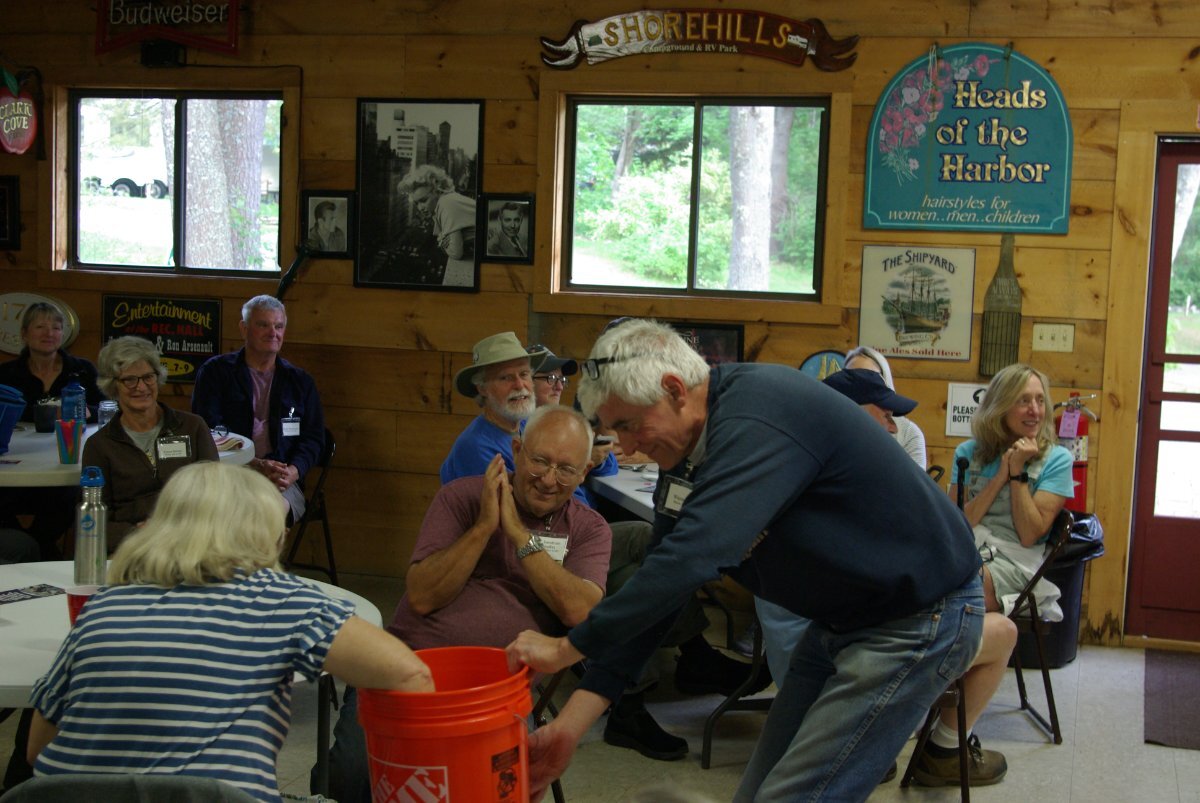
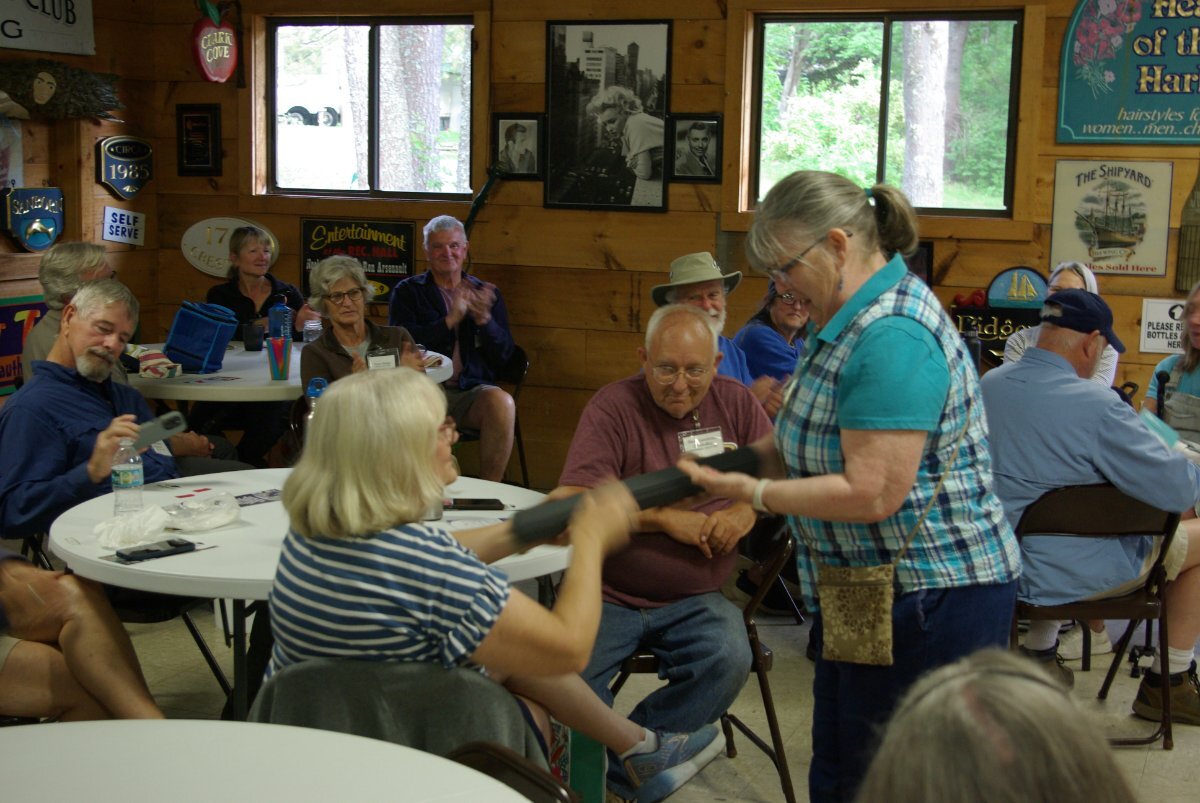
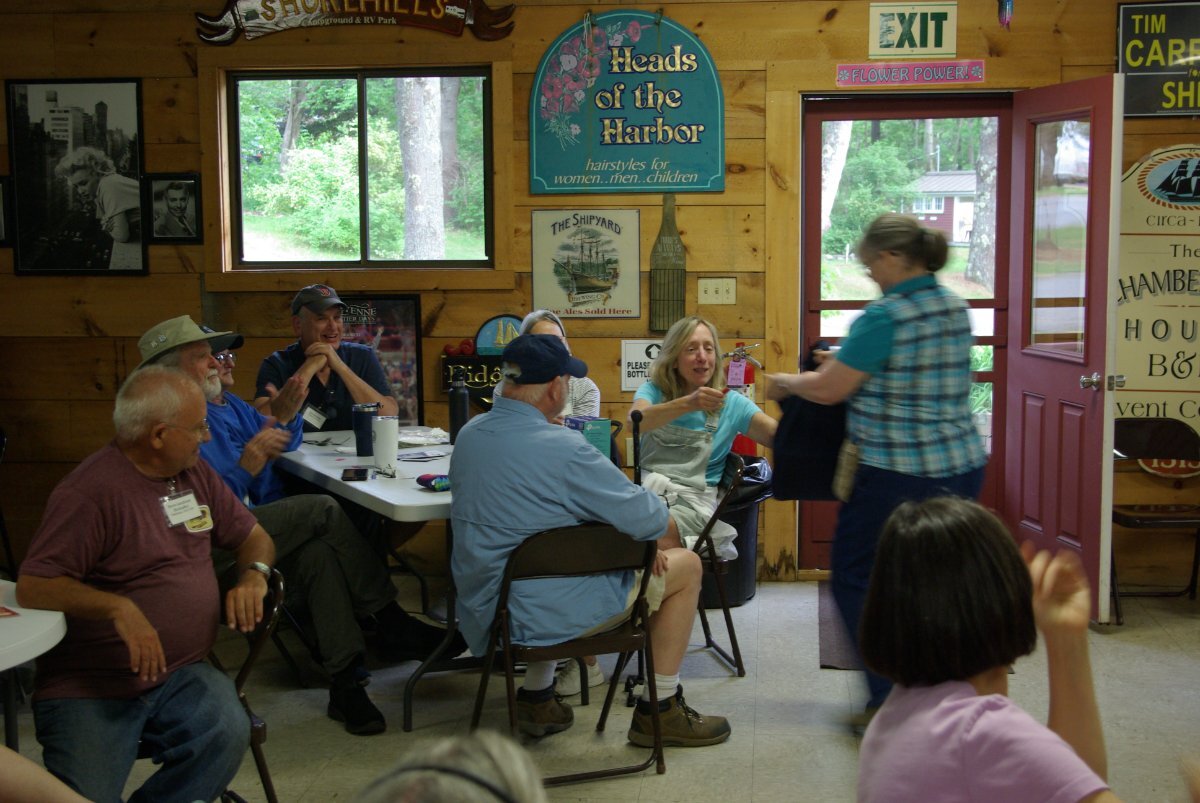
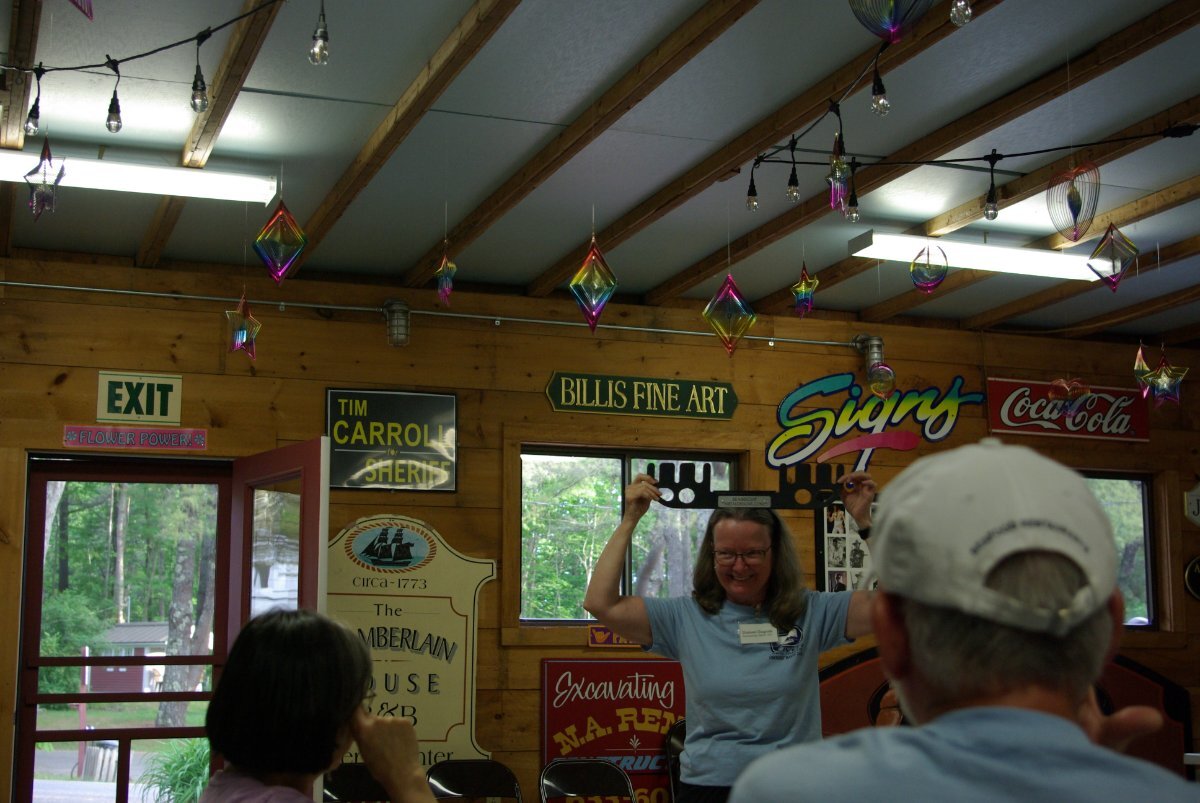
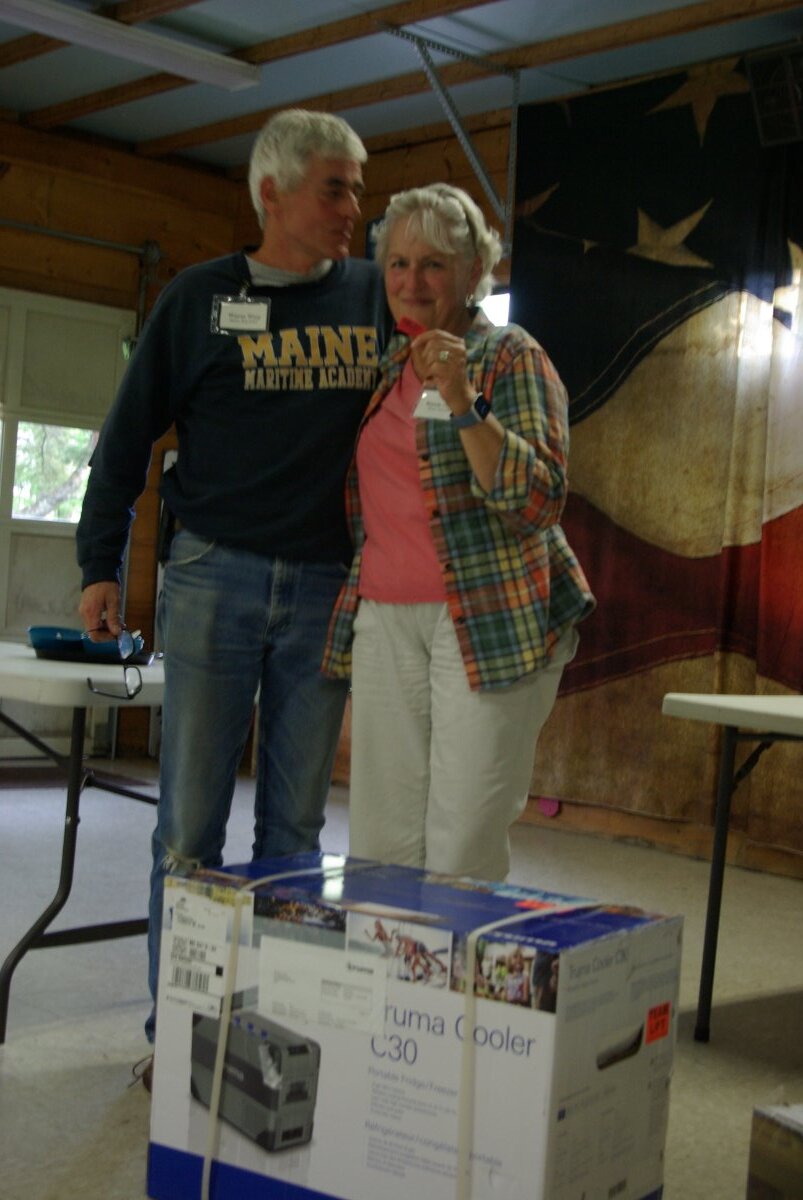
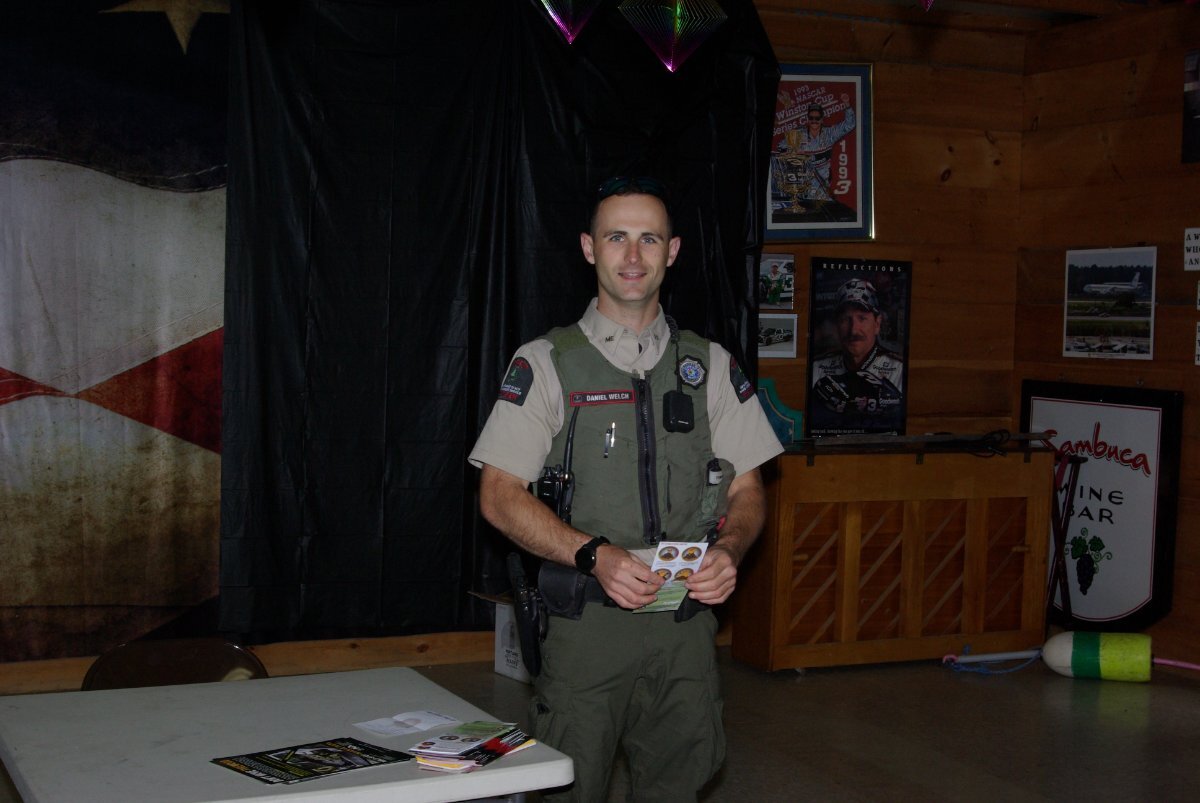
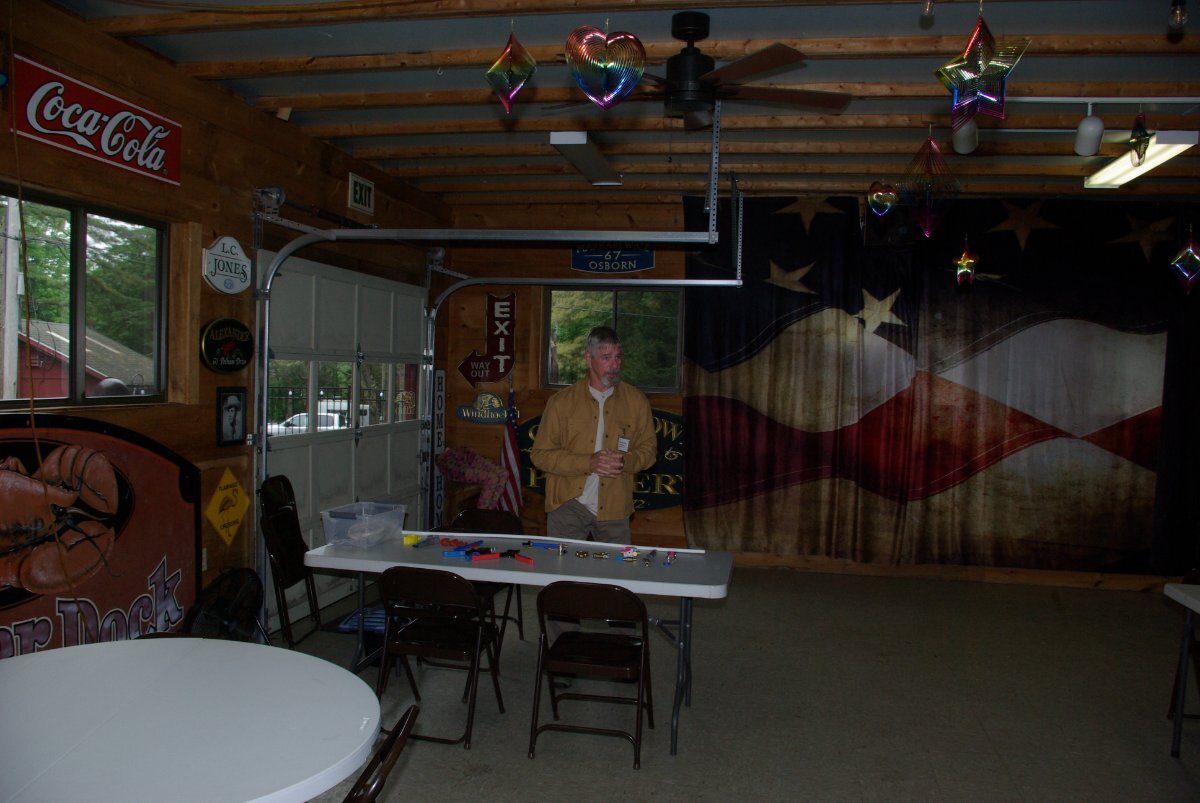
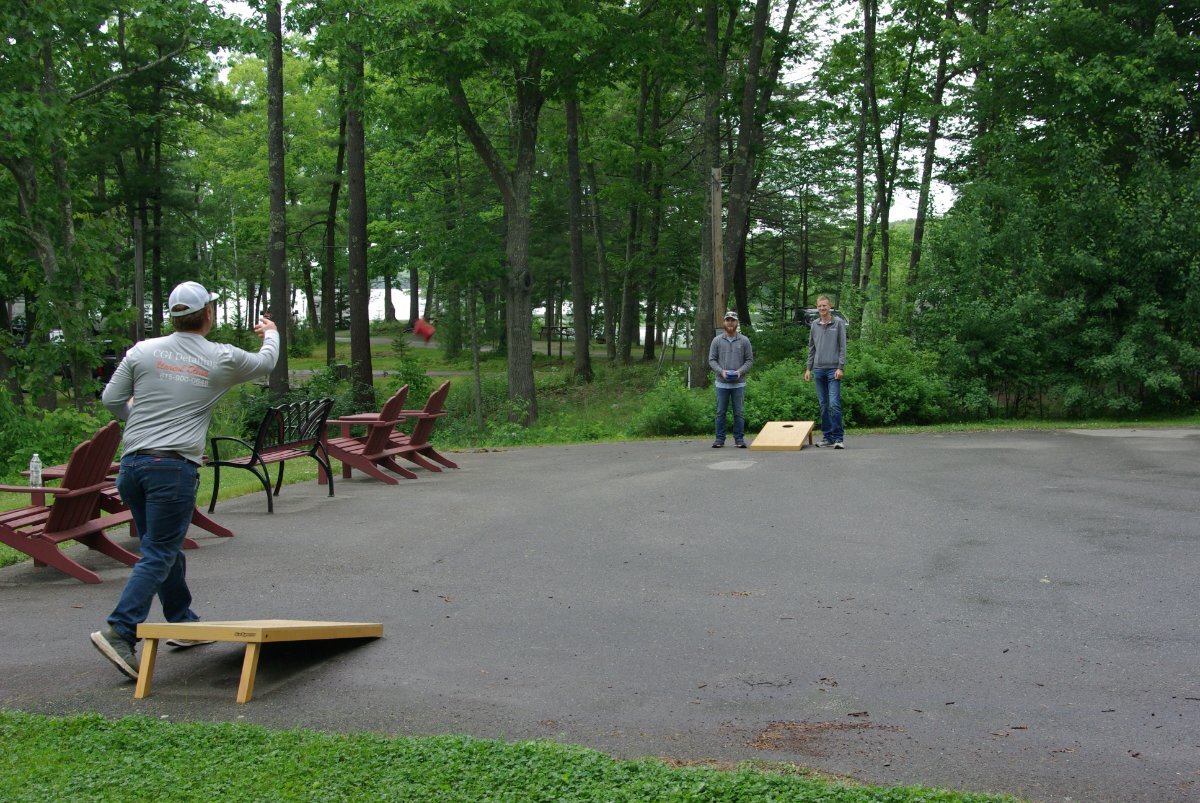
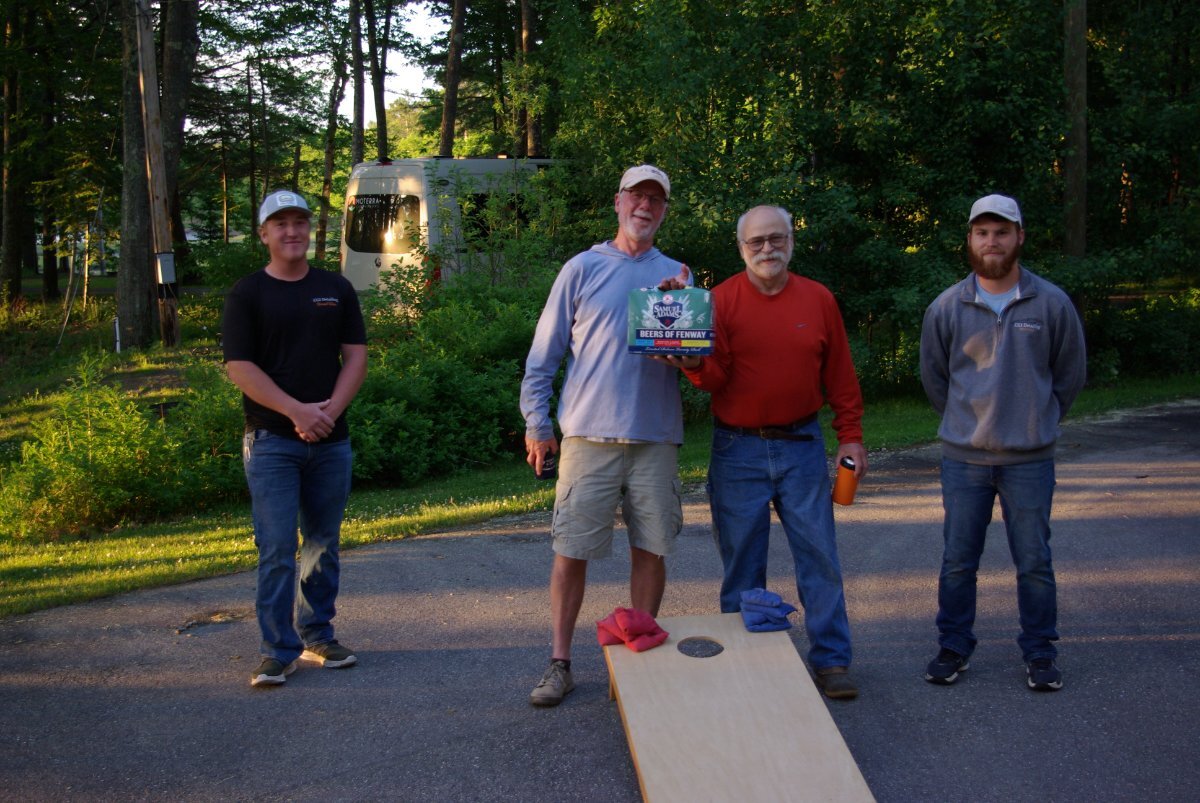
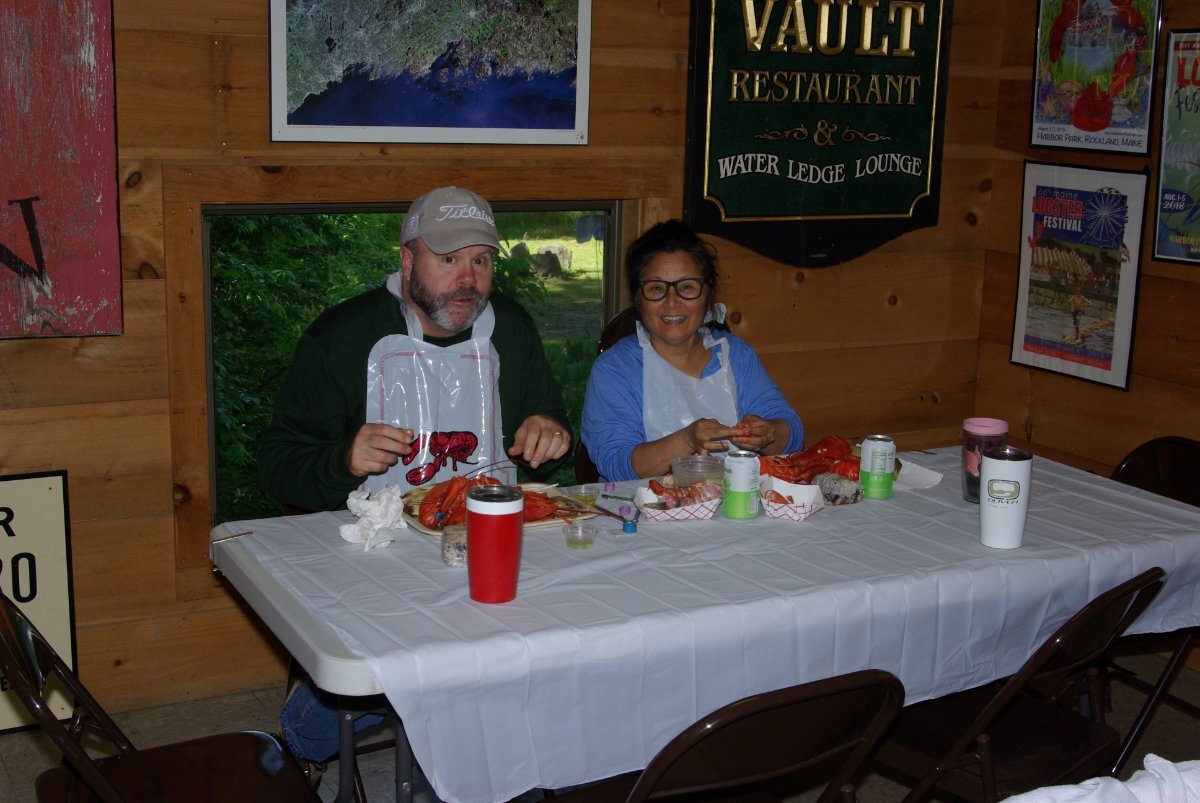
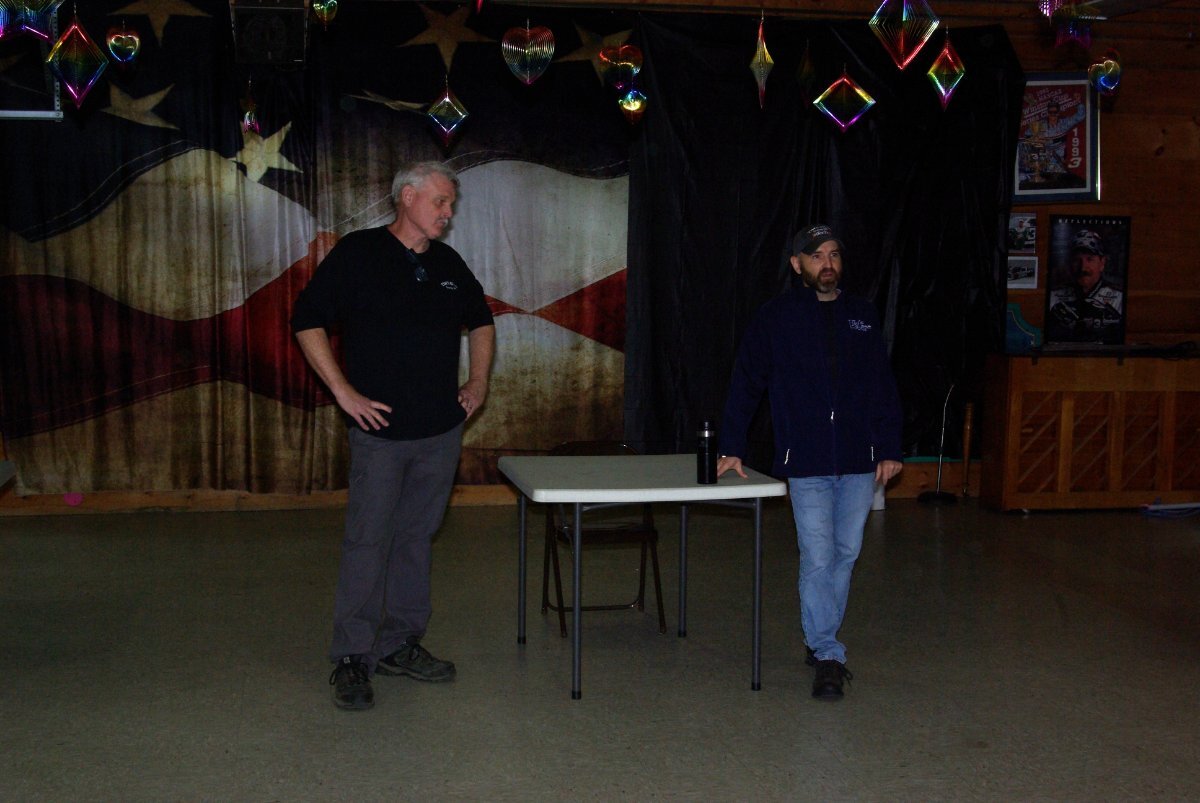
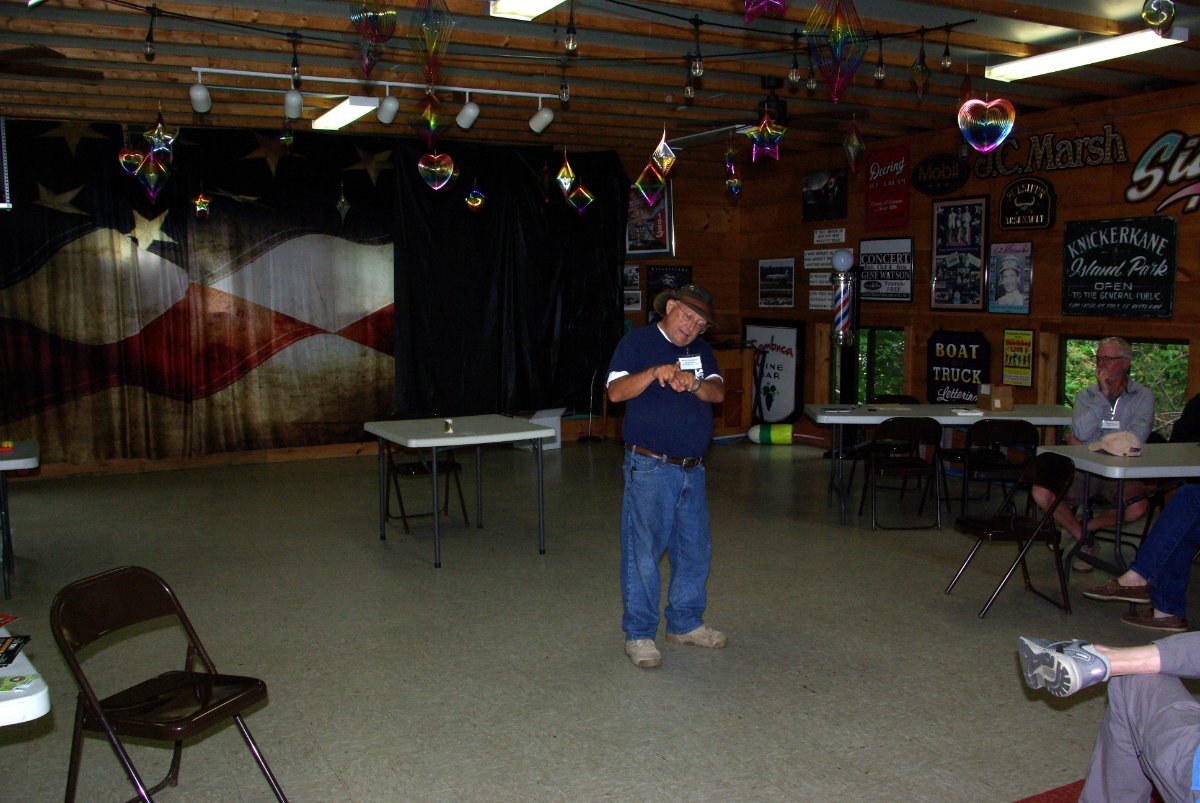
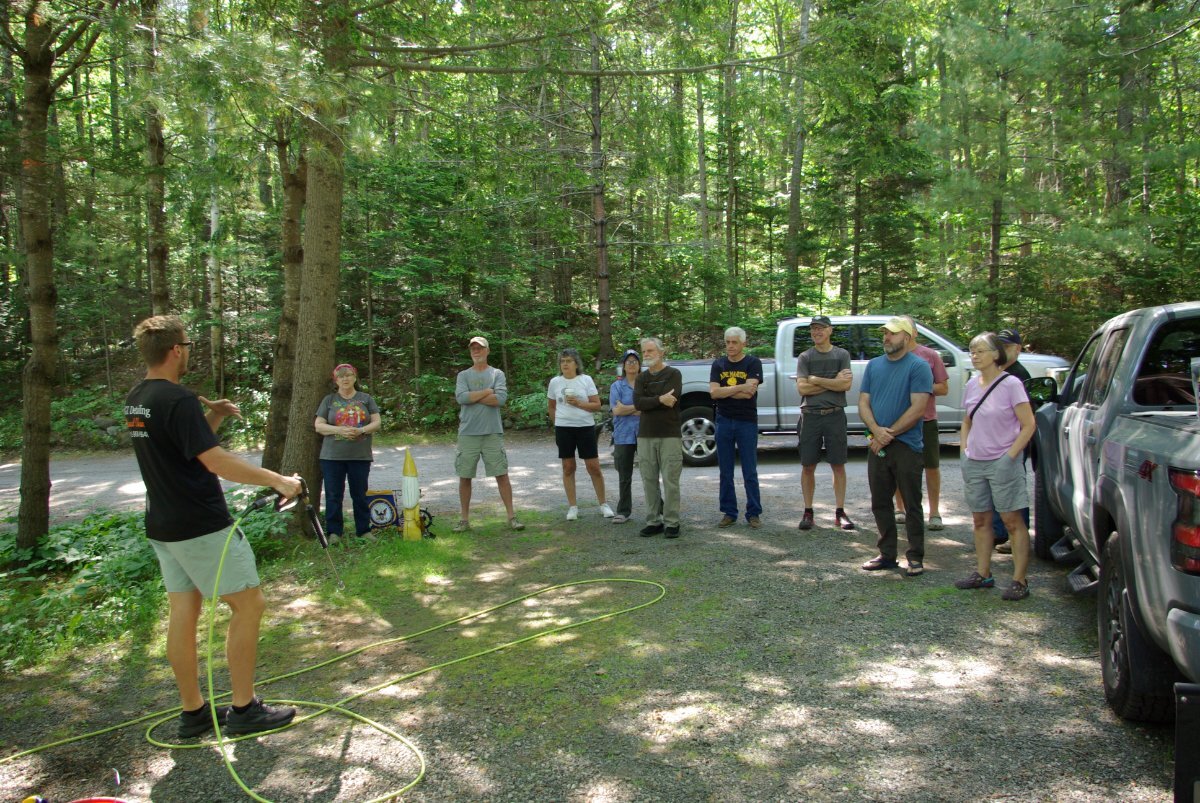
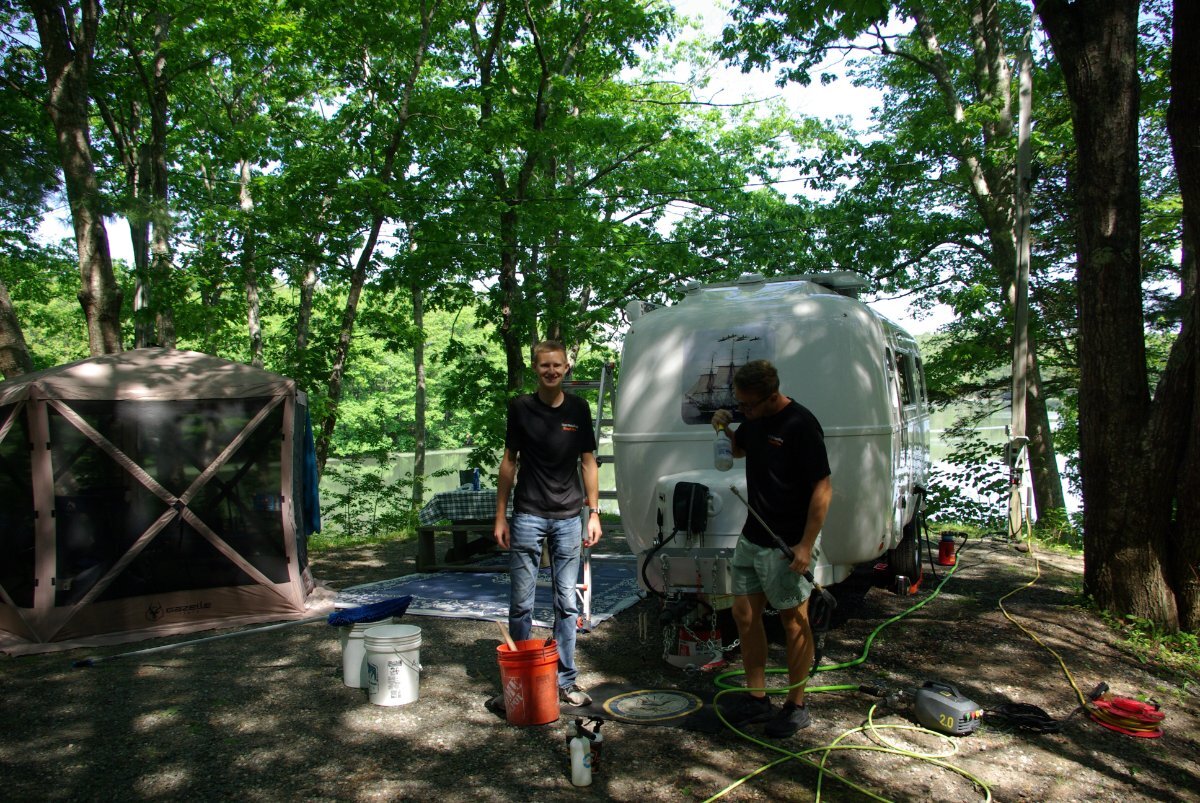
Update after the Mini-Rally: The Mini-Rally was held in Boothbay Maine from June 3 to June 9, 2024. 38 Oliver Trailers were registered to attend. The first 3 days were sunny warm weather. The other 4 days was mostly cloudy and a few occasional showers that quickly dried up each day. It was a fun event with many returning Oliver Owner's from last year sharing their experiences. Attached is some picture highlights of the event: Campground Street Sign & Office in Background:: Function Hall: Some of the Olivers in Campground: Pot Luck Supper: Raffle Prize Event: Presentation Speakers Luncheon at the Schooner Landing Restaurant: Cornhole Tournament - Runner's up CGI - Winners Billy Bonn, Hull #1442 & Reese Perkins, Hull #348 (holding the Beers of Fenway prize) Meeting the local new Oliver Sales and Service Center Team - Tim's RV: Catered Lobster Bake: CGI was on site making a presentation of proper washing of a Ceramic Coated Trailer:
4 points
-
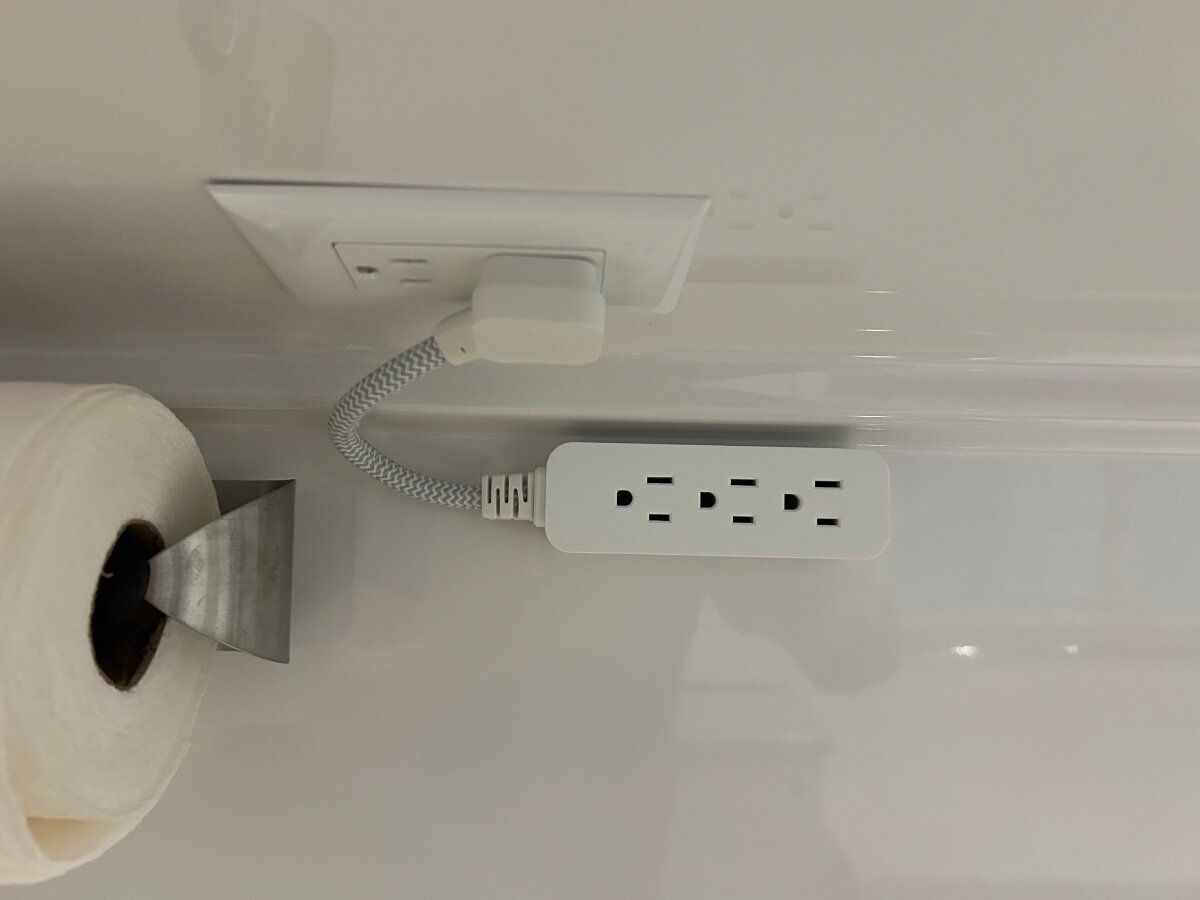
I grabbed one of these when you posted it over the winter. Oddly, our Oliver installed receptacle is ass-backwards from yours, so it didn't reach the wall. I need to get in there and reverse it so I can use this handy accessory.3 points
-
Galley power strip, makes plugging in appliances much easier. https://www.amazon.com/dp/B07P889FHQ?psc=1&ref=ppx_yo2ov_dt_b_product_details
3 points
-
you've got a thing for mice don't you3 points
-
John, sounds like you were surrounded by THE experts! It wasn’t difficult, just took it slow and pushed it in with steady pressure. Good luck! Hope the Maine rally went well, I think we’ll try to make it back up to Maine for a future rally, beautiful state. Mike2 points
-
I believe @topgun2 recommended this mod to me early on. Just inside the door has proven to be a super handy place to hang our keys. The shelf on top is where our mini flashlight lives. https://www.amazon.com/dp/B0154HAWHE?ref=ppx_yo2ov_dt_b_product_details&th=1
2 points
-
Approximately 11 3/4” L and 1 3/4” ID. I used a piece of wood that I spray painted white. No more HDPE laying around. Amazon link: https://a.co/d/bxglZqB Best, M2 points
-
IN 2023, Oliver did away with the cubby underneath the nightstand top, and permanently attaching that cover. Has anyone removed it, or know how it is attached? Before taking delivery of Curiosity, I'd built one of the Laguna table mounts that fit under the twin bed extension, but never installed it. It just seemed like it would be in the way, and I'd still need to store the table and support when not in use. Then someone added drawer slides to the nightstand top, and we'd prefer to go this route. I've given the top a few tugs, but I don't want to damage anything, hence my question. Thanks!1 point
-
Understatement of the thread. I've seen what Claudia has done on her Oliver, and among other cool ideas, I envy the molded window vents. And I hear she's known in the Casita world for around 100 modifications to her trailer over the ten years she had it. I've got some catching up to do! Will we see you at the fall Casitas of Ohio rally at Cowan Lake State Park, Claudia? Matt and Sue will be attending again, and I'm trying to get two other Olivers to join us. @Golfnut and @Shawna and Scott1 point
-
Hi Claudia, So glad you solved the problem. Wendy and I met you at the rally in 2022 and you showed us the work you were doing on the window vents. I'm wondering if you patented that work and are producing it. I saw the cover in your Oliver picture. Best of luck on your travels, Wendy & John1 point
-
Sorry for the slow response. Getting ready in Hawaii for my 2024 Summer in Ollie trip. Running warp speed for next week or so. So bullets on my end for a while... Don't have or need soft start with my Honda EU2200. Will let others with the older Honda EU2000 comment. Don't need thick roof kit for OE2 and Houghton. Get a manual thermostat for heat. Use old furnace wires and double up on existing Dometic wire to control heat post Houghton install. Requires two mods: Thermistor Mod and Fan Relay Mod. doing mine in July. GJ GJ1 point
-
Sorry JD, but I strongly recommend changing your process. Especially to a first timer using high pressure air! Way too much risk for "water hammer" damage. The reason is that with some air and water already in the lines and up to 80 PSI, the air compressor will blast air and water slugs down the lines at high velocity. When they hit a fitting or a closed valve, the inertial forces of the water slugs can cause significant damage. If using air, start out with 15 psi and flush out all the water. Then move up to 20 PSI repeat working up to 30 PSI MAX. I strongly discourage any air connections beyond 30 PSI. In fact I would never choose to use air pressure at all in my system unless I was blowing out lines that are disconnected at both ends. Just too risky. GJ
1 point
-
Have you pulled the bottom left kitchen drawers out to inspect for a faucet leak that can wet wood in that area? Sounds like you've done due diligence with the plumbing so I thought it might be worth a look. It took over six months to find out this was the source of an odor in our camper which was detected in various areas over time. All close to the floor. The odor seemed to move around but I didn't detect it around the drawers until I removed them. It was a peculiar odor that eventually took on an ammonia component. Ammonia odors are classic symptoms of a refrigerant leak, but even while checking out the refrigerator I could not tell the source was the wet drawers.1 point
-
Mike...thanks! We just left Steve on Monday from the Maine rally. With Mossemi and Steve next door, and help from Kevin on my Xantrex, I came away with an unbelievable amount of info concerning all things Oliver :) Was the cable difficult to push back through to the valve?1 point
-
John, yes that’s it. I loosen the set screw and then pull the cable all the way out with the handle. I used WD40 to clean it and then added a light coat of grease, don’t remember exactly what grease, probably white lithium that I had on hand. I’ve done this twice since 2016 and it keeps things working smoothly. It’s probably time to do it again before we head to Colorado/Utah next month. The first time I did it Steve Landrum talked me through it after I was complaining that the cable was hard to pull. The gray tank cable is shorter, but the technique is the same! Mike1 point
-
I have a compressor. Going off now to Ace Hardware to get the parts to make your thinga-ma-giggy. After just using some vinegar poured into hose, I've gotten some movement of water in the toilet. I've bypassed the hot water heater and I'm going to also try a vinegar solution through the rear port, let it sit a bit and see if that helps. The aerator on the bath faucet is completely clean and so is the pre-filter for the pump. I'm completely stumped. I hope blowing air through the lines will work and not blow more debri further into elbows or fittings.1 point
-
This is the jack cover we use and it has served us well. It may or may not fall into the bucket of inexpensive depending on your budget. https://www.amazon.com/gp/product/B07MHYCGJN/ref=ppx_yo_dt_b_search_asin_title?ie=UTF8&th=11 point
-
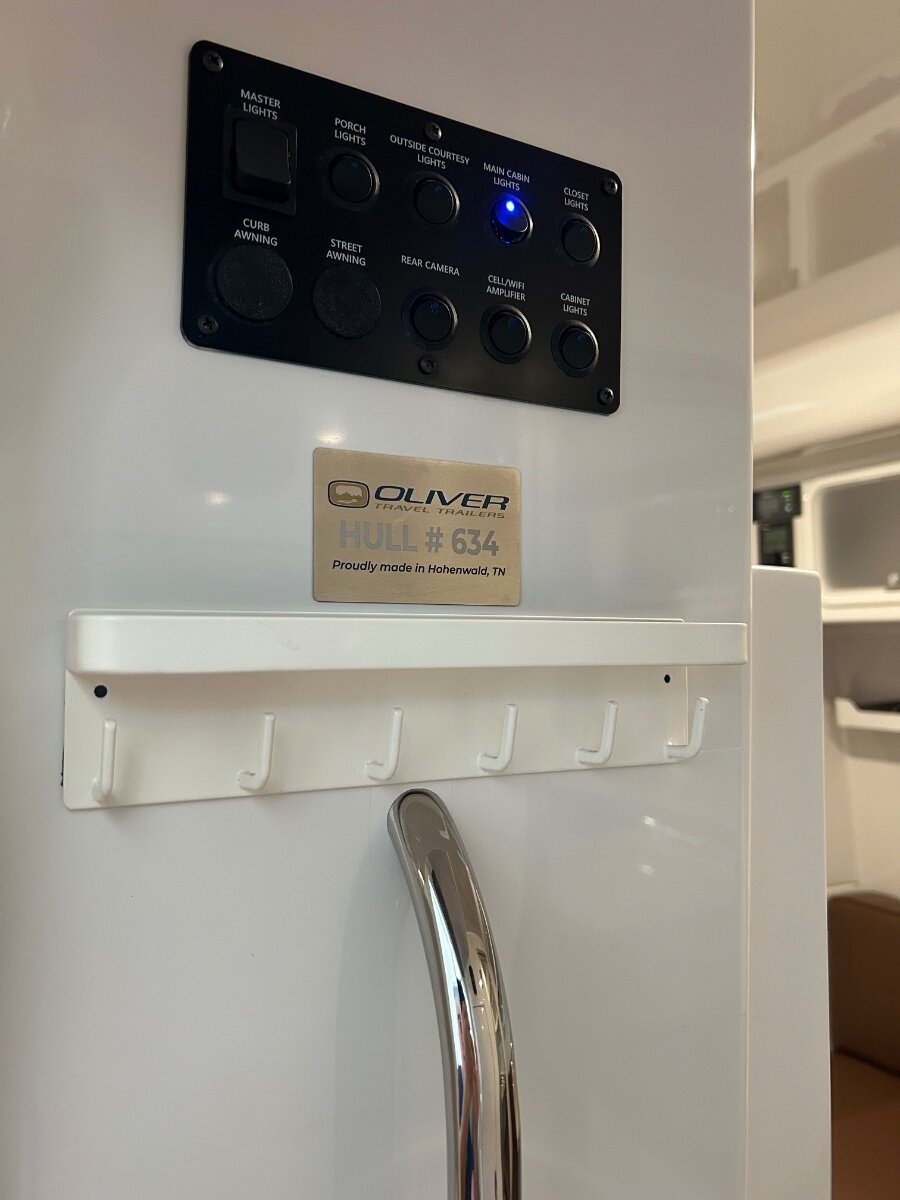
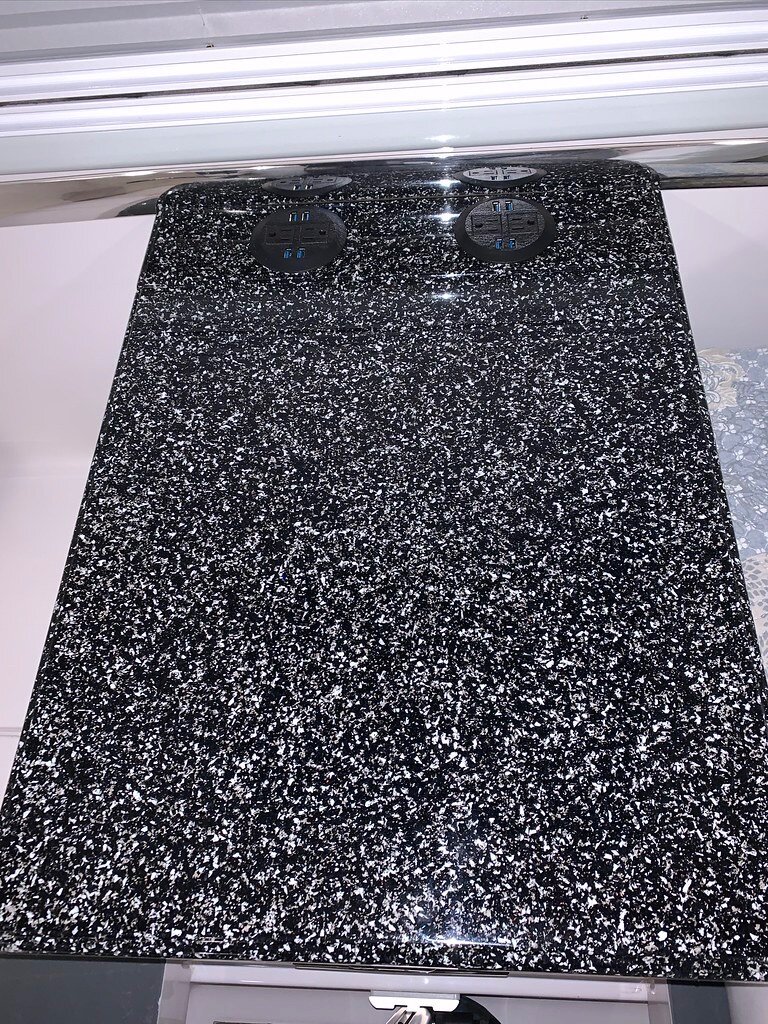
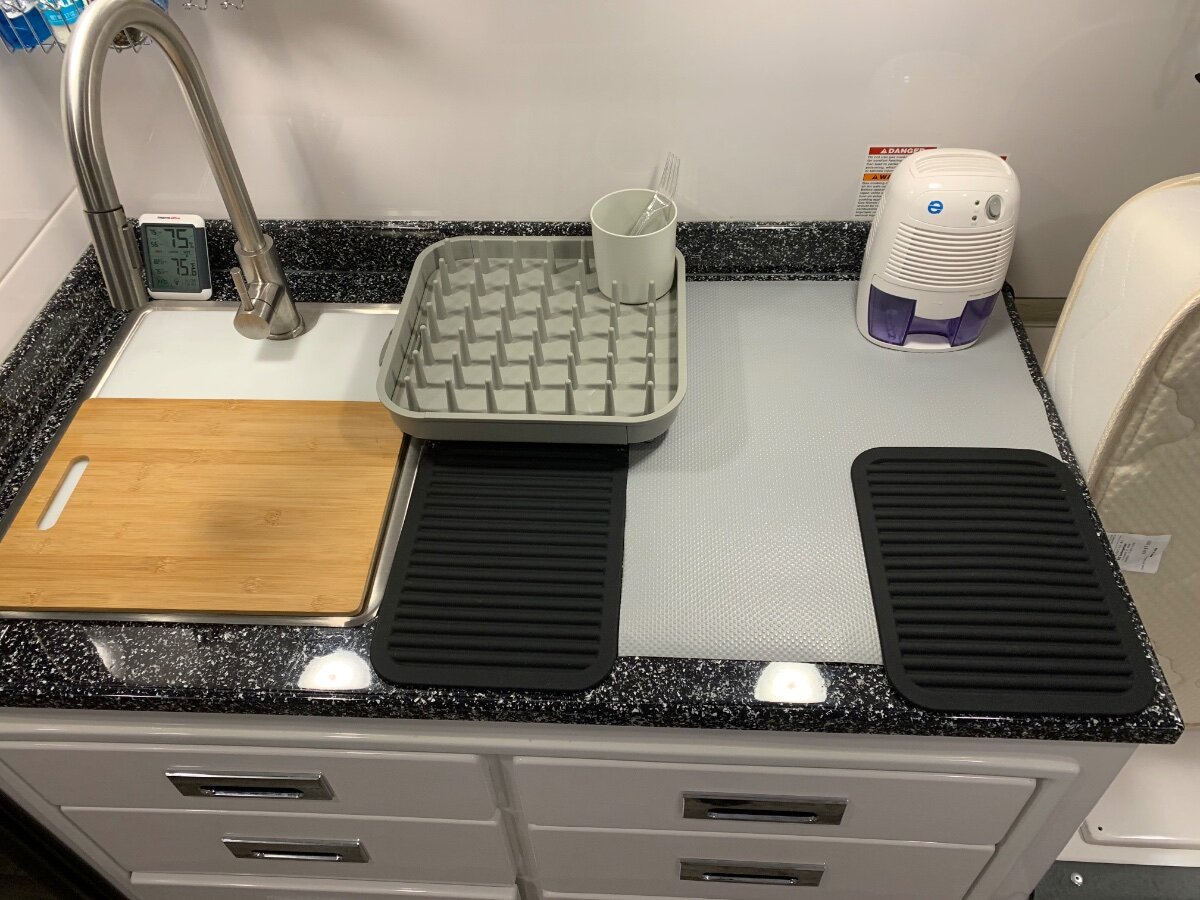
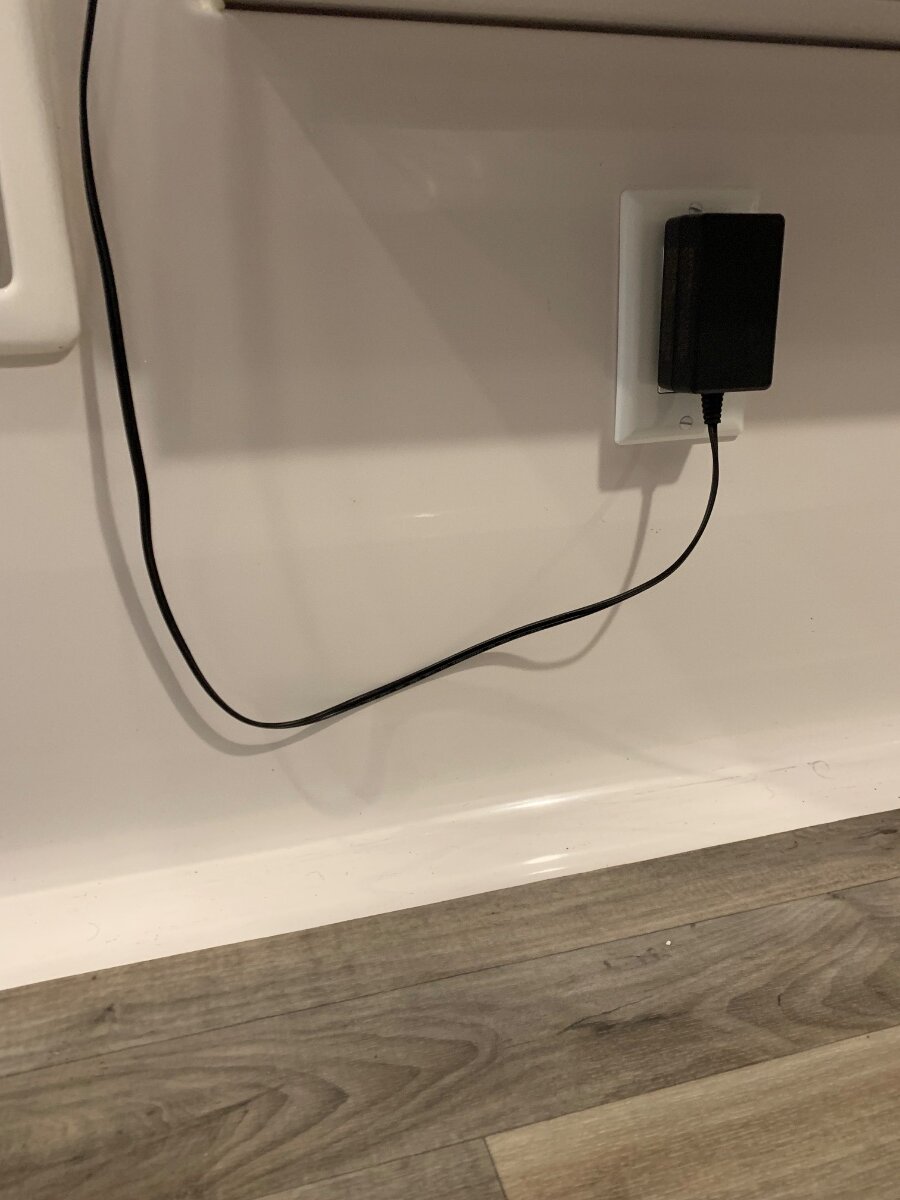
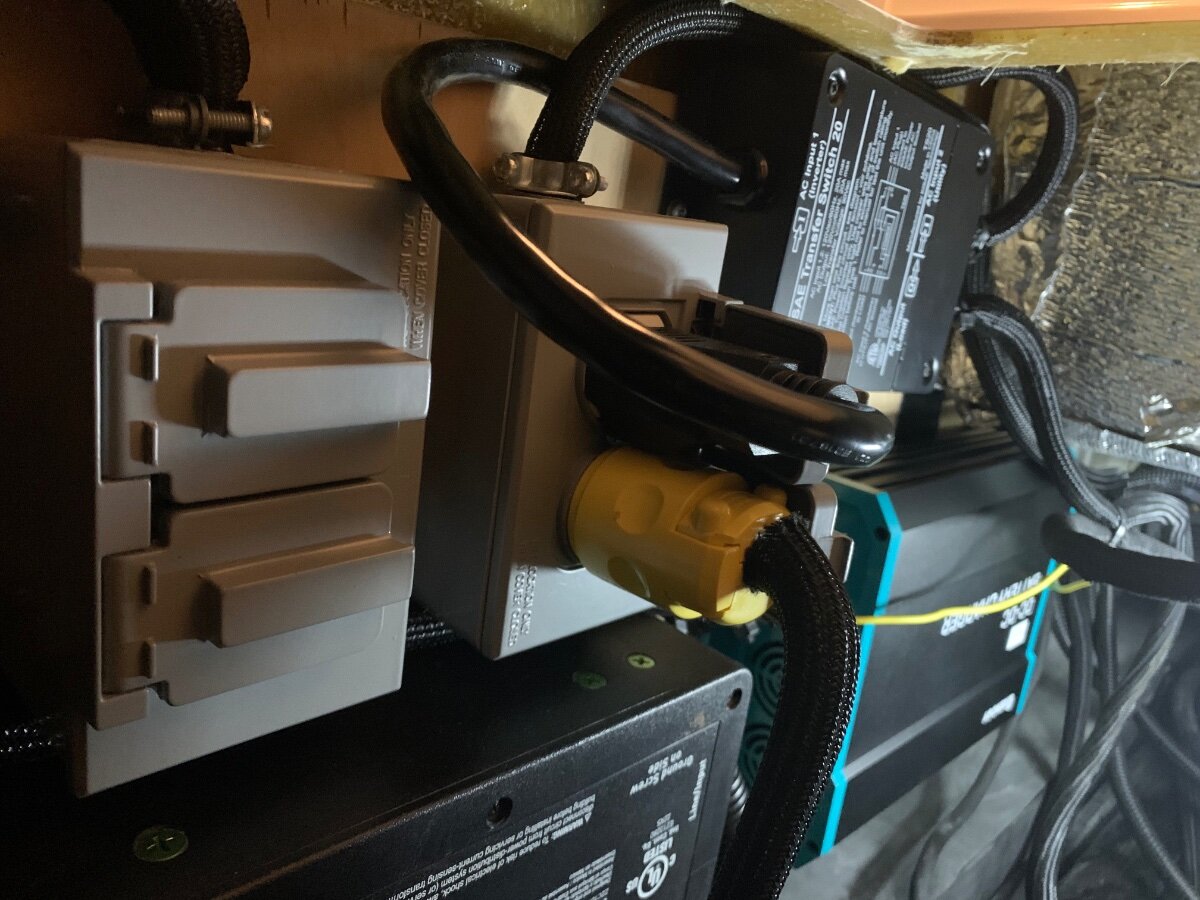
Please be advised, the breaker installed was a 20A not the 30A as mentioned in my reply. At the same time a second 20A breaker was also installed in the panel and wire routed to the nightstand where two desktop receptacles with USB ports were mounted atop that table, then further routed under the curbside bed to the receptacle shown in my January 15 post above, A dozen simple mods!, Additional USB ports. I stage a small dehumidifier in the galley on the stovetop cover and its’ wire can now be run down the wall and along the mattress for power. A third 20A breaker installed provides an auxiliary receptacle inside the rear seat hatch for miscellaneous use; light, fan, etc. Nightstand AC/USB outlets very handy for staging/charging electronics. Dehumidifier cord off counter as opposed to leading upward to the under cabinet outlet; makes for a cleaner look. Dehumidifier cord/plug below curbside twin bed. Miscellaneous duplex outlet inside dinette hatch on left. The receptacle box to the right is an expansion of the Xantrex setup to enable use of the LFPs to power the Dometic a/c.
1 point
-
Thank you, and that’s what makes you a great installer! I worked on 3 mods on our Oliver this week, with what was just “laying around.” Love it! GB 🤣1 point
-
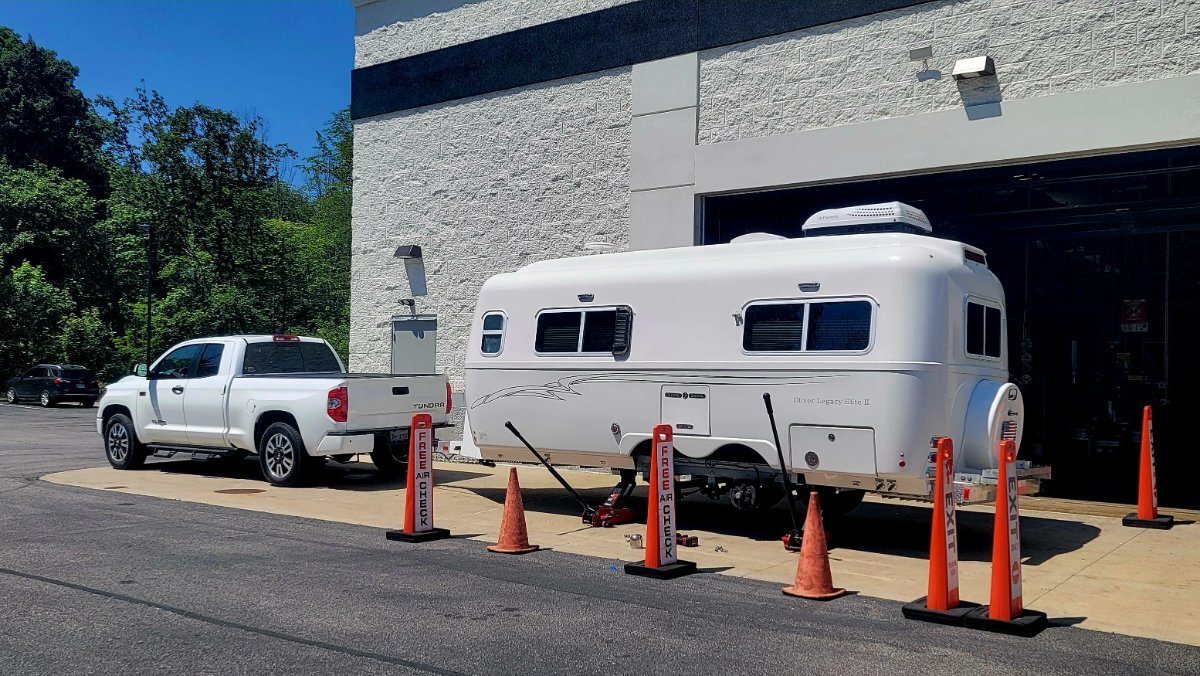
Man oh man….. We’ve had two tundras.. a 2011 and currently a 2016. Add Debs 20 some odd years of Tacomas and it’s safe to say we are Toyota fans. Our 2016 has 188k miles currently, the 2011 had 125k when we sold it . All good, issue free miles. We started shopping for a new Tundra a couple weeks ago, figuring it was time, and figuring it would be a no brainer… just get a new one…why drive anything else.. We took one out for a test drive, a Limited Hybrid….. and didn’t like it.. We couldn't believe it… A couple days later, we stopped by a Ford dealer and took an F150 XLT Hybrid for a spin, figuring we better do our due diligence and much to our surprise, we liked it a lot. I haven’t spent much time on the Oliver Forum for months now, and just happened to check in this evening…. And the first thread I checked out was this one…and I’m glad I did… I think.. Now I’m wondering what other stuff I’ve been missing around here.. 🙂1 point
-
Last year, I found that the toggle switch on my lithium battery blanket was faulty — it would easily trip to “ON” with the slightest bump — meaning any road vibration could trip to ON position. It didn’t seem to trip to the OFF position . I asked OTT to service, when I passed through at the end of my trip last fall.1 point
-
Yes, thank you!1 point
-
Ron, where did you grab the AC supply for this modification? I’ve got two matching outlet covers, one for the front like yours and one in/near the basement. Thanks! I did the tether last year when I almost left the cover behind…1 point
-
One heck of a “shack!”1 point
-
If the shower/bathroom Valterra valve seal has been compromised or worn out, then there might be leak there too. The collar that ScubaRx is referring too is there to facilitate the replacement of the valve or seals in this 1 1/2 inch drain. If you do want to replace the Valterra seals, you will need to eventually slide the collar of the union on the 1 1/2 inch PVC drain pipe to allow the pipe connecting that side of the valve to be backed off enough to do the seal replacement on both sides of the valve. Be careful not to lose the screws and nuts on the valve as you disassemble. The cable can be temporarily removed by using an Allen wrench on the SS piston that moves the valve to open/close. If the valve requires much force to close it, you may have a seal that is being pushed by the blade itself which compromises its integrity.,1 point
-
Actually, the number 225 in 225/75R16 is metric, meaning 225 mm. The 75 means the profile (height) is 75% of the width on a 16" rim. Standard sizes are all in inches and are today less common ever since Michelin came to the US in the 80s. With some research I found out that Michelin has created a new tire category. This C tire (Commercial) is more expensive than their LT, has a higher load rating (not needed for the EII 7000 GTWR) and is not snow rated (also not necessary for a trailer). Question, is it worth $54 plus tax more per tire? No, the LT model on our Oliver is fine for almost $240 less. Turns out Michelin has created a new tire category; I had not seen before. The following copied from Tyre markings explained: How to read a tyre? | MICHELIN P: Passenger Car LT: Light Truck C : Van commercial tyre XL, HL or Reinforced : Tyres with a higher load capacity... T: Temporary (spare wheels)1 point
-
My black pipe had a nice bead of sealant at the hull penetration, so it didn’t move and was secure. The old cap slid off easily. I just cleaned up some foam that had been used to give it some support I guess, not really needed.1 point
-
I'm with @Mike and Carol for under $20 each, never liked parts painted over! Spend half that amount on paint anyway. And thanks Mike, I just added these to my wish list!1 point
-
For those that have a bit of time on their hands AND want to save a couple of bucks too: Take those "yellowed" outlet covers off, clean then really well, wipe with alcohol and then given them a couple of coats of Krylon white spray paint. Let dry overnight and put them back on. I did mine this way about two years ago and there have been no signs of the yellow reappearing. Bill1 point
-
Our trailer is 8 years old. We had it ceramic coated by the CGI team last year and the fiberglass looks as good as or better than new. Unfortunately, the outlet covers on the 110 outlet and back jack switches had turned yellow. The plastic chrome bezels around the tail lights had lost their shine. So, while this isn’t an easy “mod” it is an easy and inexpensive maintenance project. I ordered new Furrion outlet covers and six new chrome light bezels and had them all replaced in about 15 minutes. All are available on Amazon. Furrion Outlet Cover Light Bezel Old and new. This looks much better than the yellow version. Old and new. New bezel on top, old bezels in the middle and bottom.
1 point
-
After much thought and further iterations, hopefully with this final prototype, as installed, I will “achieve satisfaction”!
1 point
-
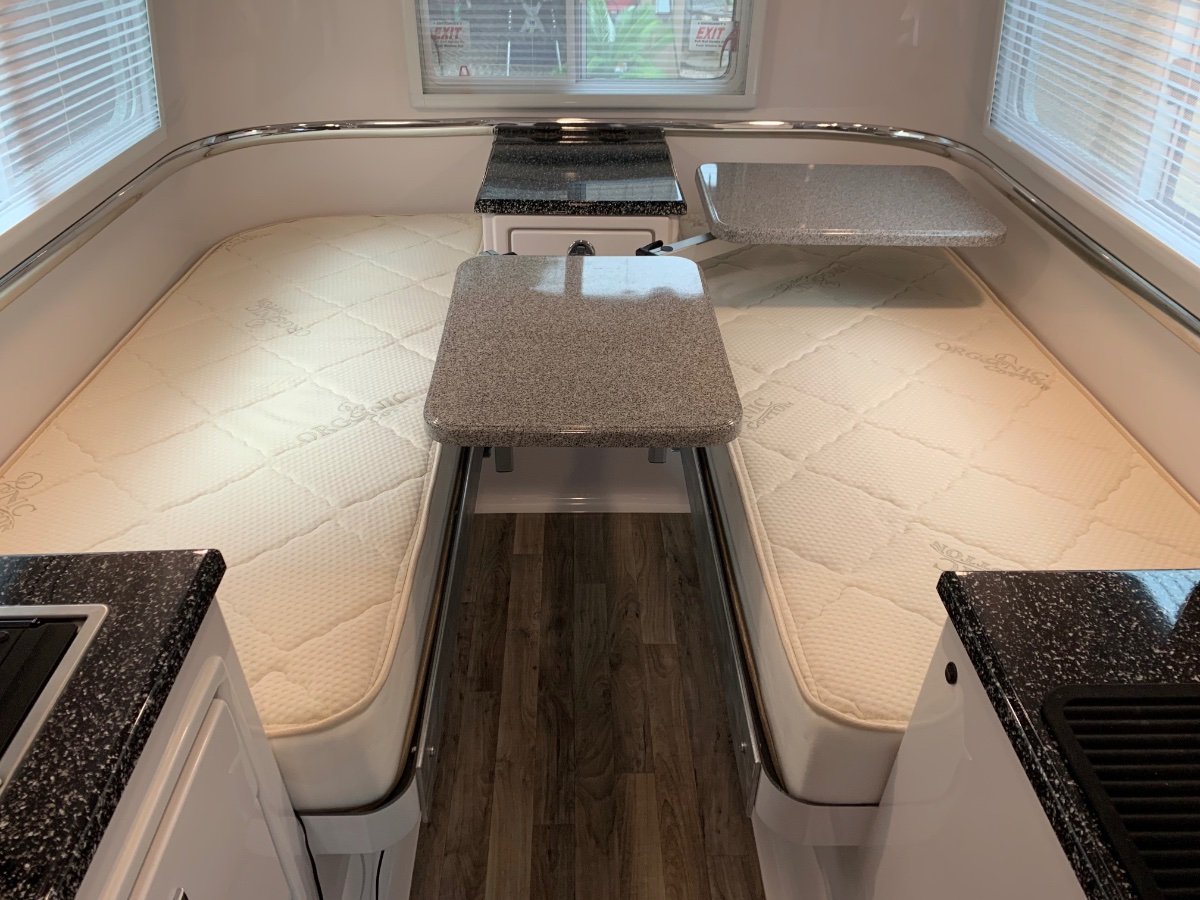
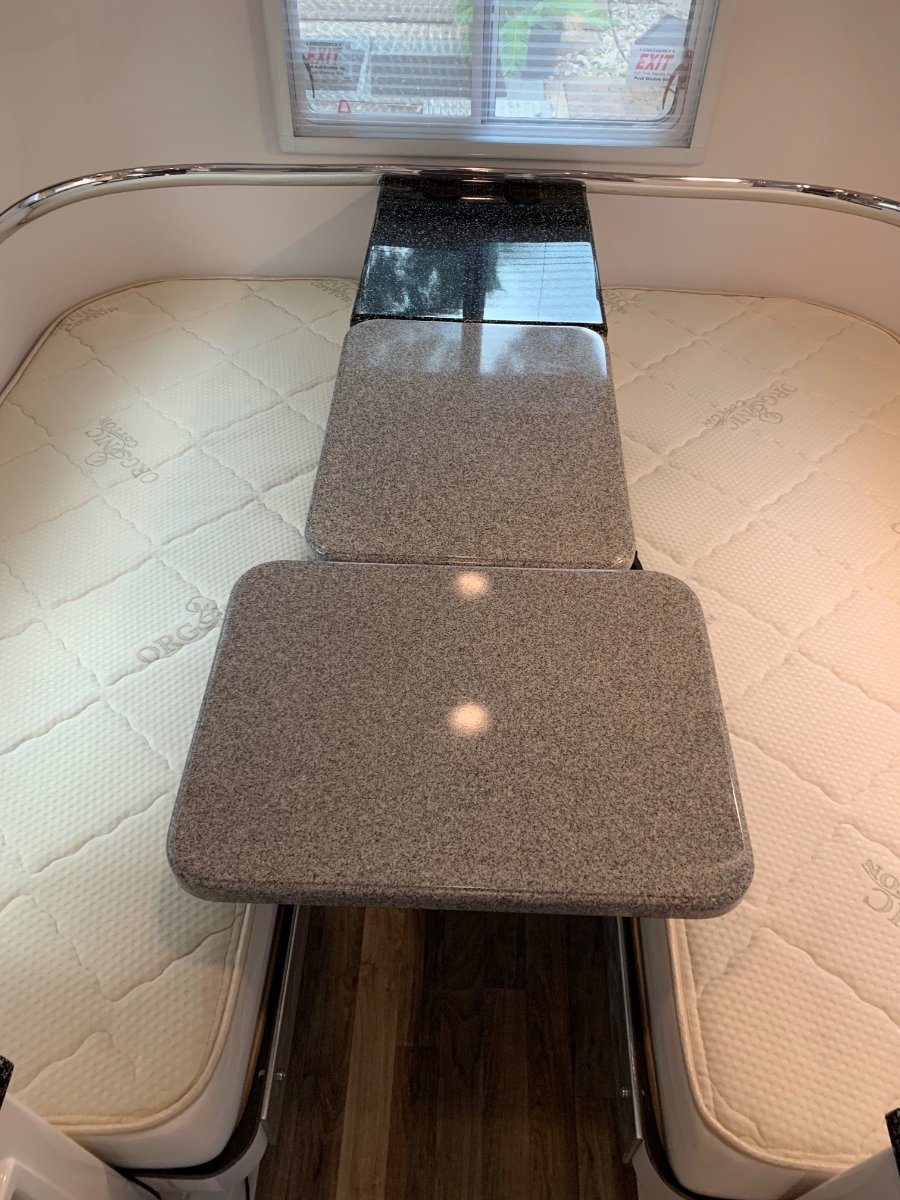
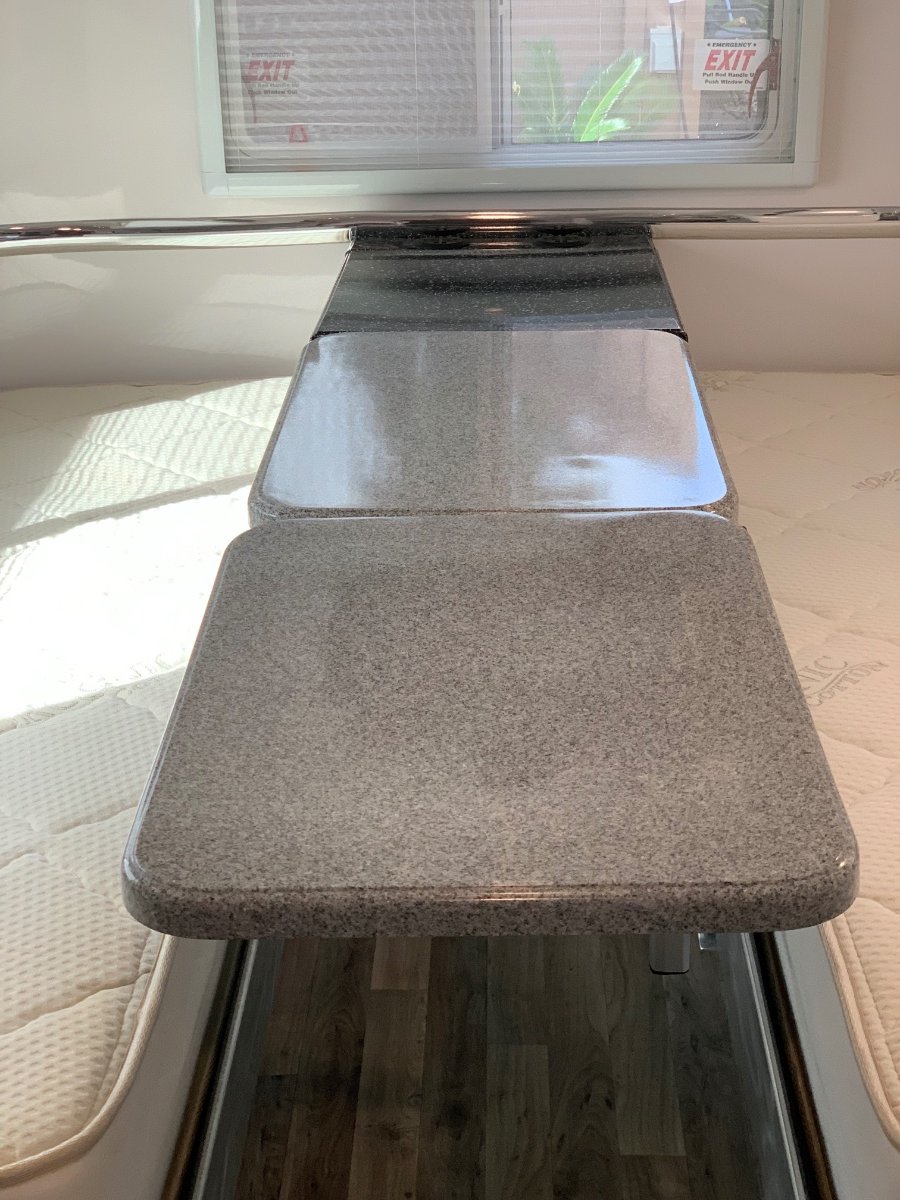
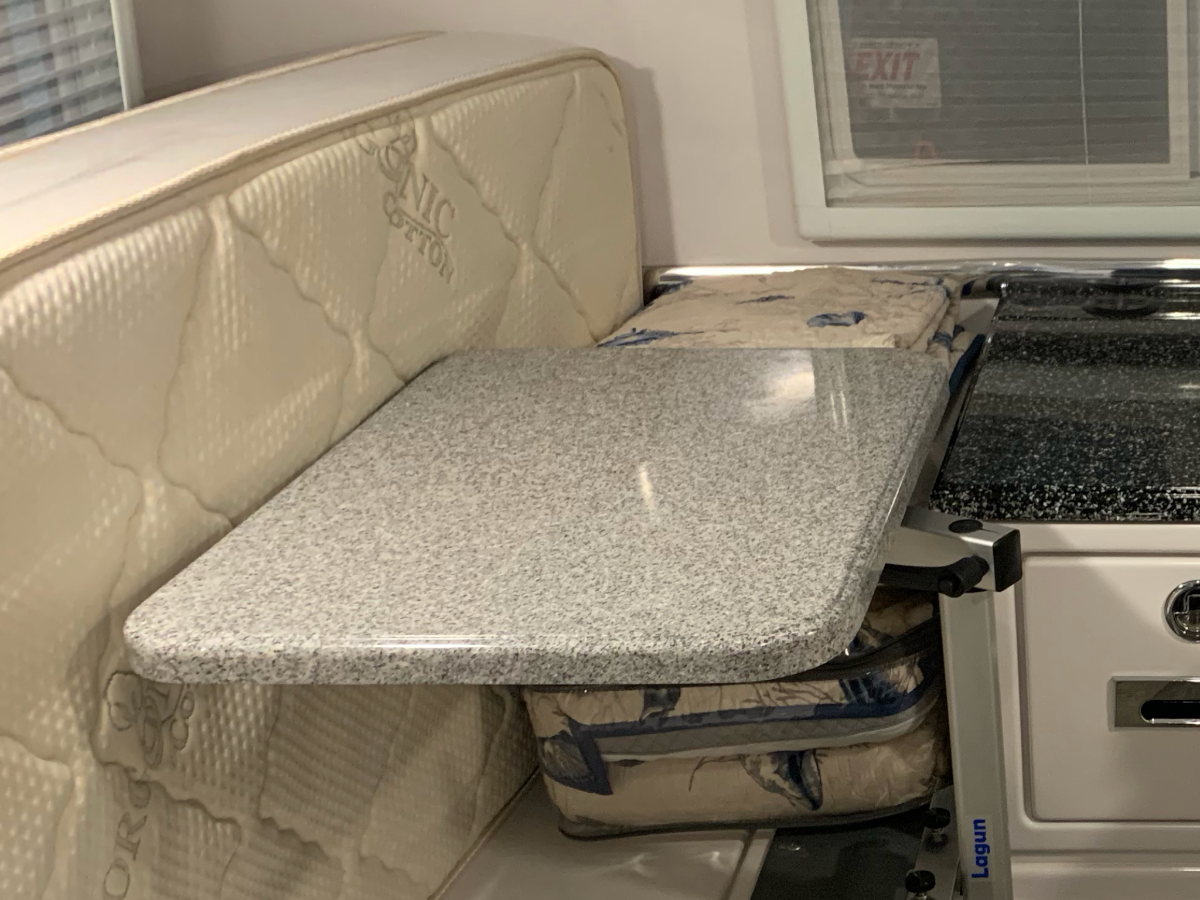
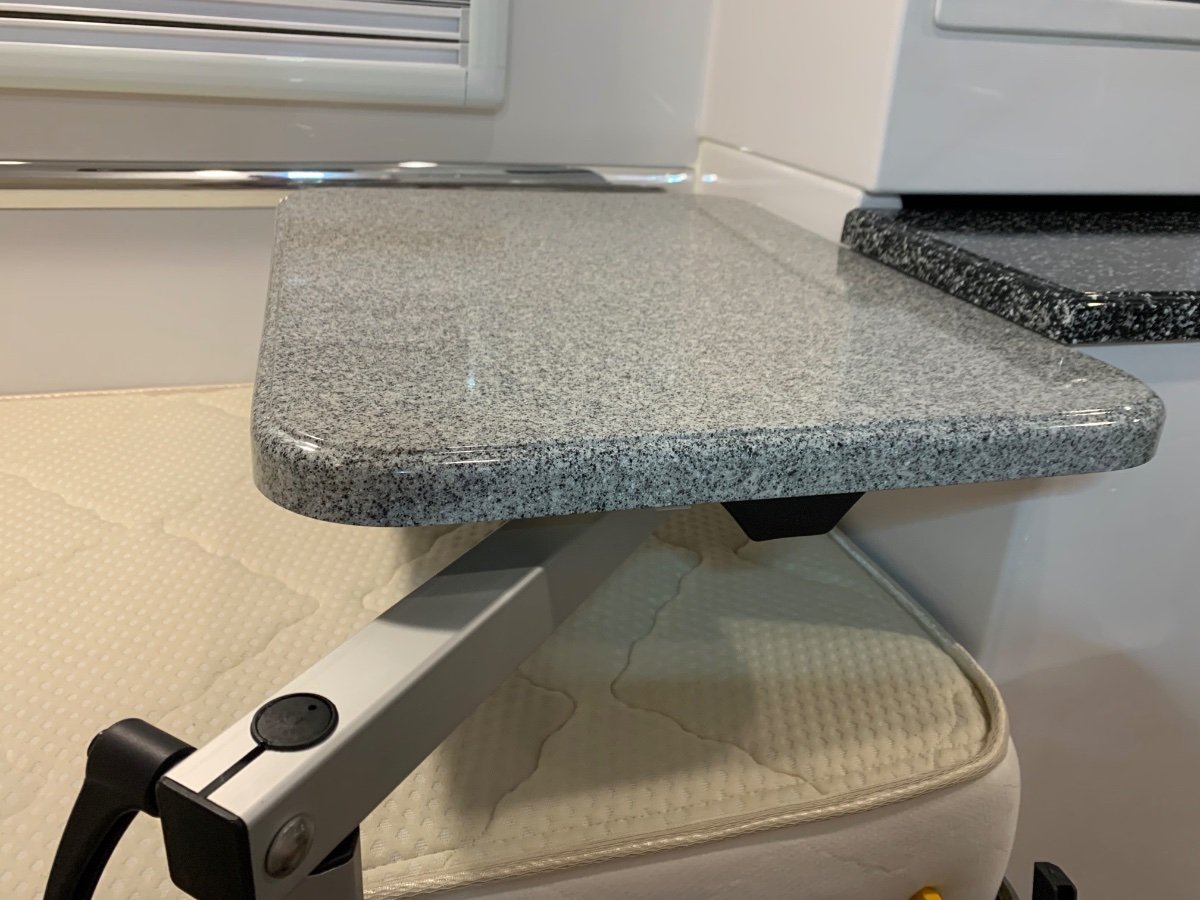
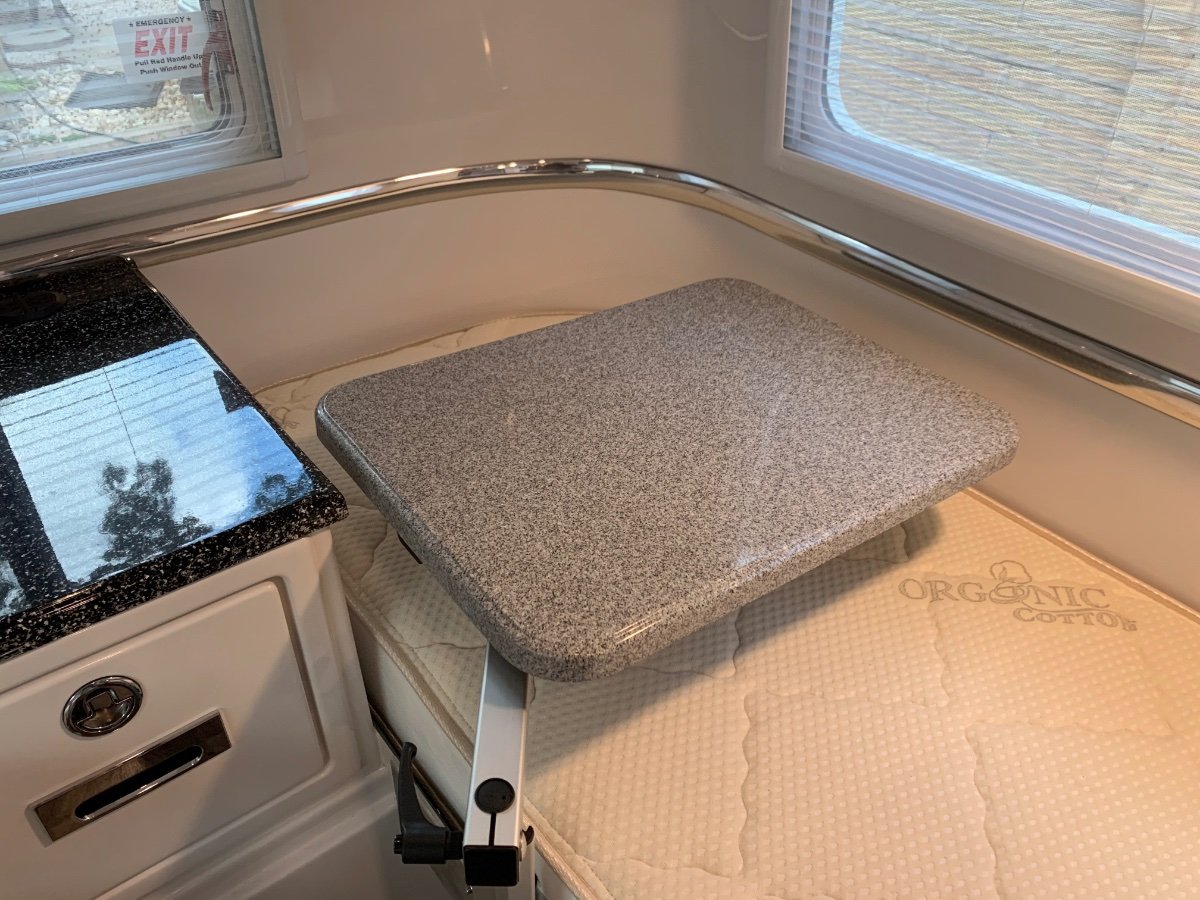
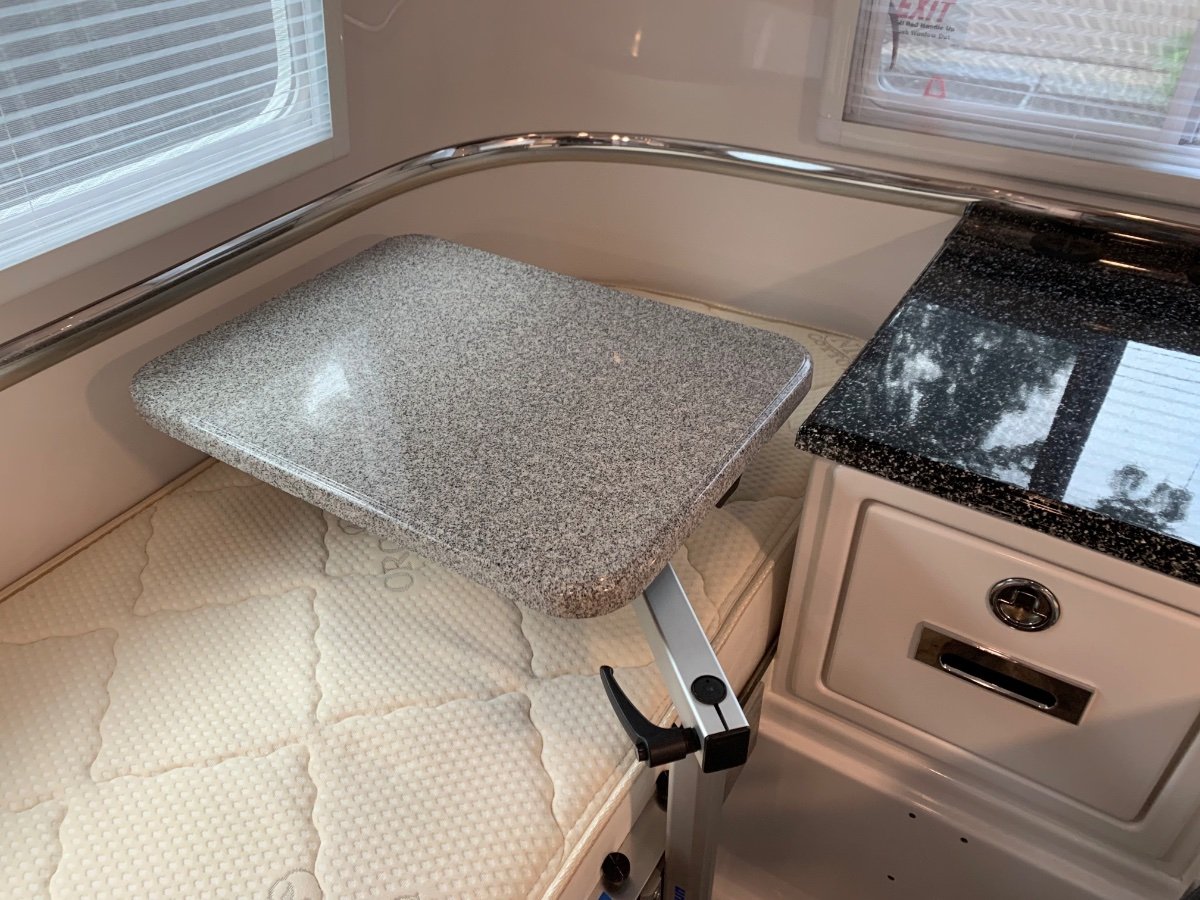
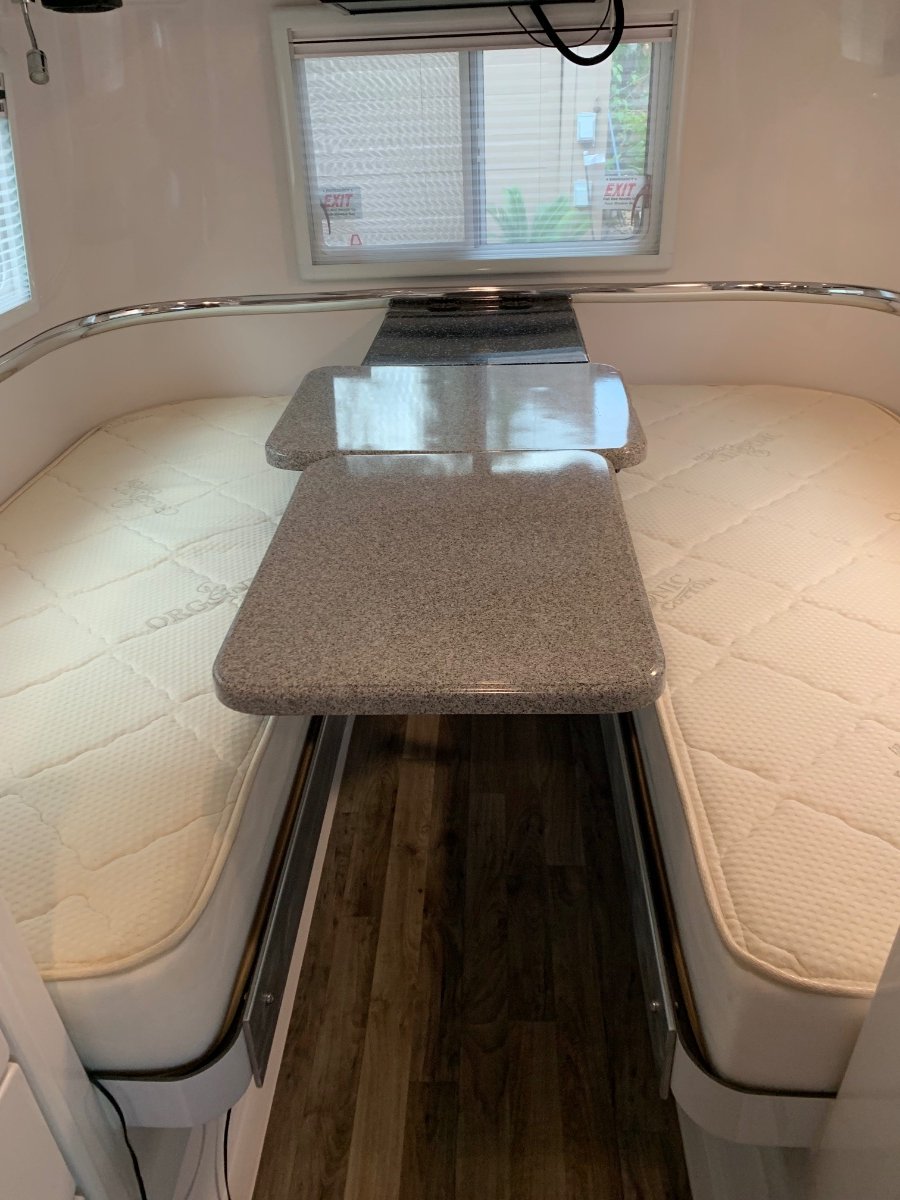
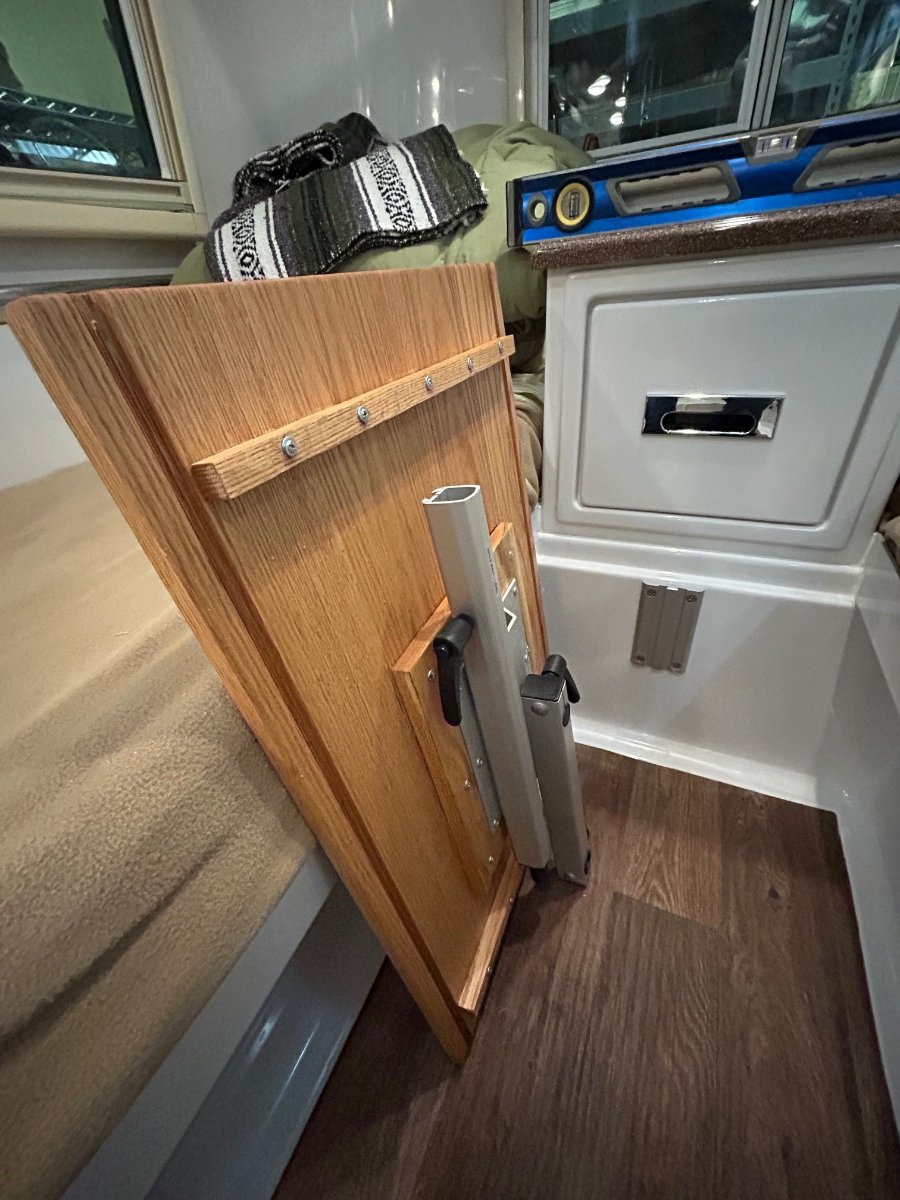
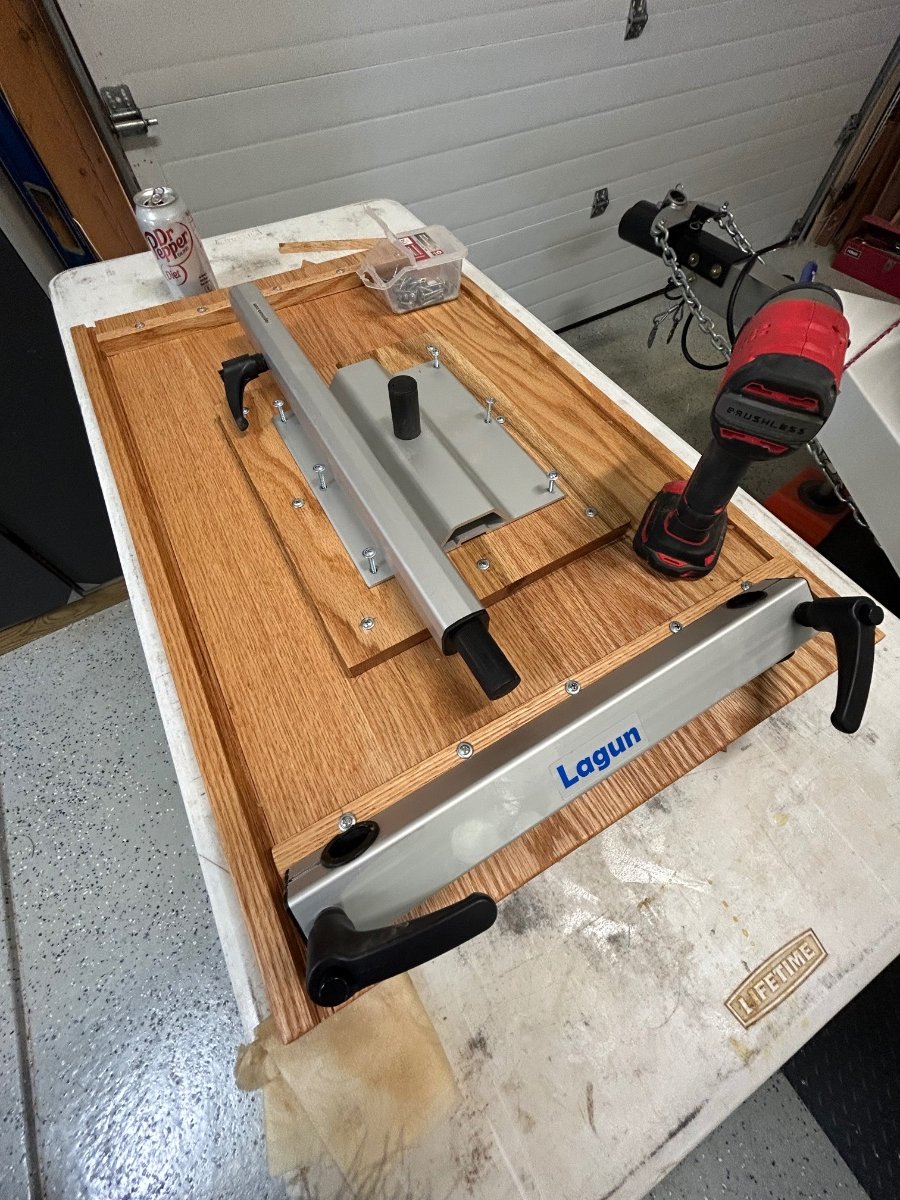
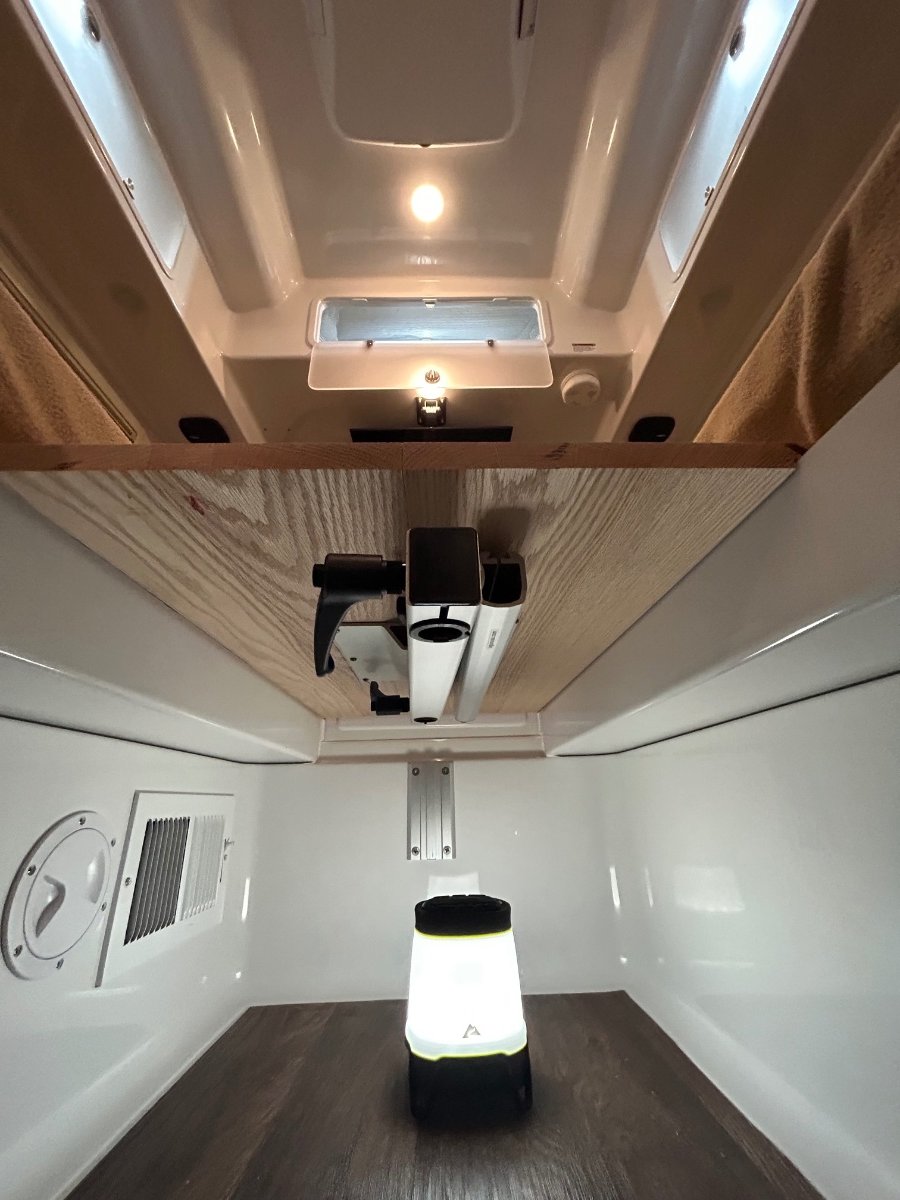
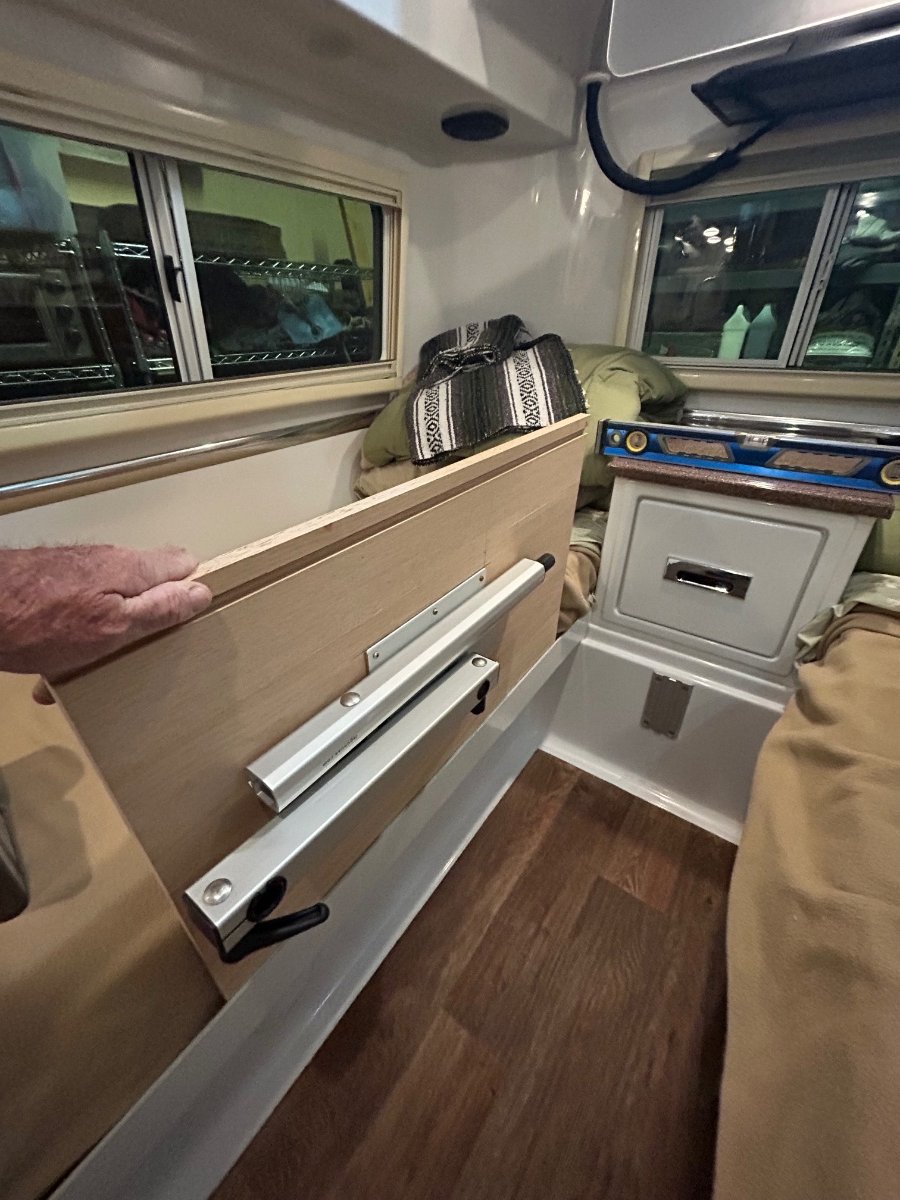
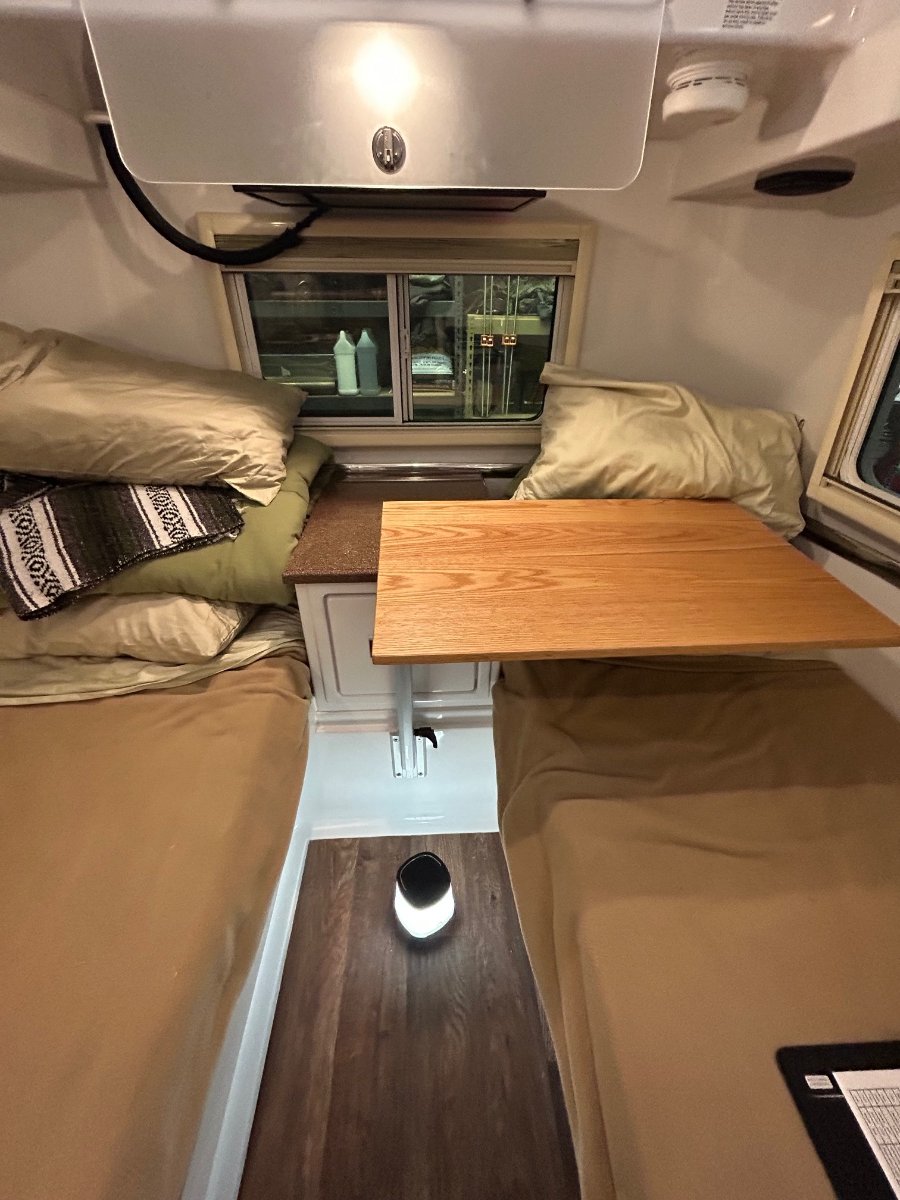
FYI: We made a table for the Lagun mount from some available red oak we had in the woodshop. The mount is centered on the nightstand. The underside of the table is "grooved" and can be fitted on the bed rails so our 55lb husky, Magnus, can curl up between us at night. It is serving us well so far - Magnus seems to like it too. The table and mount is stored/bungie-corded on the left side closet bulkhead. transitioning to the "dog-bed" mode above. View from below with table grooves on bed rails above. Table mode - can swing over either bed or centered in aisle for a secondary workstation....
1 point
-
If you do not have a high volume shop compressor, make a 1/4” air to 3/4” hose fitting like this with hardware store parts (Walmart, TSC, etc) and run your trailer by the shop where you just spent $$$ on tires and borrow their air line. You have something blocking the main water line going to the front of you Oliver. Push to 80 PSI if you have to! PEX IS rated to 100 PSI. Best wishes, Godspeed and prayers for your quick departure. JD0 points
-
Dead mouse?0 points


-
Recent Achievements
-


")


")


