Leaderboard


Popular Content
Showing content with the highest reputation on 12/02/2024 in all areas
-
I keep a very inexpensive yoga mat rolled up in the front bin for work under the trailer and for Anderson hitch chain adjustments. Since those almost always occur in gravel sites it keeps me from starting the day looking like I crawled through chalk and mud on the way to the truck. 🤣4 points
-
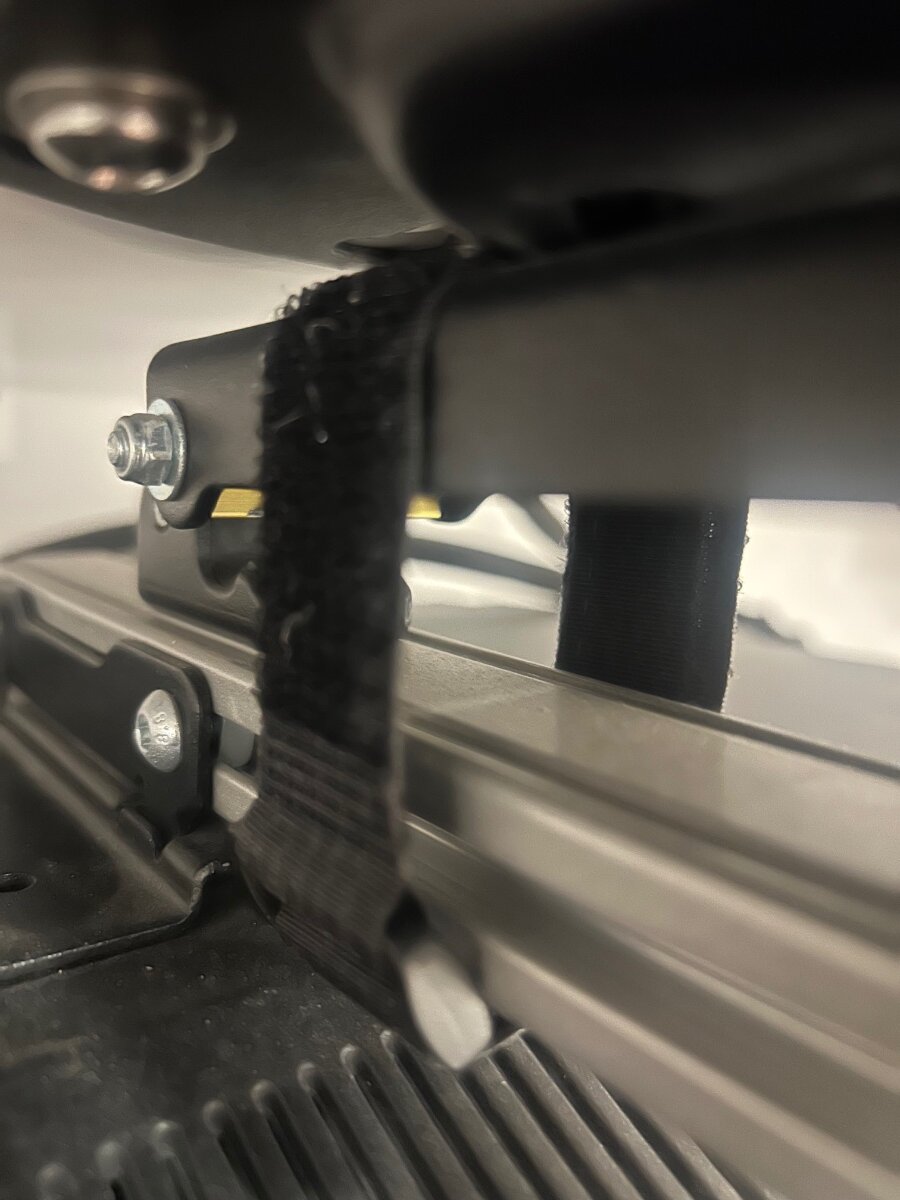
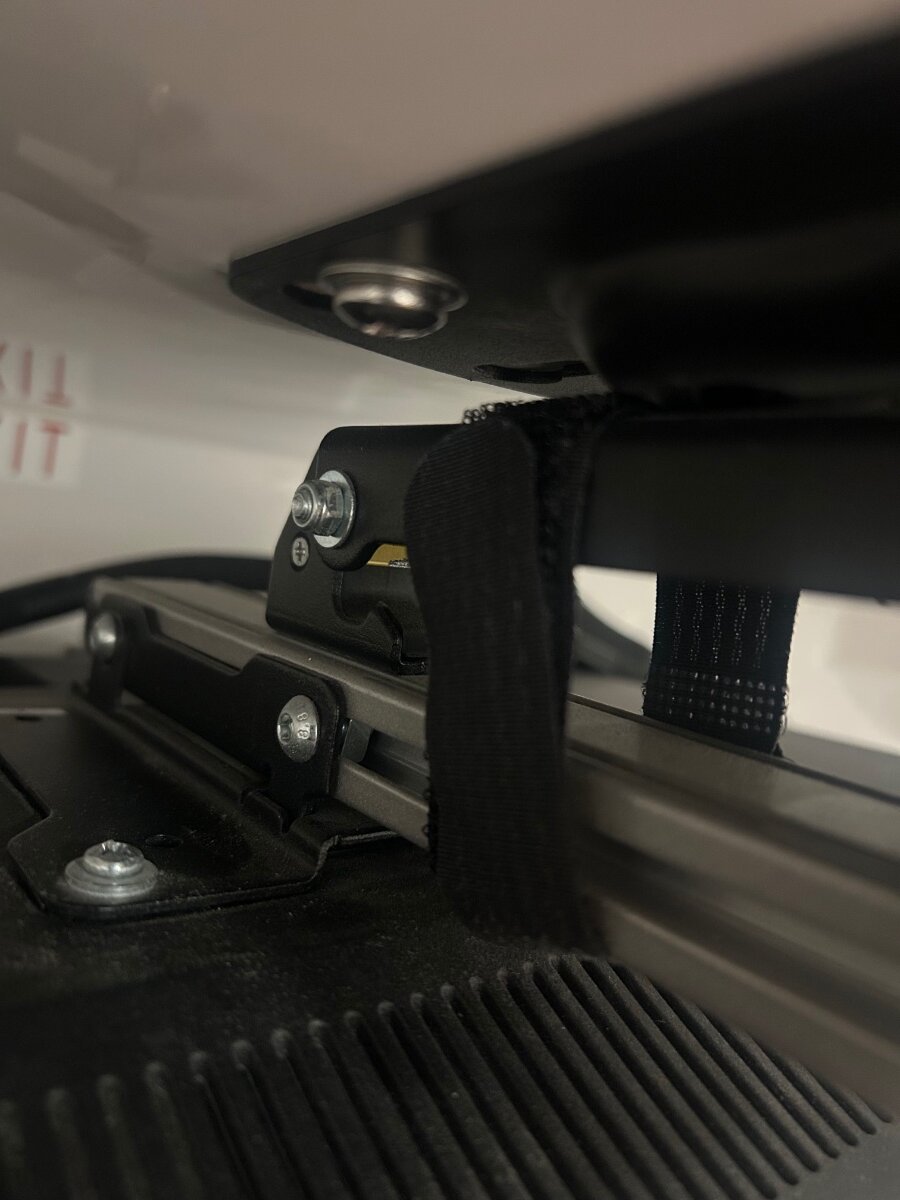
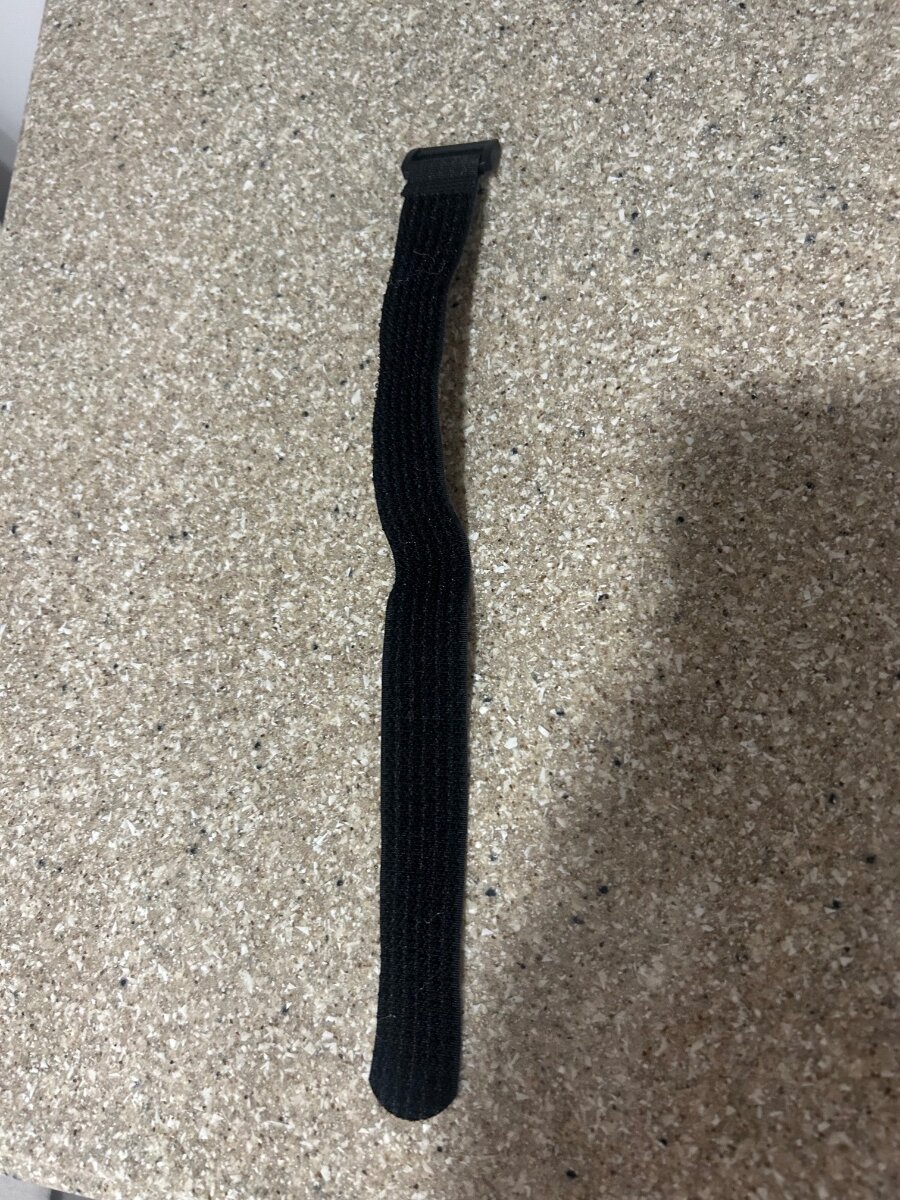
Occasionally if we hit a really hard interstate bridge expansion joint or a rough area in the road our Oliver TV will dislodge from its mounting system and drop down to the viewing position. Here is a quick no drill hack I came up to secure the TV to the ceiling mount. I keep several of these Velcro straps handy in my go to “possible kit bag”. 😎 Pro tip - These also work great for keeping hoses and extension cords tightly wrapped when stowing your gear. For those that rarely use your TV you can also consider using a heavy duty zip tie to keep it secured. Cheers and Safe Travels! Patriot🇺🇸 https://www.amazon.com/Fastening-YiwerDer-Adjustable-Multi-Purpose-Organized/dp/B071DGMNMX/ref=sr_1_2_sspa?crid=2V2K54DUWTMRH&dib=eyJ2IjoiMSJ9.TJTiwCtGl2z4dbIxVXVkV4M4n-QJGmCsu2sqxtDQ52QSbNP9Yg9KP_nqnBV4u9OrwRNmDvLNH4XvqsfnLJ4TyD0iQZxbo6R9Ghs51ulUeZeD0mhKeGkv71maHpShOTrPveip28oZKLbybUvTXl-e2J0Sd_1wZ11ondWuDkSlopdLnmIGrRg85XHWLntQLomOFL-B0GDOrZdy00QDtt878Yoe_pfz6cBlFf9xq5SaJPE.jwjo80tXAmQqKUzQ8o531cxvoVDM-xBRkN5SPE6DgtE&dib_tag=se&keywords=velcro+straps+1%2F2+inch+wide&qid=1733150108&sprefix=Velcro+straps%2Caps%2C130&sr=8-2-spons&sp_csd=d2lkZ2V0TmFtZT1zcF9hdGY&psc=1
 3 points
 -
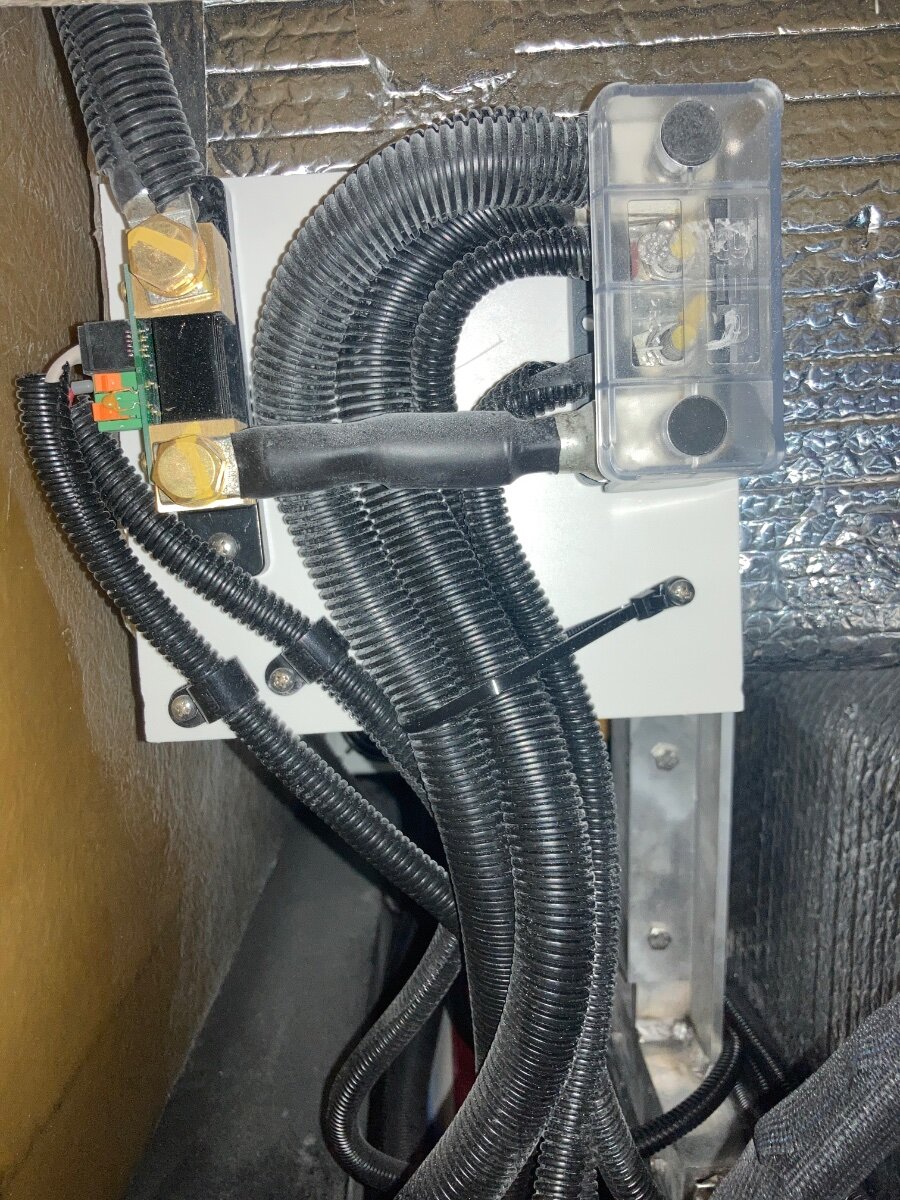
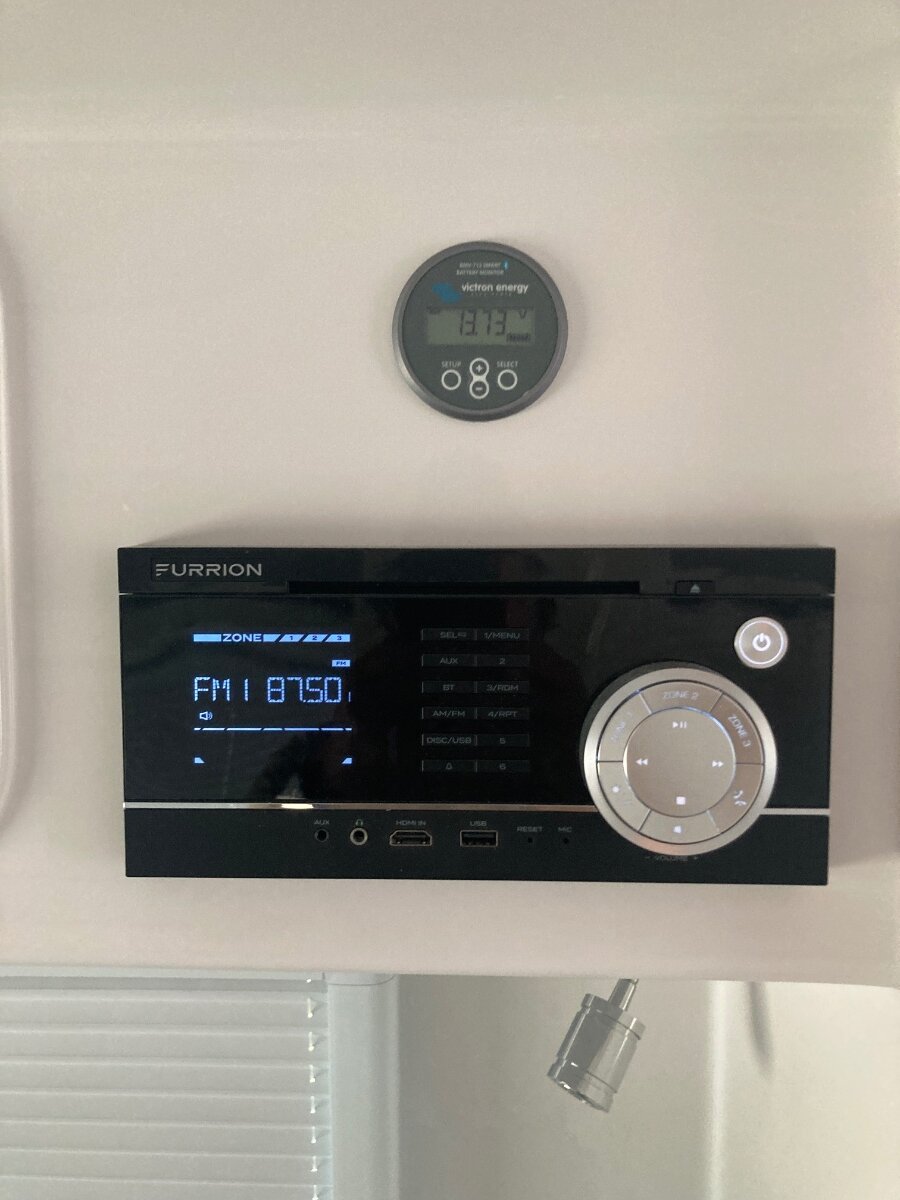
Prior to doing some upgrades on my electrical I had the opportunity to look at a 2025 on dealer lot near us and snapped a few pics. It does have a smart shunt.
3 points
-
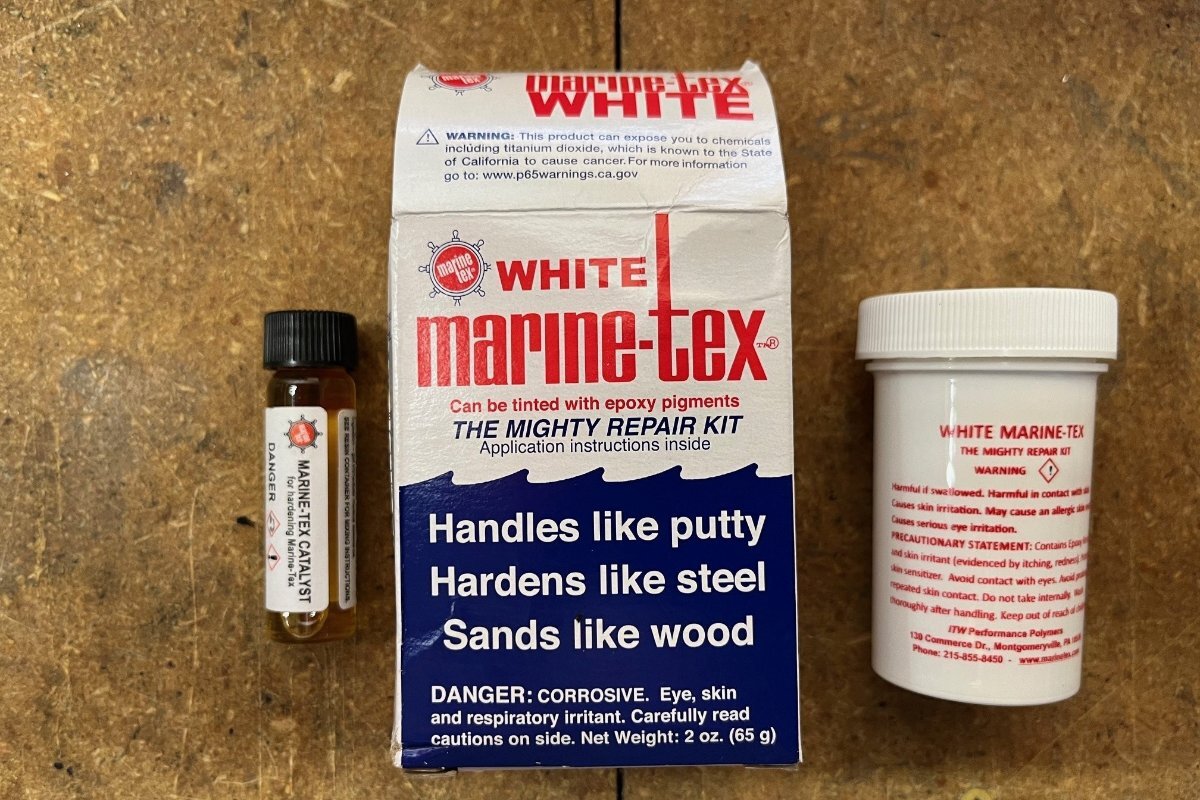
We've found the white marine tex is "close enough" in inobtrusive spots.3 points
-
I use a 12v milwaukee grease gum with lock n lube attached to flexible hose. We plan to pickupy our Oliver this month, jest trying to get a few Service temp together. Will this set up work for Oliverx lubrication needs? i mosty use Lucas Red and Tacky around The farm2 points
-
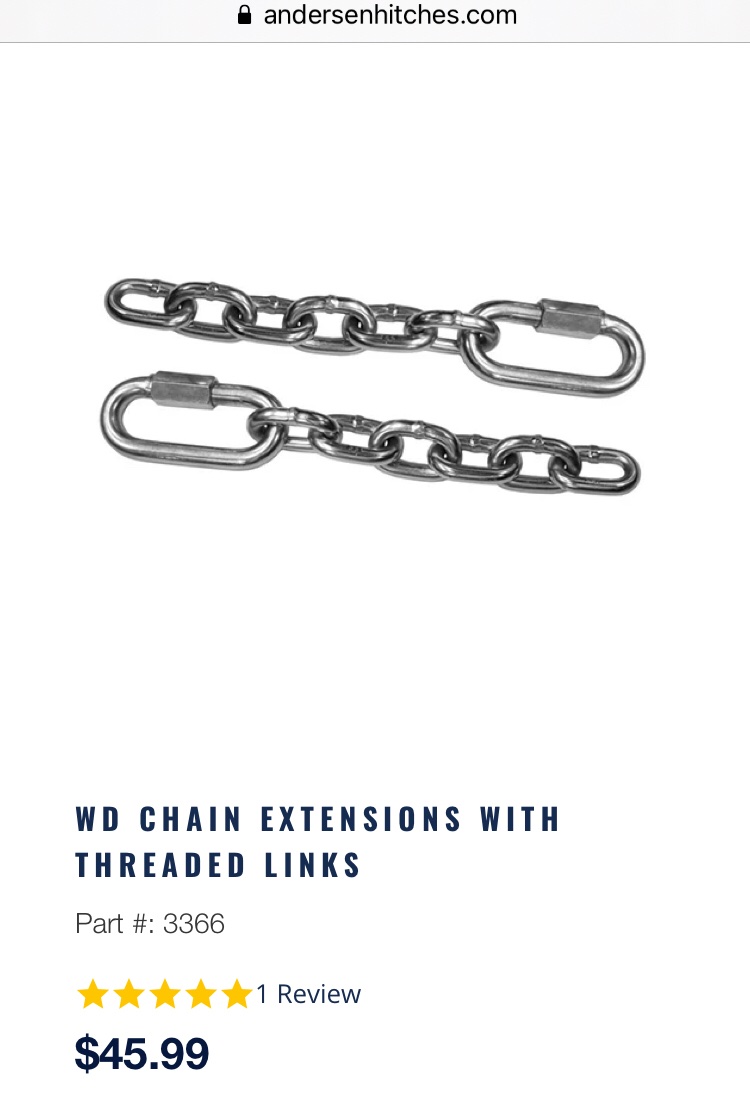
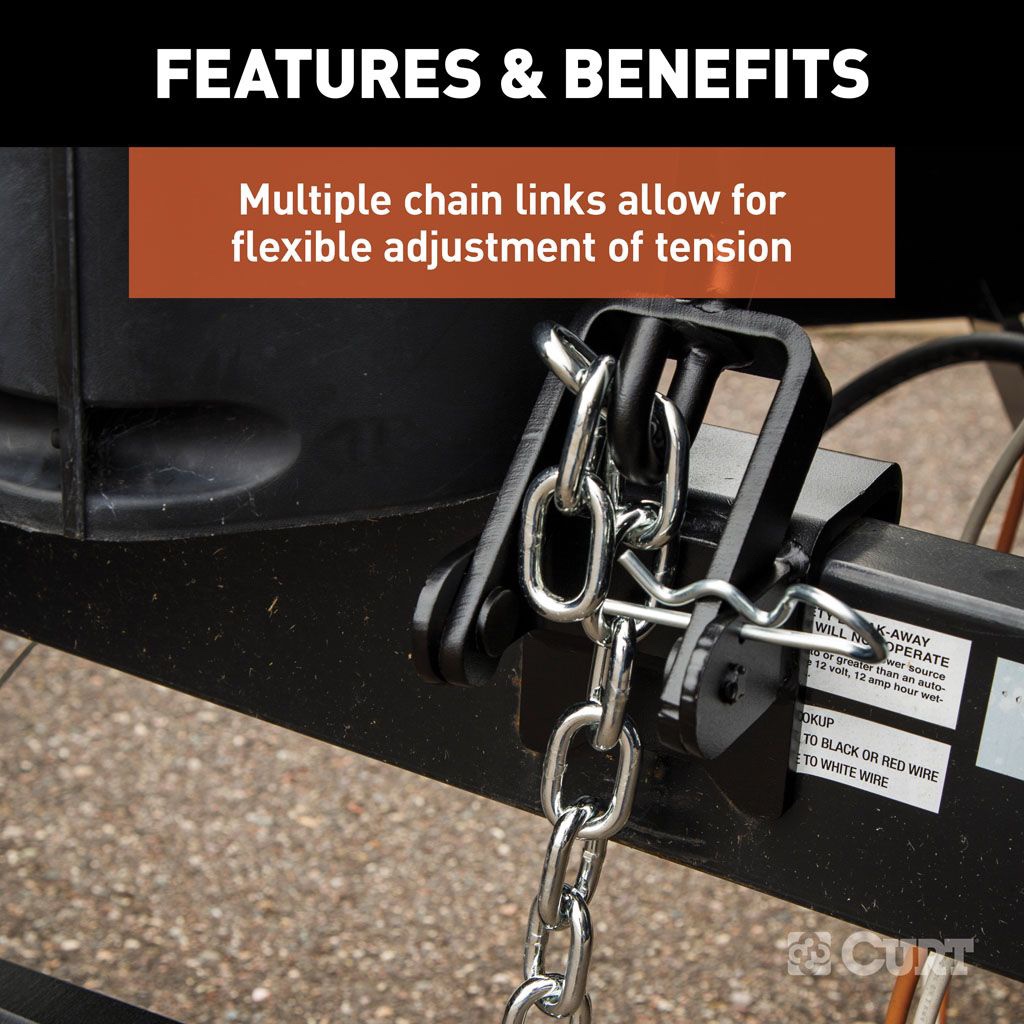
There are more than a few thoughts expressed in this thread to cause me to pause: Mike and Carrol; I see you are towing with a "2020 Ram 2500 6.7L". Why are you even using an Anderson? Long Stride: For emergency safety chains, one of these is a great idea vs. a quick link. Along the same lines as John D's post above, damage can certainly occur when the chains are over tightened and were installed tight as well. Hence there is some that would see a benefit of having a sacrificial link in this system. For the same reason that my boat prop's don't have super high strength shear pins. Stranded: Now I'm going the opposite way from my shear pin analogy. Your statement "I bought a similar sized stainless steel coupler at Home Depot" is another pause moment for me. SS is inherently less strong than the steel ones Anderson uses. Suggest rethinking your purchase. My main intent here is that the Anderson/Oliver links properly installed and ADJUSTED (By the big nuts at the rear" should be protected by using the suggested rated quick link. Not a massive one or a weaker one. I believe this as even though our OTT frames are likely the strongest in the industry, they are aluminum. That is unique, and in my opinion likely is why a link of 2650 pounds working load was specified for our trailers. If you have maintained the quick links (I.E. they are tight), and you have damaged one, then contributing causes are most likely: They were set up with the chains too tight to begin with. Not likely if done by OTT. You were using too many threads (You over tightened the chain nuts at the rear). You were trying to go travel across a grade change beyond the system's design, or were traveling too fast when doing so as John D. also suggested. As mentioned in my above post, beyond occasional link tightness check, I occasionally do a chain tension check by standing on one of them. If it does not move, then guess what? Also if I am approaching a significant grade change, like crossing a deep ditch, I consider the stress it will put to the Anderson system and items attached to it. For severe crossings, I'll loosen the nuts. GJ
2 points
-
Finishes up everything today. I installed so much HW and wiring behind the panels there is so much room now inside! Blu-ray/DVD on the shelf, lower shelf empty after deleting the Wally. Room for a small box of DVDs, my extra Dewalt charger, Chris' fan, another very important tool and of course my hat! Football on everyday this weekend. Version 2 of this upgrade is done again. 😂
2 points
-
Harvest Host is running a special for the cyberMonday, if anyone is looking to join. 30 per cent off.2 points
-
While finishing up the Attic wiring and another install today, it was hard to find the two LARGE holes I filled months ago that were the original streetside corner TV mounts. Also today, I used almost the last of my Marine-Tex to fill all the screw holes and the large openings for the front camera and the front-corner mounted Wi-Fi booster. We'll see tomorrow after some sanding, posting results in my other thread, re rooftop repair. I just ordered another Marine-Tex kit for future use, good to have on hand!2 points
-
Oliver has used at least two different colors of gelcoat through the years. The current models are a much brighter white that the older ones.2 points
-
Actually I’m pretty sure that is the BMV712 shunt not the smart shunt.1 point
-
Many people use the lock n lube. I'm sure you are looking forward to picking up your new Ollie soon. Congratulations. I'm sure you'll get comments on the gun from others who've used it.1 point
-
That's why I saved the dinette seat backs that measure 24x15 and 4" thick! 🤣1 point
-
Thanks, John. I did patch these holes when I filled some screw holes on the body. Like Bill wrote, it is tedious with the sanding, and I only got it so good, trying to sand the fill without dulling the area around it. I used this product that was pretty good, color just a tad brighter than our old hull.
1 point
-
Fiberglass repair is really not very difficult to do as long as you don't mind filling - sanding, filling - sanding, repeat (plenty of YouTube vids and info available over at the FiberglassRV.com forum). The biggest issue is getting the gel coat color to match. The folks at Oliver should be able to tell you exactly what color you have and even (perhaps) send you a small amount of it. I know that they spray it on for any of the small repairs that I've seen them do. Good luck! Bill1 point
-
New pics... I purchased some basic construction scaffolding a few years ago when we painted the exterior of our home. Remembering about $260 on Craigs for a 2x8' setup (old crusty parts). I'm the tool and setup and prep guy. Chris is an amazing painter, interior or exterior, highly detail, never bleeds a line! The rig was wobbly! I had to tie the scaffolding to the building, or to a close tree or bush, really, anything to keep it stable! I should take a picture of my neighbor's custom home next door, tomorrow where the sub is working the stucco, OMG! the rickety frame with random wood planks. You're not getting me or any family member on this this rig!!! When I sold the old scaffolding, I kept 3 of these adjustable legs (while getting our money back). Glad the see the MetalTech stuff is industry standard in the 1 3/8" inside diameter. It is so much more secure than the wheels that come with these AMAZING Home Depot deal!
1 point
-
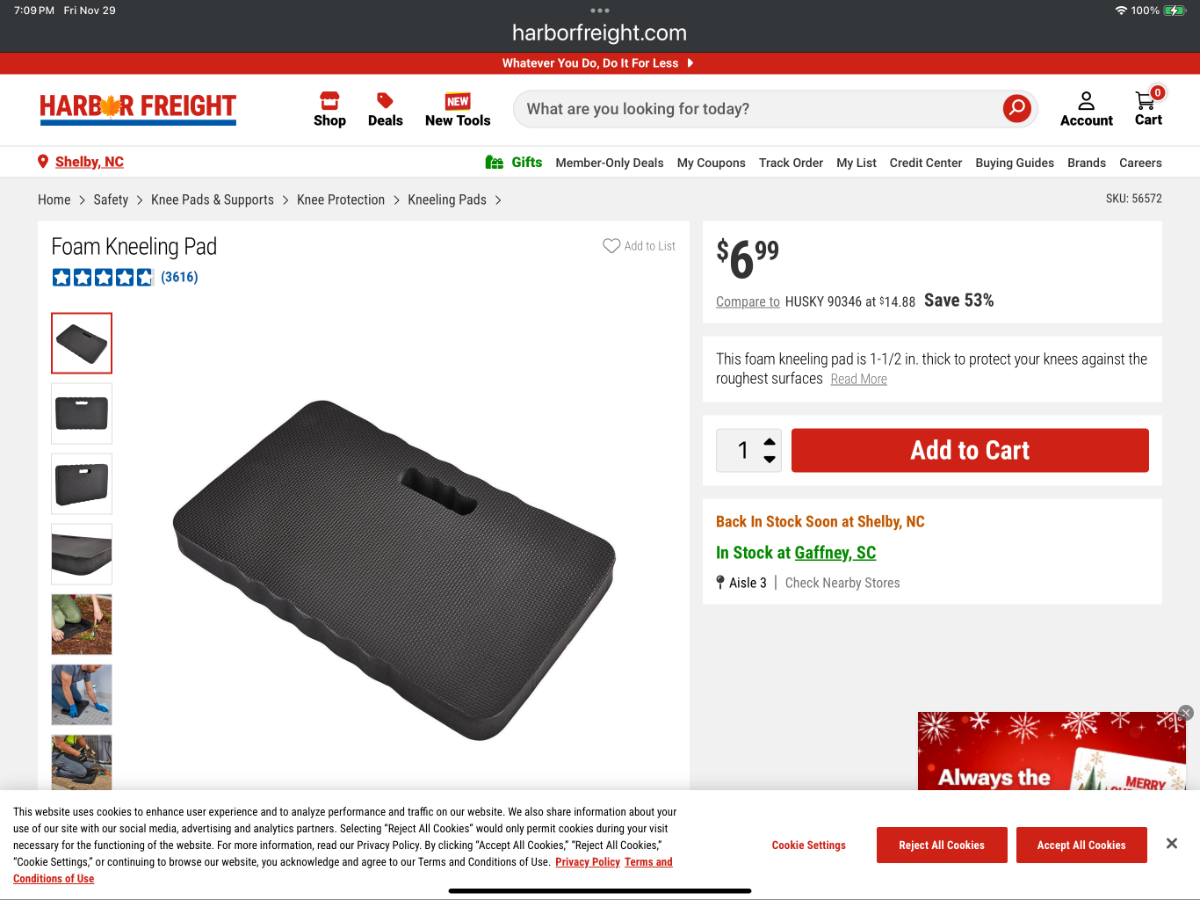
I have a couple of these knee savers. One in the Oliver, one in the shop and one for all other outside landscape jobs. On long trips I always have one handy in the bed of our TV. With pretty solid reviews, they have held up really well and my knees stay happy! 😊
1 point
-
For anyone planning to recover their dinette cushions, and never has guests sleeping on that bed, I suggest making the seatback wedge shaped. One of my only complaints about the Oliver is how my bad back hurts after sitting at the dinette for too long. After only a couple outings, I added a length of pool noodle split in half lengthwise behind the bottom of the backrest. This 1-1/2" ish tilt made all the difference! Whenever we need to get the cushions covered, we will have the padding and covering made wedge shaped to match this angle.1 point
-
Might something like THIS work for keeping that door closed? Bill p.s. "invention is the mother of necessity" and I really like your work.1 point
-
I need to do the same. Haven’t used it in years. For us, Sirius/XM is enough. Mike1 point
-
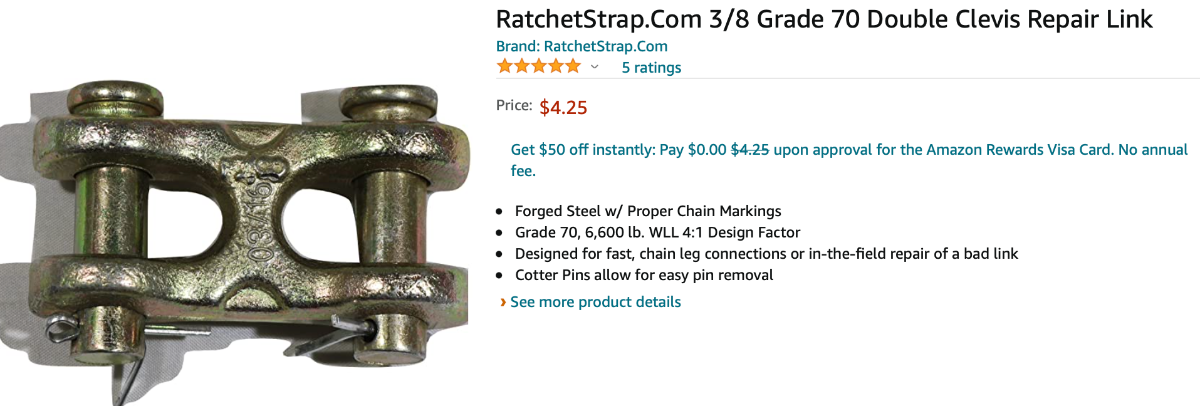
Those repair links are great and I would definitely use them on trailer SAFETY chains, but I would be reluctant to put them on the Andersen chains. IMHO each of those chains needs an inexpensive mechanical “fuse” that will fail before the actual chain does. If you drive over a really severe dip, like a 20 degree driveway approach ramp, the chains get super tight. The red bushings are supposed to take care of that situation, but if you already have your tension set tight, which I personally don’t, then the chains can get extremely loaded, especially if your speed is too high. I would rather pop one of those than split the red spring bushings. IMHO….! It is too bad that Andersen does not talk about this. I think they chose these for a valid reason, but they are not used at all with the standard length kits…. How confusing. BTW I think the cost of Andersen spare parts is obscene…. Like ONE red urethane spring for $35. These are no different than the suspension bushings or bump stops that you can buy for $10 a pair… https://andersenhitches.com/collections/weight-distribution-hitch-parts-accessories I don’t use loctite and I do use a wrench to tighten them. So far neither of mine has showed any sign of distress, with very light chain tension. John Davies Spokane WA
1 point
-
Generally speaking this type of link is not intended to be used as "Quick Disconnect Fittings," therefore they should not intended to be taken apart regularly. I have used these Links for years in all sorts of applications and always have considered the possibility of them coming apart. It has alway been my procedure to install Loc-tite on the threads of these Links before assembling them. This accomplishes two things, 1st it makes sure they have been assembled and tighten correctly, 2nd the Loc-Tite makes sure they do not loosen1 point
-
I think the Andersen is functional and not at all unsafe if maintained correctly. No brand of weight distribution hitch is zero maintenance and frankly they are all a PITA to use. Applying spring bar tension to one like this is difficult and can remove a finger. The Andersen is however the lightest and by far the easiest to store when not in use. If I were towing a LE1 with a full sized body-on-frame SUV or any full sized pickup, I certainly would not use it. I am unclear as to why Oliver Sales seems to be pressuring every new LE1 owner to buy one.... Just say no. 😀 John Davies Spokane WA
1 point
-
Sheri, so, did you ditch the Andersen WD hitch? What hitch are you now using? As we discussed on the phone, your Threaded Quick Link deformed and stretched because it was not properly screwed together. That link is easily replaced if you want to begin using the Andersen again. Checking these links to make sure they're tight before travel is necessary (but, since your truck likely needs no weight distribution, as Overland stated, it was not a dangerous situation). There is no reason to ever loosen them as this would not serve for any adjustment. As some have suggested, if I had an Andersen set-up (I don't) I would put a drop of Loctite on the threads and tighten them down well.1 point
-
I think the relative danger depends on how effective or necessary you think the Andersen is to begin with. Plenty of half ton drivers don't use the Andersen at all, but of course there's differing opinion as to how wise that is. Regardless, the stretched link will render the weight distributing properties of the hitch useless, but that's the limit of the danger.1 point
-
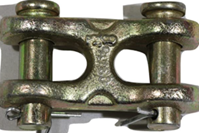
Your coupler, AKA "repair link" needs to be rated for at least the rating of the chain. Quick-links like the one that failed are typically not rated very high. More like something that one would put on a dog chain. Oh yes, they do have their place. I use them to connect to the eyelet on my bird feeders hanging from the eaves on my garage. IMHO, something like this would be much safer...
1 point
-
If you haven't done so already, I would encourage you to open a service ticket on the home screen here. Even if you fix it yourself, Oliver should be made aware of it.1 point
-
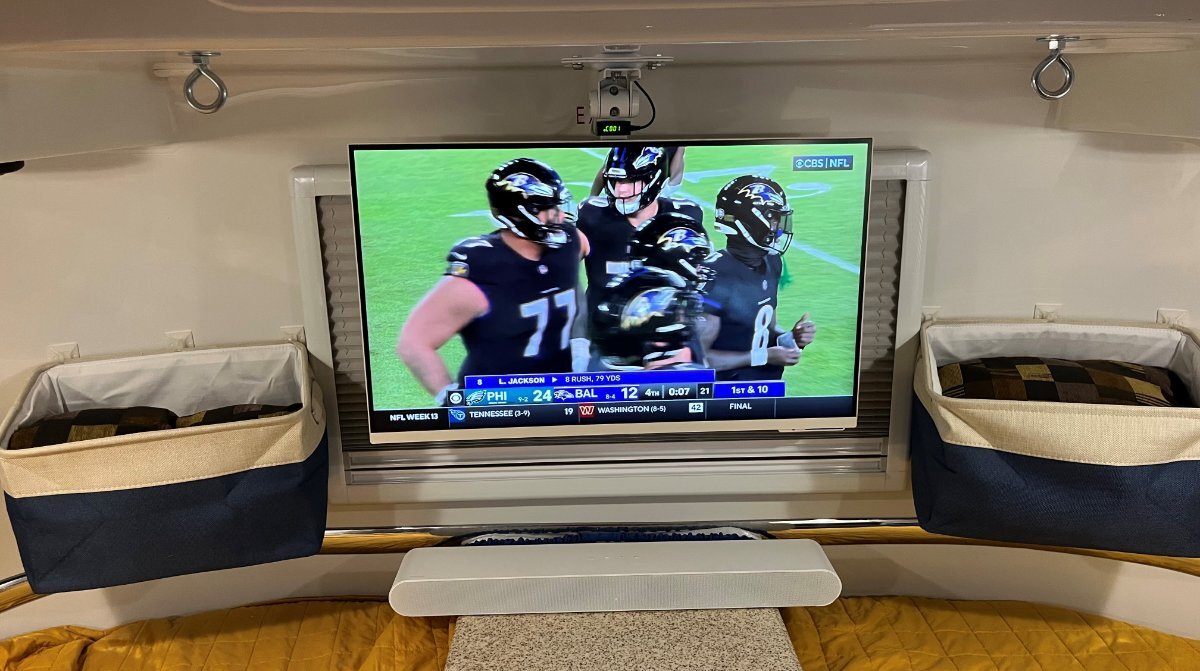
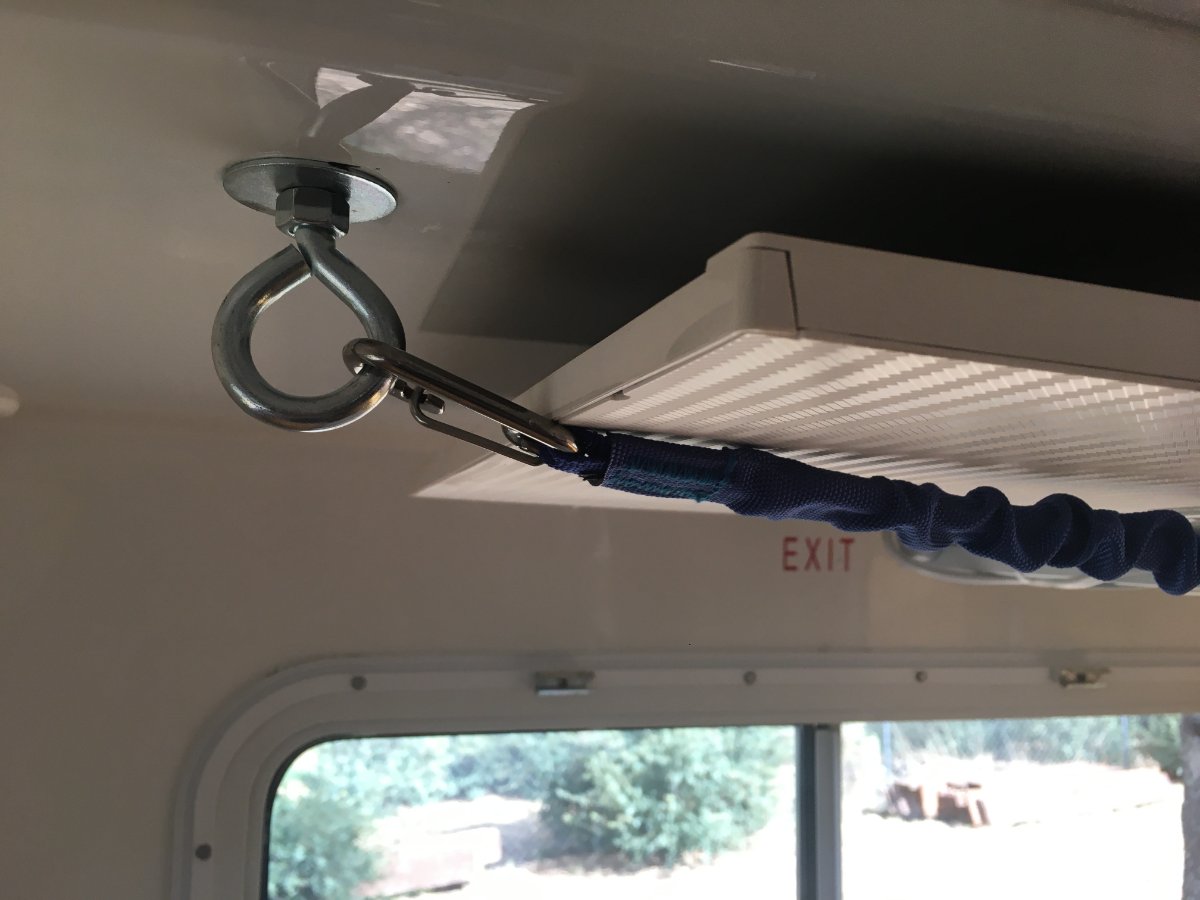
The final need is to fold up the TV, to the attic ceiling, for unobstructed view out of the rear window. Some of you may think my final install is not "professional" but it's easy, clean, and keeps the TV snug, just 2" from the ceiling. BTW, on our maiden voyage we drove 220 miles, 50 miles on dirt, much of it washboard, with the TV in the down position, and all was fine! This TV install can travel in the up or down position, either way no problem. I installed two hardware store 3/8" eyelets about 3" left and right of the TV, at the front of the attic (should have gone 4", so that the metal of the bungee would not touch the TV, to fix I will add sleeve). Marking the correct spot, left and right is not trivial, with all the Oliver curves. Then drill the 3/8" holes and mount with 2" fender washers, above and below the ceiling. Then I needed to find the right strap, bungee, cable or something. Shopping for this was not easy. I did so many Amazon searches. It had to be HD (strong and taught) and I was wanting white. I settled on Blue, which is what my wife calls her accent color for our Oliver! I ended up with this: Amazon.com: Extreme Max 3006.2786 BoatTector High-Strength Line Snubber & Storage Bungee, Value 2-Pack - 24" with Compact Hooks, Blue : Tools & Home Improvement The blue bungee is a nice match in color to the bolsters we bought for our evening TV watching: https://www.amazon.com/Retrospec-Sequoia-Yoga-Bolster-Pillow/dp/B092DYYR5W/ref=sr_1 Without measuring, I would think the OTT factory installed TV sits a good 3-4 inches lower. The pics would look better if we were not also cleaning our windows and blinds, and the lovely bedspreads from the prior owner!
0 points


.JPG.3844a448cfe314b8950a9e45c68c8013.JPG)
-
Recent Achievements
-


")


