Leaderboard


Popular Content
Showing content with the highest reputation on 12/16/2024 in all areas
-
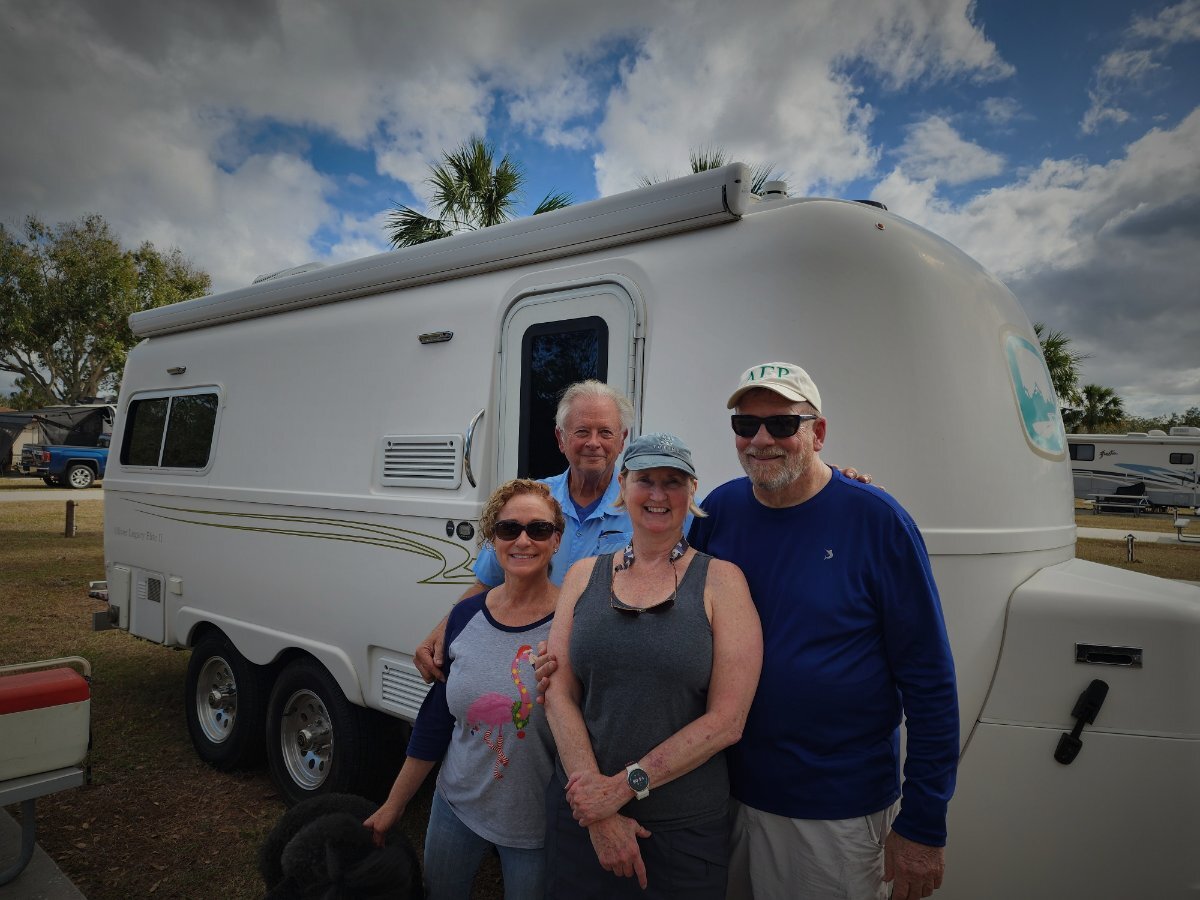
A bitter sweet goodbye to our home away from home for 39 states and six Canadian provinces. But there is comfort in knowing that Gary and Anita Teany (& Ranger) will love her as much, if not more than we did. Au revoir # 292!
 4 points
 -
Exactly, shows you how miserably uninformed some of these insurance companies are! @MobileJoy not sure it will make a difference but send this to your storage facility…… Lithium iron phosphate (LiFePO4) and lithium-ion (Li-ion) batteries have different characteristics that make them suitable for different applications: Chemical symbol: The chemical symbol for Li-ion batteries is LiCoO2, while the chemical symbol for LiFePO4 batteries is LiFePO4 Temperature range: LiFePO4 batteries can operate in a wider temperature range than Li-ion batteries. Safety: LiFePO4 batteries are safer than Li-ion batteries because they are more thermally and chemically stable. Environmental impact: LiFePO4 batteries are more environmentally friendly than Li-ion batteries because they are more recyclable. Chemical composition: Li-ion batteries contain cobalt and other toxic chemicals, while LiFePO4 batteries only contain iron.4 points
-
Spent a lot of time at this refuge while collecting field data on the Northern Leopard Frog for a National contaminants study with the USFWS. Now that I’m retired from the Service, a return to camp there is on my bucket list!4 points
-
Its a shame that they seem to be lumping all Lithium batteries into the same bin - some have a much lower risk of fire as compared to others. And, they basically are now not allowing the charging of any type of battery. Thank goodness that lithium batteries have such a low self discharge rate as compared to lead acid batteries. Bill p.s. I've received nothing similar from my storage facility. However, none of the storage spaces or units have electricity available in the space or unit. Therefore, the only way a renter could charge batteries while there would be via solar or generator.3 points
-
Unless it is the 4th of July! 🤯 (Note - just kidding here)3 points
-
We have the Oliver front storage basket, and use a Rubbermaid Action Packer 24. There is extra space around this, as it doesn't completely fill the basket. We'll sometimes stuff wet tarps of carpets in there rather than inside the trailer or SUV. RollerCam, the best in the business, and made for continued use in the sun. They started out in the rafting industry, and expanded into other fields. https://www.rollercam.com We use one across the ActionPacker, and if leaving the trailer unattended for short times, we also use a bicycle cable lock.
3 points
-
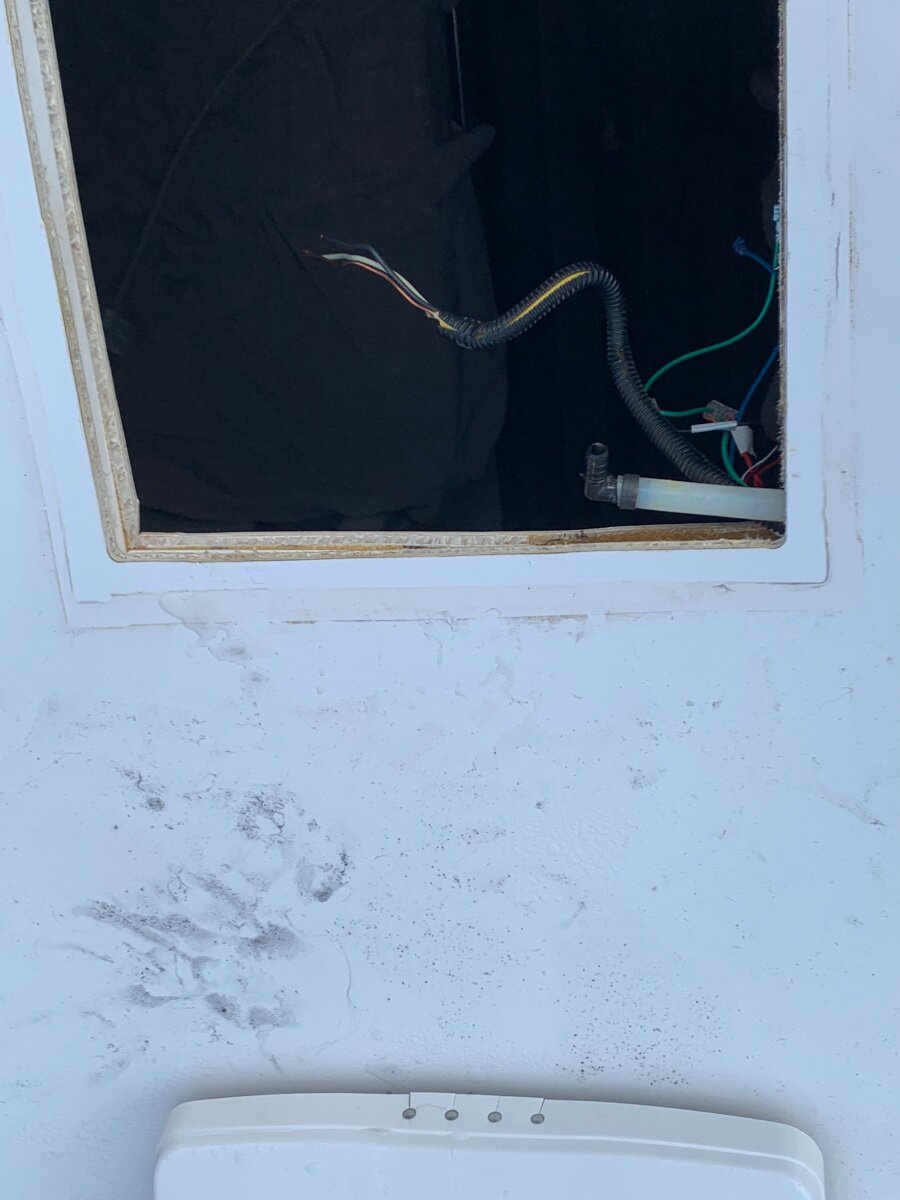
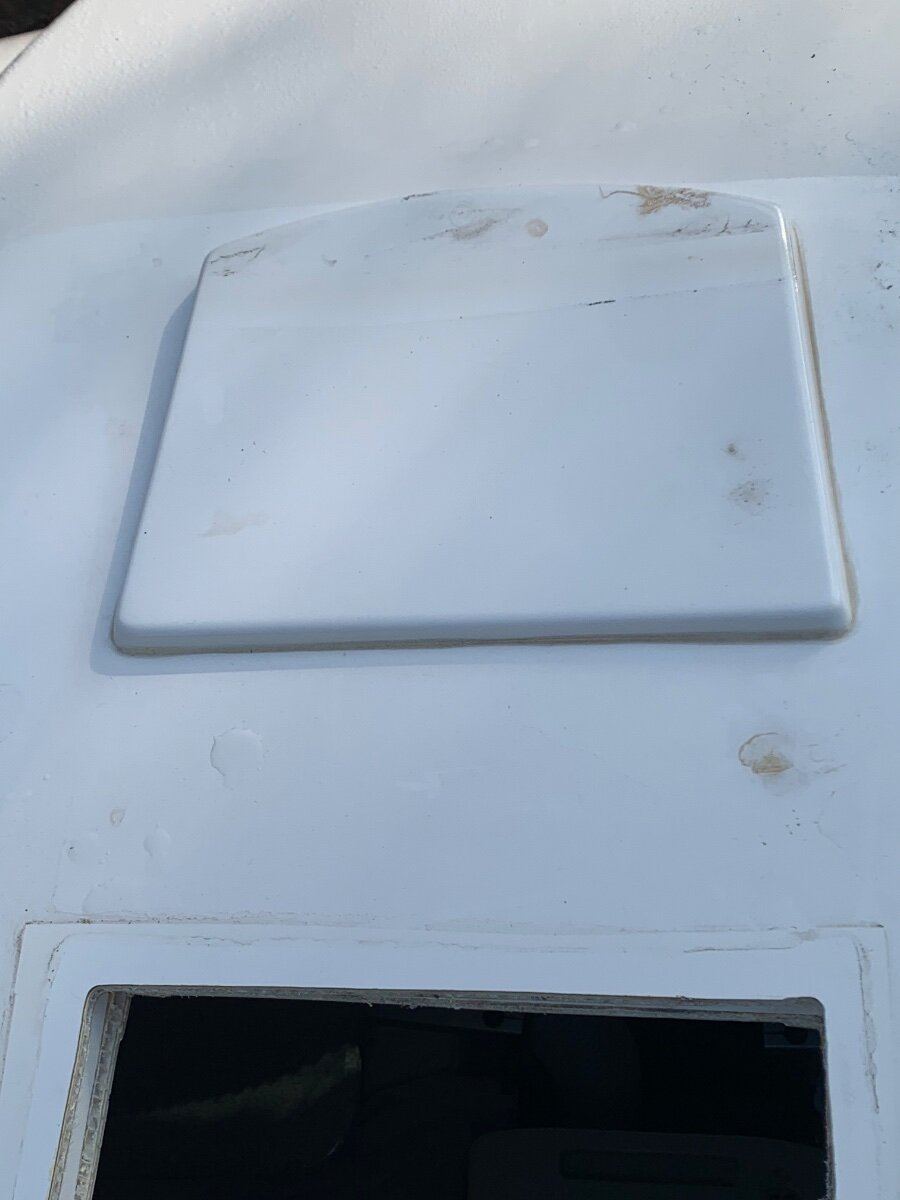
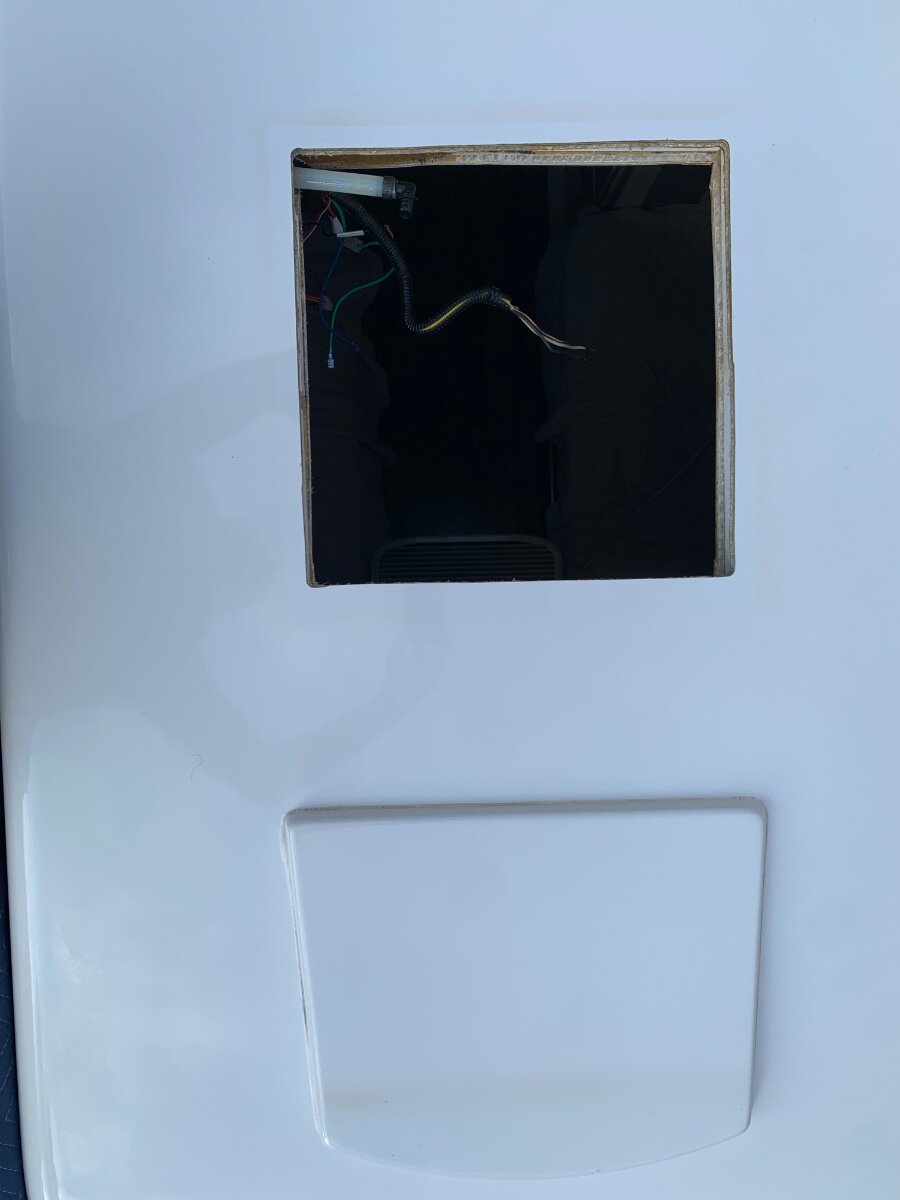
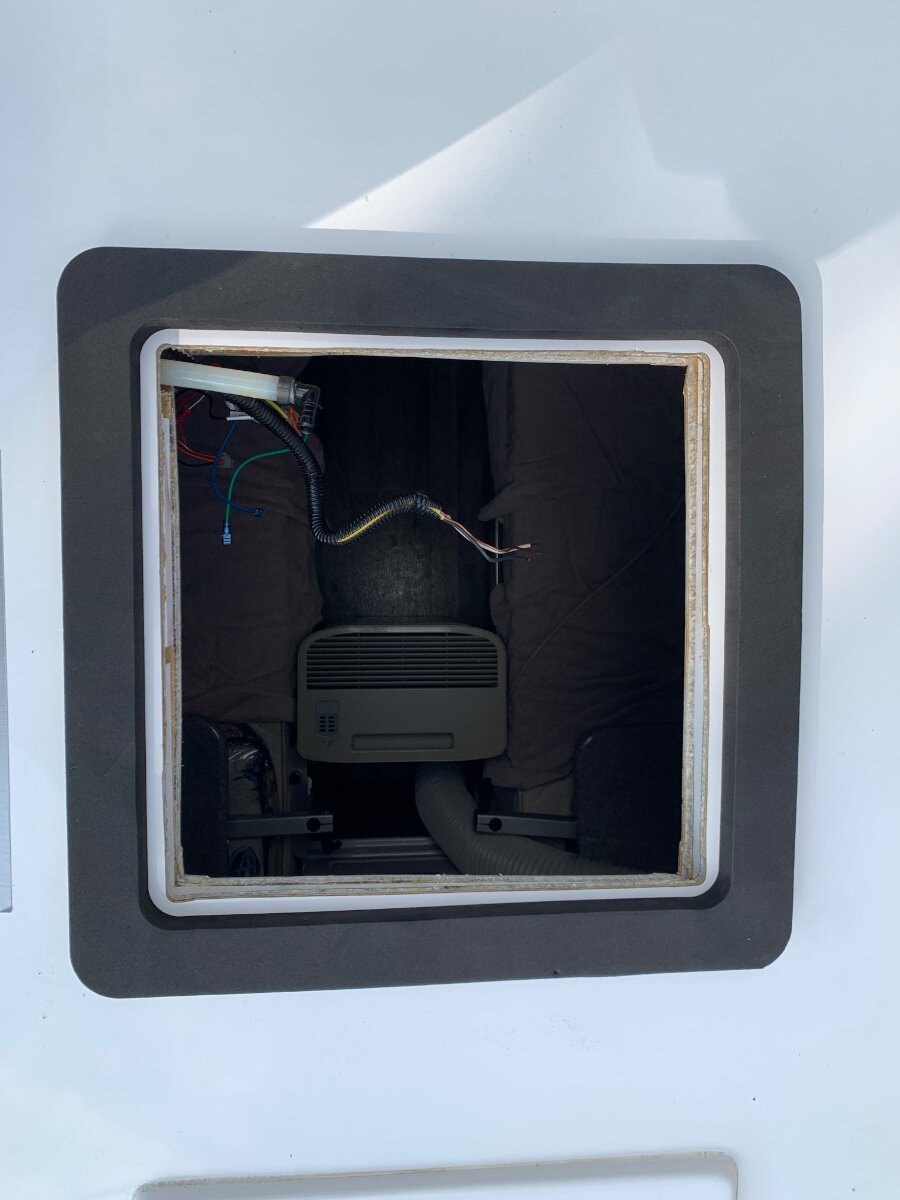
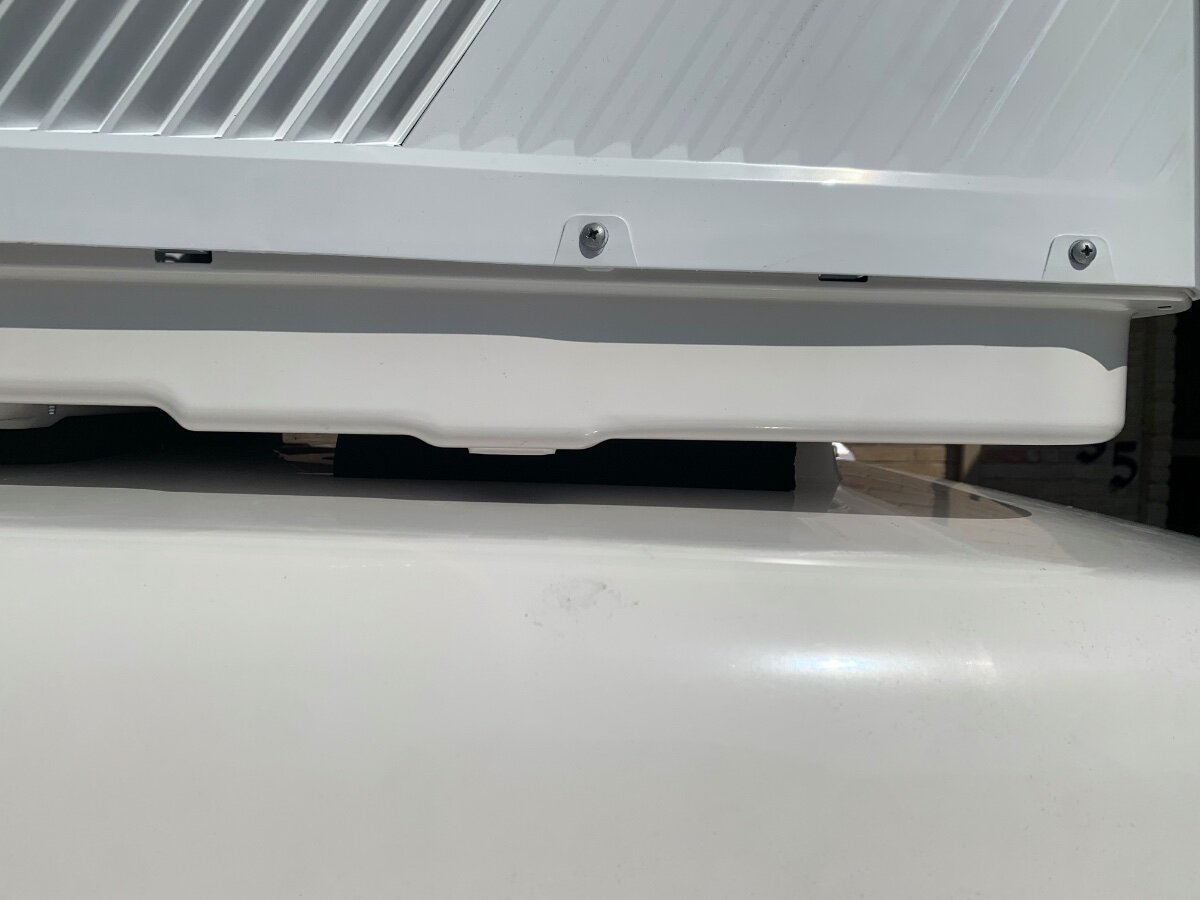
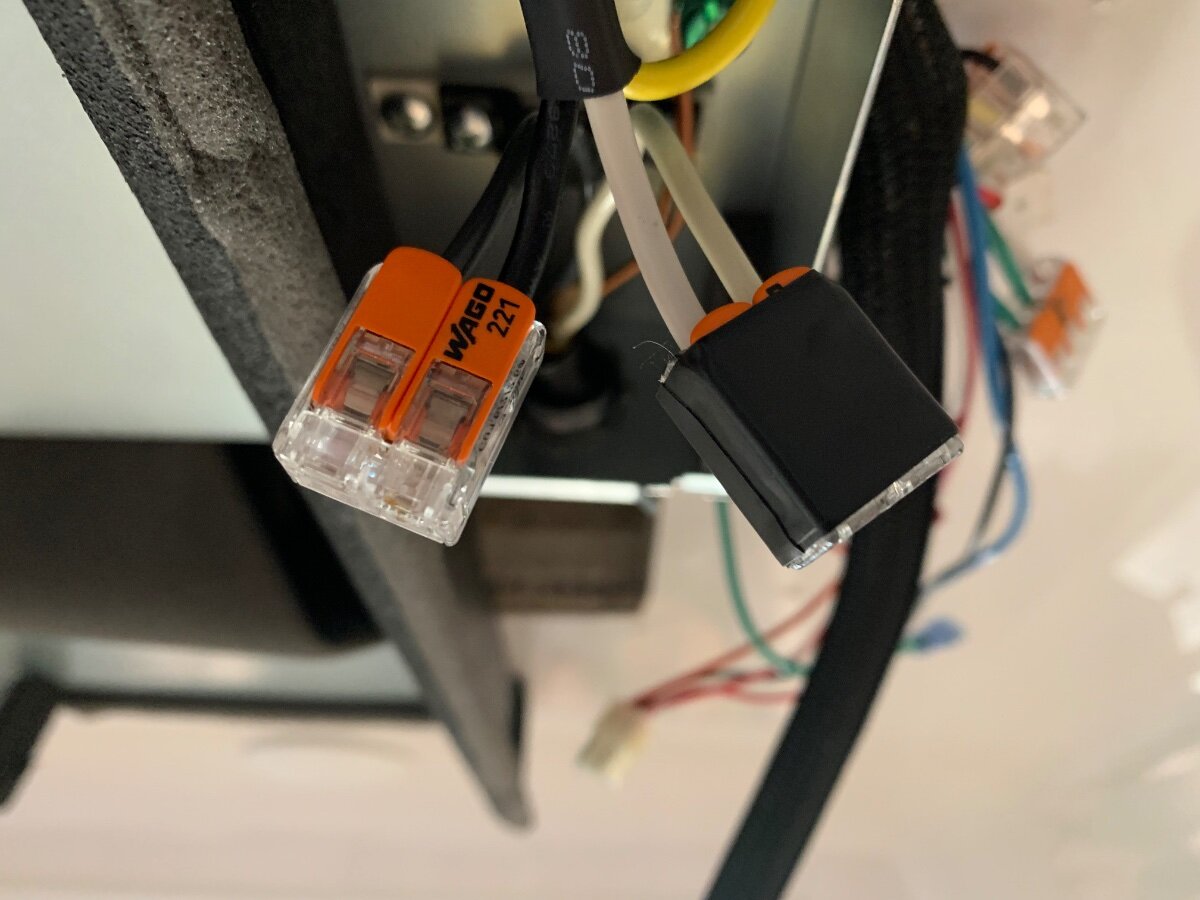
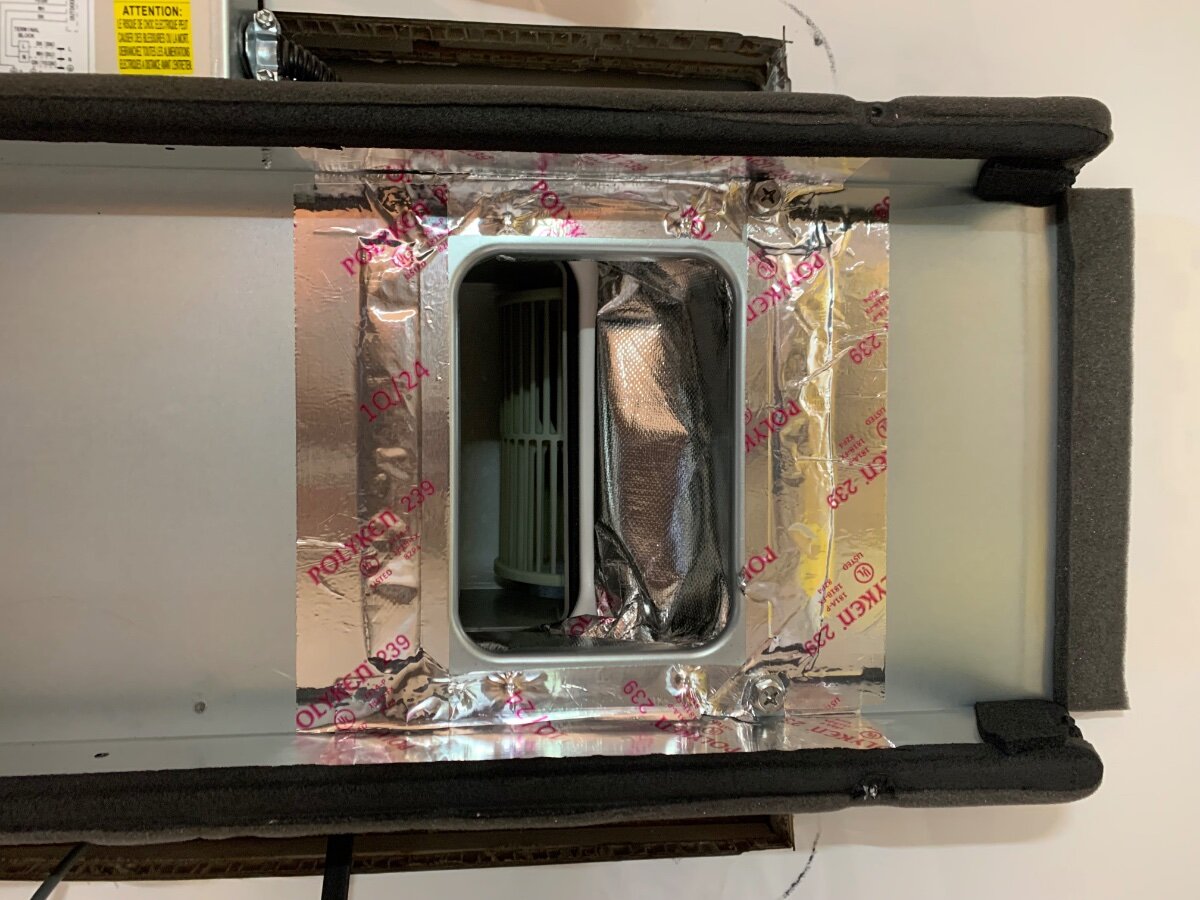
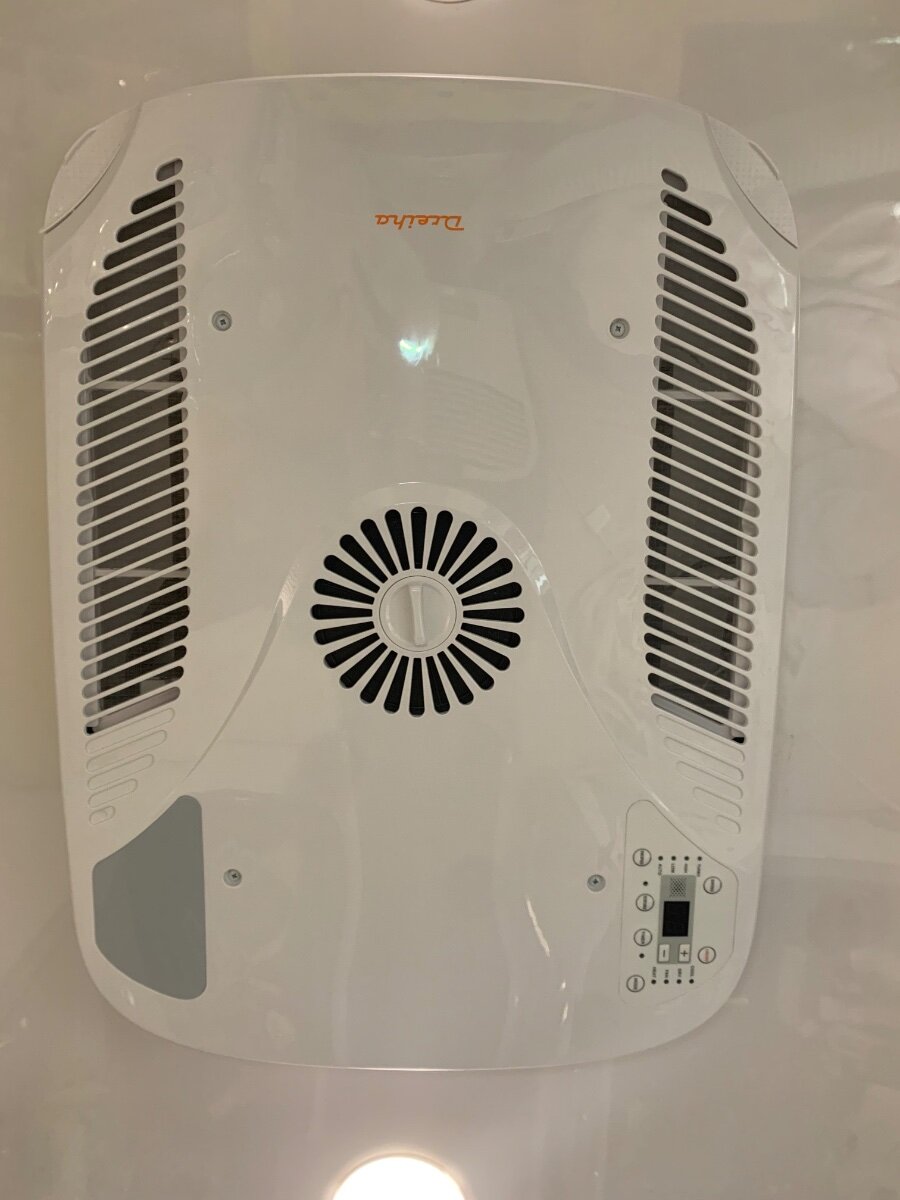
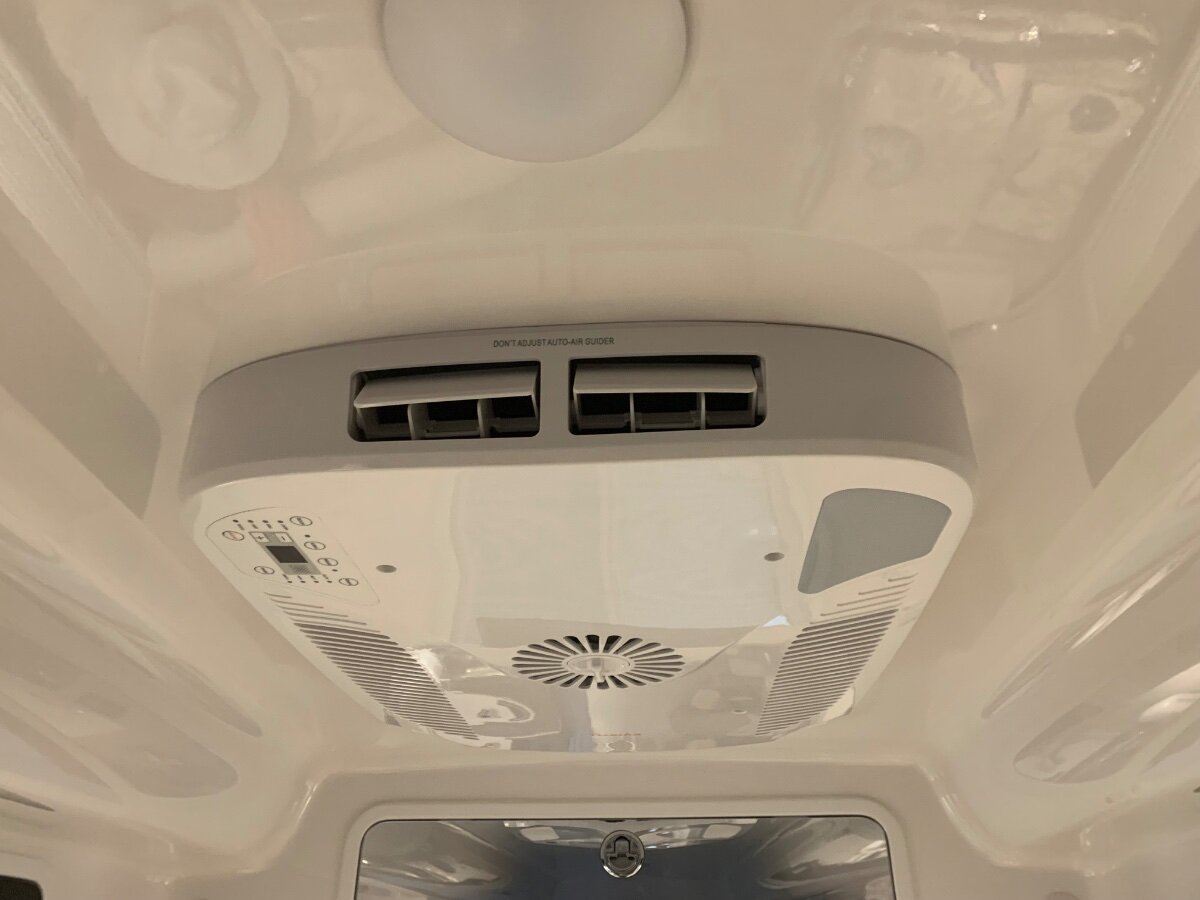
This long awaited swap-mod is now checked off my to-do list! Like many, I tolerated the noisy Dometic Penguin ll long enough; so glad I was finally able to take decisive action with this install. After a couple years of mulling over the various replacement models being marketed, a unit emerged that caught my attention; the newly available Atmos 4.4 seemingly met all of my expectations. I will forego the removal of the Dometic, here is how I proceeded forward: First and foremost, all AC and DC power sources were turned OFF! Scaffolding and equipment/supplies were then staged for Dometic ‘liftoff’ and subsequent Atmos ‘lunar landing’ (only appropriate since I live a couple miles from the NASA Mission Control Center in Houston). Roof area in need of cleaning. Notice the raised fiberglass landing on my year model and that the former condensate drain tube was simply disconnected rather than cutoff. Roof area throughly cleaned and prepped. I decided to adhere the square self-adhesive foam roof seal directly onto the fiberglass and then apply non-leveling Dicor around the cutout perimeter to further ensure the best seal possible. In positioning the foam seal, care was taken to center it as evenly possible, thereby allowing about 1/4-3/8” of exposed fiberglass to lay a bead of the Dicor and finger smooth to finish. Interior view of the Atmos being positioned over the roof cutout. Note the use of the mounting bolts as a guide, as recommended by SDG. Because the ‘rough cut’ edges of the layers of fiberglass (inner and outer hulls, and spacial filler) were inconsistent, I used the foam seal as a reference to accurately center and align the unit; distances measured to each respective bolt. Initially, installation instructions were followed by adhering the supplied straight piece of self-adhesive foam onto the bottom of the unit as a rear support, but it did not make contact with the roof due to relief of the aforementioned fiberglass landing. Alternatively, the foam piece was cut in half and each adhered onto the fiberglass, in like manner as the square seal, along the outer edges of said landing. This adaptation proved very effective in application and purpose, as the last of the next three pics demonstrates. Now that the exterior unit is properly positioned and supported, it’s back inside to further installation. As a side note, I made use of a portable a/c to buffer the heat and humidity of the day! Although my son helped with the heavy lifting and positioning, I cut him loose and completed the remaining tasks solo. Before proceeding, I used foil tape to treat the end of the aforementioned condensate drain tube and secure it to the side. Next the installation of the fabric air plate duct subassembly was started (provided Dreiha Atmos 4.4 Manual details the process). Note I used foil tape on both the upper (at Atmos bottom) and lower (at mounting frame) duct plates, even though most installs viewed applied to the mounting frame plate only. Between the upper and lower duct plate installs, the ceiling assembly mounting frame was bolted in place and hand torqued using a screwdriver only (torque specified in Manual). The AC power connection was very straightforward. The ceiling assembly’s junction box cover was removed, a strain relief fitting installed at one end (the other end had a preinstalled protector) and respective wires routed inside. I reused the Wago Lever-Nuts from the Dometic install, but first tinned the stranded wires of the Atmos lead for optimum assurance in application; electrical tape was used to further secure the Wago connectors. Ground wires were secured per the Manual. The junction box cover was then replaced, DC thermostat wire bundle loom wrapped and tucked away for future use, and ceiling grille fastened in place. . I’m very pleased with this mod, quality of the Atmos and ease of installation! I should mention that SDG preinstalled a SoftStartRV. I will provide an update once the furnace wiring and thermostat mount is completed. A special shoutout to @rideadeuce for forging the way with his install of an Atmos!
2 points
-
I'm so happy for all of those involved - humans and canines. Chris & Duke - you are still "Family" - please drop in from time to time to let us know what you are up to. Gary & Anita - WELCOME to the "Family". If there is anything that we can do to help - just ask. Also, if you have not "found" the Oliver University yet, this would be a great time to do a real deep dive in all things Oliver. This will be time well spent and make taking care of your new "baby" easier and more enjoyable. Bill2 points
-
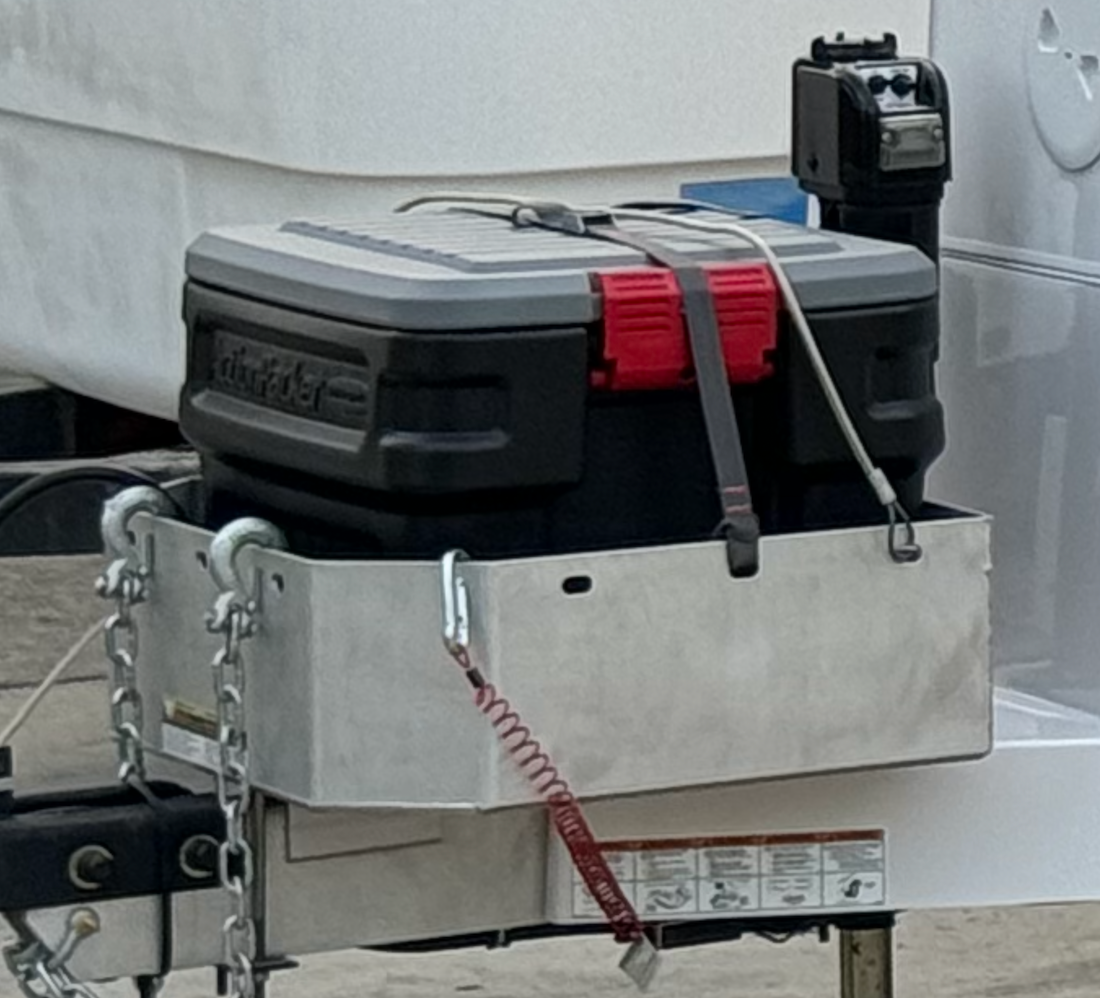
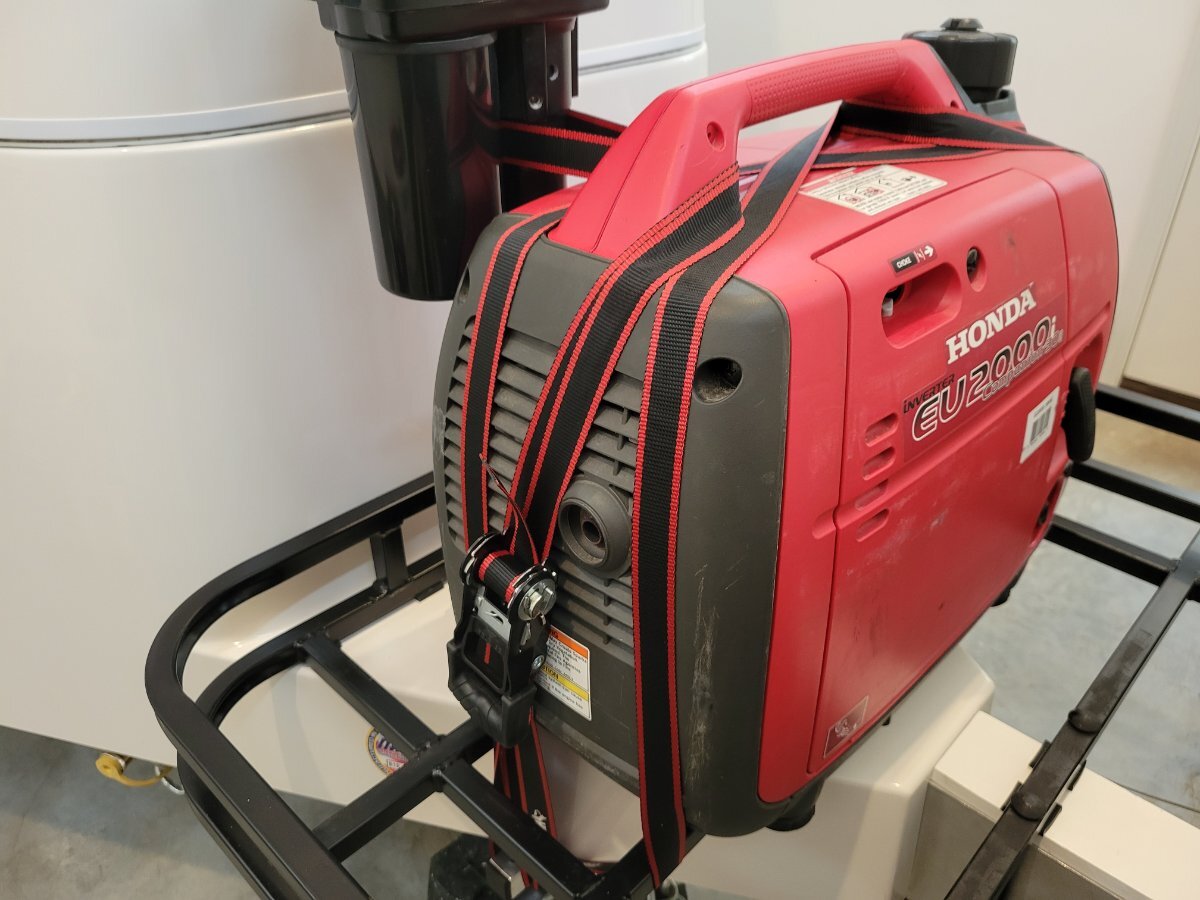
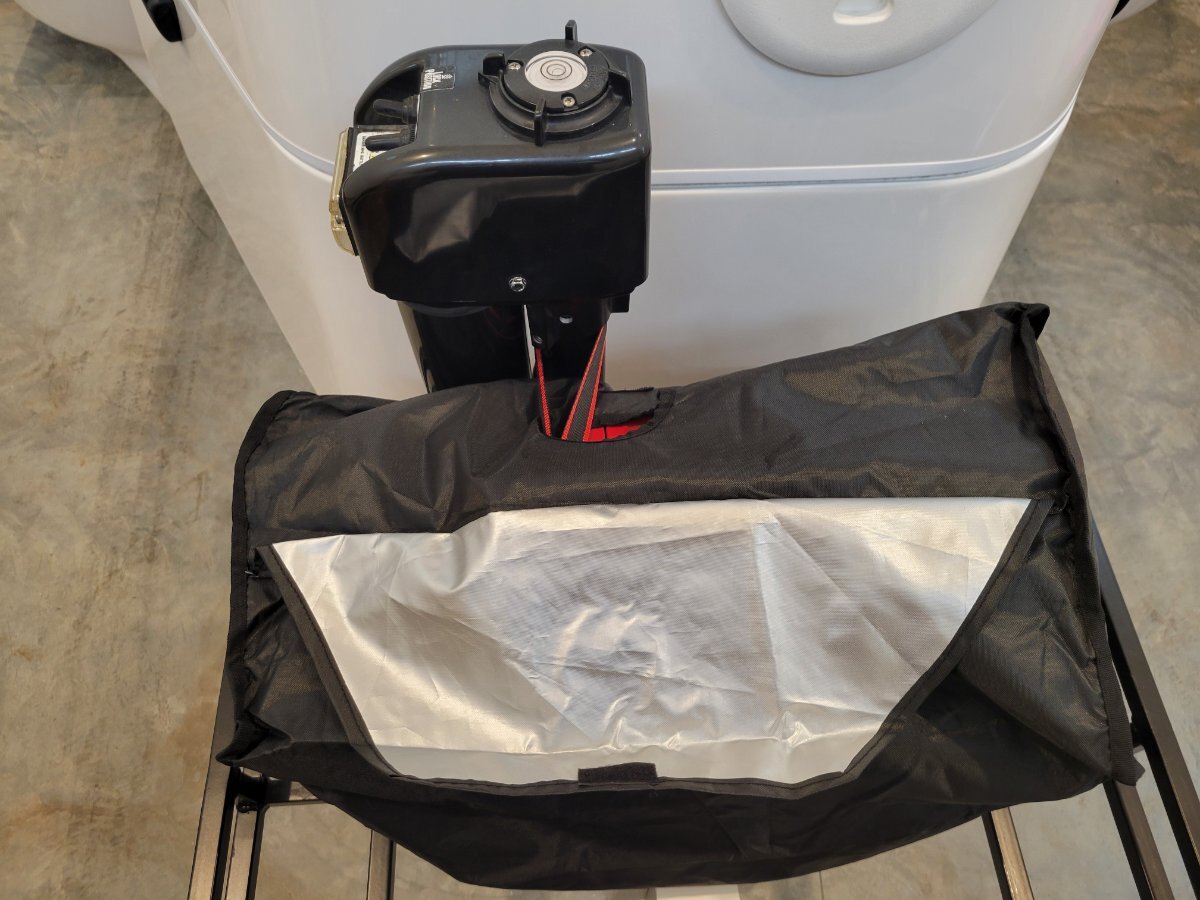
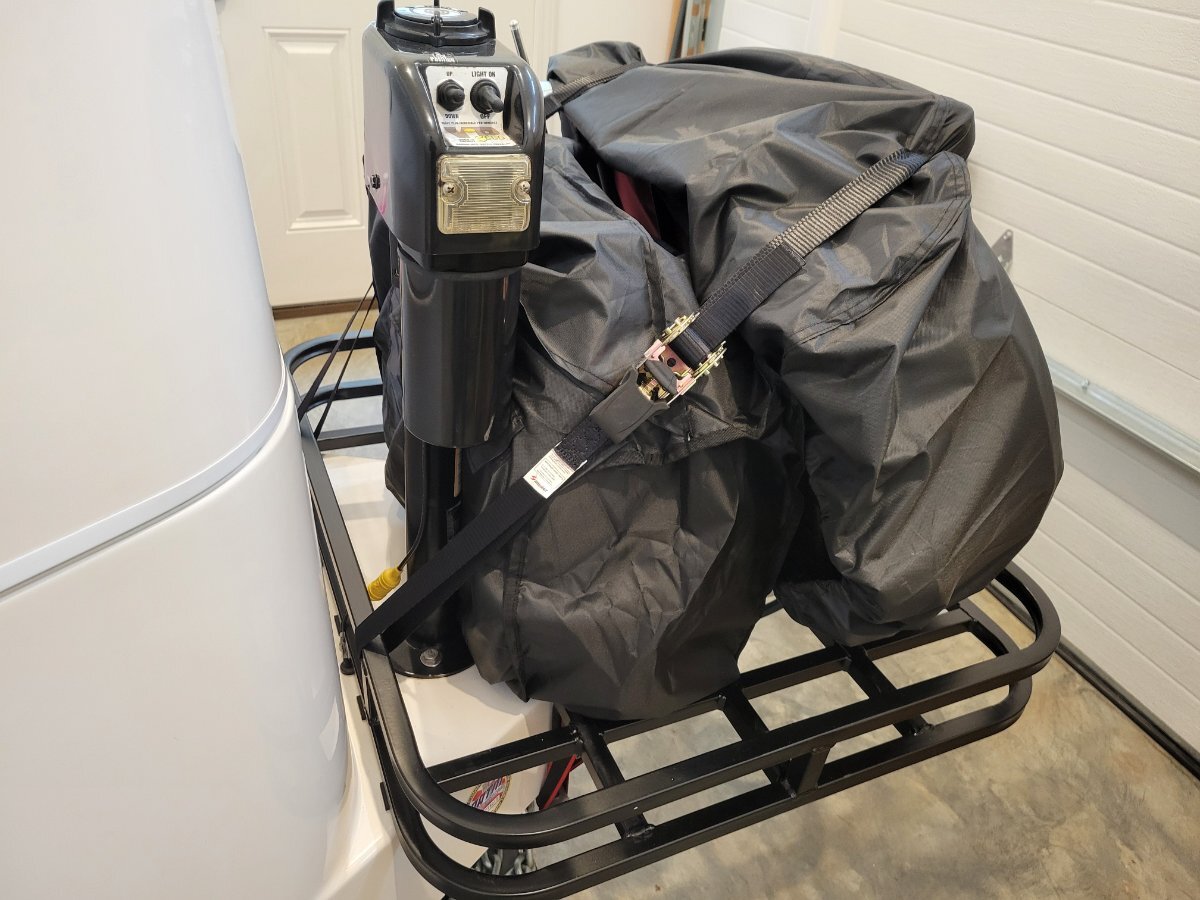
I want to first thank all in the group for indicating their concerns, and offering suggestions. I removed the side mounted gas cans, and upgraded to four substantial ratchet straps. The ones that I used around the generator have large hooks on each end. I crisscrossed the straps over the generator and wrapped them all the way around the tounge and hooked them to the main framing under the tounge on both sides. I also slid the generator over so it is now centered on top of the main framing and I looped one of the straps around the jack pole for added stability since the generator is now right next to it. I will watch for any wear on the straps and reroute them as necessary. Although we don't use our generator often, we wished we had it on a 45 day summer trip we took up the east coast into Canada in 2023 as there were a lot of overcast days when our solar panels couldn't keep up with our tired batteries. We took it with us on a 70 day trip back up North this year and used it about 20% of the time when the weather didn't cooperate and we were without hook-ups. Lifting it in and out of our truck's bed got old real quick. Letting it travel on the tounge of our Oliver will make things a lot easier when I need to pull it off and use it. For now, I will use the 2.5 gal no-spill gas can that I bought before this year's camping season and keep it secured inside our truck's bed as I did this year near the tail gate. I travel with the generator and gas tank empty and only fill them up at the end of the day when we get gas for our truck just before checking in at campgrounds where we won't have an electric connection. Prior to checking out I pour any remaining gas in the generator into the can and then into our truck. This way I'm not traveling with any gas in the generator, or in the gas can, and we are always using fresh gas when we need to use it. The basket that I have installed extends forward the same length as the Sea Biscuit basket and it is only 2" wider on the sides. The corners are rounded, although not quite as far back as the Sea Biscuit basket. The basket that I have left enough room for our dog's fold-up stroller which was the other item I found difficult to be pulling in and out of our truck's bed. I will confirm my ability to make sharp turns before heading out on our next trip. The quality of the Sea Biscuit products is unquestionable and I may switch out my basket for one of their containers in the future when our dog is no longer with us. For now, my wife always acts as my spotter when we're pulling in and out of campsites to keep me from hitting something so she can let me know if I'm getting too close to our truck's bumper. Thanks again for all your input. Joe
2 points
-
About 5 miles west of Flagstaff Hwy 66 merges into I-40. Next place you can pick it up is 7 miles west of Ash Fork AZ and 18 miles on US 66 takes you to Seligman AZ. Next town is Peach Springs AZ. If you want a great side trip you can take Diamond Creek Rd, Indian Route 6 a 22 mile dirt road, and drive to the Colorado River at the very bottom of the Grand Canyon! We have not done this trip yet, but plan to do it this winter. Ash Fork btw is just 47 miles due north of our home up AZ-89. I've watched a few videos on this. They drive large school buses down there to pick up people from rafting expeditions, so no reason a solid truck with Oliver in tow could not make it. There are several campsites near the bottom too! You need a Hualapai Indian Reservation travel permit which you can get in town. The road should be fine during the winter. During spring you’d cross running water in the Peach Springs Wash in a few places and the road could get real. This stretch of Hwy 66 circles NE and later SW ending up in Kingman AZ. It’s a beautiful drive that has the look of Route 66 before there were Interstates!2 points
-
I didn’t see where your PD charger model is listed, so not sure if what I did will help you. I have a PD 9260C, for lead-acid or AGM batteries. I ordered my Oliver with a basic 340W solar package, and two standard lead-acid batteries (no longer an option). I sold the batteries on Facebook Marketplace as soon as I got home, and I already had two BattleBorn 100A batteries on hand. They slipped right in. I intended to swap out the standard charger for a lithium model. I researched on the PD site, and found that they offer a remote pendant that plugs into the 9260C, and converts it to lithium. It was less than $20, so I thought I’d try it. Here I am camping in my Oliver 4 1/2 years later and everything is still working well. It requires a manual push of a little button to boost the voltage, but I don't need to use it often, so it’s no hassle. I don’t usually have the charger turned on, I let the panels keep the batteries charged (we don’t have an inverter). Every 2-3 weeks I turn on the charger, fully charge the batteries, and then synchronize them to 100% using my Victron BMV 712 Battery Monitor. My lithium conversion consisted of adding the PD pendant, a Victron BMV 712 battery monitor, and a Blue Seas battery cutoff switch. I also disconnected the charge wire from the tow vehicle, which was easy to access under the port side bunk. In addition to a PD lithium charger, I also have a Redarc DC-to-DC converter on my wish list. I’ll probably eventually get them, but I haven’t needed either so far, and we dry camp more often than not. I like to keep it simple.2 points
-
It was great to meet you too, and yes it was at the dump station! Hopefully we'll see you at the National Rally!?2 points
-
If there’s a girl, my lord, in a flat bed ford slowin’ down to look at me, I’m sure Carol will handle it! I’ll just take it easy. 🤣2 points
-
2 points
-
I definitely want a picture of me/us standing on a corner in Winslow Arizona, such a fine sight to see!2 points
-
Here is a Jason W. post related to the Mother Road. Also perhaps a PM to Coy would find a bunch of information since I know that he has done it in the past. And, there is a KYD (Keep Your Daydream) entire series documenting their travel on 66 - see THIS. Bill2 points
-
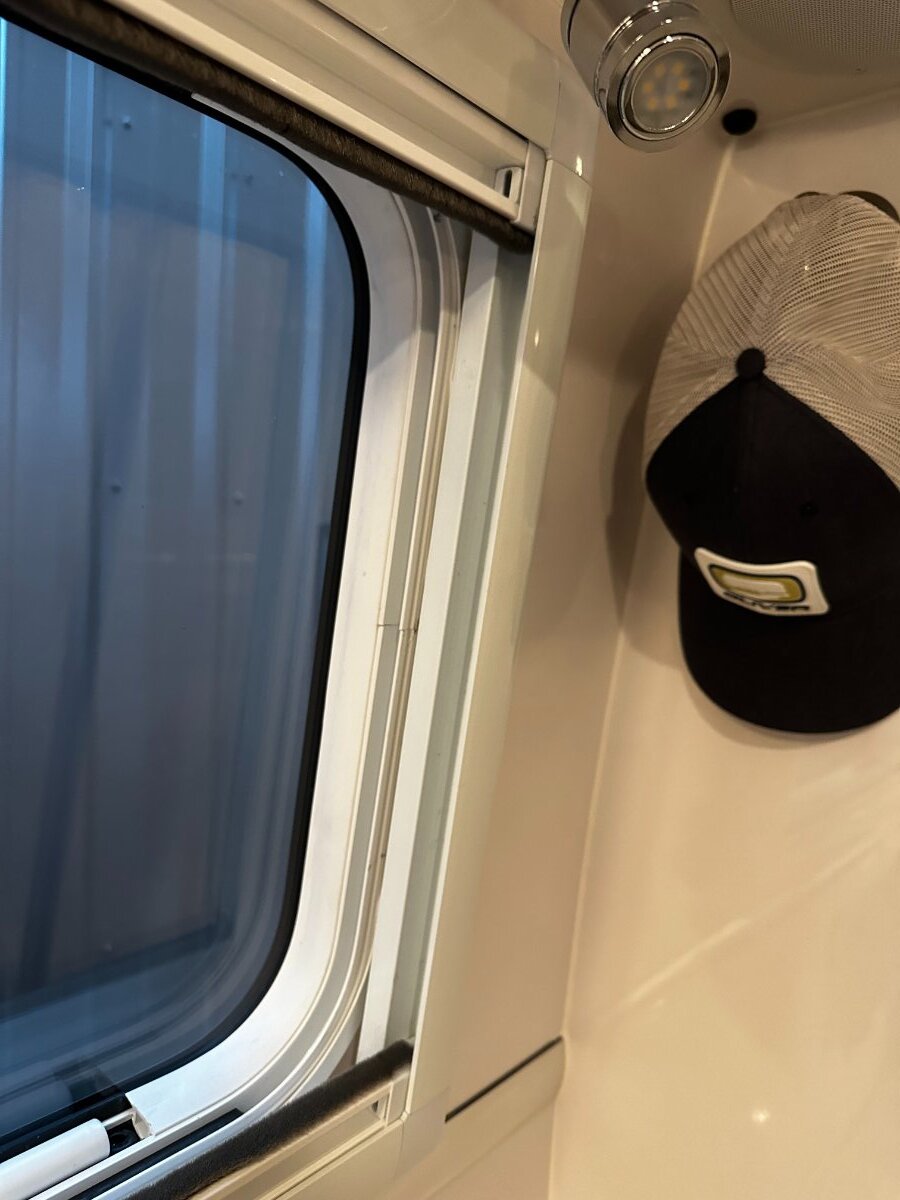
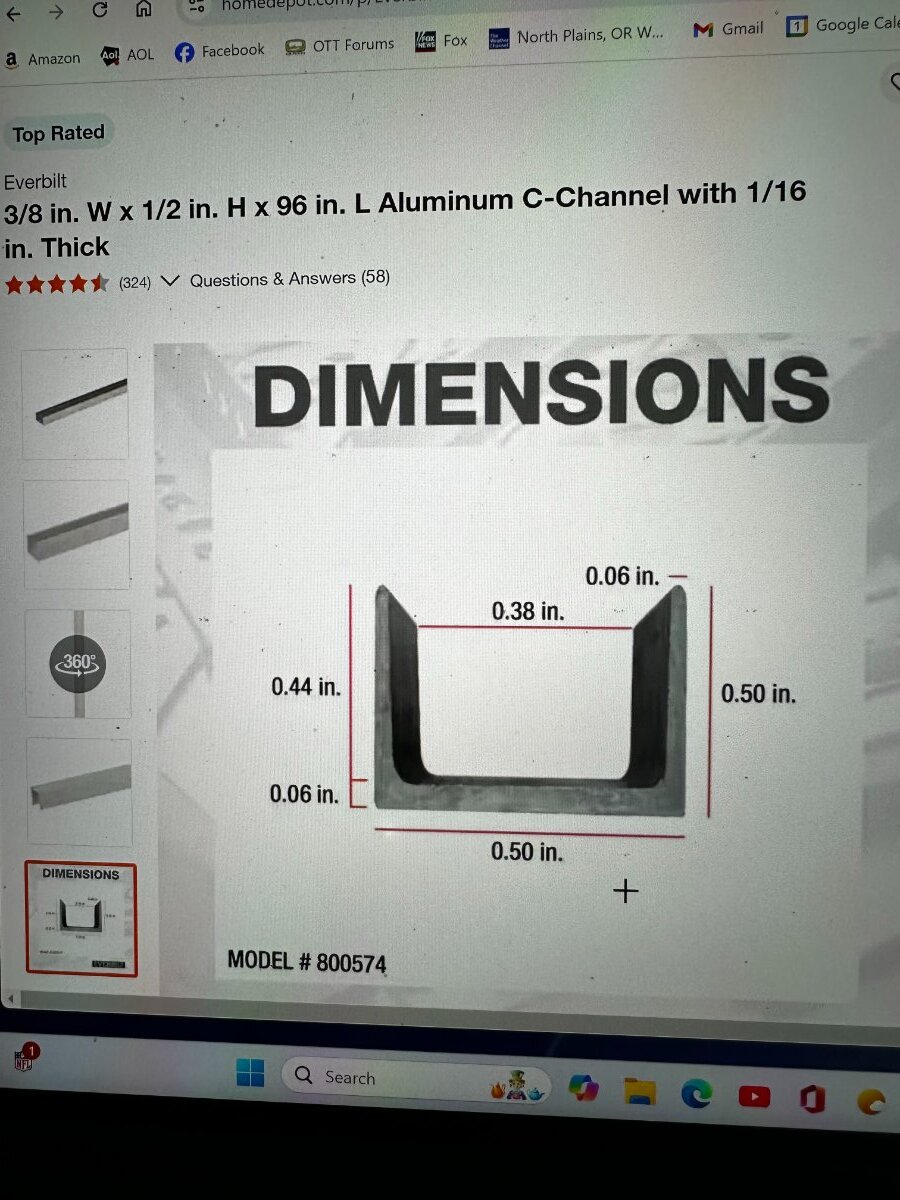
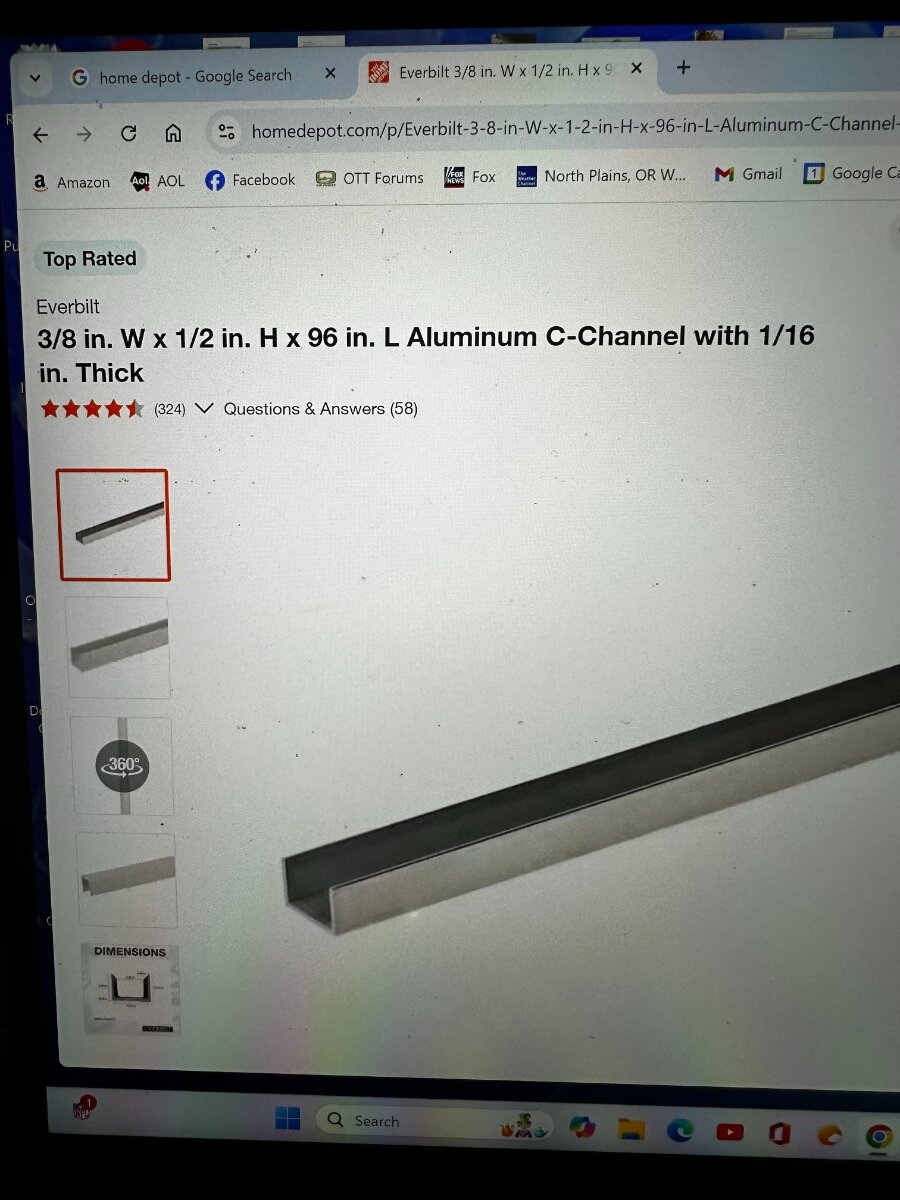
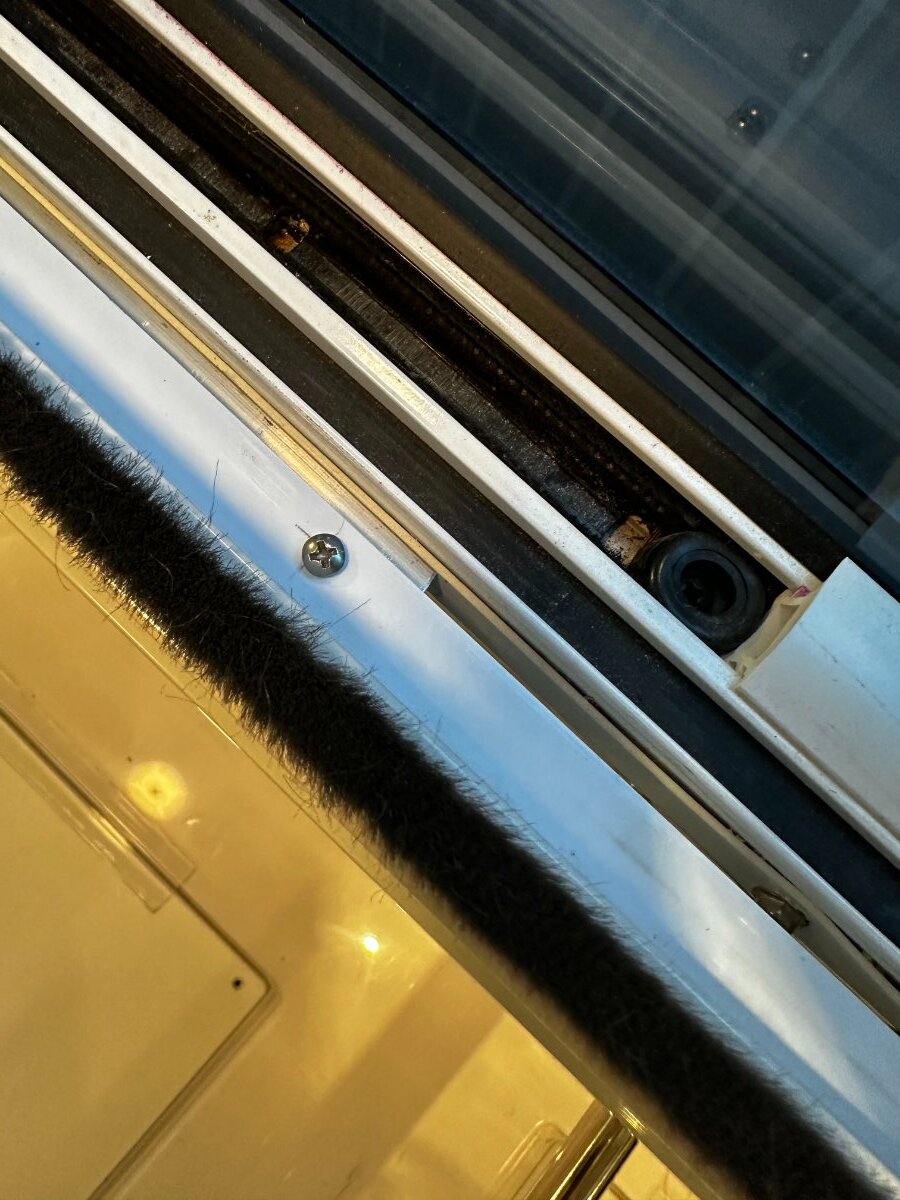
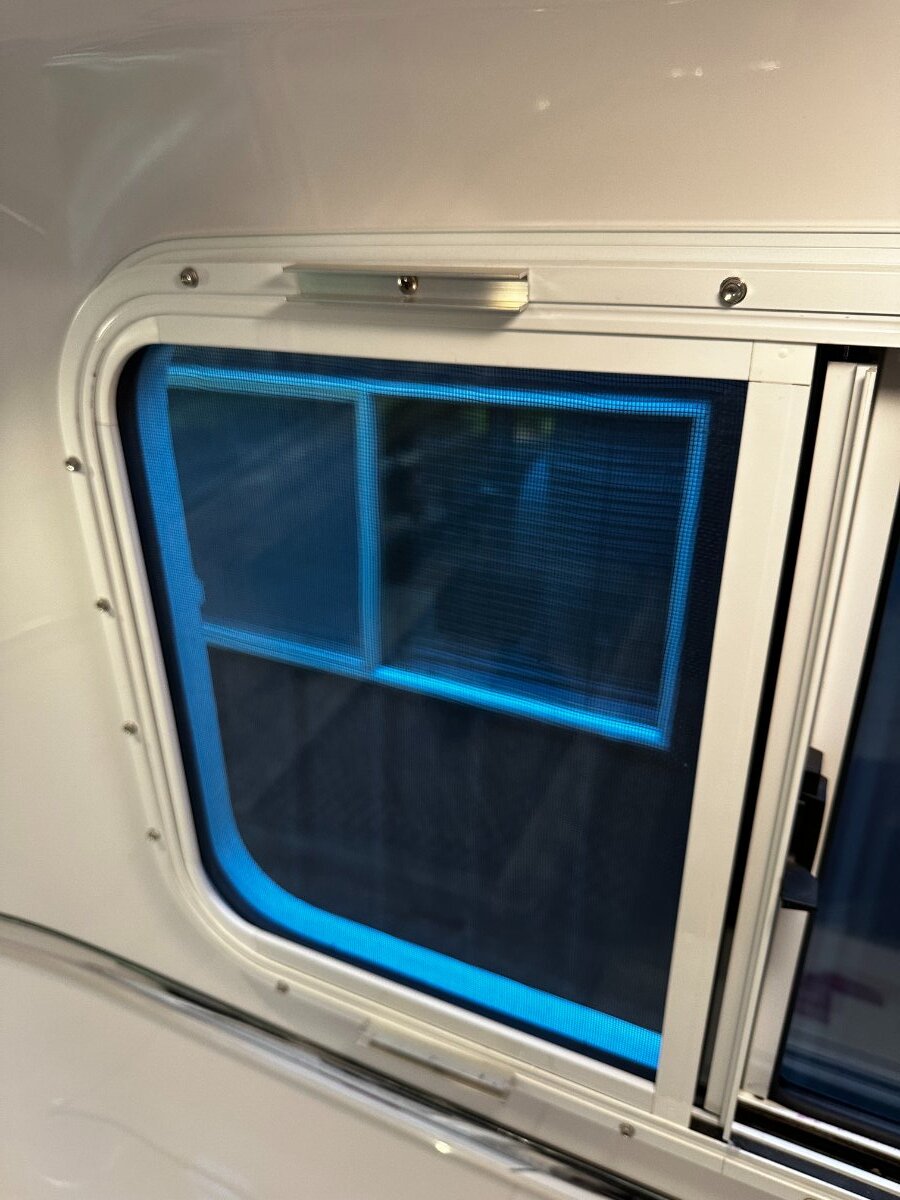
Fix for falling shade frames. I tried replacing the clips and applied silicone to help hold. Nope. The large shade frame fell off again on the last trip so I was determined to do something different. The shade frames will never fall off again. I removed all of the clips and their spacers. Cut and installed 4" long sections of aluminum c-channel purchased from Home Depot using original screws along with blue Loctite. Then placed the frames back on, drilled and attached the shade frames with #6 stainless steel screws. Fitment is perfect. Hope this helps others. Photos attached.
2 points
-
I’m starting to think about and plan a Route 66 trip. Does anyone have Route 66 experience or have any advice? We’ve done a lot of I-40 but never took the time to deviate on to the old highway where it still exists. Any recommendations for maps/guides? Mike1 point
-
Mike, there is a cycling map put out by the Adventure Cycling Association that is called Route 66 cycling map. I cycled part of the old highway 66 when I cycled from Amarillo, Texas to New Brunswick, Canada in 2019. There aren't a lot of original segments of route 66. We were on some parts when they were the frontage roads along I-40. No shoulder, two lanes, a little shallow curb to direct rain water. It's amazing that it was the main highway from Chicago to Santa Monica. There are some great sights along the way. Shamrock, Texas stood out to me. John1 point
-
Quartzsite -> Parker -> Lake Havasu -> Needles CA -> Kingman -> Peach Springs -> Colorado River, bottom of the Grand Canyon! Heading to Needles is a bit out of the way but you can pickup Route 66 there and take a truly scenic trip through Oatman AZ on the way to Kingman! If you’ve been to Lake Havasu and don’t care to visit again, you can take US 95 from Blythe to Needles CA or jog over from Parker AZ for a quicker route. If you don’t want to tow your Oliver down, there is Grand Canyon Caverns RV Park on Route 66 just 12 miles east of Peach Springs. I’m thinking of a New Year’s Day trip, also weather permitting. I’ll report back if we do it.1 point
-
Our Norcold fan is temperature driven so you can't necessarily rely on it as an indicator that the fridge is operating. It only runs when the fridge compartment reaches a set temperature.1 point
-
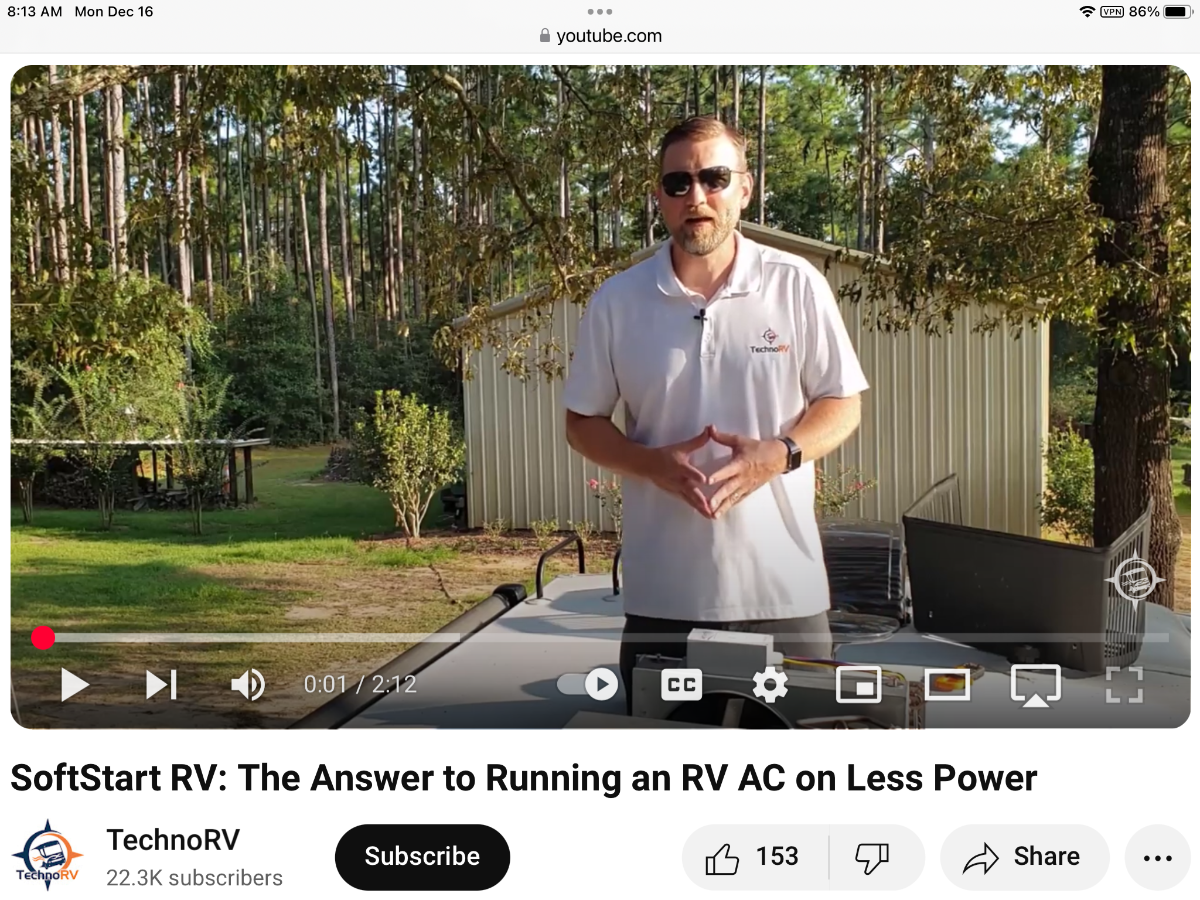
Don’t get me to ly’n! This video explains the purpose on a soft start; nothing you don’t already know, but may be informative to others less astute. This is a pic of the YT to search.
1 point
-
Indeed, recommended two over the battery(ies), and good measure to fold the tag end back over the cam then use a tie wrap. However, the buckle type with a flip down lever seem more secure and reliable. Regardless, metal of choice is stainless steel with precautions taken to avoid contact with battery terminals.1 point
-
Sounds like a rolling rally to me!1 point
-
Do you want to try this after leaving Quartzsite in February, weather permitting?1 point
-
Sounds like these Roller Cam cam lock straps would be a great choice for battery hold downs. Thanks GJ1 point
-
Just retraced the route from Oklahoma City into California 2 weeks back. It was pretty chilly at nights on that whole route. From our 2022 adventure: https://4-ever-hitched.com/route-66-2022 Craig1 point
-
Just watch out for that "flat bed Ford"!1 point
-
Coy is coming through San Antonio in January with Steve and Tali on their way to Q. We’re meeting them for dinner with Pete while they are here and I plan on picking Coy’s brain on his trip along Route 66. Thanks for reminding me about Jason’s post, I’d forgotten about it. Mike1 point
-
One time we camped close to Rt. 66 Winslow AZ, Homolovi State Park. https://azstateparks.com/homolovi Nice SP and happened to be a car show on Main Street @ Winslow on Rt. 66. Just off of I40, too. Very enjoyable day.1 point
-
Exactly, the blue straps with plastic fasteners are not adequate for this application, even as secondary securement. The cam lock straps are strength test rated and can be cinched down to the extent of one’s own strength; pressure on the cam releases the tension. For optimum securement and safety reasons, a ratchet strap would actually be the best choice.1 point
-
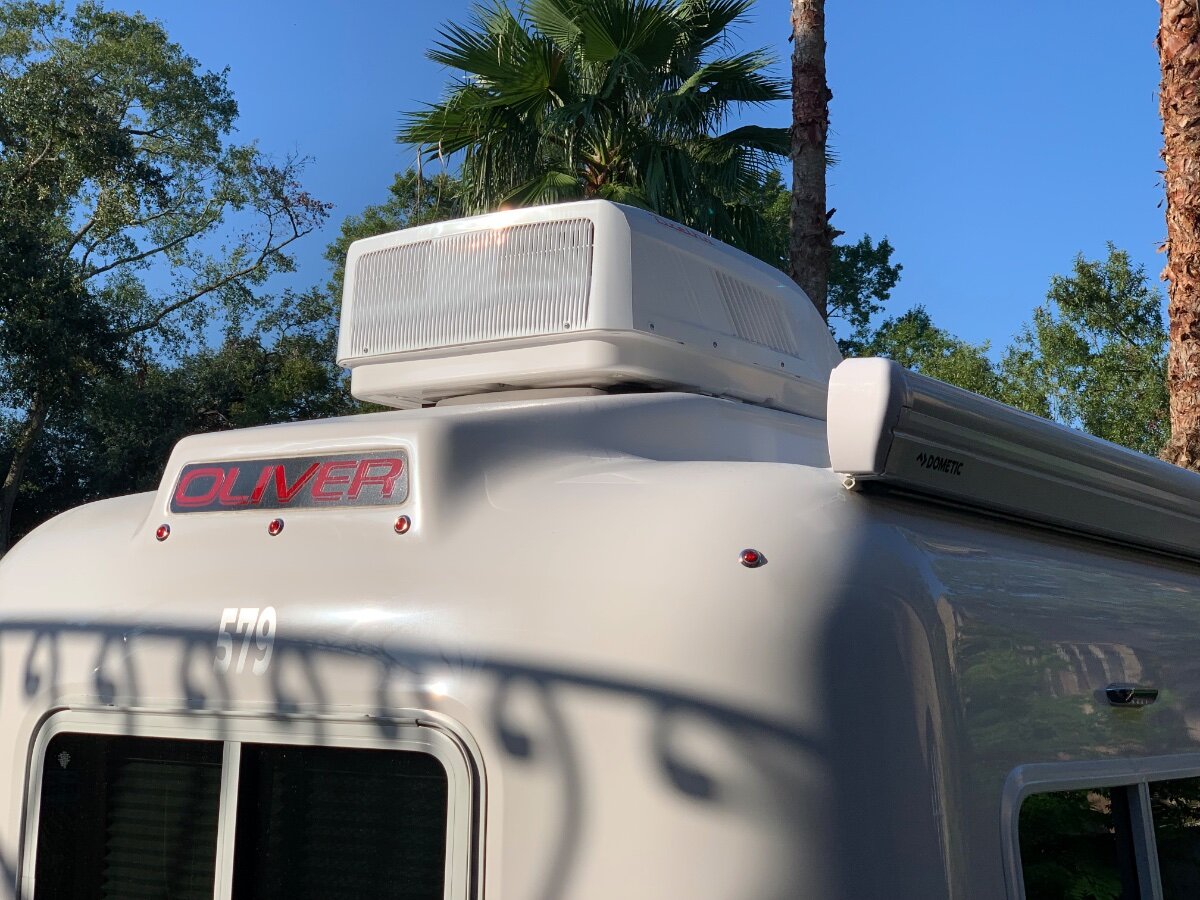
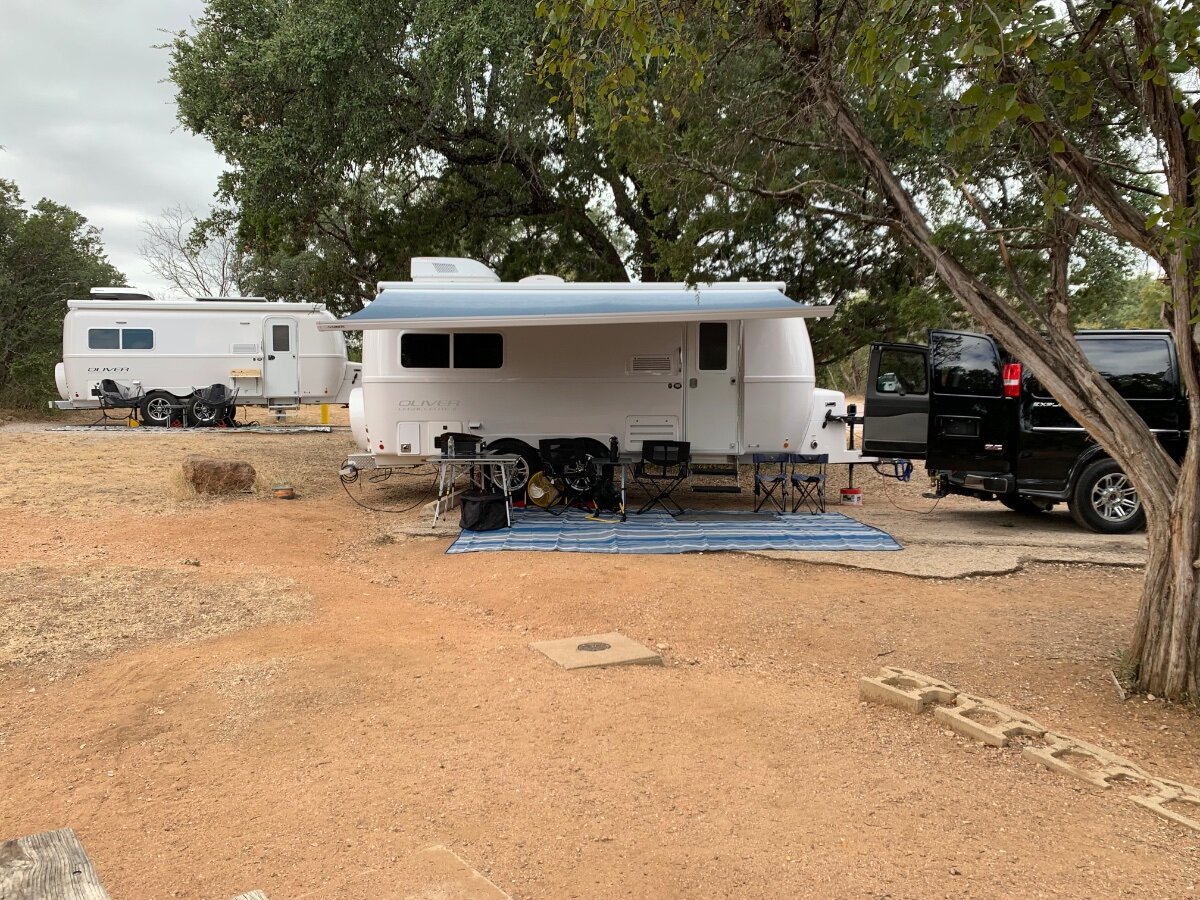
Your Oliver really enhanced our campsite view, take care!
1 point
-
I recently went through this and replaced the original PD9260 (lead battery only) with a new PD9360 (selectable battery profiles). The 9360 is a bolt-for-bolt replacement and dropped right in with no alterations. Also a warm-fuzzy that many Lithium suppliers recommend this exact device for their batteries. I also installed the Redarc BCDC1212S to isolate the 7-way connector (tow vehicle) from the battery, while supplying some charge current and not requiring any additional heavy-gauge wire. A bonus is the Redarc BCDC1212S has a solar mppt controller built-in for future roof-top solar.1 point
-
Back to the original question - To make this even more simple you don't really have to even swap the PD charger! The old charger will still charge the new lithiums but it will not "fully" charge them nor charge them in the absolute best manner. However, it will not damage them. Another item to consider though is that you do not want to use the charging system to "equalize" the lithium batteries. Therefore, make sure that this feature in your charging system is turned OFF. Bill1 point
-
I received the following from my storage facility today: Dear Tenants, We hope everyone is doing well and enjoying the holiday season!! We are writing to let you know that we will be adding a line item to the lease regarding Lithium batteries and storage as many insurance companies are starting to NOT cover damage due to fires caused by lithium batteries. Per the previous, the following verbiage is being added to all current leases: "From hence forth, lithium batteries are strictly prohibitid from storage and or charging without express written consent from Landlord. Tenant will be liable for any damages resulting from charging any type of batteries" If you have any questions please do not hesitate to call. I haven't yet called. Has anyone received such a notification or have any info regarding this?0 points


-
Recent Achievements
-


")


")


")


