Leaderboard


Popular Content
Showing content with the highest reputation on 12/28/2024 in all areas
-
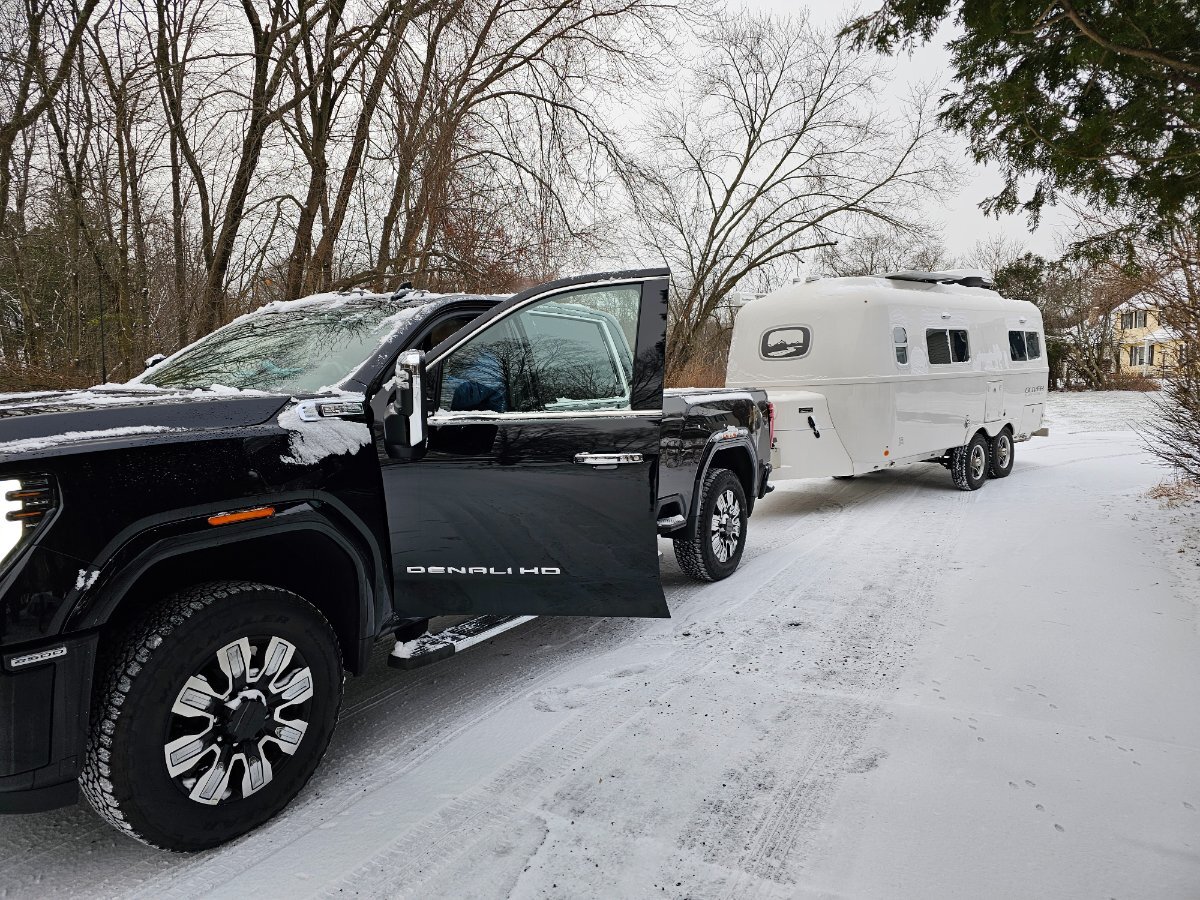
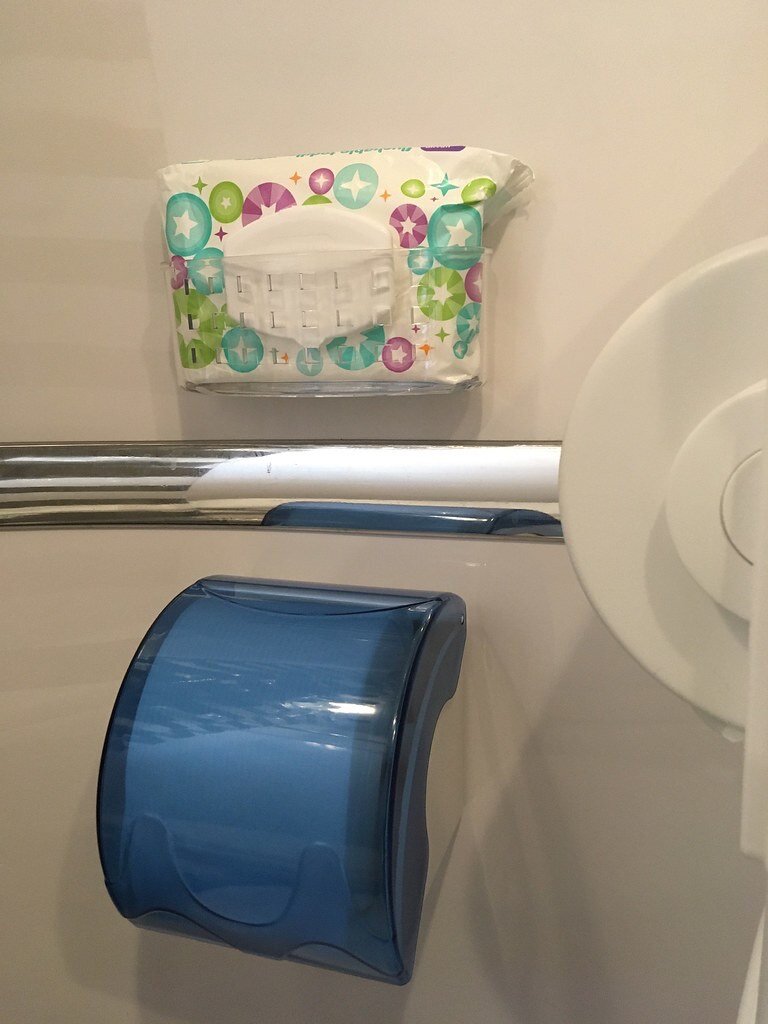
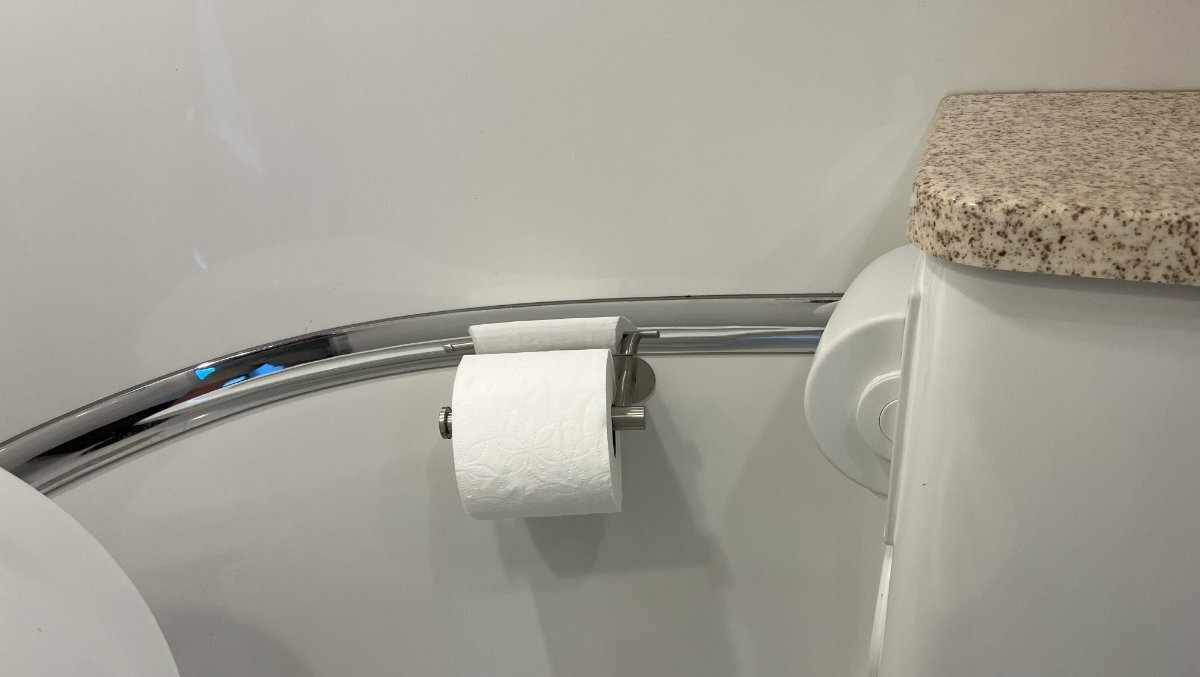
We are the new owners of Piccolino (original name as we have not yet had a decommissioning/recommissioning ceremony with appropriate amounts of rum to change the name) hull # 1346 and are on our inaugural trip from MA to Mayport FL. We had a fabulous experience with the previous owners and are thrilled with our new rolling nest and our new tow vehicle aka The Beast, 2024 GMC 2500HD Denali using the Gen-y Boss hitch. Jason and Kelly were so helpful as we marched up our learning curve in towing and Oliver's. This forum has also been a great source of information, thanks to you all. So far, our tow experience has been great, feeling very stable and at ease underway. Our first two nights saw temperatures down to 14F and we remained warm and dry. Unit is winterized with composting head so no worries for frozen lines. We have previously owned a 2016 J Navion and a 2019 Tiffen 34PA and are finding our Oliver to be so well designed, engineered and manufactured. But I have to admit, I still need to understand how the toilet paper holder is designed! See you on the road!
 5 points
 -
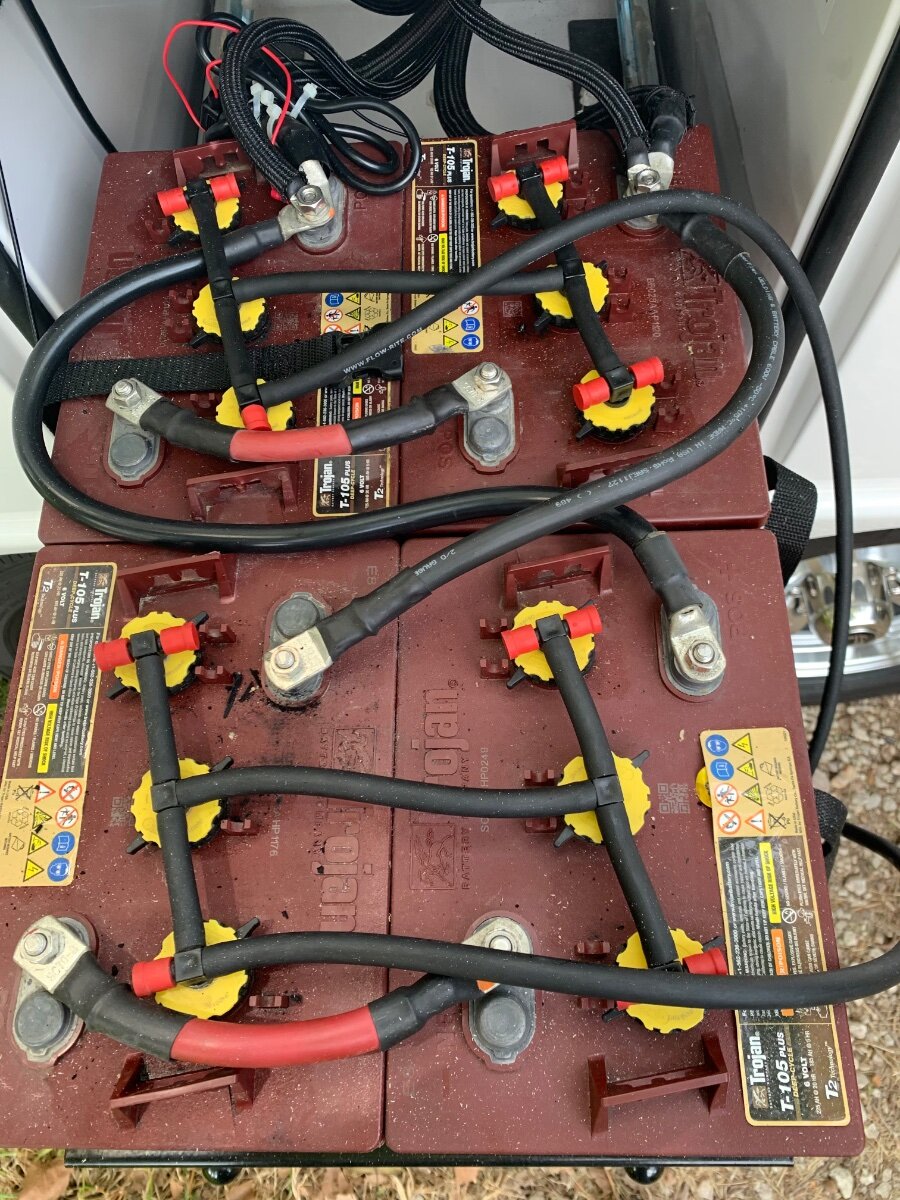
Our 2020 OLEll 579 was ordered with the stock Brightway battery bank, Xantrex 2000W inverter and no solar. I soon ditched the Brightways and installed four Trojan T-105 6V batteries my Son gifted me when he upgraded his motorhome to LiFePO4s. Last year I upgraded to LFPs, specifically two LiTime 230Ah batteries. I changed settings in the Xantrex for the new battery type and disconnected the vehicle charging wire at the 7-way cable connector. I, as well as @topgun2, have detailed the installation of said batteries in respective posts. I have had no issues using my Xantrex with this setup, and have also taken measures to operate the a/c on battery, as well.
2 points
-
Another back up plan and mod. Tight quarters may curtail proper implementation of any suggested ‘backing up’ maneuvers!
2 points
-
Waterproof Toilet Paper🤣🤣2 points
-
We went a similar Class-A, Class-C to Oliver route. Now I'm comfortable driving to any campsite in the National Forest! TP NP, as great as the Oliver is, it will need some mods!
2 points
-
@ScubaRx gave you the basic math. So you currently have 50% of 368 for 184AH usable. The inexpensive LiTime 230 at 90% is 207AH. This would be a 12% increase in useful capacity. There should be room for two of these in the slide-out tray for future upgrade. Glad to help Gary. There are several members here who have installed LiTime batteries who could chime in on their performance. I went Epoch to achieve 2x 300AH for 600AH in the tray.2 points
-
Your usable amp hours of 368 would be half that amount, 184ah. You should never run LA batteries below 50%. It will significantly shorten their life. Lithium's, on the other hand, can be take down to 0% (best practice is 10%) without harm. Lithium's biggest shortcoming is that you should not try to charge them if the ambient temp in the battery box is below 32 degrees F. My advice would be to buy the biggest LiFePO4 battery you can afford.2 points
-
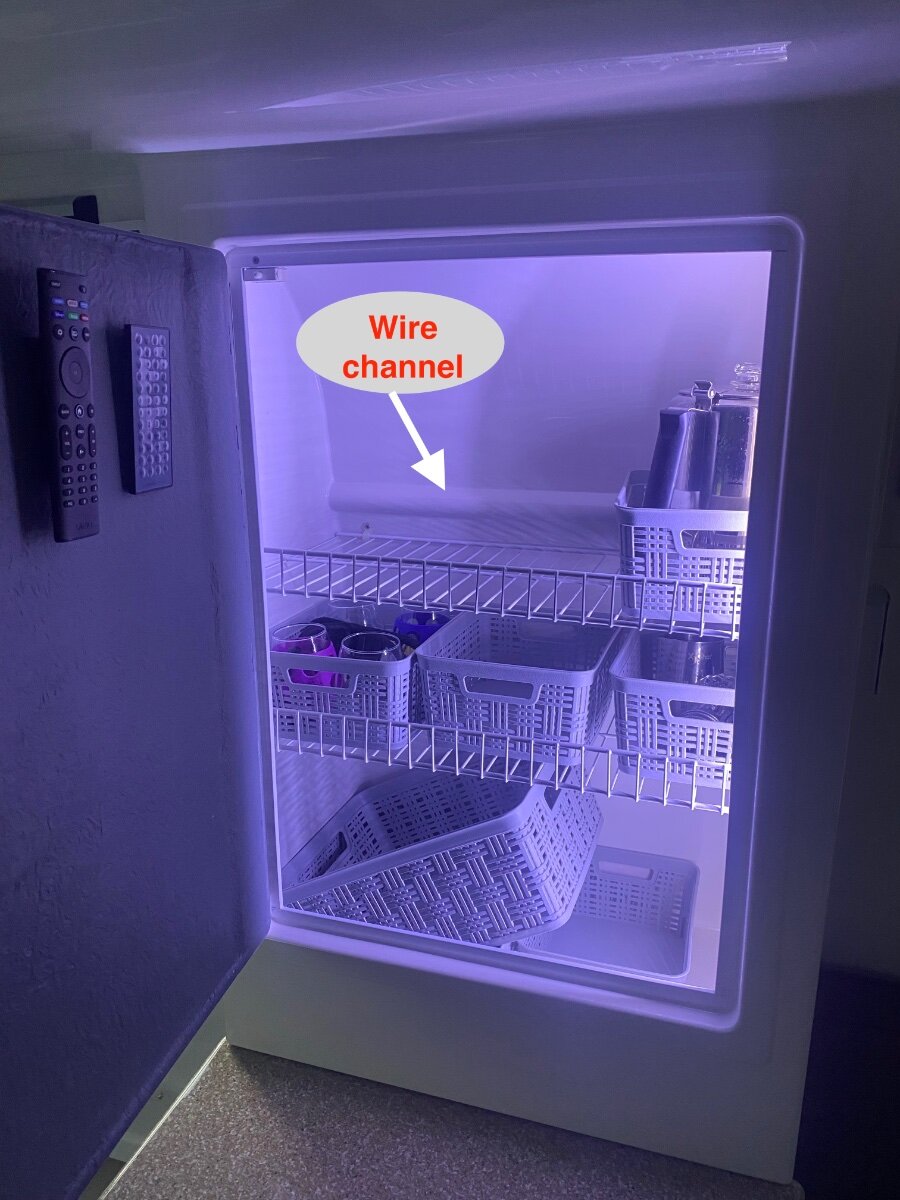
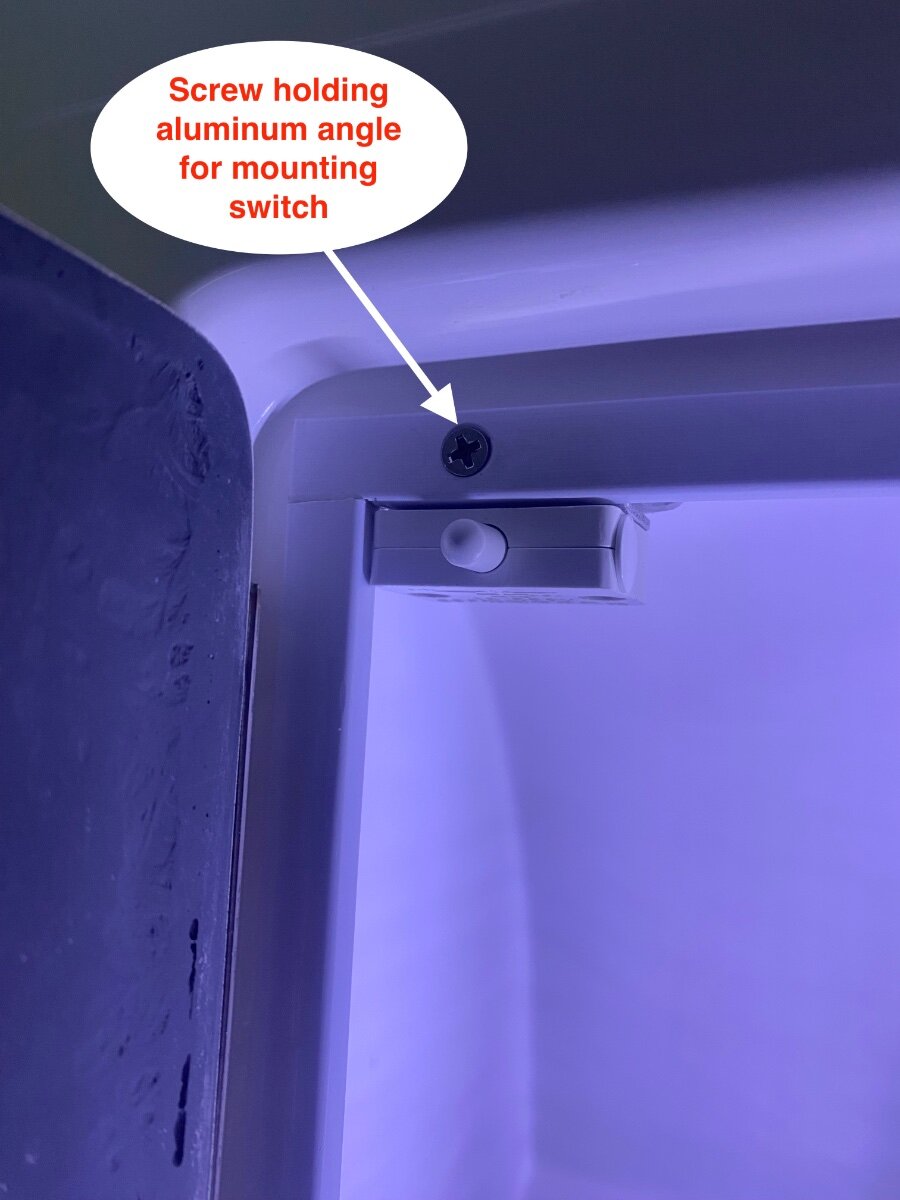
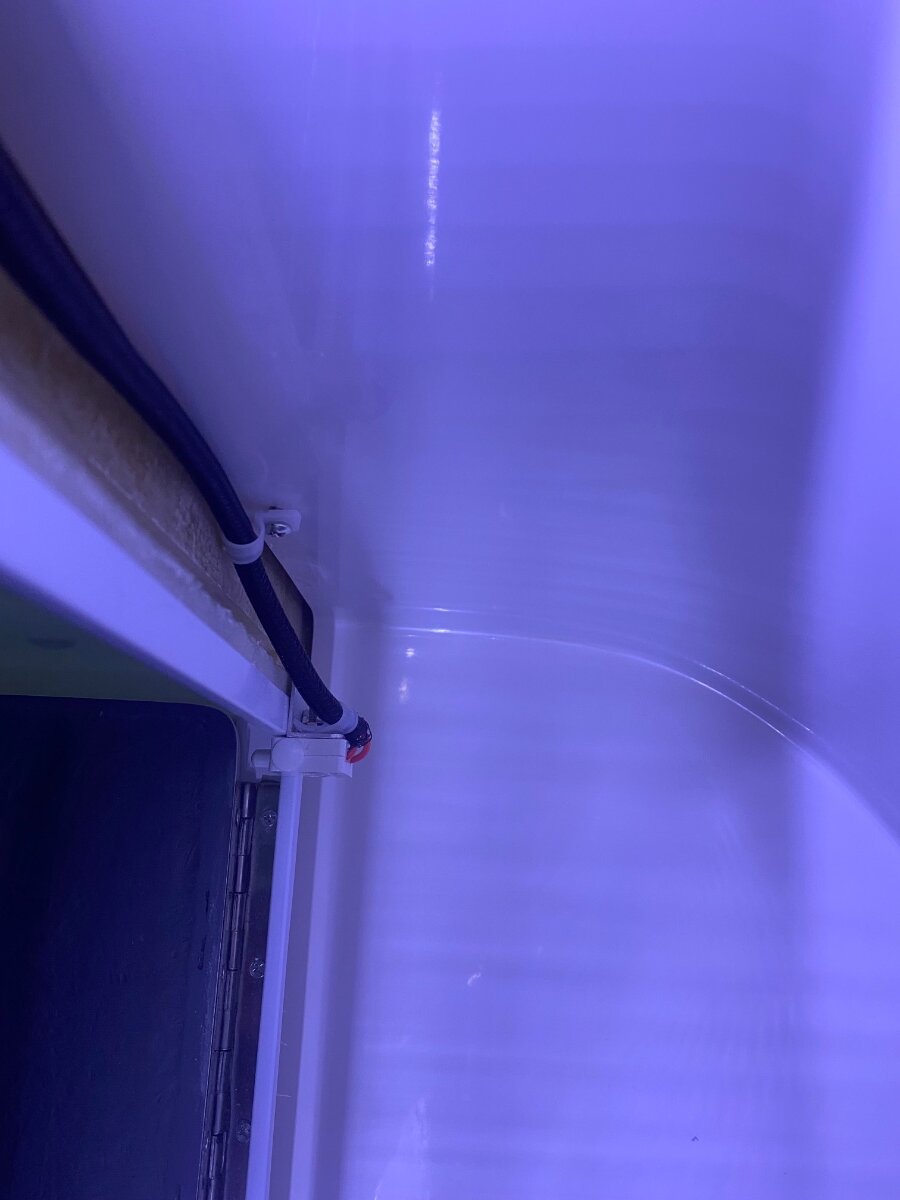
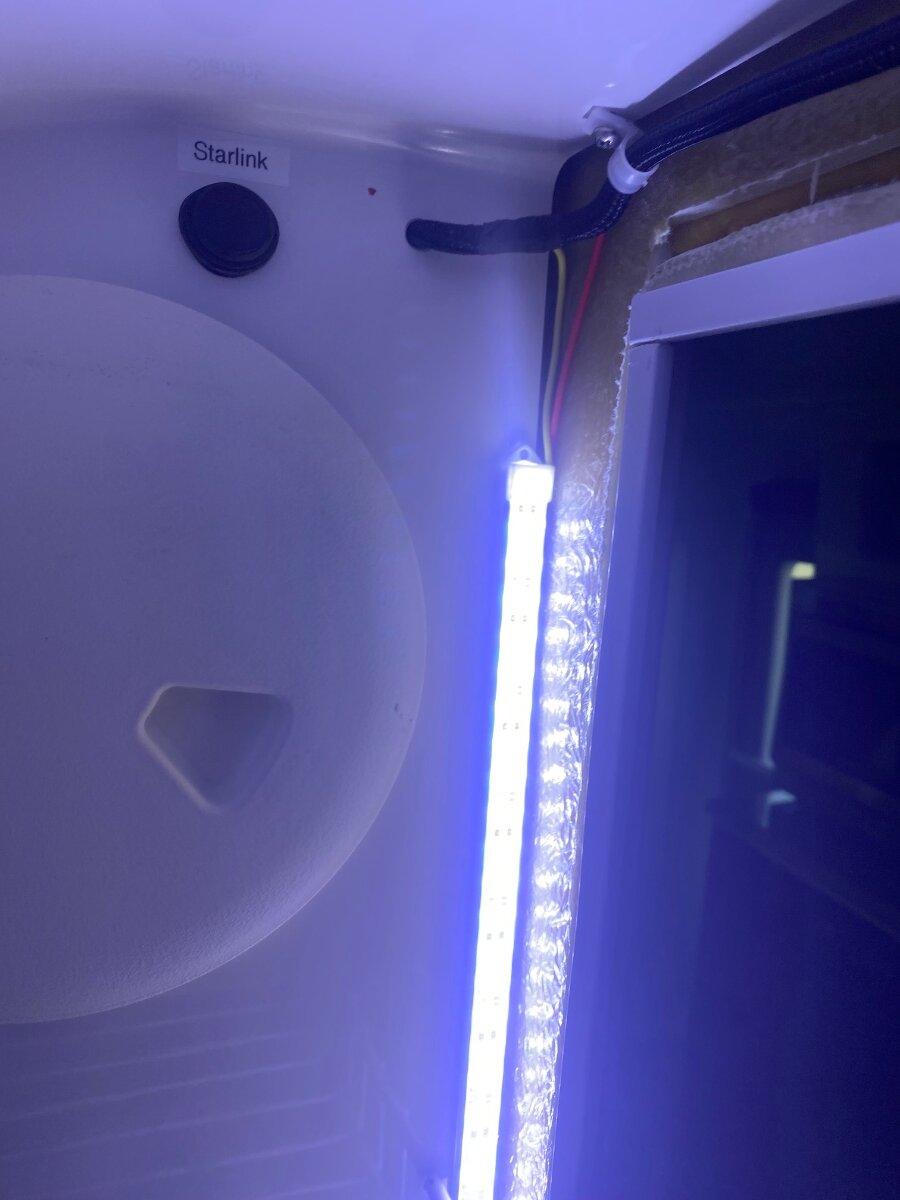
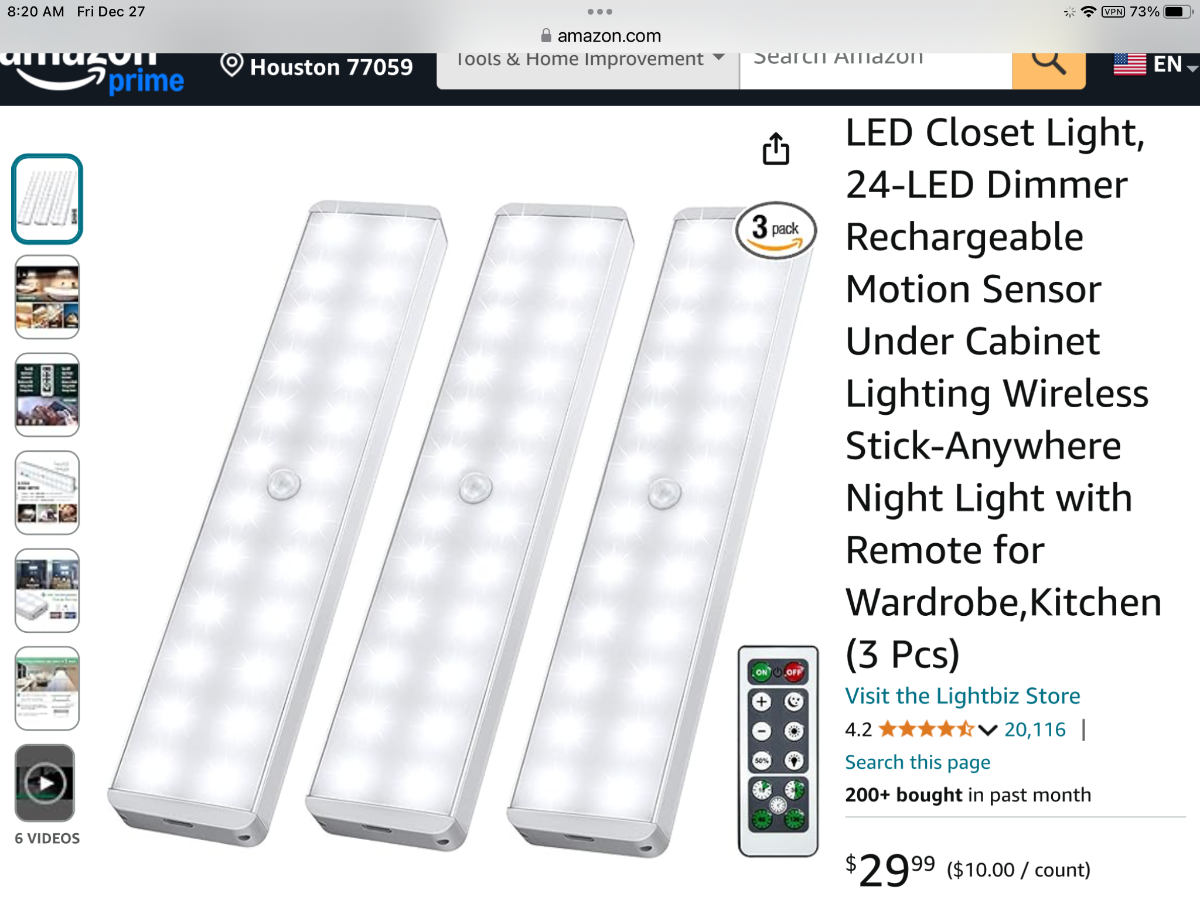
I’ve awoken wifey more than a few times; noisily groping around in the dark looking for a tasty midnight snack. So it occurred to me, why not install automatic pantry lights. . . ones that won’t light up the whole trailer? In a previous post, “Lighting the Abyss automatically,” I similarly installed closet lights that turn on when the door is opened and wifey loved it. So here was a perfect opportunity to use the leftover LEDs and switches from the Amazon 4-packs. This is an easy modification, except that there wasn’t a hot wire in that location. Well actually there is a hot wire for the radio, but I wanted one that’s on the master switch that shuts all the lights off at once. So I’ve done the hard part by figuring out how to get a hot wire from the master switch to the lights. I’m not allowed to make any visible holes or have exposed wiring, so I fished the wires from the rear street-side overhead cabinet - behind the pantry - and into the space behind the radio. There are wire channels in the overhead cabinets under the mats and Oliver conveniently moulded a wire channel in the back of the pantry to join them together. It’s easy to snake a fish-rod through the channel to pull a new hot and ground wire through. I’ve found that a $12 Amazon fiberglass sectional fish rod works great for fishing wires in the Oliver because you can add sections as you push it through. It’s a good idea to pull a string through with the wires incase there’s a need to add more wires in the future. Once the wires are fished though, they can be spliced to the under cabinet touch light. The lights wiring is covered by black duct tape under the mat, and there is enough room to tuck a butt splice in the slot. However, I personally preferred splicing into the lighting circuit in the attic where there is more room. This requires a clamp-on amp probe to find the lighting circuit while turning the lights on and off. Be mindful that the master switch wire is there too and it will also show current, and don’t ask me how I know! 1/2 sheet metal screws work well to attach the LED light bars, or use good double stick tape. There is an air gap between the inside and outside walls of the pantry, and screw holes can be drilled through the inside wall in the same way as Oliver did for the shelf mounts. Just be careful not to drill all the way through the outside layer. I put two LED bars end-to-end on the right side of the pantry where they can’t be seen. A piece of 1” aluminum angle was screwed to the upper left corner to mount the cabinet light switch, and the wires were sheathed and secured with cable clamps behind the door frame. Bon Appetit! Cheers, Geoff
1 point
-
Good morning, my brightway battries are on ther way out on my 2020 hull 994. Can I get agm instead of the brighyways with no modifications to the system.Will the charger charge the same as it did for the brightways.I have no solor but have a xantrex inverter 2000 ( Thanks JD).
1 point
-
Welcome to the group! Glad you’re able to get on the road so fast, you’ll find it so easy to tow with your “Beast”! Mike1 point
-
Congrats on your new to you Oliver and welcome to the forum. Ask lots of questions and enjoy safe travels.1 point
-
No one told you! It's automatic! All you have to do is figure out a way of backing up to it.😁 Welcome to our world and its great to have you as a part of the family. Have a safe trip and if you've not already done so - give the Oliver University a through look. Bill1 point
-
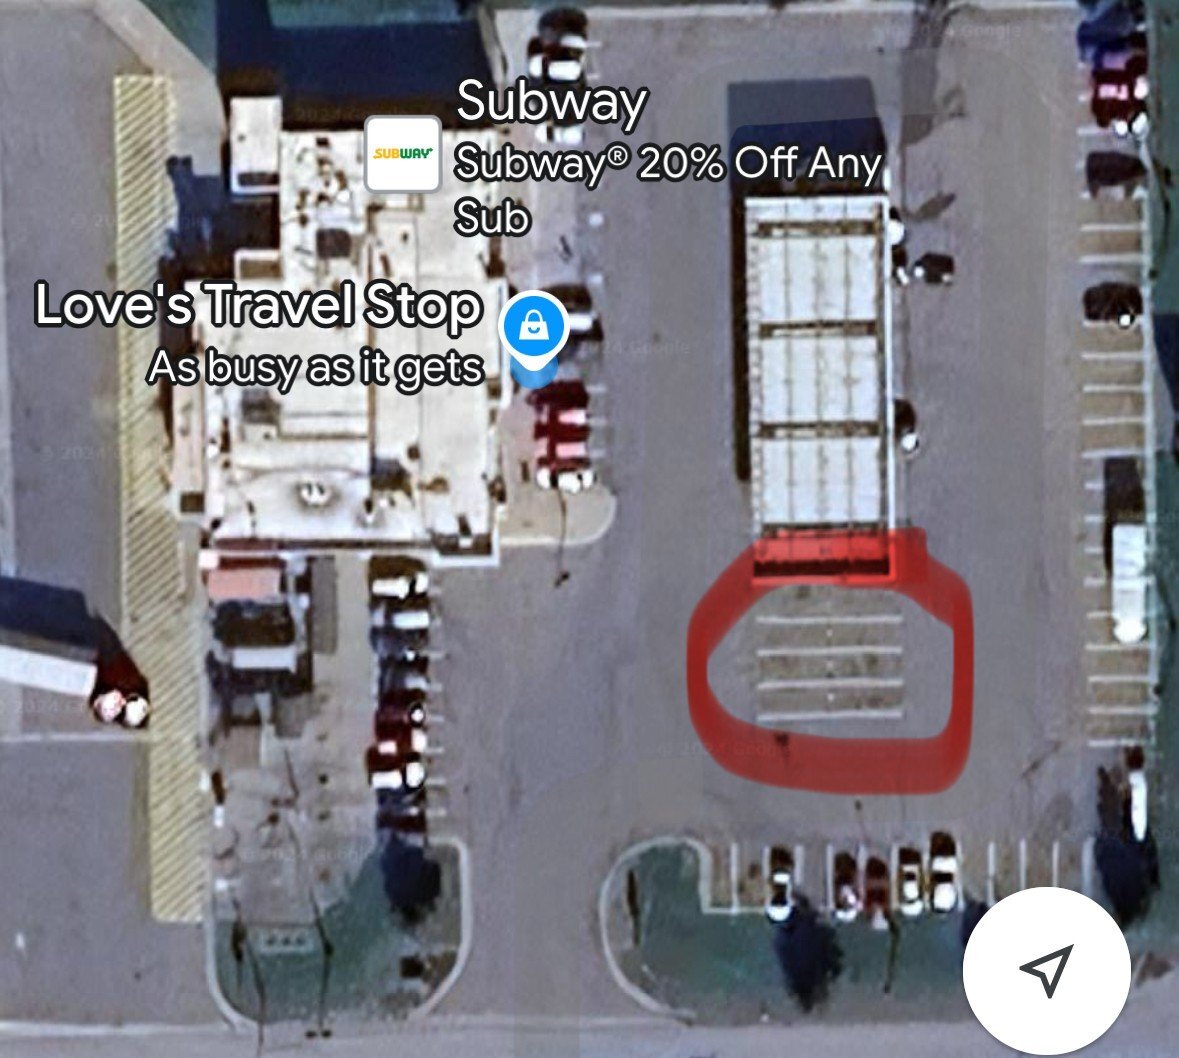
@dewdev we stayed mostly at Love's during our trek down from Guelph (Canada) to Quartzsite recently, and we loved it! We did not stay at the Love's campgrounds, too $$ for our liking at $50ish when they also have free overnight designated RV stops. Obviously like Walmart and Cracker Barrel these parking spots are dry camping for overnight parking where you don't unhich, but they're open 24hrs, just off the main highway, facilities are clean, its safe, I get 10c off a gallon, and they have good coffee! Now that said, these RV parking spots are right beside the auto gas pumps (pic of Love's in Hubbard below), so it could be too noisy for some people, I sleep with earplugs and no issues with noise, and my wife sleeps like a baby even without earplugs.
1 point
-
This is what I would do if I needed to upgrade to LiFePo4 (Lithium Iron Phosphate) batteries. It appears you have upgraded to a Xantrex inverter. Is it compatible with 600 Ah of lithium batteries, which charge at a higher voltage, and with a different charging protocol, than lead-acid batteries?1 point
-
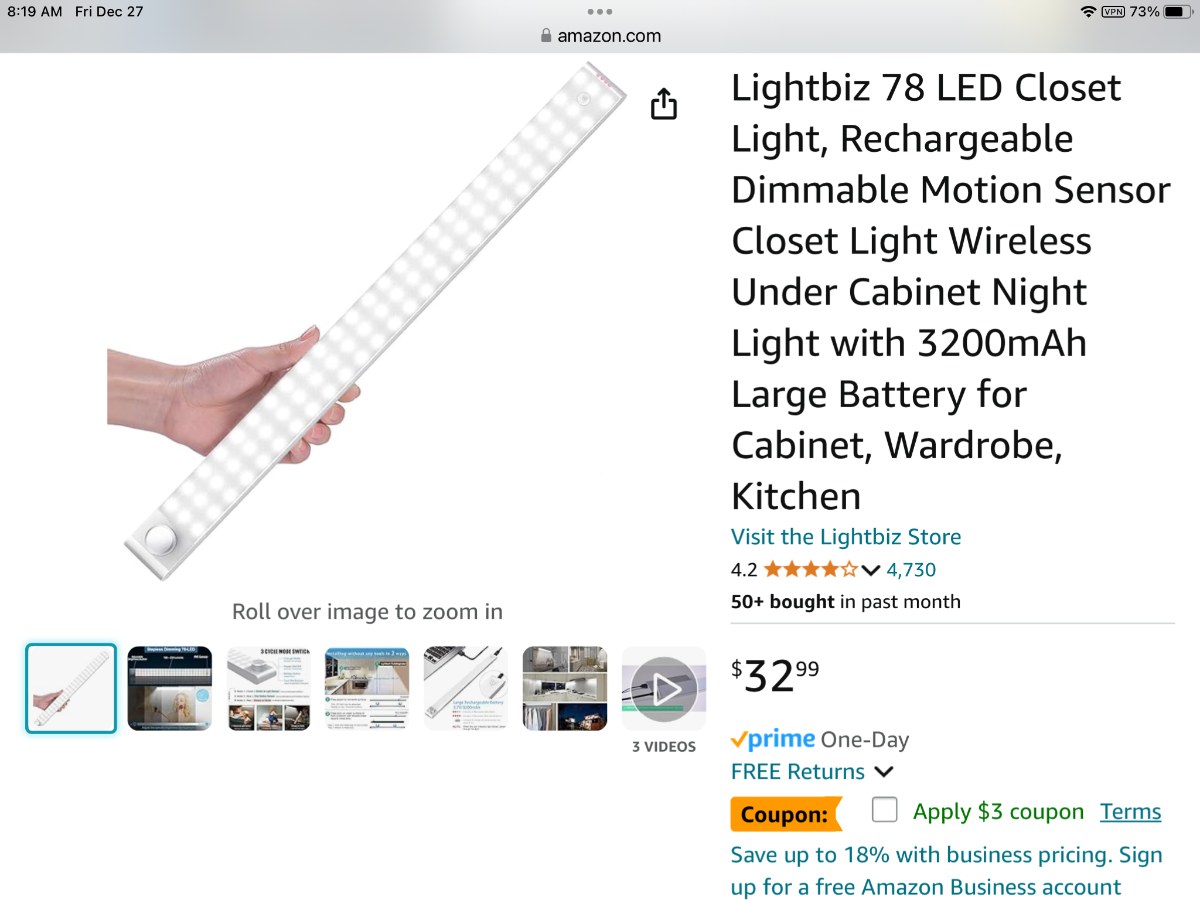
I went the easy route and installed LED closet lights; rechargeable, dimmable, motion sensor and wireless. Larger ones in the pantry and under the curbside bed, smaller in the battery bay and dinette seat hatches. Easy mount with a magnetic strip and long battery life.
1 point
-
I don't think you can have over 225 of usable amp hours in a lead acid battery setup in an Elite II. It's usually about 200ah. Do you have 6v or 12v batteries.1 point
-
Hey Gary, money spent on 4 AGM batteries today, you really should just buy one LiTime 260AH for about $470. You can save money and over 100 LBS and remove all those short battery-to-battery cables for the same usable AHs! This is a minor mod compared to work you did in adding your Xantrex inverter. Read through this post. At the bottom @Hokieman mentions a $20 pendant to upgrade your OEM charger for LiFePO4 charging.1 point
-
Give in! Give in! Give in!1 point
-
I didn’t see where your PD charger model is listed, so not sure if what I did will help you. I have a PD 9260C, for lead-acid or AGM batteries. I ordered my Oliver with a basic 340W solar package, and two standard lead-acid batteries (no longer an option). I sold the batteries on Facebook Marketplace as soon as I got home, and I already had two BattleBorn 100A batteries on hand. They slipped right in. I intended to swap out the standard charger for a lithium model. I researched on the PD site, and found that they offer a remote pendant that plugs into the 9260C, and converts it to lithium. It was less than $20, so I thought I’d try it. Here I am camping in my Oliver 4 1/2 years later and everything is still working well. It requires a manual push of a little button to boost the voltage, but I don't need to use it often, so it’s no hassle. I don’t usually have the charger turned on, I let the panels keep the batteries charged (we don’t have an inverter). Every 2-3 weeks I turn on the charger, fully charge the batteries, and then synchronize them to 100% using my Victron BMV 712 Battery Monitor. My lithium conversion consisted of adding the PD pendant, a Victron BMV 712 battery monitor, and a Blue Seas battery cutoff switch. I also disconnected the charge wire from the tow vehicle, which was easy to access under the port side bunk. In addition to a PD lithium charger, I also have a Redarc DC-to-DC converter on my wish list. I’ll probably eventually get them, but I haven’t needed either so far, and we dry camp more often than not. I like to keep it simple.1 point
-
I found WD40 works well to remove VHB adhesive residue.1 point
-
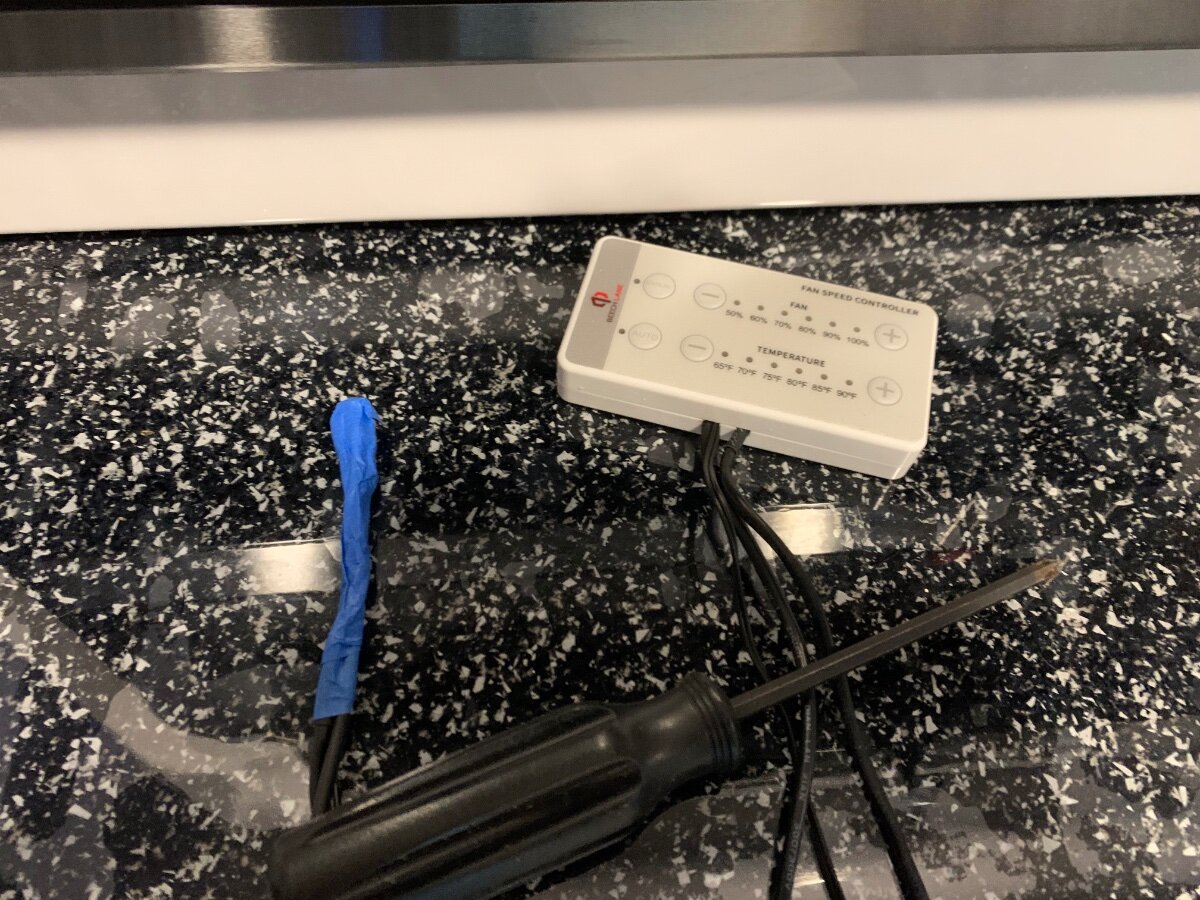
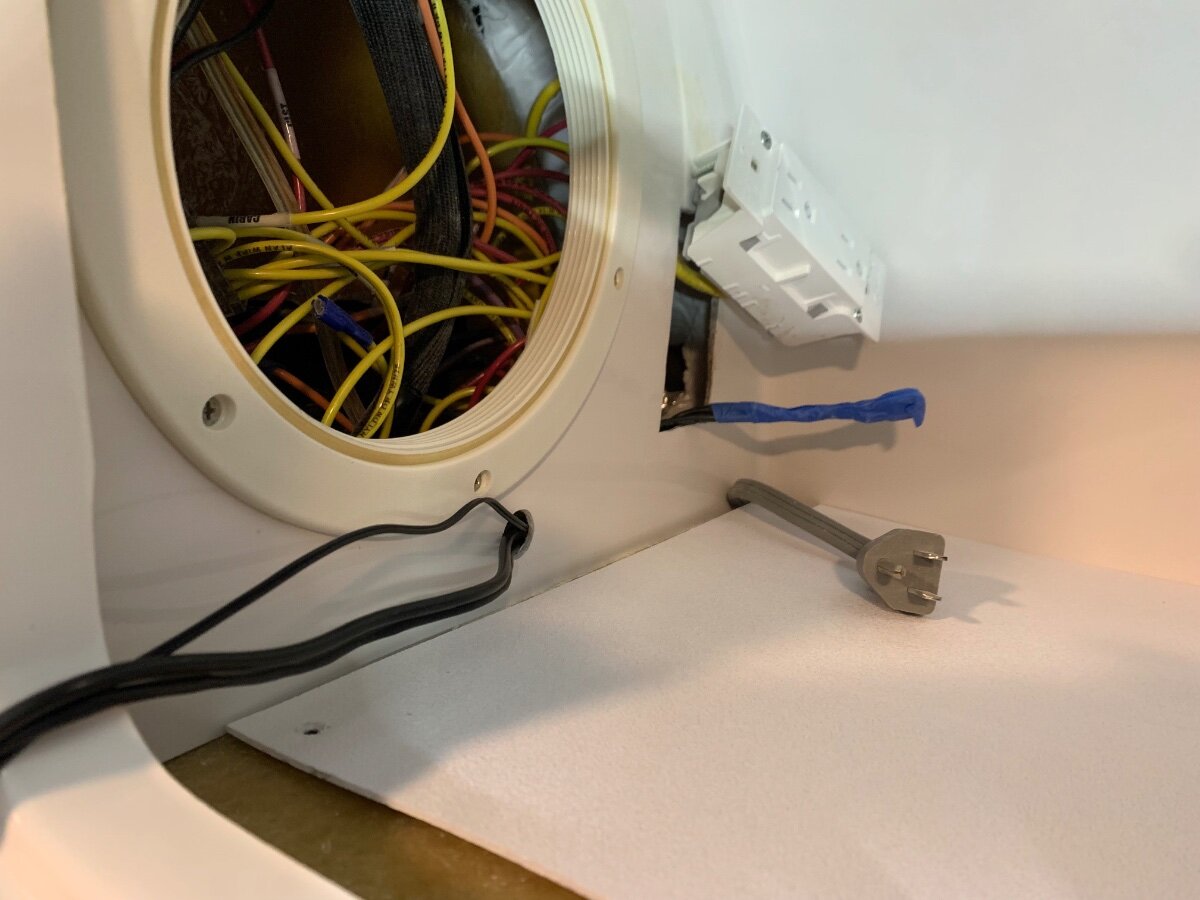
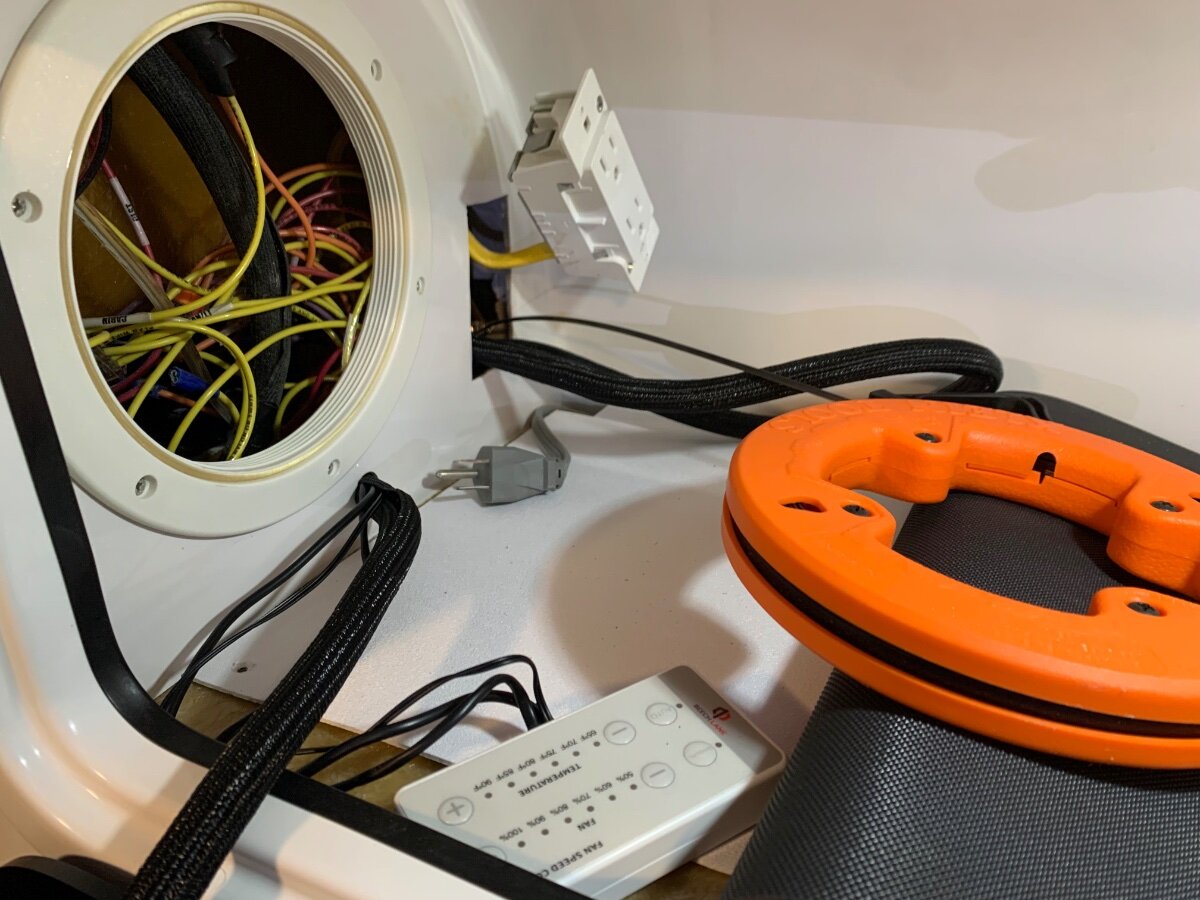
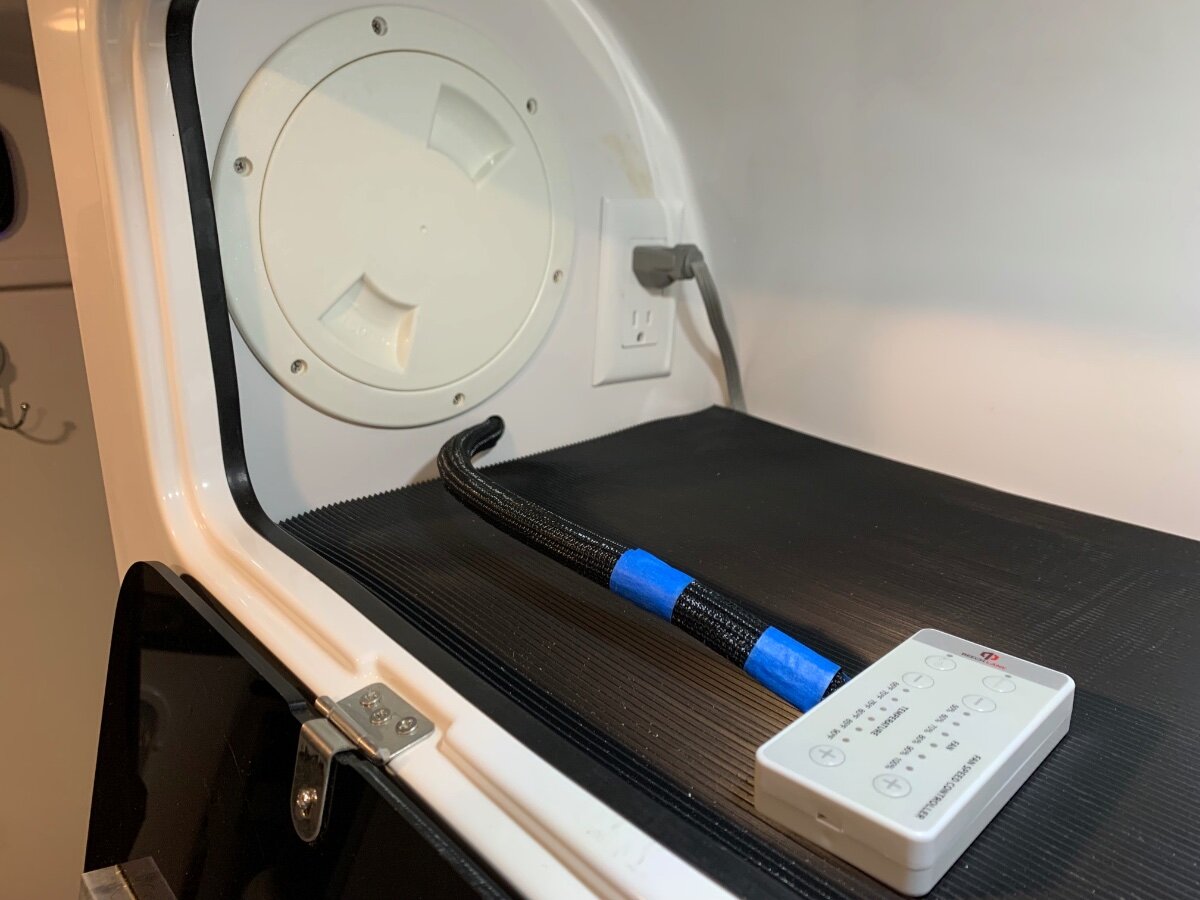
I recently installed the Beech Lane dual fans and was able to run wires from the interior cabinet, above the microwave/Norcold, down and behind both units for the fan control panel/harness and power connections in the upper and lower exterior vent/cover areas, respectively. Access for fishing the wires required folding back the cabinet’s protective mat liner, removing the round access port cover and detaching the AC outlet box (after turning power off at the breaker) that the microwave plugs into, as well as drilling a hole (see pics). Additionally, I had to remove the foil tape and angled aluminum plate that occurs behind the upper exterior vent/cover to enable the wire fishing process; specifically, the fiberglass divide between the two units inhibits passage wherein a visual and physical interaction may be necessary. Regarding your wall switch, if you could get 12V power of appropriate gauge wire to it, then power wires would not have to be fished down to the lower reaches of the fridge for connection. Steps taken in prep to fish wires. There was a passageway found inside the outlet cutout to the lower right, other side of the interior cabinet wall from the microwave power cord, leading to the upper exterior vent/cover area Control panel wires prepped for fishing. Wire loom installed during stages of fish process. Routing completed to upper exterior vent/cover area. Interior cabinet buttoned up! Quick connects used at 12V power connections.
1 point
-
FYI: Our experience shows these low-current draw fans allows the fridge a higher efficiency for any given ambient conditions - also makes me wonder why the heck they're not included as OEM from Dometic and Norcold back in the day....(?)1 point
-
@Geronimo John, the airflow around the fans is unobstructed. I suspect what you are seeing is the sloped interior wall above the refrigerator covered in aluminum tape. The fans do pull outside air into the lower vent and out the upper vent, where they are mounted. The flow of air is noticeable and I usually have them running at 50% of max speed, or less. The two fans easily produce sufficient airflow to significantly improve the performance of the refrigerator. Don1 point
-
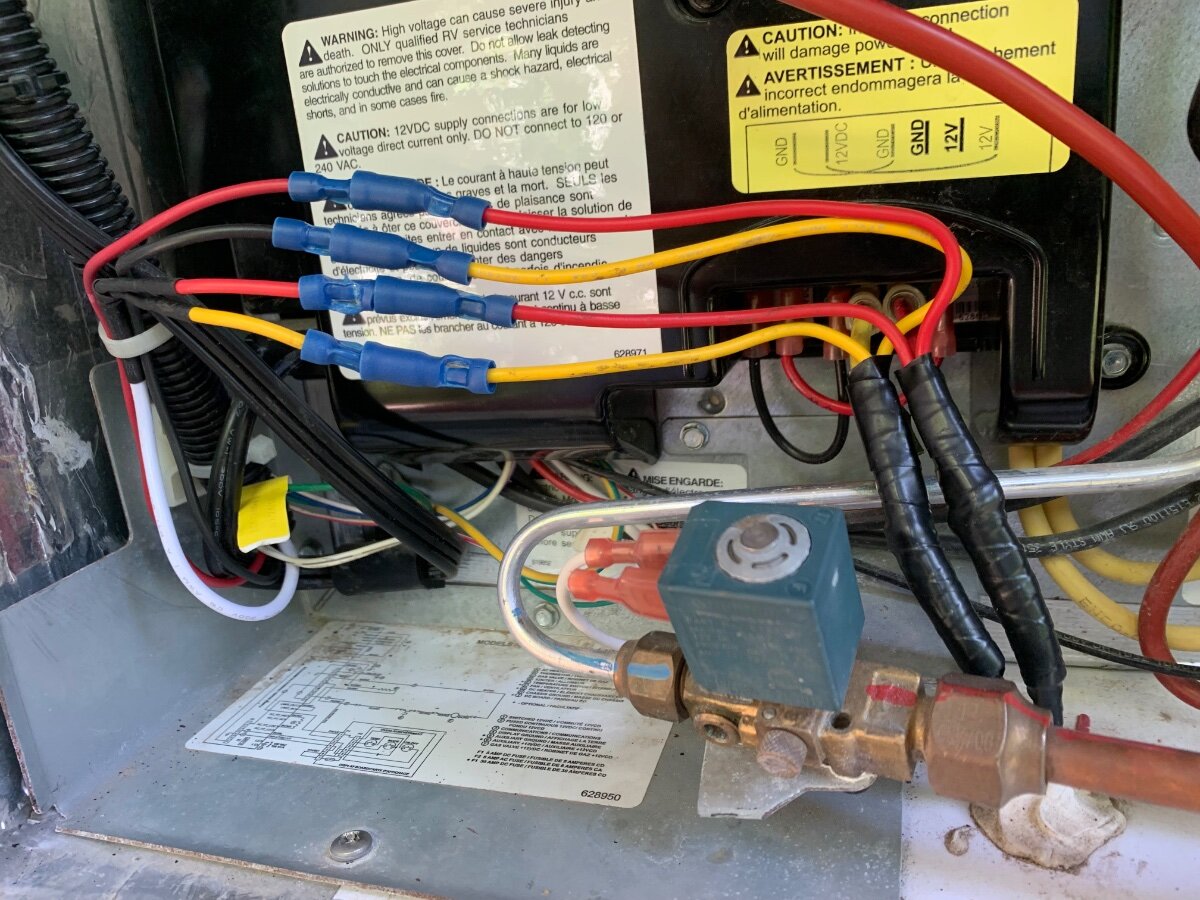
@johnwen - Thanks for the "follow", brother! SUGGESTION: Try taking the DC power for the new fans right from your fridge's power block connection in the lower left of the (lower) compartment (power block circled in below pic - this a Dometic application, if you're running a NORCOLD, its in a similar location as I recall). This way you can control the "ON/OFF" functioning of the fans using the remote control. For example, if you don't need the fans running for any particular reason, you can select a high "ON" temperature on the remote. This is how we've been doing it - which is meeting our needs. You can always wire in an "ON/OFF" switch on the "+" wire to the remote controller. Good luck!
1 point
-
Most folks add a fan interior, to circulate air, and a fan in top vent to aid in exhaust.1 point
-
We have hull #676 with the Norcold 3-way refrigerator and usually have no problems. We do freeze blue ice to take with us to keep lunch cold. The only time we have had problems with the refrigerator cooling is when we are parked in the sun with very higer temps (90+). To solve that I added to fans in the upper vent to pull air up through the refrigerator as @dhaig mentioned. I also used the same fans as he mentions. For wiring I just connected to 12 volts and ground wires below and open the lower vent to turn it on or off. I have thought about wiring it up to the panel on the wall at the door, but so far I don't turn it on or off that much so I haven't bothered.
1 point


-
Recent Achievements
-


")


")


")


