mossemi
-
Posts
1,798 -
Joined
-
Last visited
-
Days Won
43
Everything posted by mossemi
-

New generator Champion 3500 duel fuel
mossemi replied to Vic and Wanda Shumate's topic in Ollie Boondocking
And now you know! Mossey -
I like easy, so here goes! I was born and raised in Florida and know enough to stay there in the winter, so that is the reason I have never had to winterize. But I do sanitize my freshwater tank and when I do drain it, I tilt the trailer to the curb side which is were the drain pipe exits the freshwater tank and I remove the outside shower head, turn the shower on and insert the hose into a piece of PVC pipe to move the water away from the trailer when I am at home. You could run it into your drain hose if your campsite has a sewer connection. And I wouldn’t have any qualms with opening the freshwater drain and driving down the road if the weather cooperates. I often dump my freshwater during the last few hours of driving home. That probably wouldn’t work in freezing weather. On the other hand it may be safer to have a 1/2 of tank of water, which would be less likely to freeze. Mossey
-
The key to backing up a trailer is to practice and most importantly, go slow! And don’t be afraid to pull forward and start again. It is often easier to back up straight if you start out straight. And don’t worry about it, we all had to learn at some point. And before I forget, figure out how you and your partner are going to communicate. Be it hand signals, walkie talkies, cell phones or your rear view camera. Mossey
-
Welcome to the forum. I am not a F250 Tremor owner so I’ll let those members speak up at their opportunity. I will say that I do not know for sure but we may have one member with a 3/4 ton truck that uses an Andersen WD hitch. Most of the members using an Andersen do so because they are required to by the manufacturer in order to not exceed their tongue weight limitations. It all depends on your Tow Vehicle’s limitations and each vehicle may be different. And if you haven’t heard, there will be an Oliver Travel Trailer Owners rally at Lake Guntersville State Park in Alabama May 17-21. If you are still in the area and have time to visit, please do so. The campground may or may not be full at this time, but nearby State Parks may have availability. Mossey
-
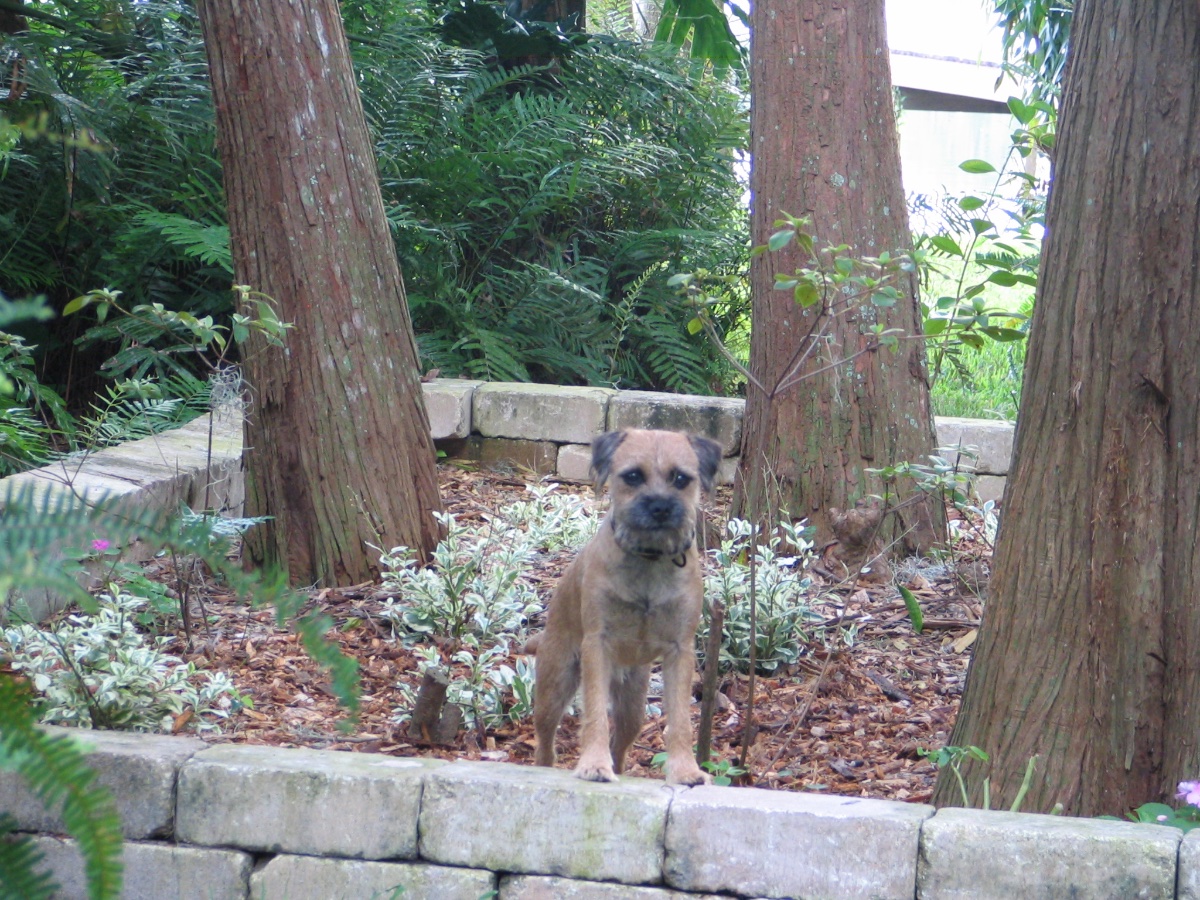
When someone ask me about them, I generally say they are just little brown dogs. Your pair look to be in confirmation condition. This is our Kendal that we lost last March at 15 and our dog is 9. Mossey

-
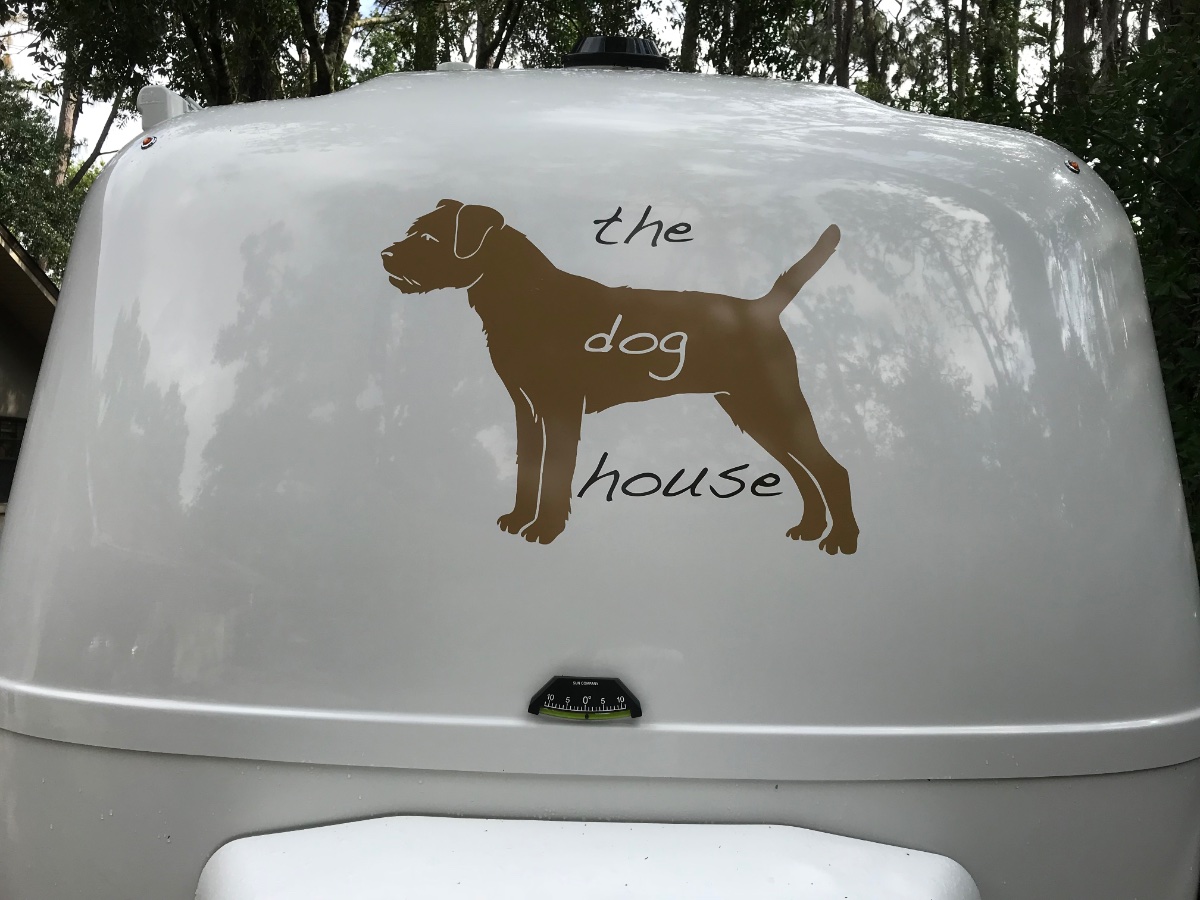
My picture must have sent you into a tizzy because you didn’t read the first sentence of my post. It is indeed a Border Terrier silhouette. Mossey
-
The inspiration for my nose art was my two Border Terriers. And of course, also the fact that my wife did not wholeheartedly embrace a travel trailer as an RV of choice. She would have preferred a Class B or C if she was going to move out of the Hampton Inn. The hard part was finding a silhouette that was an accurate image of a Border Terrier and was not copyrighted. I found this one on Etsy and bought a piece of the artwork and asked for permission to use it on my caravan, as he called the Ollie. He was impressed that I had even asked for permission and was kind enough to send me a soft copy to use as I pleased. I added the script to the original and Oliver printed for me. Mossey
- 21 replies
-
- 12
-

-

-
Tail Number: TN 23-1351 Has Left the Hanger (an Air Force thing...)
mossemi replied to BBL's topic in Delivery Day Photos
Congratulations! See you in May. Mossey -
First "extended" trip, last minute planning...
mossemi replied to DaveandKarin's topic in General Discussion
This link is to a member who has sold their Oliver, but they were based around Salt Lake City, Utah. Read the post "Seeing Ollie in the Best Possible Light" for Utah camping inspiration. https://olivertraveltrailers.com/forums/profile/807-davids/content/ Mossey -
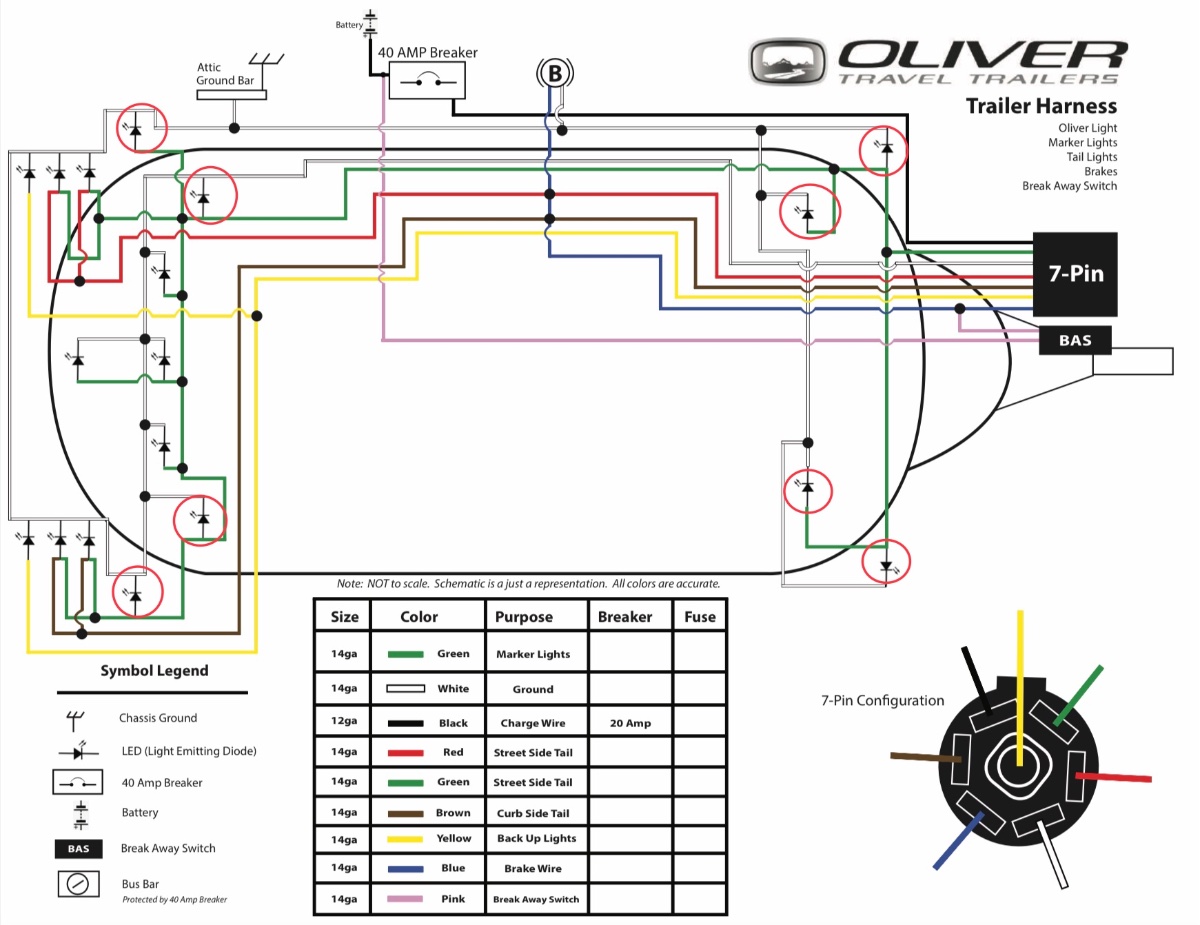
The large 7 wire cable enters the hull under the bathroom sink so there isn’t anywhere outside to test. Oliver’s wiring schematic’s are pretty accurate color wise, so I believe you should start looking under the sink or the front dinette seat for the green wire leaving the large bundle of wires in wire loom. Mossey
-
@SteveCr My bad! The answer was only 4 postings up. Thank you once again for the information. Mossey
-
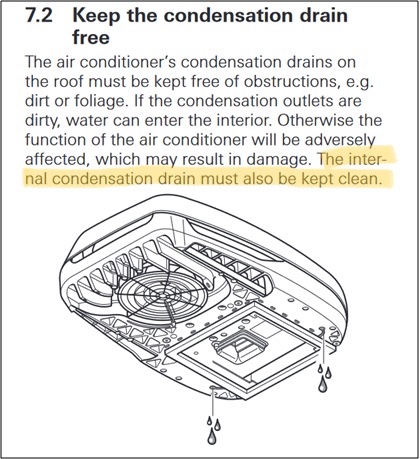
@SteveCr Thank you for answering my question! So now I have more questions. You may have already stated who did your installation or I may have forgotten who did it. I’m guessing it was Truma in Orlando or Elkhart. You have a 2021 LE2 which I assume came equipped with a Dometic A/C and the Dometic drain kit. Did the Truma kit tie into the Dometic kit Oliver installed? Thank you for your patience with my questions, but I will say that condensate draining onto the roof was/is more of a concern for me than the noise so many complain about. And I think that’s why Baskin Robbins has so many flavors of ice cream, there’s something for everyone! Mossey
-
The highlighted text makes me wonder if an internal drain system similar to the Dometic or a variation of it is used by the Truma, as well as condensate dripping onto the roof. Is this a correct assumption? Mossey
-
I believe I have circled the marker lights in red in the attachment. If someone has a different thought, please share it. Mossey
-
I haven’t had the opportunity to work on any of the marker lights, but I believe someone on the forum, maybe topgun2, mentioned that the lights are installed from the outside and pushed into place. Is that the case? Mossey
-
Are you referring to the round amber dots located on all 8 corners? I say all 8 corners because the dots are both high and low. I understand it is just the curb side, but the round dots do not have a switch. They are powered by the 7 pin connector attached to the tow vehicle. Mossey
-
NOVA KOOL R5810 Selection and Installation Guide
mossemi replied to Geronimo John's topic in Ollie Modifications
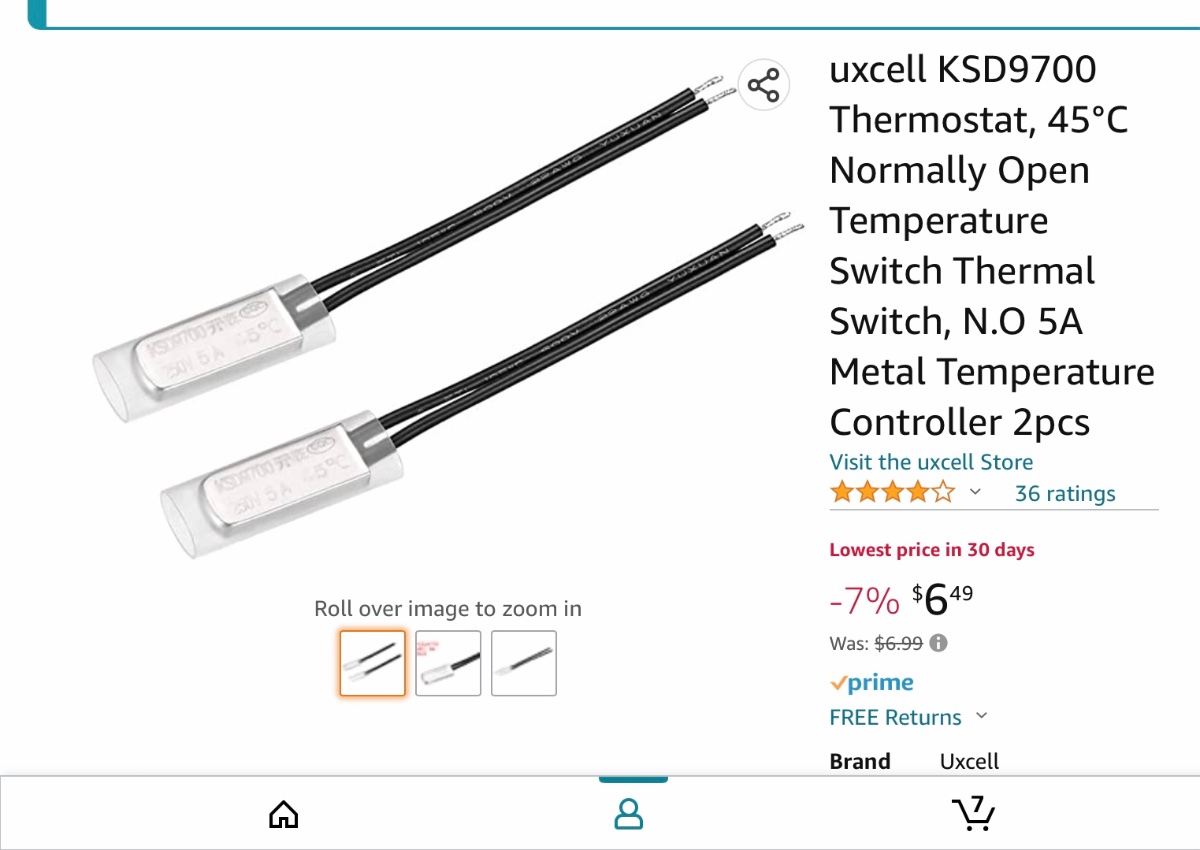
Excellent procedural write up! I had forgotten Ken’s Nova Kool installation posting. Thank you both for sharing you experiences. And the thermal switch you are thinking about was part of my refrigerator fan replacement project and has been in service for over 2 years. It’s a winner! Mossey
-
Can you provide a bigger picture showing the location in the trailer and what I assume is the charge controller? Mossey
-
Sounds like another vote for LT’s! Mossey
-
Great advice! Glad you caught it before you got under way. Do you use a TPMS? Let me know where you find a deal! Mossey
-
Surge protector "clunk"..no 120
mossemi replied to Gliddenwoods's topic in Mechanical & Technical Tips
👏👏👏👏 Couldn’t have said it any better myself! Mossey -
Surge protector "clunk"..no 120
mossemi replied to Gliddenwoods's topic in Mechanical & Technical Tips
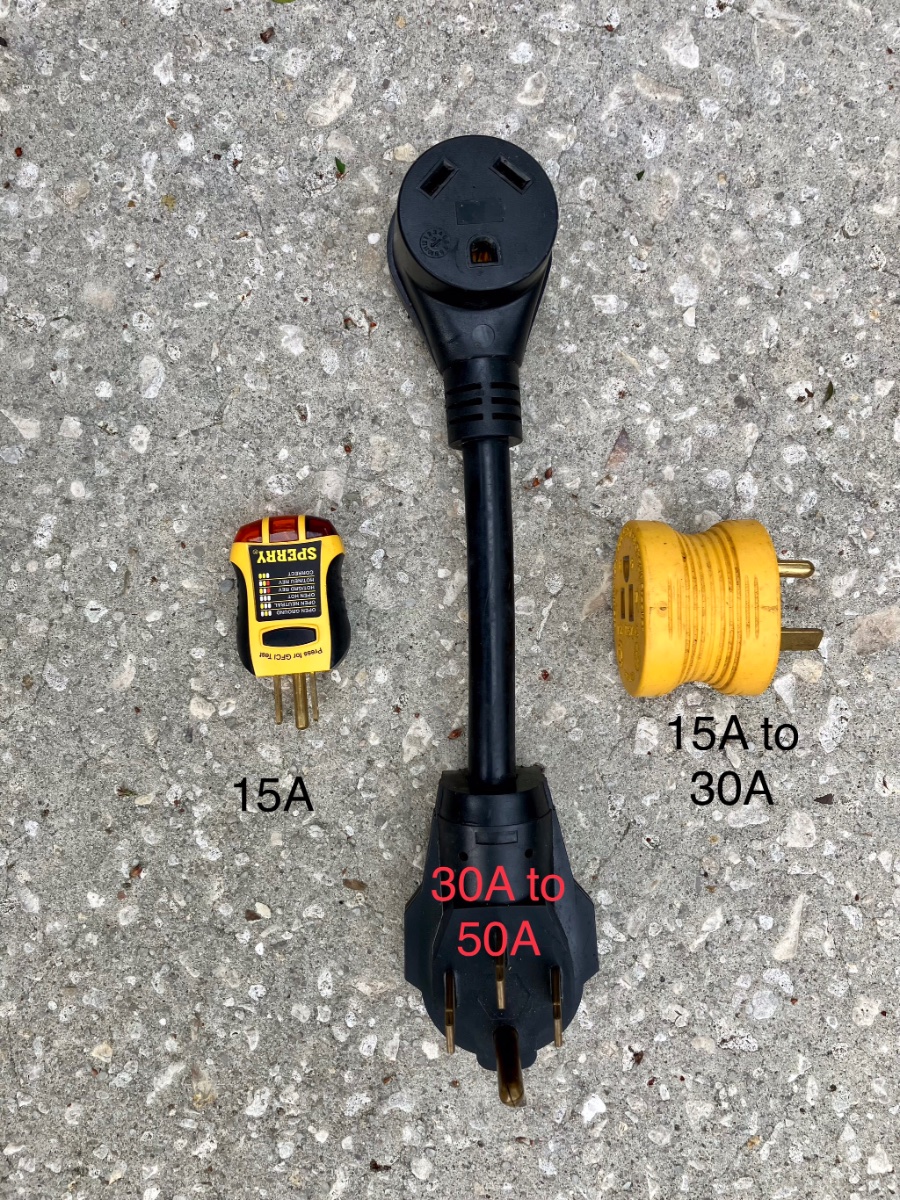
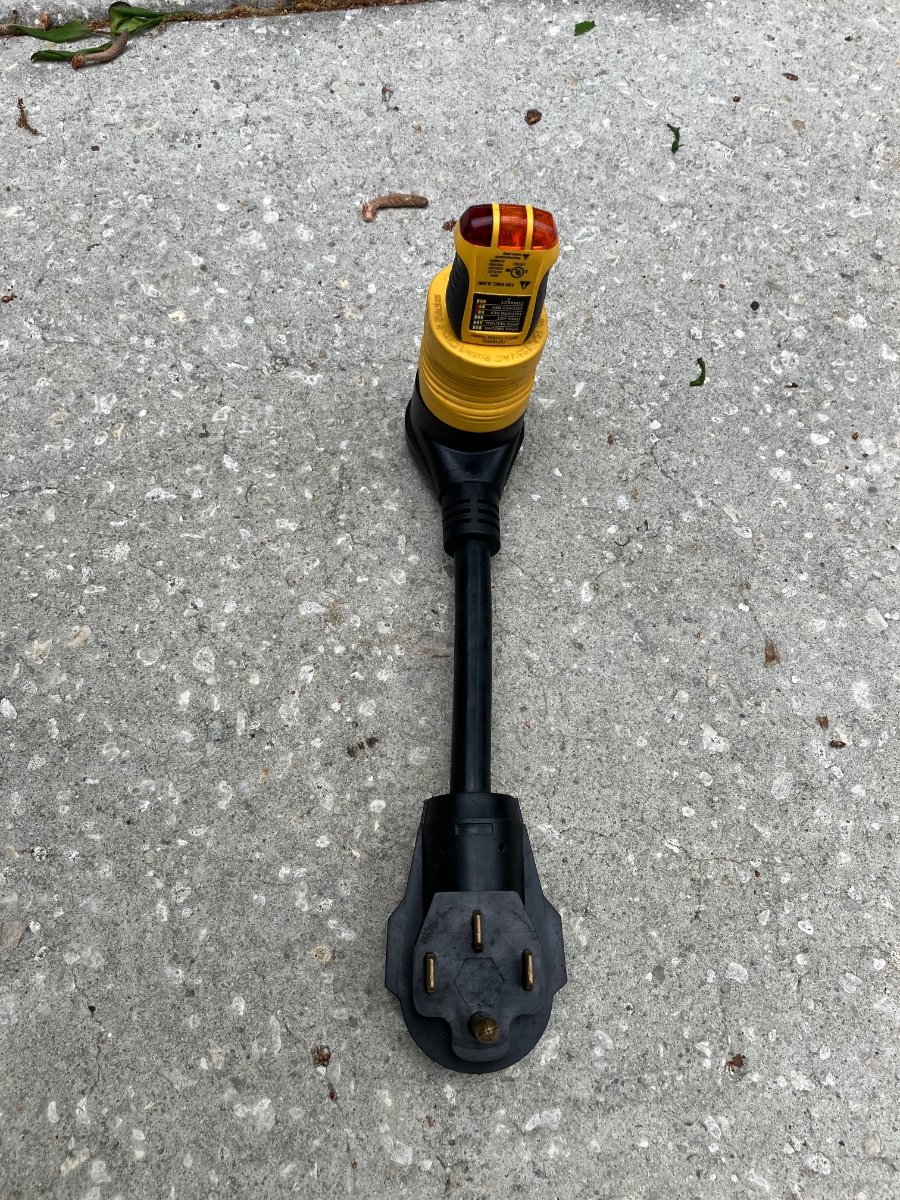
I carry a multi meter for all types of troubleshooting. These 3 items are my go to tools for testing any new power pole we connect to which may have 15A, 30A or 50A service. Mossey
-
Surge protector "clunk"..no 120
mossemi replied to Gliddenwoods's topic in Mechanical & Technical Tips
What type of power outlets does your pole offer? I assume you are plugged into a 30 amp outlet. Do you have any adapters for your 30 amp power cord that would allow you to connect to a 15 amp or a 50 amp outlet? If so, try your portable surge protector in those outlets. Can you verify any nearby outlets that are correctly wired? Did you just arrive at this location? Was everything working at the last location? Can you move to a different spot in the campground? I know that’s a lot of questions, I’m just trying to qualify your issue. In other words, is it an Ollie problem or is it the power pole you are connected to? Mossey -
Surge protector "clunk"..no 120
mossemi replied to Gliddenwoods's topic in Mechanical & Technical Tips
Is your GFCI outlet tripped? Mossey -
My fan switch is located on the main switch panel just inside the door. I don’t know why they stopped, but I do know they are located differently in some trailers. You can always add your own as some others have done. Mossey