
Leaderboard



Popular Content
Showing content with the highest reputation on 02/11/2023 in all areas
-
Thanks - I try my best to be objective and balanced on both sides of most discussions. Me too! I've never had a flat on the side of the road (knock on wood) but have rotated the tires and raised the camper (using the jacks) in order to place jack stands, blocks of wood, etc. under it in order to do other maintenance jobs too. Being squashed by any vehicle is not high on my list of things to do, therefore, I too am VERY careful and assume full responsibility for for my actions regarding these jacks. Another note for those that own "newer" Ollies - on the newer Ollies the steel sub-frame was bigger (i.e. longer) and this is when Oliver started placing those stickers/decals showing "jack points". For those of us that own older Elite II's the sub-frame is so short that there really is little to no place for a jack. Since one can not use a jack under the axle and there is little to no space under the support for the springs - where does one place a jack? Yes, there are places, but, one must be very careful with its placement - both under the Ollie and on the ground (you certainly do not want ANY shifting of the jack in either location). Thus, for these owners of older Ollies (Elite II's) many times it is easier and even more prudent to simply use these onboard jacks to temporarily raise the camper on one side. Bill4 points
-
Ford finally launched their VIN specific towing calculator. After inputting your VIN it allows you to input values for Passenger wt, box payload, and choose between Goosneck, 5th wheel or conventional bumper trailers. it calculates remaining available tongue weight and total max trailer weight. link below: https://t.m.email-ford.com/r/?id=h74cb0e7e,8d77749d,7c1fa34e&e=Y2lkPVBST0RETTk4MTk5MyZiaWQ9MTk1OTQ2NDU3NCZwMT13d3cuZm9yZC5jb20vc3VwcG9ydD9lbWFpbGlkPUZEXyBUUlVDSyBUT1dJTkcgRVhQRVJJRU5DRSBFTV9GLTM1MCBPV04&s=5Ij45wNQTUXCV4HKKrOWf8DmysLGRqmuRHqVkfPBOSs The towing support you need. Towing just got a whole lot easier with the new Towing Calculator. Follow these steps to help make sure you’re within your vehicle’s towing capacity: Log into www.ford.com/support/ using your existing account information. Once logged in, click on the Towing Calculator tile in your owner’s dashboard. The calculator will automatically pull in your vehicle’s towing capacity based on your VIN number. Add your occupant, cargo, and accessory weight. Determine whether or not you’re within your vehicle’s towing capacity and make adjustments accordingly. It’s that easy!2 points
-
topgun2: Good information to have as the 2018 Owner's Manual is not clear on the issue of where to place a jack. Thanks This is what is in my O&M: "Loosen the lug nuts on the tire you want to remove. Check for a flat surface on the closest corner of the steel sub frame to use as a jack point. Using a jack, raise the trailer until the tire clears the ground, then finish loosening and removing them. Pull off the old tire, slide the hubcap out backwards and insert it on spare. Set spare tire evenly on the lug nuts and hand tighten lug nuts. Retract front jack back to travel position. Now tighten lug nuts completely. Lug nuts should be torqued to 120 ft. lbs. Place the flat tire in the spare location. Have the damaged tire checked and repaired or replaced. Be sure to have lug nuts re-torqued within 50 miles since they may loosen and every 200 miles thereafter."2 points
-
No, I'm not sure. What made me think it is welded is the appearance of weld penetration at the L joint on one of the unpainted, cut sides. See photo below. What do you think? Regardless of whether it is welded or extruded, if the jack fails, that junction is much too solid to be the failure point. While I was there, I got a better photo of the weld connecting the cylindrical jack housing to the vertical bracket which bolts the jack to the L bracket. That weld looks pretty stout to me. This examination left me with ample confidence that the jacks in Hull #1291 will perform up to their 3K lb. rating.
 2 points
 -
I'm none to well versed but, in my research before buying our Oliver and since, I've not found a trailer that does clearly better than ours, except for bigger models that have ducted heat to their basements and/or heat tape as standard features. The Escape Trailers from Canada seem to do about as well if you opt for their spray on insulation sealing of their bellies. They are described as 3.5 season trailers. That said, not of the same quality build. My brother owns a brandy new Airstream which is about the same size as an E2 and he claims they can now be set up for full on winter use but has not been able to test that out and I haven't bothered to dig into their forum. I'd argue, based on their forum, that they are not of the same quality as Oliver either. RVs.even smaller ones, are often good for winter camping. Given the increased popularity of winter camping I am puzzled by there not being more options. With my last modification ( to be tested starting next week) I feel my E2 will be good down to 0. Have tested in those condition quite a few times - am close to done. It was a lot of work but only cause I had partial guidance (limited but top shelf through this forum), am not handy and don't have an engineering brain so had to go slow and there was a learning curve. These mods were relatively cheap and straightforward to do so certainly not impossible.2 points
-
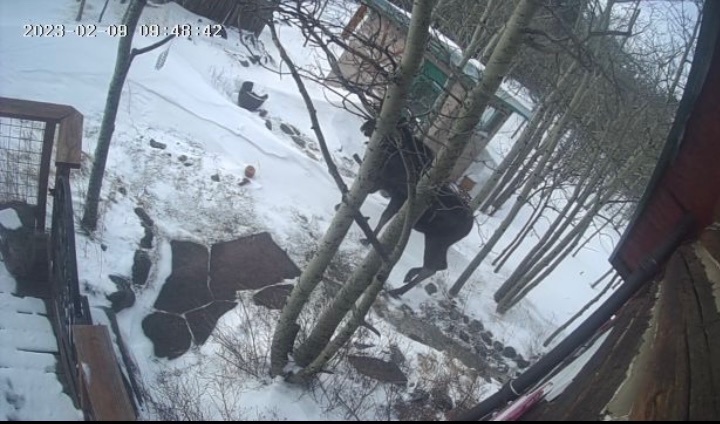
The neighbors like to shortcut thru the yard when I am away
2 points
-
What brand TPMS?1 point
-
Share and Enjoy !Shares Traveling with an RV is a great way to explore the open road and see all that this beautiful country has to offer. But before you hit the highway, it’s important to make sure your motorhome is stocked with all of the essential items needed for your journey. From medical supplies to survival gear, having these items on hand can help you be prepared for any unexpected situations which could arise while you’re out on the open road. Medical Supplies Having medical supplies on hand is incredibly important, especially if you’re planning a long trip where access to hospitals and doctors may be limited. Be sure to include items such as prescription medications, bandages, antiseptic wipes, and any other items that you or someone in your party may need during an emergency. Additionally, it’s always a good idea to have some form of health insurance identification available in case of an unexpected medical situation while on the road. Survival Gear No matter how prepared you are, there’s always the chance of an unexpected situation occurring while on the road. That’s why it’s important to have some basic survival items in your RV, like a compass, whistle, and water-purification tablets. Additionally, if you plan to explore more remote parts of the country, it may be worth investing in a satellite phone and basic first-aid kit for extra security. Portable Water Filter Water is essential for any RV trip, so it’s important to have a portable water filter in your motorhome. This will help ensure that you and your family always have access to safe drinking water no matter where you are. Additionally, if you’re traveling in an area with limited resources, this can also be a great way to conserve water. Personal Care Items When you’re on the road, it can be easy to forget some of the personal care items which are essential for a safe and comfortable journey. Make sure you’ve got plenty of toiletries like toothbrushes, toothpaste, soap and shampoo as well as other grooming items such as razors and shaving cream. These may not seem like emergency items, but if a situation does occur and you end up on the road longer than expected, you'll be glad you had them stocked. Automotive Care Supplies No matter how well you plan, there’s always a chance that your RV may run into some mechanical issues while on the open road. To be prepared for any situation, make sure to keep an extra set of automotive supplies in your motorhome such as oil, coolant fluid, tires, and jumper cables. Additionally, it’s always a good idea to have an emergency roadside kit in case you end up stranded. Flashlight & Batteries Having a good flashlight inside your travel trailer is essential, especially if you’re traveling at night. Be sure to have some spare batteries in case the light suddenly goes out while using it. Additionally, it’s a good idea to bring extra lights that you can use for exploring in the dark. Having a few headlamps on hand is also a good idea in case you need to work on your trailer at night and need both hands to do so. First Aid Kit You never know when an accident may occur while out on the road, so it’s important to have a well-stocked first-aid kit in your RV. Items like bandages, gauze, antiseptic, and tweezers should all be included in your kit. Additionally, if anyone in your party has any allergies or chronic medical conditions, make sure you pack the necessary medications and equipment for those as well. Emergency Blanket & Extra Clothes Having an emergency blanket and extra clothes on hand can help significantly if you’re ever stuck in an unexpected situation. The blanket can provide extra warmth and comfort, while the extra clothes can help protect against any sudden changes in weather or temperature. Plus, if you're out on the road longer than you expected, having clean clothes to wear will make the experience much more enjoyable. Water & Non-Perishable Foods Having water and non-perishable food items is essential for long trips away from campgrounds and convenience stores. Make sure to stock up on items like energy bars, dried fruit, canned tuna and other protein-rich snacks that will offer you and your party the necessary sustenance while in an emergency situation. Fire Extinguisher It may seem unnecessary, but having a fire extinguisher nearby can be lifesaving if a sudden flame occurs in your RV. Make sure to check the expiration date on the extinguisher and replace it if necessary. This is also helpful if your campfire gets out of hand and you need to put it out quickly. The last thing you want is to start a forest fire, so having an extinguisher nearby is always a good idea. Tools & Necessary Fluids Having some basic tools like wrenches, screwdrivers, and a tire pressure gauge can help you in case of a sudden mechanical problem with your RV. Additionally, having essential fluid replacements for your vehicle on hand is also a good idea, as this can help keep your engine running in case of an emergency. Portable Generator A portable generator can be incredibly helpful if the power goes out suddenly at your campsite. Having a backup source of electricity available gives you peace of mind that you won’t be left in the dark if any unexpected issues arise. Physical Maps & Directions to the Nearest Hospitals When you're out camping, you'll often be in situations without cell service – which means you won't have access to Google Maps. To make sure you’re always prepared, it’s a good idea to store physical maps and directions to the nearest medical center in your RV. That way, if anybody needs medical attention while on the road, you know exactly where to go for help. Final Thoughts Having essential items in your RV is a must when out on the open road. From medical supplies, to emergency blankets and tools, stocking up on these items can help ensure that you and your family are safe in case of any unexpected situations while traveling. Additionally, having proper survival gear and non-perishable food items is always important for longer trips away from convenience stores and campgrounds. Having these items at all times will provide you and your family with the necessary safety and security while out on the open road. Share and Enjoy !Shares The post Emergency Essentials to Keep in Your RV appeared first on Oliver Travel Trailers. Read the Full Article1 point
-
I described the initial mods in the chain 3.75 Season Trailers? This upcoming trip is to Canada and will afford me the opportunity to test the additional mods I've made this season. I'm planning on sharing the gory details of all once everything has been tested for multiple days in frigid conditions with the water system on. So far, looks like I should be good down to 0.1 point
-
This is what I think the steel brackets are. Under this application I don't believe that there is a snowball's chance in .... that they will fail.1 point
-
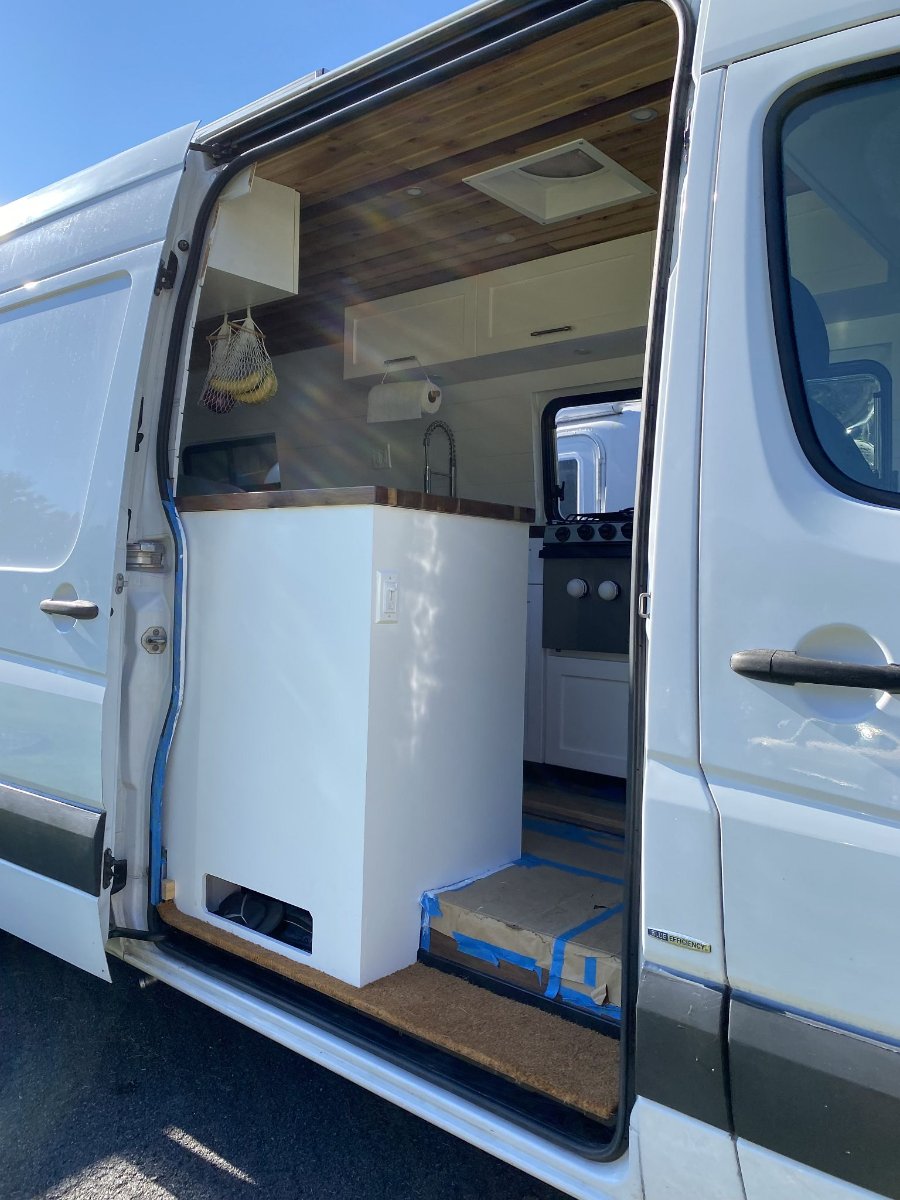
Yes, for now the exhaust comes out below the drawer. We've been watching for signs of overheating, but its been fine so far. There is some air intake from the bottom rear of the cabinet, through a space designed to hold shoes. If necessary we can add more exhaust venting at the top rear or the end of the cabinet, which is exposed within the van's sliding door opening.
1 point
-
You beat me to this post by about 23 minutes! Good thing I checked the sidebar to see what the latest trends were. You were much more thorough that I was planning to be, by the way. Thanks for the share. Brian1 point
-
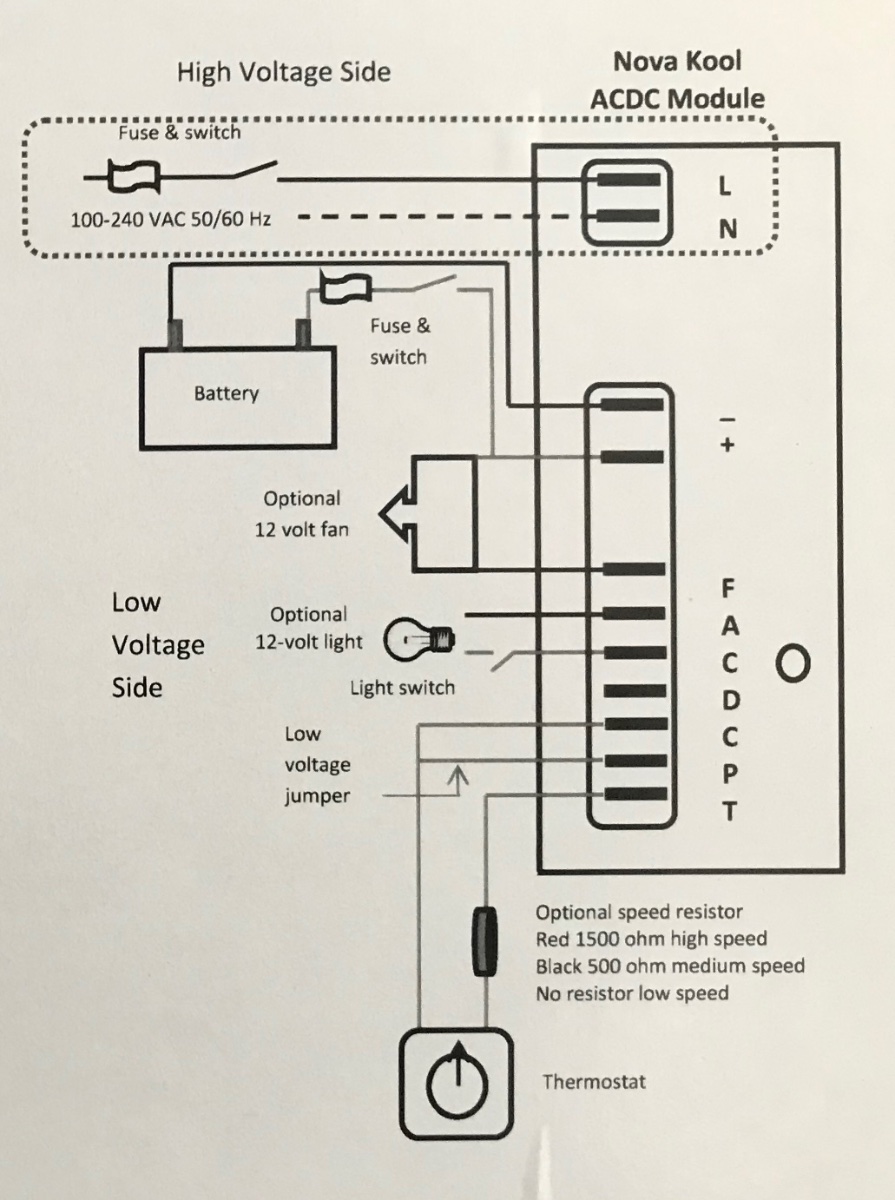
Also, here’s a schematic that may help. Even though the module is labeled Nova Kool in reality it’s a standard Secop AC/DC compressor inverter module.
1 point
-
I went through the whole thing and rerouted many of the wires and secured some, especially the main input wires. If your AC input cable isn’t long enough you can just get a long computer cable to replace the the supplied one. I’ve found that someplace like Goodwill will have tons of odd cables for less than a dollar. The AC input cable on my fridge is a typical computer type that’s 16 gauge, very common. Your fridge should have had the AC input wire assembly already installed.1 point
-
OK, I guess I will have to assume my replacement fridge has all of the needed harnesses taped up inside the cooler. I did not see another junction box on the outside anywhere. FYI I don't like that method of just having individual wires hanging in space, that is a recipe for fatigue failure of the terminals. Did you secure all the loose wires into a tight bundle? Thanks John Davies Spokane WA1 point
-
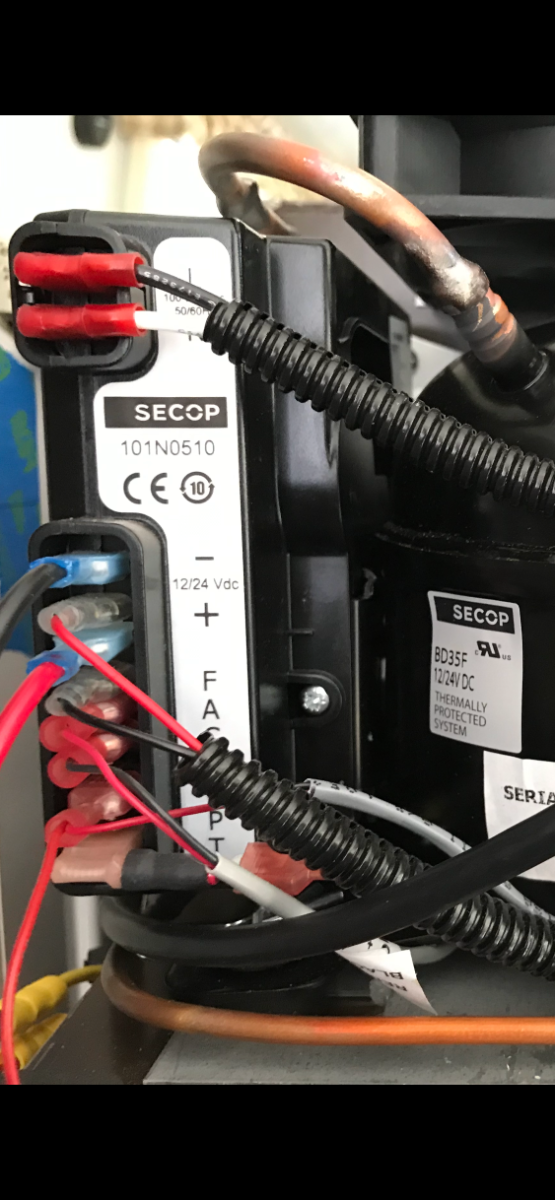
John, that’s the AC input. On my fridge a separate “computer” type socket/cord is mounted/grounded/fused elsewhere on the fridge chassis but close to the compressor. As you can see the DC connection is down in the lower section of spade terminals.
1 point
-
Everyone - please note. I have never heard of any of the aluminum brackets failing as long as they were welded properly in the first place. The issue with the bracket in the photos above is that while there was a "spot" weld completed on the one side of the bracket, the finish weld that should have gone across the entire length of the bracket on that side - as it did on the reverse side - was never completed. And that is the reason the bracket failed. Those with aluminum brackets that are welded on both sides of the bracket should experience no issues. Recalls and/or Service bulletins are only issued if there is a known problem that affects a number of trailers - not a one off. Bill1 point
-
GJ - You're welcome. Bill1 point
-
I’m not sure where we’re going with this discussion. Are you saying that Oliver should not advertise their trailers as four season? We’ve had our trailer 7 years and I’ve never winterized. We camp year round and have had plenty of camping with temps in the 20s and a lot of camping in the teens. No issues. To me, that’s a four season camper. We don’t camp in single digits or below zero. To me that is an extreme weather camper. I’ve had the basement partitions out of the trailer and have seen the water lines that run behind the basement on the floor of the outer shell. They just lay on top of the insulation. I’ve considered wrapping those lines with insulation, but it is not a high priority because we’ve not had any issues with them freezing. A very gentle beating😊…. Mike1 point
-
Jjnps that looks awesome and I’m impressed you made it fit. Looking at your suggestion and CRMs track method. Thanks for posting!1 point
-
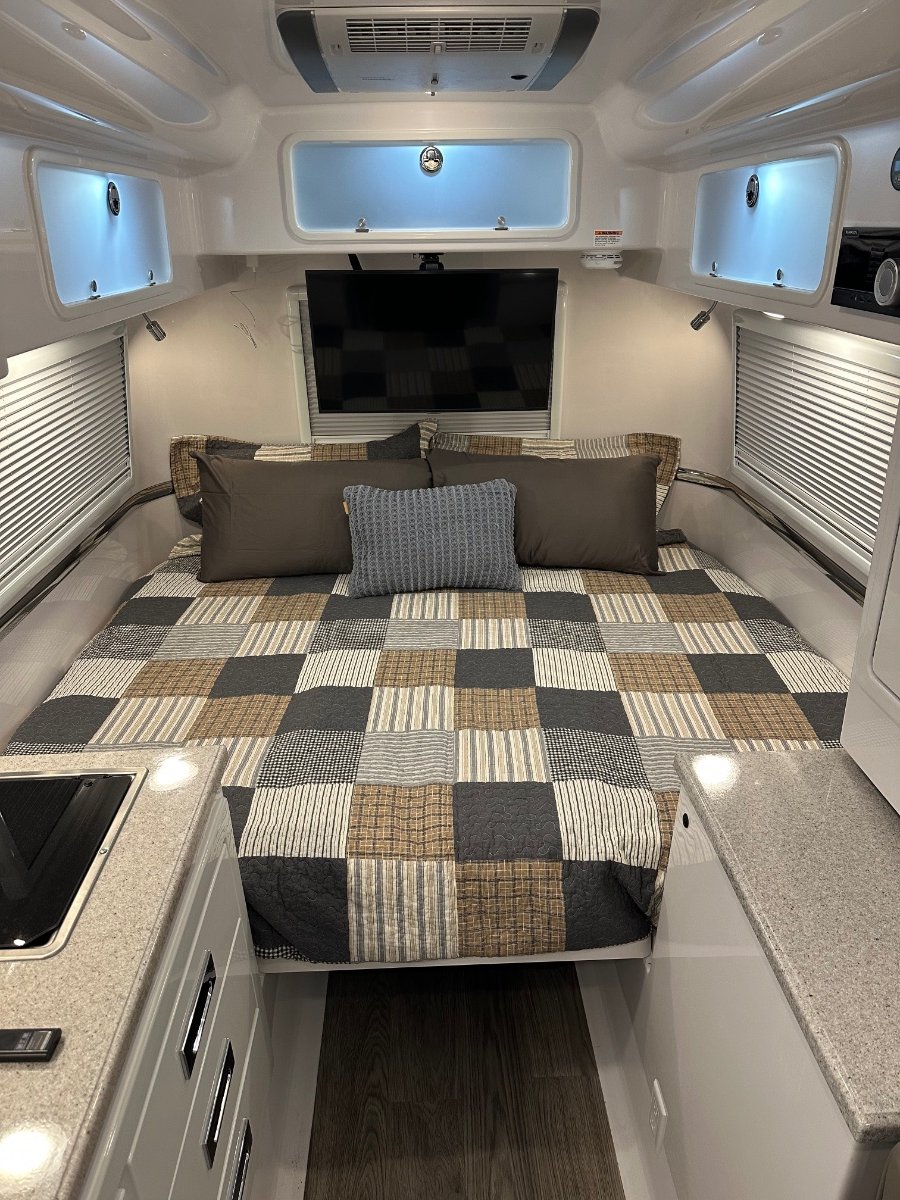
Hi there, I actually replaced mine the first week of ownership last month. I replaced with a Samsung QN32Q60AAFXZA 32 inch. It just fits, you may need to tinker with the vesa mount screws a bit, I had to trim two screws from my collection of misc screws in my garage to get it to work, the screws from the Visio TV to the mount will not fit right. From there you will need an hdmi extension cable, I found one on Amazon that was 6inches and it did the trick. You will need to adjust the mount bracket slightly lower and then tighten the screw locks on the bar as the last step so that the tv will not hit the shade but clear the upper cabinet. Took about 45 mins to do just to get the right screw fit.
1 point
-
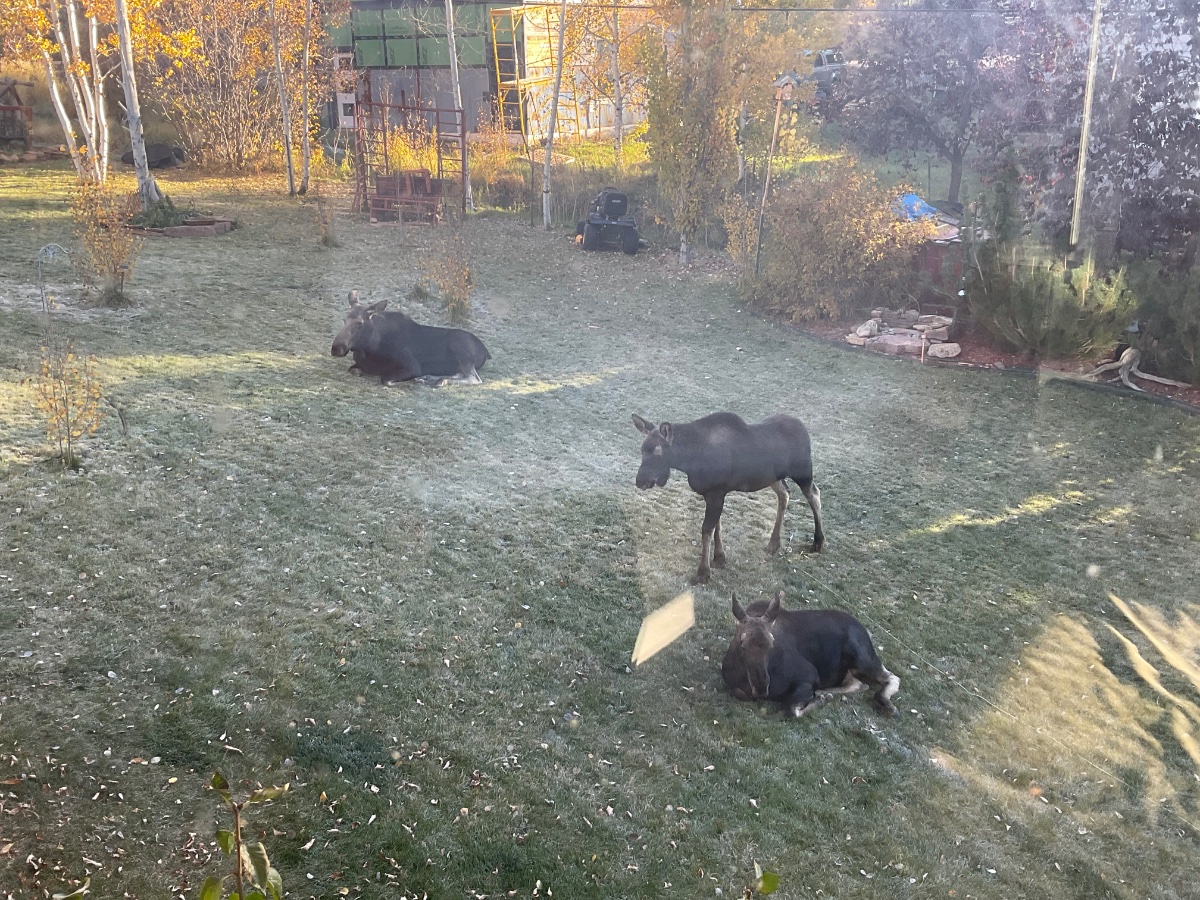
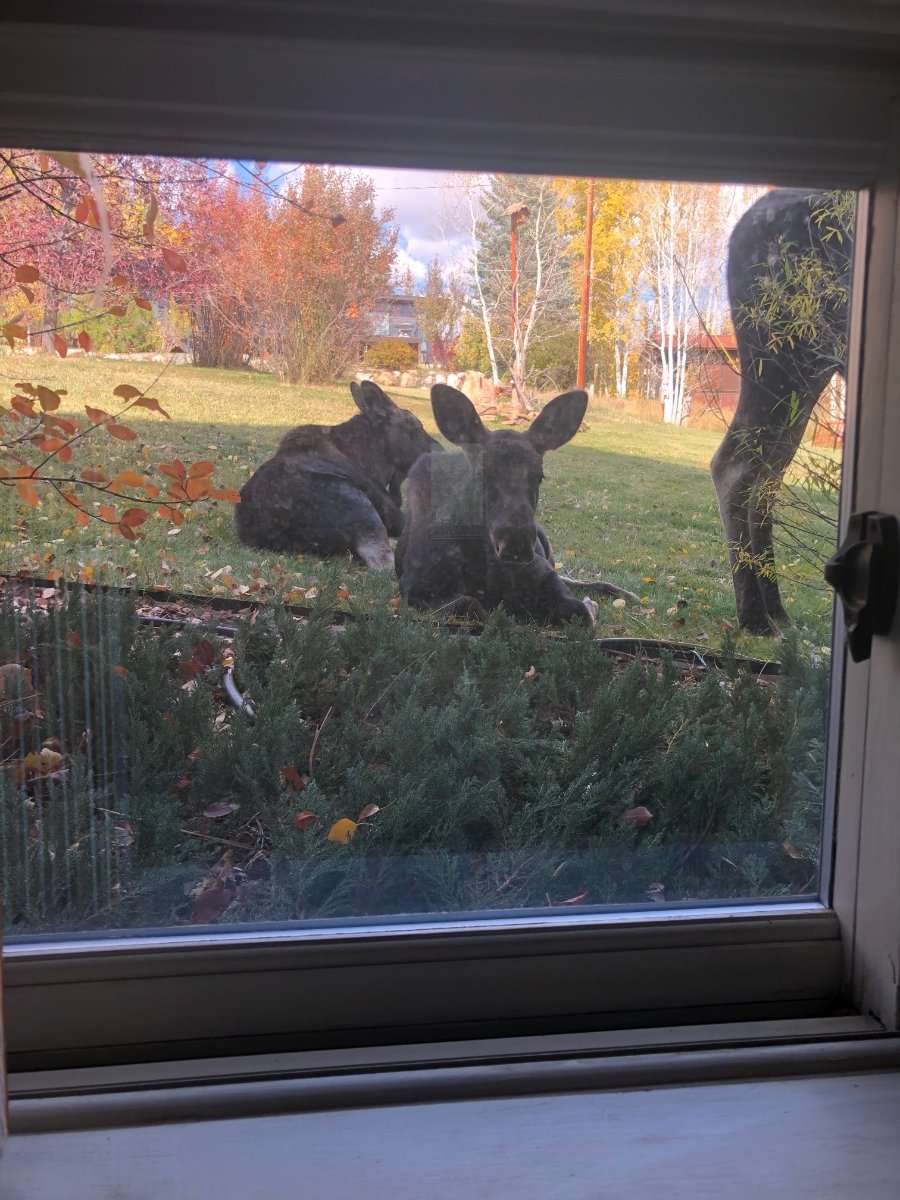
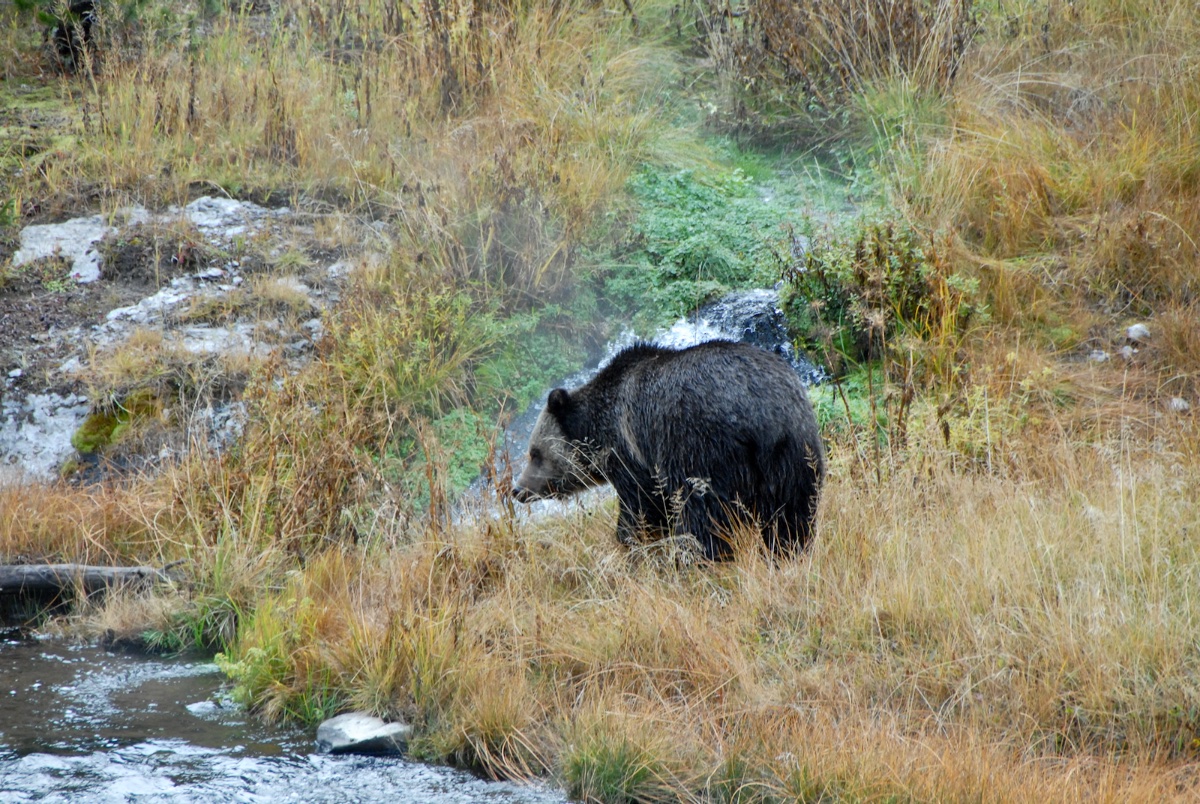
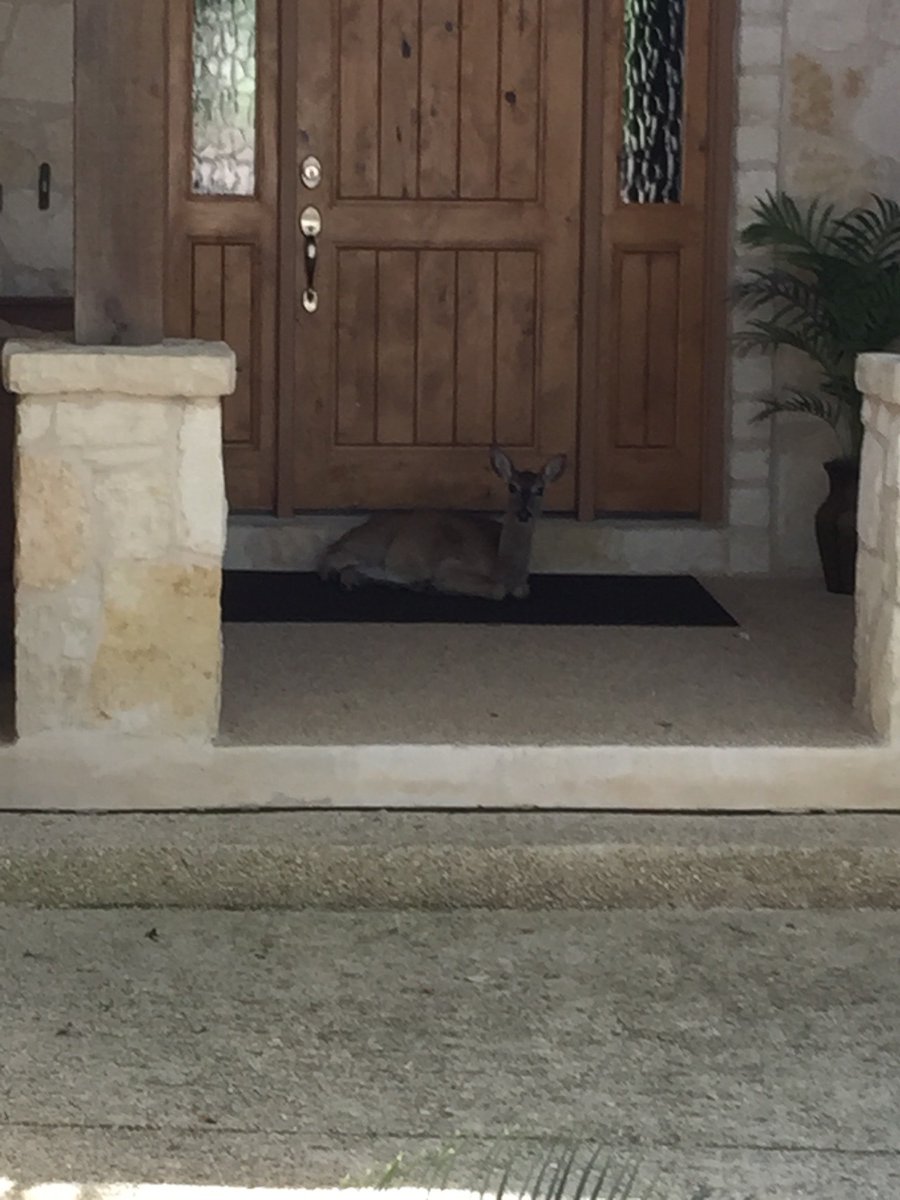
They hung around for a few days feasting on the crab apple trees and creek bed . Kinda hard on the dog walks. Last week, I opened the front door at 9PM and looked up at mama three feet way. Sorry no pics....had to do laundry.
1 point
-
This was my bathroom view last fall
1 point
-
That's one way to keep burglars away.1 point
-
1 point
-
1 point
-
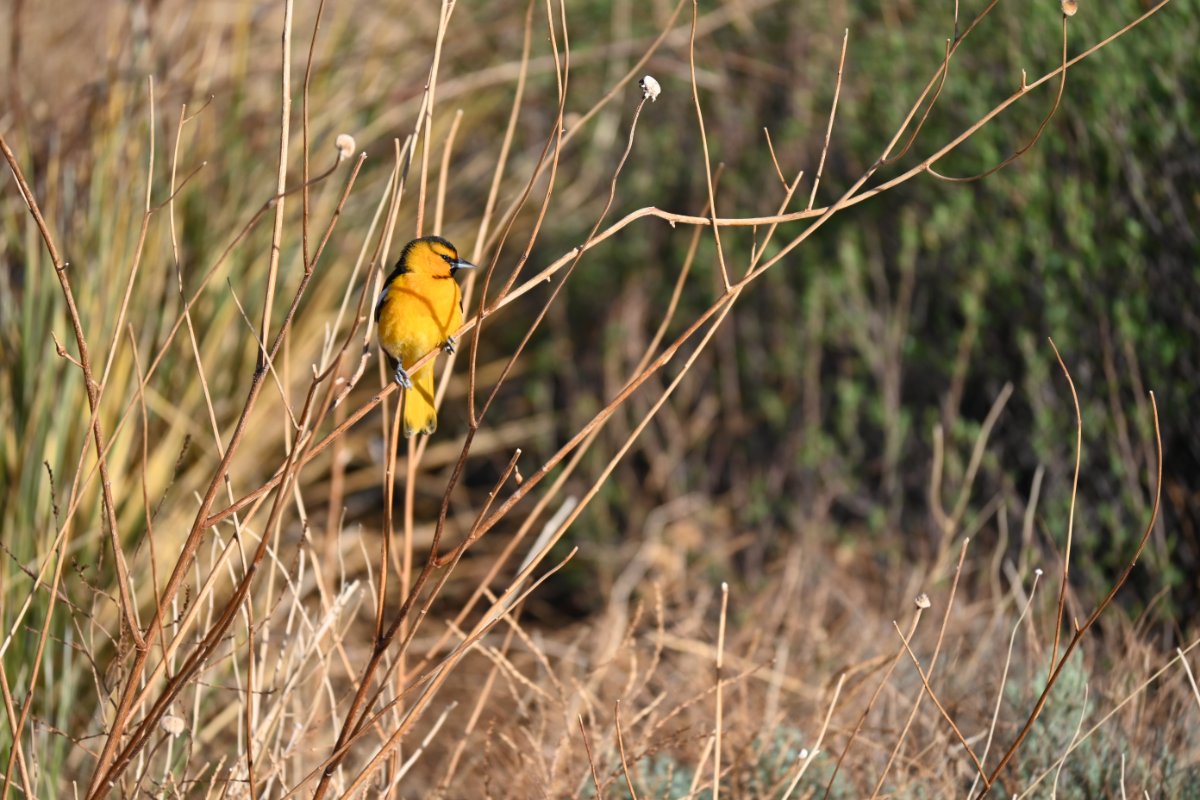
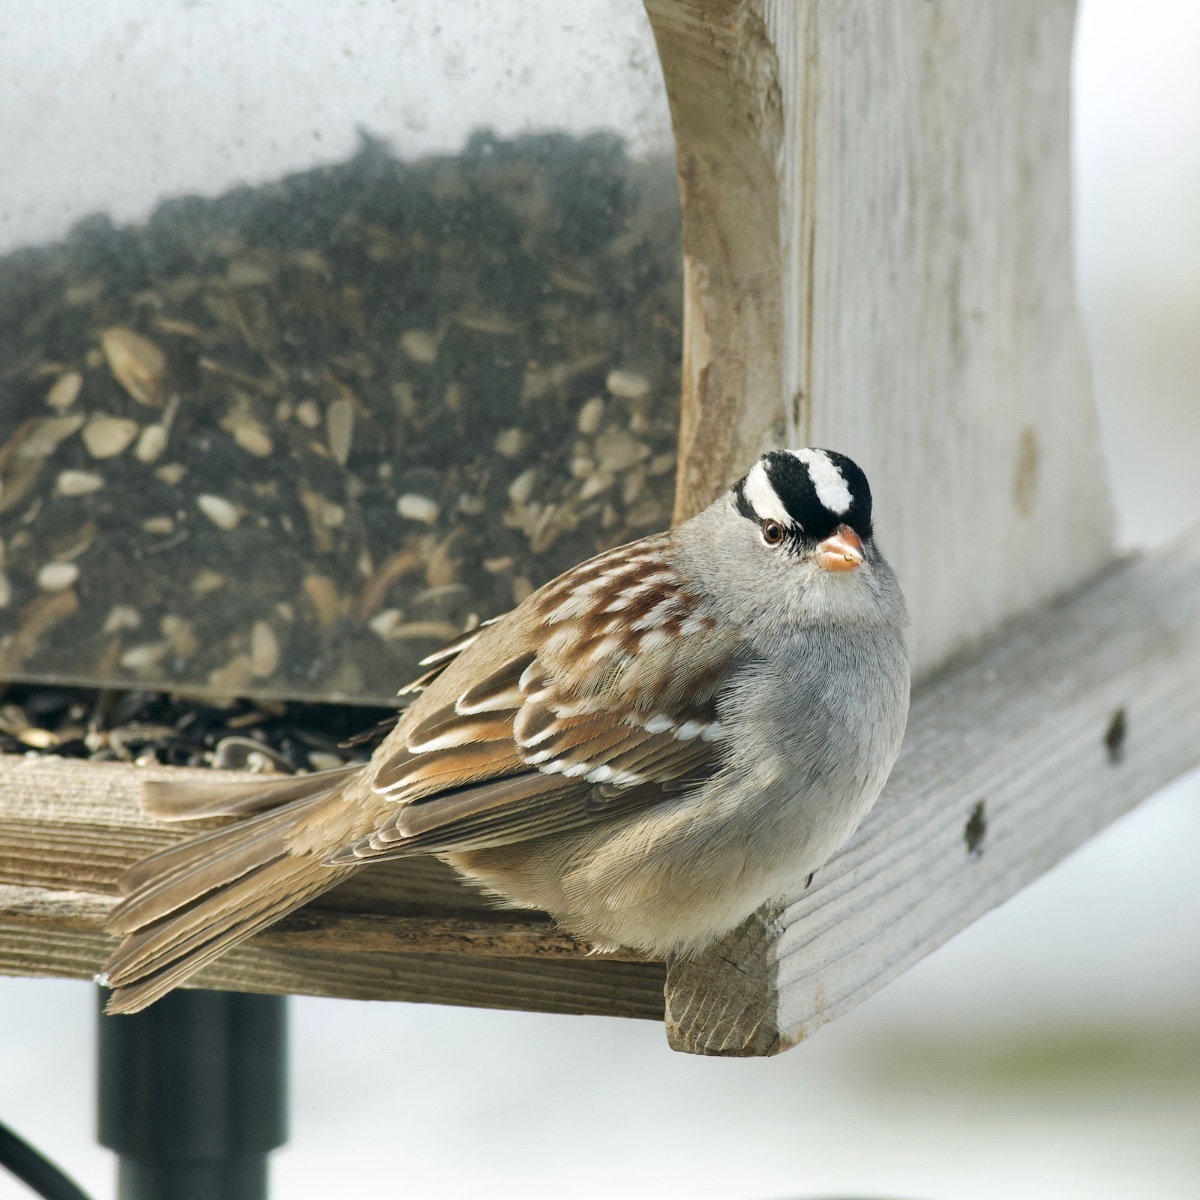
That is amazing! We had an outdoor cat, so all we'd find at our front door are dead birds, chipmunks, and rabbits... This Screech Owl tested out our old house, but didn't stay. At our backyard feeder We've had Green Herons nesting in a Linden tree for several years. These four fledglings were enjoying a day in the sun. One of a zillion photos from our western travels.
1 point
-
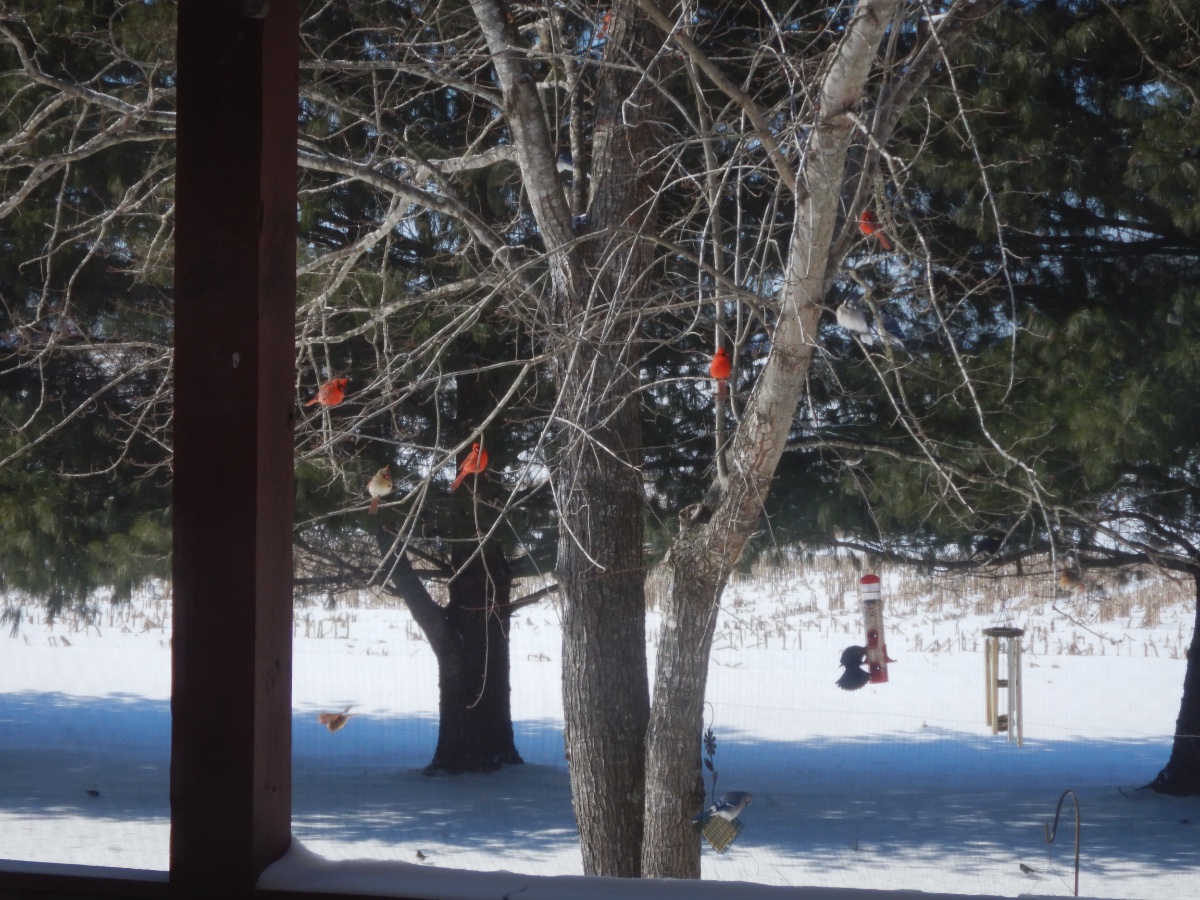
Our backyard Cardinals…
1 point
-
1 point
-
1 point
-
1 point
-
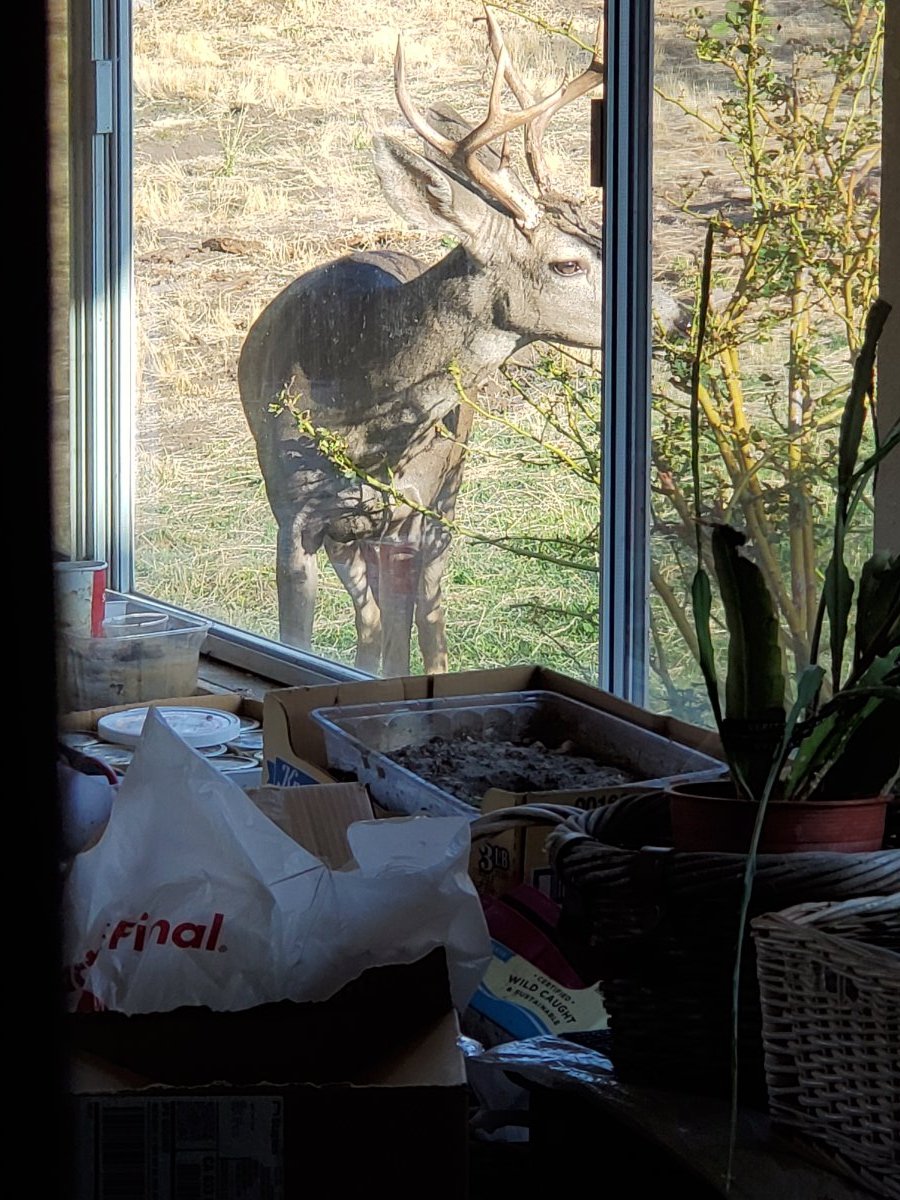
We had this guy camped out in front of our front door a while back. They basically live in our yard.
1 point
-
I took advantage of the solar tax credit on my 2021 taxes. I used the total amount of the solar package option on my build sheet (solar panels, no inverter and standard Lead-acid batteries). I also purchased 3 BattleBorn 100AH batteries, and a 140W Zamp portable suitcase system. All were purchased in 2021, but not at the same time. Rather than use a tax professional, which I guessed might be reluctant to sign off on it, I tried Turbo Tax Deluxe, since my taxes are very simple. TT Deluxe returns are reviewed by a tax expert and they guarantee accuracy and will provide legal assistance if audited. Like John W. and others, I figured worse case, I pay it back. To my surprise, Turbo Tax walked me right through the credit with simple questions, which I answered honestly. I received the credit, and have not been audited. Just throwing this option out there for consideration.1 point
-
Welcome. If your wrench s an adjustable one you are all set. Standard on one side, metric on the other. A pair of screwdrivers and a hammer should complete your tool box (to start). Advice: the "stuff" you think you might need and start to accumulate, think twice. There are stores everywhere in the USA. After 7 years we are still taking "stuff" out that we have never used and leaving it home. We still have 2 cabinets full of "stuff" we might someday need...1 point
-
Update, West Marine only had a unit in Florida, so they shipped it promptly, loaded it onto the wrong truck, the shipping label fell off and it ended up in New Jersey. They could not figure out where it was supposed to go, so they sent it back to Pensacola, so it could go in the right compass heading... I picked it up today, the store manager here in Spokane said it had a little box damage, but he had opened it up, unbagged it, and inspected it all over, and all was great. I got it home, spun it around in my truck and discovered that some airhead drone had rammed a forklift arm through the front door. The damage is a little hard to miss, do you agree? I am standing straight up, the door is buckled. I'm not sure how anyone could miss that, SHAME on me for believing the guy. It goes back to the store tomorrow for credit and I have already ordered another one. Which is $50 more expensive, so they will have to credit me that too. Grrr. At least I was able to make some measurements, to make sure the dimensional drawings are correct, and to see where the power connections are, and how the feet are spaced. I can start on the construction now...,. Here are a bunch of pics for your entertainment. I have opened a ticket to see if I can get some guidance from Jason about retrofitting this into my old timer Hull 218. John Davies Spokane WA
0 points

































-
Recent Achievements
-
















