Leaderboard


Popular Content
Showing content with the highest reputation on 07/09/2024 in all areas
-
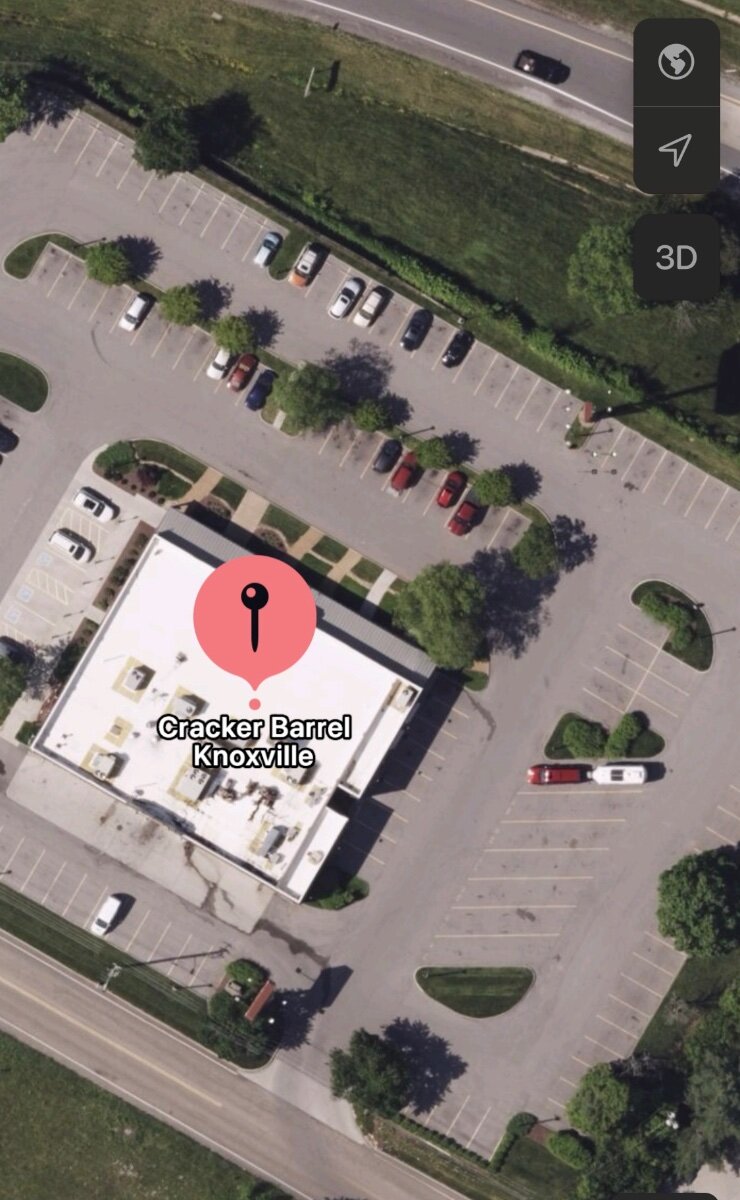
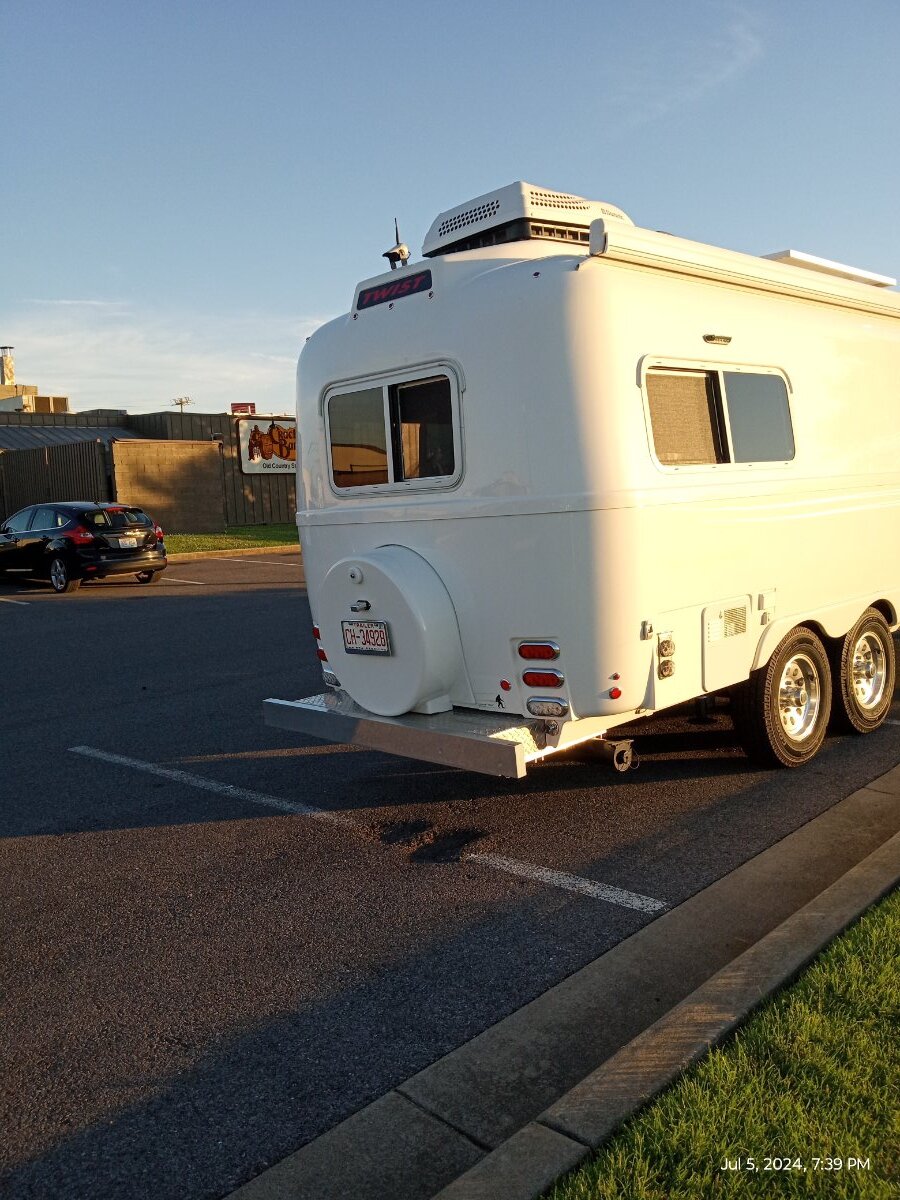
topgun2, this is what happens when you stay in Cracker Barrel parking lots too often! Google maps cameras catch you. This location happens to be on our way most anywhere west of Virginia so we stay here often. Maybe too often! 🤪
 7 points
 -
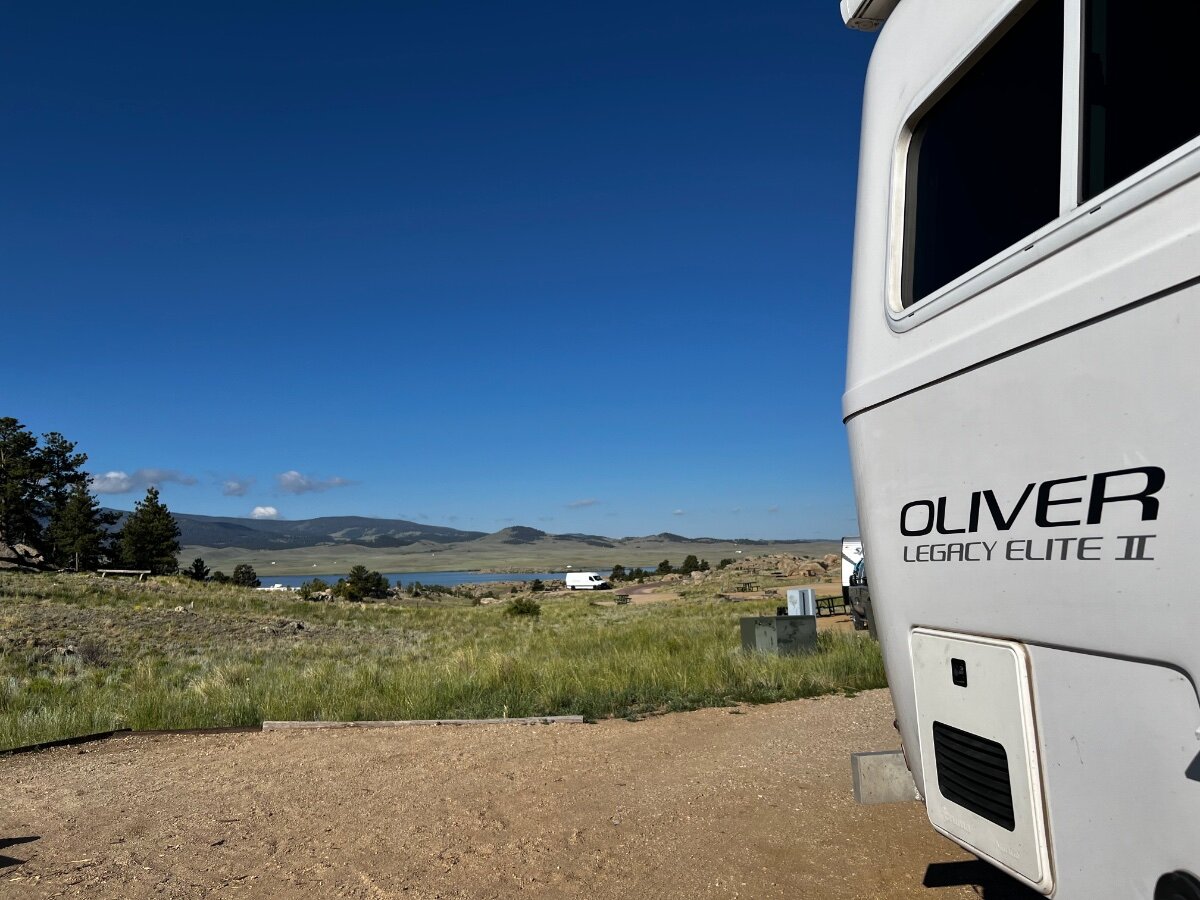
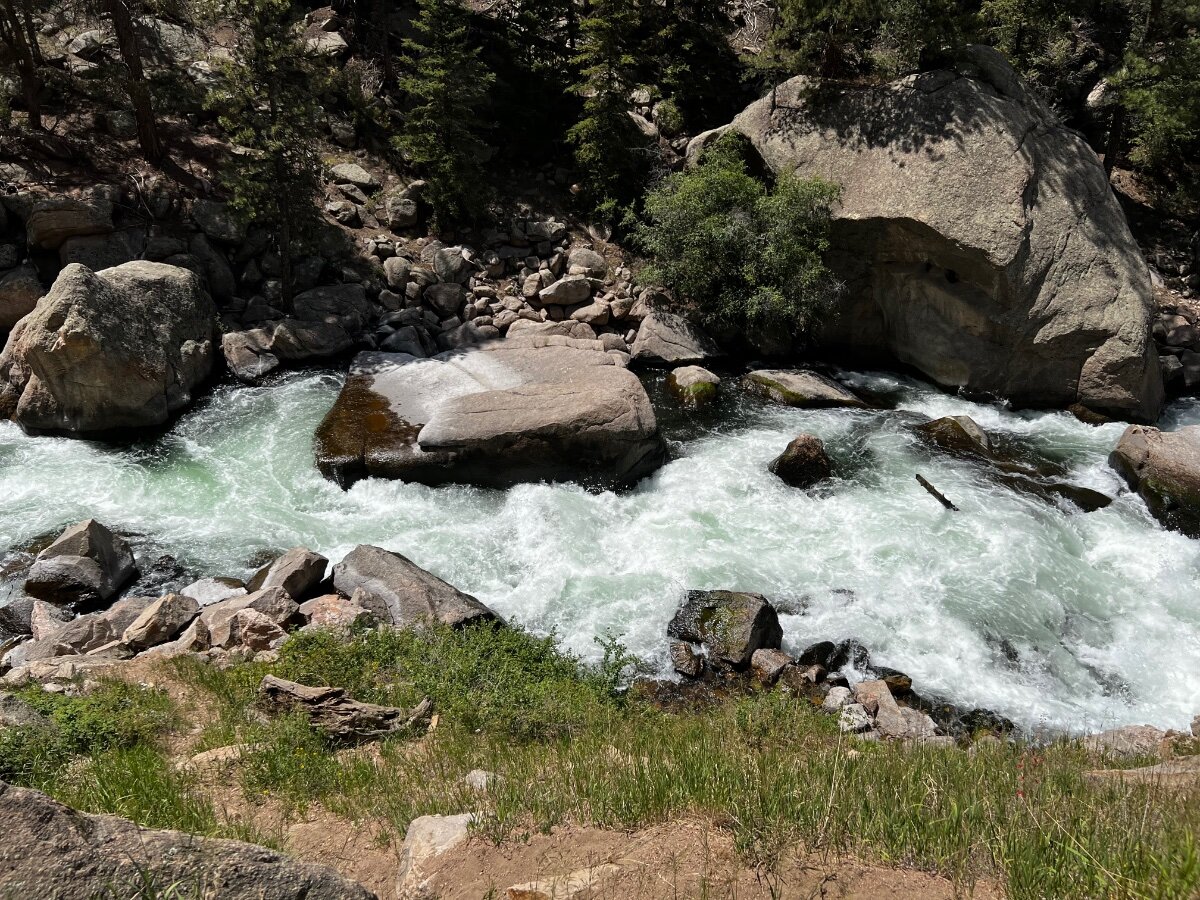
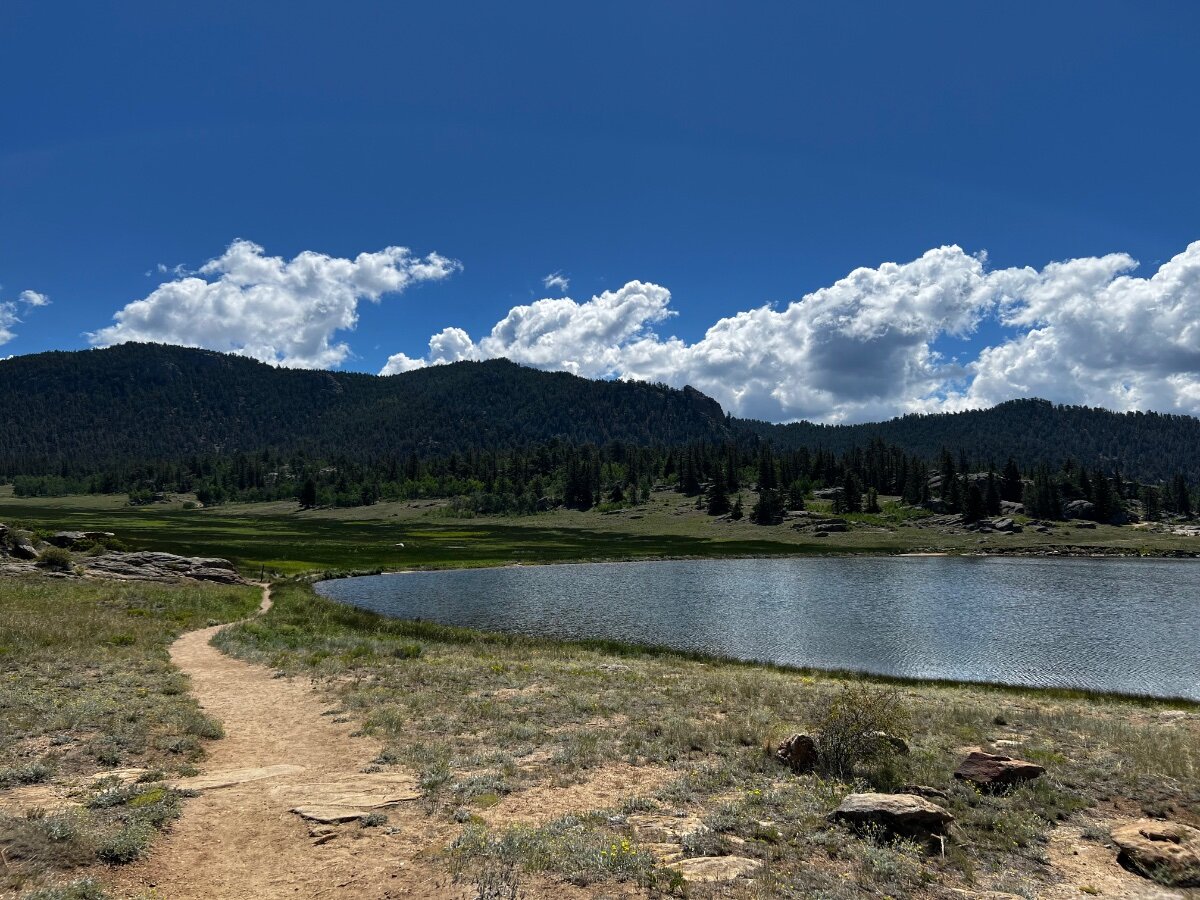
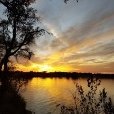
Loving these Colorado temps - Reset 2.0 #1364 at Eleven Mile Lake State Park Colorado. If you stay here do take time to do the Canyon. (What am I saying, most people with Olivers will be in the dispersed camping in the Canyon 🙂 )
4 points
-
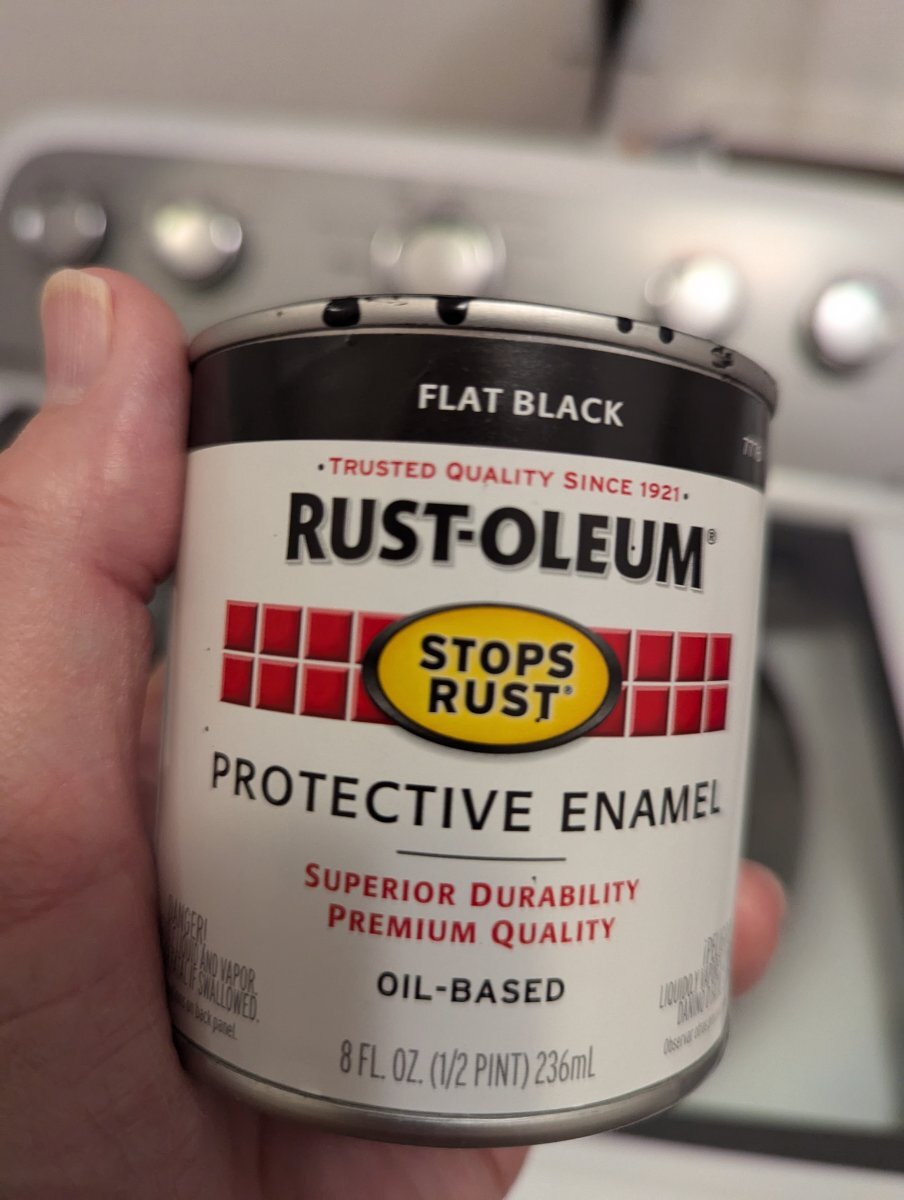
This is what we use, and a small can and a couple of small brushes.
3 points
-
For anyone considering adding a marine hatch to their bath vanity, I did this mod and I love it! But I think that you should take a look at @Frank C's version at THIS link. His bath vanity mod was a unique approach that I think is worth considering! Mossey2 points
-
Two nights ago it was 27 degrees here along the Taylor River in my Gunnison NF dispersed camp site. I'm going to be sorry to leave this weather when I move on! PS @topgun2 -- yesterday I finally spotted 3 Moose right along the river, just down the road (closer to the reservoir). No Elk, but Doe with spotted Fawns. This has been a wonderful area.2 points
-
Just remember that if you disconnect the batteries from everything including the solar charge controller you need to disconnect the charge controller first from the solar panels. Or risk damaging the solar charge controller.1 point
-
My order also had the LED lite. Thanks for the heads up! Mossey1 point
-
My order arrived yesterday and it *did* have the LED light included. Was a little worried with so many receiving theirs without one when buying though Amazon and Ebay.1 point
-
+2 on touch up with Rust-Oleum.1 point
-
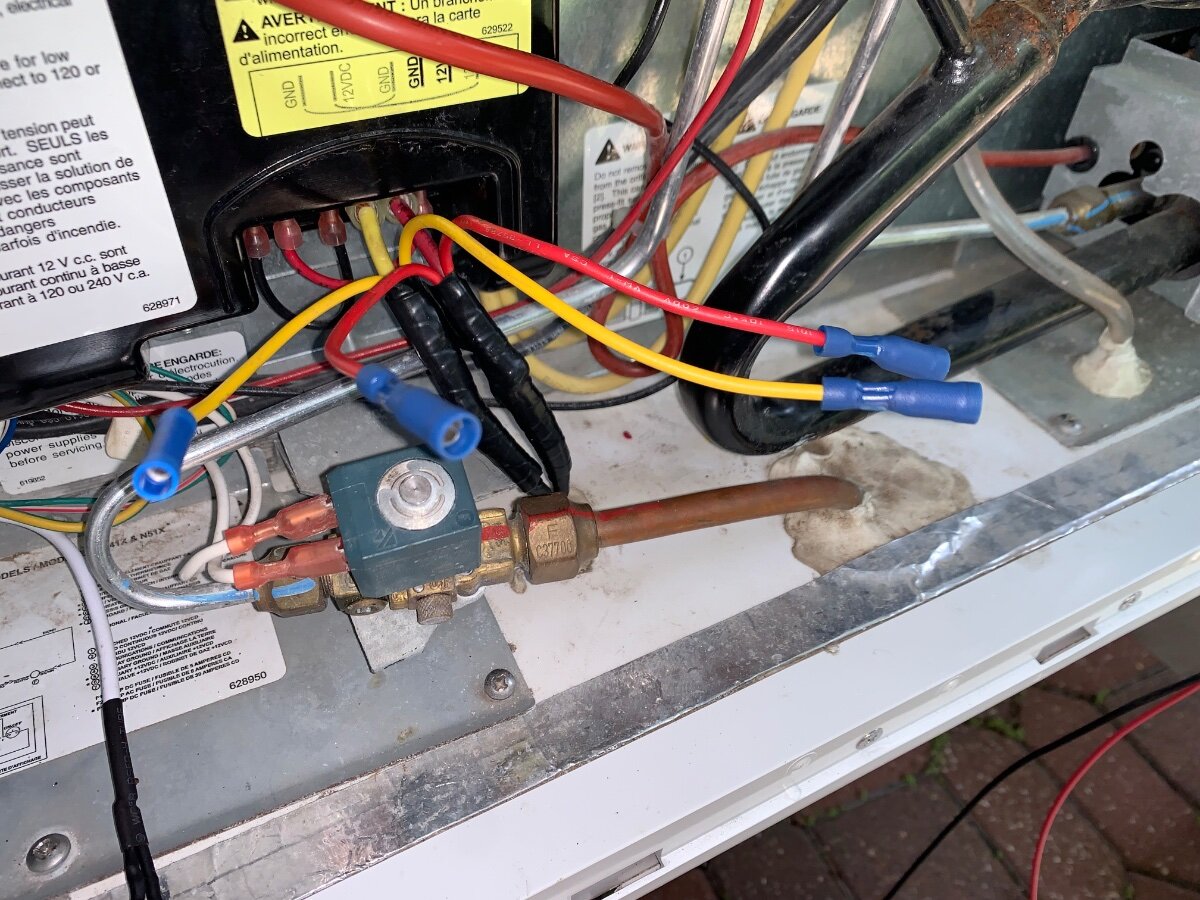
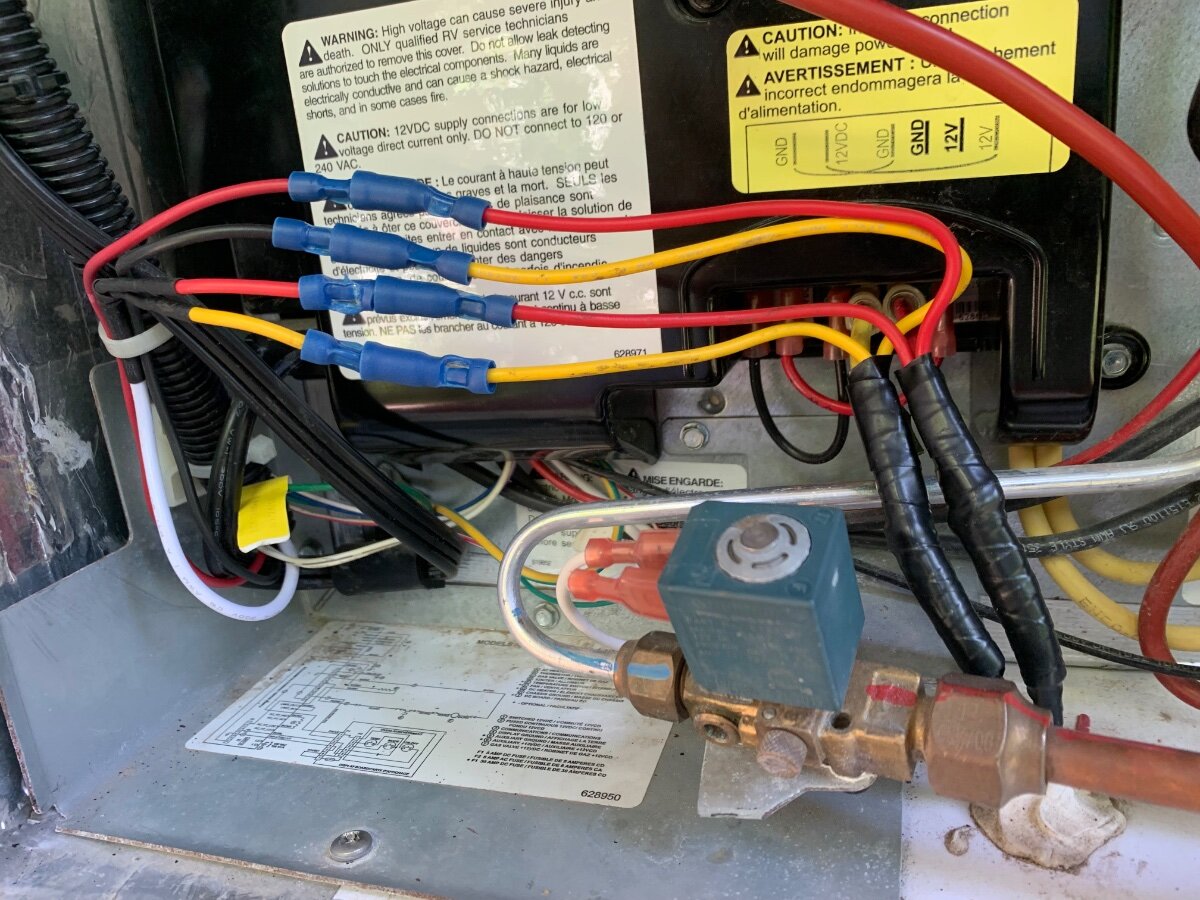
I am familiar with the small terminal block (“junction”) you are referring to, mine uses spade connectors to make power wire connections to the Norcold’s power box (seen with the white and yellow labels in pic). In my install, I disconnected the two power fed lines Oliver routed (10 AWG) into the lower exterior fridge compartment, being the two wires shown wrapped in electrical tape. Rather than cutting these wires to make a splice, I choose to strip a 1/4” length of insulation off each, whereby the wire strands could be separated enough to loop 6” pieces of wire (red +/yellow-) through, that also had insulation removed (5/8”) at its’ midpoint. Once inserted, these wires were simply folded in half, then twisted to join at the bare wire junctures and subsequently soldered, heat-shrink treated and taped. Then these two added power leads were respectively connected to the control panel and fan wires via quick-connect terminal crimp fittings. I did however, have to splice a short piece of larger gauge wire onto the control panel wire ends because they were too small for the QC fittings used. The 14 AWG wire you have should be of sufficient size for your fan mod.
1 point
-
Our coupler was black when new. I touch it up annually with Black Rustoleum. Mike1 point
-
This part always gets me too! The feeling of "FINALLY" getting to your stop, after a road trip with bad weather and white knuckles. And I'll drive 30 miles longer on a back road not to get nerved up from standstill traffic as well. Must be my city roots. Glad to see you're up and running. Enjoy the boondocking in the mountains while you can! 🙂1 point
-
All working - we had filled the tanks. I just got it in my head that I needed to switch the valves to pull from the tank. Not sure where that came from except a combination of our longest drive day, a thirty minute plus standstill after a wreck closed our only route, and just not having done a dry camp in a year or two. I sat there doing the prime step ( silver lining - was able to remove a thimble full of plastic shavings from the filter ) with the valves in boondock position. Finally in frustration switched back to normal and everything primed water started flowing etc. I then decided to etch my stupidity in stone by making this post questioning the diagram on the bench cover back. I seem to be determined to make the switch from the LE I to the LE II as traumatic as possible I guess. Have not even started my post on Truma Heaters and Truma Water Heaters and error codes that I never saw on my LE I. But I am making sure I have all my ducks on the same pond before posting that. (Gave up on ducks in a row long ago.)1 point
-
I have been following this thread (when I log onto the computer)... I learned to grease my zerks last year during my first "long" trip. No problems. But this year, when I greased them, there were 2 that did not accept the grease the way I expected. Thank you to all the members of the Oliver Family who help those of us who are learning. This thread is very helpful.1 point
-
I used to have to do the same defrosting with my Norcold 3way. It just took longer, with the bigger freezer. 🙂 I liked mine, too, til it didn't work.1 point
-
Another way to think of it: The "Boondocking" configuration is only for when you need to add water to the fresh tank from the rear inlet when boondocking (i.e., you do not have access to a "city water" connection). "Normal" configuration is for when you need to use water from either the fresh tank or a city water connection, regardless of whether you have a water hookup or are "boondocking" at the time of use.1 point
-
Correct, normal configuration would pull water from the fresh tank. The boondocking configuration is to pump water into the fresh tank from the inlet on the curbside (starboard) rear of the camper. In case you are boondocking and you need to "add" water to the fresh tank. I have several 5 gallon containers I can put water in and then pump the water from them into the fresh tank. Does that make sense?1 point
-
Picture is showing normal configuration.1 point
-
I have is a blank where that switch would typically go. That said, one could add a switch to serve purpose of powering the fans and control panel. However, the control panel acts as a switch in similar manner.1 point
-
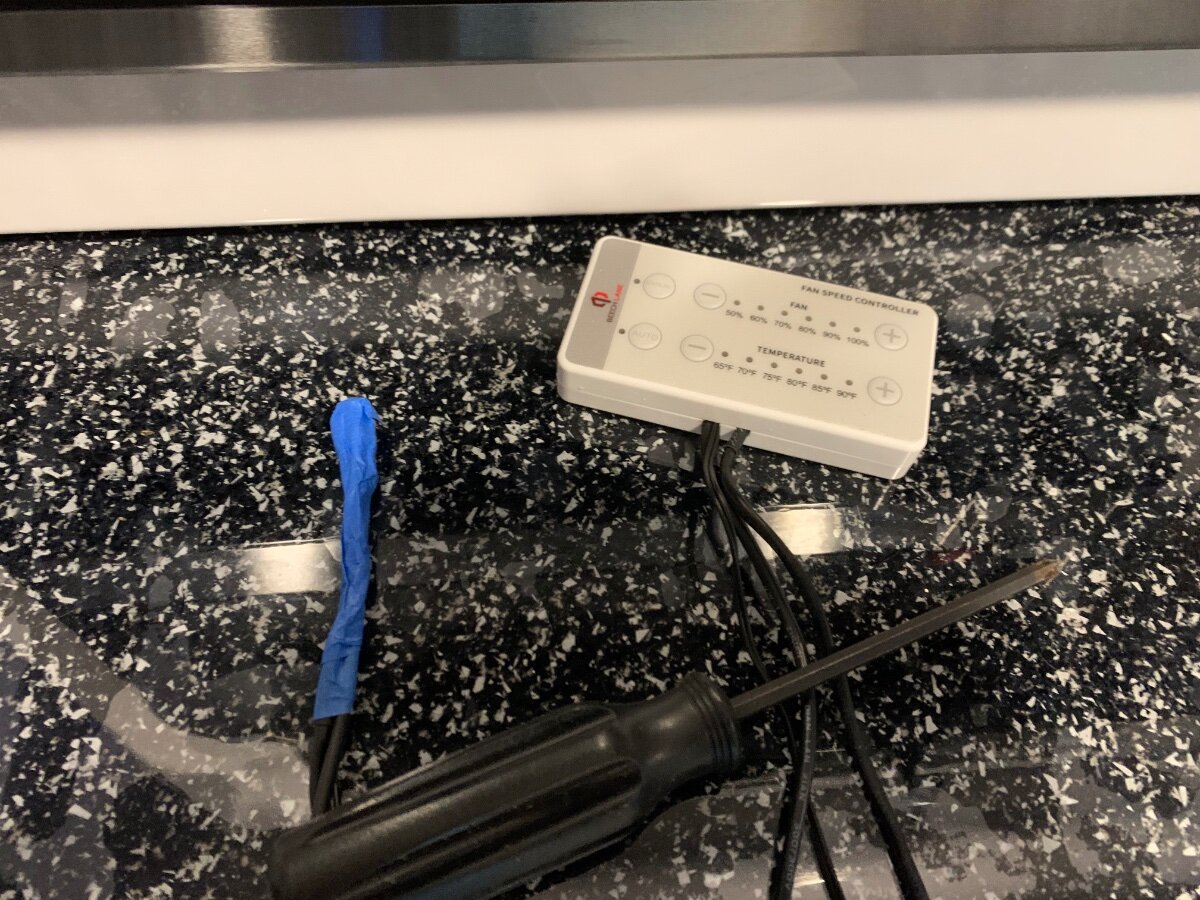
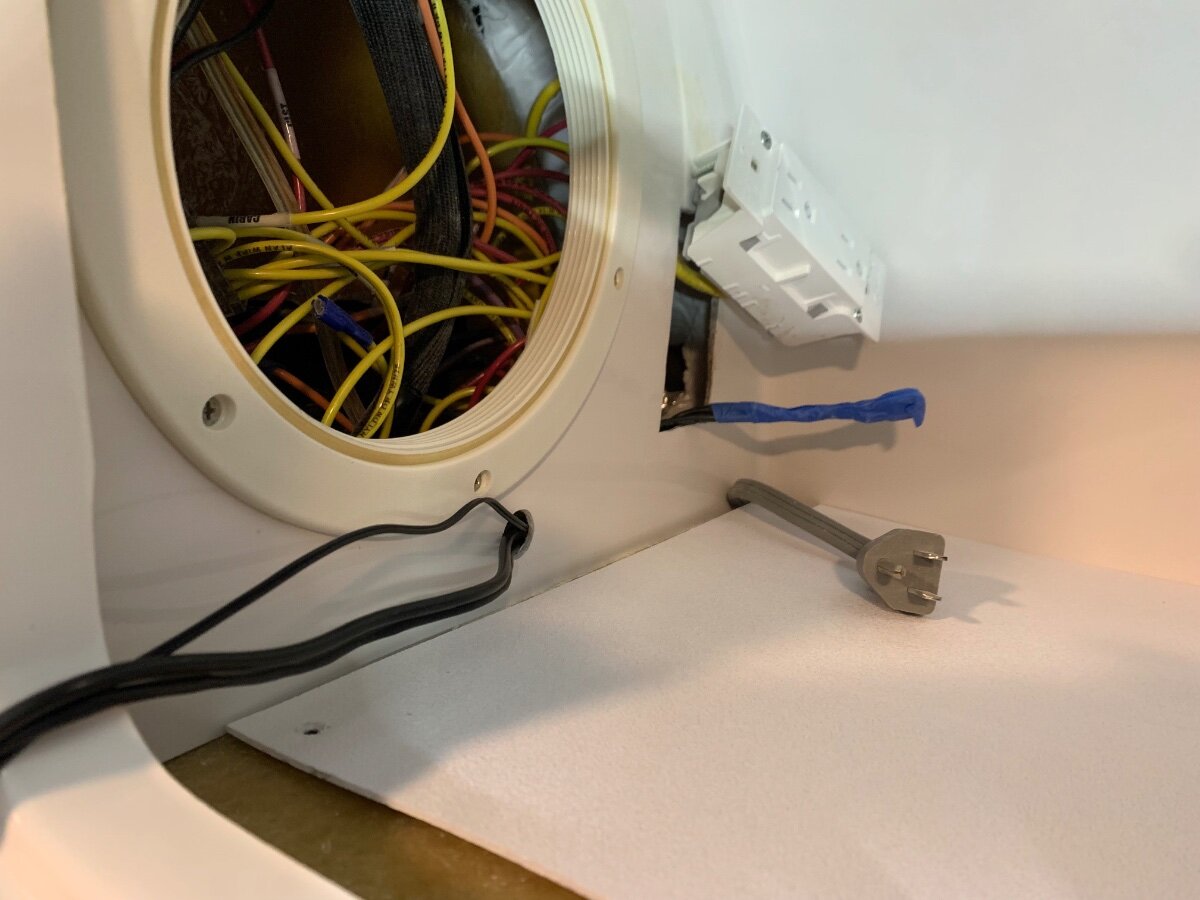
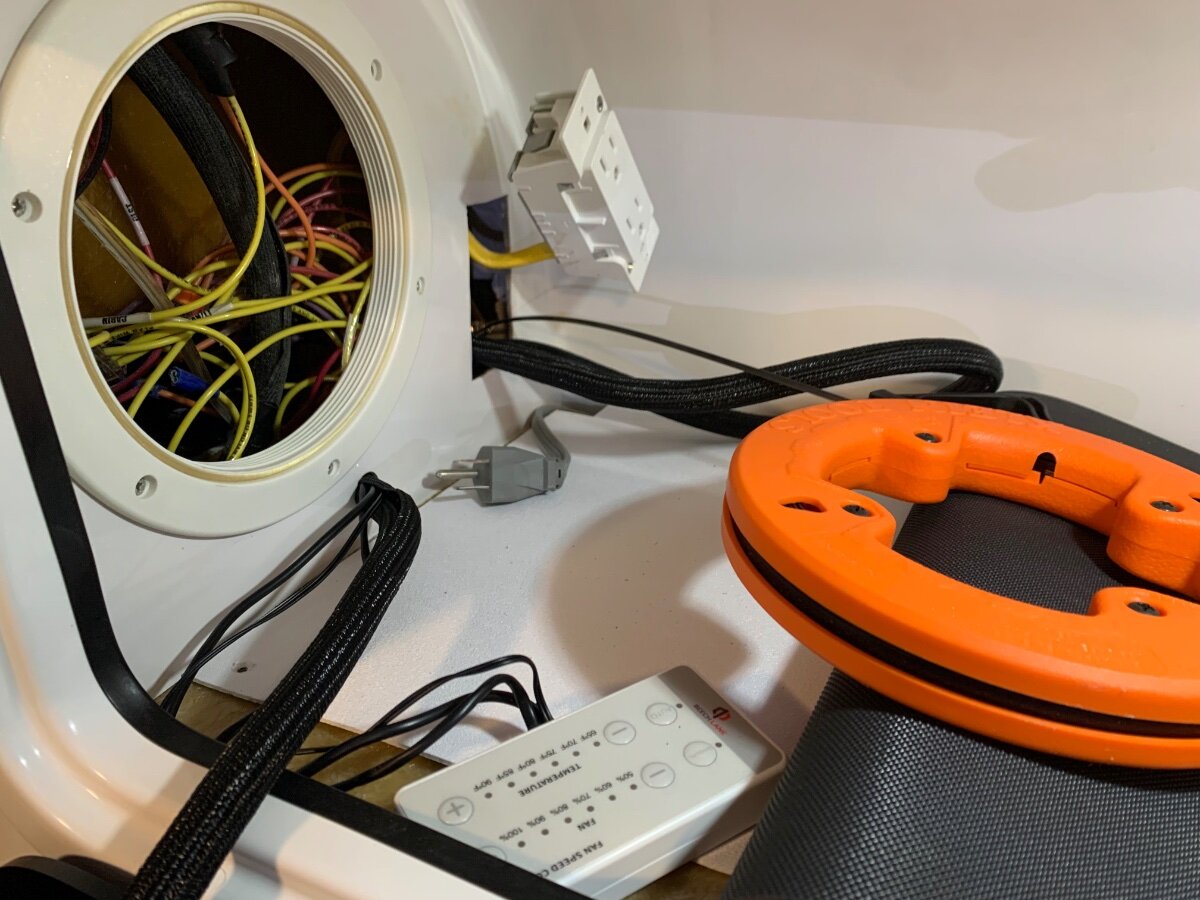
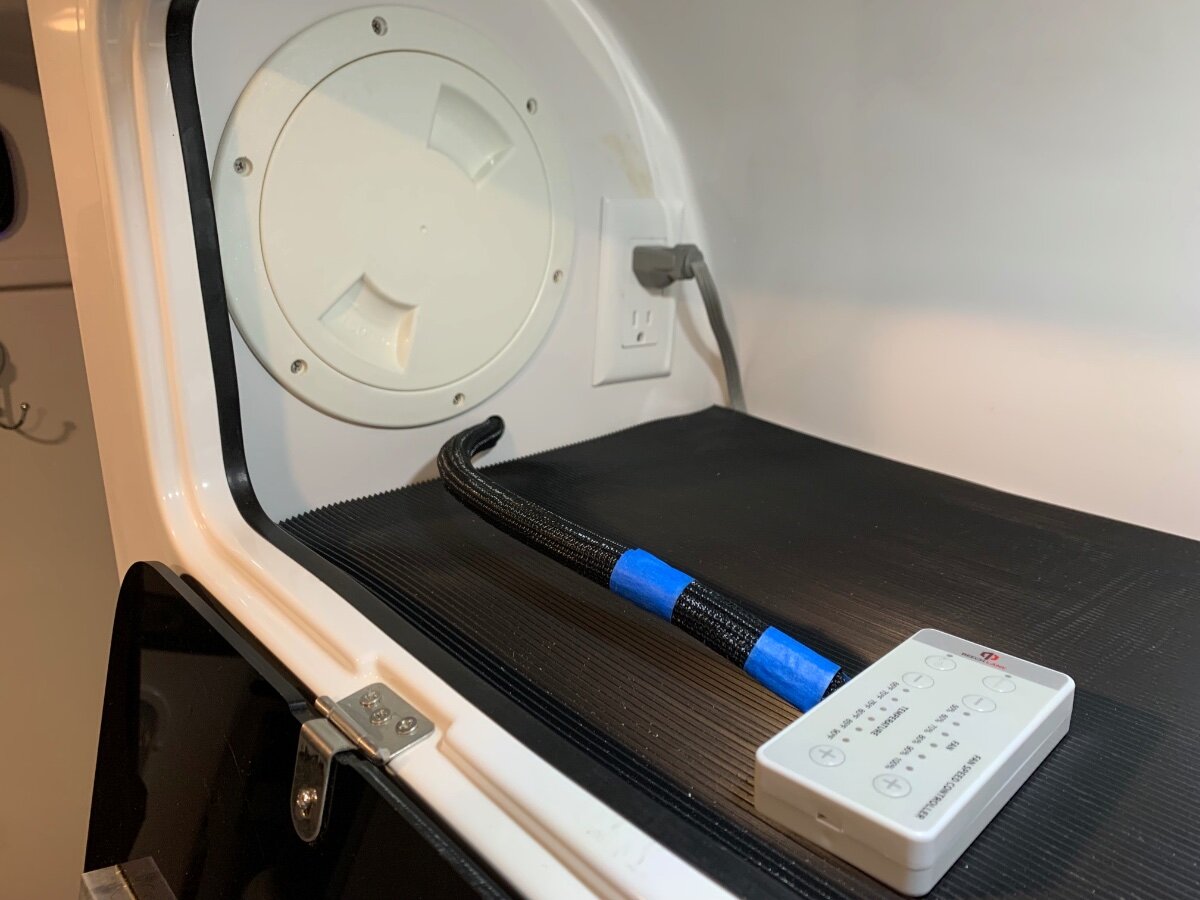
I recently installed the Beech Lane dual fans and was able to run wires from the interior cabinet, above the microwave/Norcold, down and behind both units for the fan control panel/harness and power connections in the upper and lower exterior vent/cover areas, respectively. Access for fishing the wires required folding back the cabinet’s protective mat liner, removing the round access port cover and detaching the AC outlet box (after turning power off at the breaker) that the microwave plugs into, as well as drilling a hole (see pics). Additionally, I had to remove the foil tape and angled aluminum plate that occurs behind the upper exterior vent/cover to enable the wire fishing process; specifically, the fiberglass divide between the two units inhibits passage wherein a visual and physical interaction may be necessary. Regarding your wall switch, if you could get 12V power of appropriate gauge wire to it, then power wires would not have to be fished down to the lower reaches of the fridge for connection. Steps taken in prep to fish wires. There was a passageway found inside the outlet cutout to the lower right, other side of the interior cabinet wall from the microwave power cord, leading to the upper exterior vent/cover area Control panel wires prepped for fishing. Wire loom installed during stages of fish process. Routing completed to upper exterior vent/cover area. Interior cabinet buttoned up! Quick connects used at 12V power connections.
1 point
-
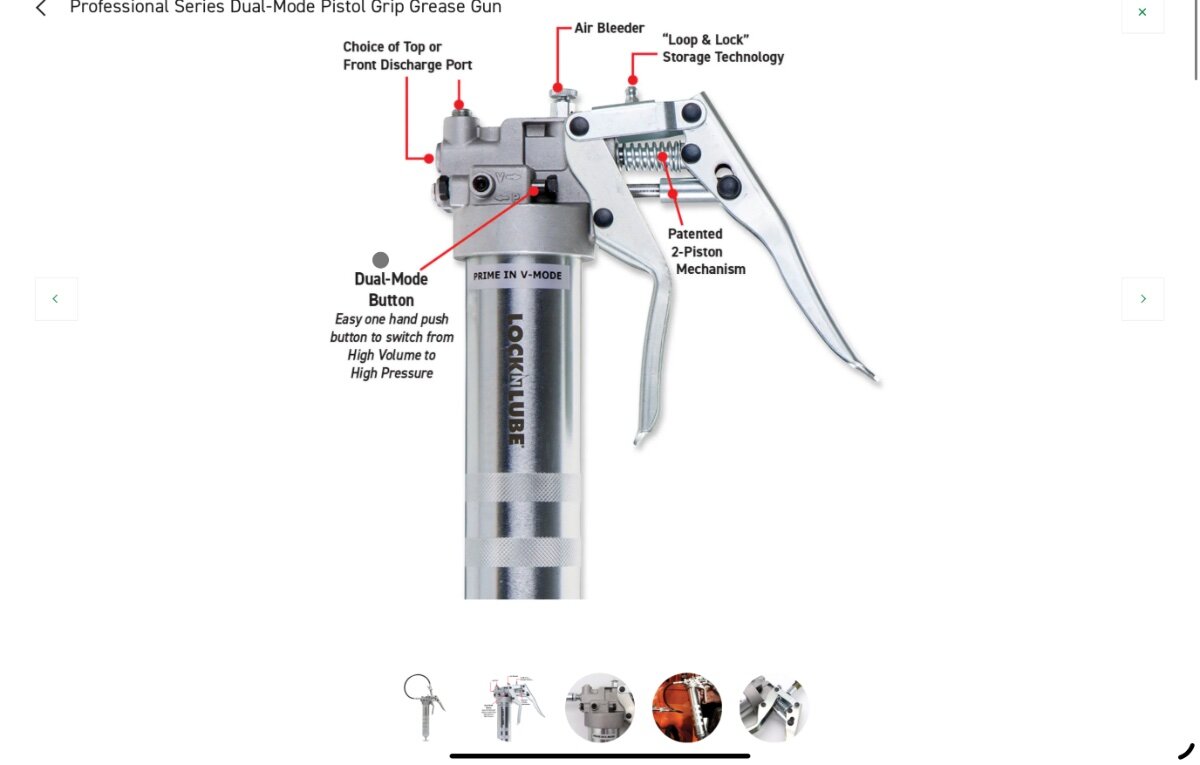
Read lots of good information and experience above. I have never used this but I have thought about it many times with a plugged Zerk. https://locknlube.com/products/grease-buster?variant=32921003327572 This grease gun with high volume vs high pressure mode works well too https://locknlube.com/collections/grease-guns/products/professional-series-dual-mode-pistol-grip-grease-gun?variant=40111323349076 Best, Mike
1 point
-
Where else would Ollie be but at Cracker Barrel for the night? Not the best CB location ever, but, the price is right.
1 point
-
Thanks for all the info! We do have a reservation at Split Rock Lighthouse in the Shipwreck Campground for part of our stay and it looks like a good one. I'll look into some of the other places you mentioned. I've already ordered us some of those attractive head net mosquito hats, haha. 😉1 point


.thumb.jpg.e34bf01ef7f7d5e99ad31856d45afbeb.jpg)


-
Recent Achievements
-


")


")


")


