Leaderboard


Popular Content
Showing content with the highest reputation on 07/26/2025 in Posts
-
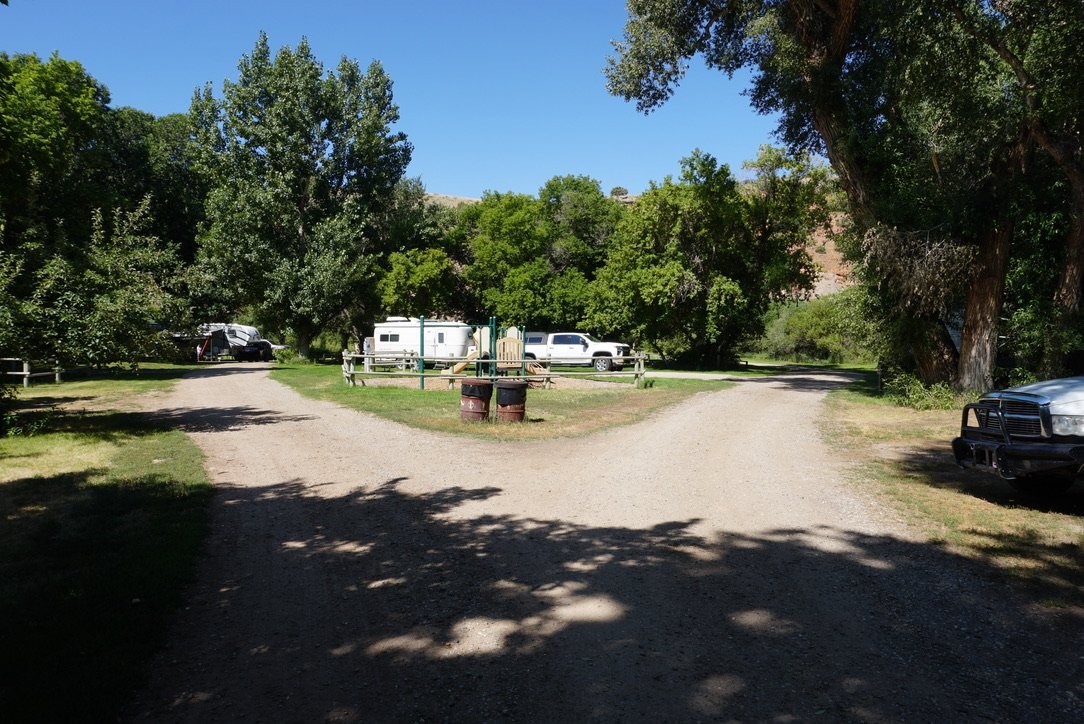
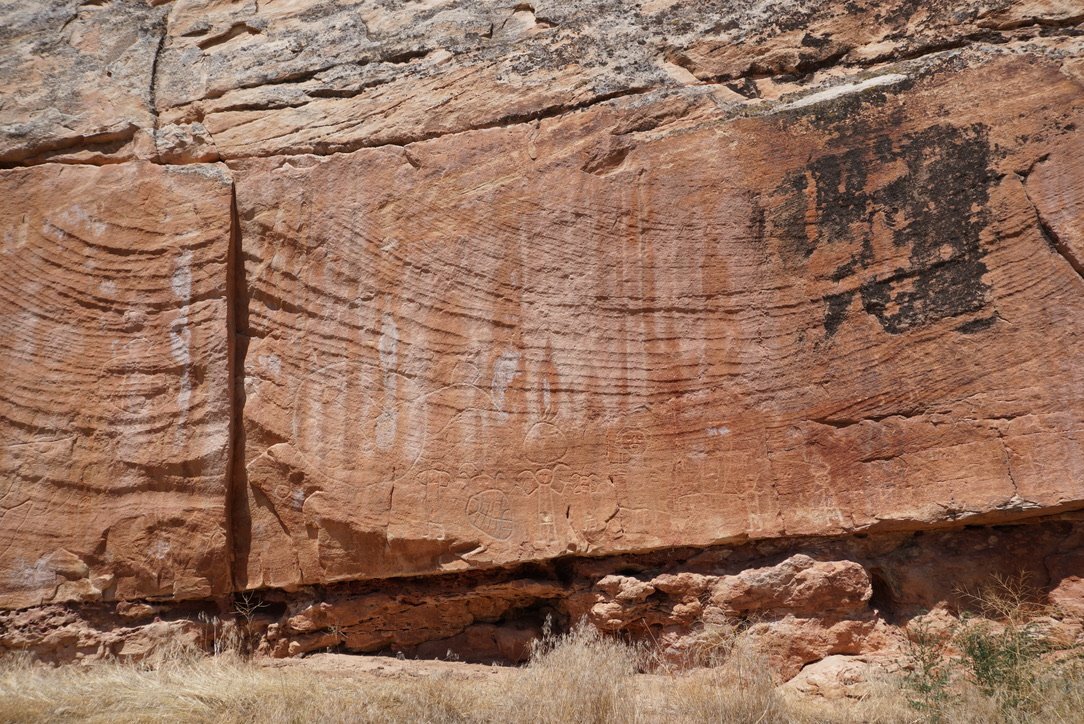
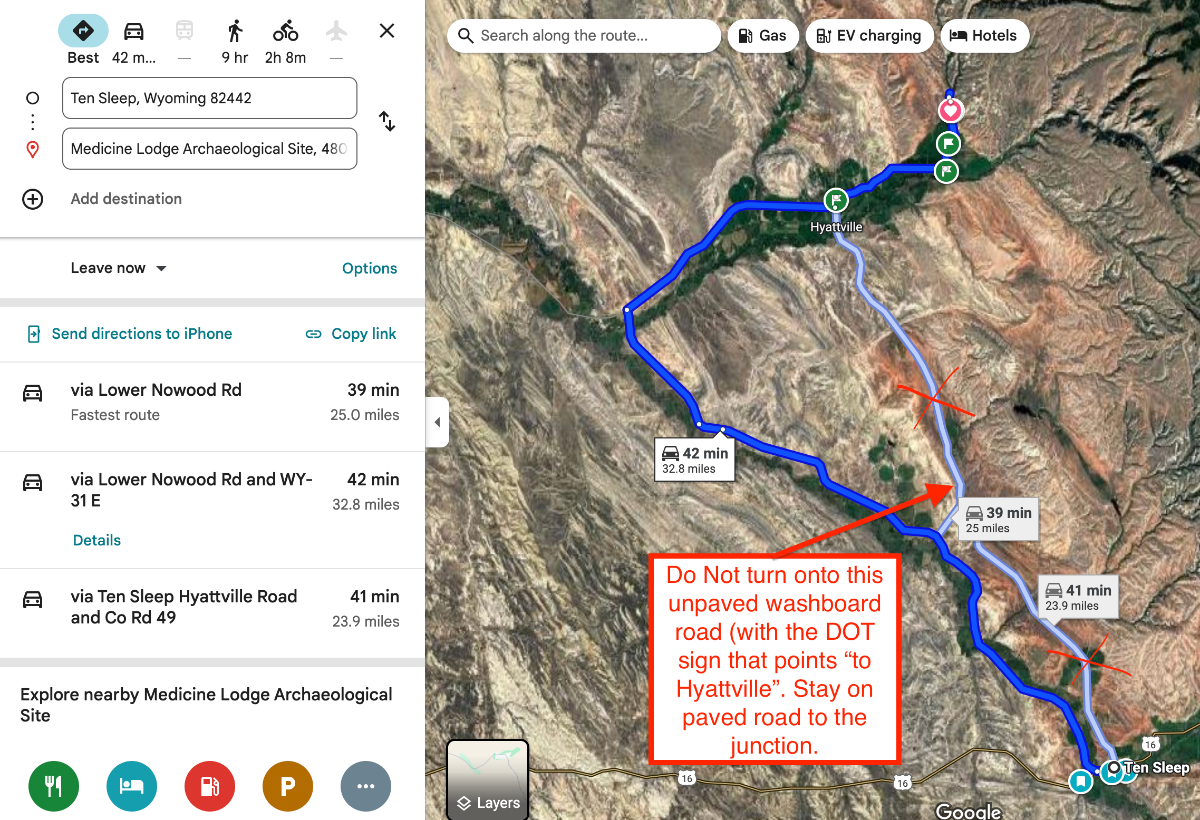
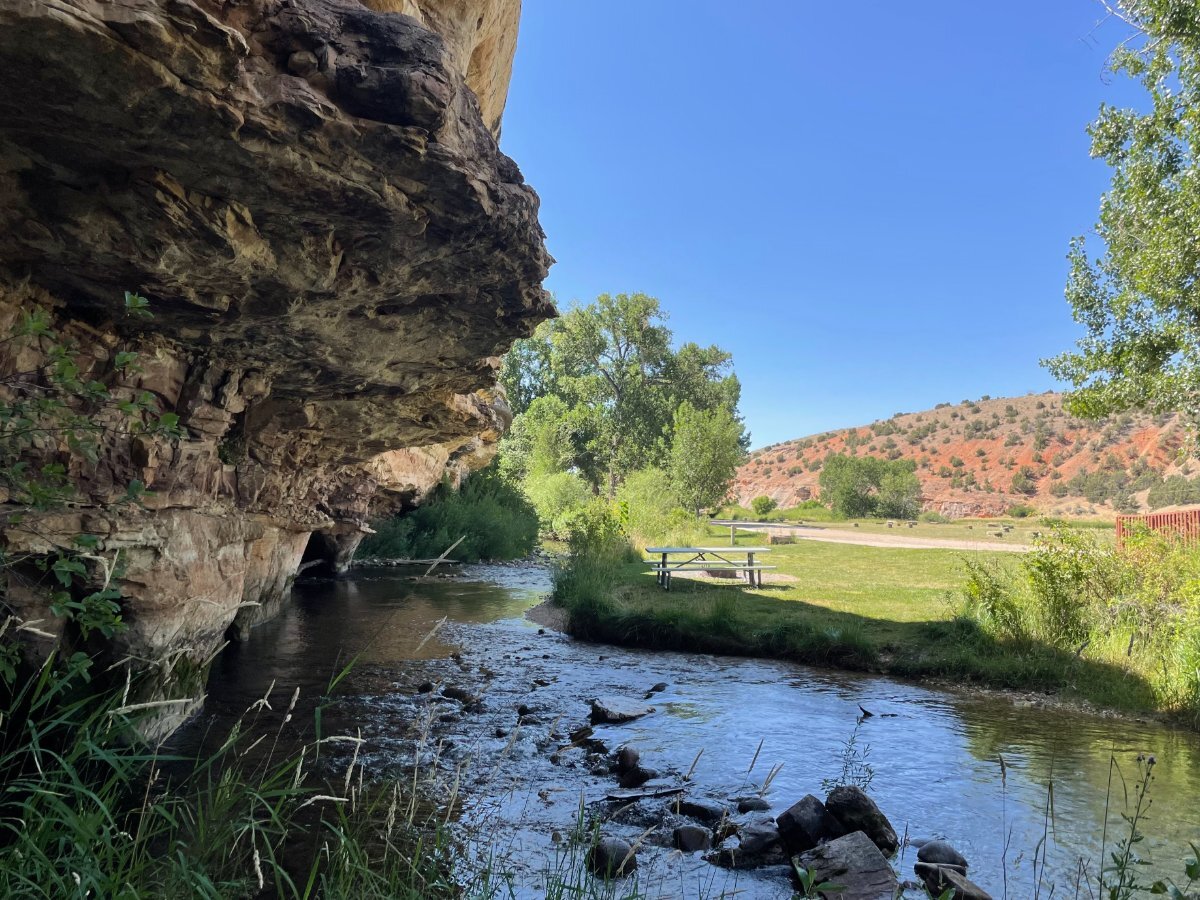
I've greatly enjoyed time at Medicine Lodge Archaeological Site SP and campground. The state park is a real gem, with hiking trails, petroglyphs and pictographs, a beautiful creek (fishing permitted with license), flora and fauna -- a green oasis along the western slope of the beautiful Big Horn Mountains. Archaeological digs have revealed over 10,000 years of human occupation at this site -- a rare find in North America. There are dry camping sites, electrical sites, reservable sites and some that are strictly FF. If you decide to come here, be sure that you are: (1) looking at the correct campground, as there are others called 'Medicine Lodge' that are part of the Forest -- and those might be fine, but this one is within walking distance to most of the park's public areas; (2) carefully studying the route and the road conditions before you venture away from wifi/cell reception, because google and apple maps will suggest a road that is a washboard dirt road -- and there is even a sign that suggests it's the way to Hyattville -- but there is a better path. You can read about the park here: https://wyoparks.wyo.gov/index.php/places-to-go/medicine-lodge I used the "Lower Campground" -- sites 1 through 9, but there are very nice sites scattered throughout the park, all of them along sections of Medicine Lodge Creek. Lower Campground, site #7 is in the middle -- other sites are around the perimeter. Some of the petroglyphs view of Medicine Lodge Creek in the park If you're coming from the west, take 31 from Manderson. If you're coming from the east (south) take Lower Nowood Road (NOT the Ten Sleep Hyattville Road) and STAY on Lower Nowood Road until you reach the junction with 31 (Do NOT follow the green highway sign that points to the unpaved washboard road to Hyattville). Go east on 31 from Lower Nowood and turn on Cold Springs Road, then to County Road 52 (unpaved) following signs to the park.
 5 points
 -
a by-product of propane per the tec that helped me out.5 points
-
I have been chasing down the solution to a Norcold refrigeration problem for 18 months. My fridge worked well on AC, so so on DC and inadequately on propane. The best it would do on gas was 7-10 degrees in the freezer and only 50 in the fridg section. We do a lot of boondocking and really wanted to keep the gas option. Here are the various steps I took one at a time without success: Pulled the fridge and cleaned the burner tube, changed the thermistor (3 times), changed the main board, checked the gas pressure, changed the thermostat and added a dual extra fan to the top, changed the DC board (one to the right of the main board), changed the eyebrow board, added venting, added insulation. All of these steps were recommended by techs who I paid. The last tech I hired told me that I needed to replace the cooling unit since I was wanting to keep the existing model. Unfortunately, Norcold no longer makes the N412.3 model and replacement cooling units are out of stock. I was advised to find a cooling unit from a 3rd party, order it and then pay the tech to install it. The first cooling unit manufacturer that I contacted did not make units for this smaller fridge model and recommended talking to a guy in Olive Branch MS who rebuilds cooling unit. When I spoke with this gentleman in MS on the phone, he was far more than helpful and told me that my cooling unit was not the problem. He told me to remove my burner and soak the orifice in a high percentage alcohol for a few hours, then blow it out with a compressor and reinstall. Now mind you that my flame looked fine and didn’t seem to be a problem to me or to the two professionals that previously looked at it. 80 year old Mr. David Force, owner of Cooling Unit Warehouse explained that there was a paraffin buildup in my orifice and that although my flame’s appearance didn’t visibly change after cleaning it, the temperature of the flame had been slightly below the necessary temperature. He said that a 10-degree flame difference can change everything. Bottom line, I followed David’s advice, the fridge has been working like a champ for 50 hours on propane so far. I wish I had known this before I spent 18 months and 7-800 dollars on un-needed parts. Nevertheless I am thankful that it works like it is supposed to so that we can head out next week for a month long trip. I'm posting this in hopes that someone can avoid a refrigerator adventure.3 points
-
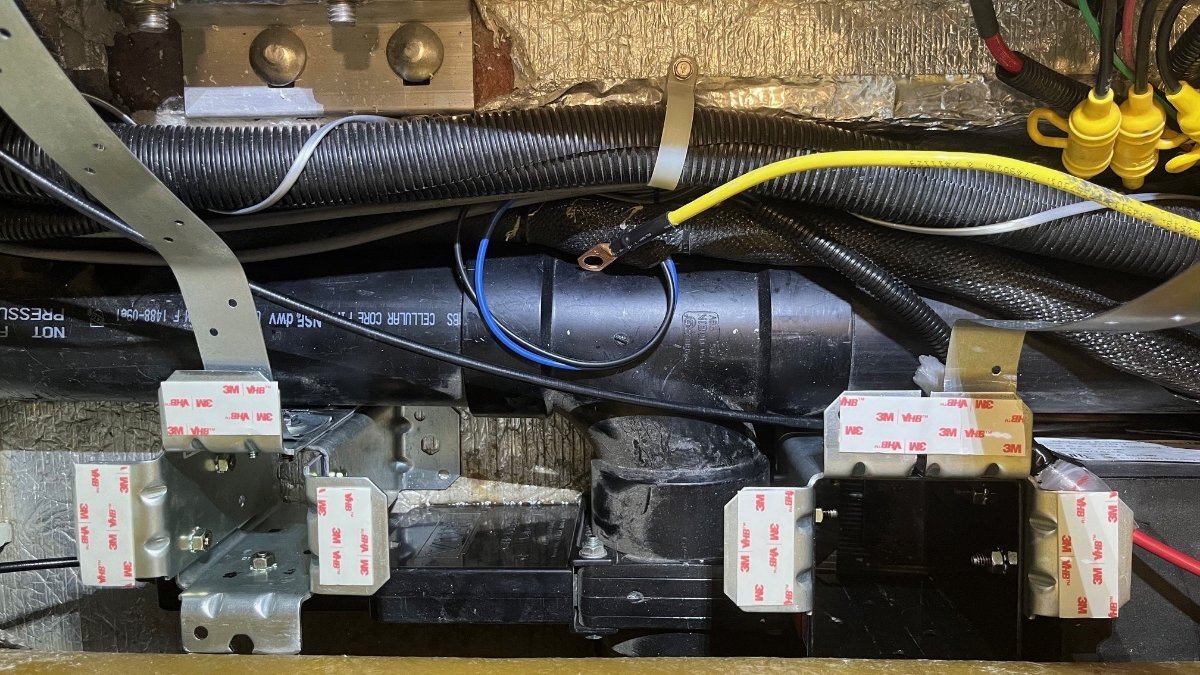
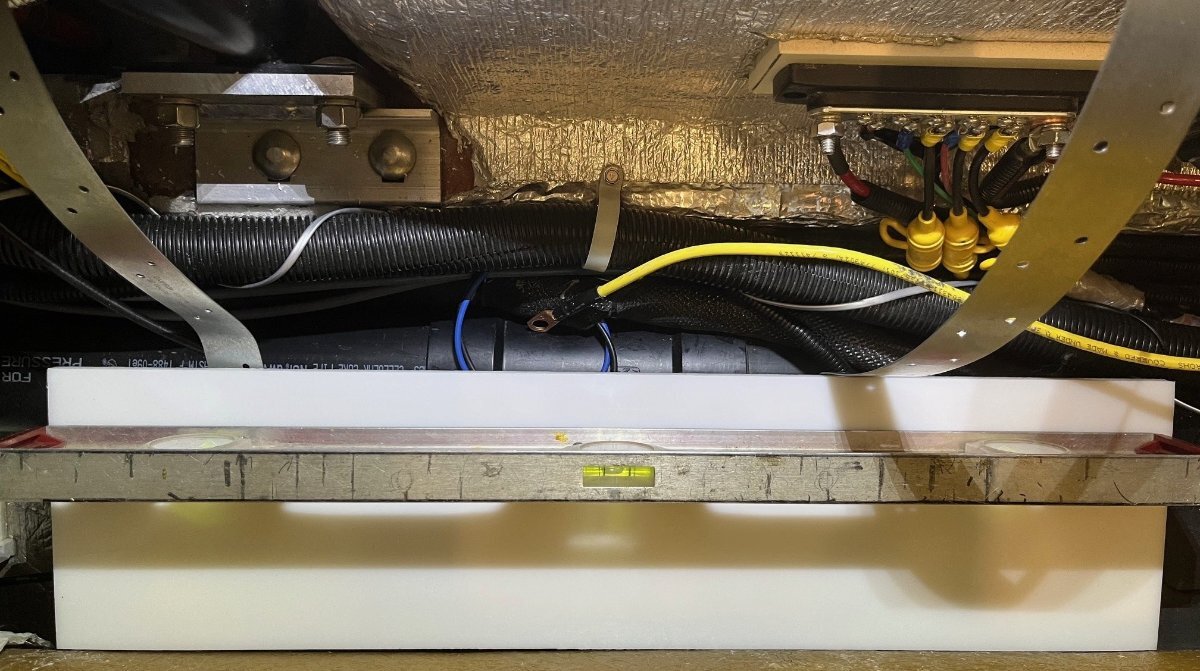
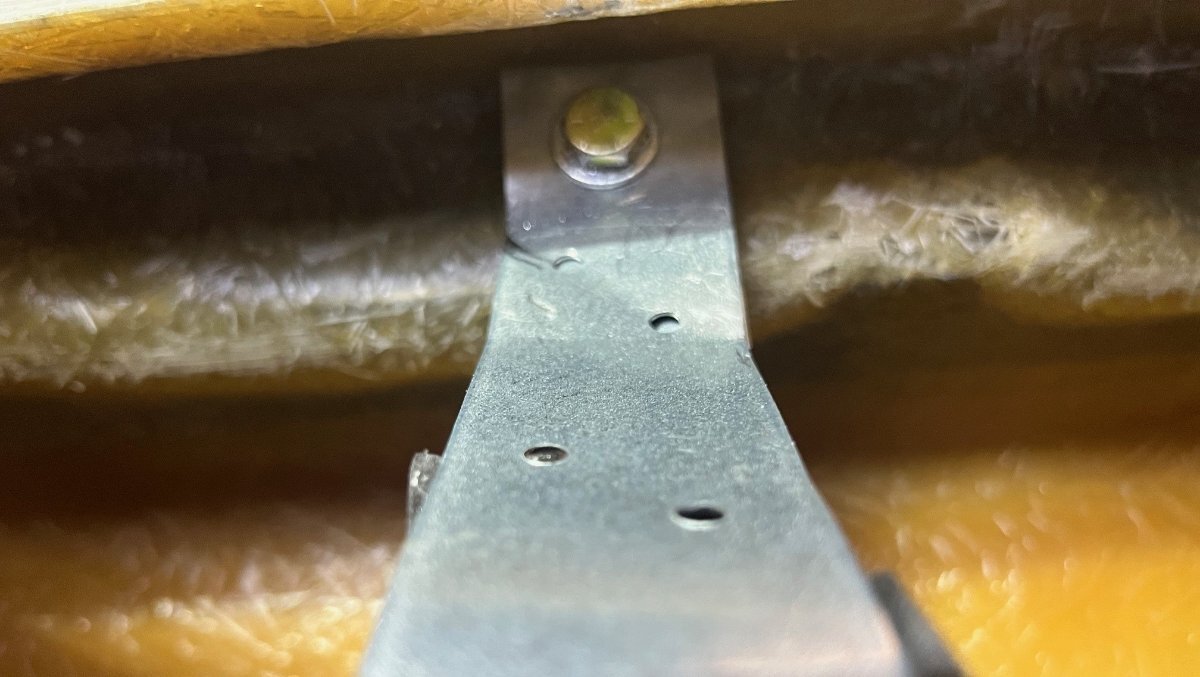
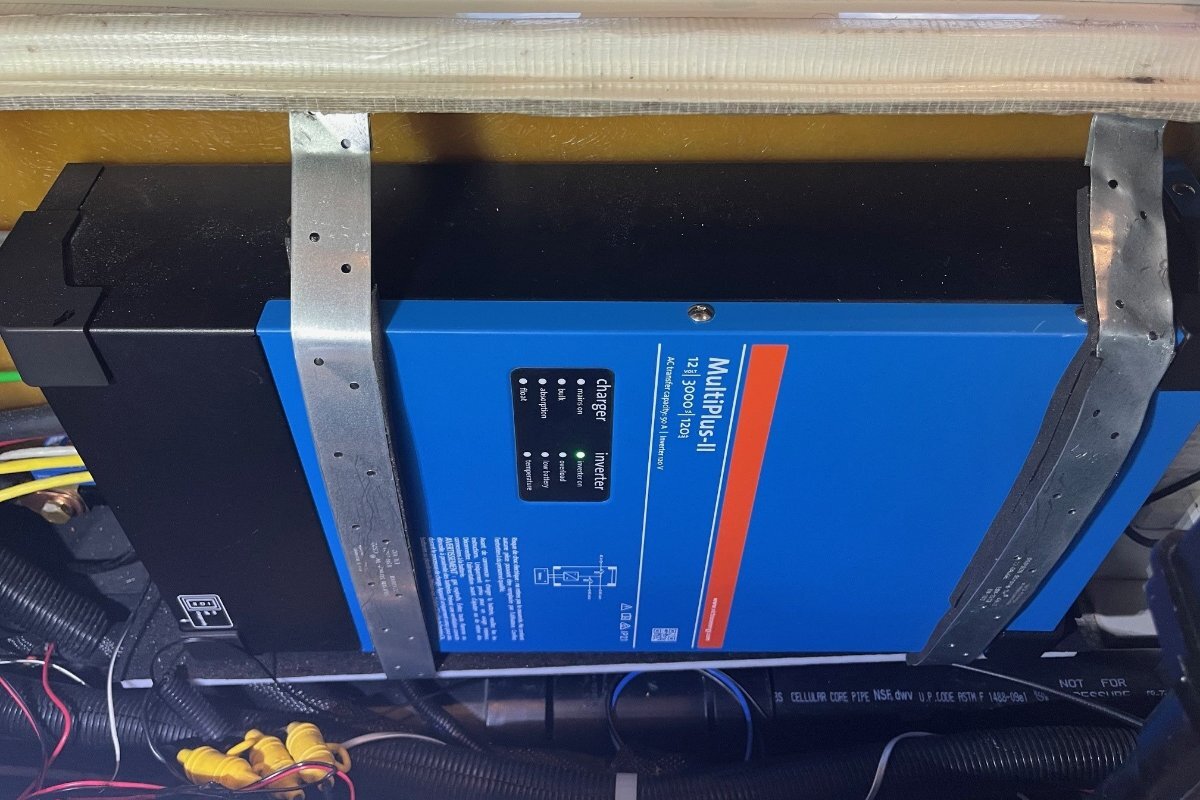
Question is Tom, would additional adhesive work, when it did not work the first time? (Can I say, what a lame glue job OTT! 🤣) When I installed our Victron inverter, I had seen installations on this forum using a vertical mounting board and adhesives which made me worry. That's a lot of weight to to be glued to a wall of a travel trailer! I decided to build a shelf sitting on the floor below and after the inverter was in place, I used anchors and strapping to hold it against the wall (see pics). You should see if you can move the inverter up and out of the way and see if building a floor-mounted shelf would work in your hull. Pull the battery ground or turn a shut-off switch before moving or removing your inverter. In the meantime if you must travel, stuff some insulation on both sides of the inverter to keep it from moving!
3 points
-
Great question Jd. I opted to give AI a shot at this one 🤔and here is what I learned- AI Overview- Wax buildup, often appearing as a yellow, oily, or petroleum jelly-like substance, can occur in the LP gas lines of refrigerators (and other propane appliances) . This issue is primarily linked to impurities in the propane itself, specifically oily contaminants introduced during the filling of LP bottles. Causes of wax build-up Impurities in Propane: LP gas, while primarily gaseous, can contain small amounts of oil and other contaminants. These can be introduced during the filling process at the propane supplier. System Design: Certain parts of the LP system, like the SOV (solenoid operating valve) filter and the gas jet in Dometic or Norcold refrigerators, are particularly susceptible to clogging due to their small size and the nature of the oil contamination. Degrading Hoses: While less common, some buildup may originate from the gradual degradation of propane hoses over time. Risks and consequences Reduced Gas Flow: Wax buildup can restrict the flow of propane to the refrigerator's burner, impacting its ability to light or maintain a strong flame. Overheating: In the case of Dometic and Norcold refrigerators, restricted gas flow can lead to the cooling unit boiler overheating, potentially damaging the refrigerator. Soot Buildup: Incomplete combustion caused by inadequate gas flow can also lead to soot accumulation in the burner and flue, further hindering performance. Addressing the problem Cleaning the System: Disassembly and cleaning of the gas lines, including the burner, flue, and orifice, may be necessary to remove the wax buildup. David Force gave @carnivore very solid advice! 👍🏻 **** Cleaning Solutions: Isopropyl alcohol (91%) is recommended for flushing out the system, while acetone can also be used, but care must be taken to avoid contact with rubber or plastic parts.. Preventing future issues Using Clean Propane: Consider sourcing propane from reputable suppliers known for clean gas. Filter Maintenance: If the refrigerator has a filter in the SOV valve, regular inspection and replacement or cleaning can help prevent clogs. Bottle Draining: If oil contamination is suspected in an LP bottle, it can be drained and flushed when empty by removing the valve and turning the tank over. Regular Maintenance: Adhering to the manufacturer's recommendations for routine maintenance, such as cleaning the burner, flue, and burner orifice, can help ensure optimal performance and minimize the risk of buildup according to www.ezfreezerefrigerator.com.3 points
-
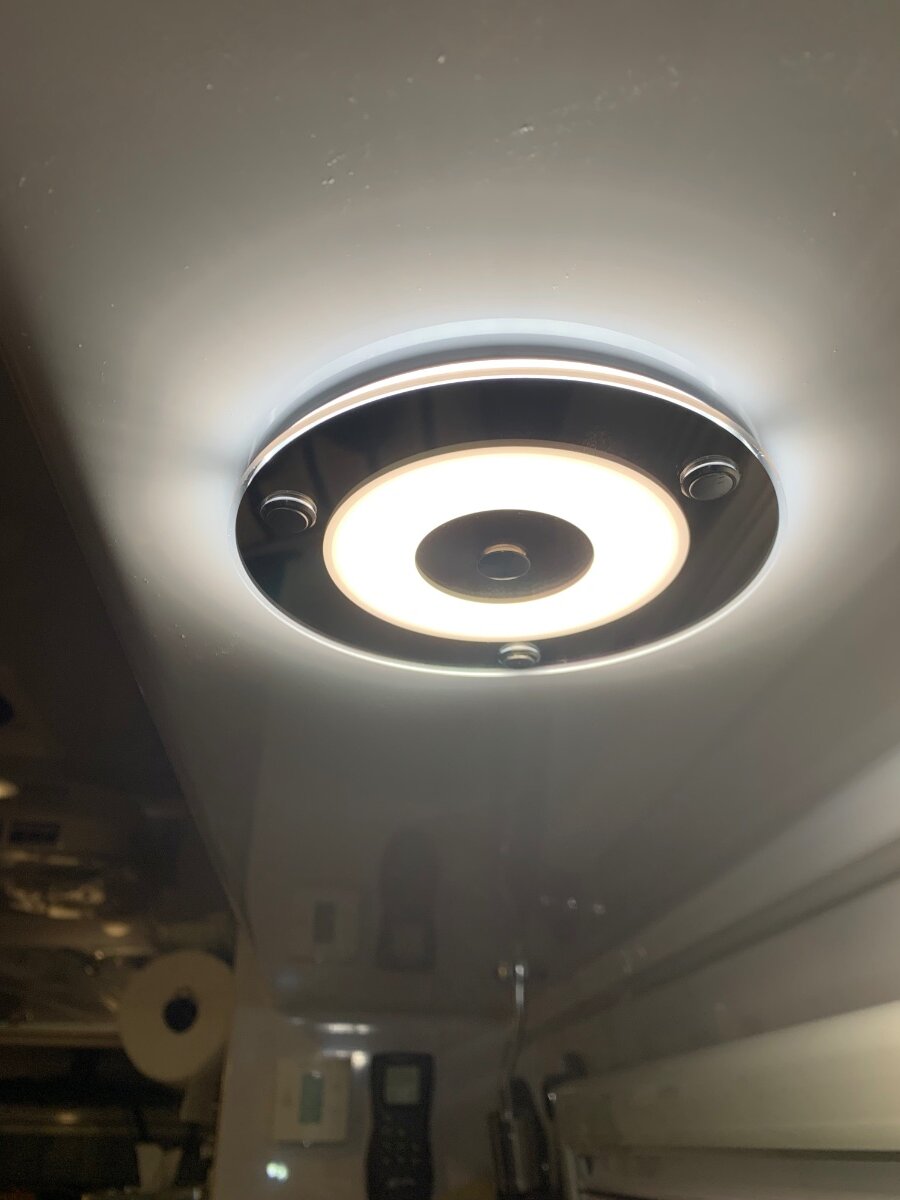
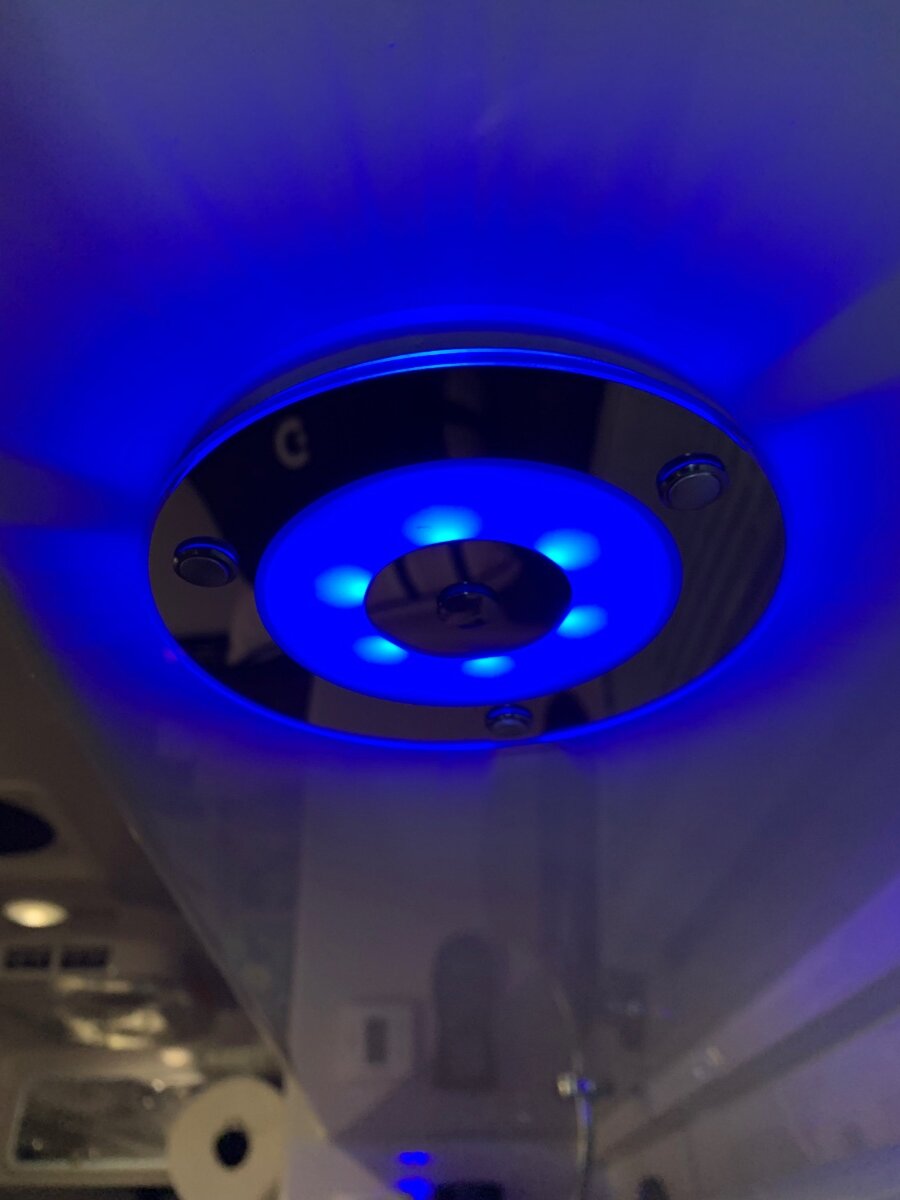
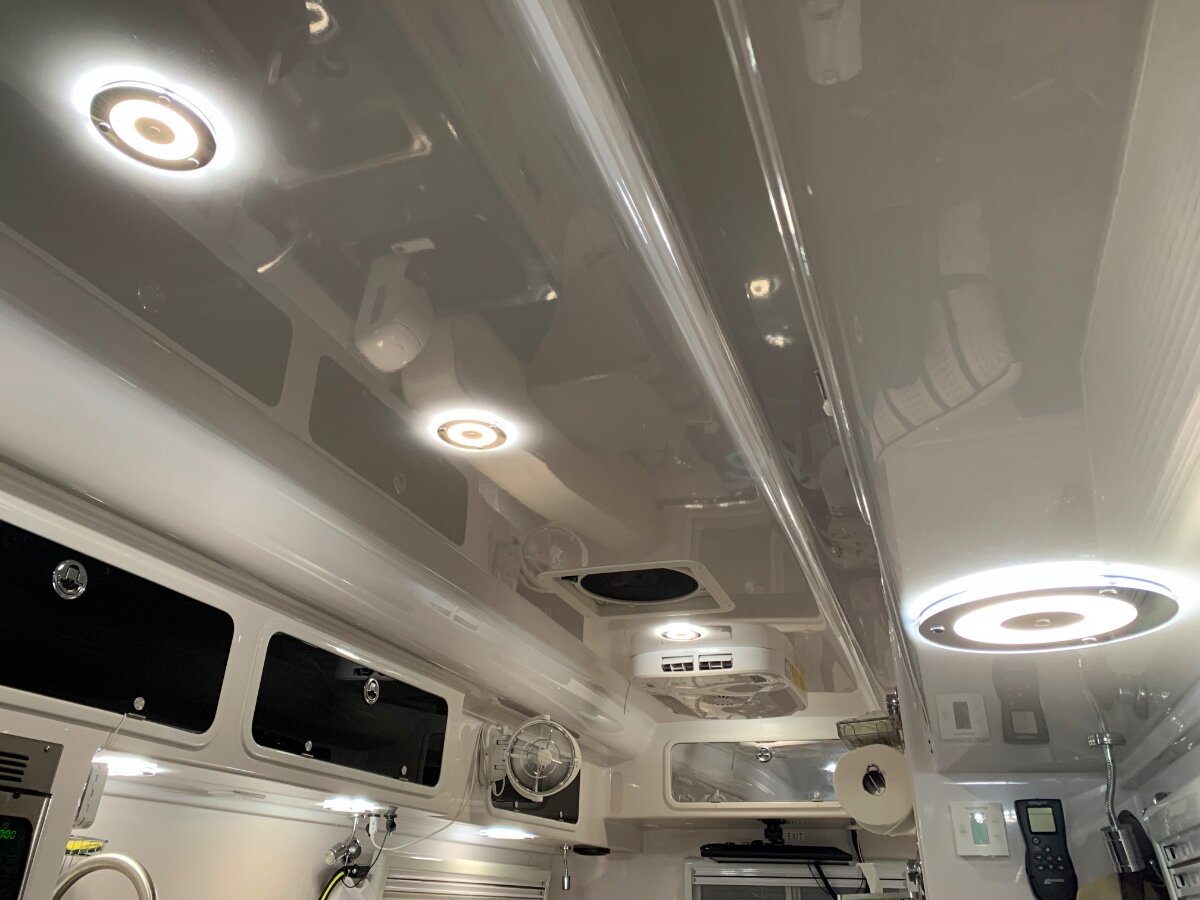
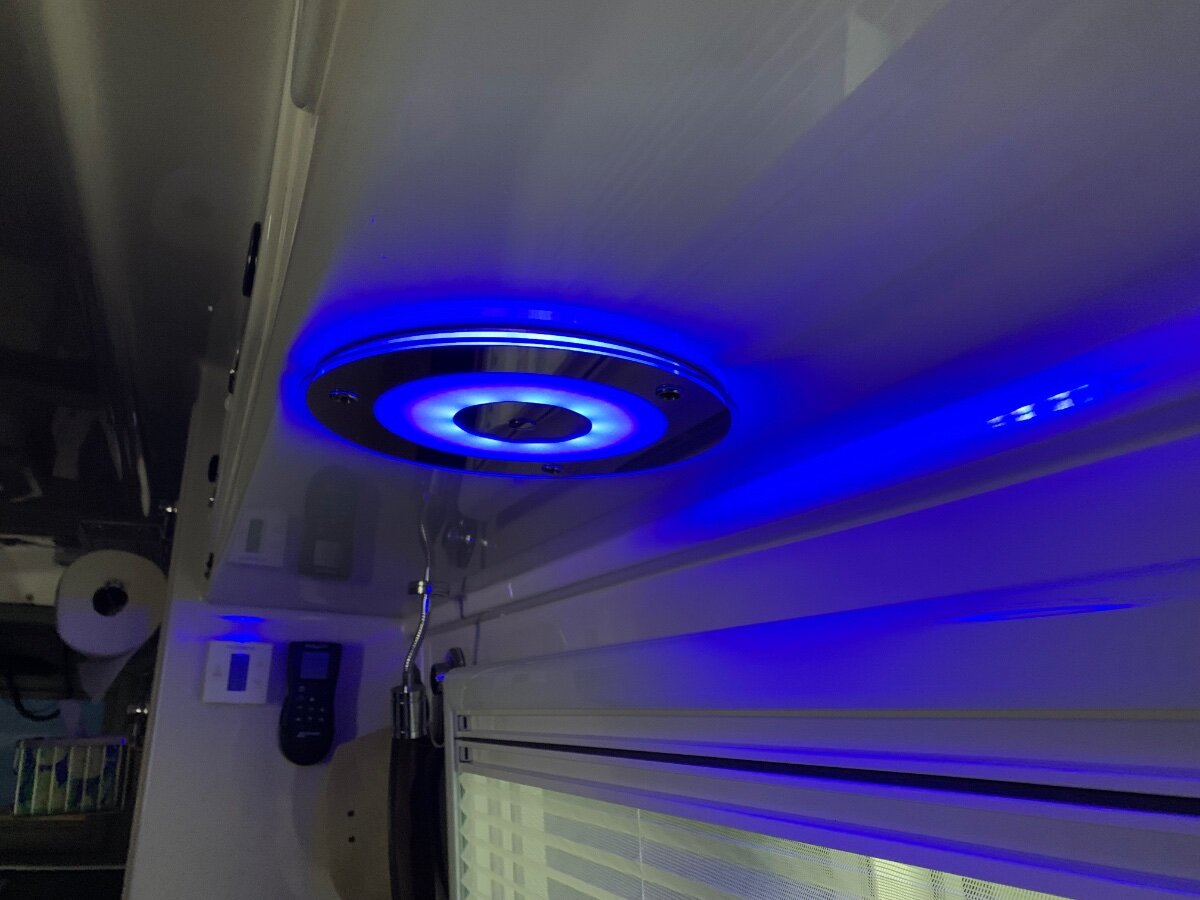
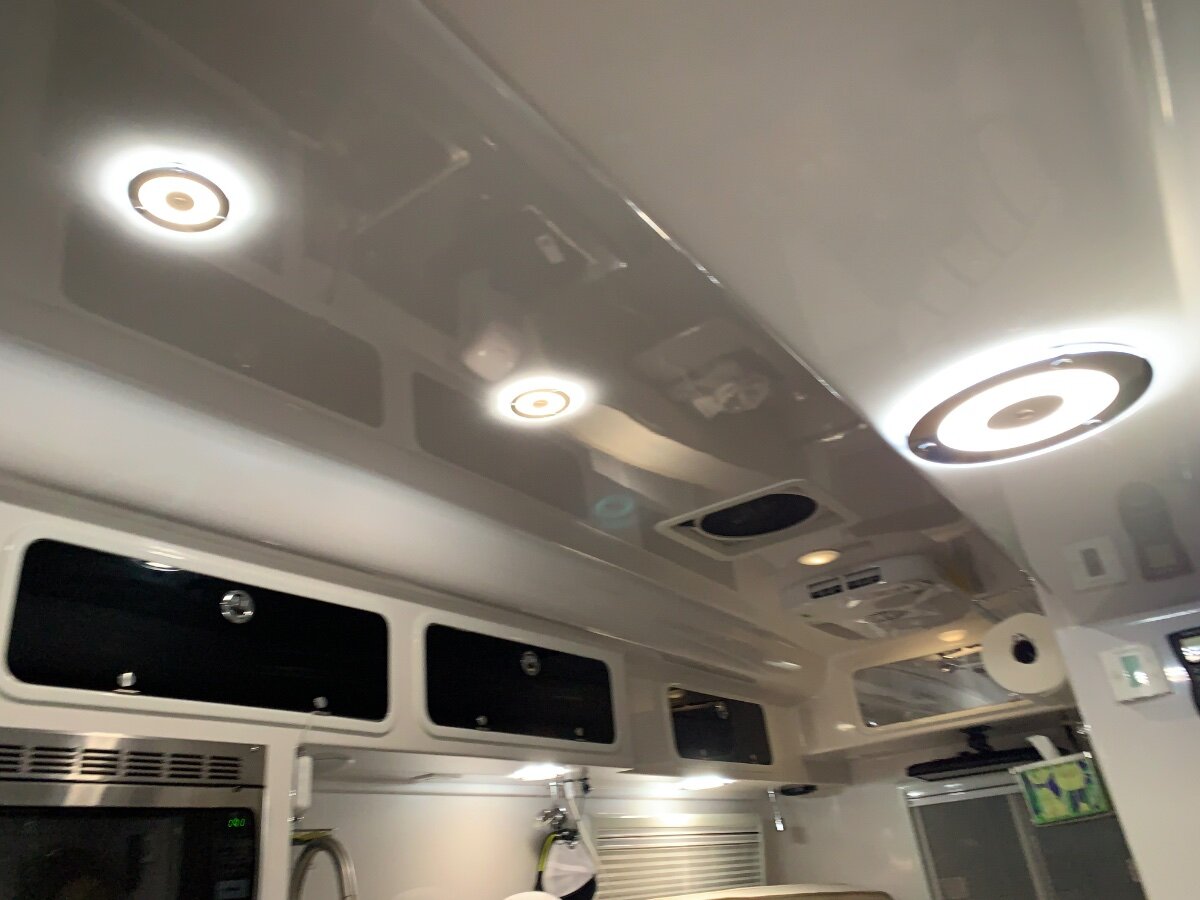
All this talk about touch lights and replacements made me reconsider making do with the stock fixtures. Currently installing two early arrivals and with one done, very pleased! I’ve always considered the lights to be too bright, especially over the dinette; sensitive eyes. Thinking that problem may be solved with these ones, dimmable cool white with a blue night light/ambiance feature. What think you?
3 points
-
The refrigerator cutout you see in my pictures is original. My Dometic refrigerator had 2 rails or U shaped pieces of metal ~1/2” high that was screwed into the bottom of the refrigerator and ran front to back the entire depth of the refrigerator. I see Oliver fabricated a platform to raise your refrigerator up. I would think that you could reduce the height of the platform to reduce the amount of fiberglass needing to be removed at the top of the cutout opening. The SeaBiscuit vents are not structural, just decorative. I have not had any signs of stress around the refrigerator cutout. What are the ventilation requirements for the Dometic NRX130C? Have you factored in the the height of the accessory flange or is it not needed? Mossey2 points
-
Mine did that I scraped that off and applied a heavy duty Gorilla Adhesive, re-adhered with compression and have had no issues since. Set blocking underneath to keep it in position2 points
-
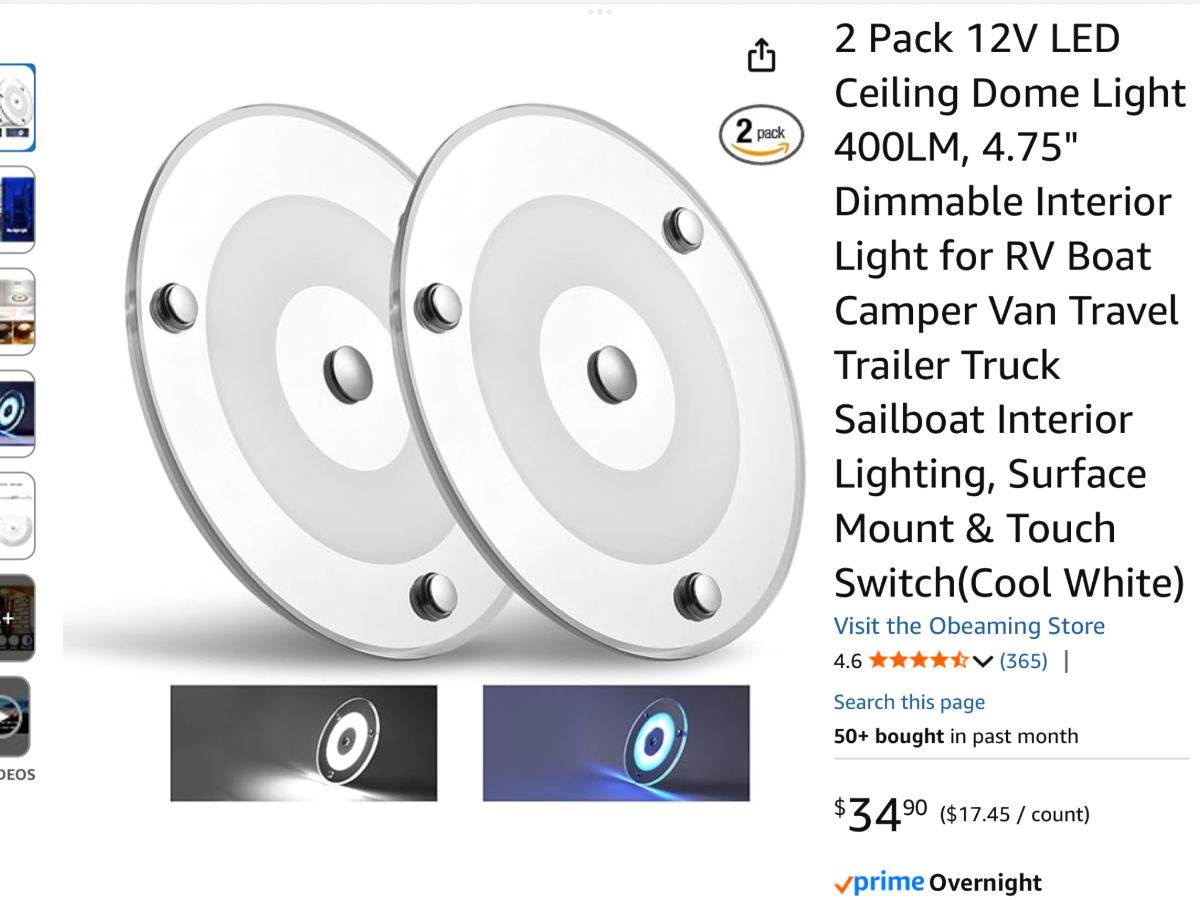
Can you provide a link to where you got them? Or, a part number and the manufacturer? They look great2 points
-
Ilike that design. The bezel looks good and the slim profile is good too.2 points
-
My Grandmother had one like this. I learned how to prime the pump at an early age.2 points
-
Hello, I purchased an (2019) Oliver elite ii hull 489. Never owned a camper. I have a lot to learn. Haven’t taken it camping yet. i was opposed to campers generally because I think they are built like complete disposable garbage. Oliver is an exception …..won me over.. plan to pull it with a 2014 Tundra 5.7 liter. At least for the time being. Hope to upgrade rig before too long. Seemed to tow really well driving it home. Will probably stick with tundra, but I’d like one with a plusher trim and/or a bigger fuel tank.. I live near Paris, Texas. GG1 point
-
We saw an Oliver today (7-26) heading north between the southern entrance to Yellowstone and the northern entrance to the Tetons.1 point
-
After removing the old adhesive, I wiped the board and fiberglass with rubbing alcohol to achieve a very clean surface.1 point
-
Love this sentiment, Chris too! That's why I did this extensive work. It keeps me from going under the beds unless I'm working a new mod! 🤣1 point
-
I had the same thought! ...It has lasted two years though, surprisingly. It's definitely a lot of weight to be hanging off a vertical surface especially when subjected to shock forces bumping down the road. I like your installation which supports the weight on the bottom. I also like the Victron stuff.1 point
-
@jd1923 planning on getting the Dometic NRX 130 C that will be available in late August. Really like the freezer design (plus the fact that you can remove the freezer entirely if you wanted to use it as a fridge only and use a portable freezer. It’s 12/24 volt only, which should not be a problem as it will run off the batteries when rolling and when on shore power will still run off the batteries. From the tech notes it seems to be very power efficient as well. It’s just taller than the current Isothem 130 🙂 Thanks for the tips!! Well - I went and pulled the link to the NRX 130 C and forgot to paste it - 🙄 https://www.dometic.com/en-us/outdoor/boat/boat-refrigerators/boat-refrigerators/09-0904-090426-090426021-333336?v=96200170971 point
-
I've used epoxy before, but it's rather permanent and overkill IMHO. I've had great results from ACE construction glue. There are plenty of inexpensive and high strength construction glues that would be more than adequate. These come in caulking tubes that require a cheap caulking gun for super easy application. It's tacky enough that clamping is not required, just push it firmly in place and prop the board up so it doesn't slip. It appears they originally used this type of construction glue from your photo. I've also had original glue failures, and I believe it was caused from glue application on dusty surfaces, and it looks like yours was barely touching both surfaces. There is a surprising amount of dust on the interior surfaces, so be sure to clean surfaces before using glue. Also, I think you could just add more glue to that surface and save yourself a lot of scraping of the old glue. Cheers! Geoff1 point
-
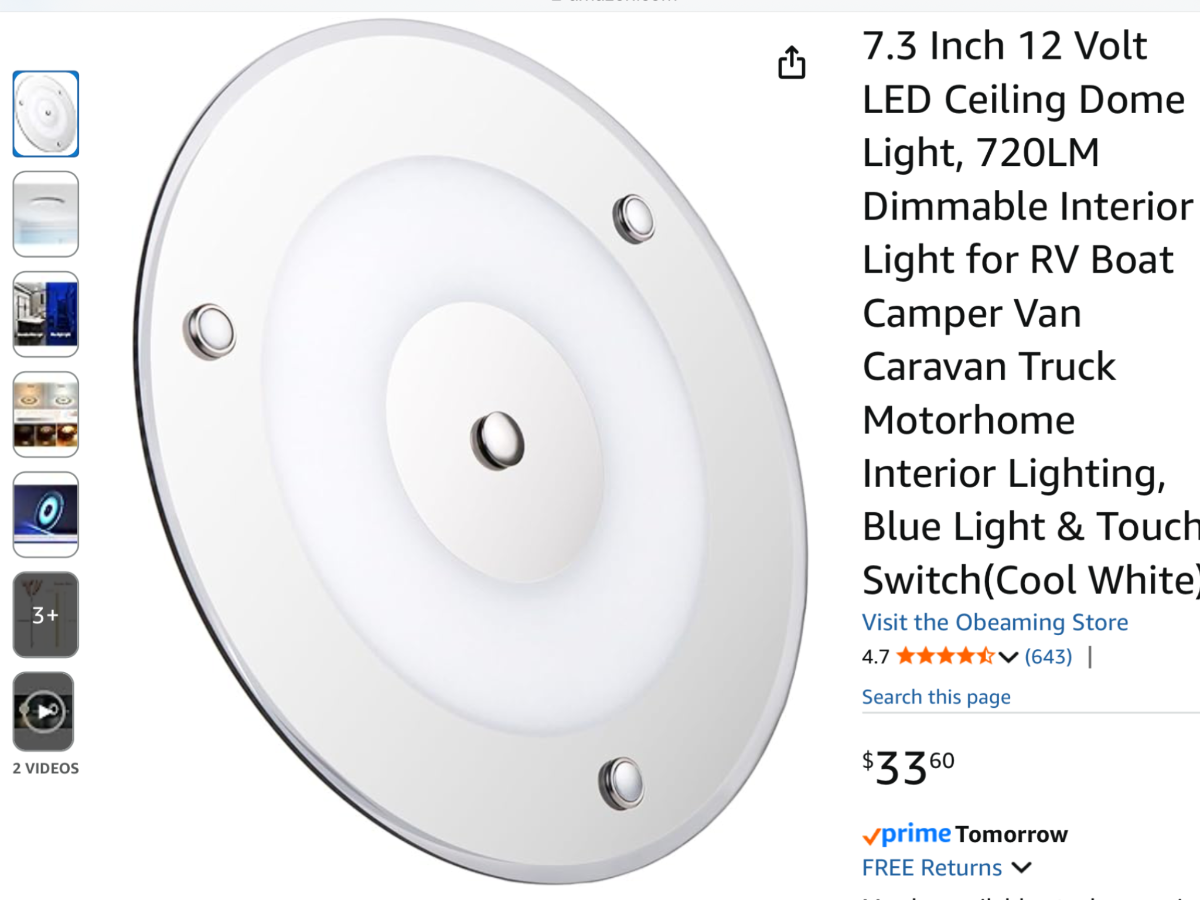
Amazon purchases:
1 point
-
I drilled one 4" hole and five 3" holes for closet/bathroom vents and to vent an oven that replaced our microwave. I just used a new high-quality standard hole saw, likely it was carbide steel, not diamond. I did not bother to tape using a hole-saw. It really doesn't help anything. I do tape when using a jigsaw since the base can cause surface marring. In some places the fiberglass is thin, like the 1/8" stated at the pantry. In some places it's double-layered and a plug about 3/4" could be removed. Use a low-speed and a clutch setting on your drill since large hole saws will catch when very slightly off angle. The clutch will save your wrist and the work surface since it will slip when catching vs. jumping. It's late July, so summer is here another 6 weeks and it's hot everywhere. Our weather has been a little cooler for a few days now, but I'm working a brake job this weekend regardless with my son on his '97 T100. We don't have the choice to wait for cooler weather! Two weeks ago, it was my truck and my garage was 105F in the afternoons, fortunately without your humidity. A floor fan helped, lot's of water and electrolytes! Working in the Oliver? NP, just turn on the A/C! I installed my new inverter/charger and moved all the wiring that was under the streetside bed to under the rear dinette seat during July 2024. It was 100+ in my garage and a cool 75F inside the Oliver! 🤣1 point
-
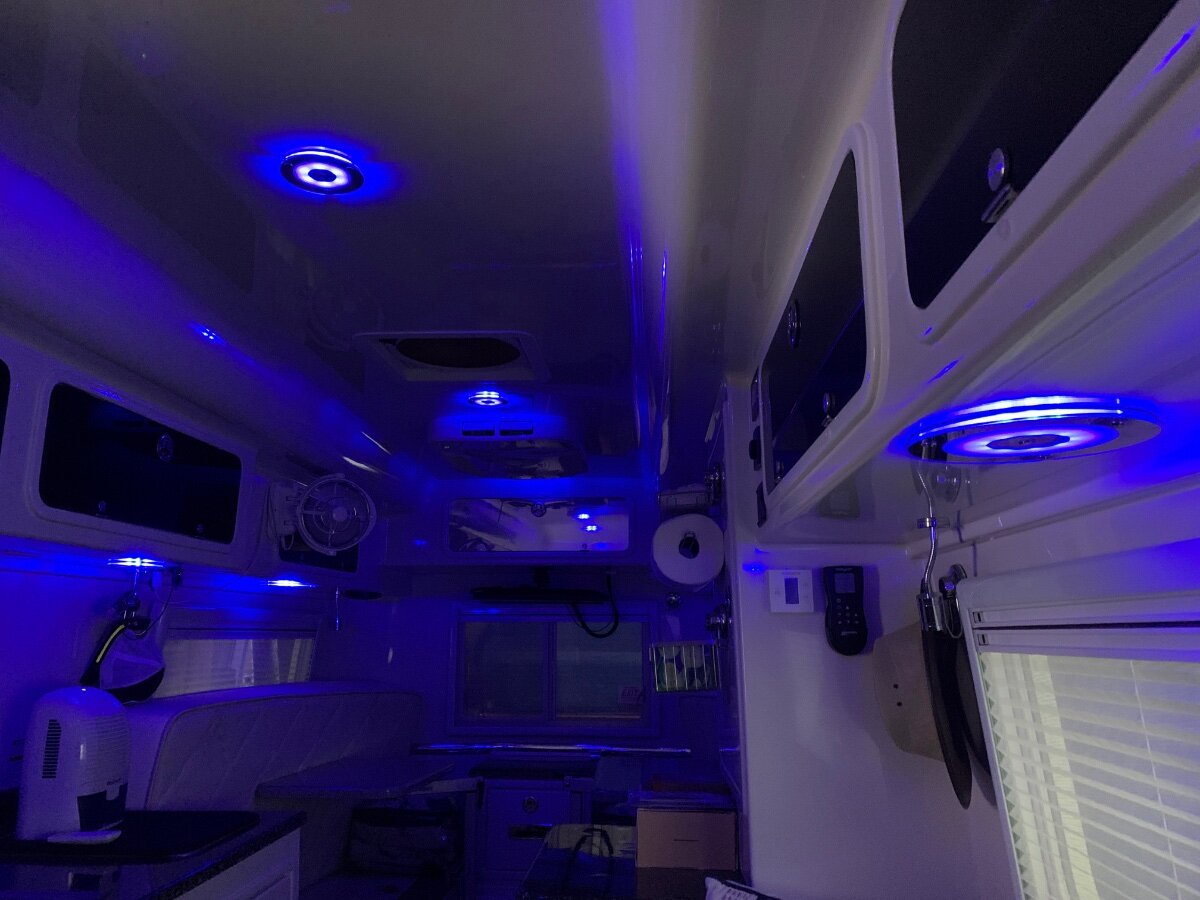
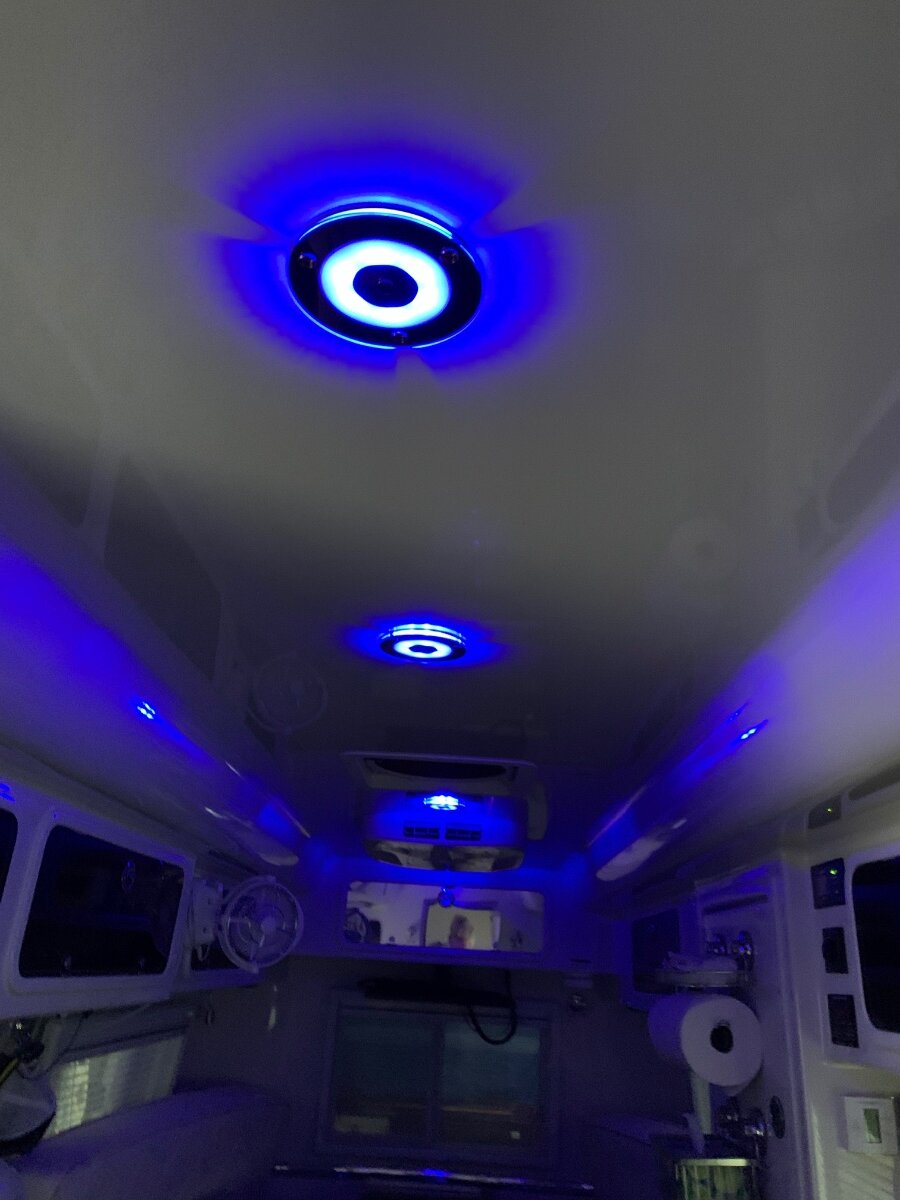
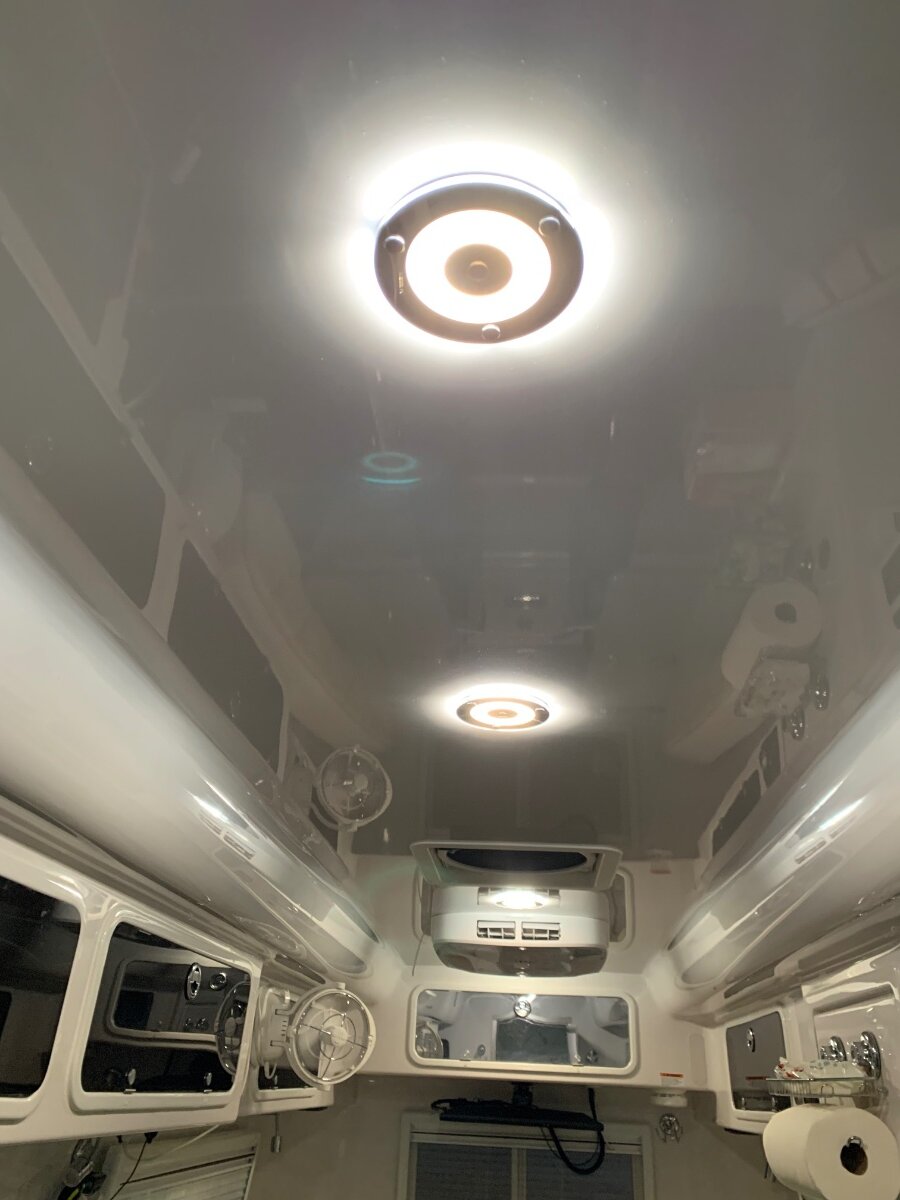
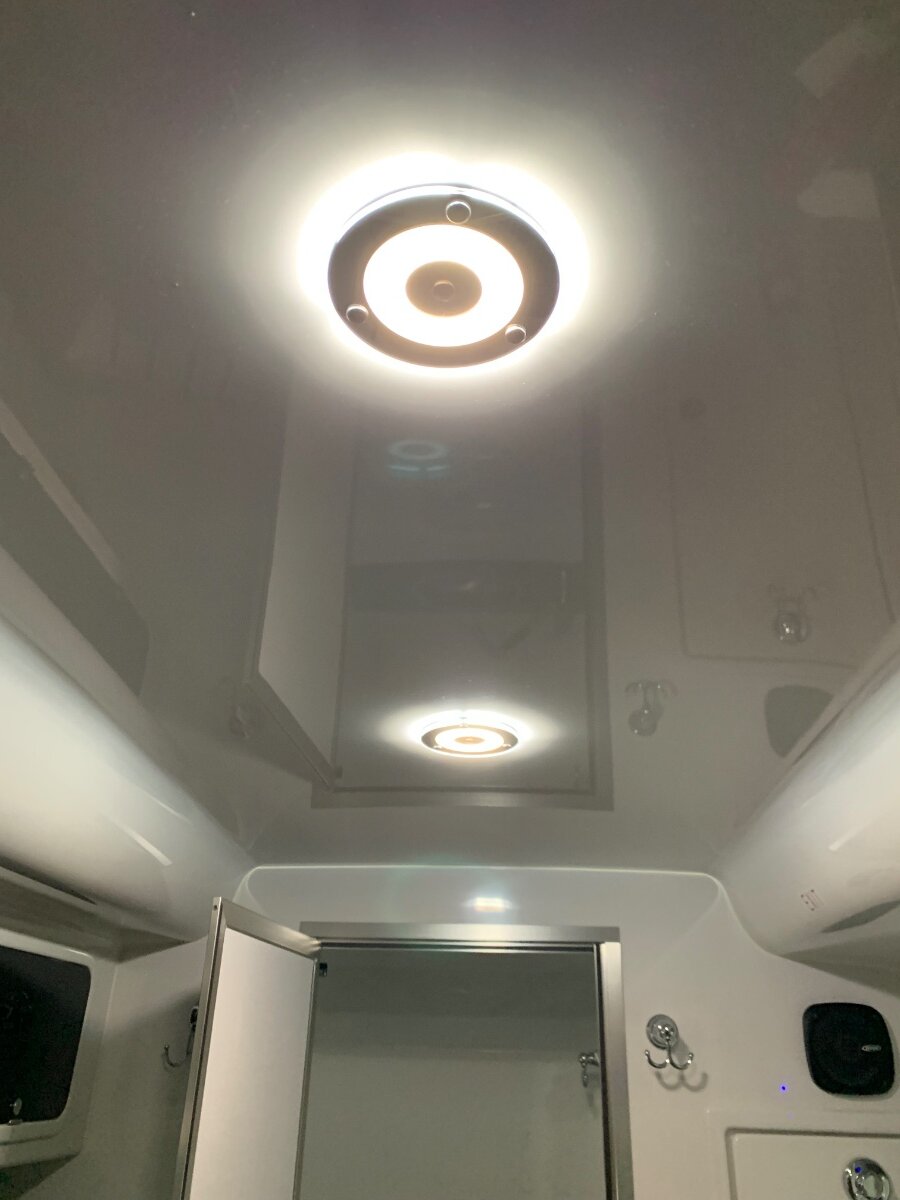
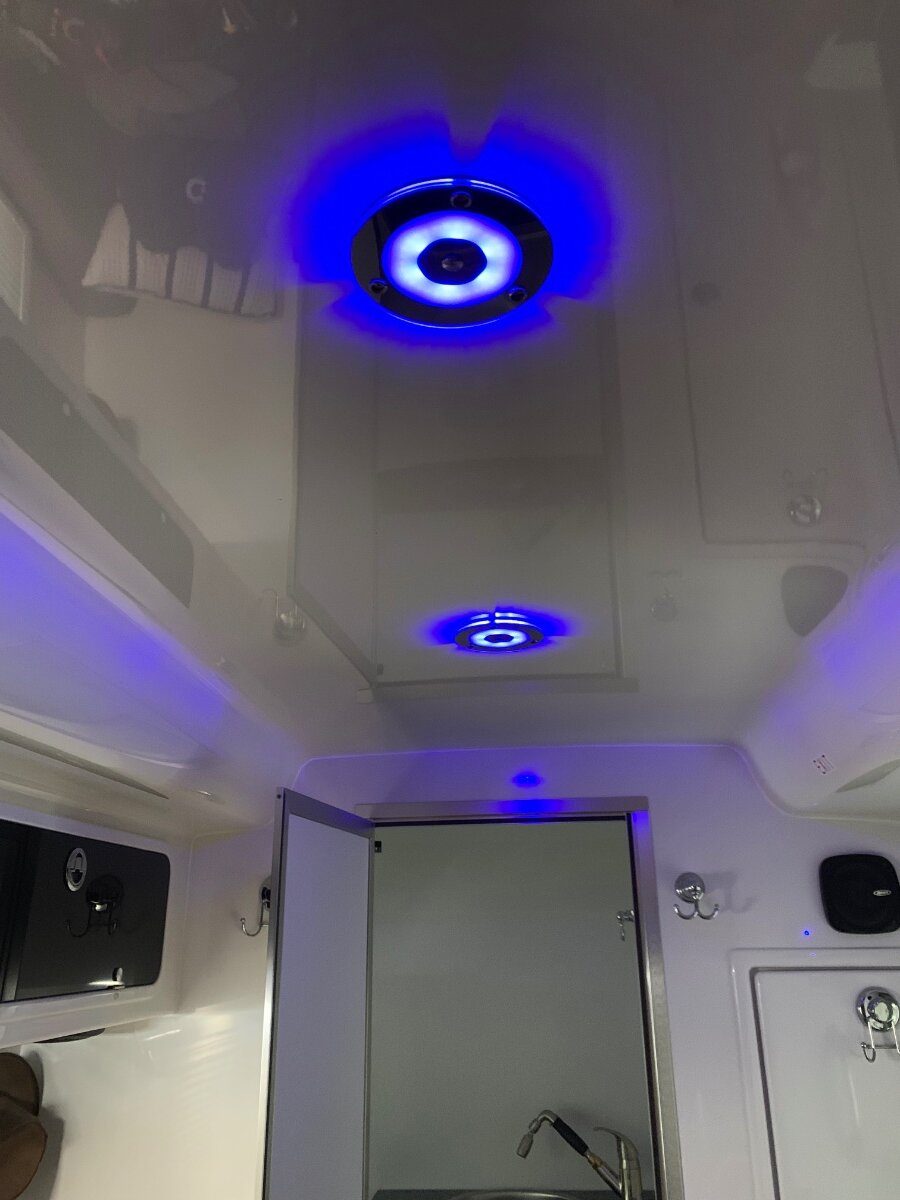
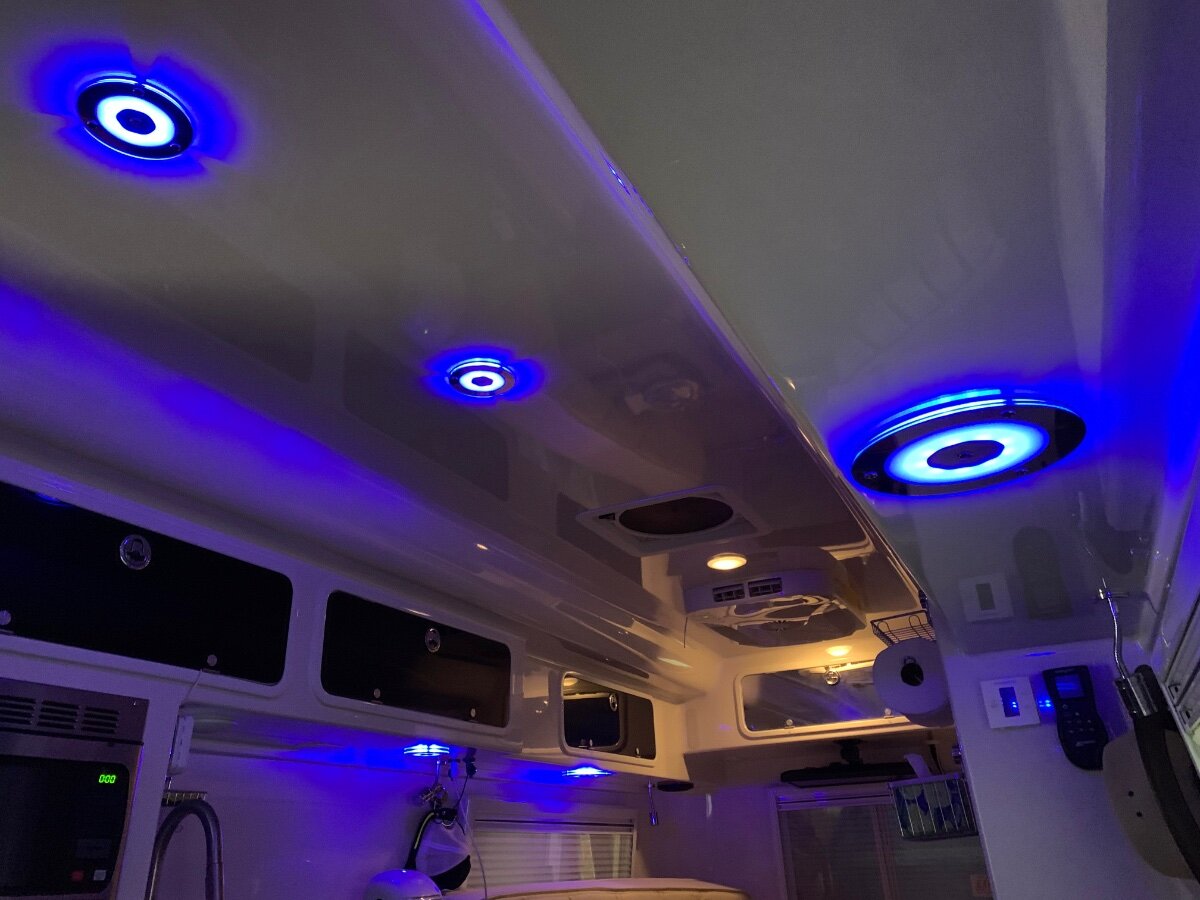
Install of the nine replacement lights in the main cabin DONE. The ‘cool white’ (blueish tint) vs the stock ‘warm white’ (yellowish tint) color temperature is so much brighter! Pics at full lumen and blue lighting:
1 point
-
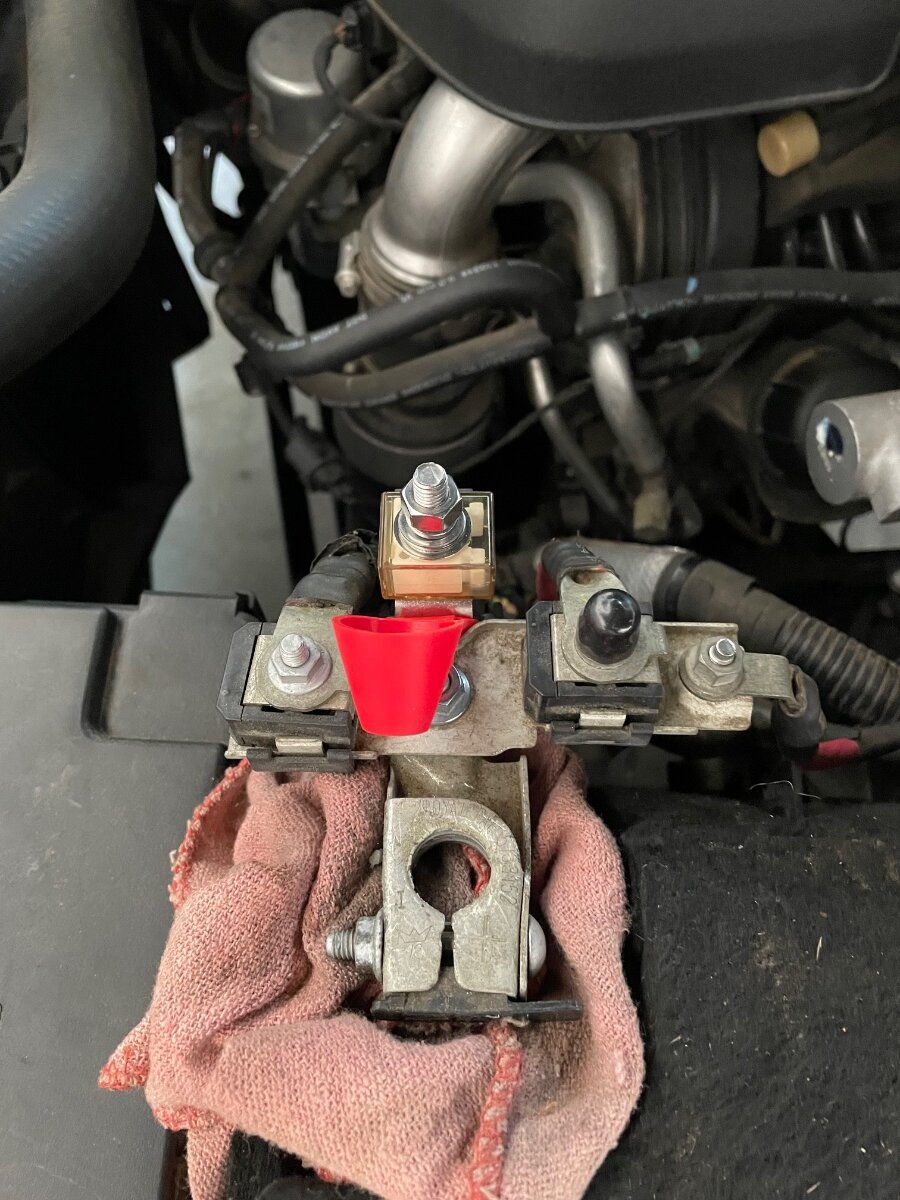
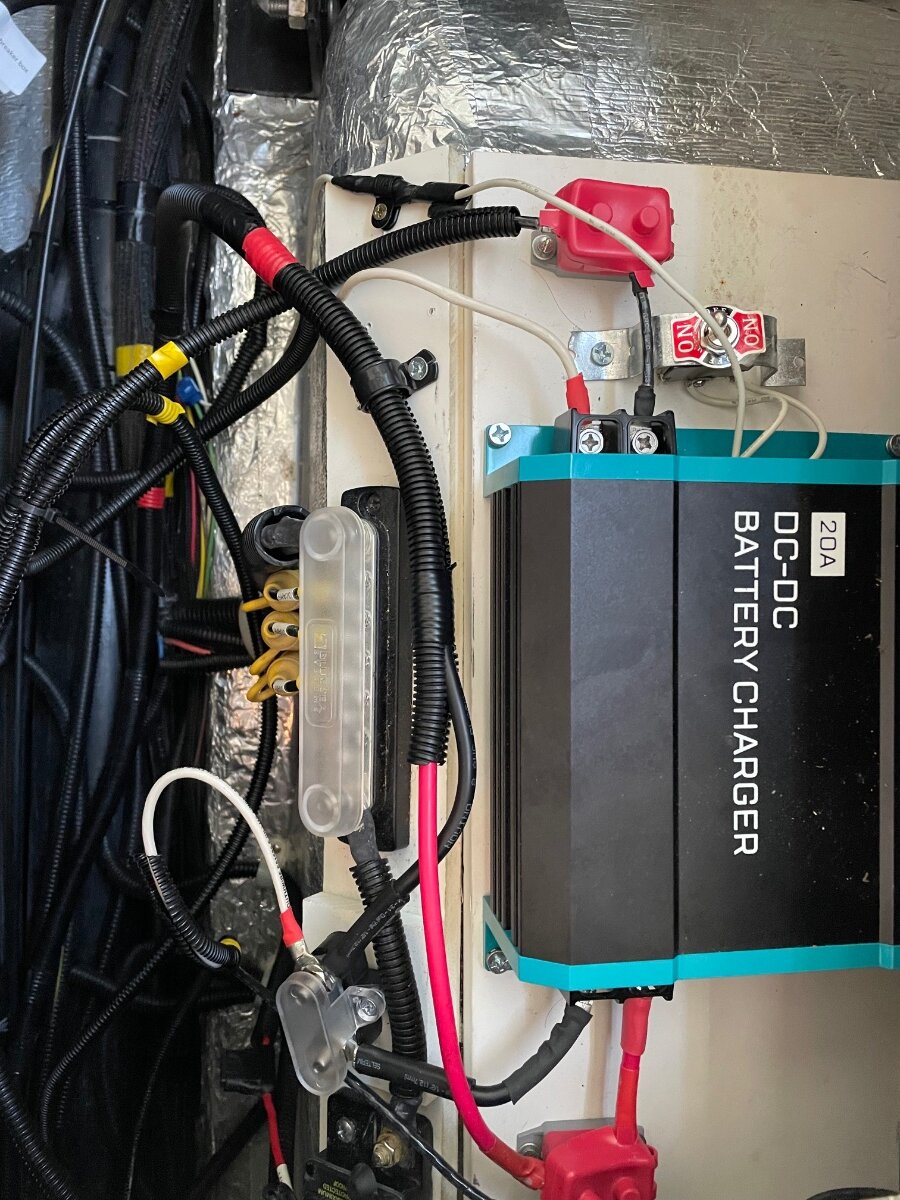
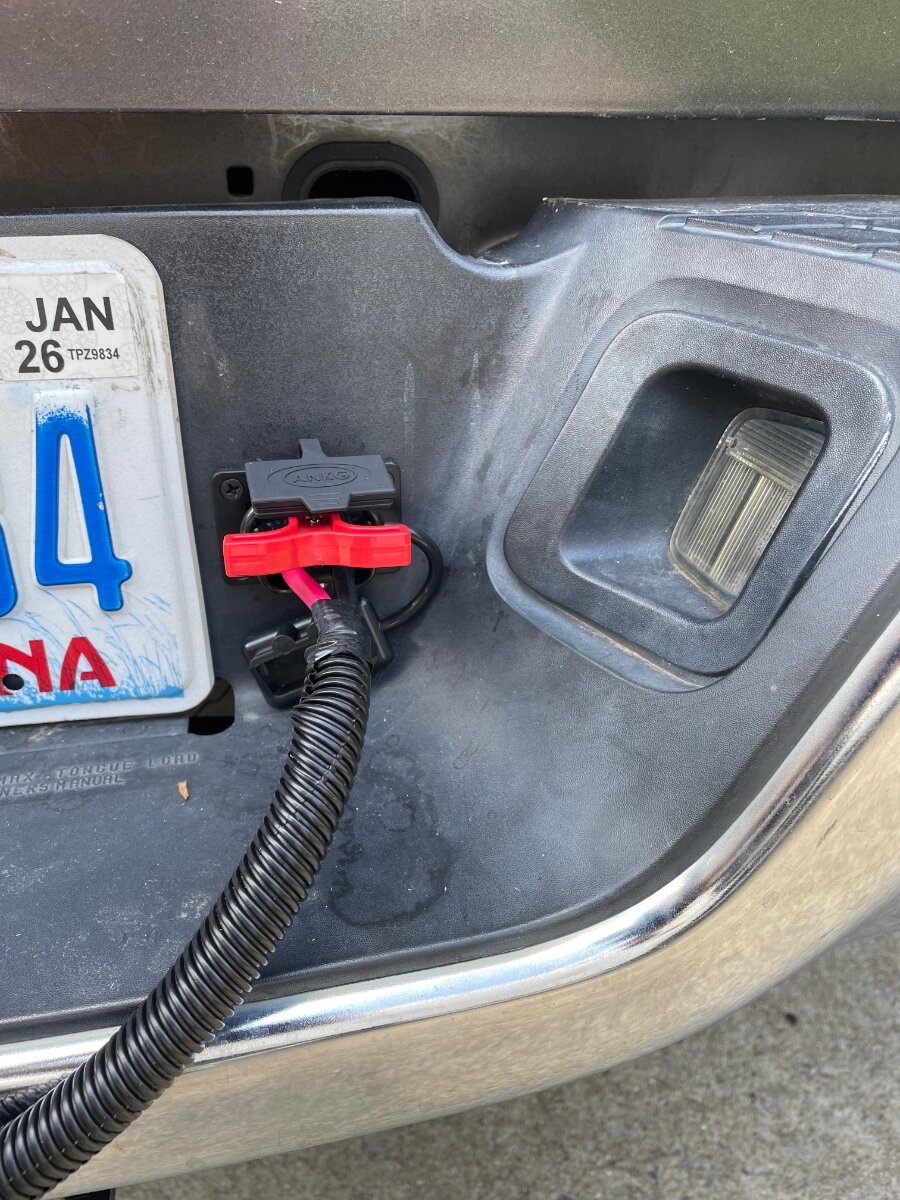
Goal: Eliminate house battery drain due to DC fridge while traveling to arrive at dry camping sites with a fully charged battery. Hybrid to refers to keeping existing charge wire when adding another charge line of heavier gage. After upgrading to a lithium battery (300 AH Epoch) I wanted to be able to negate the amp draw from our 3-way fridge (dometic RM2454) and other small loads that total about 16-17 amps. That fridge used a 100% or nearly duty cycle on DC. I purchased a Renogy 20 amp DC-DC charger. Initially I replaced the 14 awg gage wire Oliver spliced from the 12 awg pigtail power wire terminus to the charger with 10 awg. Why Oliver went to a smaller gage than the pigtail is beyond me although this was back in 2018. I also spliced a 10 gage wire to the pigtail common 10 gage that Oliver in its wisdom had also spliced to a smaller gage wire. This worked fine if I triggered the current limiting feature that reduce the charging current to half (10 amps) of the rated. When I tried to charge at 20 amps it only produced about 14 amps and resulted in a very warm pigtail plug as you might suspect. So I relented and decided to run 8awg wire through my pickup (2015 RAM 1500) and Oliver E2 - but with the intent of also using the pigtail charge wire to carry some amperage. Doing some calculations using the wire resistance of 10 and 8 awg and knowing that the voltage would be the same at the junction I planned near the charger input I figured about 2/3 of the amperage would be carried by the new 8 awg line but after installation found that it actually carried 3/4 of the amperage probably in part by neglecting the loss through the tiny 12 v wire pin in the 7-pin socket on the pickup. The ground pin has about 3x the surface area of all the other wire pins in the socket Fiberglass rods that I had were helpful in running wire and I only used a 2 or 3 foot ground leg to the chassis frame rail near the bumper so essential just ran the positive wire under the truck. I had to remove the front of the bathroom sink to pull site into the trailer. I have read that some have run wire without messing with the sink but they must be magicians! I tap into the trailer running light wire (green) to activate the charger. First results after an initial camping trip were good. When testing at idle I measure 25 amps in to get 20 out and a voltage drop of 1.1 volt from about 14.0 at the battery (I had calculated a 1 volt drop and I guess got lucky. So I wasn’t going after the big amps as my objective and figured I could run smaller gage wire in tandem with the existing pigtail to meet my needs. 30 amp fuse off positive battery terminal Andersen-type plug with t-handle above bumper entrance gland/strain relief (1/2 inch) behind propane tanks on left input on right (8awg after junction of 8 and 10 awg) and output on left (10 awg). I rummaged an old DPDT switch and used one side of it to activate the current limiting feature that should not be needed after running the 8 gage wire.
1 point
-
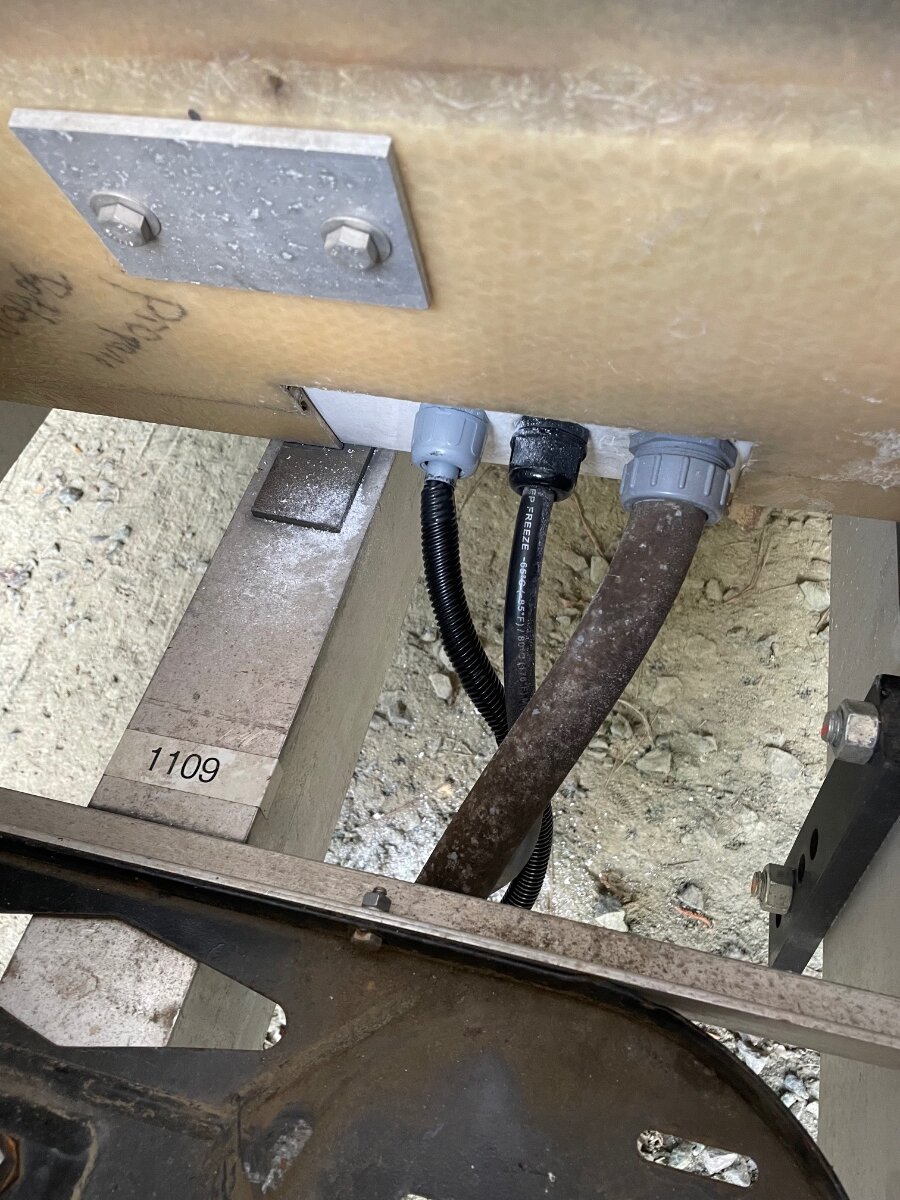
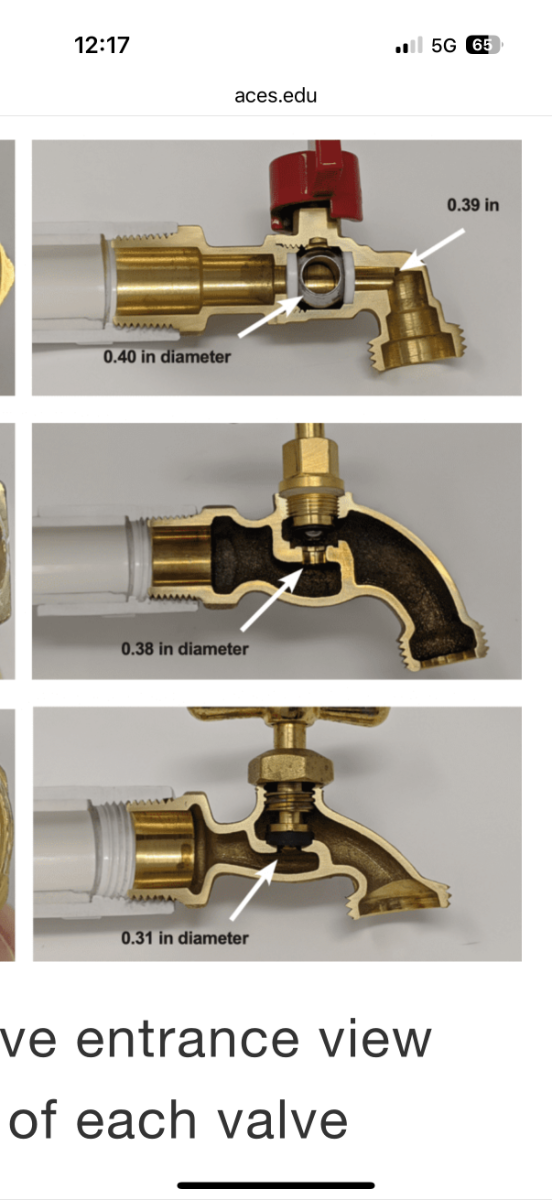
We generally see more of the frost-proof hydrant style (an example pictured below) which do not have these restricting smaller orifices. I have seen some launch water 30 feet though the air, even through our filter system which also has 3/4" fittings. I've measured over 5 GPM flow rates at many campsites, but I've seen as bad as 0.5 GPM rates at others, waiting forever to fill our FWT! We fill the fresh tank and run from the fresh tank since we are more often boondocking and are not used to using the City Water connection. We just want to fill the empty FWT quickly! I promise you, the fresh tank can be filled faster with a greater diameter hose at many hookups. Also, our 35-gallon extra tank onboard the TV has 3/4" ID fittings at the tank outlet. If I was to draw water with a 1/2" hose it would take considerably longer. 50 feet of 1/2" hose will create more back-pressure, working the pump harder, than a single point orifice or the 5 ft of 1/2 plumbing internal to the Oliver to the pump. And if I was to try the hoses suggested here that compress or flatten, pulling water through the boondocking inlet would not work at all! 🤣 Nice and handy, just not usable for our needs!1 point
-
I took your advice and bought 2 25 footers. Thanks Gary1 point
-
Unless you can engineer and build your water system with large-bore plumbing end-to-end, the 1/2” ID hose isn’t going to affect your water flow much - if at all. The typical “hose Bibb” all of us hook up to a campgrounds are usually of the style shown in the attached picture - with an internal restriction of about 1/3” - so using a half inch diameter hose isn’t gonna slow down you water flow. If you look at your household plumbing, you almost certainly have 1/4” supply lines to your sinks and toilets. It doesn’t matter if your PEX, PVC, Copper, or galvanized iron piping is 3/8”, 1/2”, or even 3/4” - it all goes through those 1/4” supply lines before it hits the faucet. Most aerators and shower heads have far smaller offices - like 1/8”. Back when we had the farm, I replaced all the hose bibs with 3/4” ball valves and GHT adapters. I wanted my irrigation systems to have maximum flow. For that matter, I also liked to be able to fill a 5 gallon bucket (which small farms are built around) in under a minute. In that case, a 1/2” hose would be the choke point. With RVs, we don’t wanna have a lot of flow. Our holding tanks are the limiting factor. Unless you’ve reworked your water system, I’m pretty sure the piping in the Oliver is all 1/2” PEX. So there’s your restriction. I suppose inquiring minds who just gotta know for themselves, try an experiment by timing how long it takes to fill a bucket with a 1/2” vs a 3/4” hose. Unless you’re attached to a spigot with a ball valve (and no choke points upstream) I’ll bet your fill times will be virtually the same regardless of your hose. The case FOR the 1/2” hose is that 50 feet of 1/2 hose is smaller and lighter than 50 feet of 3/4” hose. In the world of having to tote stuff with you - that’s a bigger deal than flow rate.
1 point
-
The fact that they turn on to their last setting may have sold me. I dislike that the master switch activates the touch lights. However, if they could adjust to a lower setting or turn on blue, that would be nice. I just don't like that when I don't want them on I have to go touch each one.1 point
-
So the wifey thought the light installed over the dinette was too dim, even though its brightest setting was 400 lumens. To maintain harmony, it was upgraded to the larger in this line of fixtures, 720 lumens. I hate it when she’s right! I can easily dim this light to my liking when dining and have an abundance of light when need be. I have since installed the larger size over each twin bed and two of the smaller in the ceiling; of which two of the four stock lights started failing over a year ago. Today I plan to replace the remaining ceiling and sink fixtures using the smaller to complete this project. Let there be light! As before, the Ceiling switch controls the four lights in unison to their last settings; and the Master switch does the same for all of the lights. I remain undecided if the wet bath under cabinet light will be upgraded in like manner.
1 point
-
We own same year hull 505. Started towing with 1/2 ton then upgraded. We share a ton of info on our blog here that may be useful as an owner of the same year. https://4-ever-hitched.com/ Craig & Rose hull 505 - Galway Girl1 point
-
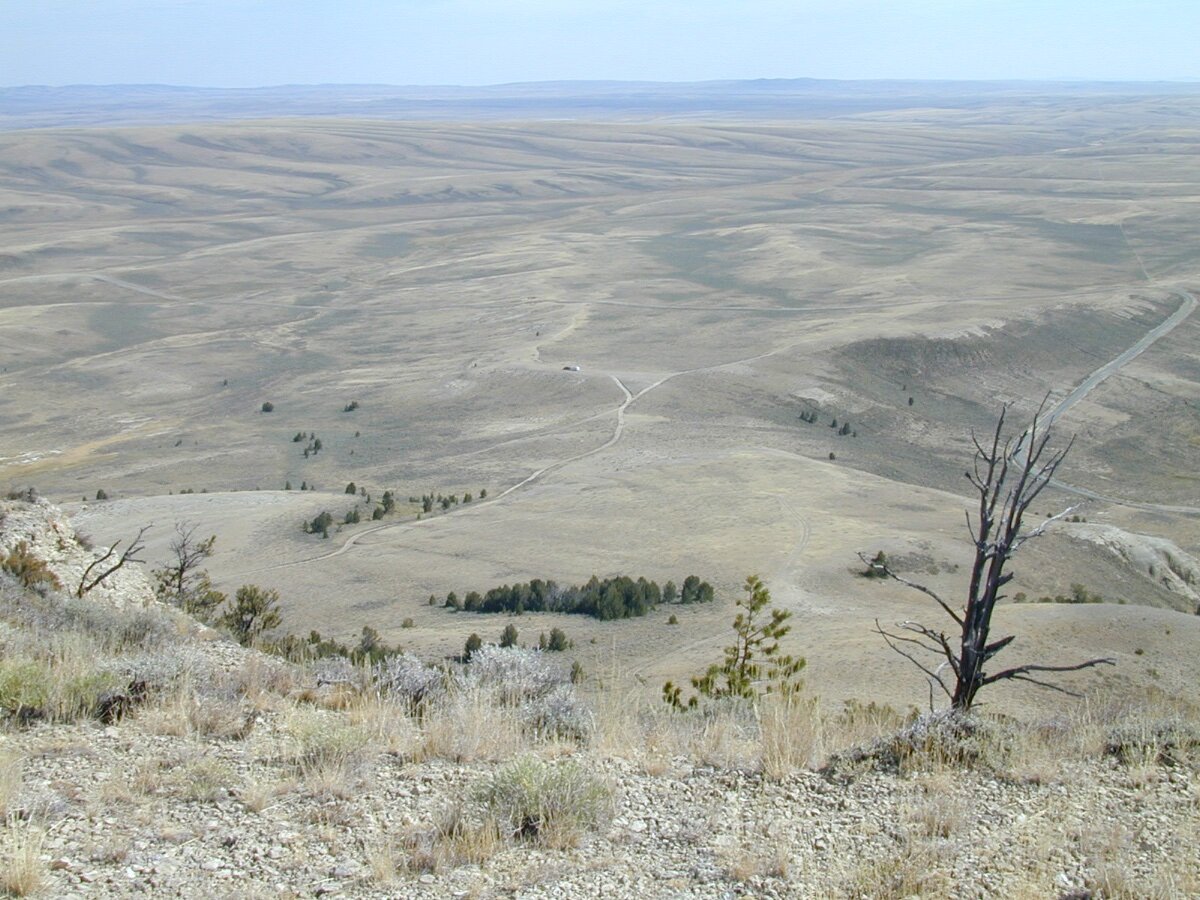
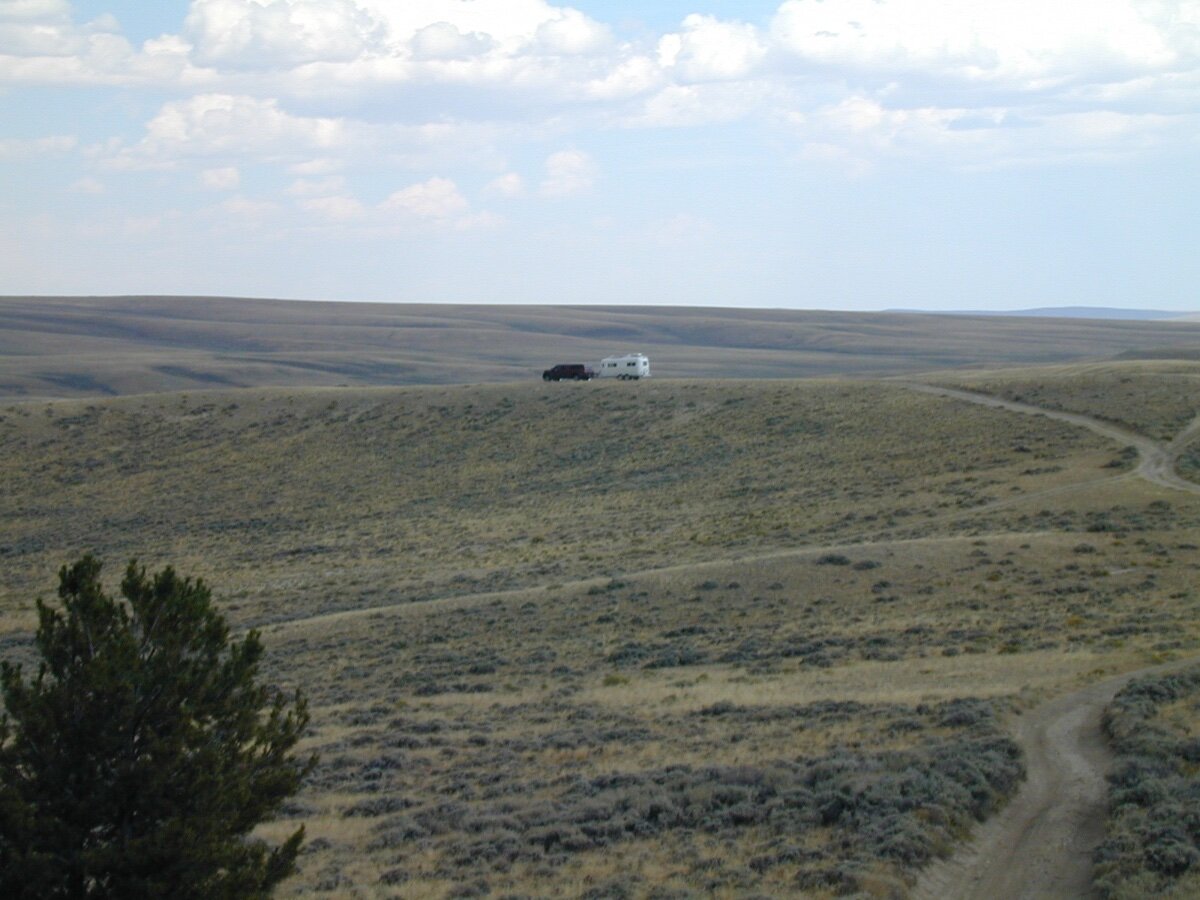
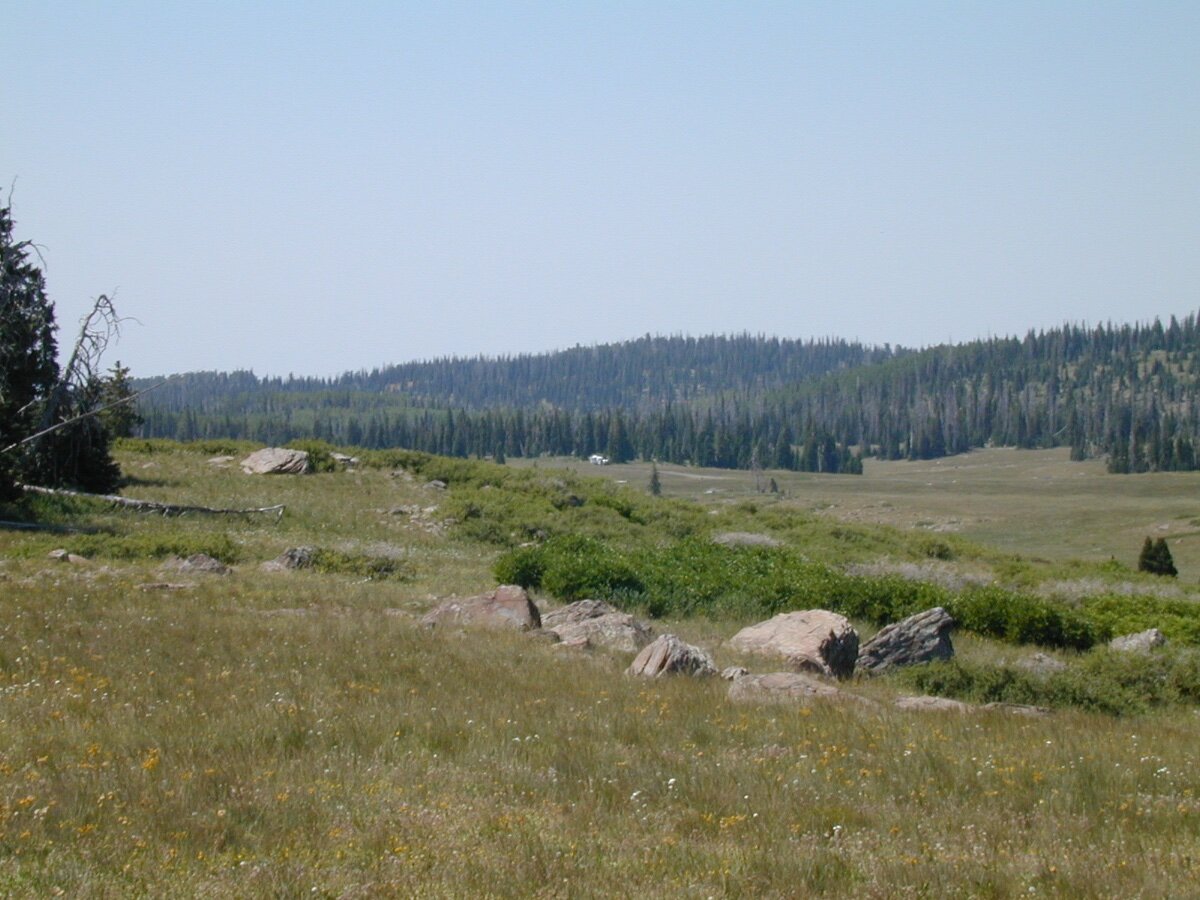
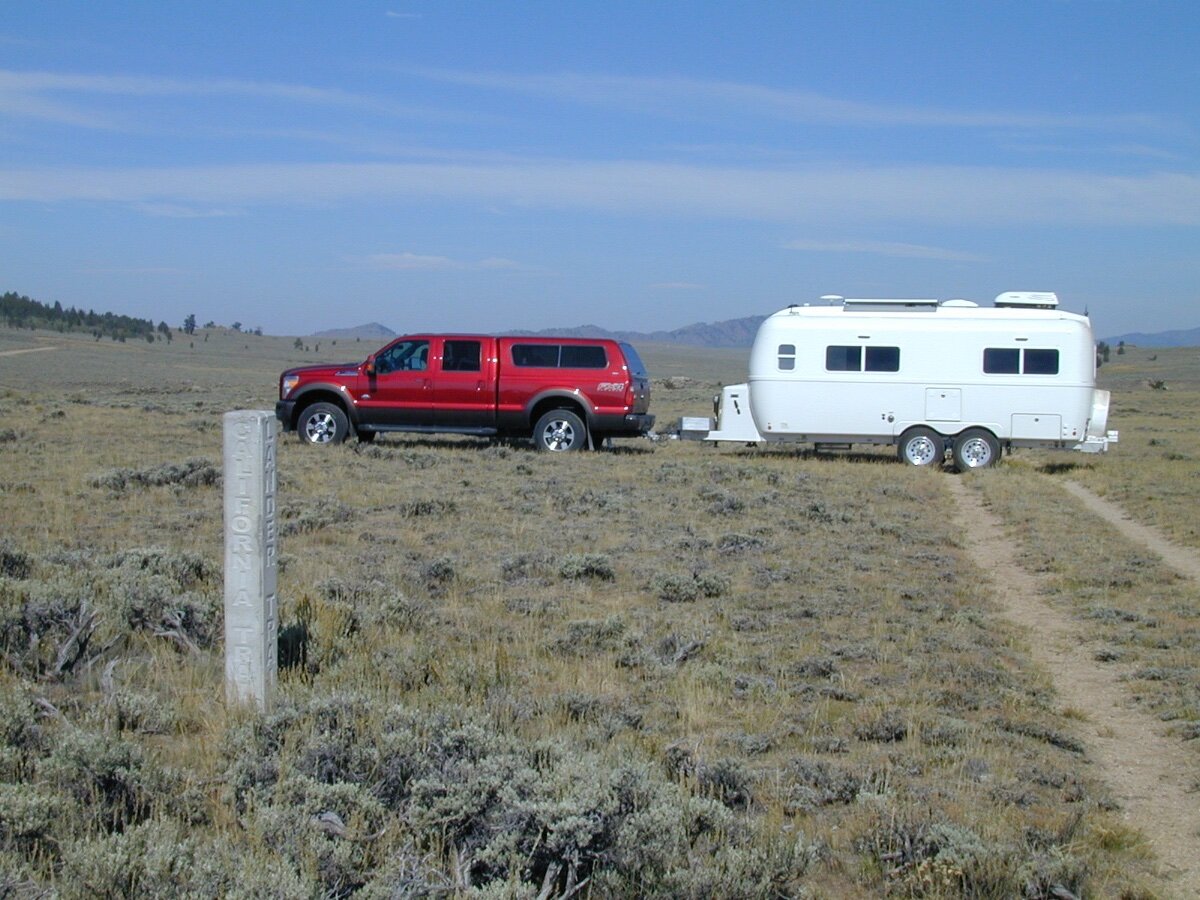
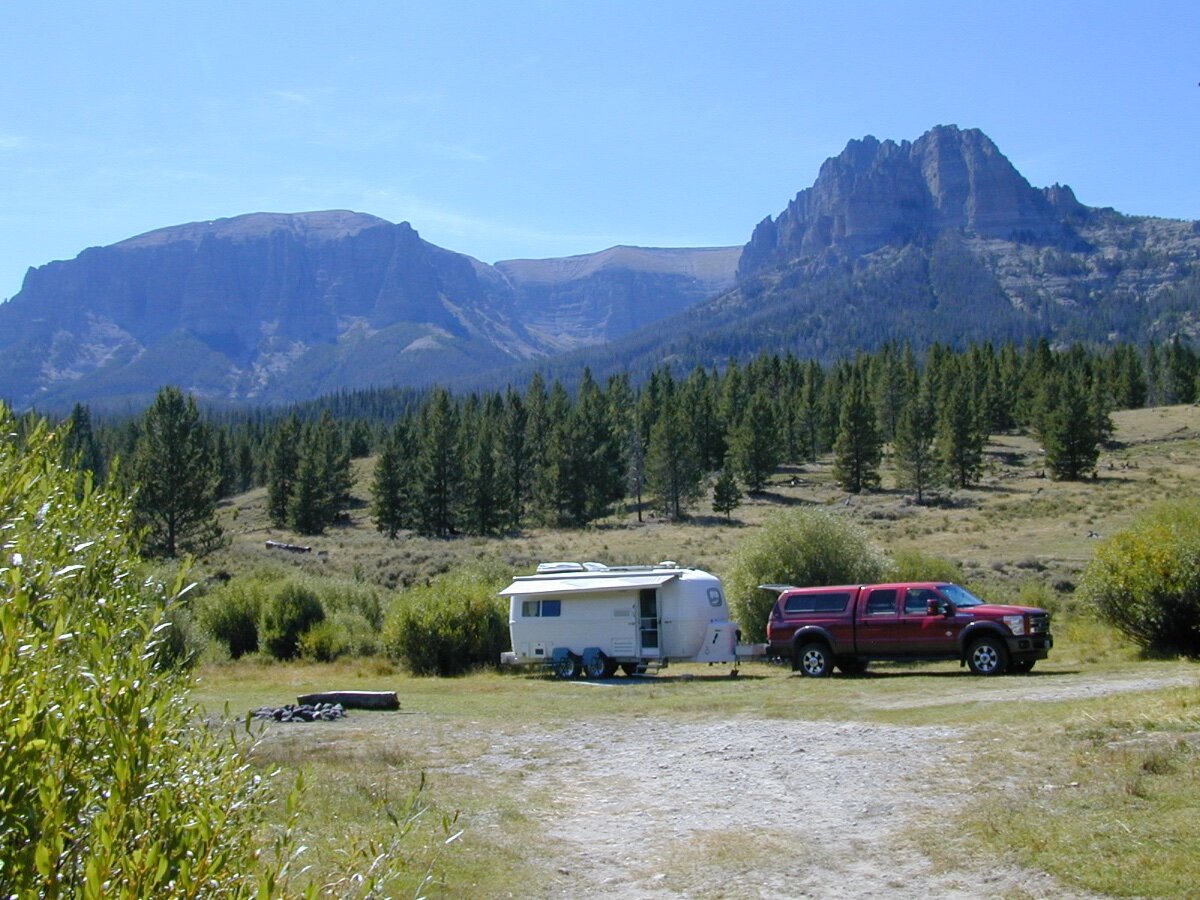
Boondocking Off the Grid require good maps, physical activity and curiosity, Utah and Wyoming.
1 point
-
Welcome to the family. Hopefully, you can get her out soon!1 point
-
1 point
-
@Teaney Hull 292 Gary, When all else fails….😄
1 point
-
You would be better off buying two 25’ hoses, most CG spigots are near the campsite. You can then connect the two if a longer length is needed. When storing my “drinking” hoses, I connect to ends to ensure cleanliness next use.1 point
-
We meet a couple from AZ at the Buck-ees in Amarillo. We saw another Ollie going west on 40 about 3 hours west of Oklahoma City. Our Ollie count during our 7,000+ mile trip was 3.1 point
-
Nothing like good ol’ rich two cycle smoke. It keeps the bugs away. Maybe you were referring to something like this?
1 point
-
There was an earlier question about removing the old fridge. I had quite a bit of trouble with the original fridge (as many on the forums can testify to) so was extremely happy to get rid of it but still was very careful about it’s removal. 🤪
1 point
-
Or - simply click HERE for that link to "Improved Toilet Rinsing".1 point
-
thanks for the lead. I found it at: "Improved Toilet Rinsing" on Google Search. https://olivertraveltrailers.com › forums › topic › 10505... GJ1 point
-
I was also looking to extend that hose, but couldn’t find a hose to fit it. Instead I lengthened the existing hose by sliding the weight down and adding a spring to prevent kinking. I got about an extra foot. This was described in a post titled something like “ Better toilet rinsing “ I also extended the shower hose by adding a second section. Those fittings are common to most showers and hoses are readily available. That post is titled something like “Washing dishes outdoors.” Sorry if those titles are not exact, but it should be close enough for the search engine. Good luck! Geoff1 point
-
Harbor Freight currently has what looks to be the same socket set at a "reduced price" of $10.99. It is SKU #96322. Bill1 point
-
That’s just an area that could use a pool noodle! Mossey
1 point
-
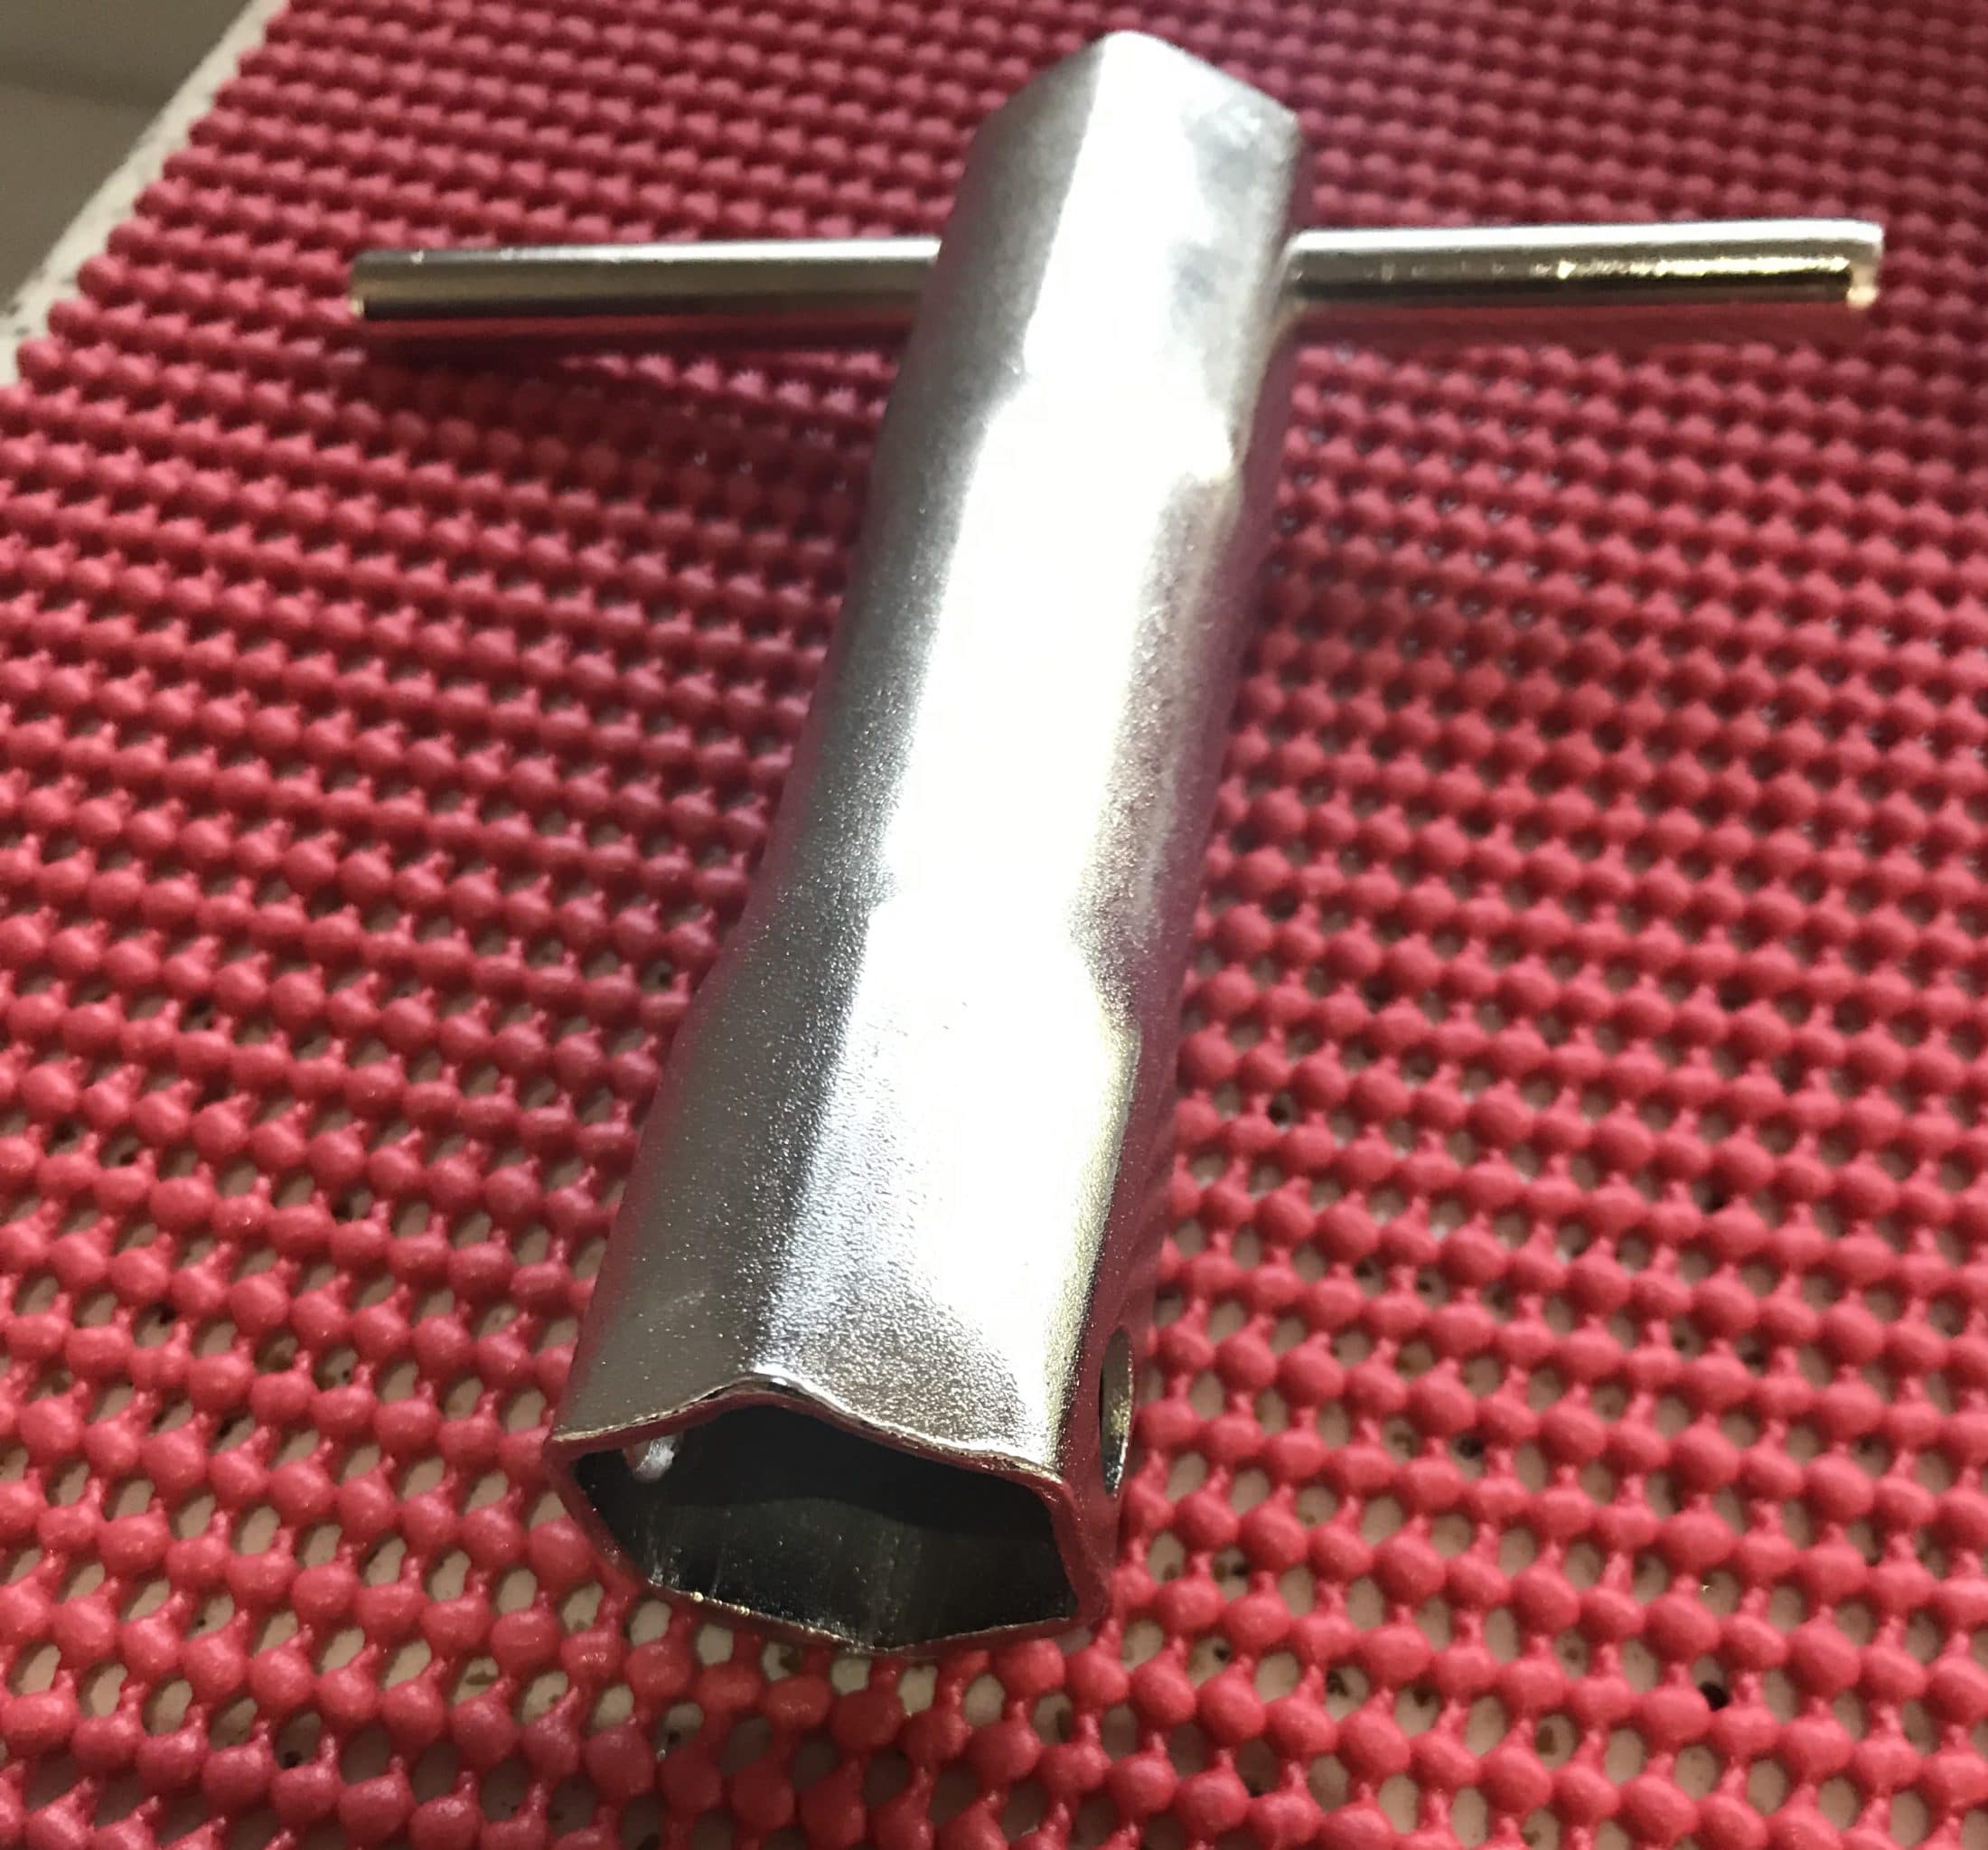
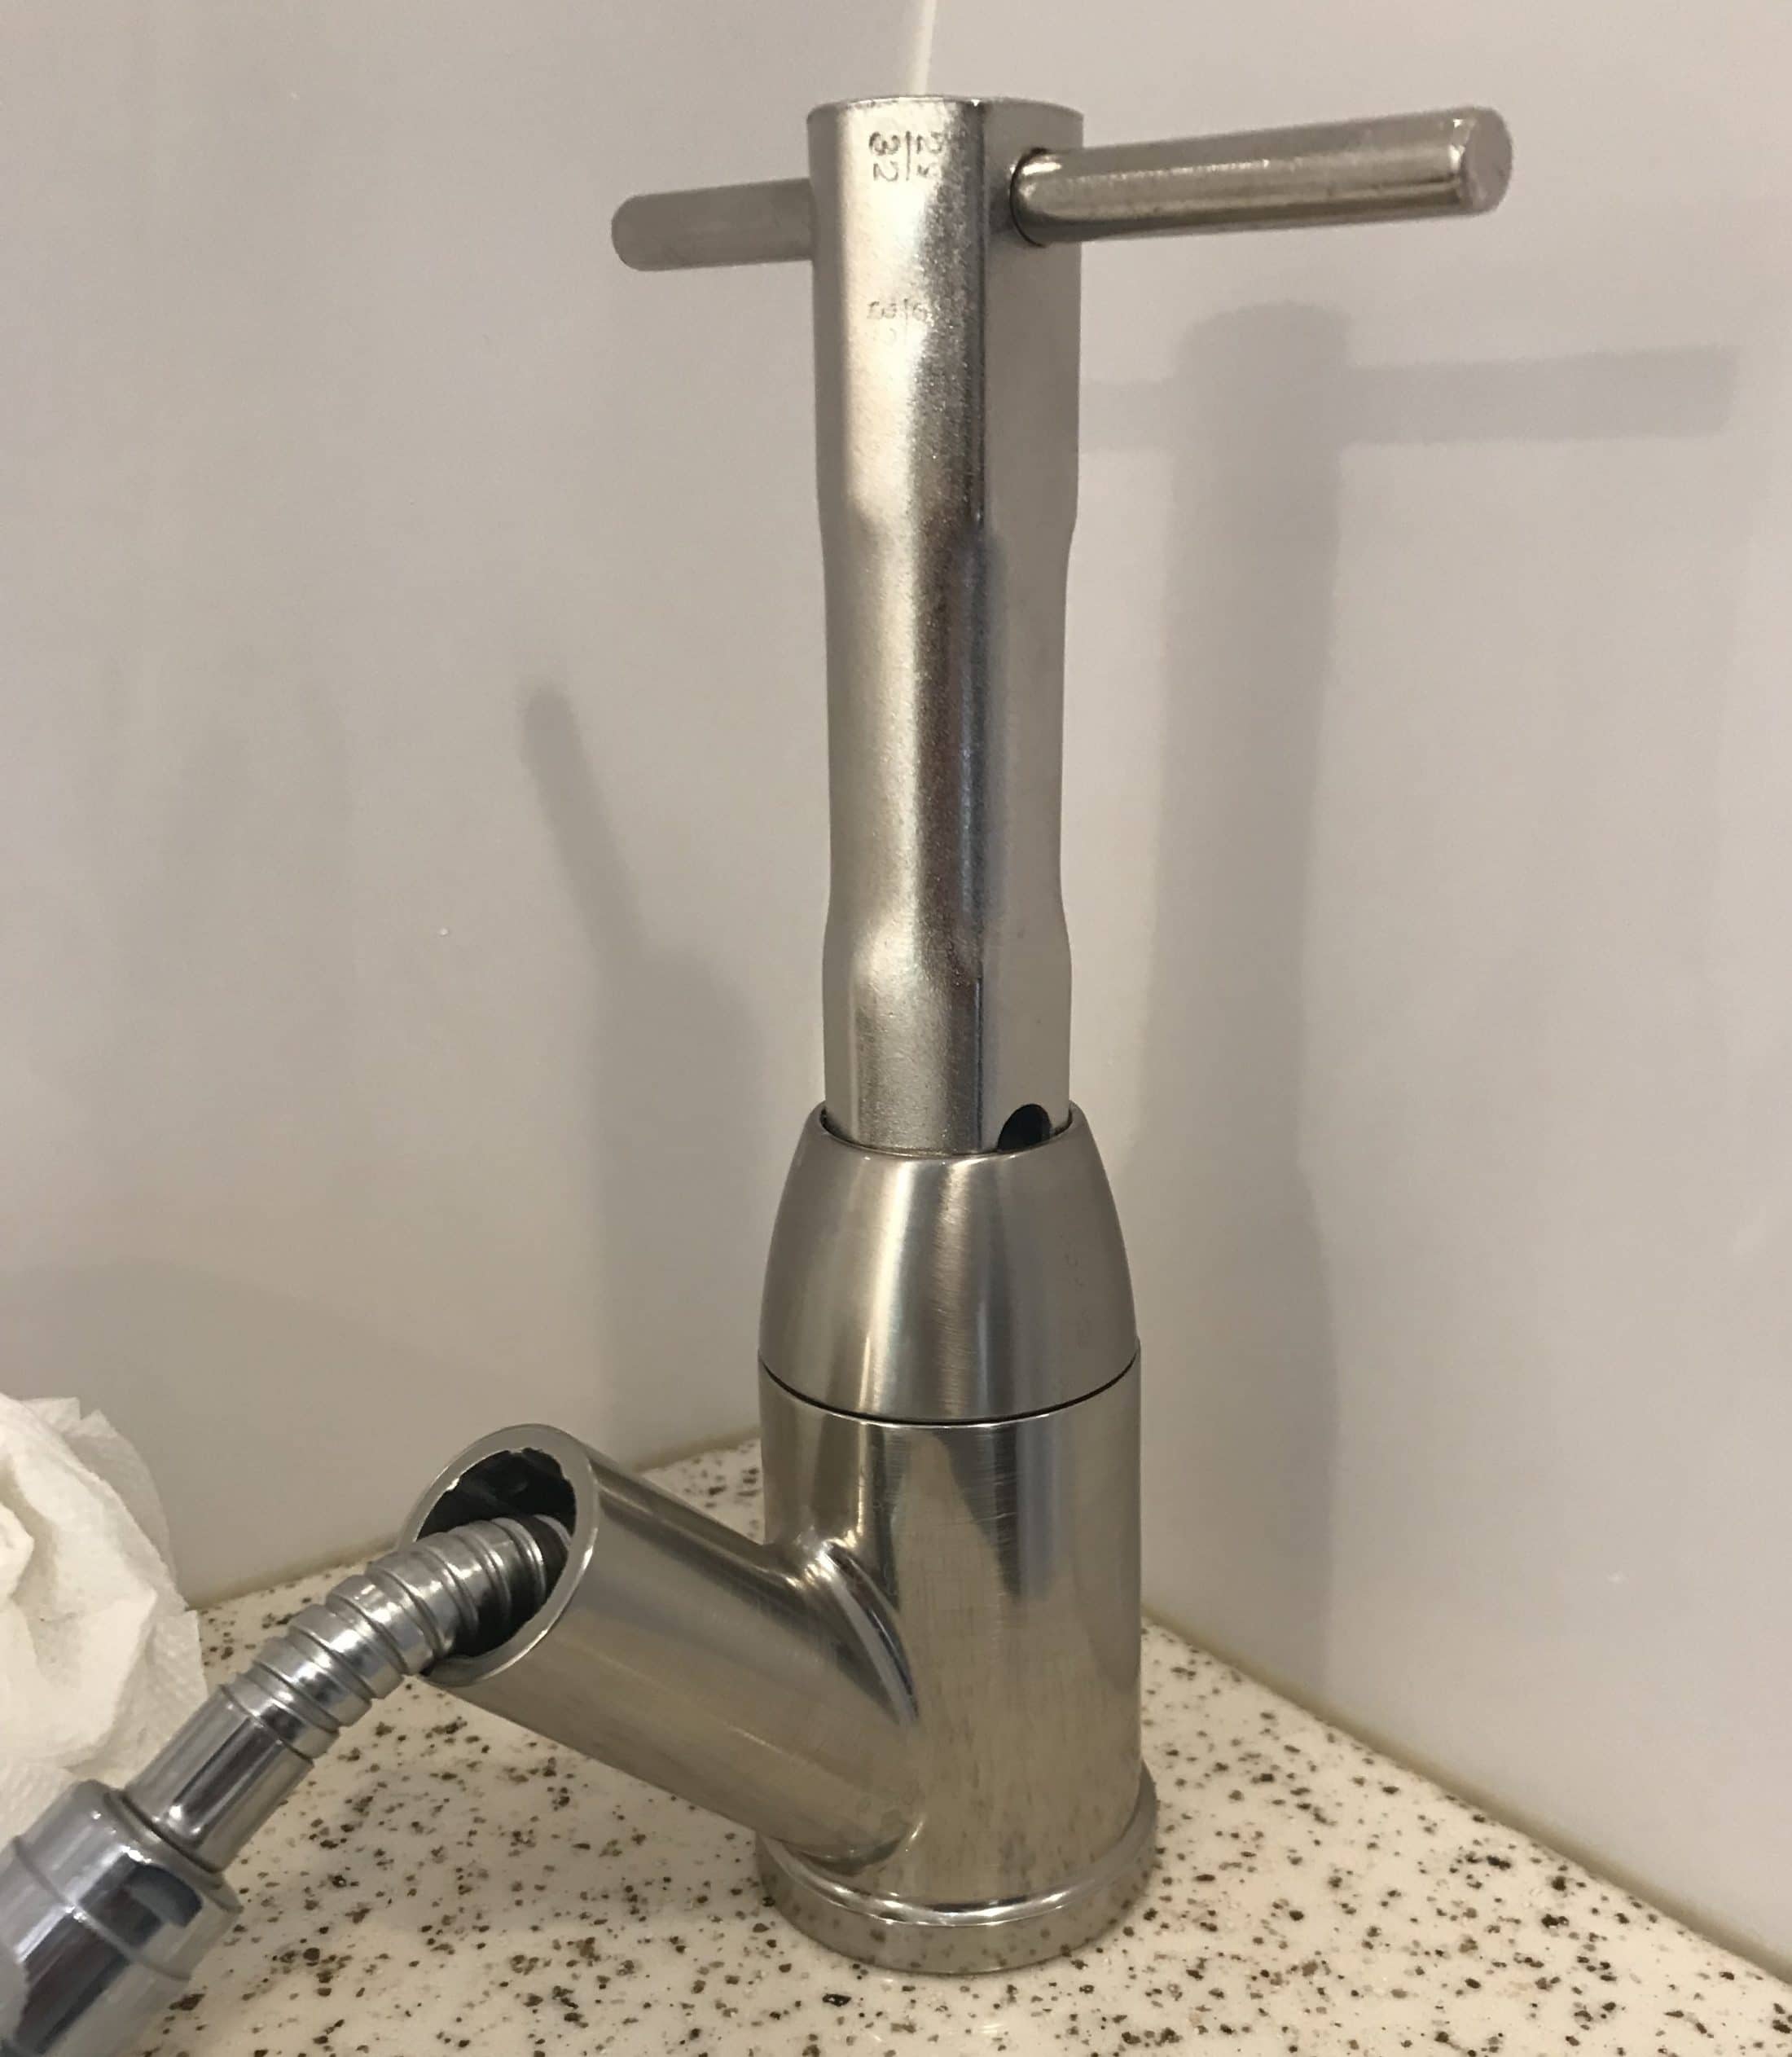
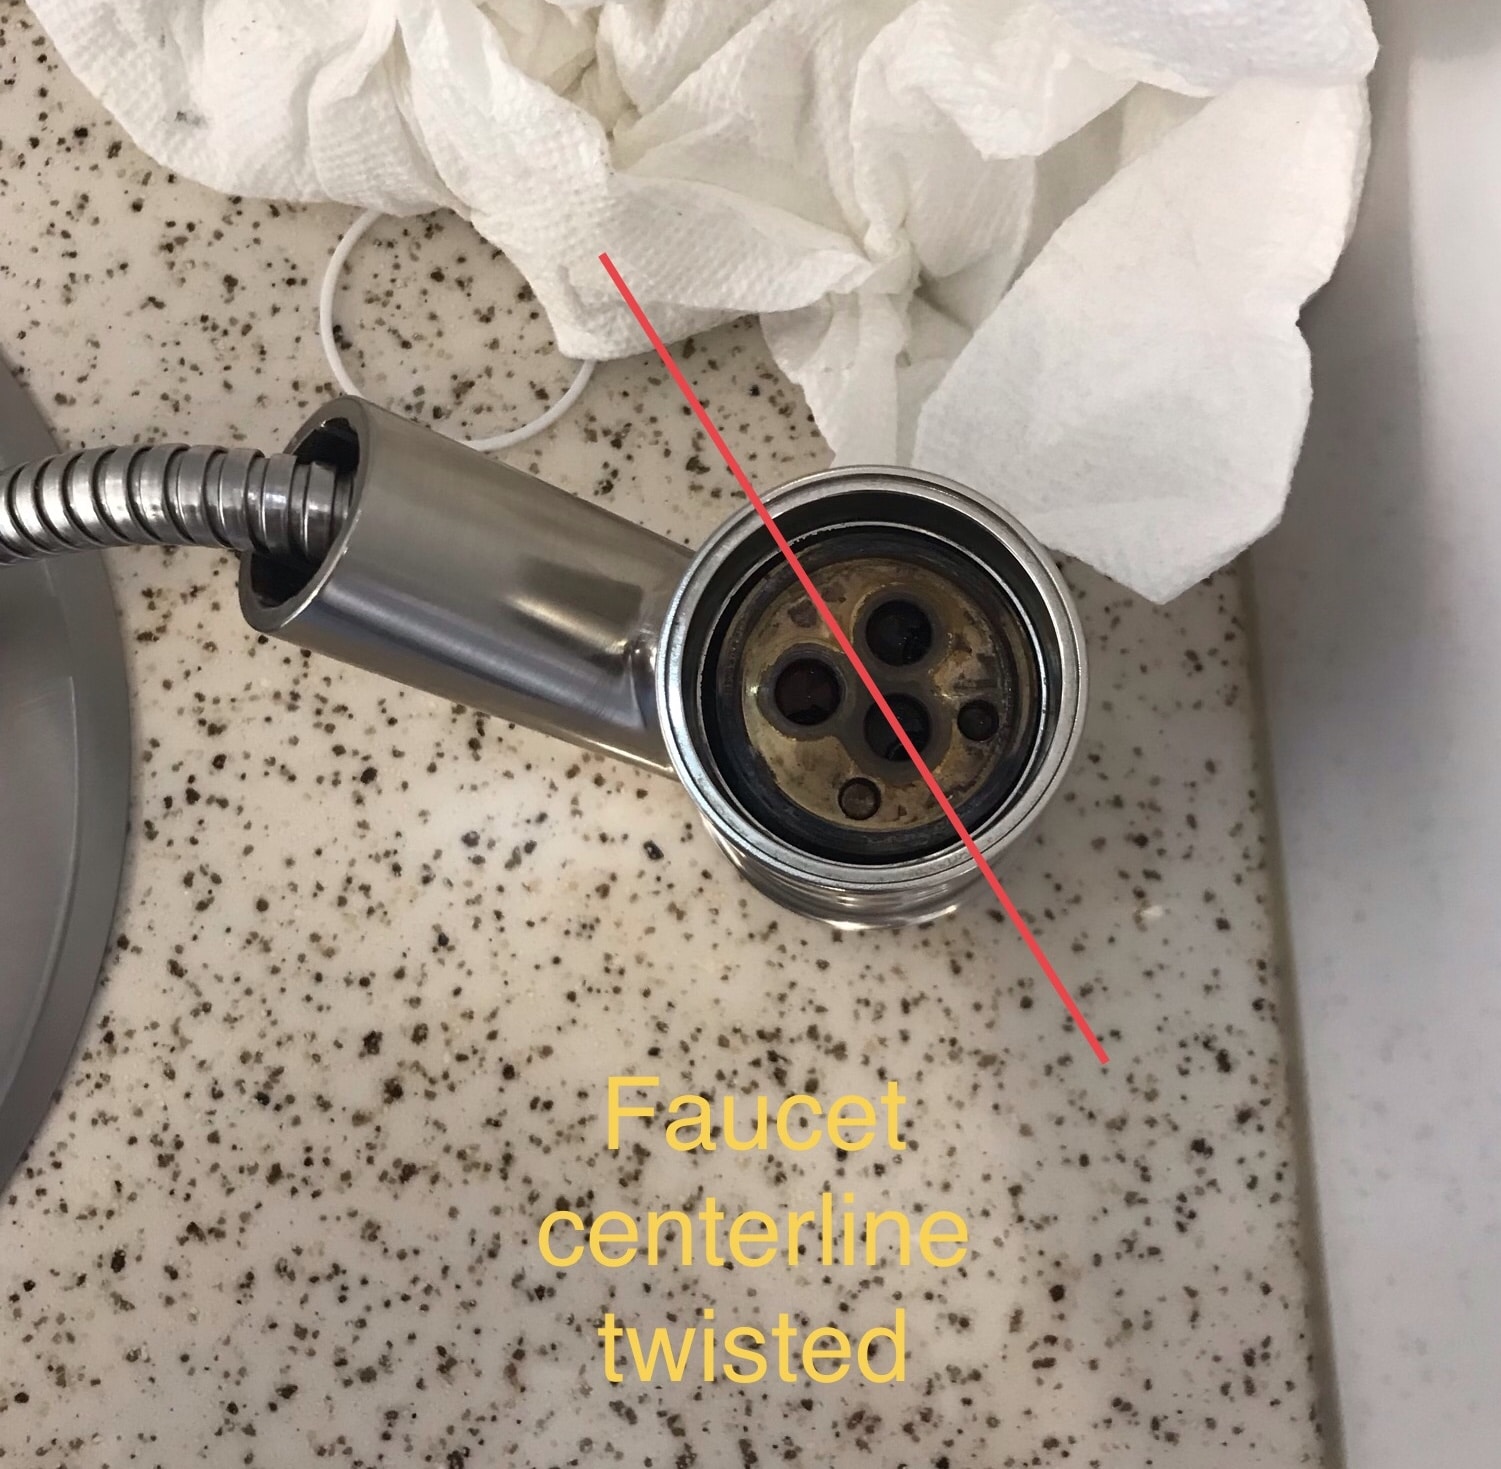
I’ve been under my sink to realign the faucet after replacing the cartridge. Use plastic razor blades to remove old caulk from the shelf and vanity. ASI 0240 works real well to remove old caulk. ASI 335 is what I just used to reseal my shower pan. I think you’ll need one of these wrenches to keep from having to use a pair of Channellock plies which will mar your new faucet Wrench in use What it looks like under there Be sure to “clock” the faucet centerline so that it is perpendicular to the wall otherwise the wand will either hit the wall or swivel out from above the sink and the hot vs. cold adjustment will be awkward.
1 point


-
Recent Achievements
-


")


")

