Leaderboard


.thumb.jpg.e34bf01ef7f7d5e99ad31856d45afbeb.jpg)

Popular Content
Showing content with the highest reputation on 10/30/2025 in all areas
-
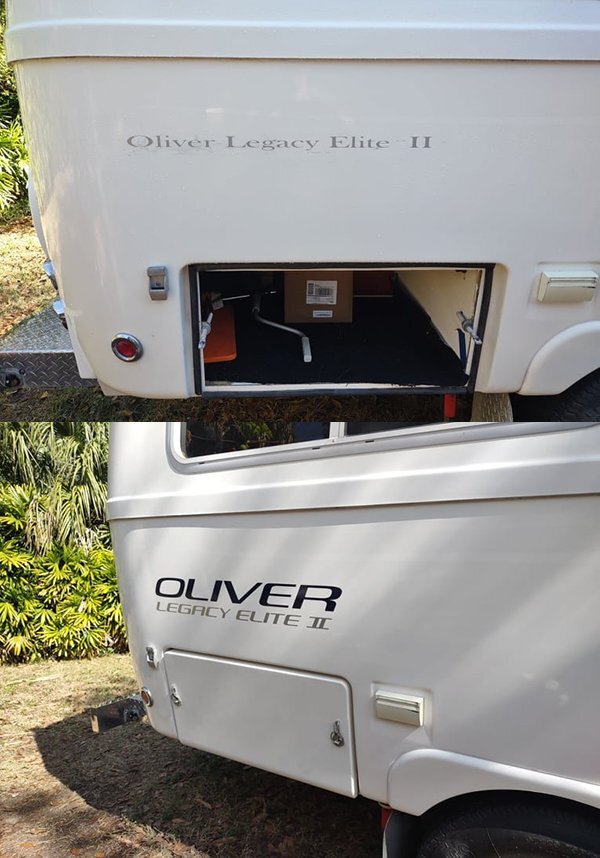
I put in an order to a decal shop to get the side rear text decals. We'll see how they turn out.2 points
-
We're on about 1.25 acres. When we moved to AZ, about 5 years ago, my wife wanted a house that was move in ready, had a pool and I wanted a large garage. We bought a house that was move in ready and that was it. No pool and a 2 car garage with very little extra room for "stuff". We had a pool built about 2 summers ago as our first major project. Took over 2 years to get it done with permitting and contractor issues. 😞 I steadily cleared the back of the lot and a pathway to the back. Before I started doing that, you could barely walk to the backyard, it was so overgrown and unkept. Next project is/was the garage. Just got the garage barn up a few weeks ago. I grew up with uncles that had barns, so it's been a dream most of my life to have one. I'll enjoy the build out, since I like doing those kind of projects. I have a few generators for now to power the building and plan to add solar. I may trench a line for power and water, but want to get some other stuff done first. I've remodeled a few houses and can do basic electrical but haven't done anything like a subpanel or full electrical wiring yet. I don't think it's beyond me, but I'll have to go to Youtube and ChatGPT school for a lot of it. Like you said, everything cost $$$, time is limited too and I'm not as young as I used to be.2 points
-
See what the OP said: There are 2 things that stop propane from exiting the tank, first the manual valve, then the pin actuated gate. If the manual valve is open - or faulty - connecting the tank to a propane line will allow gas to flow. That's what appears to be happening here.2 points
-
our hull 505 design/build article https://4-ever-hitched.com/blog-articles/f/adding-mud-flaps-to-galway-girl?blogcategory=Trailer+Modifications2 points
-
Not me. The two mods FIXED the Houghton Set 2 humidity issues and short cycling. But as previously stated, the mods are not something many owners would want to risk. GJ2 points
-
2016 Legacy Elite II, Twin Beds, Hull #124 It's likely time for you to replace both tanks anyway. If the propane pressure regulator is OEM, I would replace it as well! GJ2 points
-
I was lucky, we had a slow leak so we could fill and get home. We went to a truck tire place and they vacuumed out balance beads and installed metal valve stems.2 points
-
Li'l Ollie because it's a Hillbilly from the mountains of East Tennessee.
 2 points
 -
Finally got around to picking up a Greenland Turbro Inverter AC/heat pump to replace the original Coleman that came with Hull 45 back in 2009. Been wanting to do this for a while now and couldn't resist once @jd1923 posted the about the anniversary sale going on that knocked the price down from a list of 1,499 to 1,099 with free shipping. Install was a breeze. The hardest part of the job was cleaning the gunk off the roof after the Coleman was removed. The seal for the Turbro is preinstalled so it's just a matter of getting the unit centered over the opening and bolting it down through the inside mounting plate. Since it doesn't have a wired thermostat, electrical connections were simple too. Just the 120v power and connecting the wiring between the rooftop unit and the inside cover panel was all that was needed. I have separate thermostats for AC and heat which made it easy but if you have a single thermostat for both AC and heat additional steps may be required. The Turbro comes with a remote with a wall mount and it also has a phone app available. Once fully installed, I connected our power cord to a voltage/amps/watts meter and used an adapter to plug into a standard 15amp outlet. I also turned off all other breakers to insure I was getting only the draw from the Turbro during startup and running. There were two main reasons I purchased the Turbro unit- One, because it uses the same extremely efficient "inverter" compressor technology used in mini-split systems and two, because of this technology the system is able to "ramp down" once set temp is reached and continue to run at a lower capacity instead of powering down and cycling like a standard single speed compressor does. Running in this manner reduces or eliminates the humidity spikes common with standard compressor systems and is very important to those of us who live and travel in hot/humid locations. Added benefit is that no soft start reuired and it can be easily run off the Honda EU2000 that we have as a backup. Since my brother is using our Ollie for temp housing while his house is being finished I didn't have much time for testing after the install, but here are some of my finding and opinions for the short time I had. The good- Power efficiency is right about what I expected, which is excellent. The unit slowly ramps up starting around 120 watts and peaks just under 1000 watts. As it gets closer to setpoint, it begins ramping down and settles in around the 500-700 watt range. At set temp I was seeing watts in the 120-200 range but couldn't tell if the compressor was running or not at those watts. The compressor is so quiet that it was impossible for me to tell. The air output continued to be cool so I assume the compressor was still running. Cooling and humidity control were both excellent too. Cabin cooled quickly after which I changed the setting on the remote to "dry" mode which locks the fan on low speed with compressor running. No humidity spikes seen at all. Outside sound level is about the best I've encountered. You will not annoy anyone around you running this unit at night, even if they're in a tent right next to you. LED strips built into the inside panel can be left off or set to white, blue or yellow. I think this feature will come in handy for us at night when getting up to go the bathroom. The not so good- While not close to Dometic level loud, and quieter than our old Coleman, it's not the quietest unit out there. Quiet enough for us for sure, but if sound level is the most important feature you're looking for then you should probably look somewhere else. On the bright side, I think the sound issue could be improved with an updated interior cover panel alone. I loosened the cover and dropped it a couple of inches down and the sound dropped dramatically. Another issue that makes me think the cover panel is the problem is that the airflow only can be felt across about 1/3 of the vent openings on both front and back vents. The ability to adjust the airflow between front and back vents with a damper would be another nice feature... Temperature control... Wasn't happy here. It seems to be about 4-5 degrees off from actual cabin temp. Hoping that this can be solved with the addition of the external Cielo wireless thermostat that @Ronbrinkturned us on to and has had great success with. I wish I had more time to test and give better feedback, but I most certainly will update this post once I'm able to. I want to see how it performs in different environments, how the phone app works, and how it interfaces with the Cielo thermostat before I make a final judgement. For now I'll give it an overall rating of A-. On power efficiency alone, an A++
1 point
-
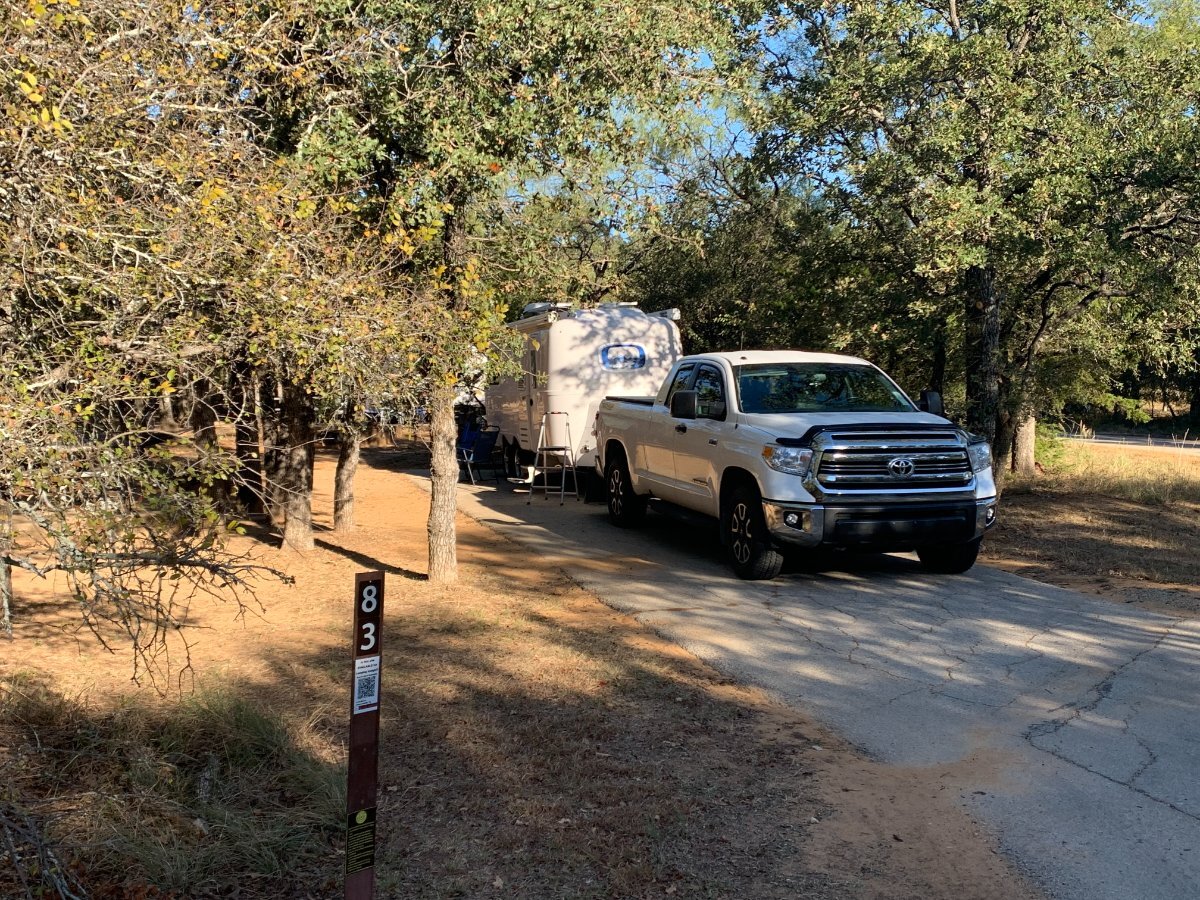
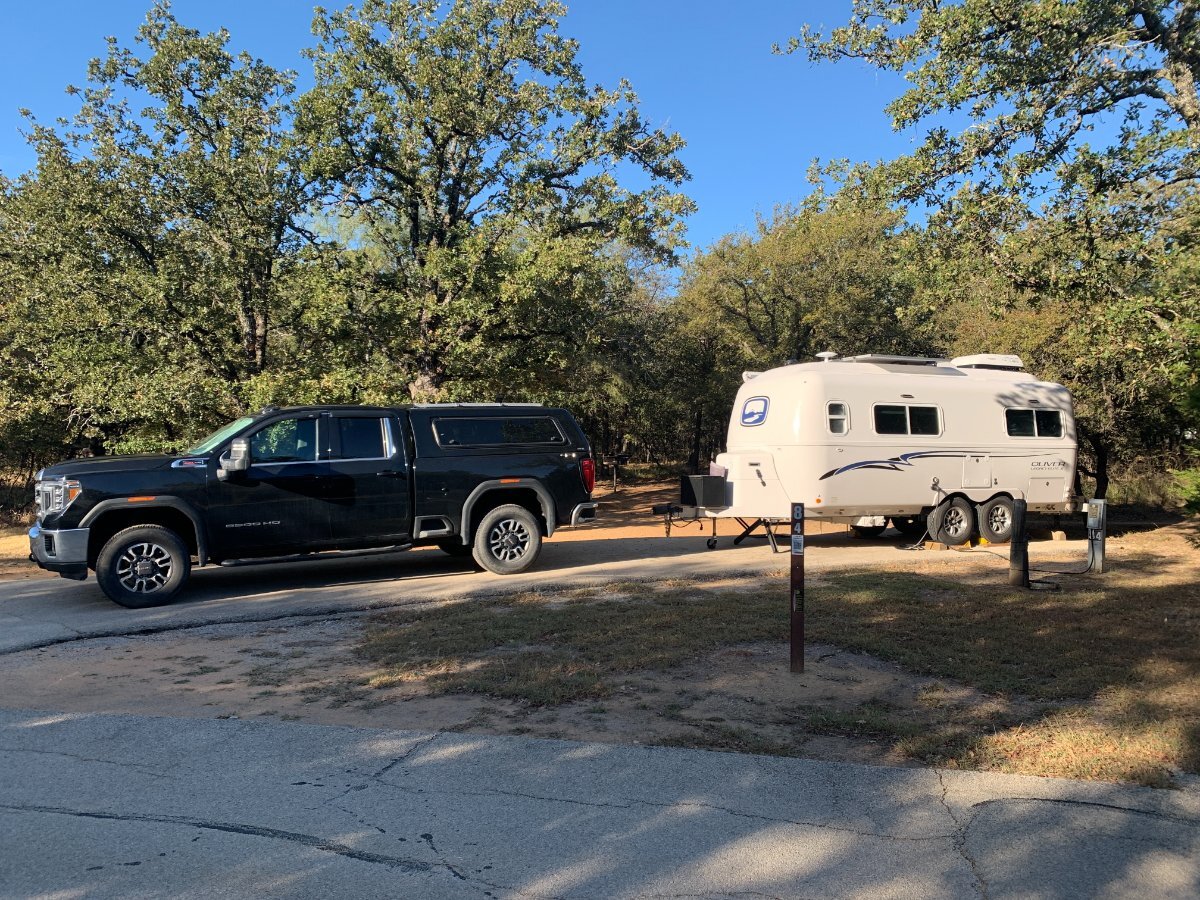
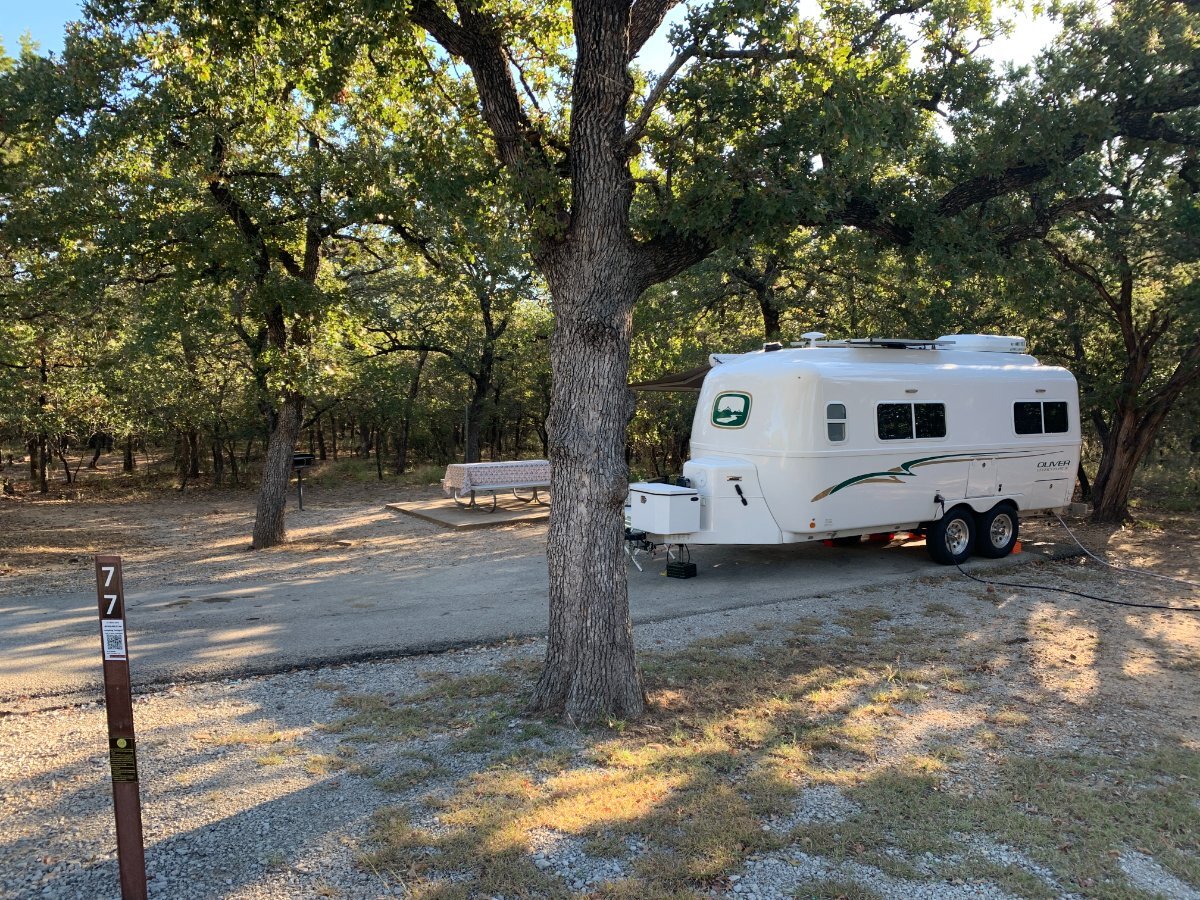
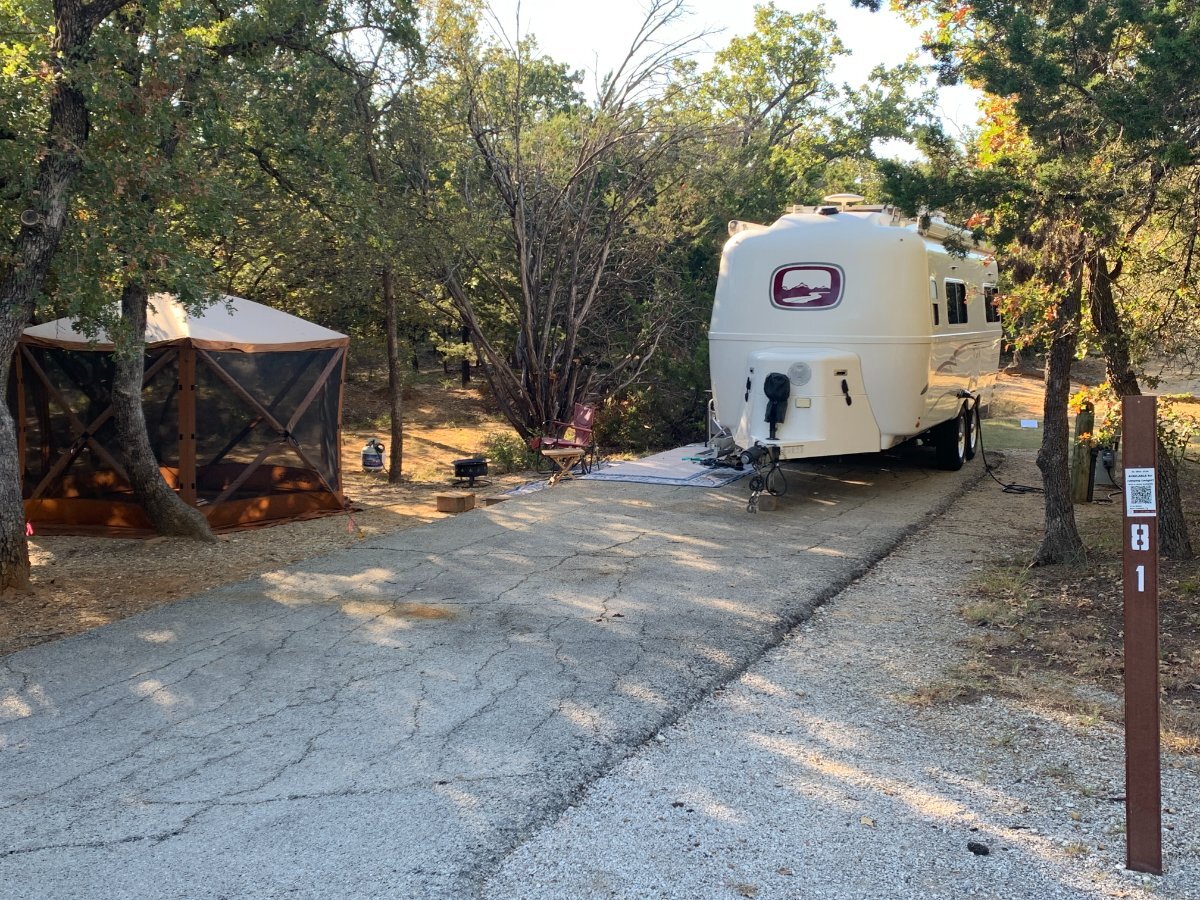
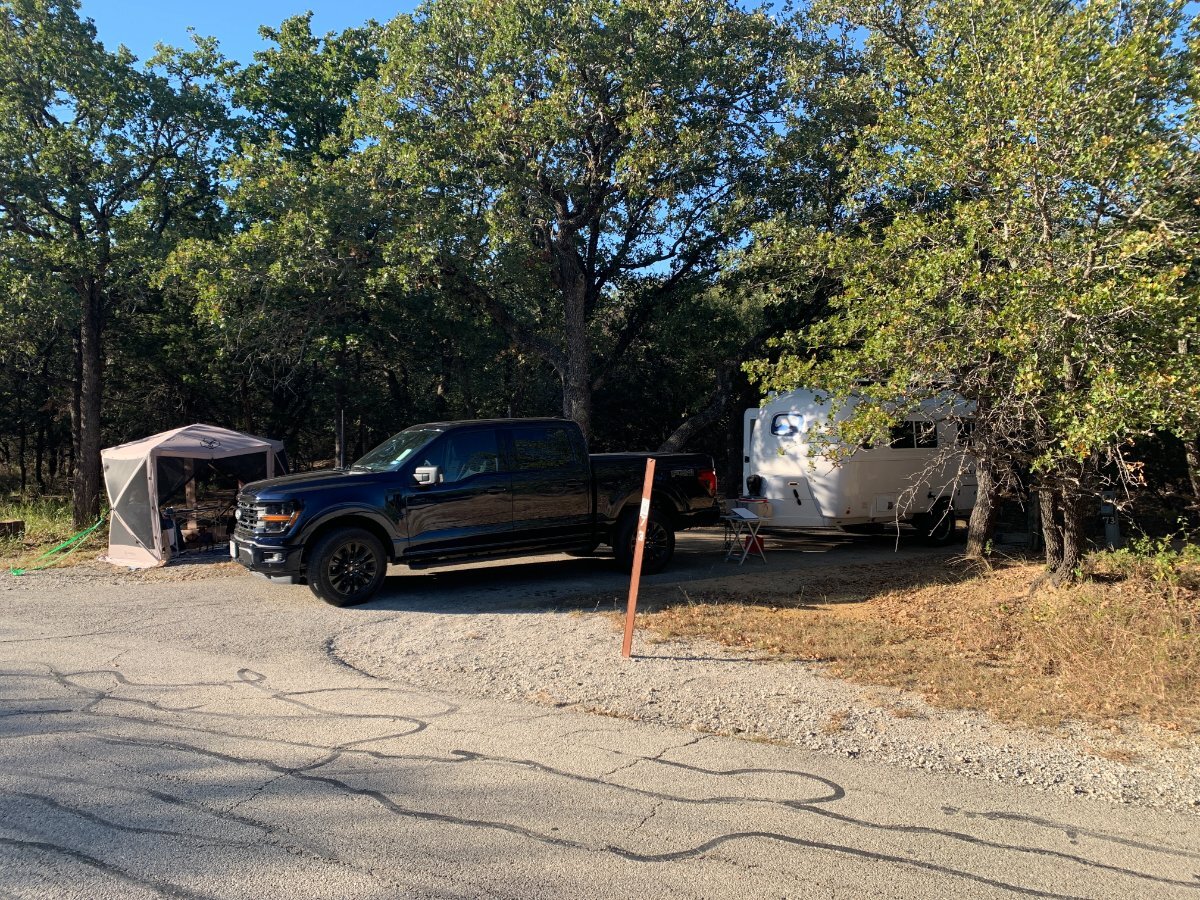
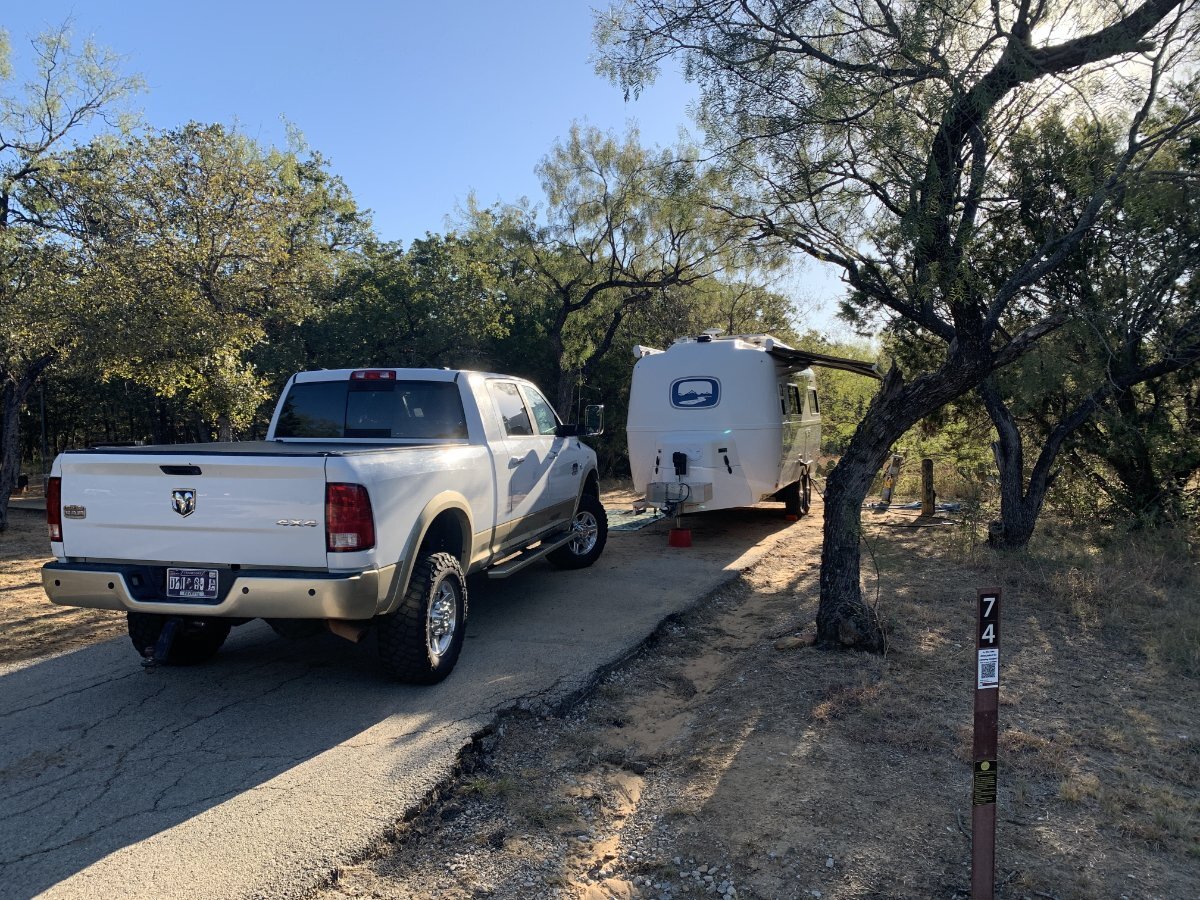
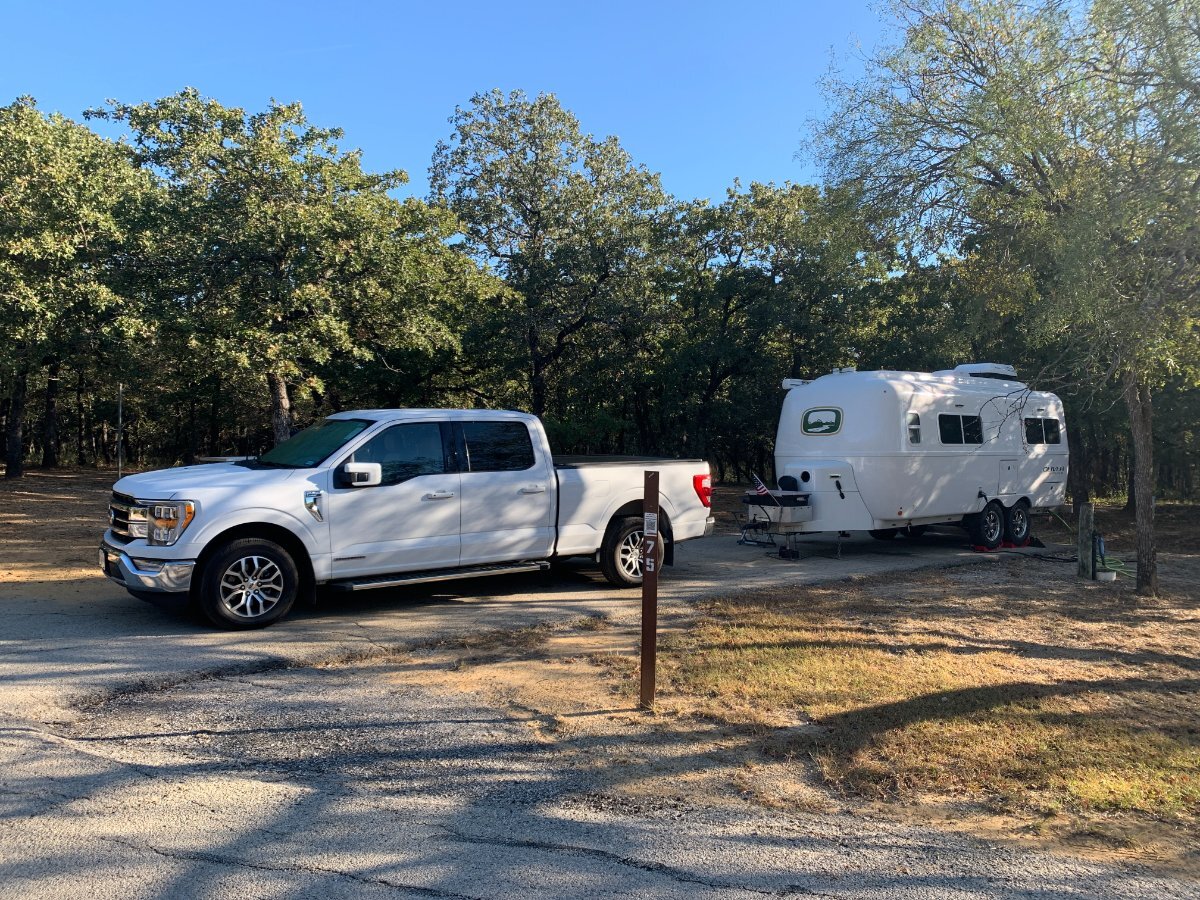
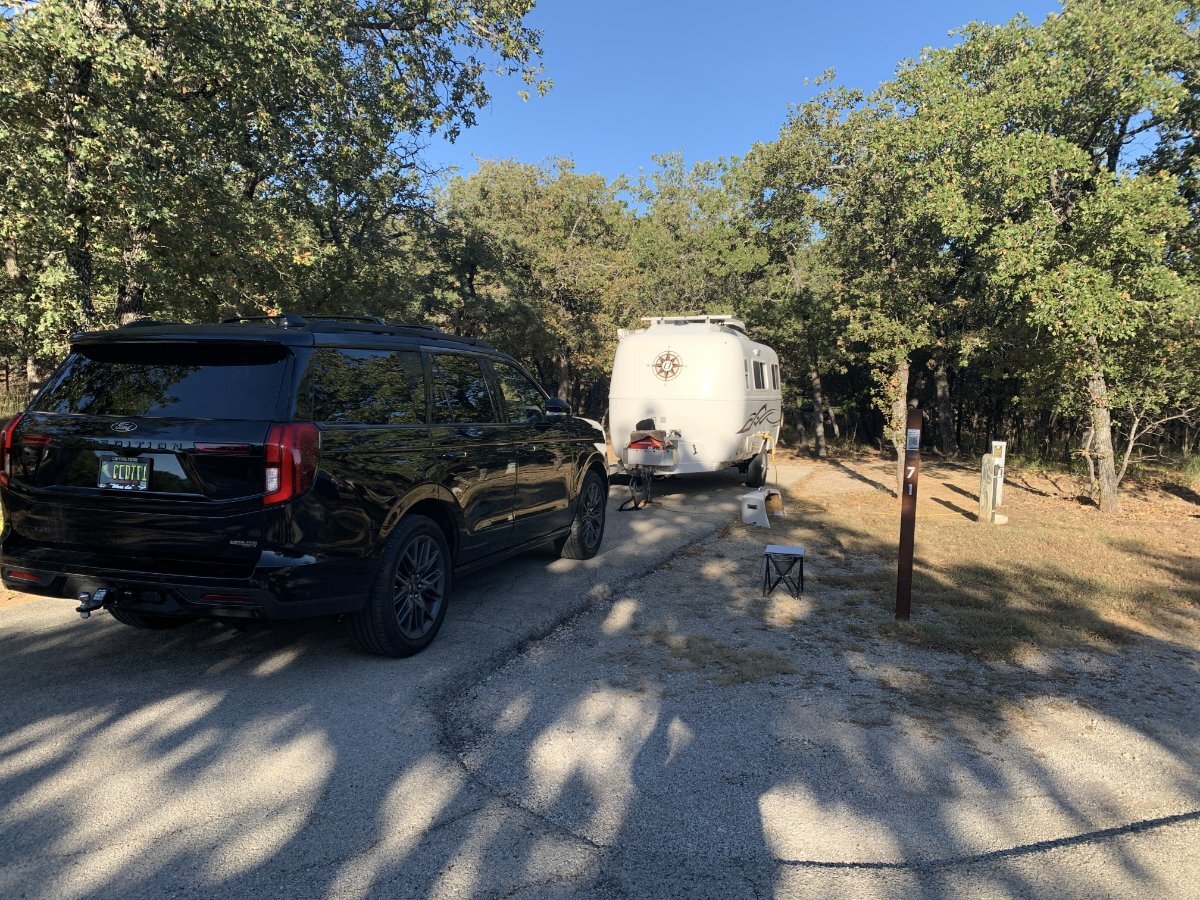
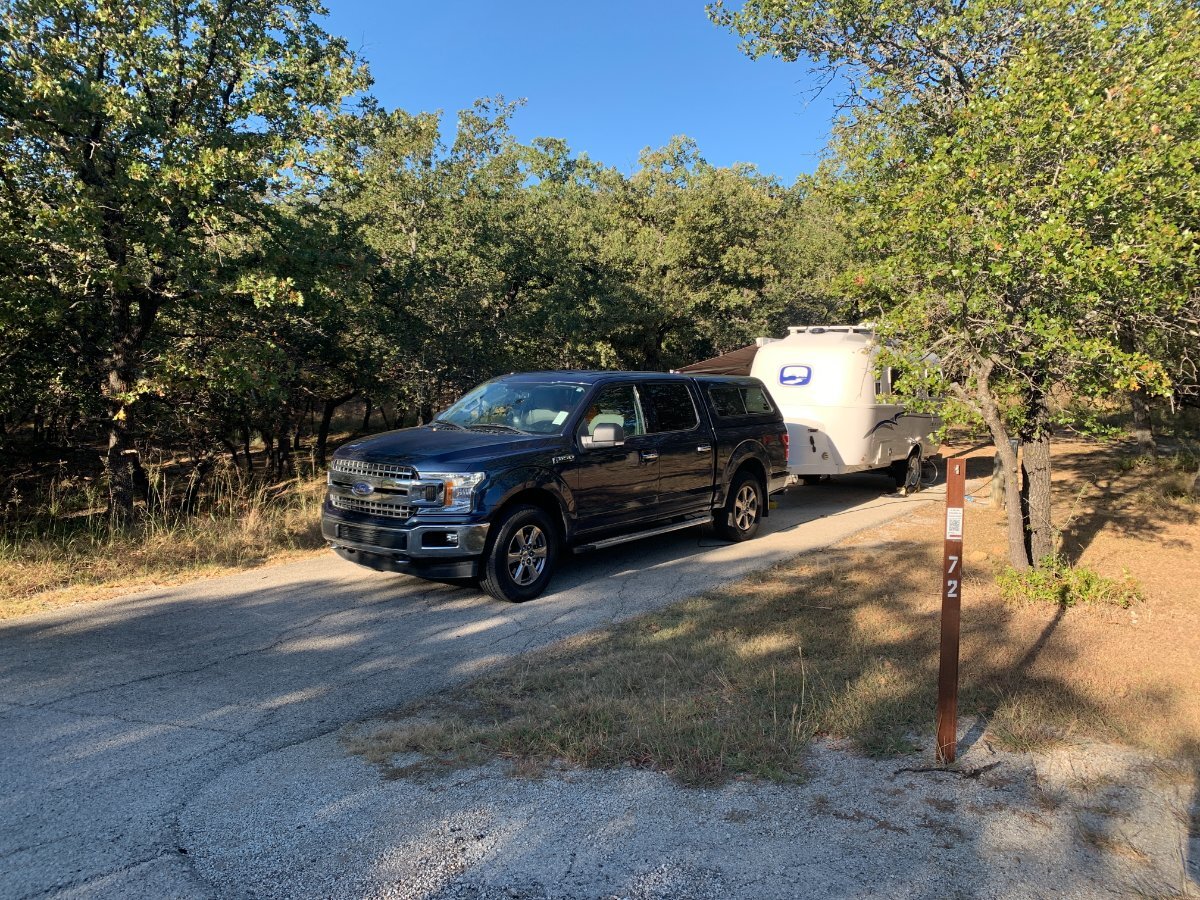
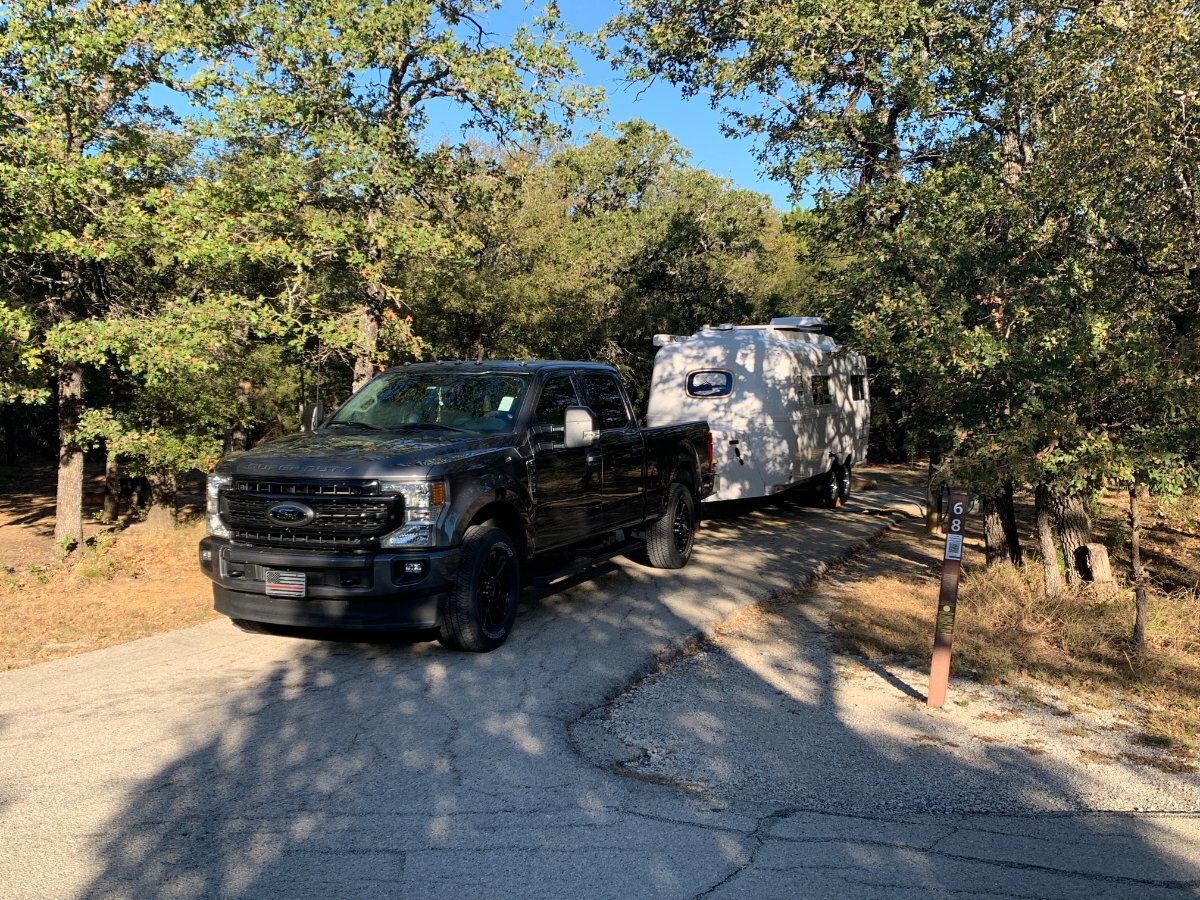
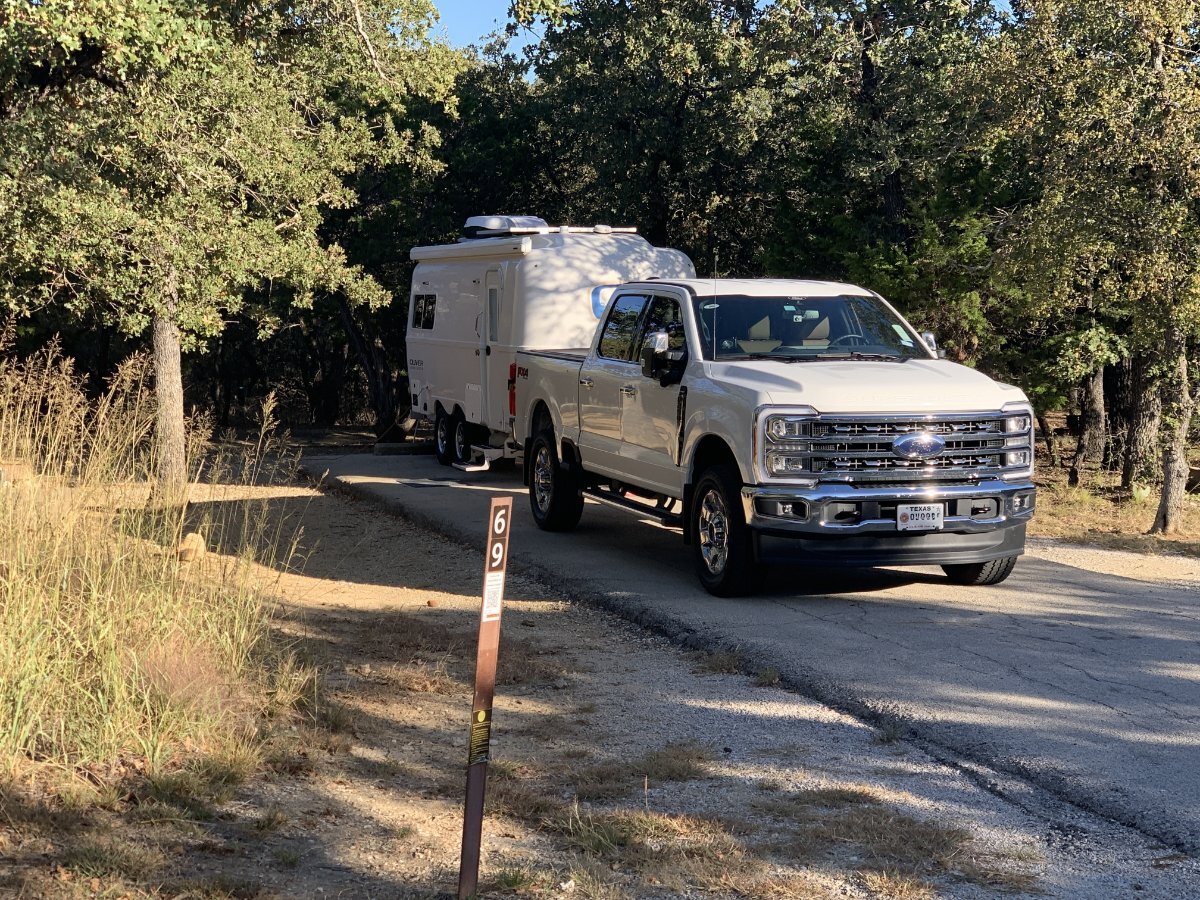
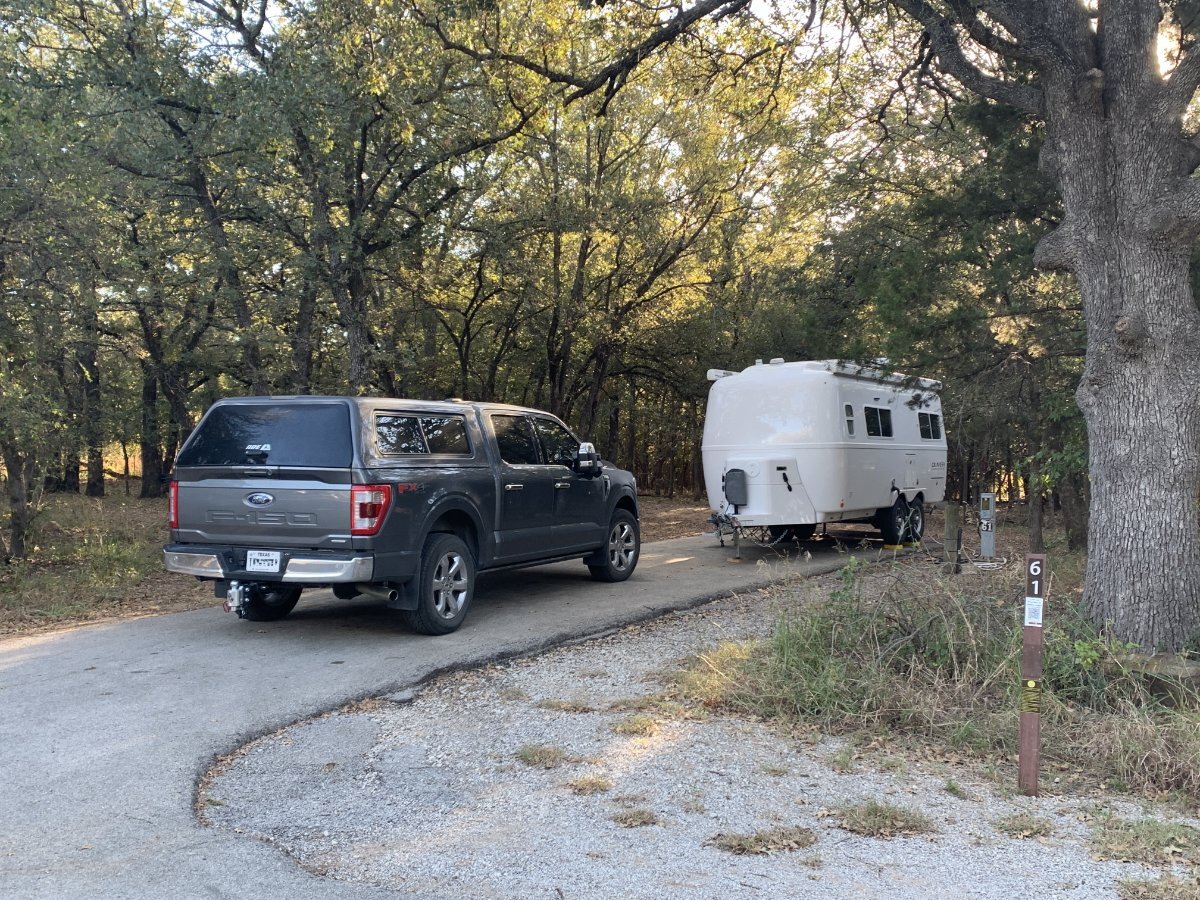
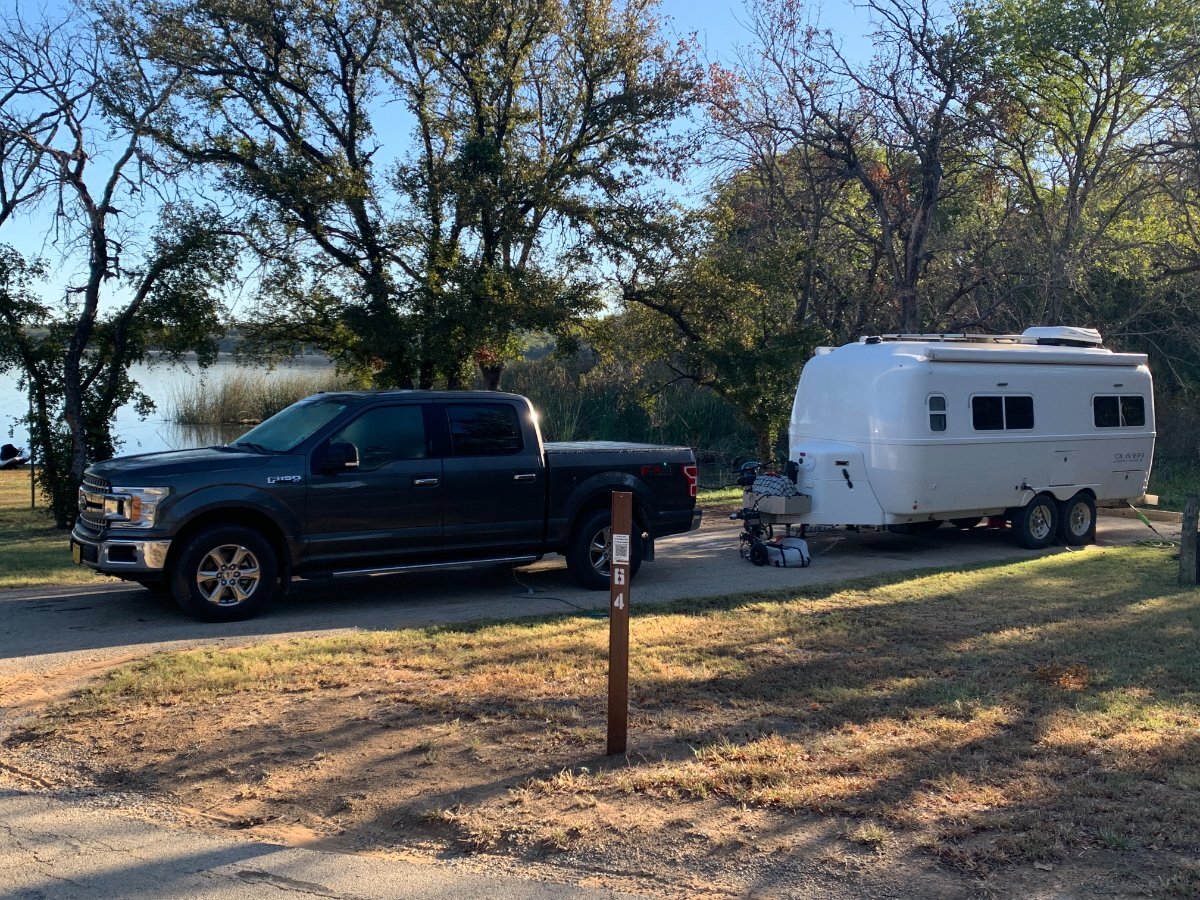
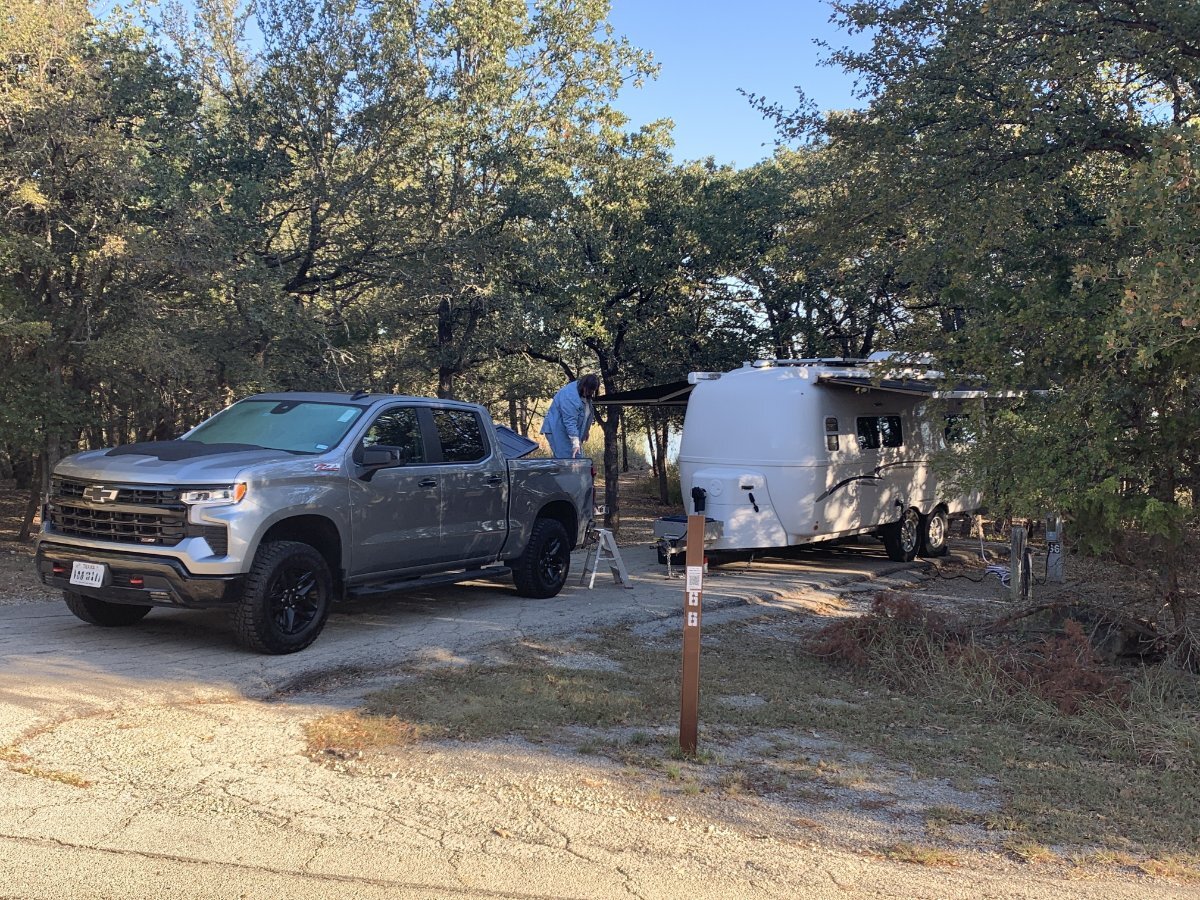
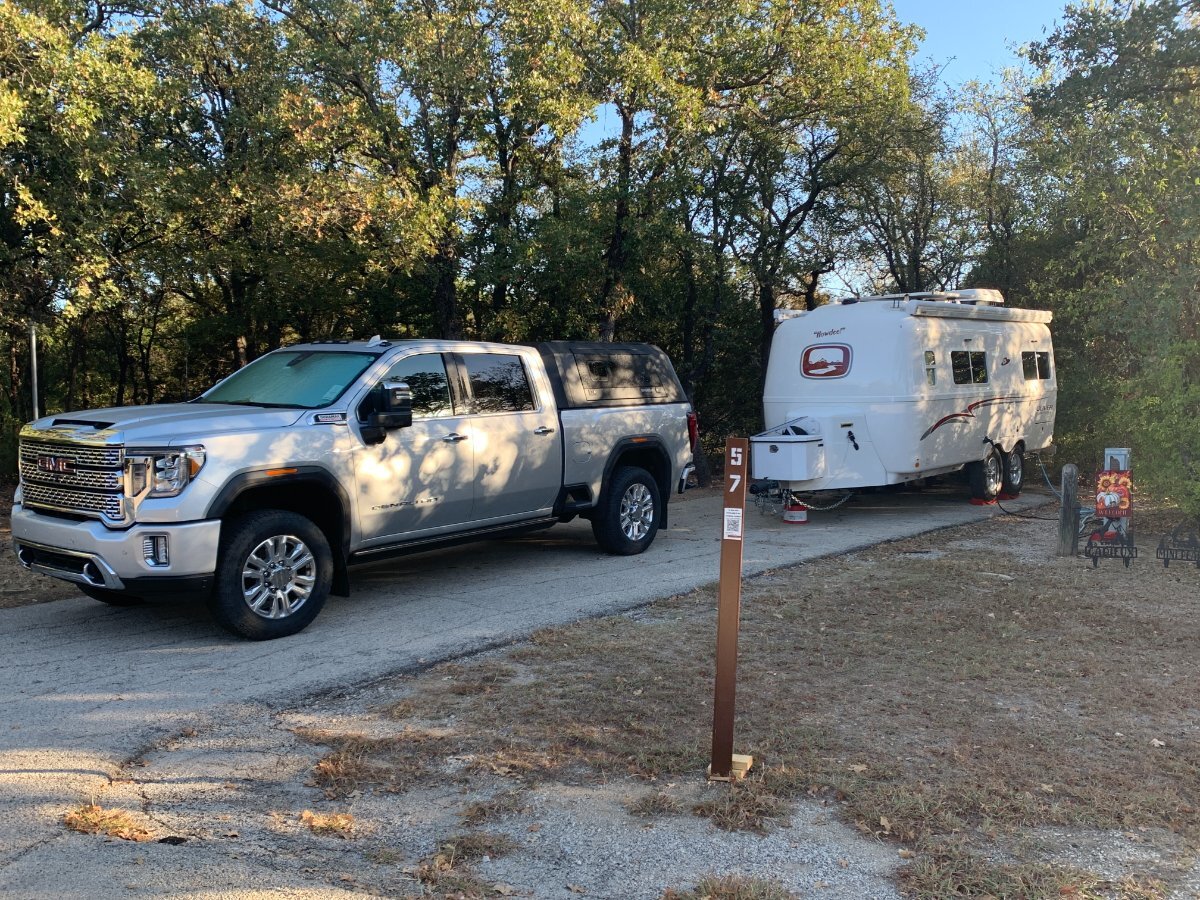
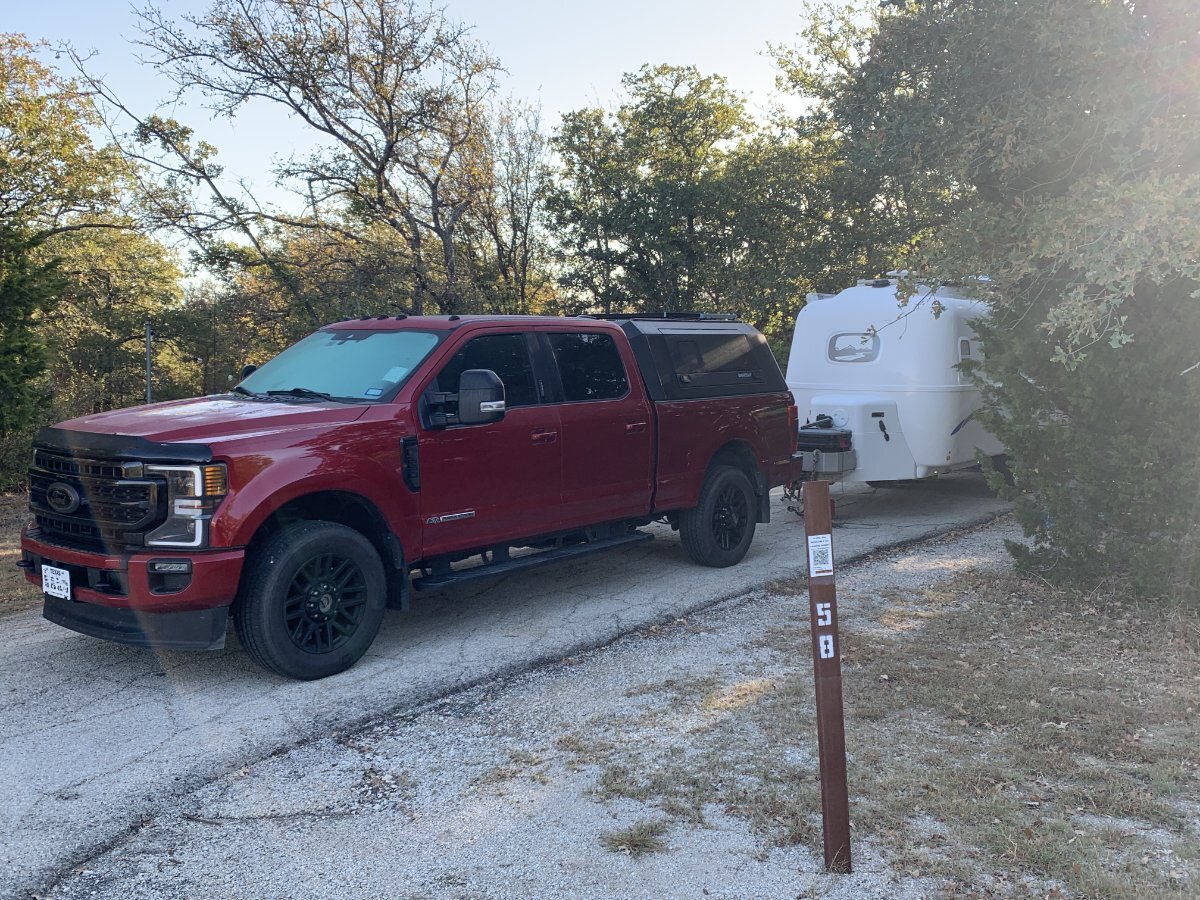
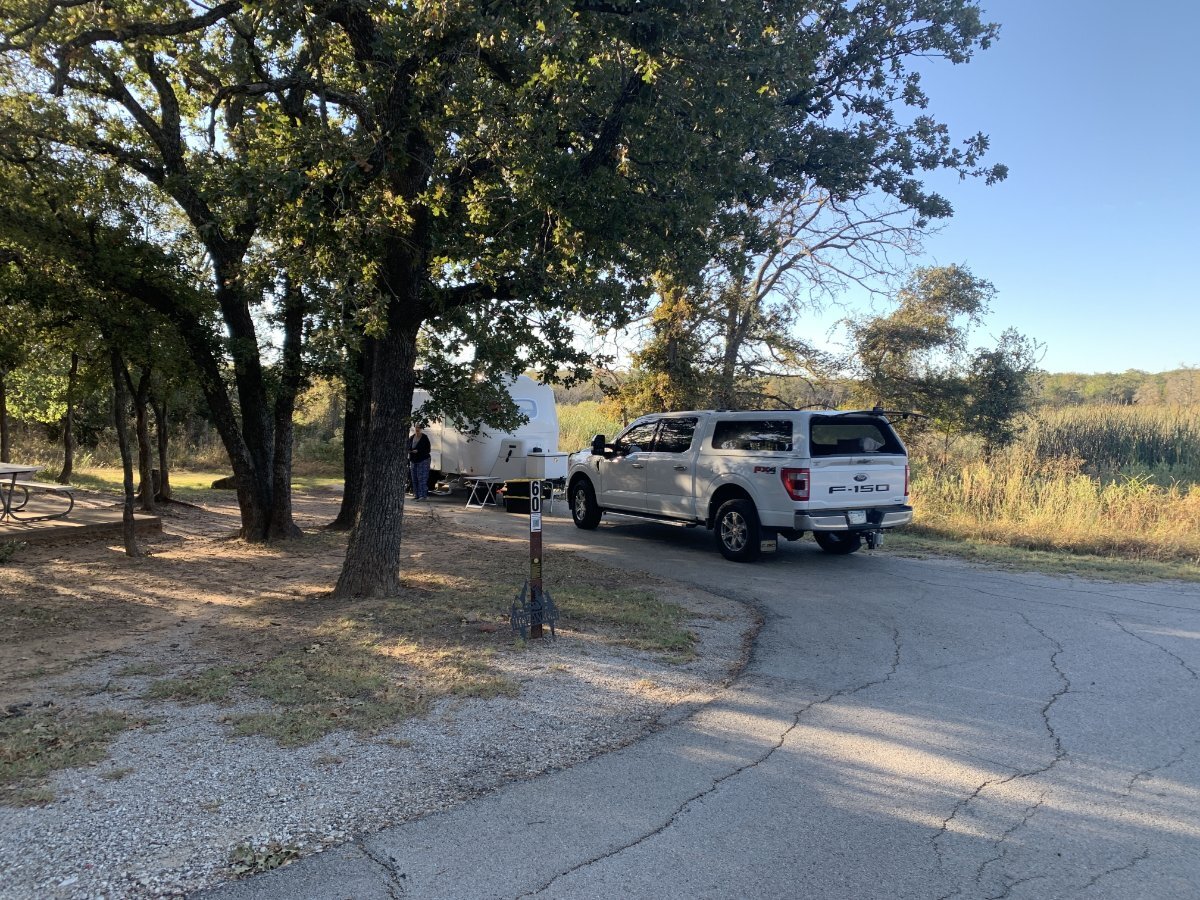
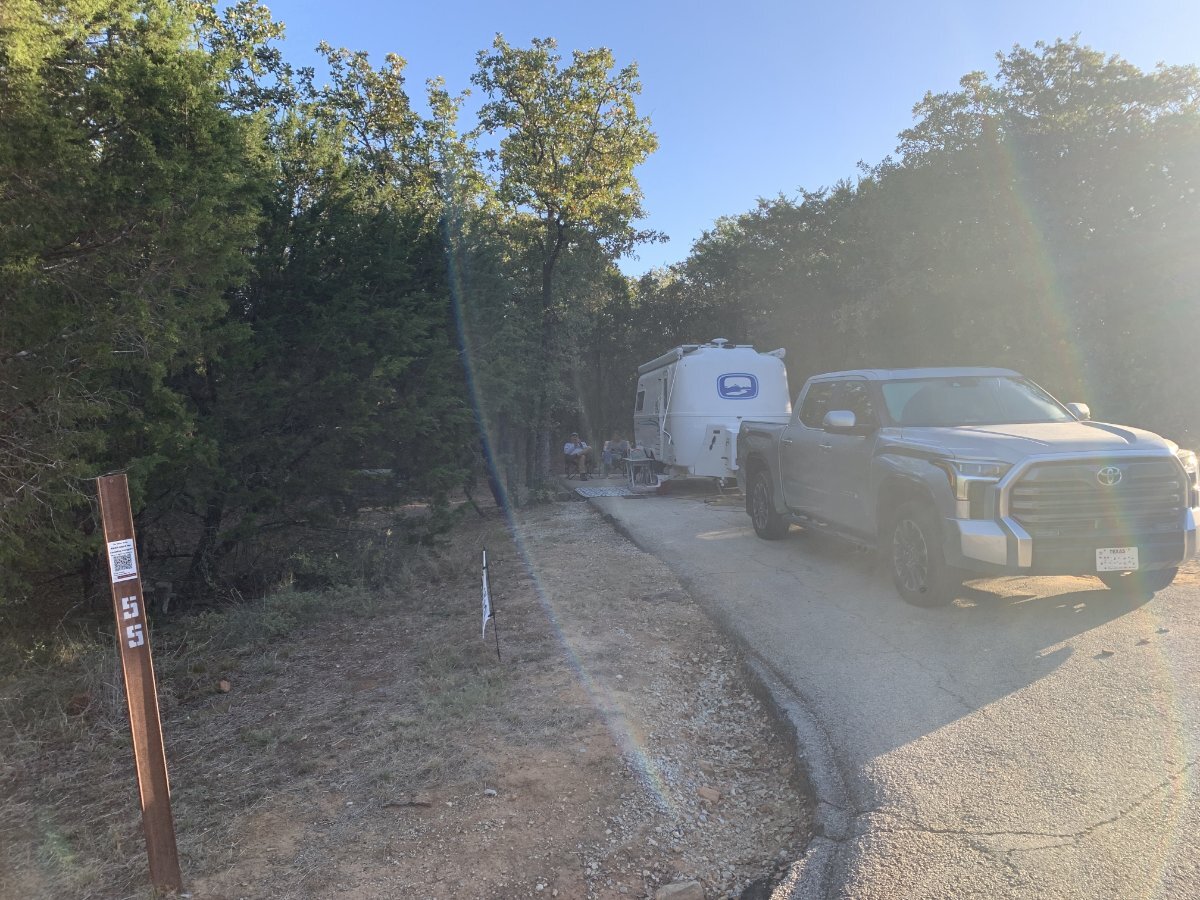
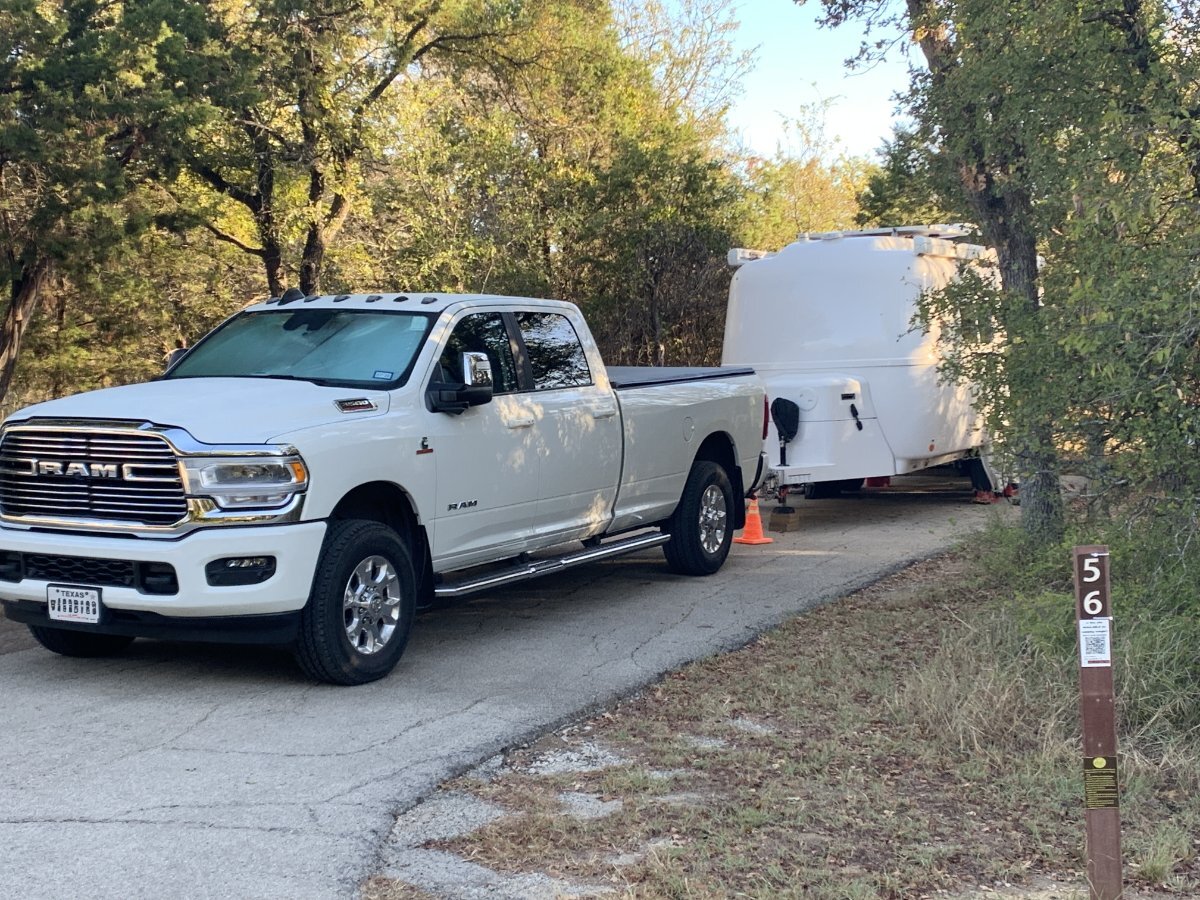
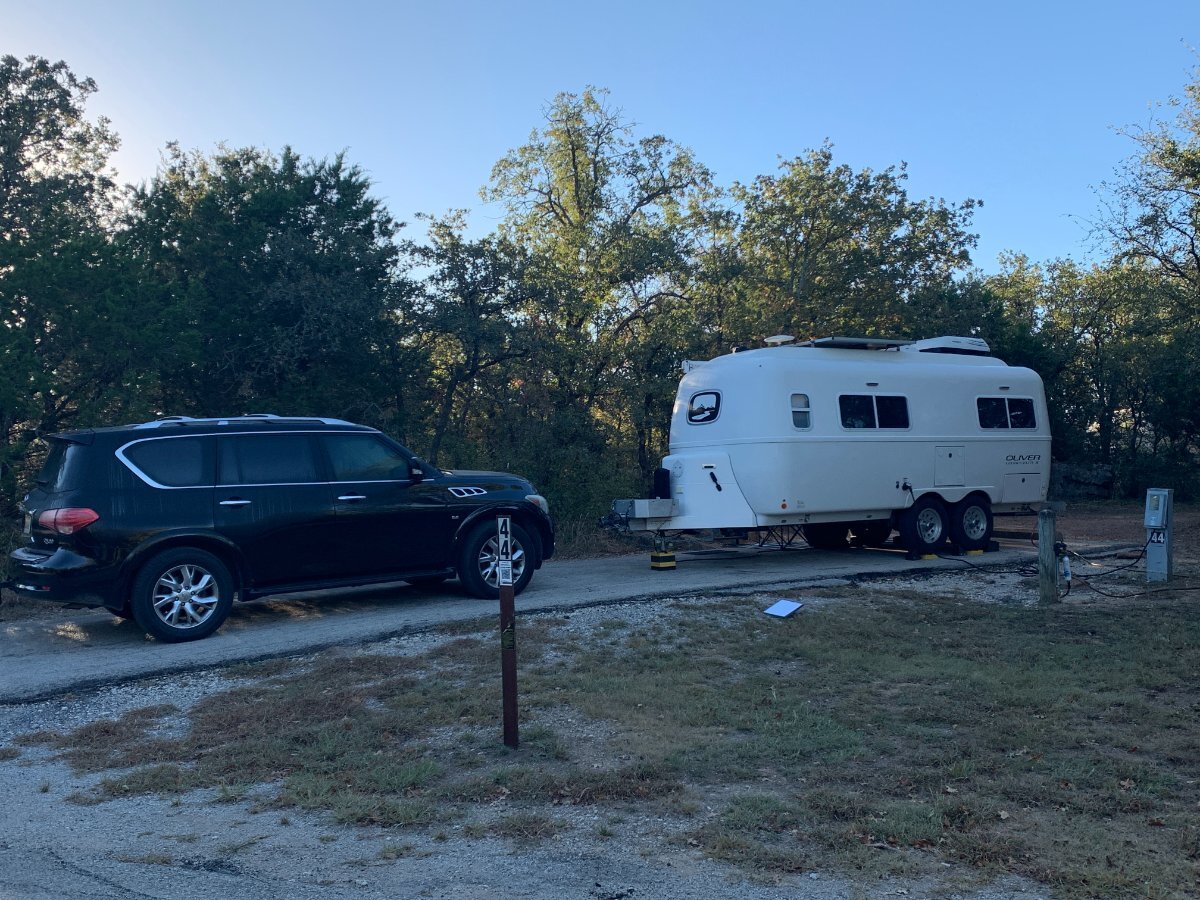
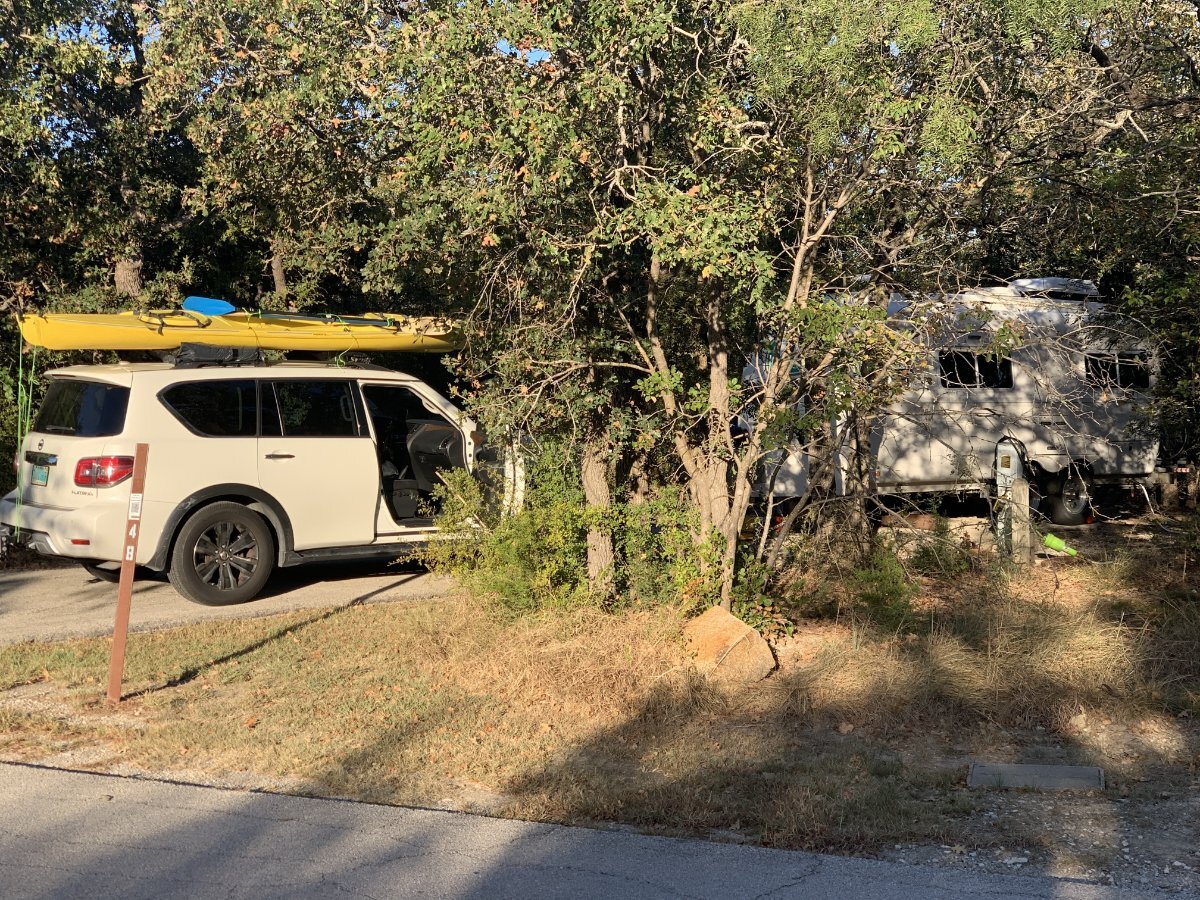
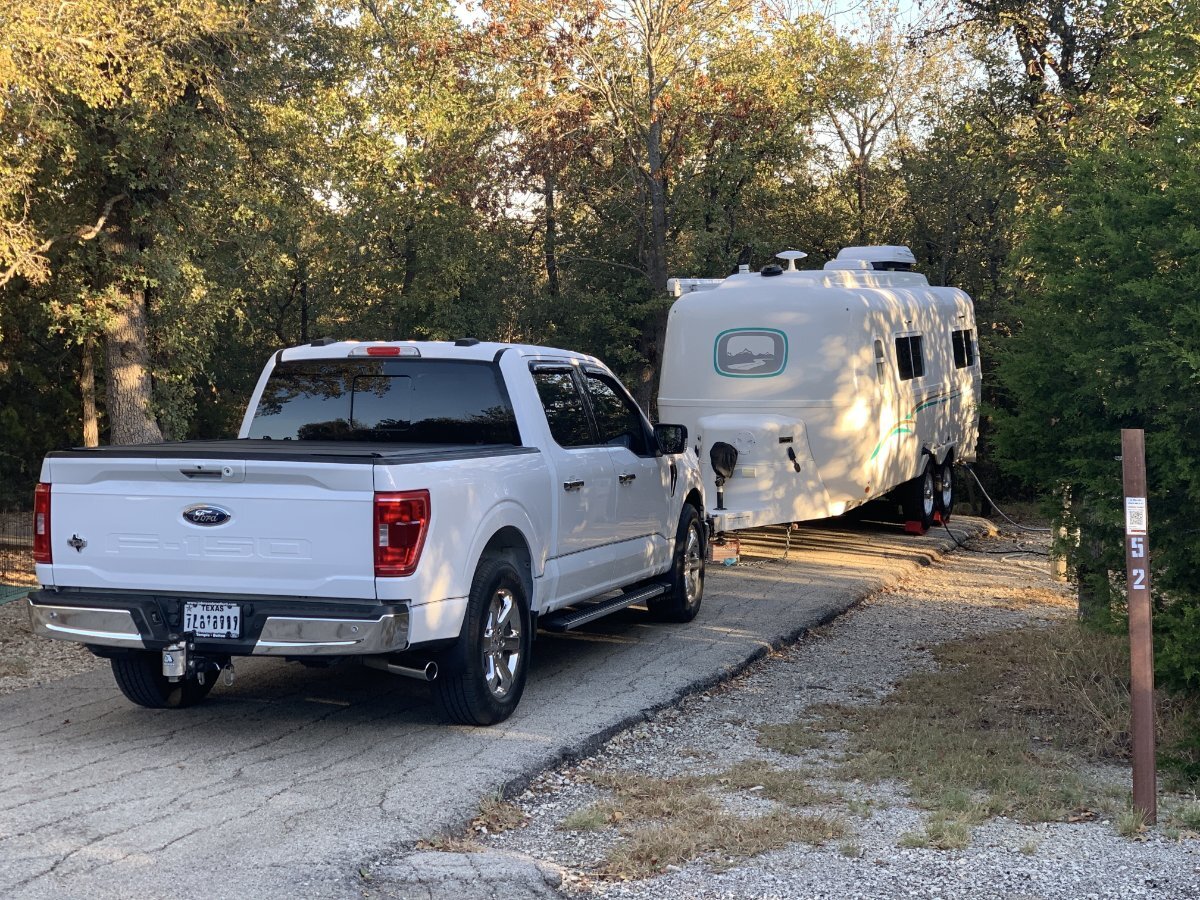
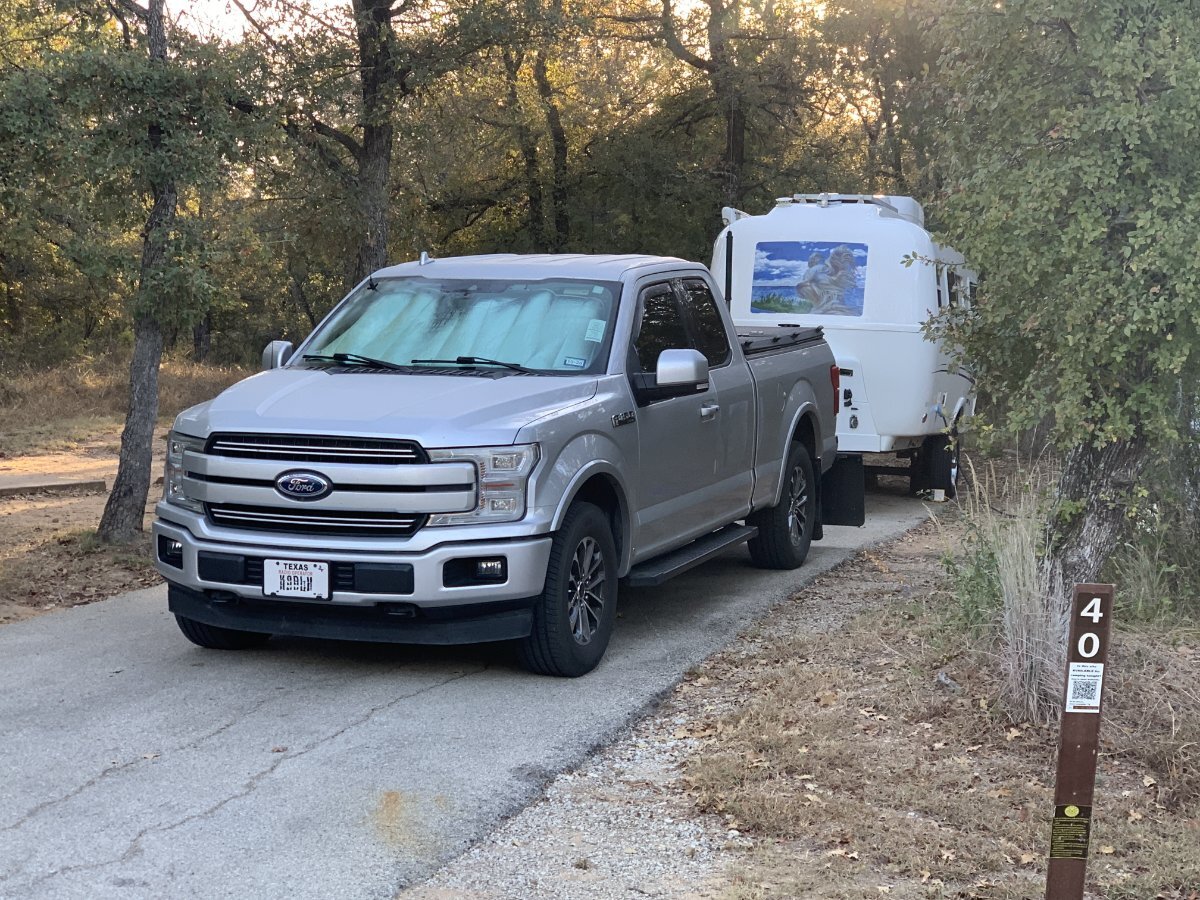
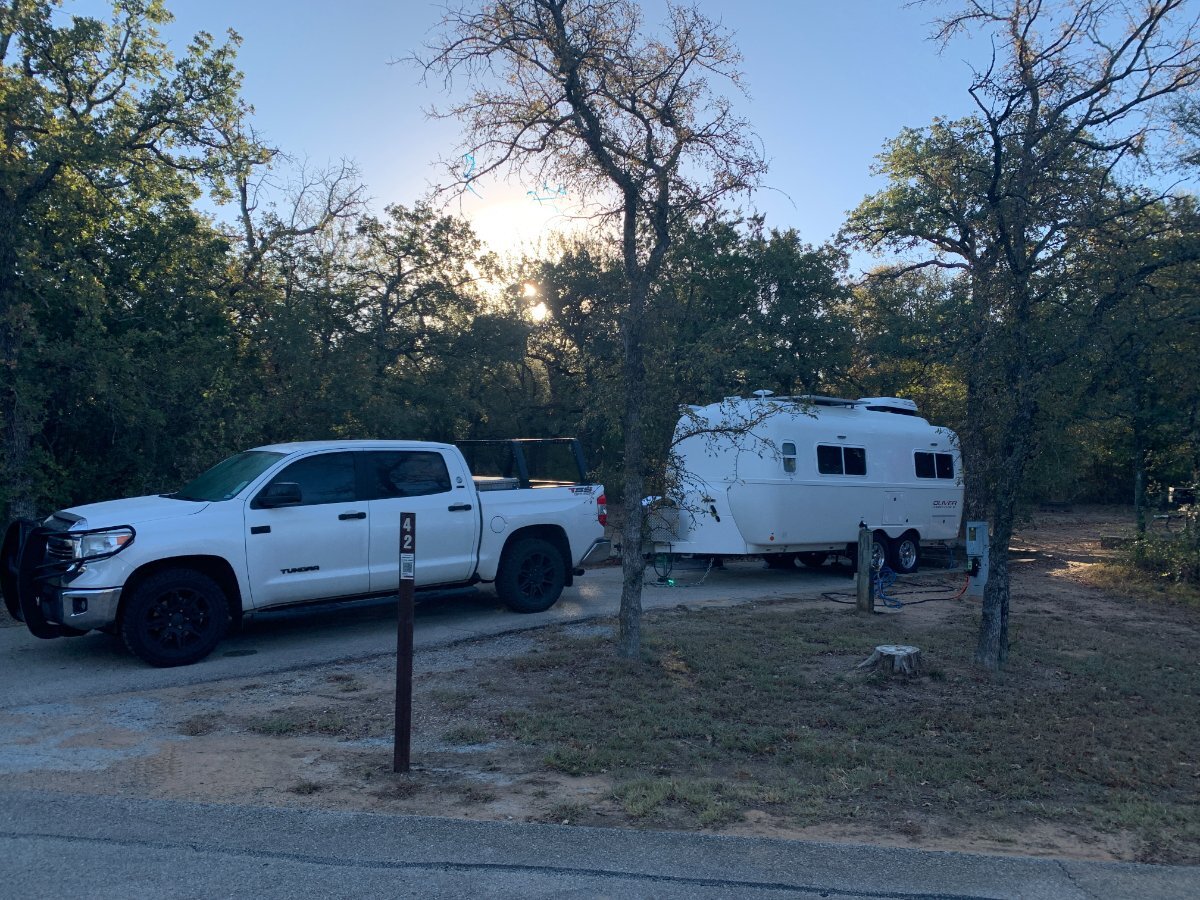
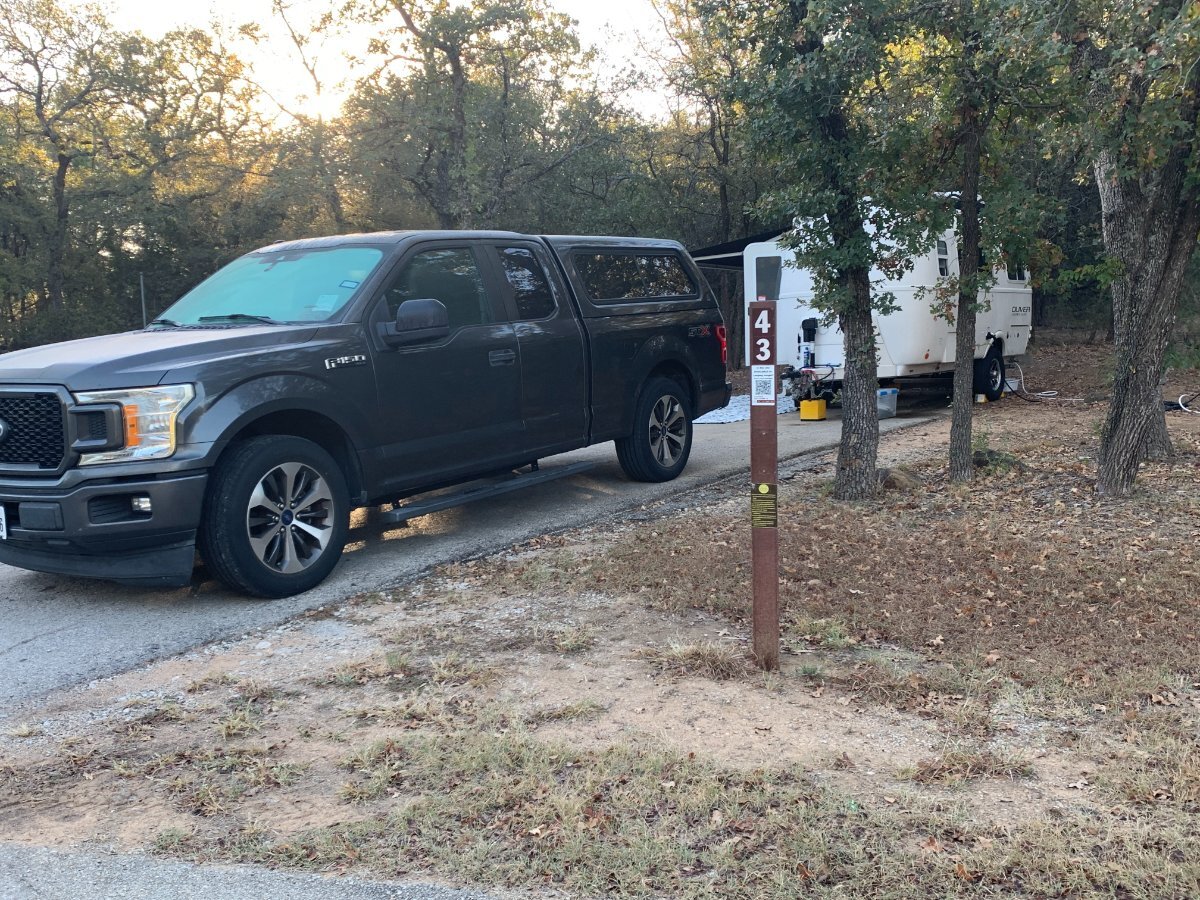
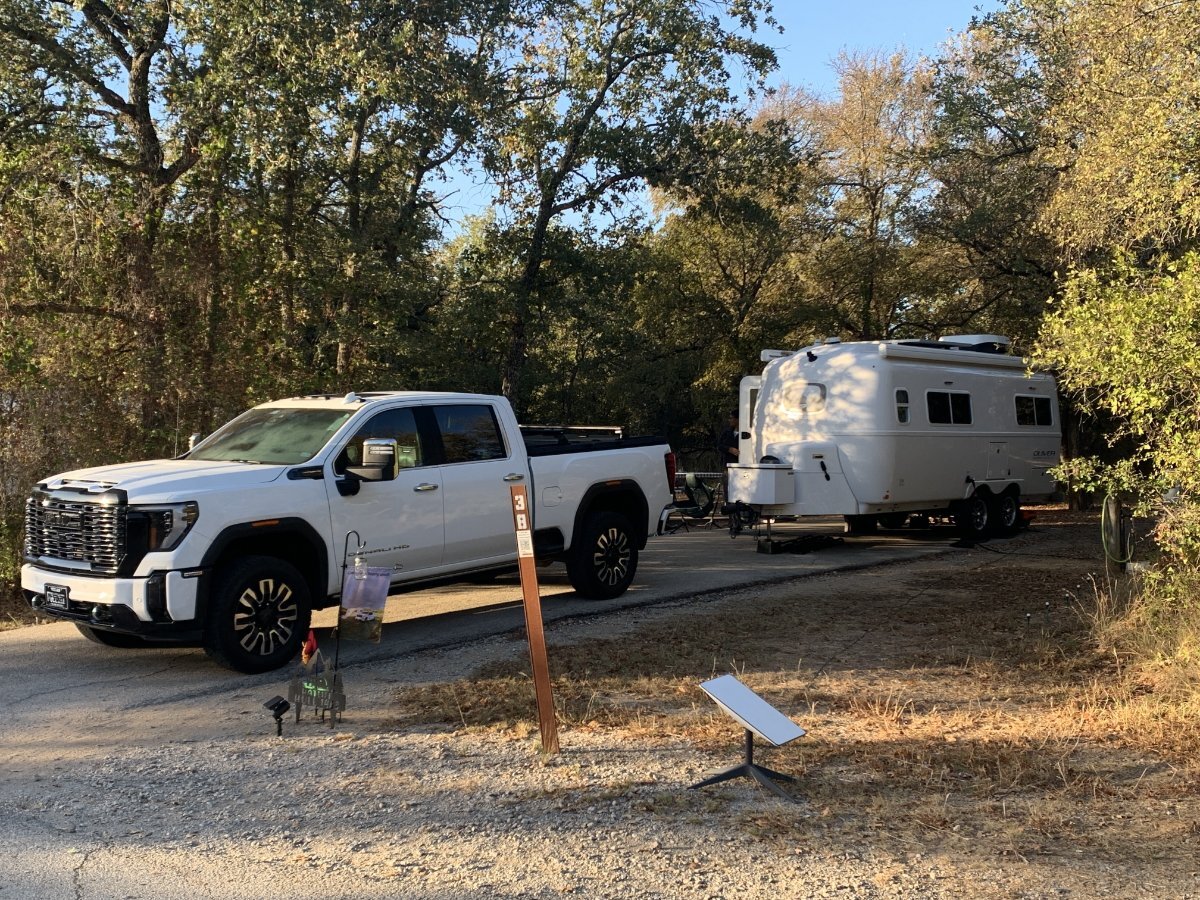
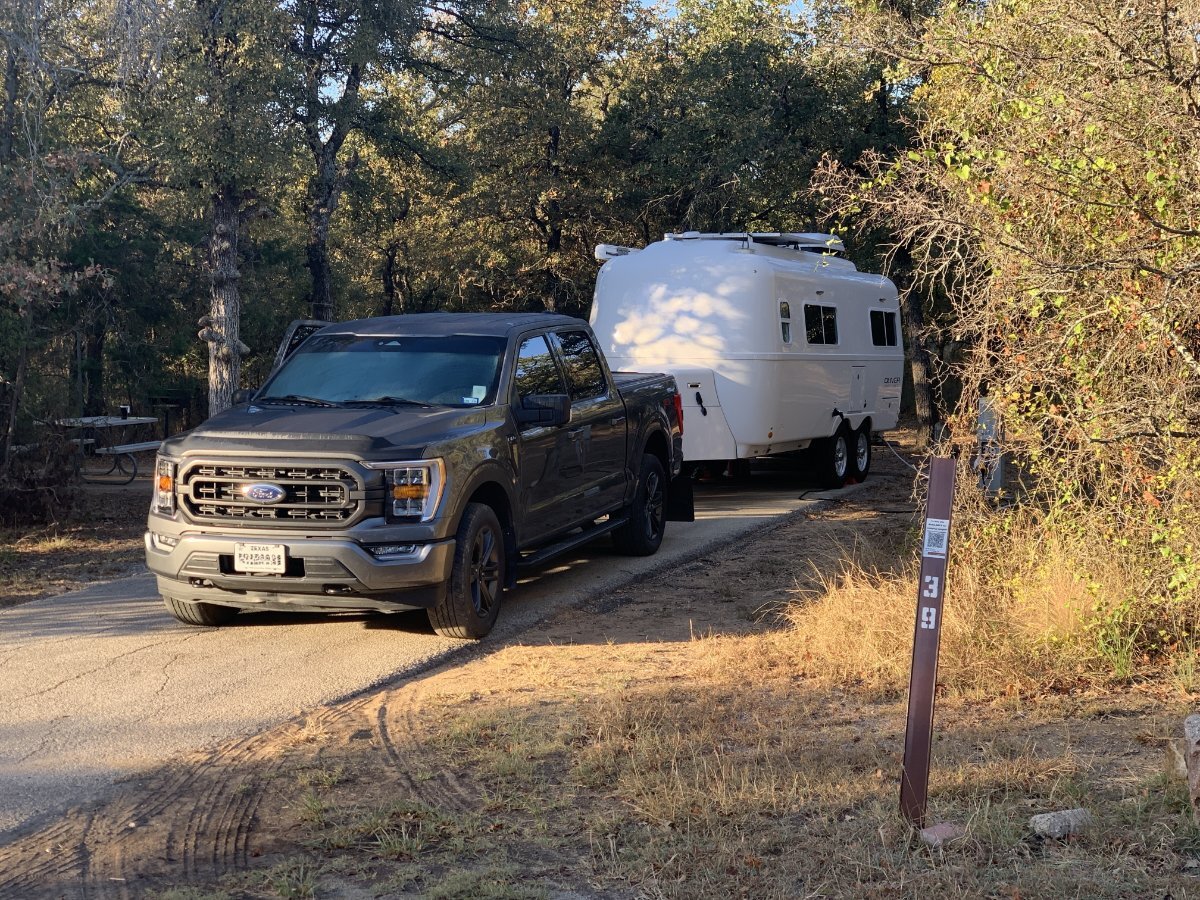
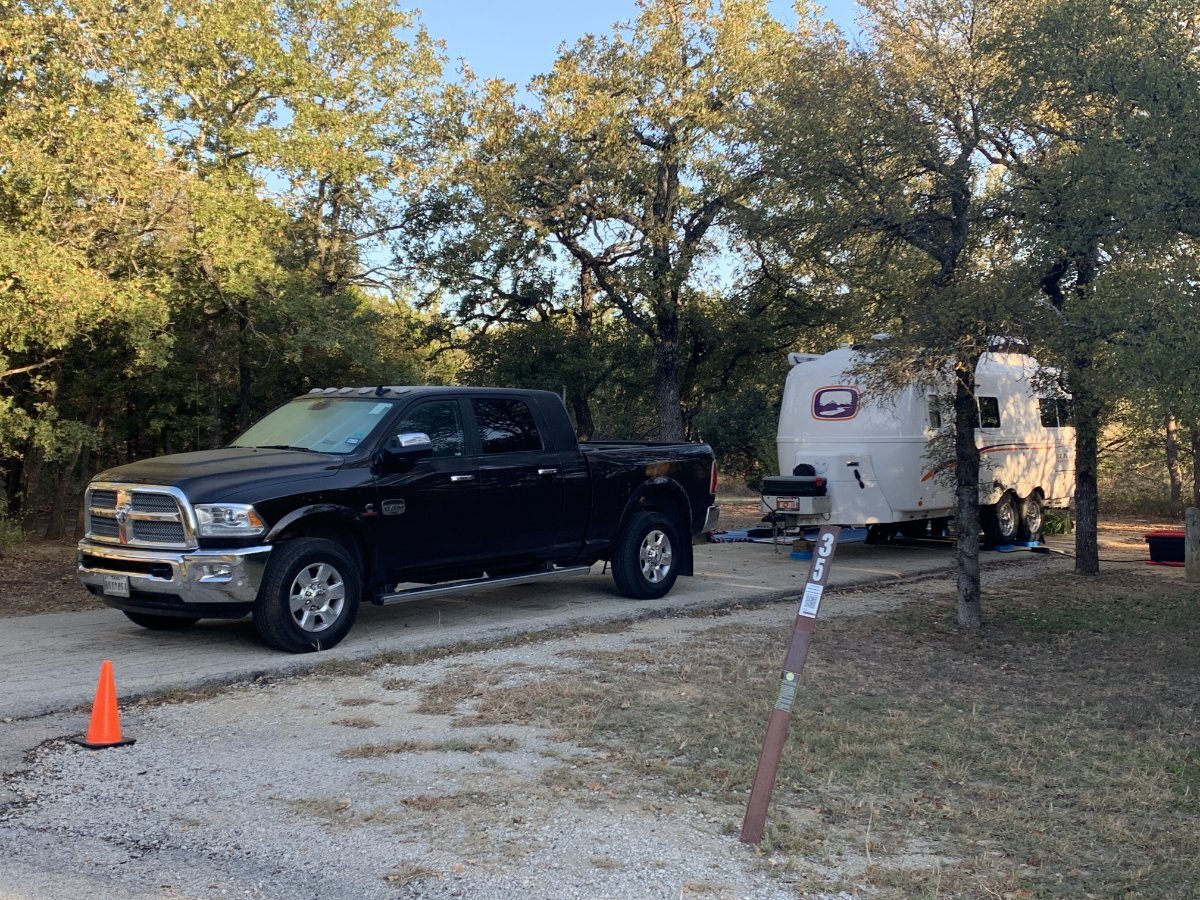
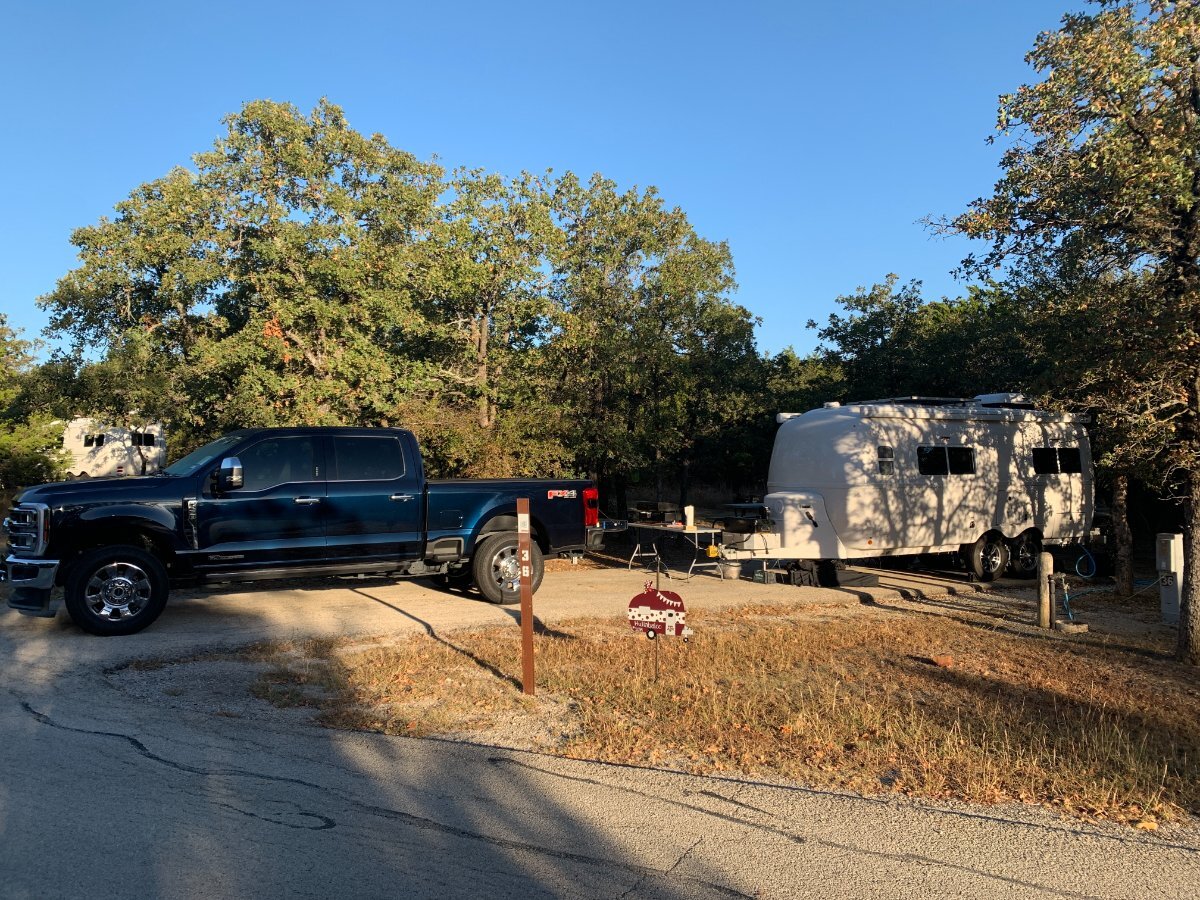
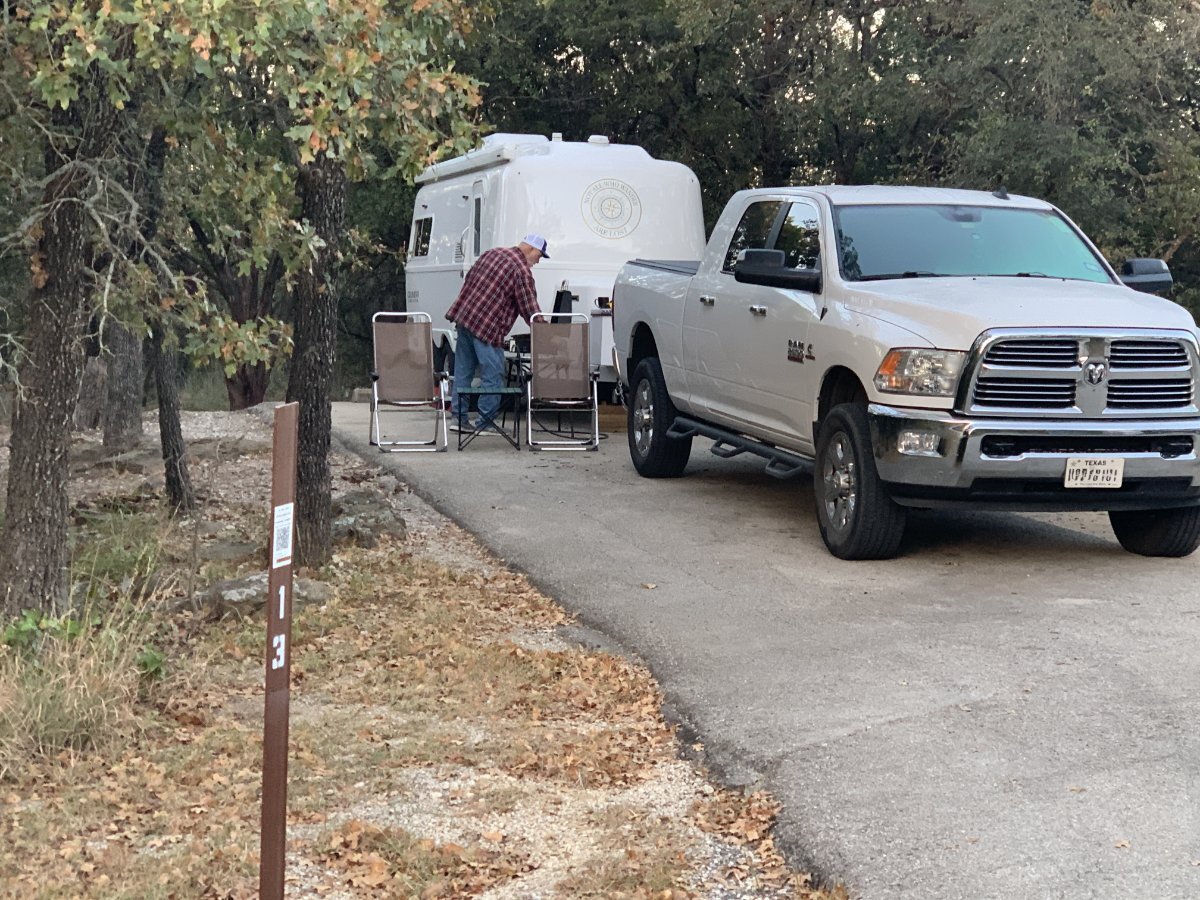
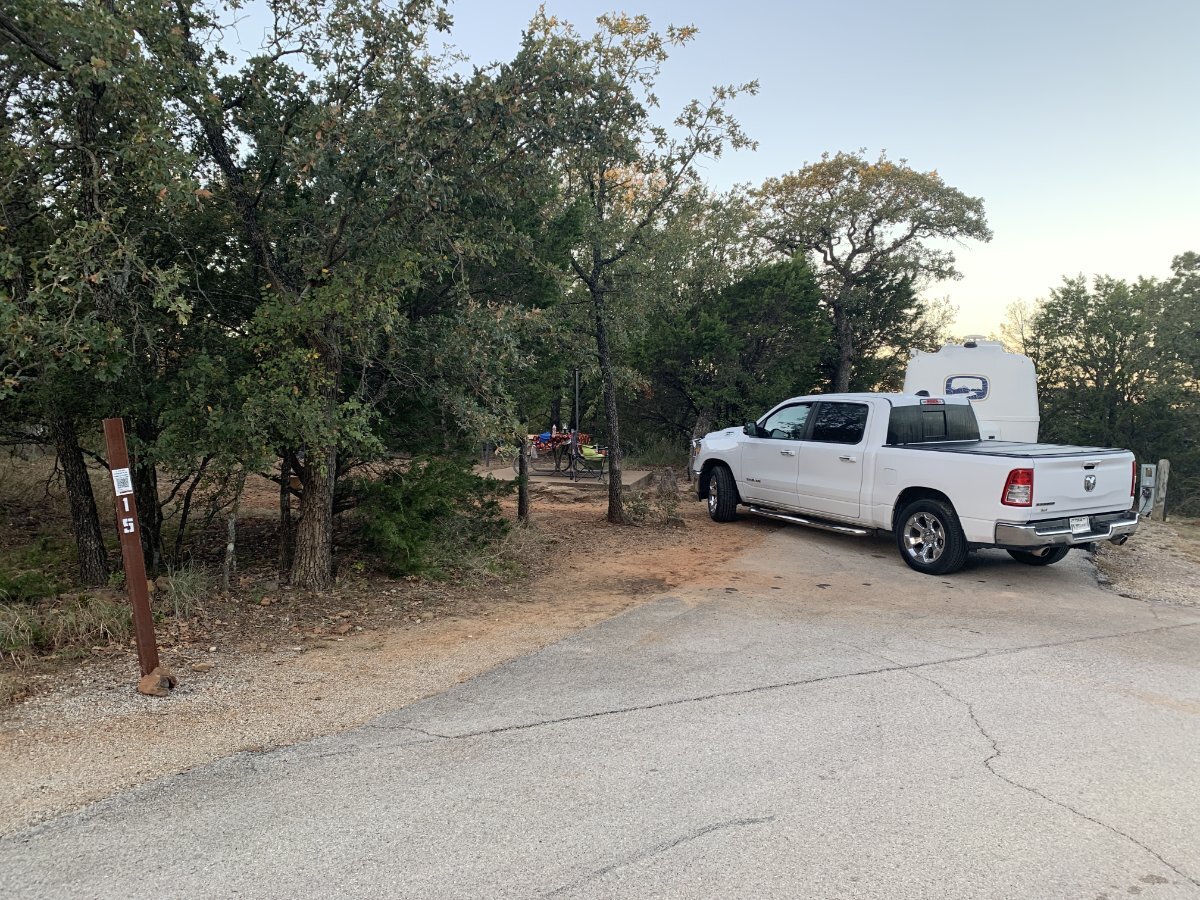
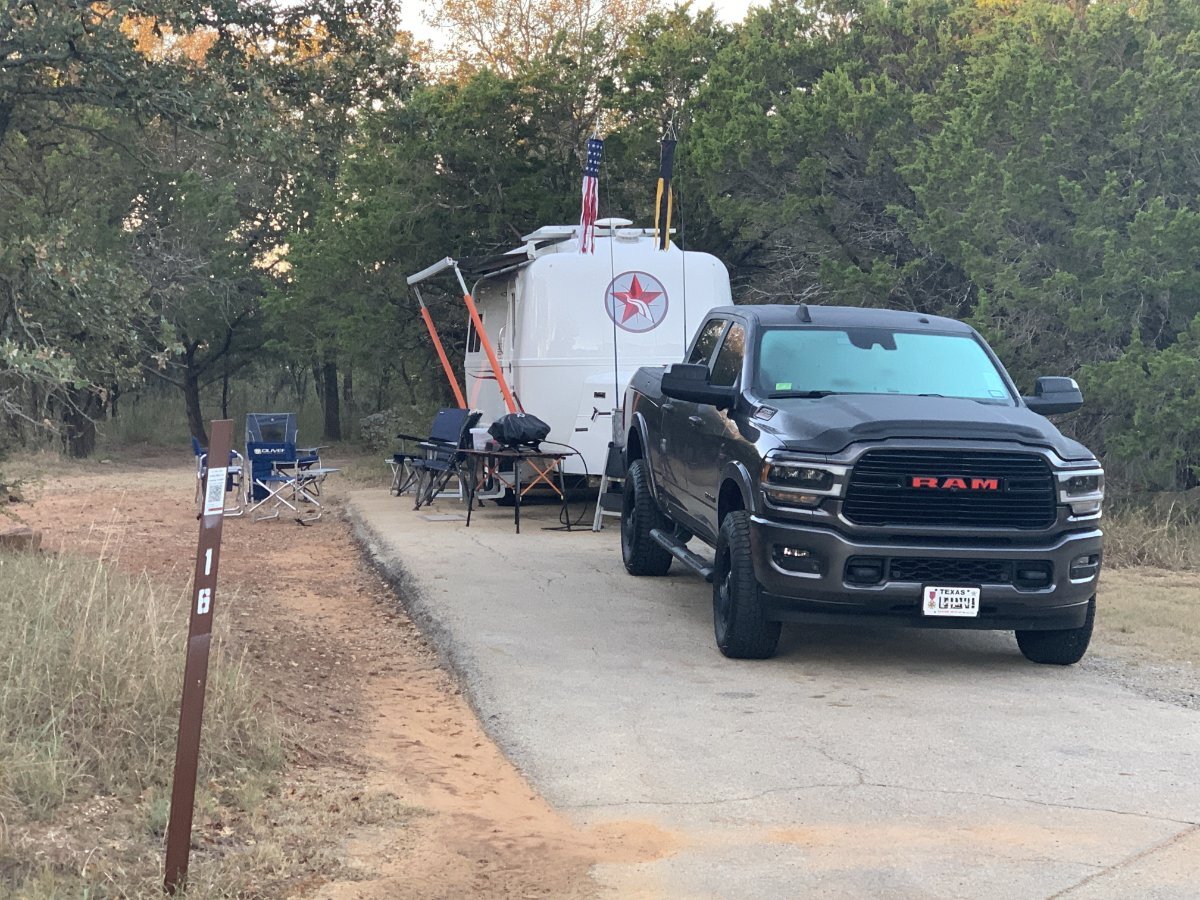
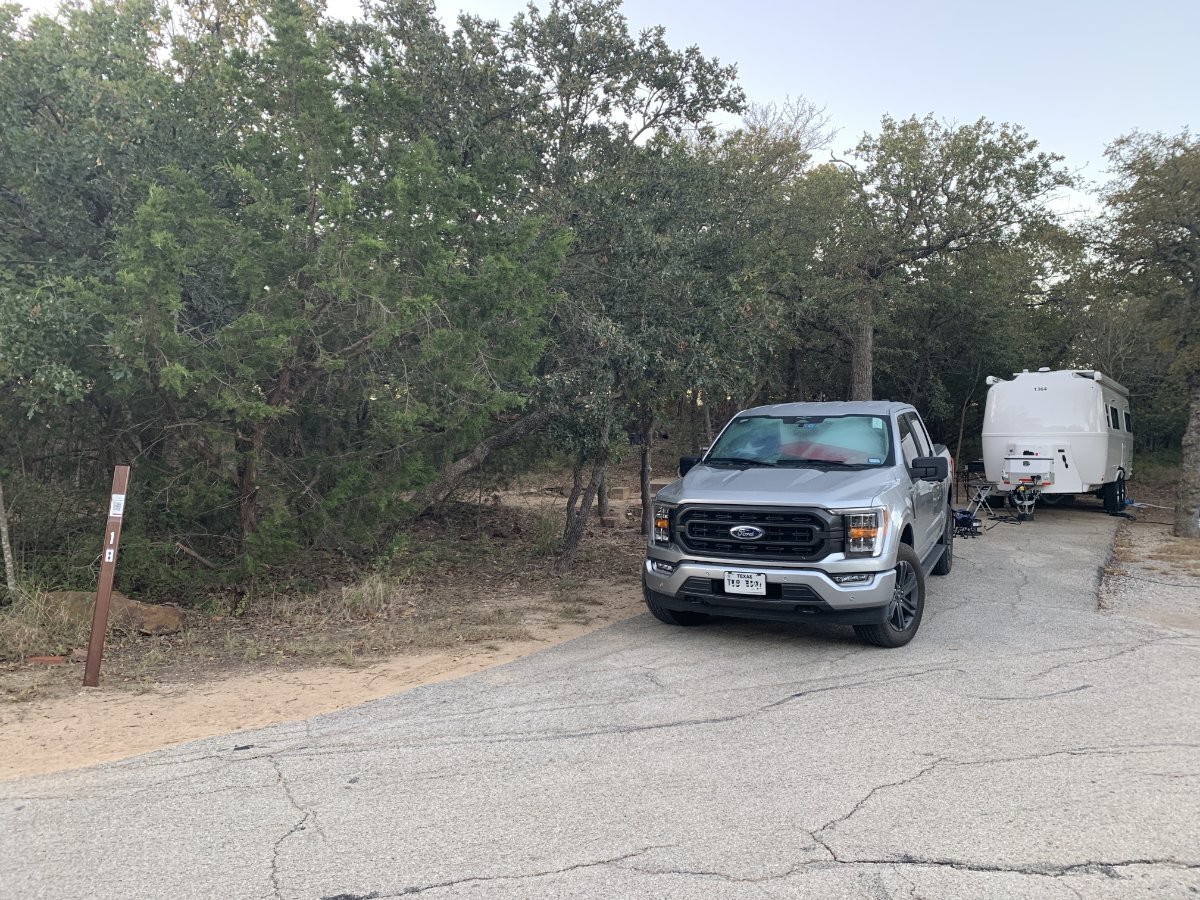
We counted 45 Olivers camped this morning. What follows are pictures of each campsite, as well as a video showing folks at the Monday meet & greet. We'll start with the video, then post a few pictures at a time. Others, please post your pictures too. Monday Meet & Greet.MOV1 point
-
We'll look forward to the finished photos. Then again, many of us with small lots will have a pang of jealousy.... Best of luck!1 point
-
Our last home in Chicagoland was a dilapidated 1943 farm house, but we had a 40x60' pole barn on 3.2 acres (50 miles NW of downtown). I poured concrete on half of it, ran power, was able to work on cars in the winter with a bullet heater, was in heaven! We have 3/4 acre here within Prescott city limits. Bought our home with a GREAT deep 3-car garage, an outbuilding just smaller than a 2-car garage and I added a 10x20' TuffShed. Carports are not allowed by the city anymore and our Oliver must be outdoors. I do have an idea to mount some metal panels top of the TuffShed to provide more shade, but worried the city would frown on this idea!1 point
-
This makes me feel better! 😂1 point
-
Yeah, seems as though little thought went into designing a proper plenum to distribute the airflow and reduce sound. Aesthetics over function? It's amazing that it's as quiet as it is... If enough of us complain, maybe they'll redesign a new inside cover?1 point
-
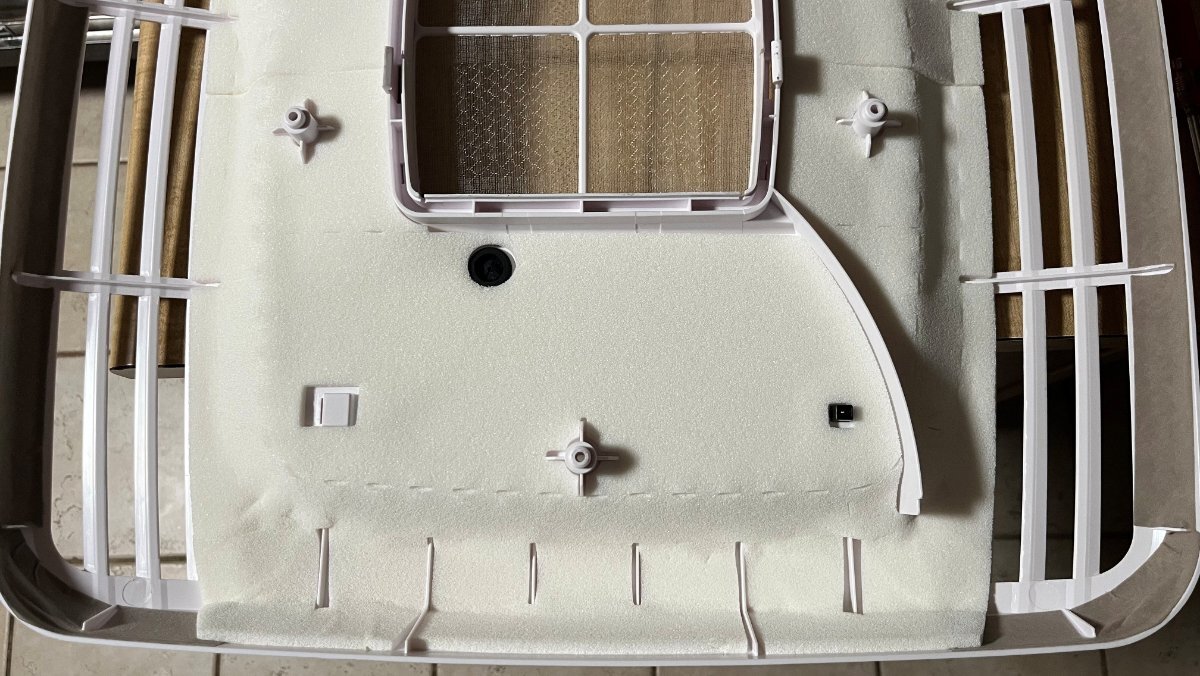
Your comment got me to open up the smaller 2nd package containing the interior air handler. The design is certainly poor for cold air handling. There is barely more than 1" clearance from where the air is forced straight down from the exterior unit to where it has to turn 90-degrees towards the front and rear (pic1). They only have a 4mm sheet of foam glued to the air deflector panel (pic2). And notice the thin plastic curved air baffle. It is designed to push more air to the front since the cold air ducting is further from the front. This extremely thin plastic baffle must alone be a source of noise. it looks like it would vibrate like the reed of a wood instrument! Some butyl or rubber on the back side of this baffle could help. You could remove this piece but that would push more air to the rear and your Oliver Attic would get very cold! Removing it and mounting a more substantial baffle further back would push more air to the front. I may do this after I find out how much these parts cost (in case I make a mess of things)! 🤣 In the Oliver, we'd prefer if the majority of air came out the front, towards the kitchen and dinette. The sleeping area will get to set temp soon enough. You can see why you noticed only 1/3 of the vents flowing. Without interior baffles, the air will exit mainly through the closest vents. All they had to do is have an extra inch there, room for greater airflow, and add some curved baffles to turn the 90. This air handler is smaller in length and width than many A/C brands I've seen. Though I've not measured height off the ceiling. They used 1/2"+ of height for an LED feature! 🤣 Notice the recessed opening around the perimeter (pic3). This space could have been utilized inside the Air Deflector. The recess will collect dust. It will be 4 weeks before I get ours installed. I'll run the A/C first without the Deflector Panel to see how quiet it should be. The inverter compressor, the rooftop unit, must be quiet. Somehow, we'll get more air/less sound out of the air handler, TBD! 😎
1 point
-
As others have said, refer to the battery mfg manual. The manual for our Lithionics batteries (also 640Ah) says to leave them on and the trailer plugged in during sub-freezing weather. Ours have internal heaters.1 point
-
Just about every owner's location can impact the winterized trailer. In addition to studying your battery Owner's Manual, I suggest that you contact your battery MFG and state the conditions you will be storing your Ollie, for how long, and if power is always available there during the winter. GJ1 point
-
I agree with both of the above. We are incontact with the bumpers and frame typically at the dump station and when hitching up. Maybe a few times during our stop. BUT the steps are the one that could get most of us.... many times a day. Not just casually, but when one foot is on the step and the other contacts the earth. GJ That said, I'll not be changing our PI Power Mgt System any time soon. Two other things that I do keep top of mind when working electricl are: Situations where "The Step Potential" could be in play Forgetting to keep one hand in my pocket when working a open hot panel or device.1 point
-
Yep, it would have saved me more than an hour if it were installed correctly.1 point
-
Another reasonable discussion on this topic can be found HERE. Bill1 point
-
The URL shown in John's first post results in a 404 error. The new URL is: https://olivertraveltrailers.com/forums/topic/2504-how-to-stone-stomper-gravel-guard/1 point
-
Sorry for the tire issue but at least you had a level spot and help when you needed it. I have steel valves and have never had a problem with them. However, for anyone considering a change to these valves it should be done with the knowledge that the steel valves are simply not as "forgiving" as the rubber valves are when they are bent or hit with something hard. I certainly had to consider this fact when I changed to the steel because I travel over a bunch of dirt and/or two track roads every summer. Even a sage brush could possibly be enough to bend or break one of these valves let alone a rock. Of course, that same brush or rock could possibly damage a rubber valve but .... Bill1 point
-
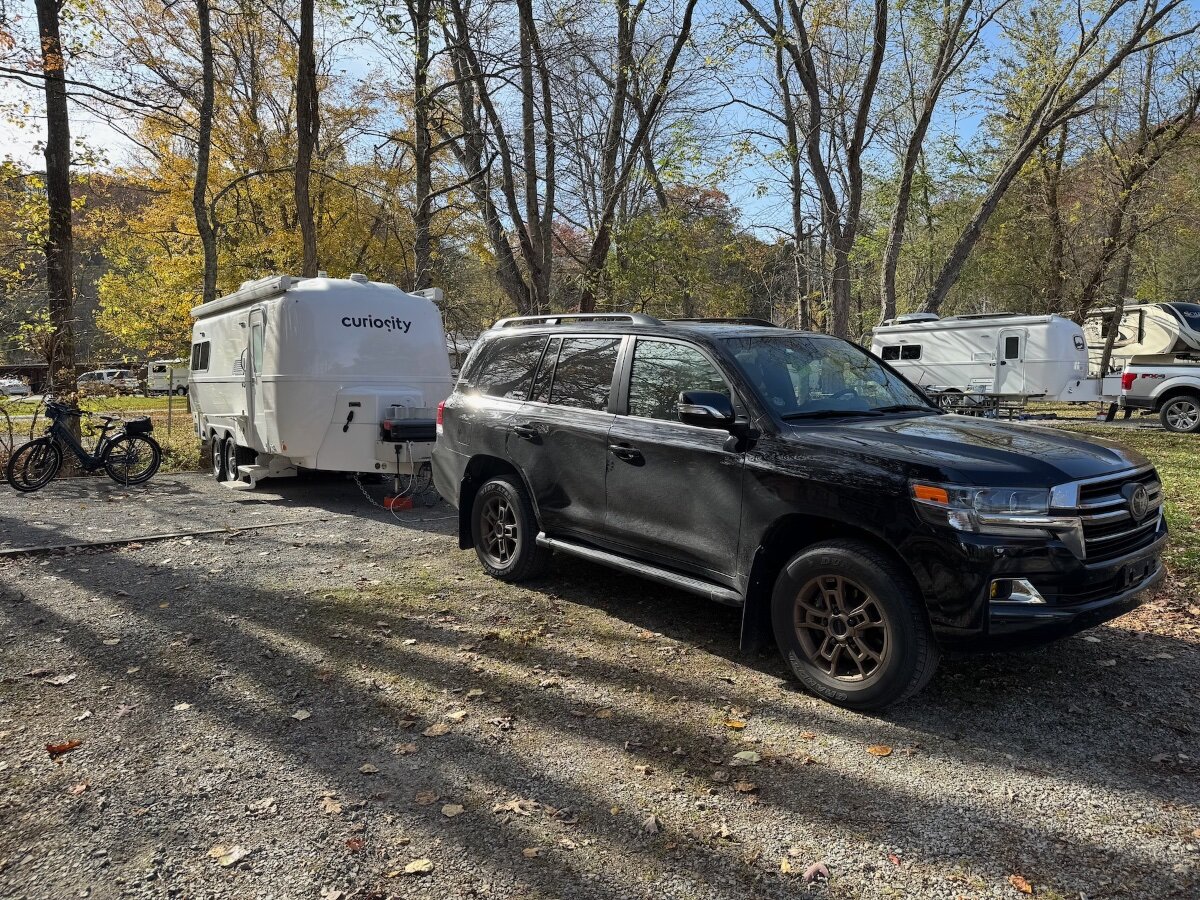
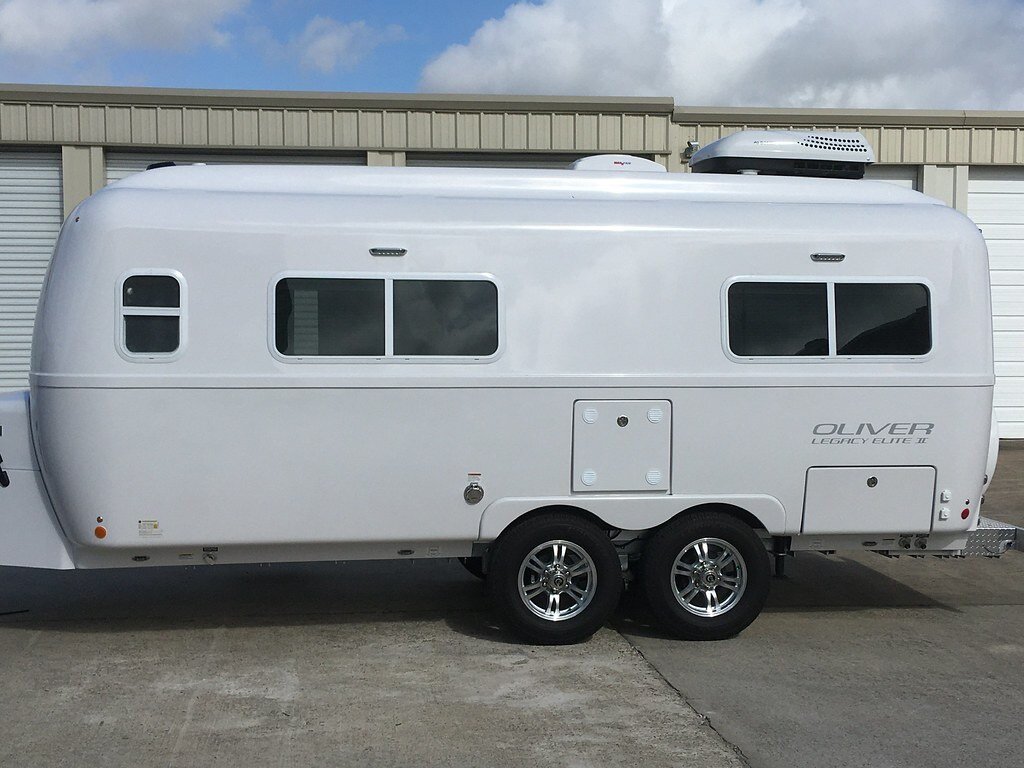
No Oliver logo on the nose would look really strange! We ordered our 2023 naked, and added our own graphic. We've had a lot of people ask what a "Curiosity" trailer was. We've heard "Is that some kind of Casita?", or the guy in Florida who looked it over rally well walking by, but wasn't inclined to chat. He returned the next day to tell me that he'd looked up Curiosity trailers, and that it was a really expensive trailer! No Oliver logo on the nose would certainly seem to cut down on random inquiries and potential sales! Here's a Curiosity brand trailer next to an Oliver at the Hungry Mother Fiberglass Rally. You can barely tell the difference! 🤣
1 point
-
I've not acted on advice to switch to steel valve stems while using our TST tire pressure monitor. Yesterday, that procrastination bit me in the ass on my way home from the Hungry Mother Fiberglass Rally in Virginia. Rapid Pressure Loss" or similar wording was what the monitor said with a constant loud beeping. A quick look in my mirror showed the front left trailer tire was indeed low. Stopped to check, and with 28 PSI showing, I elected to slowly drive to the next exit, and found a flat spot in a gas station lot. The rubber valve stem was partially separated from the rubber base, and if flexed, dumped out pressurized air. No fixing that on the spot! Time to change tires. I have all the tools needed, and it was a cool sunny day, so that was a bit of luck. It had been raining a few hours earlier. I didn't have my impact driver with me, but I do have an 18" breaker bar, so I could loosen the lug nuts. Before jacking up and removing the tire, though, it was time to get the spare. Two heavy e-bikes made this a chore, but fortunately, that's when a large fellow stopped and offered to help. (Oddly enough, the local deputy sheriff who was using the facilities at the station never even checked to see if we needed anything on his way out of the parking lot.) With his help, we slid the rack and mount out far enough to get to the spare. His impact driver made for a faster swap than my breaker bar, and his torque wrench was easier to get to than mine buried in the trailer's basement. All in all, about an hour and a bit delay, and the kind gentleman who stopped to help refused any remuneration. - I usually only carry the impact driver with me on long trips. And while this was about an eight hour drive, I'd elected not to bring it with me. It will now be included in every trip. - I'll be removing the bike rack mount and cleaning those surfaces and applying a dry lube to make it easier to slide the rack in and out. After we were done, I was really re-thinking John Davies choice to not use the fiberglass tire cover while toting bicycles! - I will be changing to all steel valve stems before we leave on our next trip!1 point
-
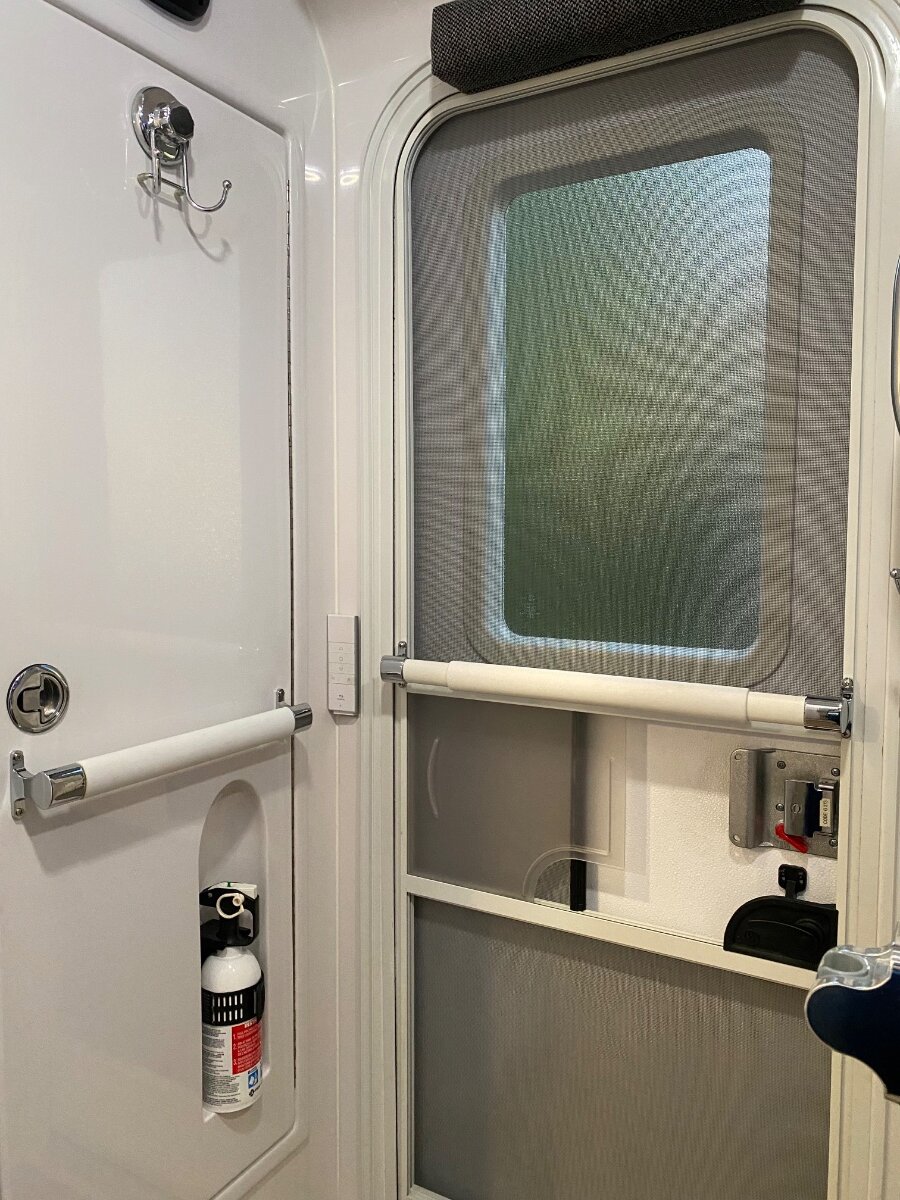
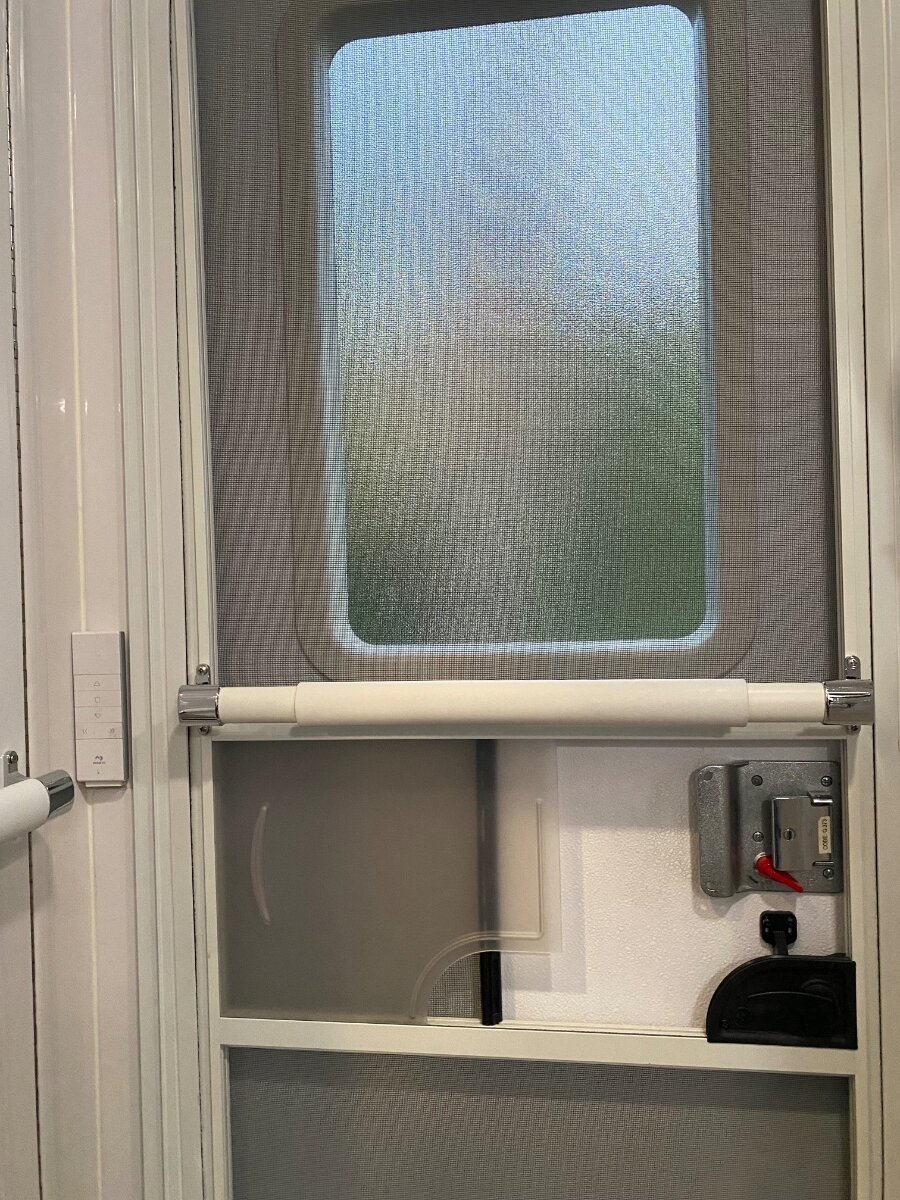
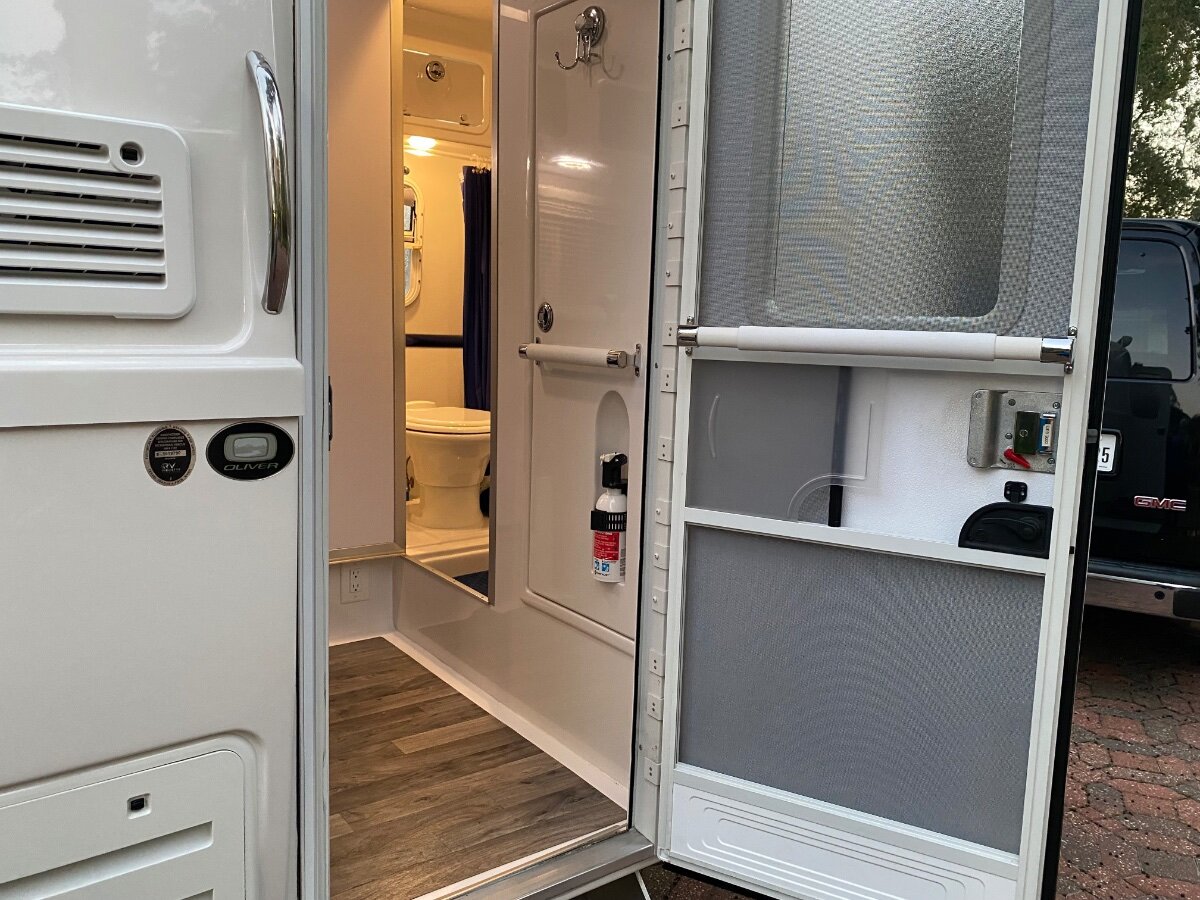
First of all, credit to the Oliver owner that shared the installation of these on his screen door, great idea and product recommendation! I finally got around to adding a push bar to our screen door for ease in exiting and closing, and also resolved an ingress problem, as well. Although both installations offer support, my decision to mount one on the closet door as a grab handle when entering to help pull one’s self up and in, proved especially beneficial! Also, each can be used as a towel or clothing rack. Respective modifications were made for custom fitment, here’s a look at the final outcome:
1 point
-
No graphics are currently included on a new build. This is in response to many of the latest buyers requesting the trailers be delivered naked. So there you go.1 point
-
Nice mod - I never thought about putting a bar on the closet door. Another thing that should be mentioned - The bar on the screen door is great for catching the entire door assembly in the event that the wind catches it. However, no matter how it is attached to the screen door the fact remains that the screen door itself is made from rather light weight aluminum. Anyone that places a bunch of weight on that door risks either the catch bar being ripped out of the mounting screws or brackets or (worse yet) the door frame becoming bent. I always try to tell people that are unfamiliar with this issue to please use the Oliver installed grab bars if they feel they need the extra support while entering/exiting the Ollie. Bill1 point
-
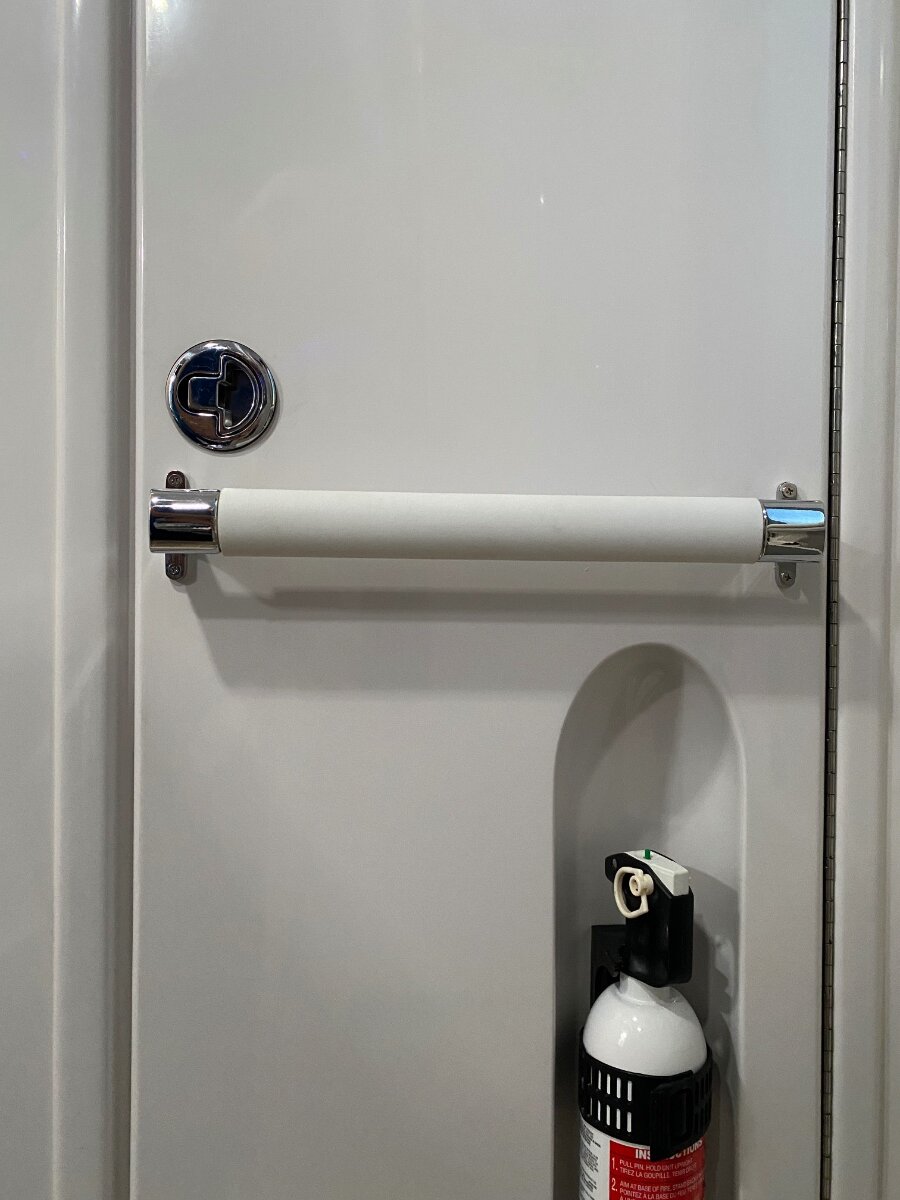
I should mention that the two bars were staggered to enable the closet door to be opened as much as possible and positioned as to not interfere with the closet door latch. Here’a a couple of pics:
1 point
-
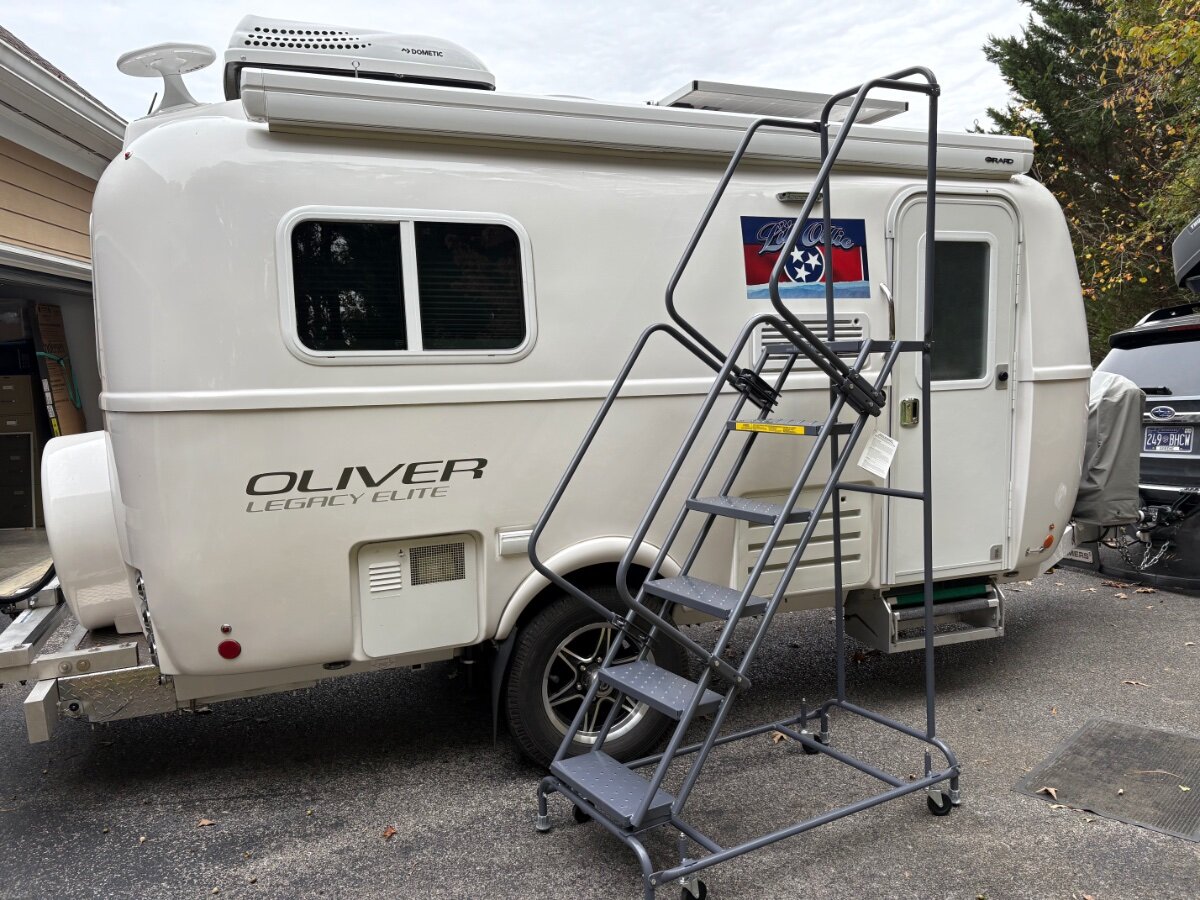
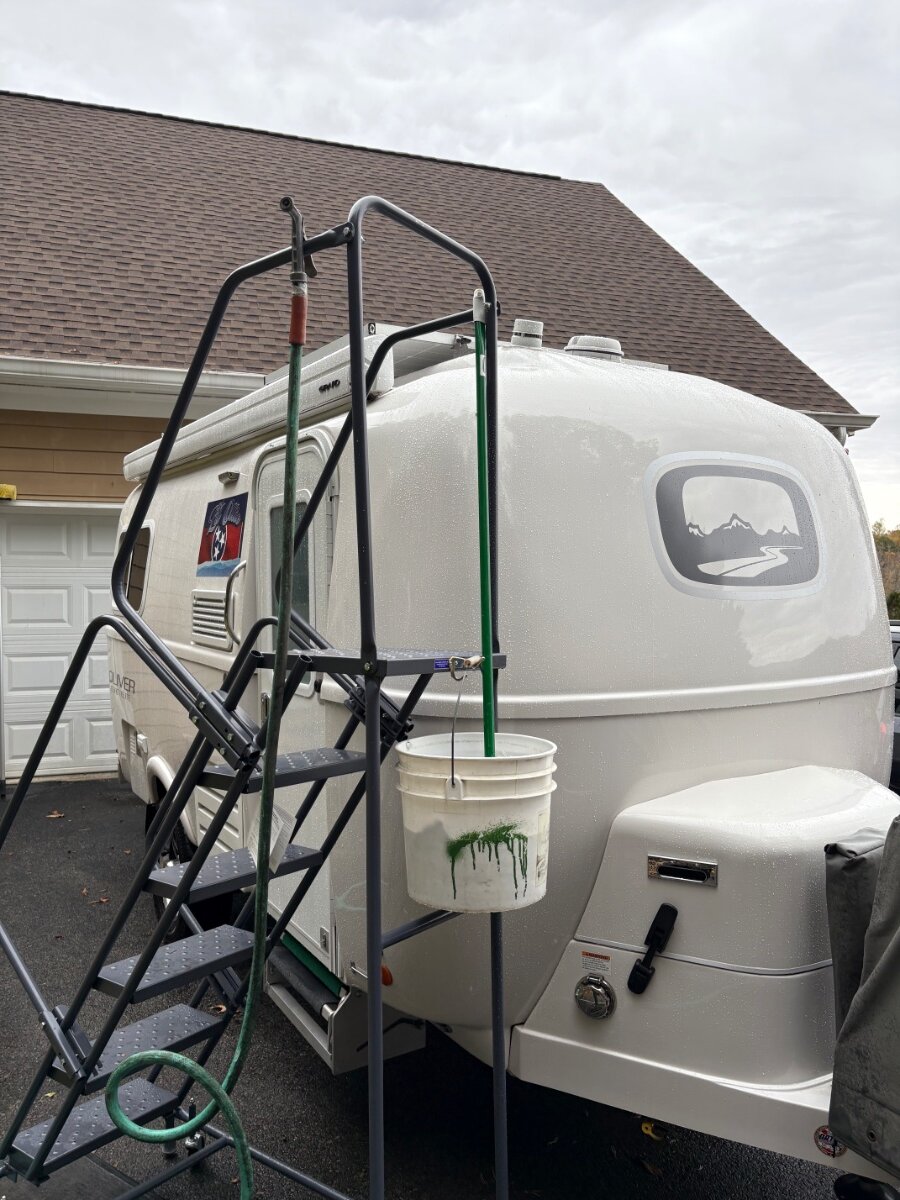
Am glad I invested in this Ballymore Ladder. Makes this job so much easier and safer. A little pricy but considering an ER visit or worse, definitely worth it to me. I can also use it for access to a lot of garage ceiling racks.
1 point
-
JD and all, Thank you!1 point
-
@jd1923- Looks like you have the old style "Legacy Elite" graphic like mine had. To keep things original, I tried to get that one when I ordered my decals but they said that they were no longer available. Kind of glad they weren't since the newer style is much nicer, IMHO...
1 point
-
My 2020 wasn’t ordered totally naked, I did opt for the rear-side label and hull number in a very subtle metallic silver for an additional $25 charge; at the time all decals were standard.
1 point
-
The Outlaw Oliver Hull #0501 point
-
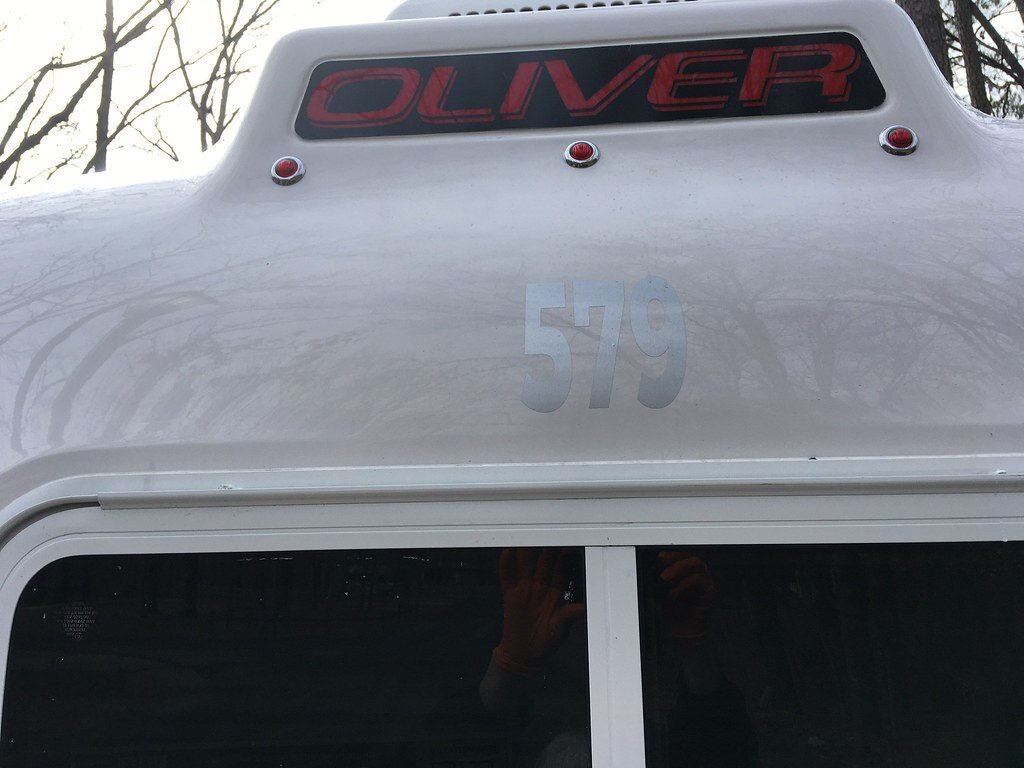
Dubbed "The Flying Sea Turtle" by my wonderful wife in summer of 2016. By next Summers camping season we will have had 10 years with her. Truly a unique Oliver for both the Logo... (many people remember the Turtle) and the unique stripes that no other Oliver has. They were a test pilot by Oliver but they decided to stay with the original "swoosh" design. I have to say I am still very proud to own her. See you on the road! Scotty
1 point
-
Sites 77, 81, 82, 83 & 84
1 point
-
Sites 71, 72, 73, 74 & 75
1 point
-
Sites 61, 64, 66, 68 & 69
1 point
-
Sites 55, 56, 57, 58 & 60
1 point
-
Sites 44, 47, 48, 52 & 54
1 point
-
Sites 38, 39, 40, 42 & 43
1 point
-
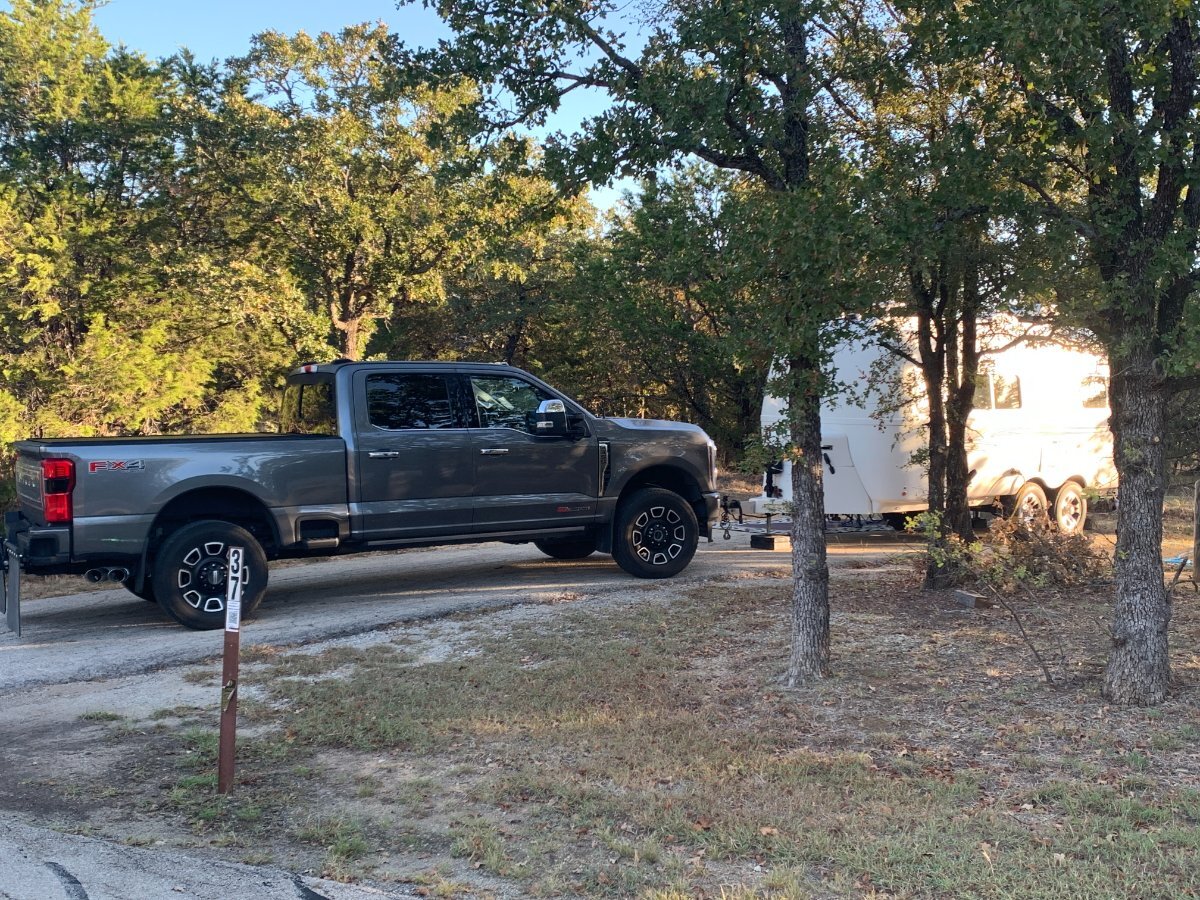
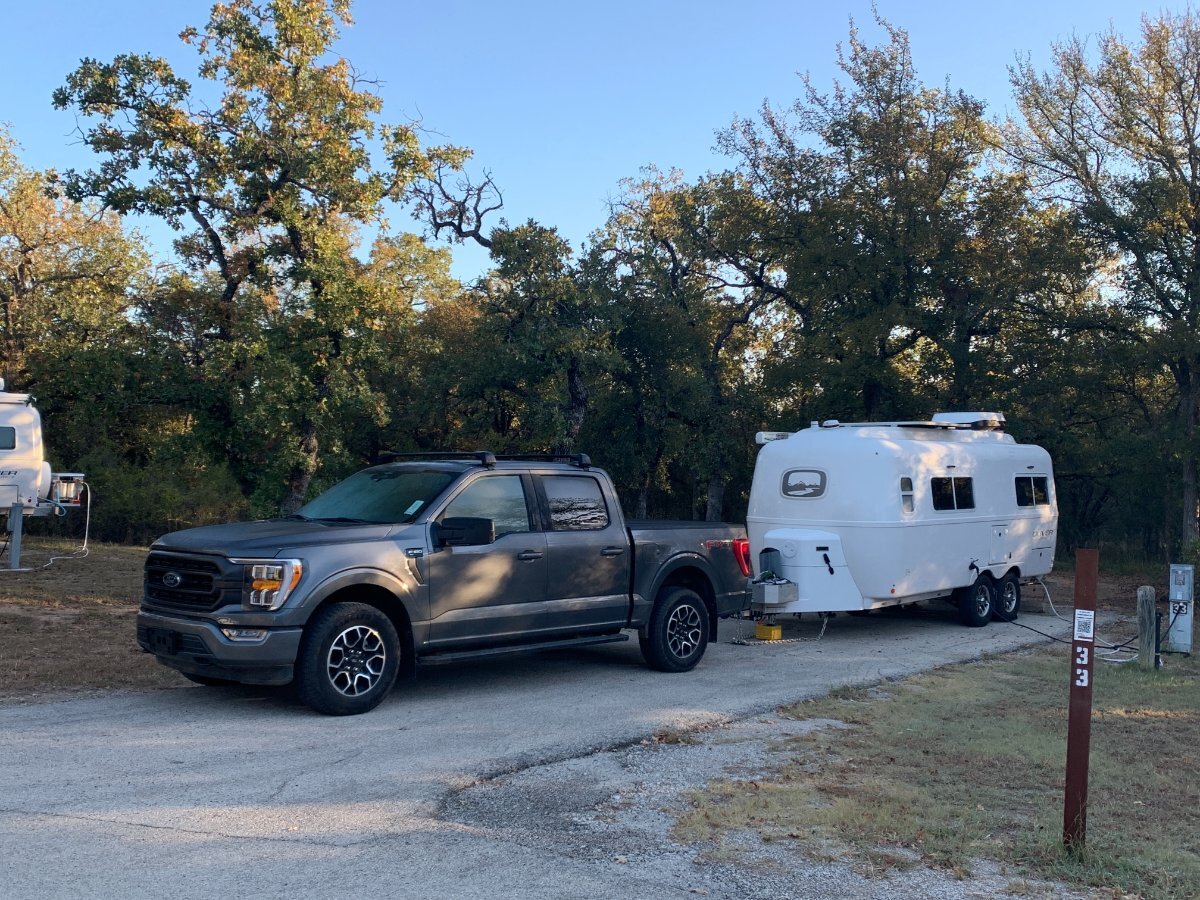
Sites 33, 34, 35, 36 & 37
1 point
-
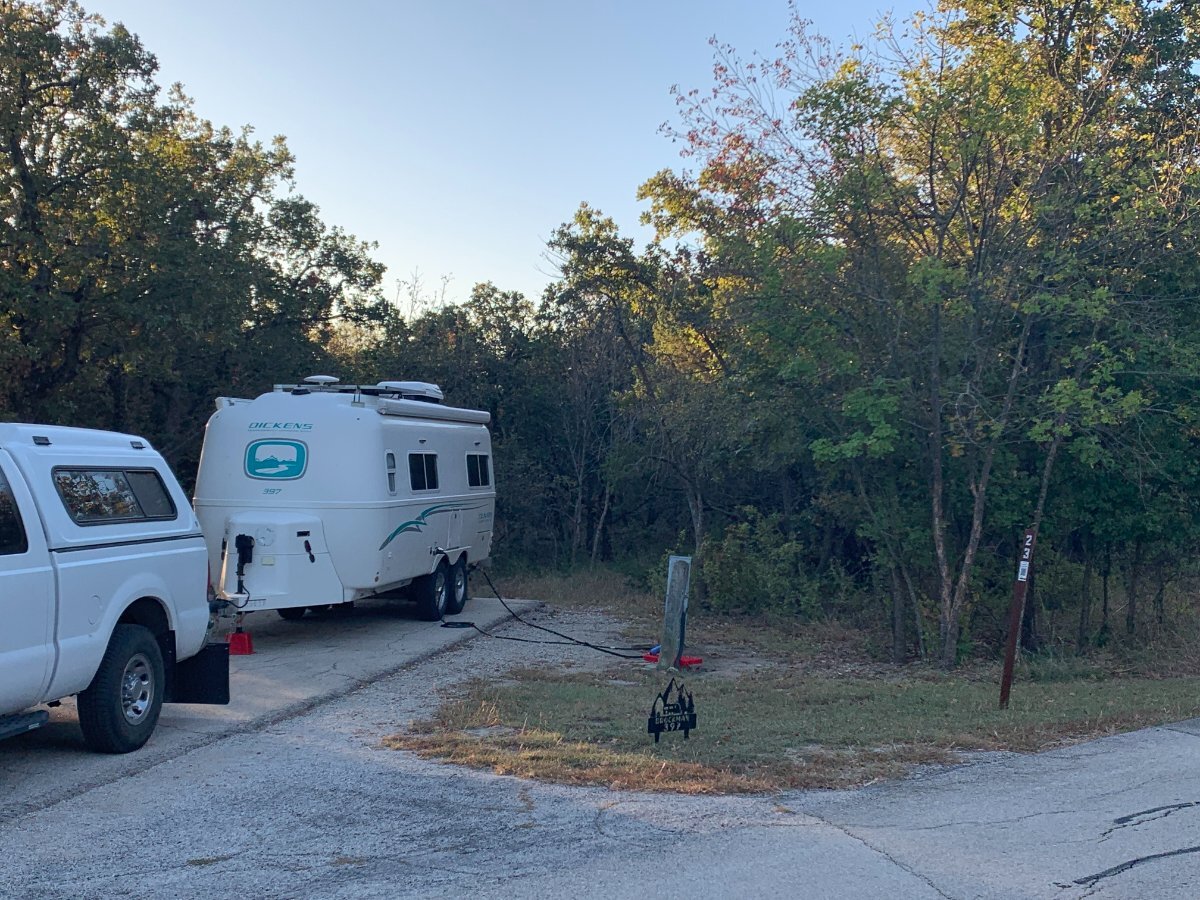
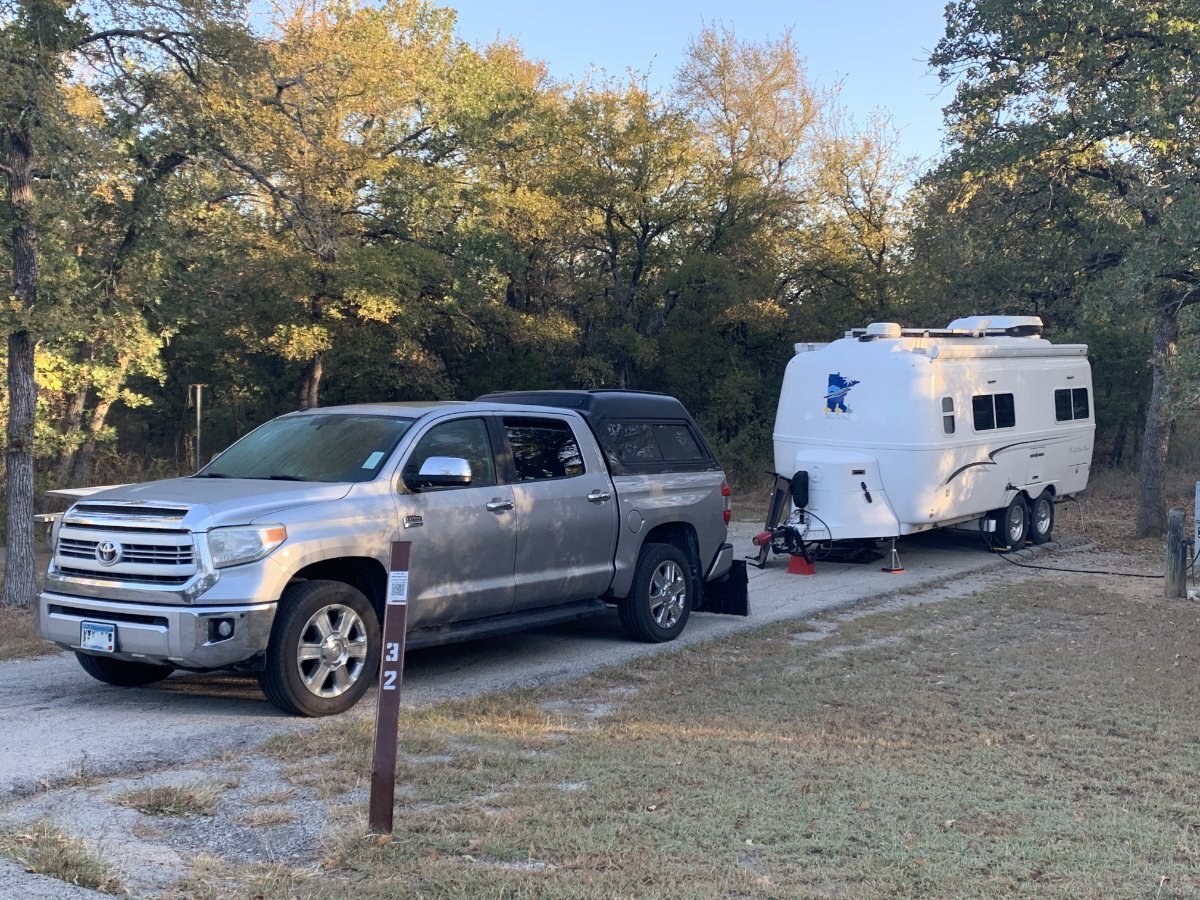
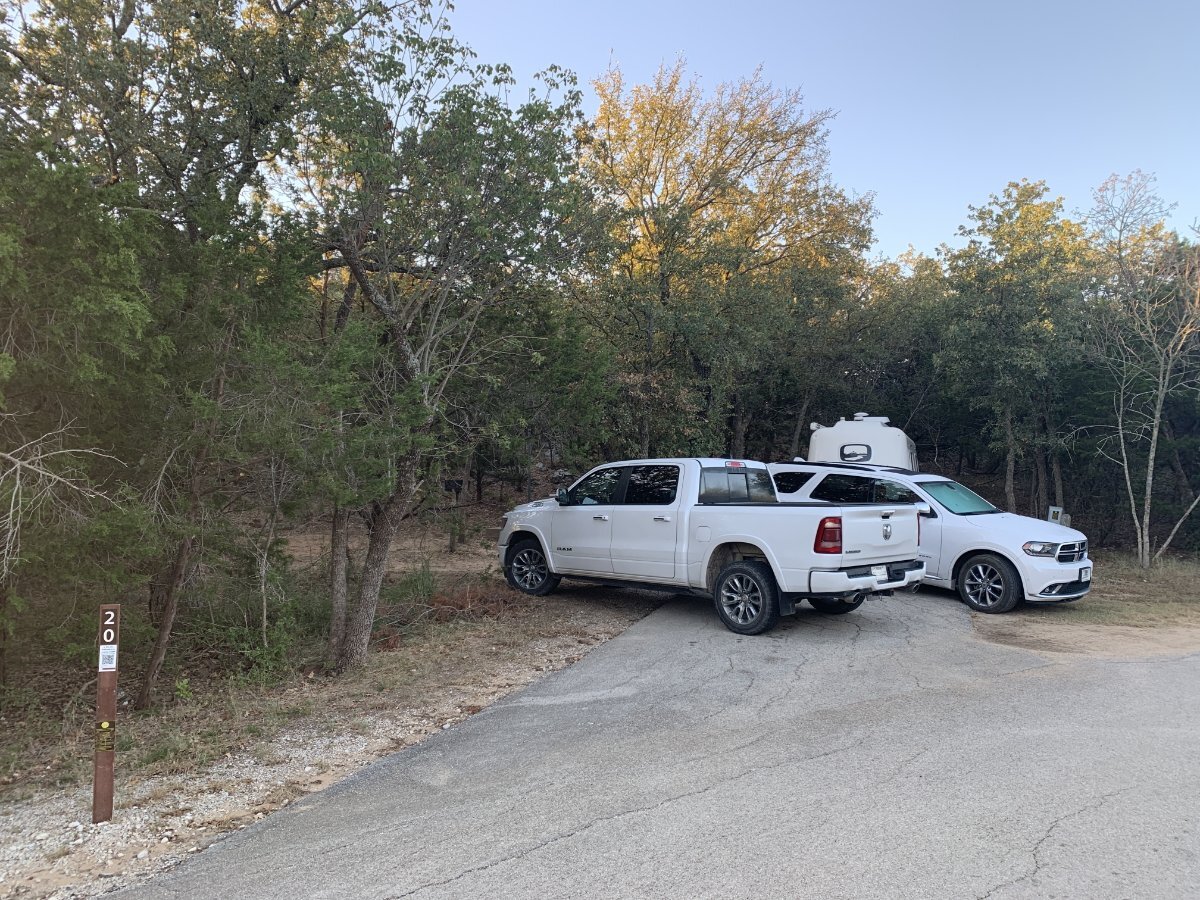
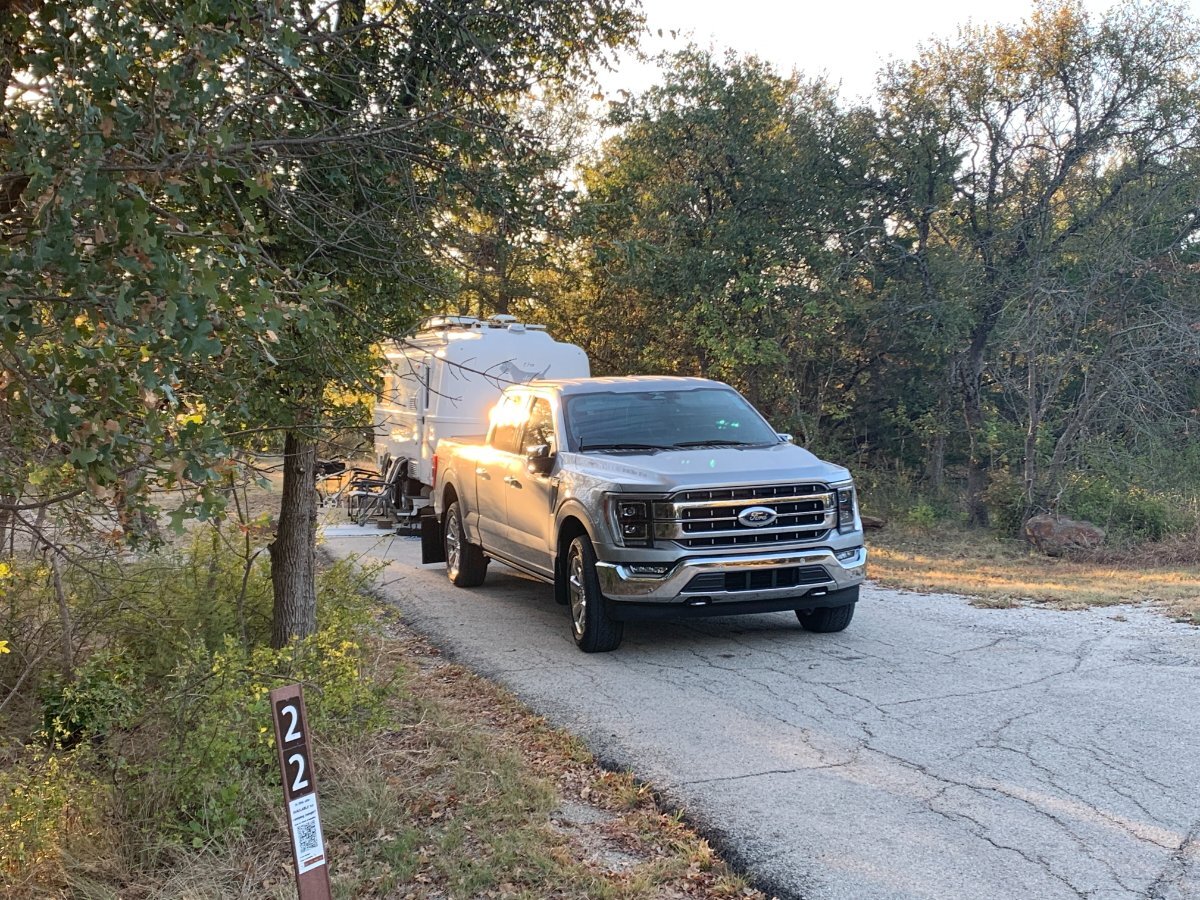
Sites 20,21, 22, 23 & 32
1 point
-
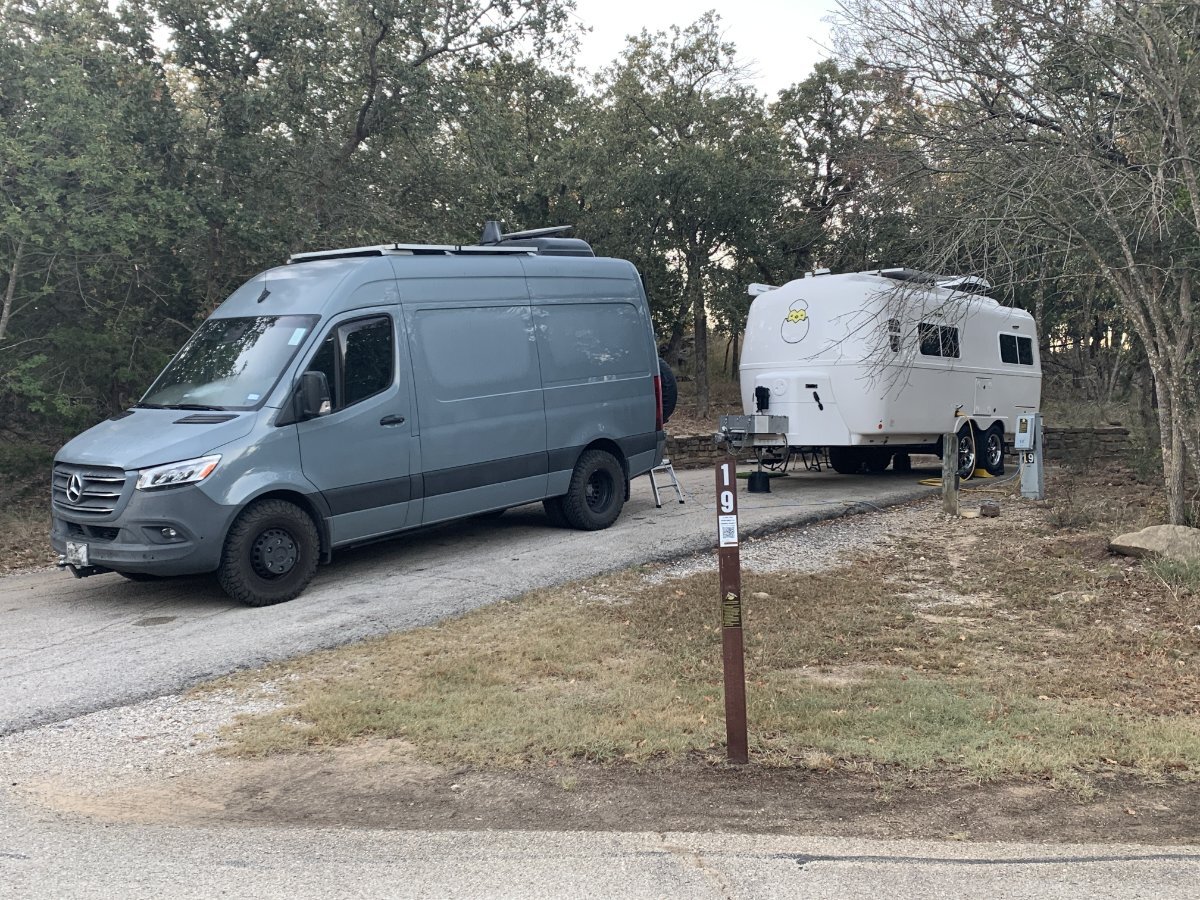
Sites 13,15,16,18 & 19
1 point
-
1 point
-
our original LE I (Hull 1030) was Reset, the current LE II (Hull 1364) is Reset 2.01 point
-
When we are traveling together, my wife calls it our little Cannellini Bean. When I’m solo, I call it my MFC (mobile fishin’ cabin)1 point
-
Rather or not you are plugged in is the primary question. See their manual. https://cdn2.olivertraveltrailers.com/wp-content/uploads/2024/05/30122505/Lithionics-Batteries-Storage-Procedure.pdf “1. If your battery has the Lithionics Internal Heater, and you are subject to winter conditions, keep the battery ON, solar ON and plugged into shore power. Shut down all appliances, lights, and other DC loads. You may purchase a very small charger from Lithionics Battery (KF Series) and power this from an extension cord if shore power is not available. This will keep the heater running and protect your battery. Doing this will eliminate the procedures below.”1 point
-
Is this correct, or is it mounted from inside of the trailer, just inside the window track? Asking as I have the same problem you solved. Thanks GJ0 points


-
Recent Achievements
-


")


")


")

