Leaderboard


Popular Content
Showing content with the highest reputation on 05/27/2018 in all areas
-
Found this service manual on the internet. We could try to get it added to the Oliver University but I suspect that since it is a “service” manual it won’t be added. Any way there is some real good info here for those who DIY. https://www.carefreeofcolorado.com/documents/Freedom-WM-Service-Manual.pdf See page 13. See also page 17, Note 7 Do a Google search for Carefree of Colorado R001657.2 points
-
A lot of forums like to post music video threads and I am one of those people that has music going all the time. Here's what I am listening to: What are you listening to? Post your youtube video link below.1 point
-
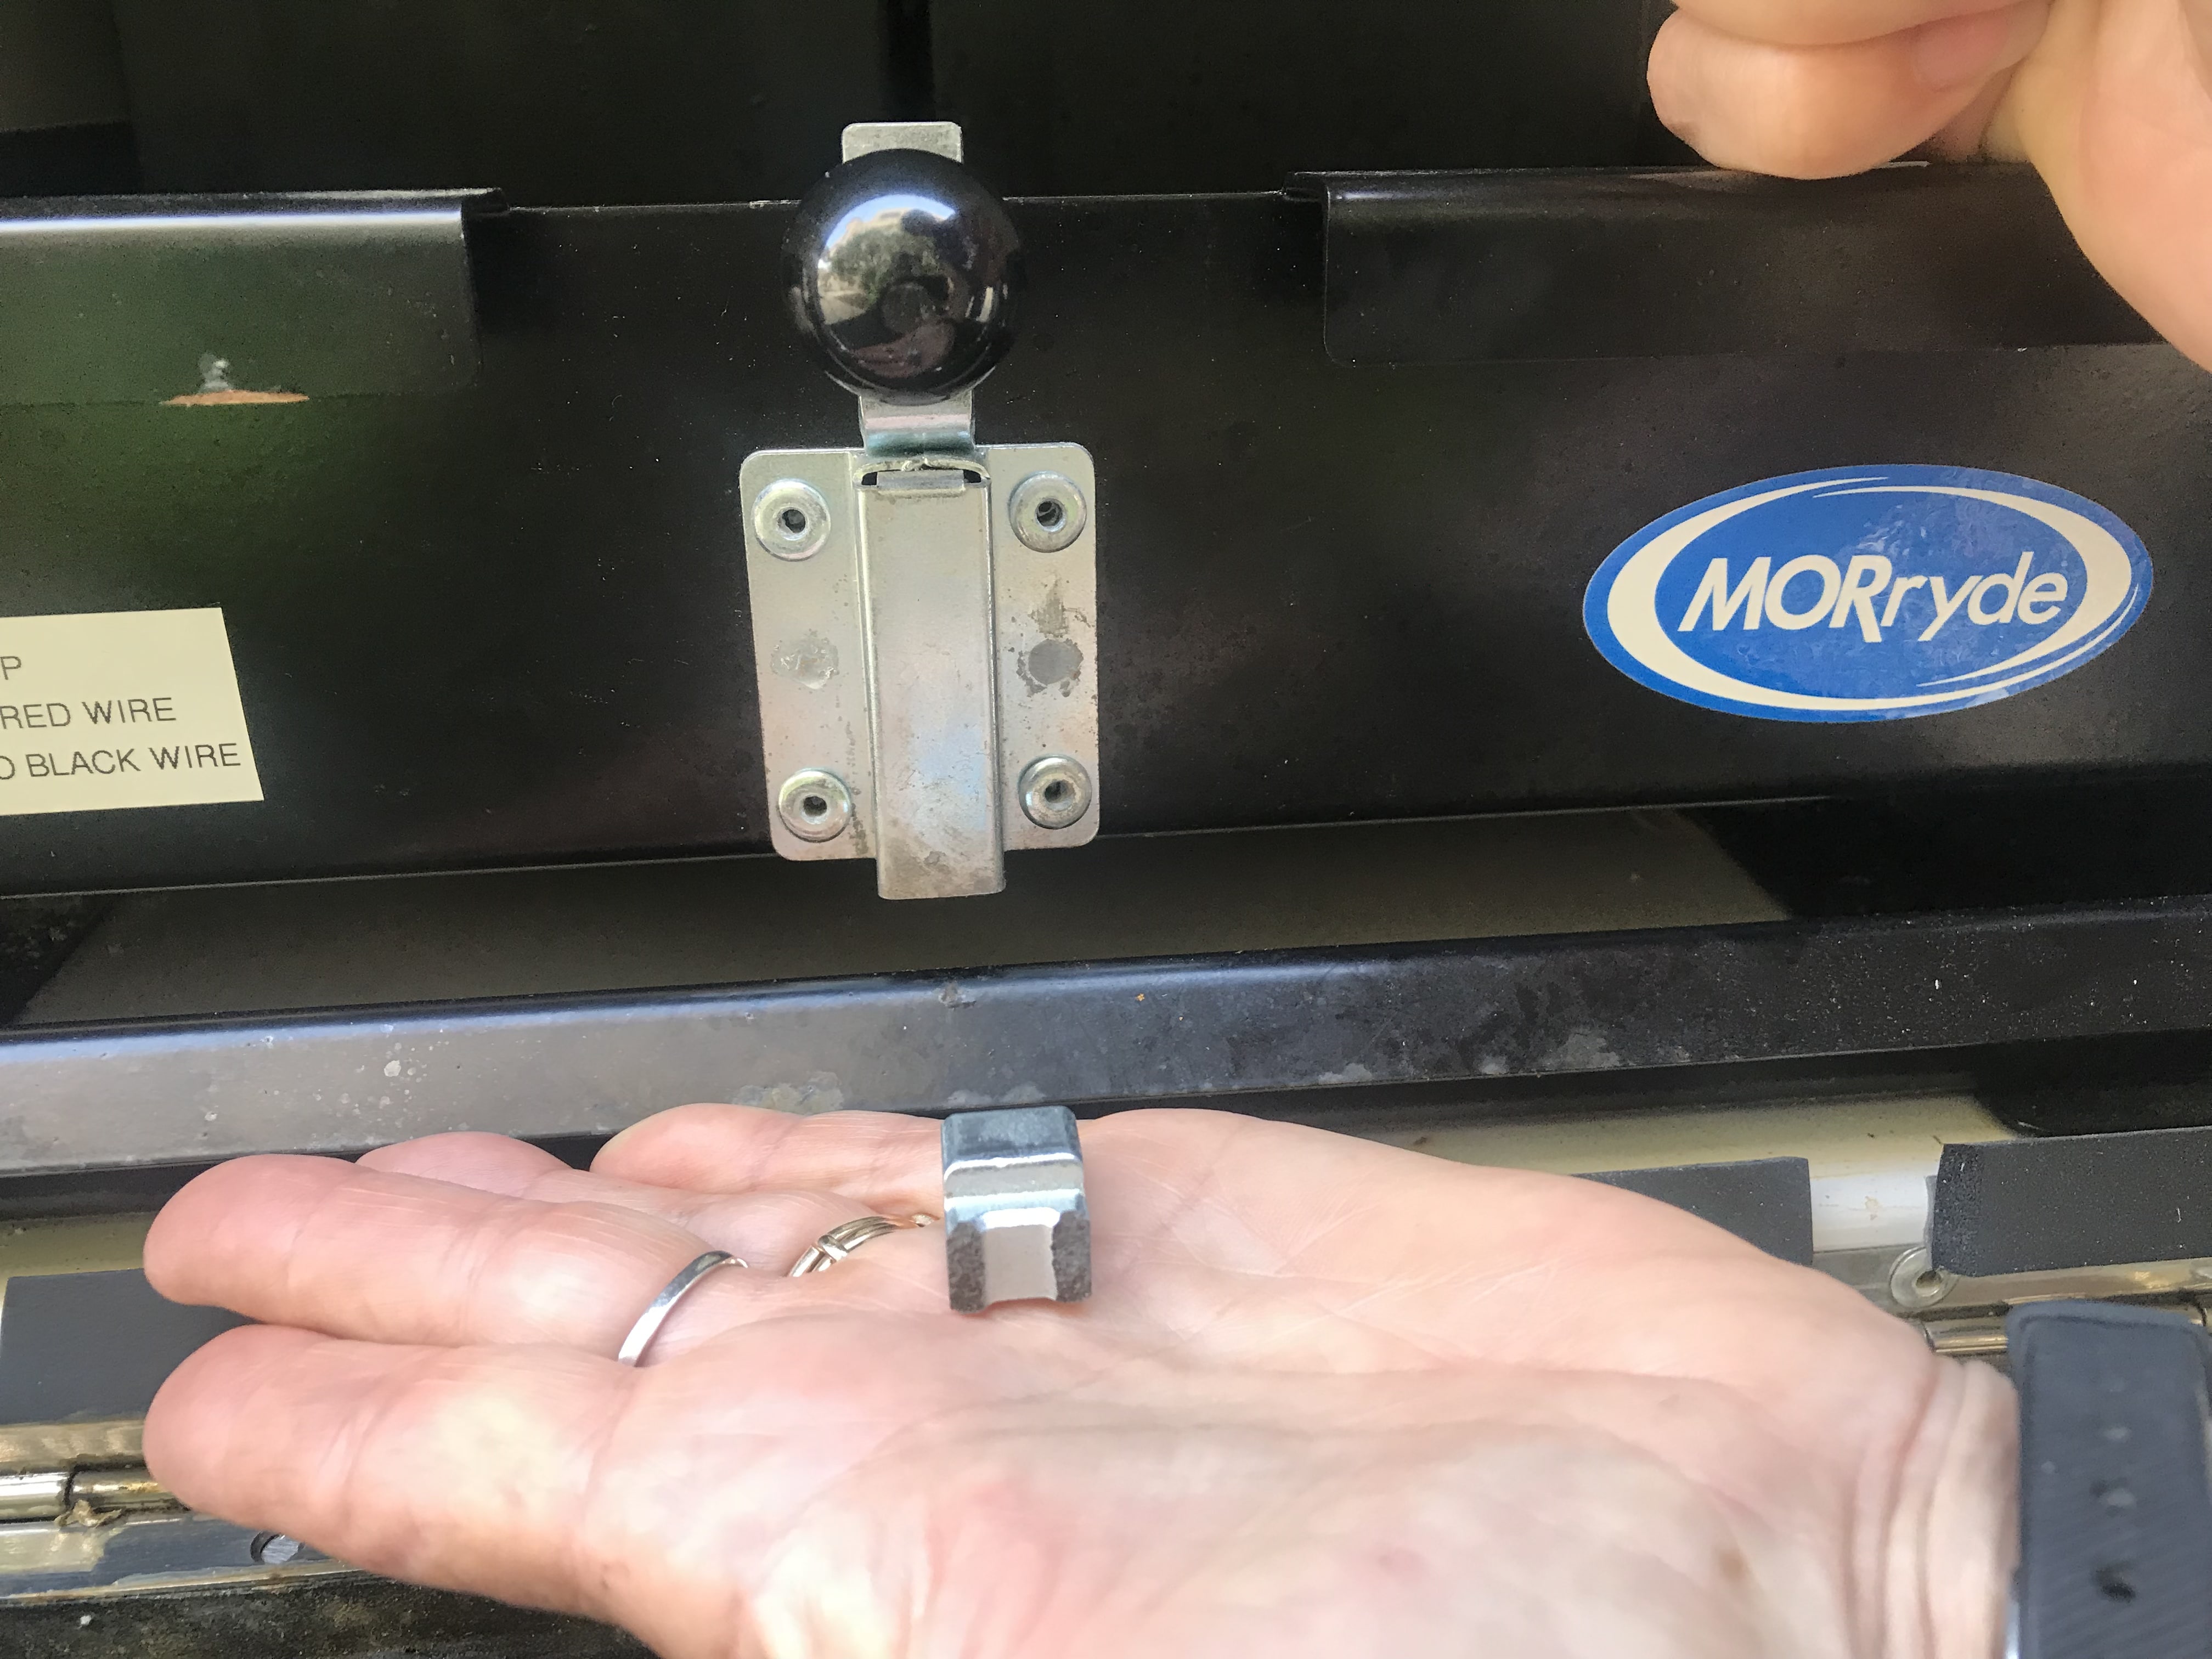
After only a few months the latch broke on the battery tray. I would think replacing the latch with the same one would result in a reoccurrence? Has anyone else experienced this problem ?
 1 point
 -
My name is George Adam.My wife Joanie and I are considering the purchase of a Legacy II to replace our Airstream. Earlier this week we visited with John Davies to view his 'Mouse'. We were very impressed with both it and John's tour. Thanks again, John. I will likely post some questions shortly to get all of your views based on your experiences with your Ollies. Thanks in advance. George1 point
-
The manual that Bill Townes posted a link to is good for the assembly and for the part number - if you decide to order (Like Chris and Duke) no problem, if you still want me to take it off and mail I can do it. Let me know either way.1 point
-
I haven't had any issues with the battery tray, but just as a safety backup plan I installed a simple stop for the tray. On each side of the slide rails, just beyond where they stop, when the tray is full pushed in and the latch is engaged, I drilled two 3/8 in holes and inserted 2x 3/8x1 in bolts.1 point
-
We found the clip on the carefree site. It's only $6 plus shipping. That appears to be the best route since it is riveted & removing it wouldn't be practical. Your arms would be best for someone who needs the entire thing - and I am sure there is an Ollie owner out there who will need them. (Hopefully, it won't be us!) Thank you for your foresight & kindness. You are what makes this community so special. Chris1 point
-
There is a promise that I (and I believe most owners) would be comfortable making to any prospective owner... “You will never be sorry you bought an Oliver”1 point
-
Yes, you are correct, access to the tubing is gained from the inside of the trailer. Sorry I was not clear enough.1 point
-
Found this service manual on the internet https://www.carefreeofcolorado.com/documents/Freedom-WM-Service-Manual.pdf See page 13. See also page 17, Note 7 Do a Google search for Carefree of Colorado R001657.1 point
-
Here is one by Whitney Morgan, but without the vocals. I like it for the really good guitar play centered around that beautiful truck. It makes me miss my KW T800 day cab, we pulled only flatbeds, so keeping those cattle on would not work out so well. Stan1 point
-
I have applied clear automotive paint protection film made by 3M to the front of the trailer. I cant say yet how effictive it is but it appers to be a nice product. It applies like window tint and can be purchased in bulk. I put a 18" high piece across the front. The nice thing about it is you cant see it unless you really look hard and it can be easily removed. I will tell you in a year or so how well it works. ? You can see more information and videos here. http://www.invisiblemask.com/imask/ [attachment file=135490] [attachment file=20180425_162622(1).jpg]
1 point
-
OK, and lastly, one of the greats, and usually on my system -1 point
-
There was a time when Cindy n I would go see Kenny Wayne at small venues in Shreveport LA. He was usually at local events. One of my favorite live recordings of his was at one such small event, my that was in a universe long, long, ago.1 point
-
At any time I will be listing to almost anything. I discovered these guys last year, reminds me of what rock n Roll was like in my youth.1 point
-
I lost one on this day and with Memorial Day approaching I feel this is appropriate1 point
-
Go to YouTube Find a video you want Click on it to make it start Touch the screen in the video pane A menu appears Touch the big up swooping arrow A menu appears Select “copy link” Go back to forum Go to a blank forum posting window Touch inside the window A menu appears Select “paste” Submit1 point
-
I love the old music best.1 point
-
Got this one stuck in my head1 point
-
I like it, jazzy and cool. Counting down to vacation:1 point
-
Ronny Jordan- After Hours - YouTube1 point
-
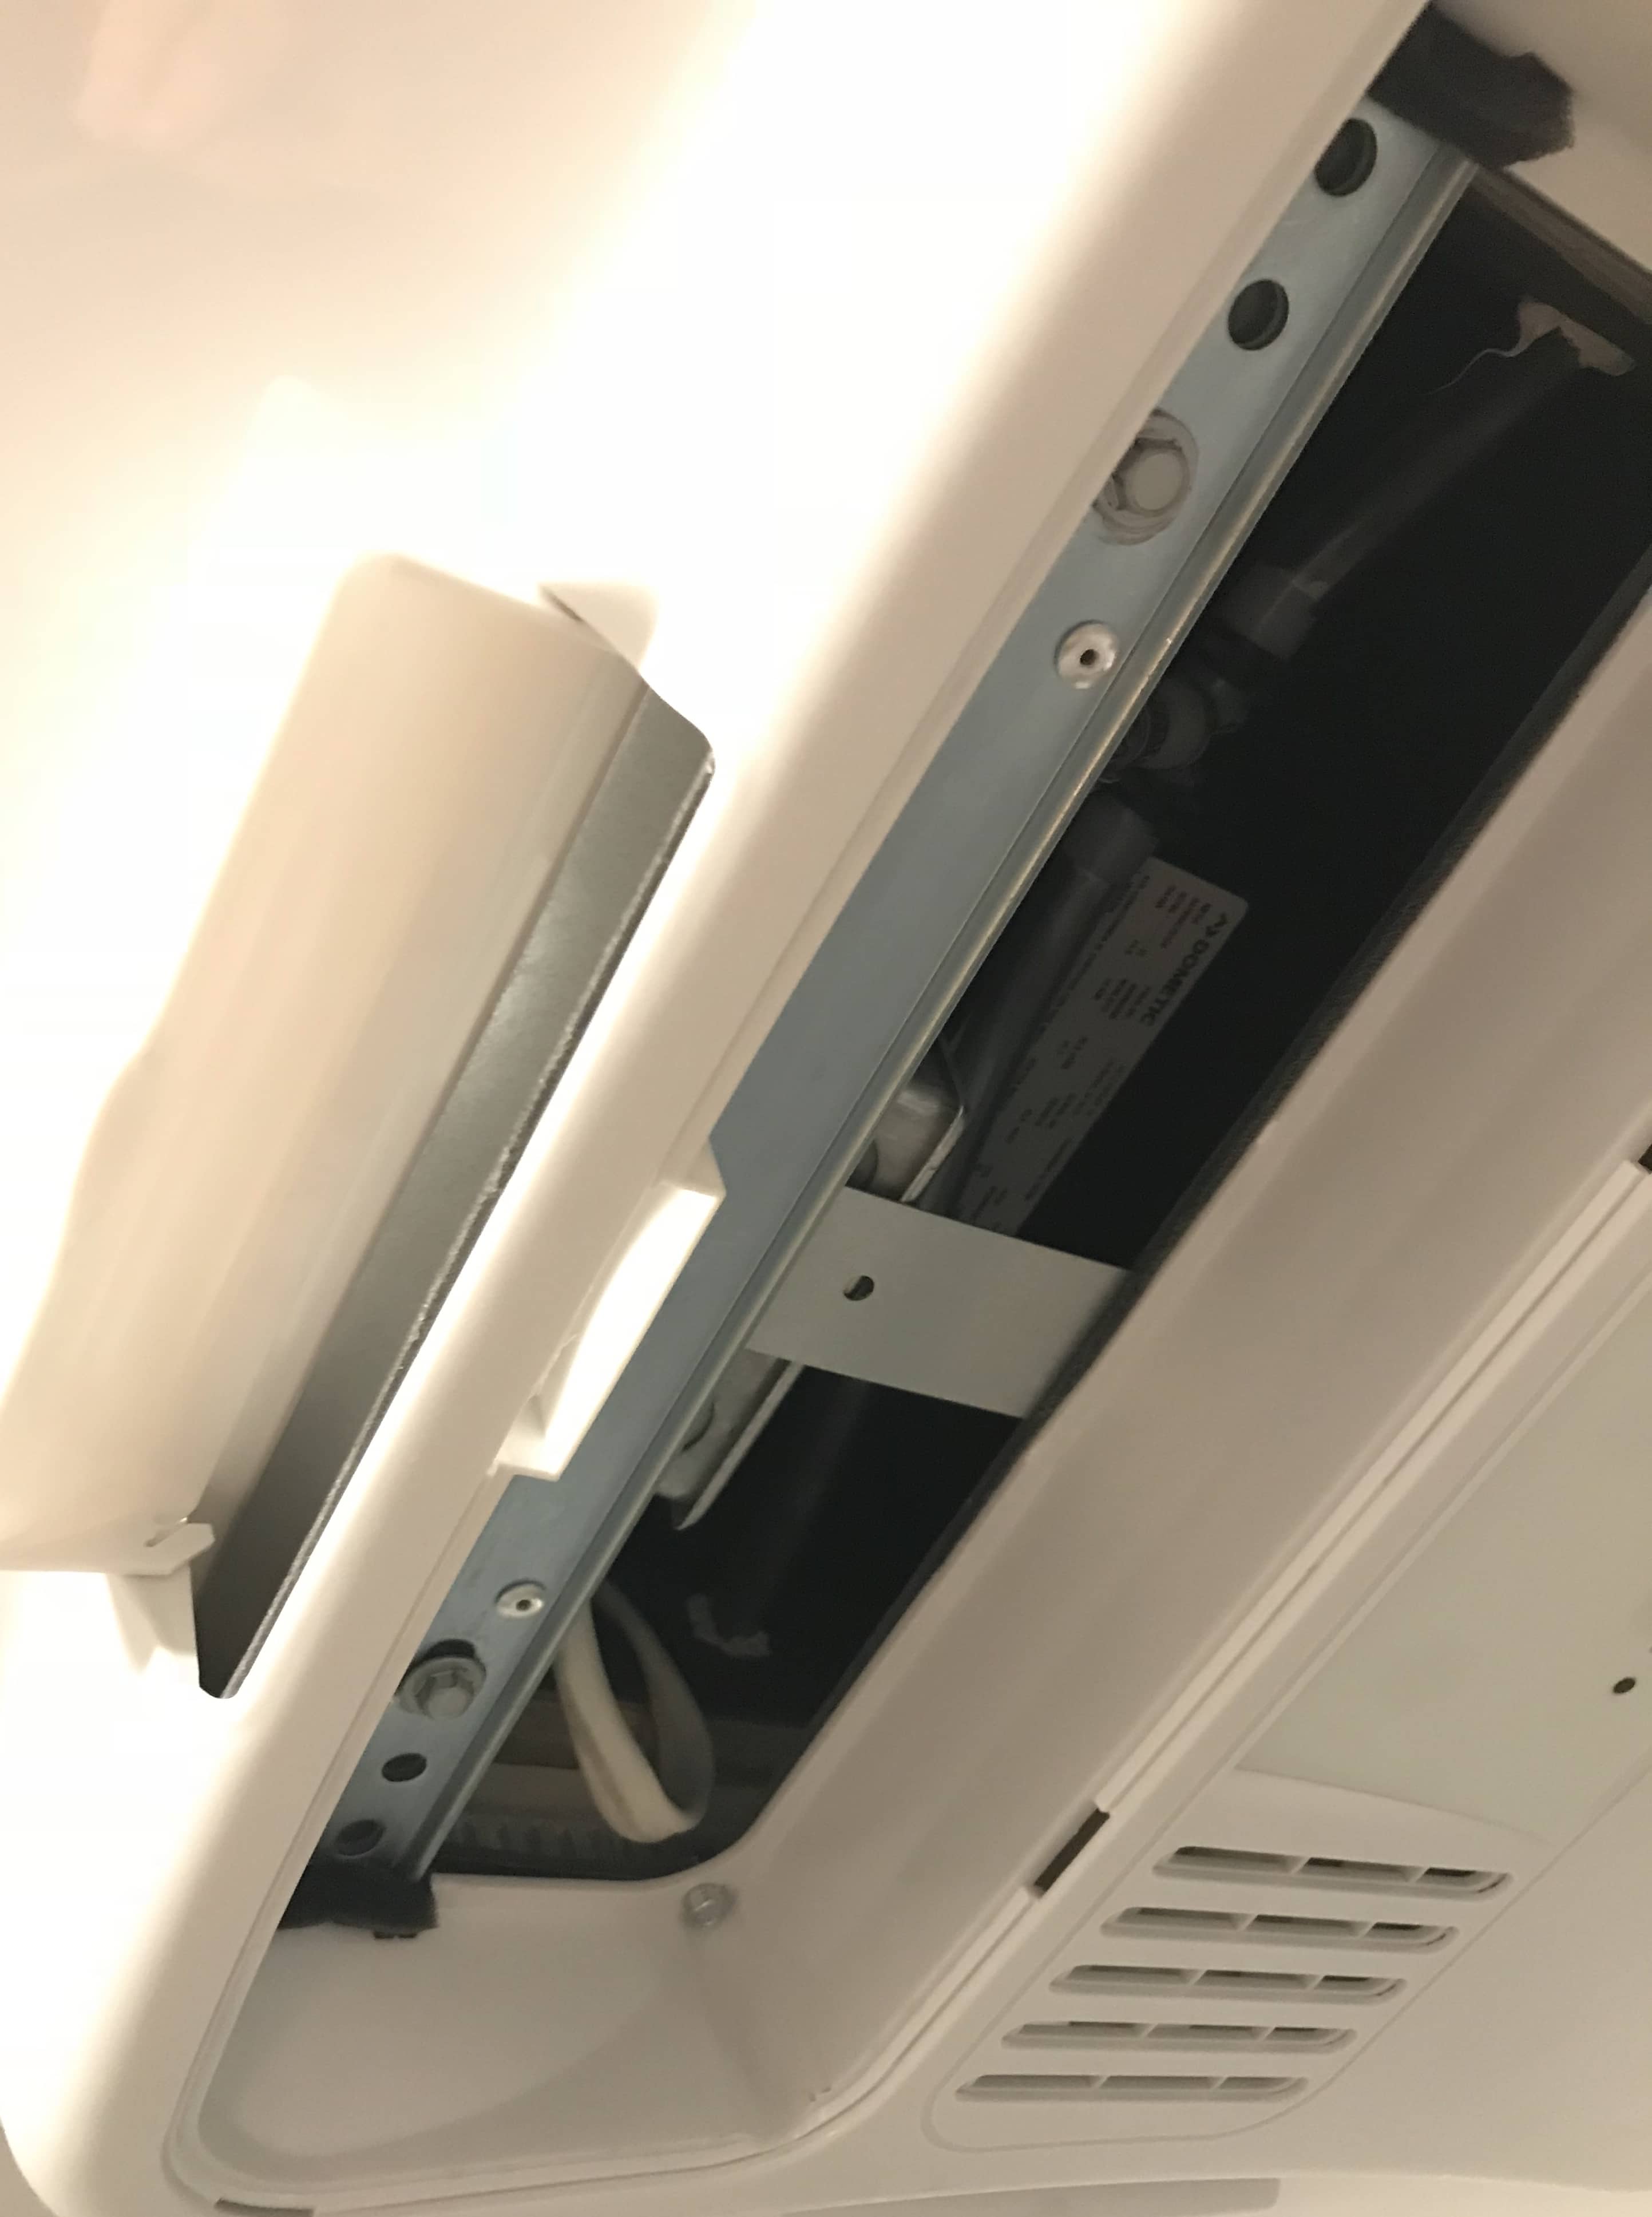
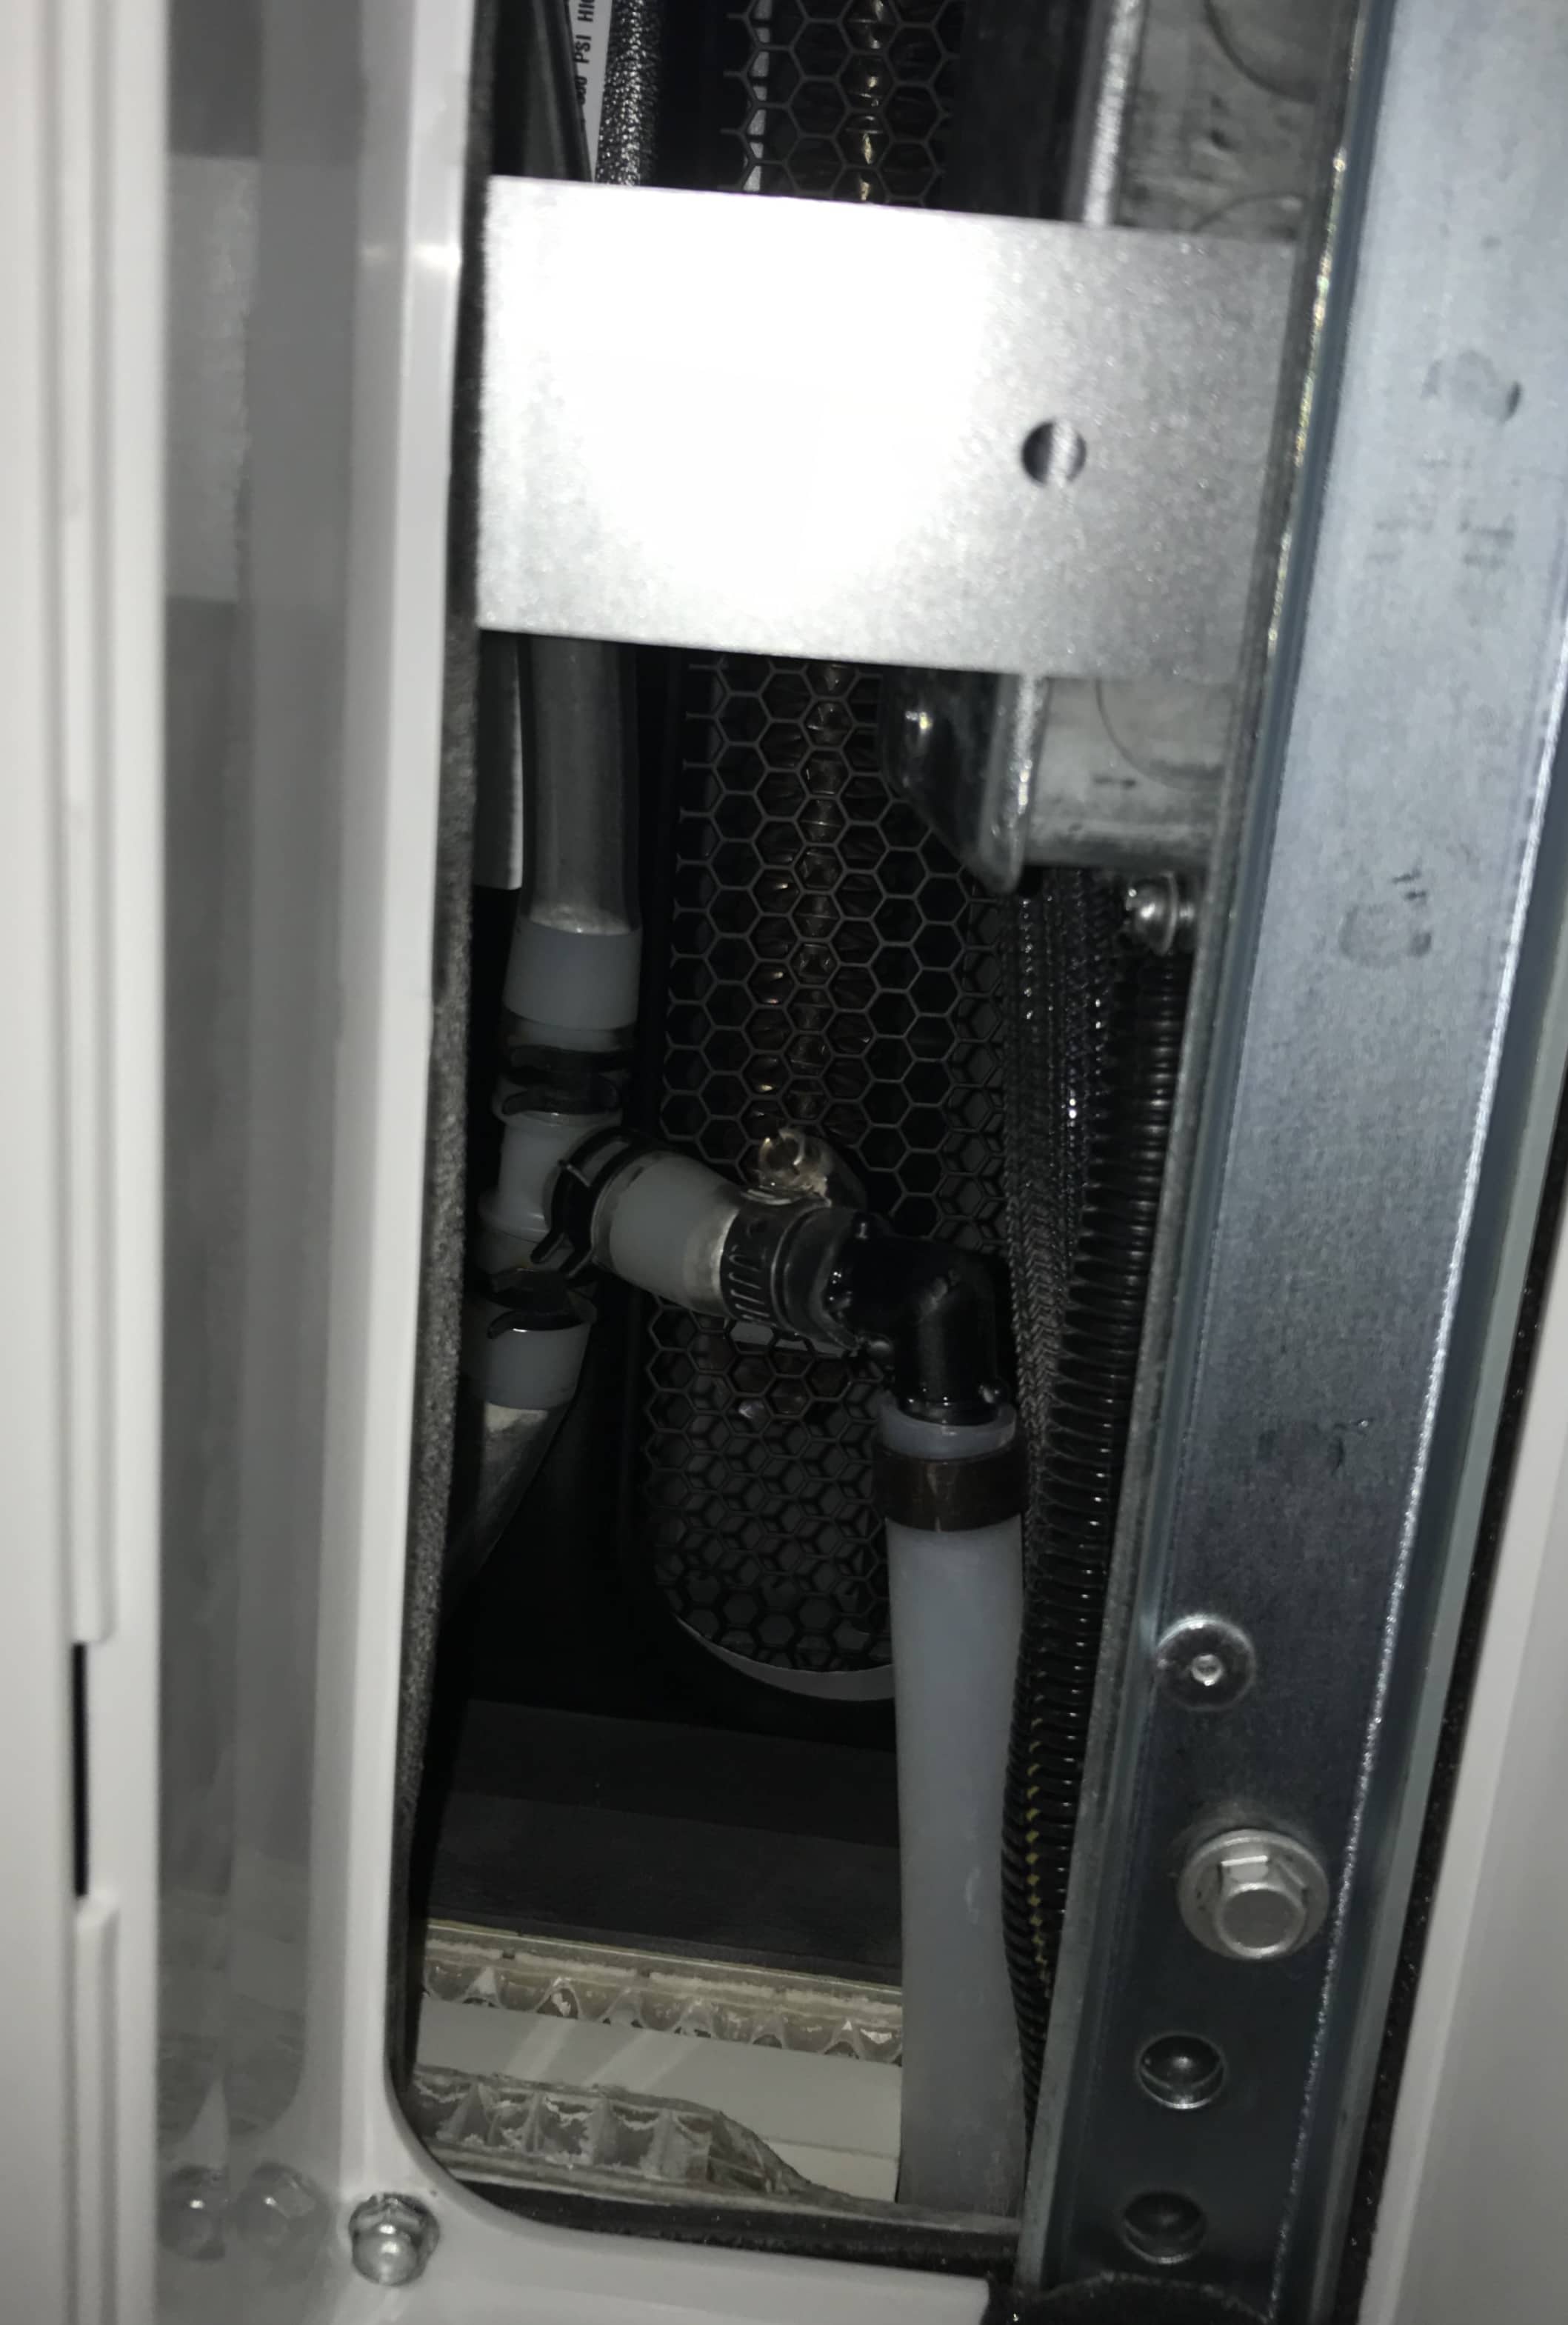
Remove the panel where the filter is located. Remove the filter I think these are the tubes Steve (ScubaRx) is referring to
1 point
-
Hey John - We have a couple of those in our Clever Beast! I bought ours from Etsy.com. I put a couple of the ones I bought in a drawer, just in case we ever ran into you on the road. Thought they would be perfect for your ‘Mouse’. So happy to hear you found them. They really are cute!1 point
-
Hey Steve, You may be right. I did look and measure location of bolts, they are the same, meaning no misalignment. Hand-made vs. a robot always has character which makes it unique and one of a kind. I value that and am sure Oliver will find a way to solve my problem.1 point
-
Foy & Mirna: Assuming that the fiberglass hull is properly positioned on the frame, looks like the steel subframe assembly may have been misaligned (1-2 inches too far aft [or forward?]) when it was mounted to the aluminum frame. (I suspect that the suspension brackets are welded on before the steel subframe assembly is bolted on to the aluminum frame.) Sounds like a warranty issue. May be possible for the factory to pull the bolts and move the steel subframe assembly forward on the aluminum frame. Hope you get a good resolution. Sorry you have this problem. All of us are in your debt for your role at the Lake Guntersville rally. Best regards, John Shkor SailorsAshore1 point
-
I work in wood for just this reason, the joy and happiness it brings others. Thank you John and David for passing it on.1 point
-
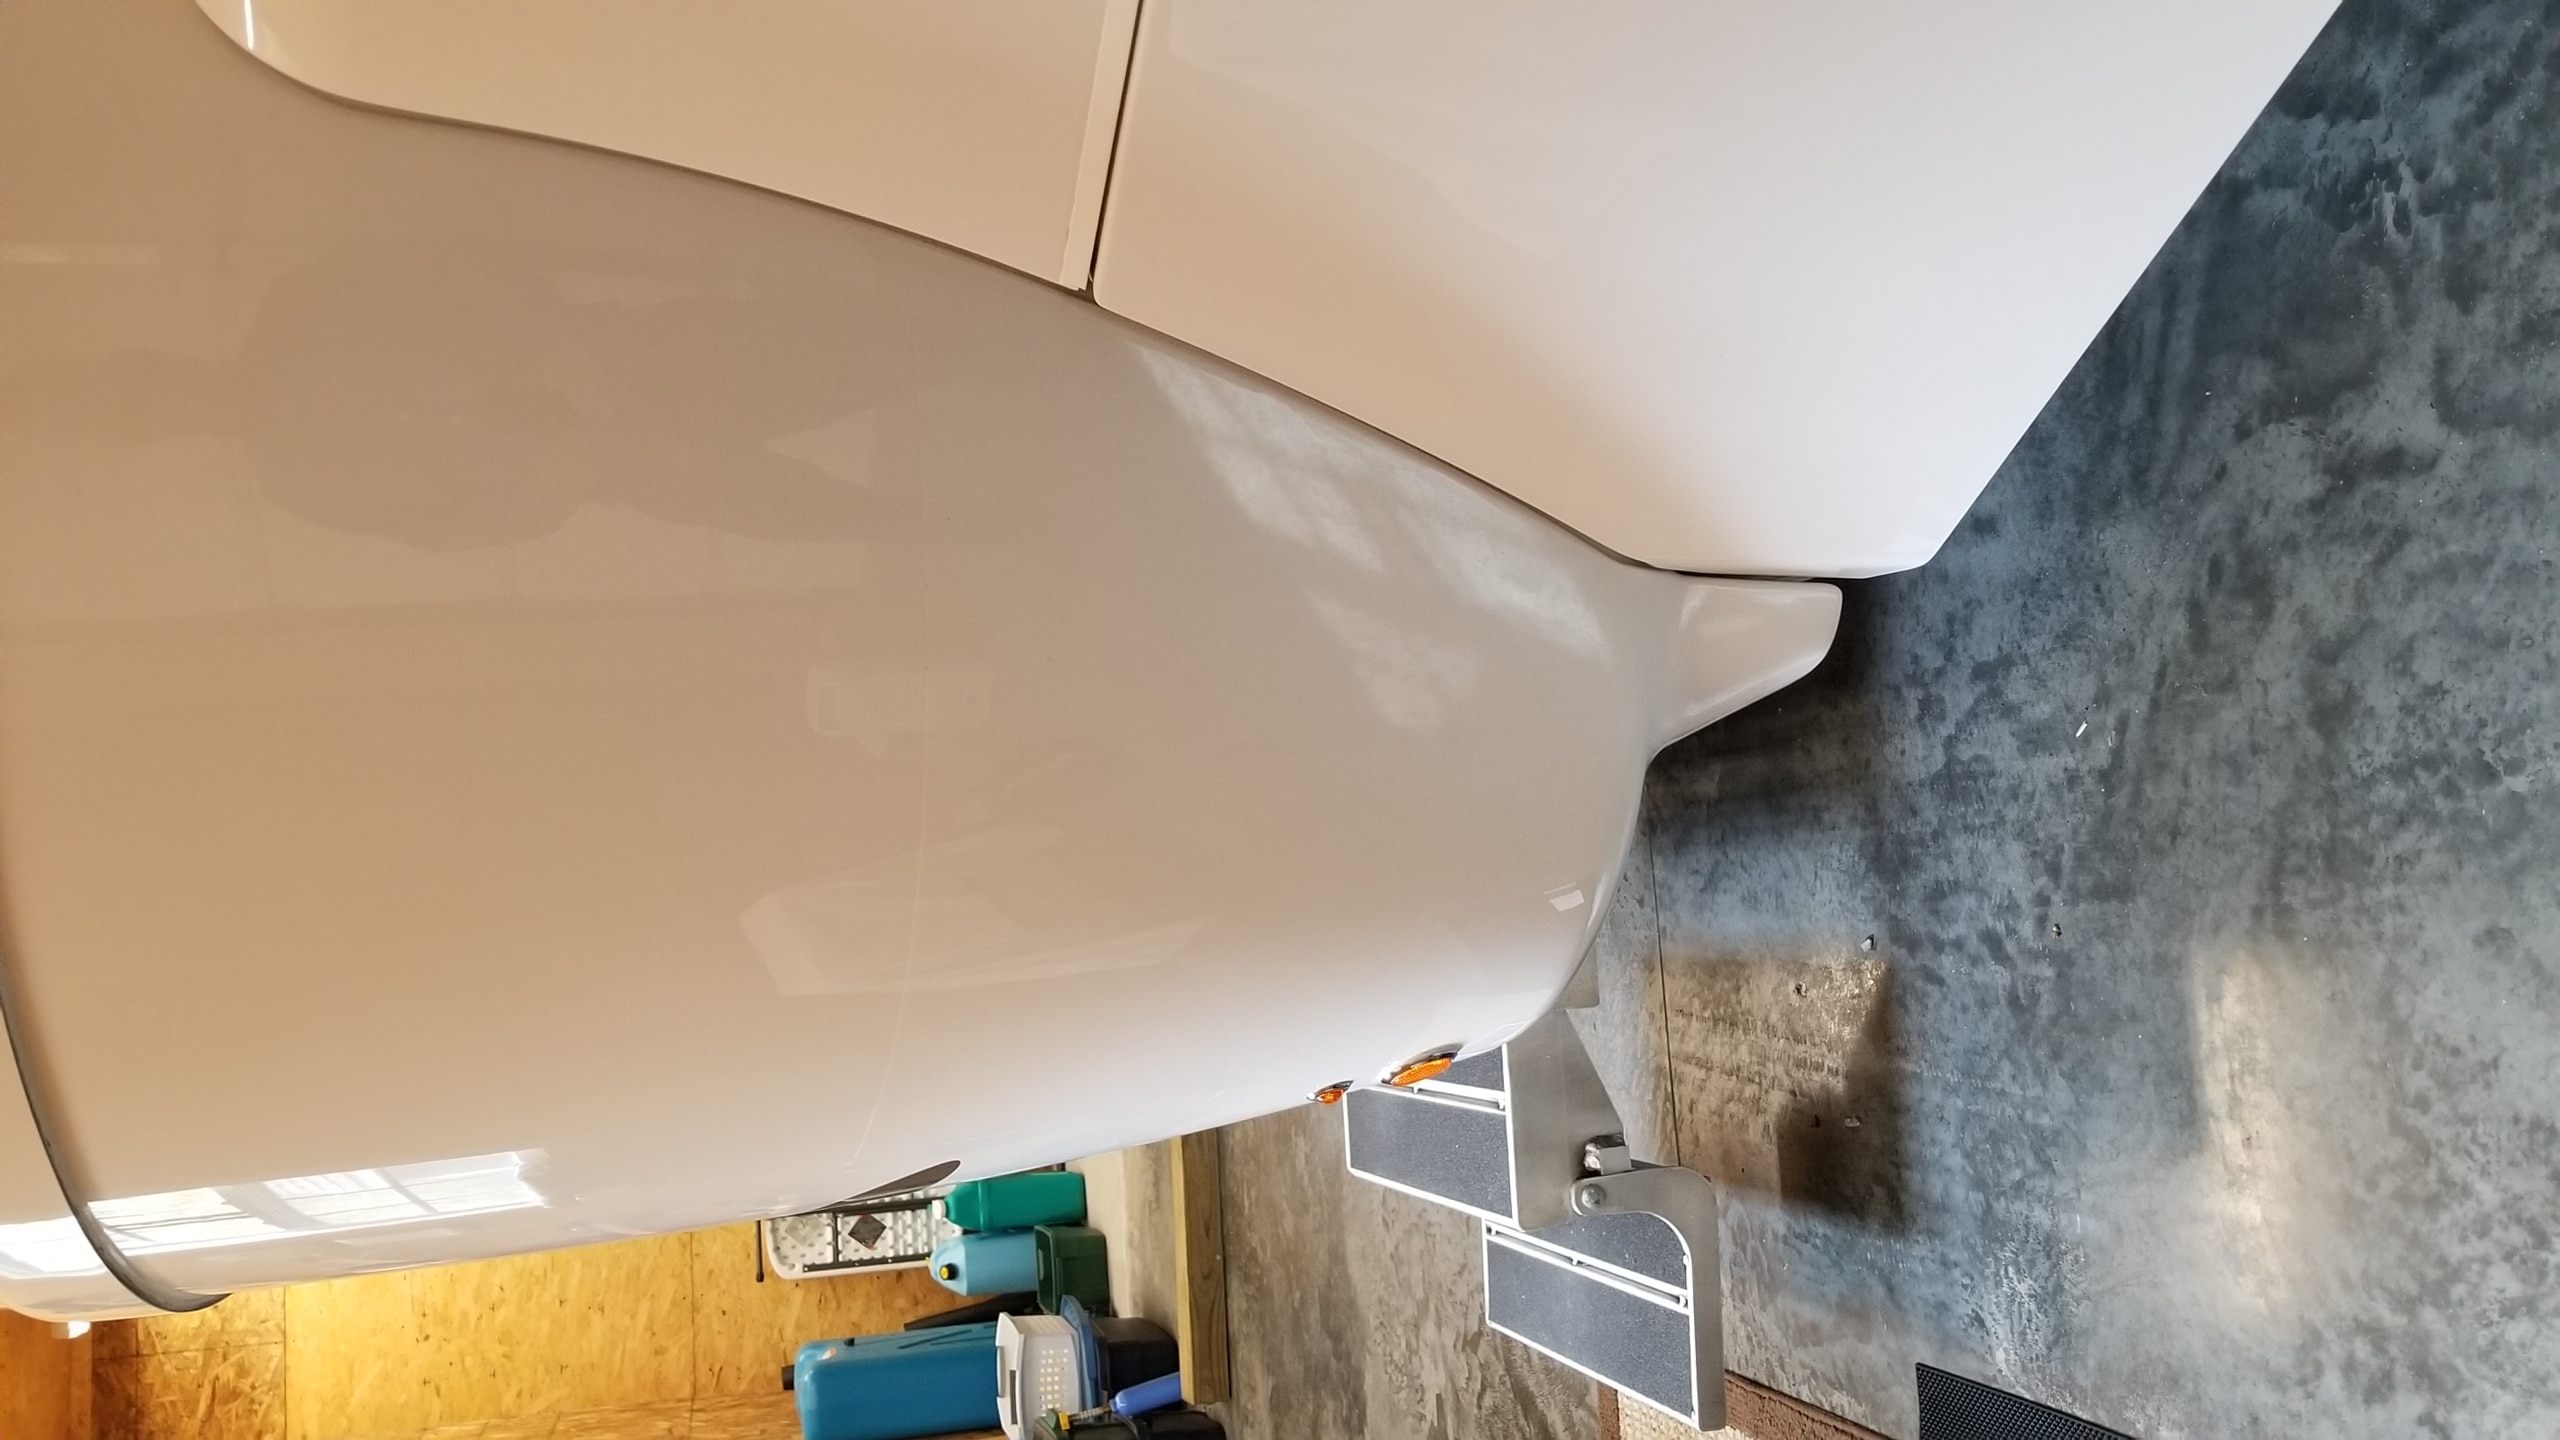
There are two catchment tub’s, one on either side of the air-conditioner bottom, joined in the middle with a tee. From there one tube leads to the bottom of your Oliver.1 point
-
The condensation pan on our Ollie drains to the single drain tube discussed earlier in this thread. I've only had top covers and interior cover removed on our AC unit, but don't remember how the condensation pan was set up or if I could see it. Had a Coleman 13.5K AC on our previous camper and it did not have a drain tube installed like Ollie, it drained out on the roof.1 point
-
Mainiac, Here's where the drain for our Dometic AC is located. It's a hose/tube run from the AC unit between the inner and outer hull shells to the location below:1 point
-
Those are definitely overkill but they look like they work terrifically well. I did fine with a scrap of Coleman sleeping pad (the blue dense egg crate foam). But I am a much smaller guy. It is important to not wear shoes that have metal eyelets, or black marking soles, or they can leave dark scuff marks on the gelcoat. John Davies Spokane WA1 point
-
Get a tall ladder, a rope, some rags and a foam camping pad to kneel on. Pad the ladder and secure it to the awning with the rope. If your silly drip seal is still in place, you can’t do this, so tie it to the entry grab bar and be really careful not to knock your ladder over! If you have to go up near the door, you need to tilt the solar panel up to be able to walk past it. If you climb up near the rear, this is not needed. (This is another excellent reason to throw away that seal. You can clean the accumulated muck from behind it at the same time.) Climb on roof, awning side only (so you don’t slide off). Remove cover of AC. Clear drain of debris. Inspect and clean other components as needed. Reinstall cover. Climb down. Go get a beer. Blowing compressed air up from the drain bottom opening might work but it won’t get the debris away from the top opening, so it will probably plug up again. You need to physically go check out what is going on up top. If you have some 303 Protectant, clean and treat the plastic cover to keep it from getting brittle. Nobody said owning an RV was easy.... I just spent most of a day on the roof detailing. If in doubt, find a young person to do this for you or take it to an RV $hop! Note that the seal is gone: Good luck. John Davies Spokane WA
1 point
-
Mike and Krunch will be in site #4. It’s less than 5months away?1 point
-
Is there a way to merge the camera system signal from the rear of the trailer, electronic or hardwire, so I do not have to mount another monitor? Thanks Coy aka Hardrock There is a way to do this if your truck display has RCA connectivity. Jensen makes the Voyager cameras Oliver is installing. They also make a wireless receiver that will connect to non Voyager equipment through RCA connectors. So if your truck monitor has RCA connectivity this receiver would plug into it and should display the rear view camera output. Your GMC dealer may be able to answer the question about the RCA connections. See the attached pictures from Rvcams.com and be sure to read the fine print about camera compatibility. Also check with www.rvcams.com for support. Let me know if you need any further assistance. I personally use the rear view camera whenever the Ollie is connected. I turn the rear view mirror toward the ceiling or temporarily remove it and place the Voyager display high in place of the mirror. Looking at the Ollie in my rear view mirror drives me nuts so I eliminate that view.
1 point


-
Recent Achievements
-


")


")


")


