Leaderboard


.thumb.jpg.e34bf01ef7f7d5e99ad31856d45afbeb.jpg)
Popular Content
Showing content with the highest reputation on 08/20/2025 in all areas
-
This is the bearing after pressed back in. You can feel it bottom out, when the air tool starts making a noise. Then the snap-ring fits into its groove. And we know the snap-ring is right when you grab one end by the hole, pull it towards the other end and the entire snap-ring stays in the groove while it circles around a bit.
 7 points
 -
The idea here is to understand what is required to service Dexter Nev-R Lube Bearings while on the road given a bearing failure. Specific knowledge, parts, and tools are required and it’s important to be ready for this issue that is likely to occur, sooner or later. Whether you are the person working the repairs or not, understanding this is equally important! Having the required bearing parts kits and the correct size bearing press tools would allow you to work this repair DIY, or at ANY local service shop, anywhere you happen to be in your travels when a bearing might fail. Without spares and tools, you’re stuck. No local repair shop will have the parts you need and very few would have the bearing press tools in the correct sizes on hand even if they have air tools and a press! Note this recent statement from an Airstream owner: “We're on a five week adventure and experienced a bearing failure that sidelined us for 5 days. I got the bearing from the local O'Reillys Parts Store...the other components I had to order from an online source. Despite all the Truck and Trailer industry in Oklahoma City, nobody had the spindle washer, nut or snap ring I needed. The bearing was easy to get and much cheaper than the Dexter option. It's the other parts that hold the hub on that can be challenging to find if you need it right now to get back on the road.” Once you remove the bearing cap with a light chisel or similar tool, this is what you will see --
6 points
-
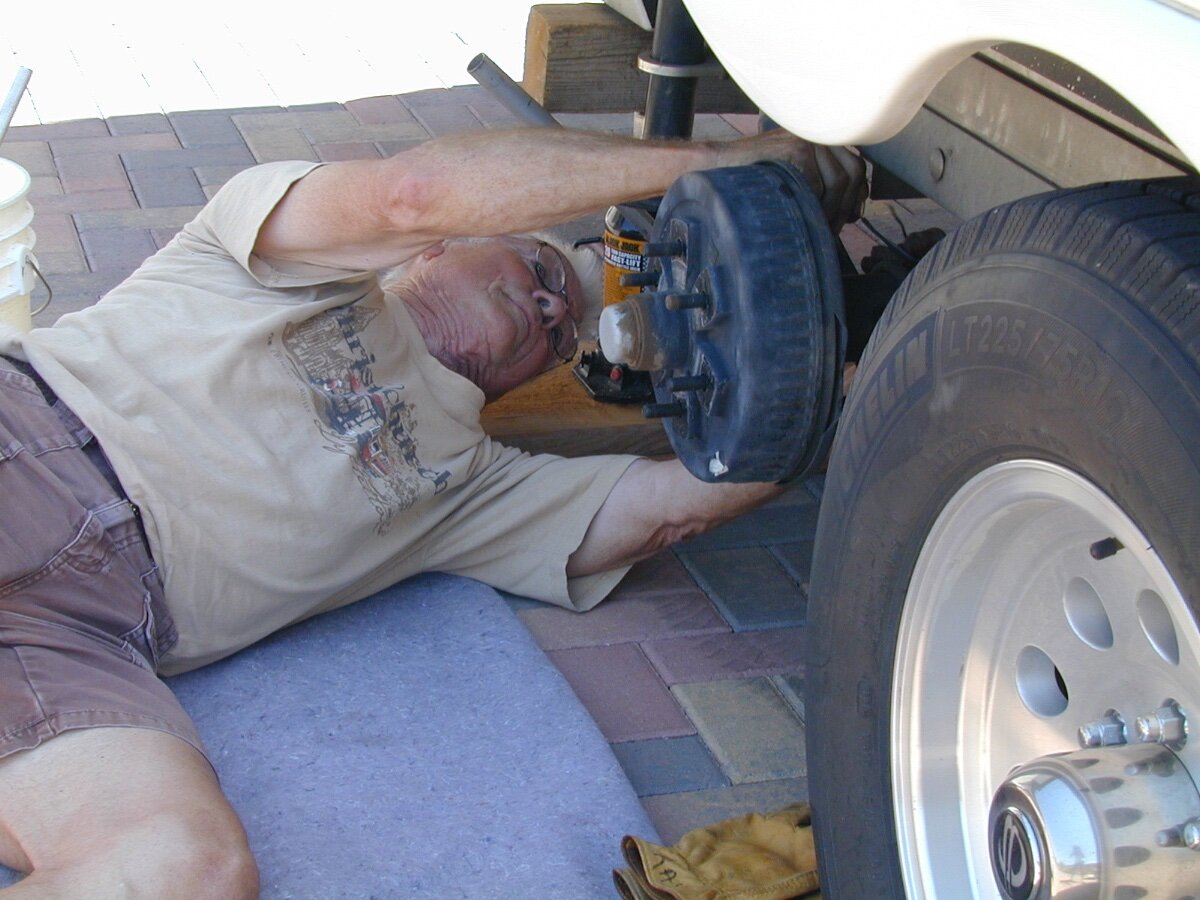
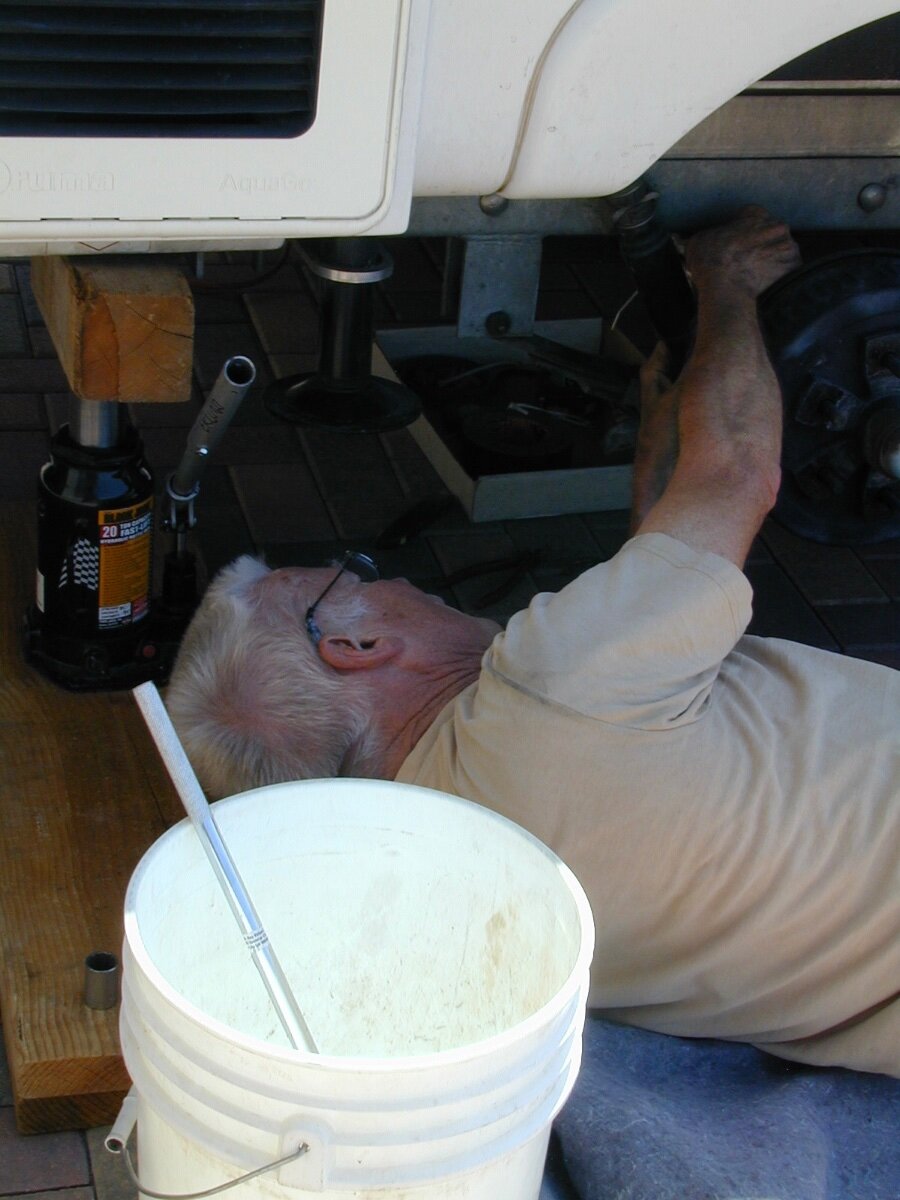
After safely jacking up the Oliver, and removing the wheel, the brake drum/hub must be removed. First you'll need an extremely light snap-ring pliers for the spindle nut keeper which is required to get the hub/drum off. Then the spindle nut must be removed which requires an extremely large 1 7/16” socket. This nut is torqued to 150 lb-ft! You may need your spouse or travel partner to apply the TV brakes so that you can release this nut using a HD breaker bar. OR if you have a HIGH-Torque battery-powered 1/2" impact it makes this and several other tasks so much easier!🤣 Sockets of this size are generally 3/4” drive so you may also need a 3/4" to 1/2" socket adapter. The main bearing-keeper snap-ring is HD! You'll need quite a HD snap-ring pliers and good hand strength! If you intend to have an auto or trailer service shop work the bearing replacement, they can also remove the larger snap-ring, but it’s good to have all he necessary tools of which any small service station may or may not possess! These are the parts you would remove AND the same parts that may have to be replaced, besides the BEARING! I suggest having two complete bearing kits with you at all times.
5 points
-
Hello again, friends. We are now Oliver Legacy Elite II owners! Our now good friends Jim and Maggie Posey have decided to sell their hull #1452 due to health concerns to us. We are so excited to join this forum now as owners instead of “wannabes”. We humbly seek your knowledge and suggestions to improve our Oliver experience.4 points
-
The bearing comes out towards the outside, towards the side where the snap-ring keeps it place, as shown in the first picture above. The first picture below shows the interior of the drum, the steel surface that the magnet grabs and on this side the opening to the wheel bearing is smaller. The bearing must be pushed through this smaller opening. In the second picture you can see the two sizes within the hub. It's a rather snug design! You need the 11# press fitting to push the bearing out. On the other end will be the 001# stay, bolted through it all. You should apply wheel bearing grease on the bolt where it will be threaded, both sides of the washers. After you pull the bearing out about 3/4" or more, when it bottoms out, you will disassemble and start over adding the 17# sleeve for additional clearance (not enough bolt length requires doing this in two steps). Then continue to crank down until the bearing releases, just pops out of the hub! I used the hand tools pictured which was doable but made the job tedious. A 1/2" impact would certainly help, so at home I used a HD pneumatic 1/2" impact to finish up. Remember, all auto shops have air tools and a 20 LB press would make butter out of pulling/pressing this bearing! This picture shows the hub of the drum now empty. You see the tools in order with the removed bearing inline. It came out nice and since it's a new part, it's going back in! 🤣
4 points
-
You will need a bearing kit: https://www.etrailer.com/Trailer-Bearings-Races-Seals-Caps/Dexter/31-73-3.html Or you can save some money purchasing parts separately. The Chrysler PT Cruiser, 2010 and earlier used the same bearing as their front-wheel drive wheel bearings. You can find them here and 100 other auto parts stores. https://www.rockauto.com/en/moreinfo.php?pk=1117862&cc=1441786&pt=1672&jsn=10543 https://www.summitracing.com/parts/tmk-set49?seid=srese2&utm_source=bing&utm_medium=cpc&utm_campaign=Brands+|+T&utm_term=4581596235429750&utm_content=GSAPI+5ba2a4366829c There's this company... Though I have no idea as to whether they are legit, but good prices as listed. Don't buy bearings here but it appears they have the correct snap-rings and perhaps other Nev-R Lube parts! https://www.easternmarine.com/catalogsearch/result/?q=Nev-r-lube And you need to get a bearing press. I suggest buying this even for those of you how would not entertain doing the work yourself. Most small shops will not have the correct size press fittings. https://www.harborfreight.com/front-wheel-drive-bearing-remover-and-installer-kit-21-piece-63728.html This kit is what I used it to remove and replace this this axle bearing! And you will NOT want to tote around this toolkit with you at 17x15x4" large and 25 LB heavy (though I could name a few Oliver Owners who would do so!). If you were to carry 6 LBS of numbered tools, as pictured... These are the tools i used.
4 points
-
Pushing the new bearing into the hub is much easier than pulling the old one. Apply some grease to to inside of the hub and reapply grease on the press bolt and washers. You'll need the larger 05# press on the opposite side (as pictured). I used a 1 1/4" closed-end wrench to hold the bolt on the inside and a short 2x4 under the drum to hold the wrench up in place.
3 points
-
Traditional vs inverter A/C? The compressors on traditional roof mounted A/C units cycle on/off, and run at only one speed when on. They typically require soft start circuitry when powered by a small generator. Roof mounted inverter A/C units use a variable speed compressor. They tend to be quieter and more energy efficient than traditional units, and the compressors don't cut on and off suddenly (and loudly). These units don't require a soft start add on since the compressors already start up slowly. Inverter A/C units that run on 12 volts DC are popular with the off-grid camper van folks. I'm only aware of two 120 volts inverter A/Cs available (in the USA) today; the Turbro mentioned previously in this thread by @jd1923, and the Furrion Chill Cube. The Furrion is not low profile, but the Turbro is. I have neither, but if I were shopping for a new A/C today I would look at these first.2 points
-
Congratulations and welcome to the group. We’re here to help! Mike2 points
-
Welcome to the group!2 points
-
Welcome to the group and congradulations on your purchase. To help with any future questions you may have, it would be very helpful for you to list your vehicle and trailer identification in your signature.2 points
-
Congratulations and welcome to the community! Tom & Doreen #13212 points
-
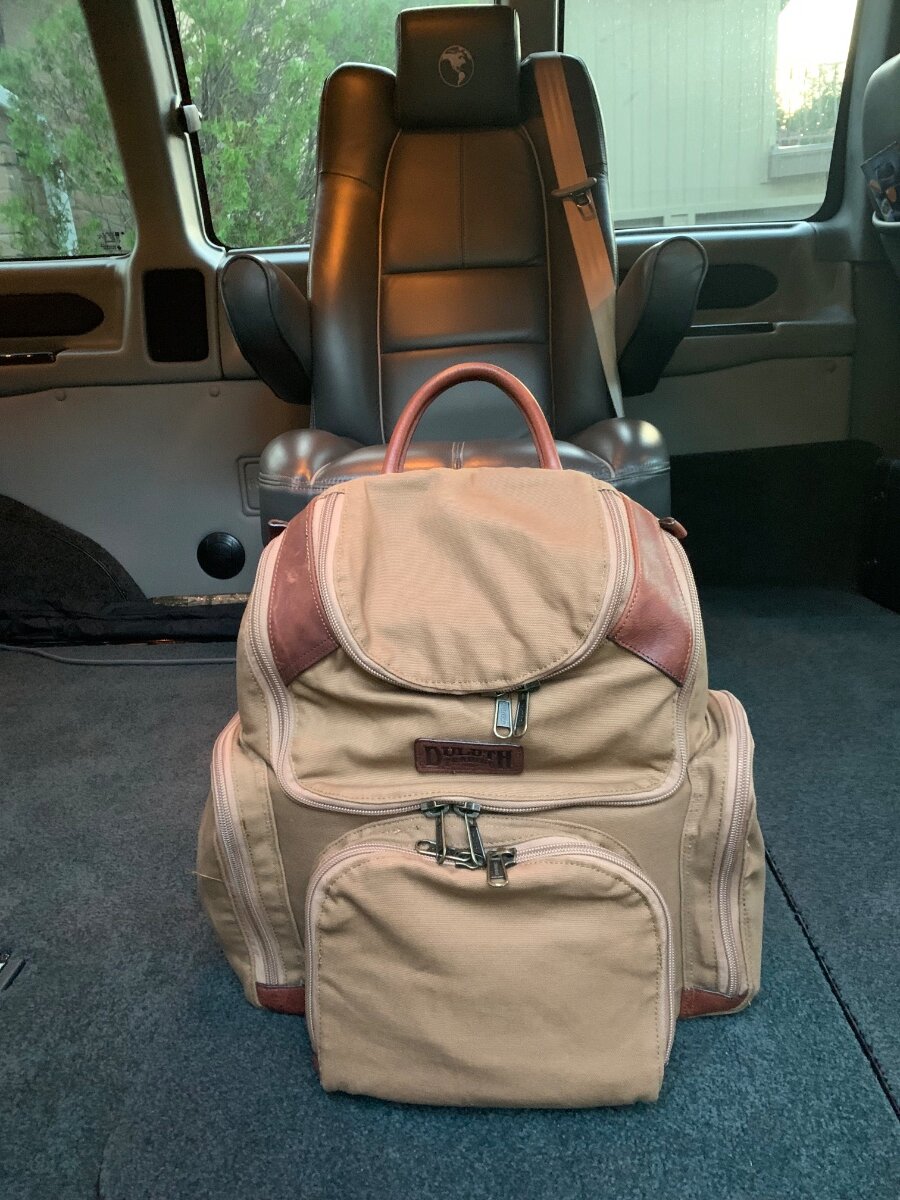
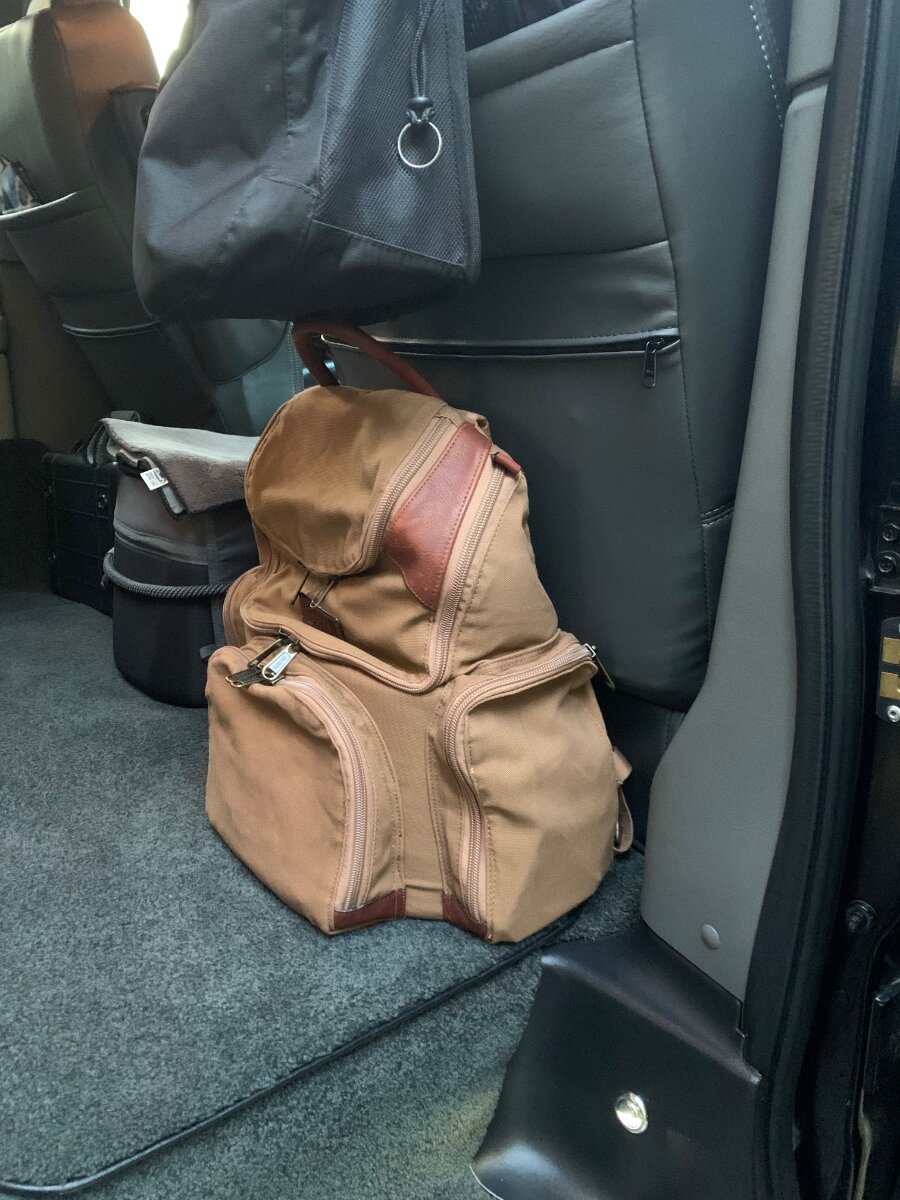
“One is none and two is one.” Like minded here Ron. My past years of military training and deployments have always kept me thinking contingencies. Better to have it and never need it than need it and not have it. As we use to say prepping for deployments, you don’t want to be left flapping. That is what’s great about the compact Mini, well done, nice pack and kit! 👍🏻2 points
-
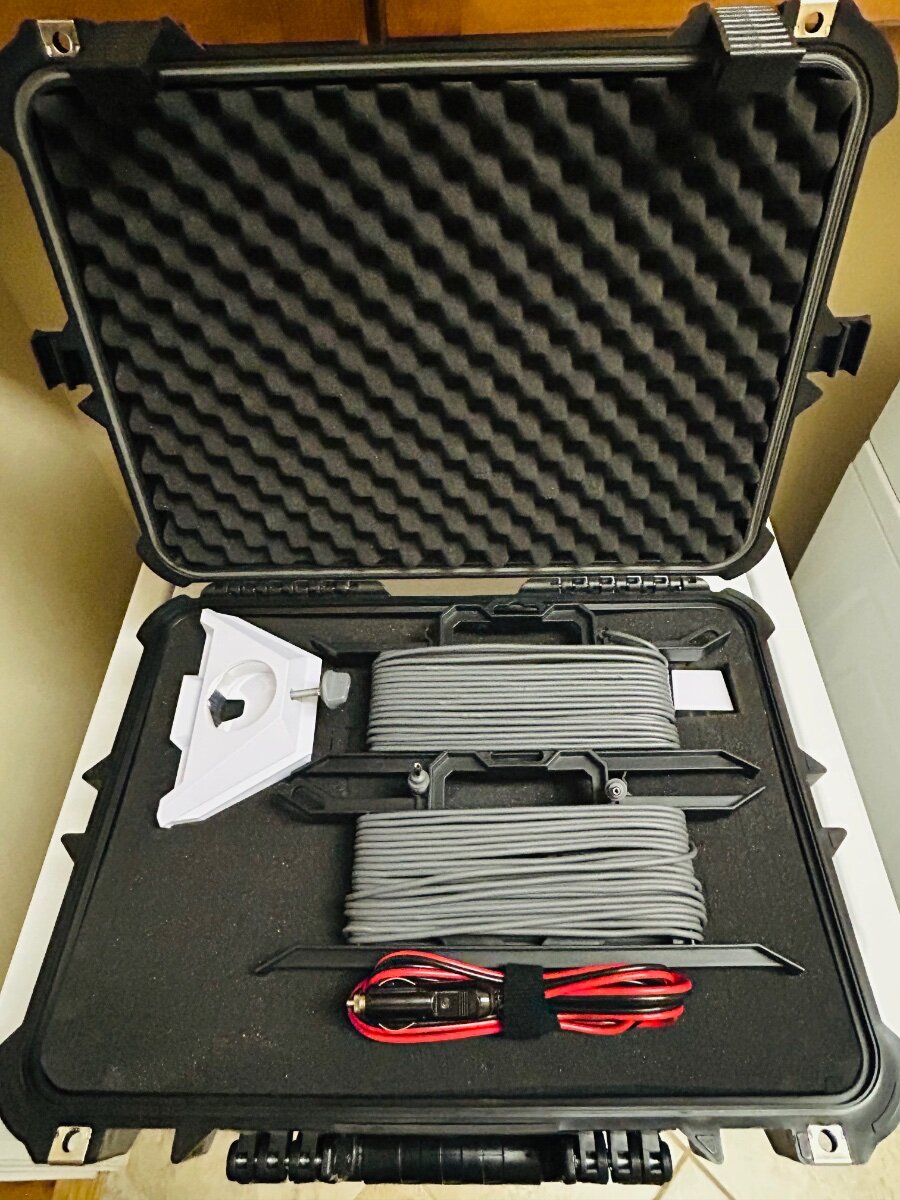
I have long cords, short cords and some in between; charging accessories and adapters if need be; suction cups and magnets for pole and rooftop mounts, or anywhere the satellites can see; all nicely packed away in an emergency communications bug-out-bag near me!
2 points
-
Excellent job, thanks! I'm not worried at all now with swapping over to the Nev-R-Lube axles in the future. In a pinch, I also wouldn't worry about re-using the snap rings, washer, or even the nut if I had to. I'd just pinch the nut slightly on the slotted end with a pair of vise grips and be on my way. Nice to see Dexter using high quality bearings in there from the factory, too.2 points
-
Yes, tow vehicle description is in my signature. Very happy with the product.
2 points
-
For sure, but not a "little more expensive" but A LOT MORE EXPENSIVE! I don't get the pricing structure re the Nev-R Lube 6-on-5.5" hub/drum assemblies. We can special order a full axle for a little more than $1000, but one hub/drum assembly alone is $650 plus tax! There is also the space consideration. These 12" drums are large and heavy. https://www.etrailer.com/Trailer-Hubs-and-Drums/Dexter/8-388-80UC3.html1 point
-
Ha! That's what Chris said when she read this post! I teach a PMP Prep class virtually on Zoom, a half-day at a time on camera... That's enough for me, though I do enjoy teaching and helping colleagues, giving back to the community! 😂1 point
-
Agreed. If the bearing got badly damaged as it failed, it can cause damage to other parts but most of the time they would be reusable. I read somewhere that the spindle nut should not be reused and I do not believe pinching the nut would help any as this is hardened steel. But when asked on eTrailer, the rep replied as follows -- Does the Spindle Nut Need to be Replaced on Nev-R Lube Axles?1 point
-
Good info, John. Thanks! Mike1 point
-
Awesome job, thanks!! You should start a YouTube channel!1 point
-
Thanks John this takes the mystery out of the “new” Nev-R-Lube type axle that Oliver is now using.1 point
-
1 point
-
We love listening to Winwood…a great road trip tune.1 point
-
Well done! GJ1 point
-
Here is the 'SCOOP'. Finished all of the BRAKE Wiring replacing the Wires through the Dexter Axles. They were not shorting out. Finished connecting ALL of the Brake Wires to Brake Drums. Towing the Airstream... brake system works, towed behind the F350. Steel Equalizer. "Trailer Connected". Manual and Brake Pedal Brakes work. Towing the Oliver... "Trailer Connected". It does not change... until I use the "MANUAL BRAKE OPTION". Then says "Trailer Disconnected". Nancy called 'Weigh Safe'... and was on hold... she must have passed out as she did not move from her seat. Maybe good 'Music'? Or an Engineer selling Trailer Parts promotions? She was going to ask if the 'Aluminum Shank needed a Ground'. The F350 never Leaves the Ground... Someone on the Forum tossed that out. A real curve ball... and who knows... I liked to pitch a Curve Ball just after a low slow sucker ball. You Little League guys know what I mean... 7 way plug connection just swapped out with a new one. Secure wiring. Tight and Bright... all tail lights... working. Brakes are the ONLY PIA. Trailer is GROUNDED with Two large diameter Cables from Oliver Frame to F350 Frame. *F350 and 27FBQ Airstream get along just fine. IF I use the F350 Manual control and IT BRAKES.* The Oliver Elite needs a Spanking. This may be a Factory Issue from the Beginning. My Short Story: Original Owner signed the Title. Took the Cashier's Check from the Bank... Rode into the Sunset. All I ask for are the brakes to work. They are still attached to the Axles with good wiring.1 point
-
And that's a good thing in my opinion! I try very hard to read the book before going to see the movie the book inspired. It also helps to have a very short memory. Mossey1 point
-
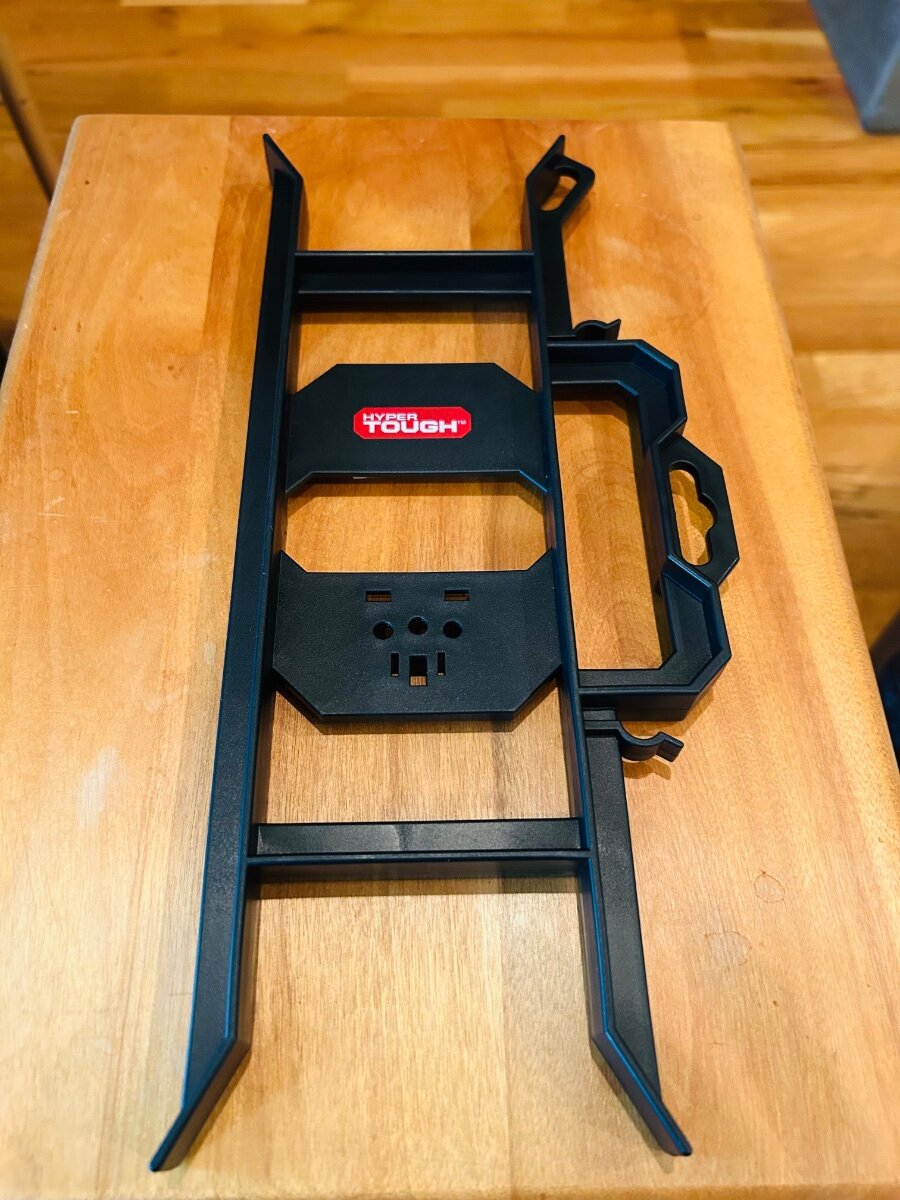
@Ronbrink Our local Ace HW did not have the cord holder like yours in stock. I found this at of all places our local “Wally World“ and picked up (2) for $3.97 each. They are fairly robust and will allow me to keep my cables buttoned up when not in use. They are the size I was looking for to fit in my HF case perfectly. Thanks again for the idea!
1 point
-
Two years later and another friend recommended C.J. Box -- I listened to "Open Season" (#1 in the Pickett series) and I couldn't put it down! Thanks to @mossemi and @topgun2 for the mentions here. It was great fun especially given my time spent in Wyoming this summer -- I recognized (and had visited) most of the places mentioned!1 point
-
I don't really know. Mine does not have a cutout. It has the shield like on the left pic. I have a custom exhaust and the cutout did not work for me. I just went through the shop by truck option and it only gives me the commercial option. I am not sure if they called it that when I bought mine. I really do not recall. Mine looks just like the one they call commercial. https://www.agricover.com/mud-flaps/results/
1 point
-
@HDRider Do you have the “Commercial” model or the (non-commercial?) model?
1 point
-
I have them. I like them. Very easy to put on, and take off. Just reread. I do not have the cutout. Mine has a metal heat shield on the inside. It does soot up the lower fender.1 point
-
Hey John, It has solid reviews and will be easier to stow the cable than my present reel. Please up if this works with your tripod mount. Thanks!1 point
-
I’ve not read the entire thread. @BoondockingAirstream when you apply the brakes in the tow vehicle do the brake lights light up on the rear of the Oliver? Bill.1 point
-
The ball and emergency chains are not suitable grounds for an electronic braking system. Might be enough to operate LED taillights but then fail to provide a good enough ground with the amperage required to operate the brakes. Could be the reason why your controller recognizes the trailer when you first plug it in and then doesn't anymore once you manually activate the brakes at the controller?1 point
-
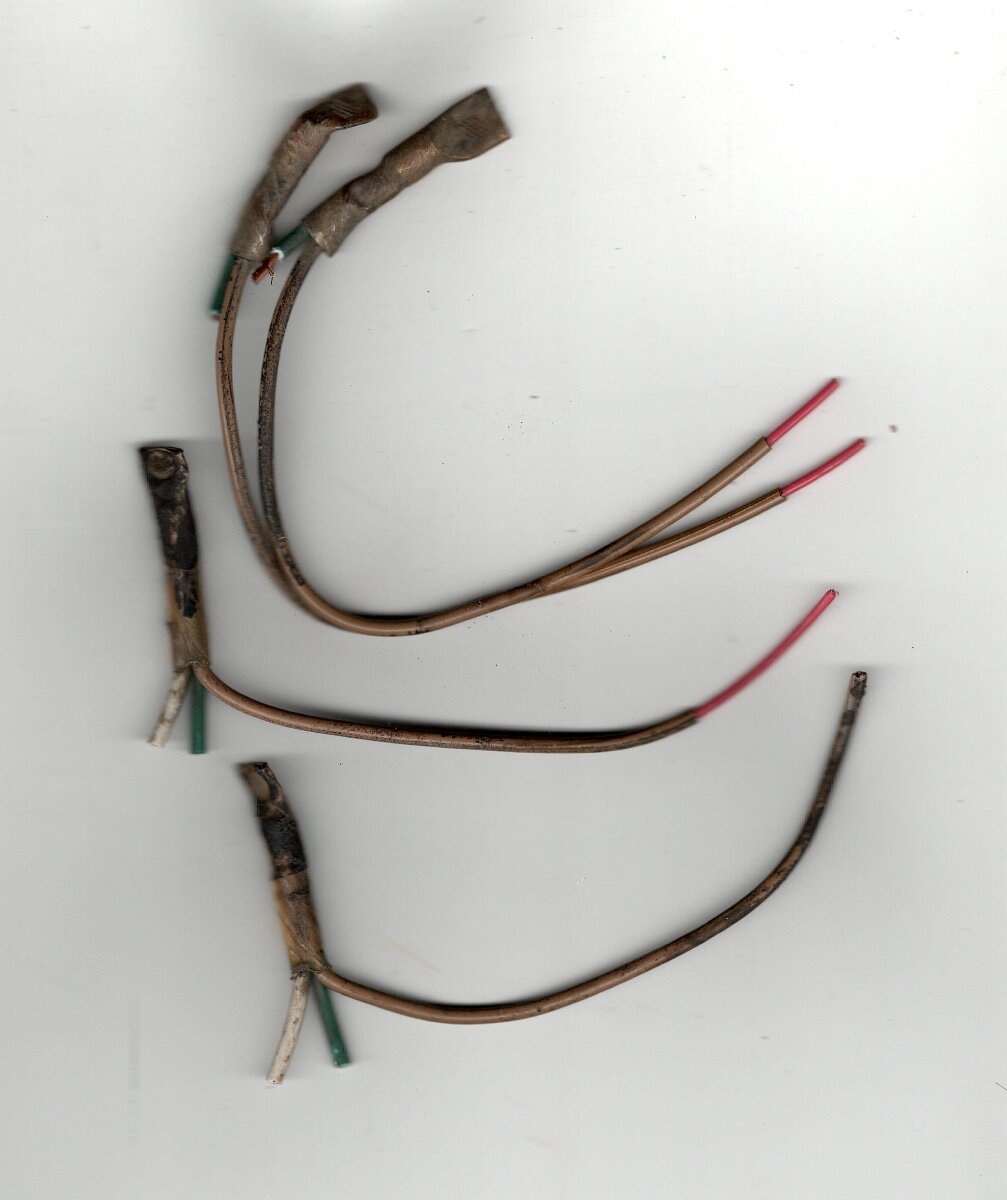
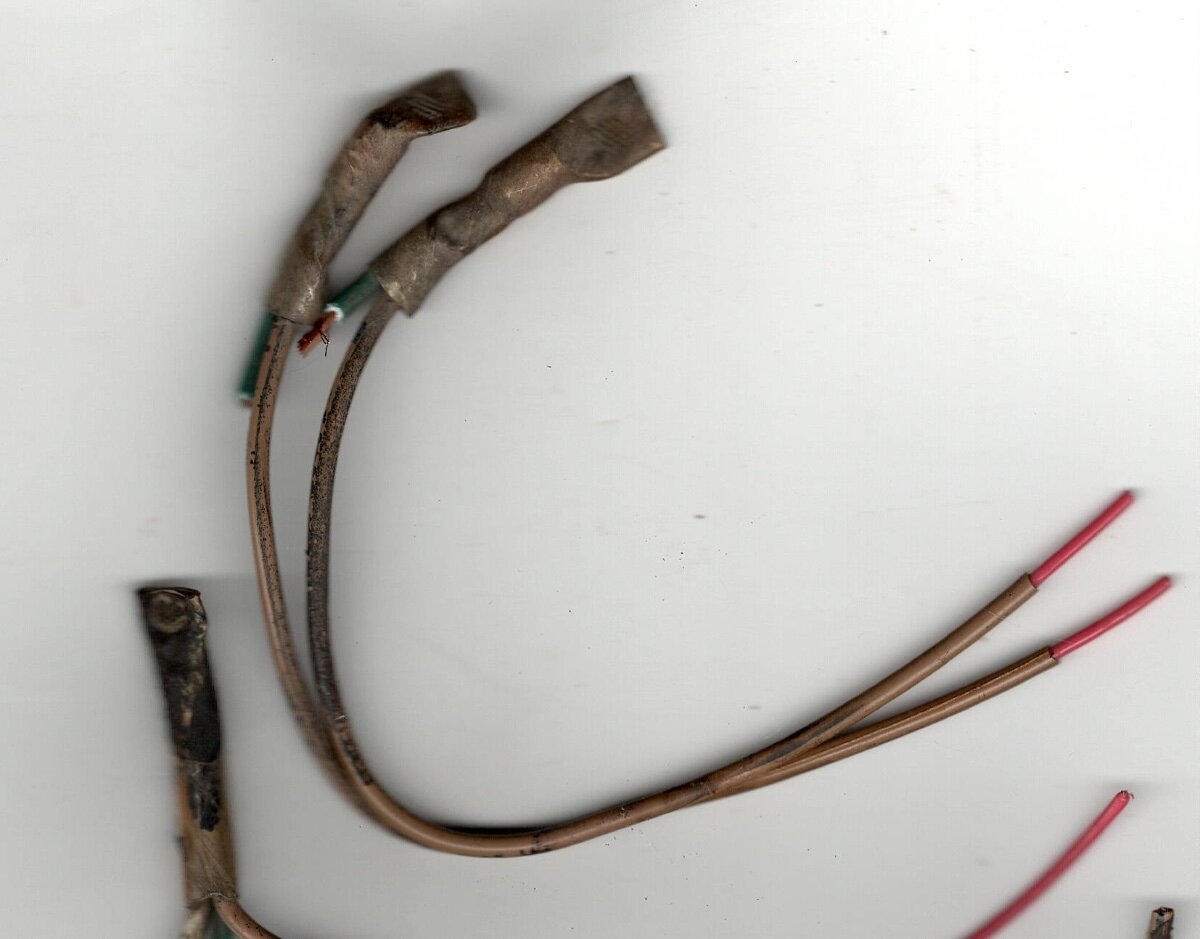
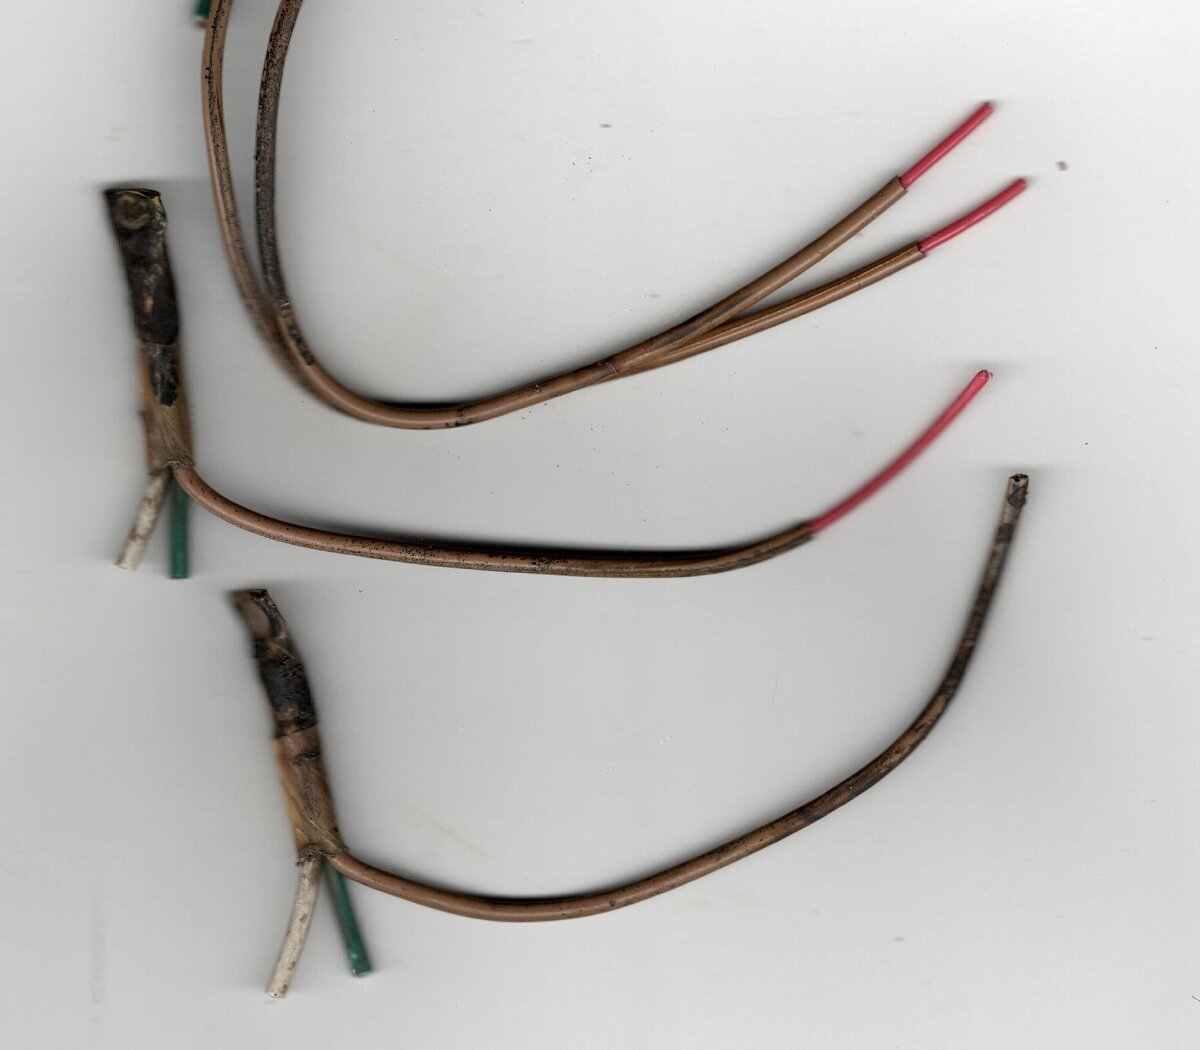
Wiring in #448. An expensive Travel Trailer, as an Oliver, should have the BEST WIRING and be 100% RELIABLE for a decade or two decades. When removing the original Break Away Switch to test the Brakes... the eyelet for the wire to pull out... broke off. The 'bakelite' was brittle and I ordered a replacement on the Internet and it arrived the next day. Wonderful service Home Depot. All of these switches appear to be the same with different names. The switch is easy to remove, replace.. with a steel wire... got the rear wheels above the ground... Nancy my wonderful wife... spun the wheels and each wheel locked up as they should. Caveat: You may want to check yours. A year ago, it worked. The replacement was about $10 from Home Depot and delivered to our home the next day. 🙂 Many reports of the wiring going through the REAR AXLE being shorted out... should not happen to anyone. I pulled mine out and was NOT shorted. Dirty and brittle brownish in appearance. The wiring is the cheapest POS wired into a terrible location... for wearing off the insulation. I used an extension cord, picked two colored wires of the three ( heavier gauge than the Oliver option). Then had a section of a flexible water hose to run across the upper back side of the AXLE and pulled the WELL insulated extension cord through it, wired the ends to the rear brake wiring. Then six or seven nylon Zip Ties to secure the hose and inserted cord to the two electric brake wiring. It was easy after viewing a number of videos... helped a lot Lifted each side UP off the ground with my jack where a decal says where to place it... the wheels locked up after pulling the NEW Break Away Switch. I scanned the original wiring on the rear axle brakes. The RED WIRES were TINY. Maybe a bit paranoid now... but if this is Brake Wire Installations for ALL Olivers... oh Boy. I may have lost several pounds from sweat evaporation. It was 105 degrees... but I was in the... shade, so a bit cooler. Maybe. Pull off the rear Wheel to do the wiring. Much easier than working from the back side. My 'nasal hairs' are almost a thick as the RED Wires that went through the AXLE. They have the brown covering.
1 point
-
I think it's well worth the $5 per month just for the peace of mind of having emergency connectivity if needed.1 point
-
The first George Strait concert we went to was in 1985 in the Killeen High School auditorium in Killeeen, TX just outside of Fort Hood. Amarillo By Morning was his big hit then. We went to another concert a few years ago, to hear a 70+ year old George and he didn’t miss a beat. Over 2 hours of singing and he finished as strong as he started. He lives near us and is very active in the area. He’s authentic. Mike1 point


-
Recent Achievements
-


")


")


")

