Leaderboard




Popular Content
Showing content with the highest reputation on 06/01/2026 in Posts
-
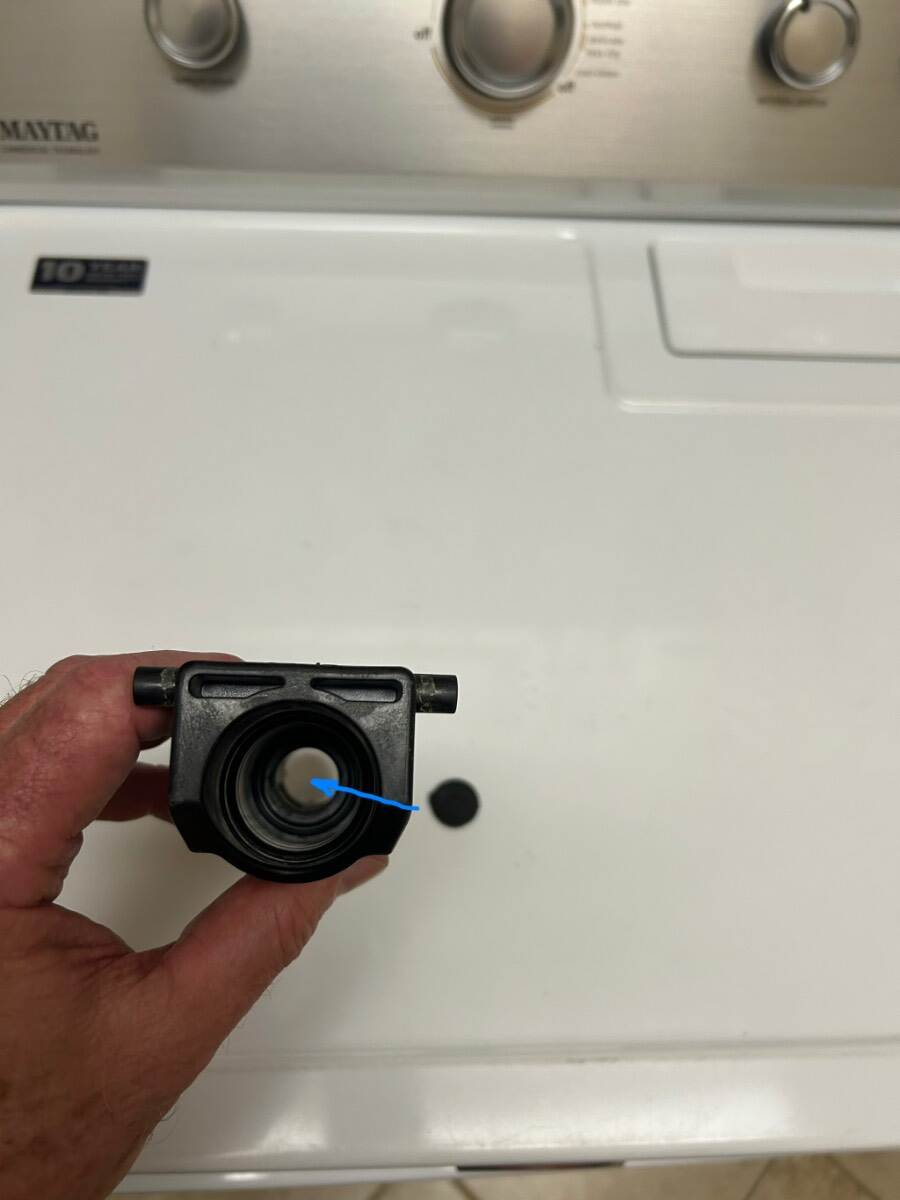
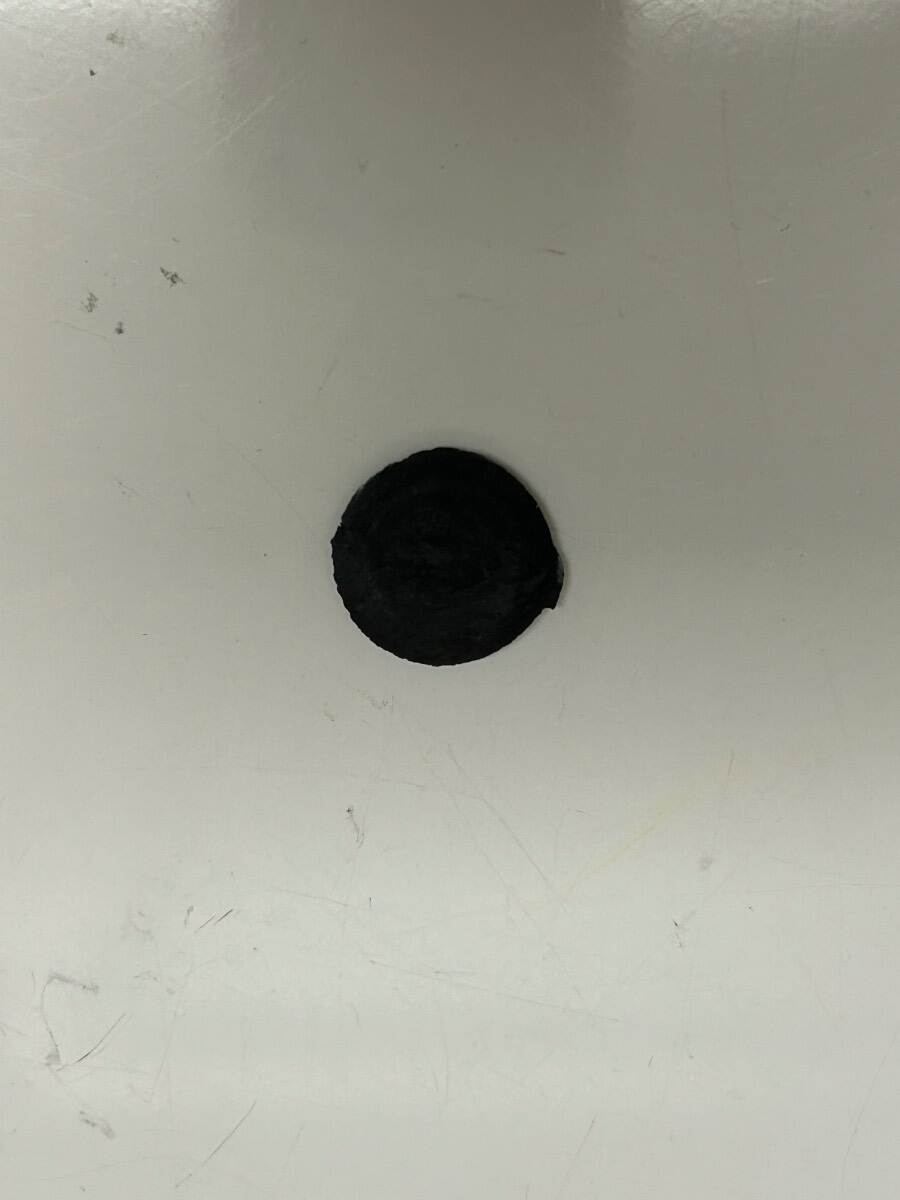
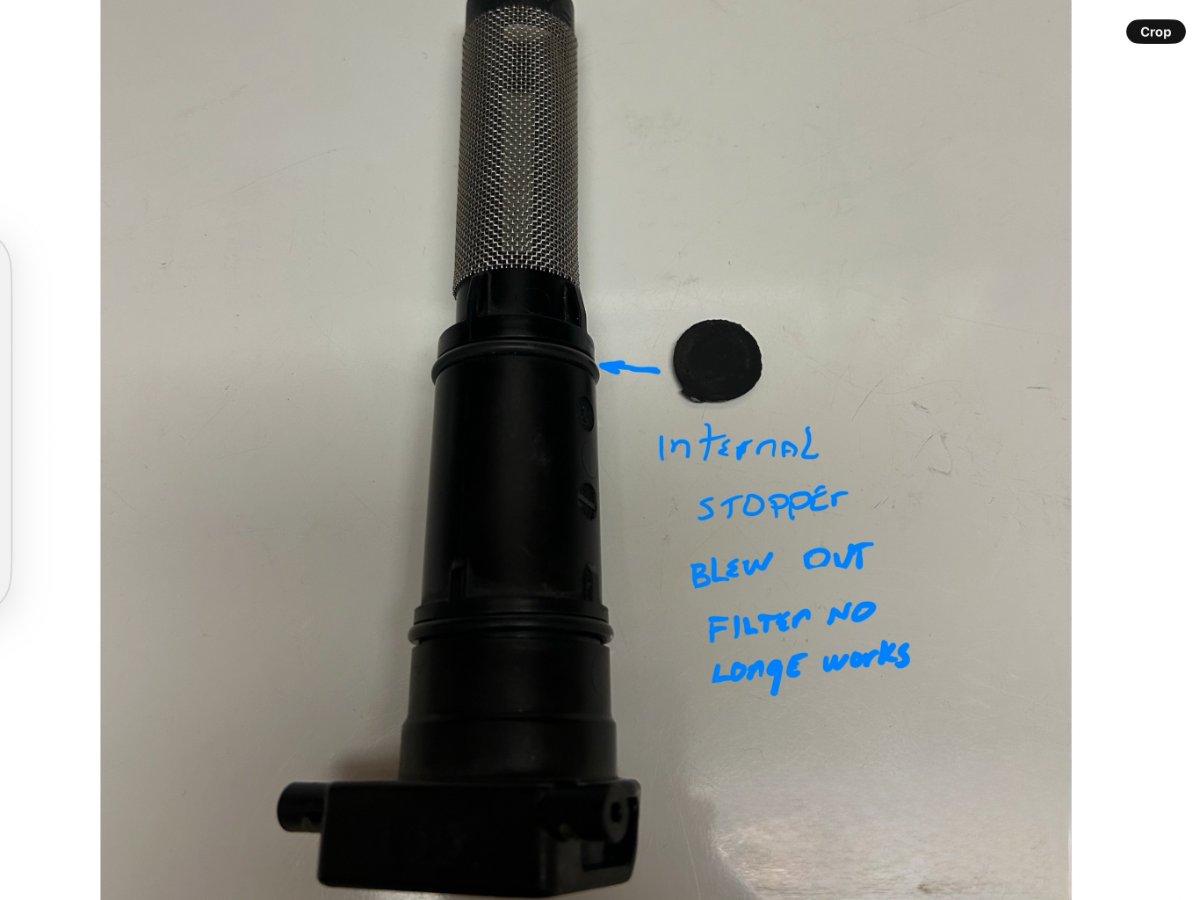
This morning while doing a full systems ‘go’ inspection on Hull #634 XPLOR, I discovered when I configured the Truma water heater valve to the ON position, an impressive stream of water shot directly out of the Truma filter exterior housing. After a little troubleshooting, I removed the filter and discovered that inside the filter housing, a small black round piece of plastic had blown out of the filter housing. This rendered the filter useless. We have had 5.5 years of trouble-free service from our tankless Truma and this was a first. We like our Aqua Go. I am posting this in the event anyone should have the same issue with their Truma filter. I have the optional antifreeze filter which works in a pinch as a back up. If you do not have the optional antifreeze filter as a back up, you will be stuck like Chuck with no hot water. In order for the Aqua Go to work, it has to have the filter element. I contacted Oliver Service and ordered a OEM replacement and an extra back filter up of the exact one you see in the below pics. “Two is one and one is none.” 🫡🇺🇸 Replacement filters are $95.00 plus shipping. Thank you Mike Sharpe for getting my new filters shipped out. The tiny piece of plastic that broke loose. Here is the filter that failed. You should not be able to look through your filter. The arrow points to where this tiny piece blew out. There is no way to repair it. I pass this on, so that if you have this issue you can just replace the filter with a new one.
 5 points
 -
It’s just a normal roller shade, nothing unique to Oliver, so doing a general web search on roller shades might help. Mine are working fine but I think (remembering to when I’ve used them before) if it’s kinda stuck just pull down to the bottom of the window to reset the mechanism. Regarding “the others retract to at least 3/4 of the way up” - I think you mean they leave 1/4 hanging when fully retracted? That’s not right, all of mine only leave an inch or two of the shade hanging. Anyhow so far been trouble free for me. The design has been around forever, seems like an early 20th century invention, anyhow should be easy to work with. No, interesting it has an even longer history4 points
-
Thanks for all the replies. Sorry I haven’t updated sooner. We have been boondocking for several days. I have been in communication with support at Oliver. At first they didn’t understand why it wasn’t working. As they investigated they reported that it appears that the stovetop does pull 1800 w and overloads the 2000 w inverter. The only other major draw is the refrigerator. Even when I turn that off, the stovetop does not come on. I stopped at a Bass Pro the first day to pick up a small 2 burner propane stove so we could at least have coffee in the morning. Not what I was planning when camping. If I had known I would have asked for the propane stove instead of the induction stove. We have the Platinum pkg and I did ask sales at the dealer if people liked the induction stove and if I could use it boondocking. Answer was that it works. I noticed that the induction cooktop comes standard on the Legacy 2026. This isn’t working for us as designed. I have asked for this to be resolved…proper inverter set up or a propane stove retro fit. If you do much camping at Harvest Hosts, BLM, National Forrest, National Parks, etc. w/o hookups, it is a problem unless you run a generator. When we return from our travels we will see where Oliver lands on this. They are considering possible “upgrades” to our camper. I wouldn't see a resolution as upgrades, but will find out. When hooked up to shore power, the cooktop works great. But so far for us, most of our trip, was making coffee or cooking outside on a portable propane stove.4 points
-
Not powering up is NOT the same thing as it taking too many watts overloading an inverter! Given it "does not come on" (at all), it's simply not wired to a circuit supplied by the inverter. If an appliance wired to the inverter pulls too much amperage, your inverter will start making noise and will shut down when overloaded, but it certainly will "come on." What were they thinking at OTT! And BTW, a 2000W inverter by definition will run an 1800W appliance! Given the True Induction cooktop is rated at 1800W, and it's a 2-burner cooktop, then each burner is rated at 900W. If OTT had wired the cooktop properly, you could certainly heat up water for coffee on one (1) burner and run the fridge at the same time! You will be well under 2000W! 🤣 Get OTT to wire this properly! I would just DIY, as I suggested in an earlier post, but you have to be concerned of warranty issues. We have the LP cooktop of course, but like Bill mentioned also have an induction cooktop that we plug in indoors or out. We also do not use our LP stove stove to heat coffee water (unless battery SOC is LOW). We love these products! 😎 https://www.amazon.com/dp/B07KSNTSVR/?th=1 https://www.amazon.com/Aigostar-Eve-Electric-Cordless-Boiling/dp/B07D3R7RZT/ https://www.amazon.com/Melitta-Pour-Over-Coffee-Stainless-Filters/dp/B0CSQLHFW9/3 points
-
The propane cook top has been very reliable and works well for us.3 points
-
https://res.cloudinary.com/lci-cloudinary/image/upload/v1734451736/Design Team/Sell Sheets/Lippert_-_Sell_Sheet_-_3000_Series_Windows_OEM_-_2023002334-WEB.pdf https://corporate.lippert.com/products/rv/windows For all the people interested in these other windows, link above. Not easy to fine.3 points
-
Wired and tested the iRV62 today. Very easy to wire to Oliver wiring with AM/FM, DVD, and CD player working great with original Jensen TV and Jensen speakers! Great choice!2 points
-
Part number of OEM Filter is AquaGo Replacement Filter # 77000-002512 points
-
Keep working with the folks at Oliver. It sounds like they understand where you are coming from and, in my experience, they will do everything that they can to get you to where you want to be. If for any reason this situation doesn't seem to be progressing towards your desired end, I would not hesitate to get Jason Essary involved. And, if that doesn't work then I'd write a note to Scott Oliver telling him (respectfully) the situation and request his help in getting your Ollie the way you want it. Be sure to let us know how this situation is resolved for you. Bill2 points
-
I'm sure Oliver will resolve this cook-top issue, under warranty. We're like Mike & Carol, our propane cook-top has been very reliable. We use a portable 120V induction cook-top, too.2 points
-
Thank you Galway Girl for input from your actual experience! Very helpful!2 points
-
Thanks I will keep an eye on mine!1 point
-
Try unloading the fitting and likely you will get it to take grease. Sorry for speed reading this 36 page thread if you already tried this. GJ1 point
-
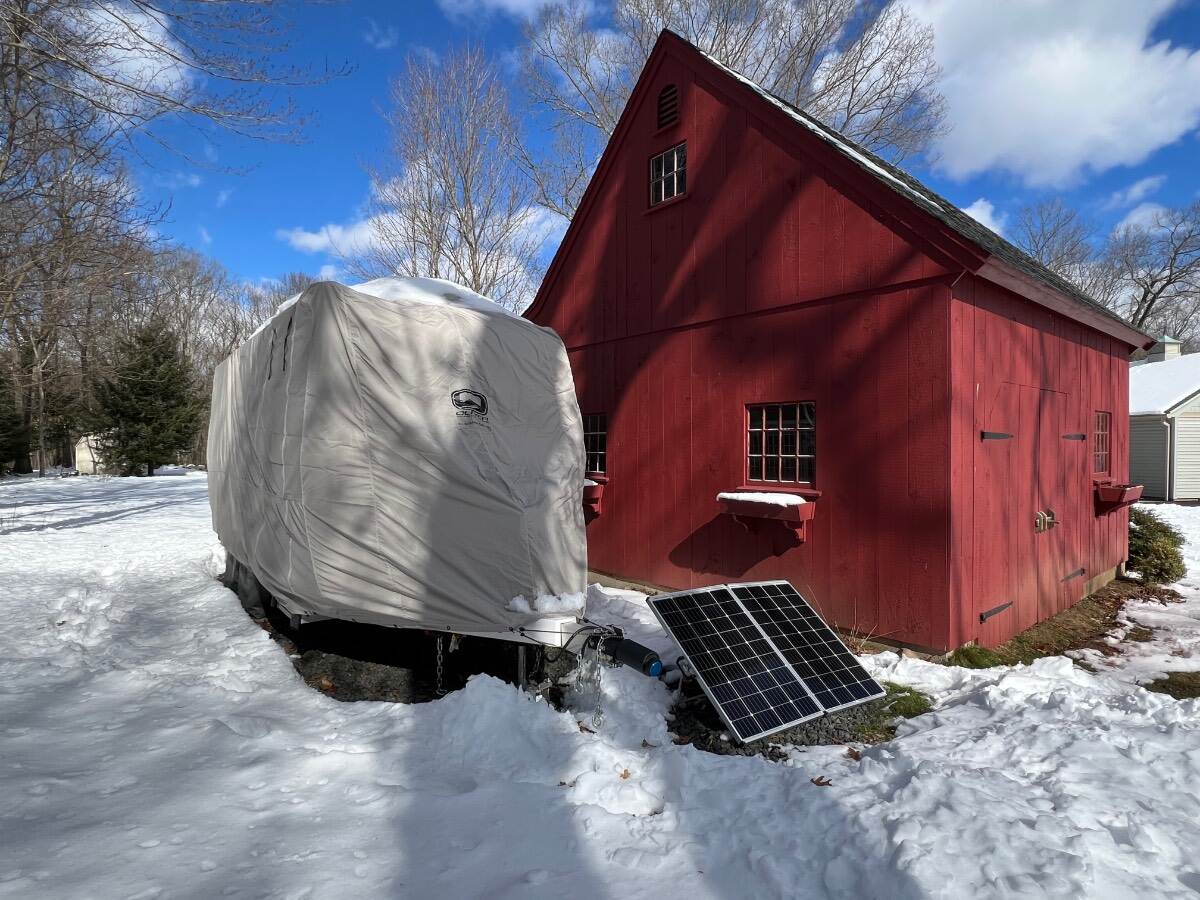
Yes, the cover has worked out very well. One of the nicest features is that there is a zipped door panel that allows access to the trailer when the cover is on which works great when checking on or working on the trailer during the winter.1 point
-
Getting back to this: Looking at the Lippert.com website, I do not see awning-style windows, just the 8800 series sliding windows. Are we sure the manufacturer is Lippert? Are they OEM only? Tim1 point
-
I had this happen and found that one of the spade connections at the pump had come loose. I crimped the spade connection for a tighter fit, reinstalled, all good. A few others have experienced this, as well; simple fix!1 point
-
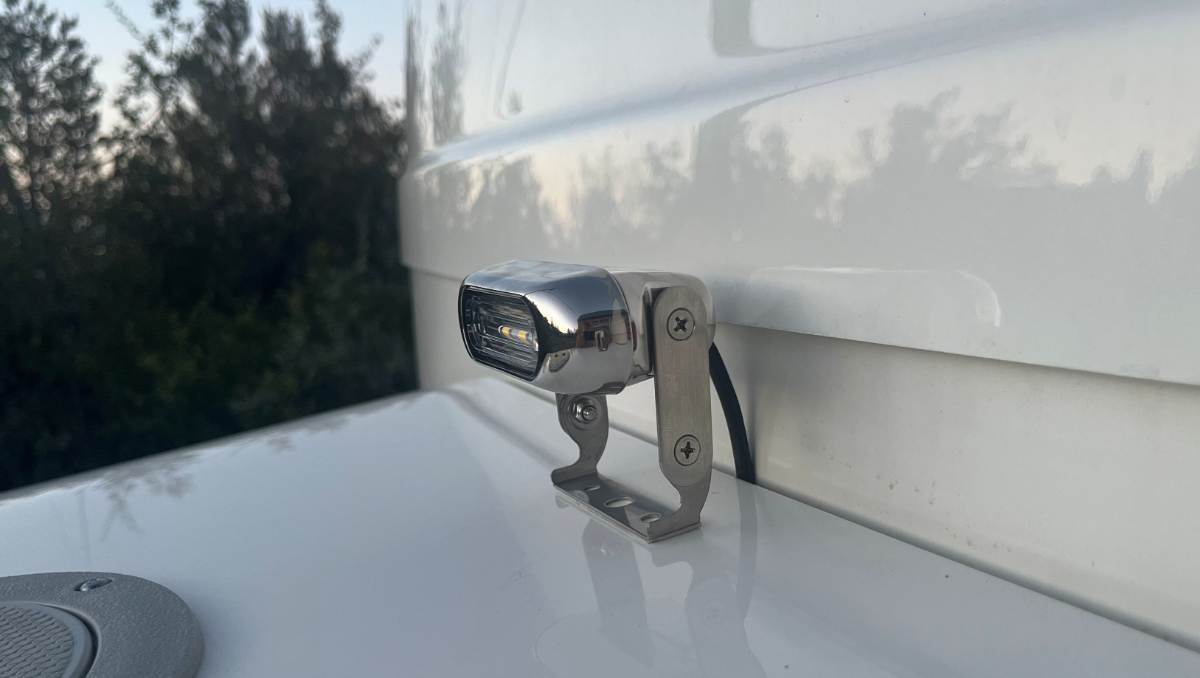
Got this working yesterday, using the screws supplied with the light on top and hardware I had in the shop to attach the bottoms. It looked hodgepodge today. I really should fab a proper bracket, but for now I just wanted to fix its appearance. Went to the local HW store and got four short 4mm countersink screws and two Nylok nuts and washers. I had to countersink the brackets further to get the screws flush. The assembly is much better, but now that the light is taller, I noticed two things. The base bracket looks cheap now that you can fully see it. And the height is right at the belly line where the hulls meet, so visually it's not good. It looked better shorter, but now the light is where you need it. If I was to do this again, first I would use the great idea @Steph and Dud B made above; to grab power and use the light switch on the jack. Second I would fab a proper bracket a bit shorter than this one and push it forward a couple inches to get the required angle. Then it's not up against the hull belly line and will look better. It's too late for me re the first idea, but I'll do the latter when I source the right stainless steel stock. Looks like one of those Star Wars robots! It's all the light we'll need to hitch-up and load or unload the truck in the dark when necessary. We now have proper exterior lighting on all four sides! 😎
1 point
-
I apologize for not posting a resolution sooner. I changed the inverter circuit breaker for new. Hard to find. Home Depot website only. Charging issue resolved. My theory is a washboard road in and out of 11 Mile Reservoir State Park CO. Who knows?! Thank you for all your knowledge. Mark1 point
-
One exception may be Dan. @DanielBoondock ???1 point
-
At the time that we purchased ( Jan '23 ) Oliver sold a portable panel as an add-on. It's basically the same panel(s) that are on the roof but with a stand and controller / converter. We found them of little use other than as a battery maintainer during the winter. It also works great for charging tractor and trolling motor batteries when needed.
1 point
-
I've personally seen 10 trailers with one or more broken.1 point
-
Here is the “How to” video of how we added two shelves inside the closet.1 point
-
It appears you added an electric operated valve to empty the fresh tank only. I'd like to do this too, plus add two additional motorized 3-way water ball valves to switch the under-bed plumbing from drawing from the fresh tank, to drawing from the rear winterization port, and back. I had talked to ScubaRX about the latter, an upgrade he made some time ago. This US Solid product looks great, and the stainless-steel valve is spec'd for potable water. Steve had suggested a Misol product that is a China made brass of some kind. I'm hoping to find a US Solid 3-way valve for this other application. I'll let you know if I find one, or please if somebody has, please let is know. Here is the Misol product: Misol Motorized Ball Valve 1/2"(bsp) dn15 / 12vdc / 3 Way/Electrical Valve/Ball Valve with Acuator / Cr01 / Reducet T Port: Amazon.com: Industrial & Scientific1 point
-
Or both could be options!1 point
-
An electric fresh water drain valve would be a better option than the optional grey tank separator valve in the bathroom... just saying. Charlie.1 point
-
It’s basically just cutting out manual valve and replacing it with the electric one. Might want to have a piece of blue pex pipe handy. I extended how much pipe exited camper so I could crimp on a 3/4” threaded brass fitting. The two biggest decisions are where to mount switch and where to get 12v power from. I originally wanted to mount switch with the rest of the switches on the left wall as you enter camper, but running wires between hulls proved impossible for me. So I decided on current location shown in picture. For 12v power, I just tapped into a previous mod of a 12v exterior socket which was very close to valve location. But, it would not have been very difficult to run the wires to the other side of camper where the fuse panel is located. There is a Youtube video on wiring up the US Solid valve. Remember, there are two versions of the US Solid valve, a three wire and a two wire. The 3 wire is what I chose. In either open or closed condition, it draws no power. The two wire version uses minimal power when open and will automatically close when power is lost using internal capacitor.1 point
-
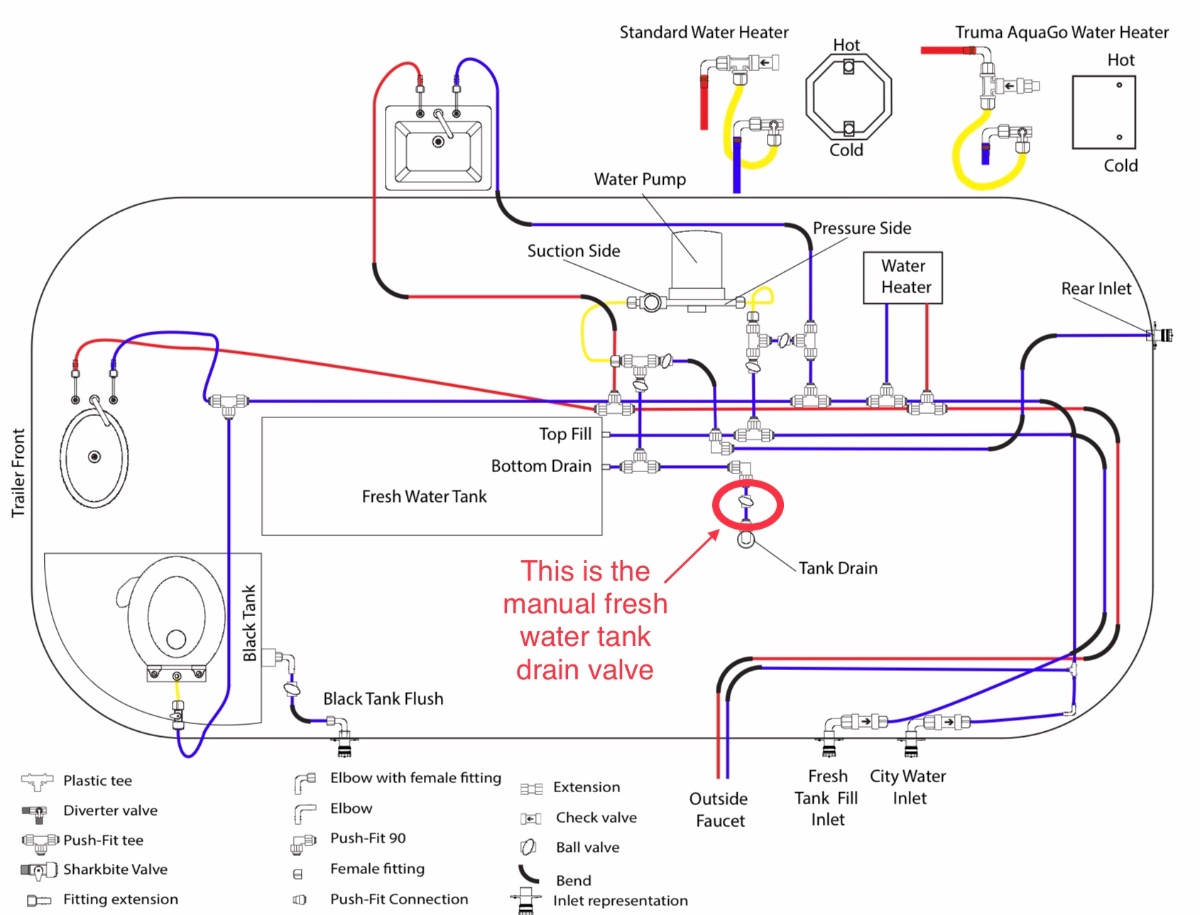
I am sure C&M Currie will respond with more information about this mod, but until then I have included a plumbing and electrical diagram from the 2017 LE2 manual to help you focus on the what it might entail. Mossey Plumbing Diagram Wiring Diagram
1 point
-
This is the one thing that I found was in a very inconvenient place, the fresh water drain valve (Elite II). I think this electric valve install should be stand on the Oliver trailers, just a pain the "a" to get to, lifting the bed and all the covers just to operate the value. trainman1 point
-
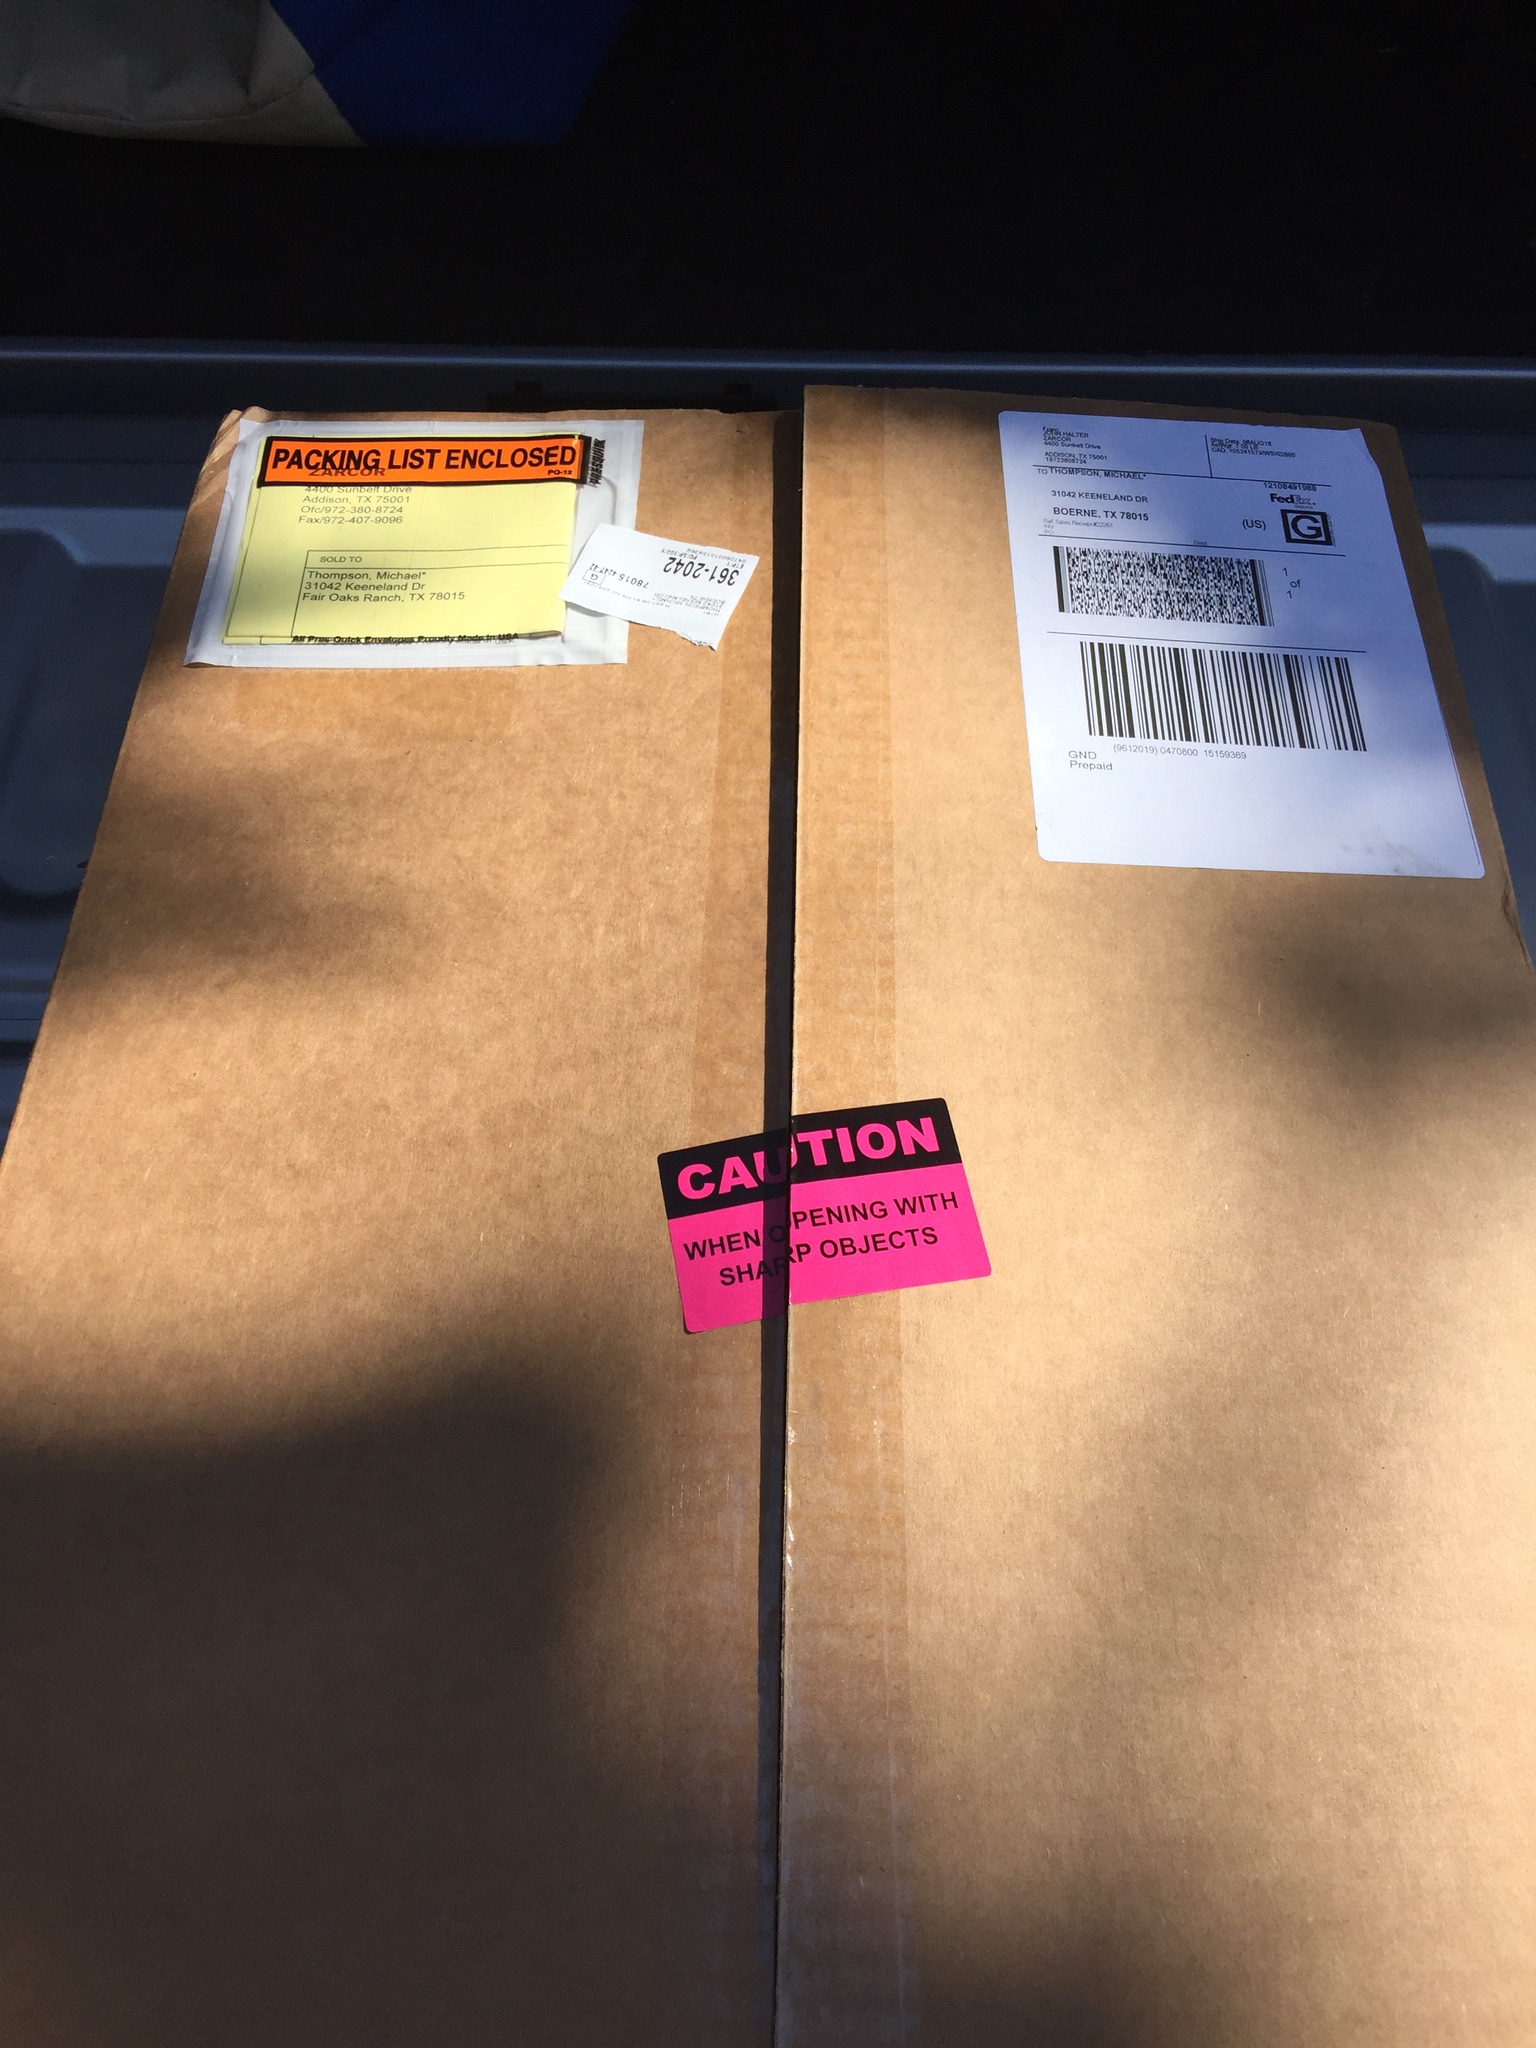
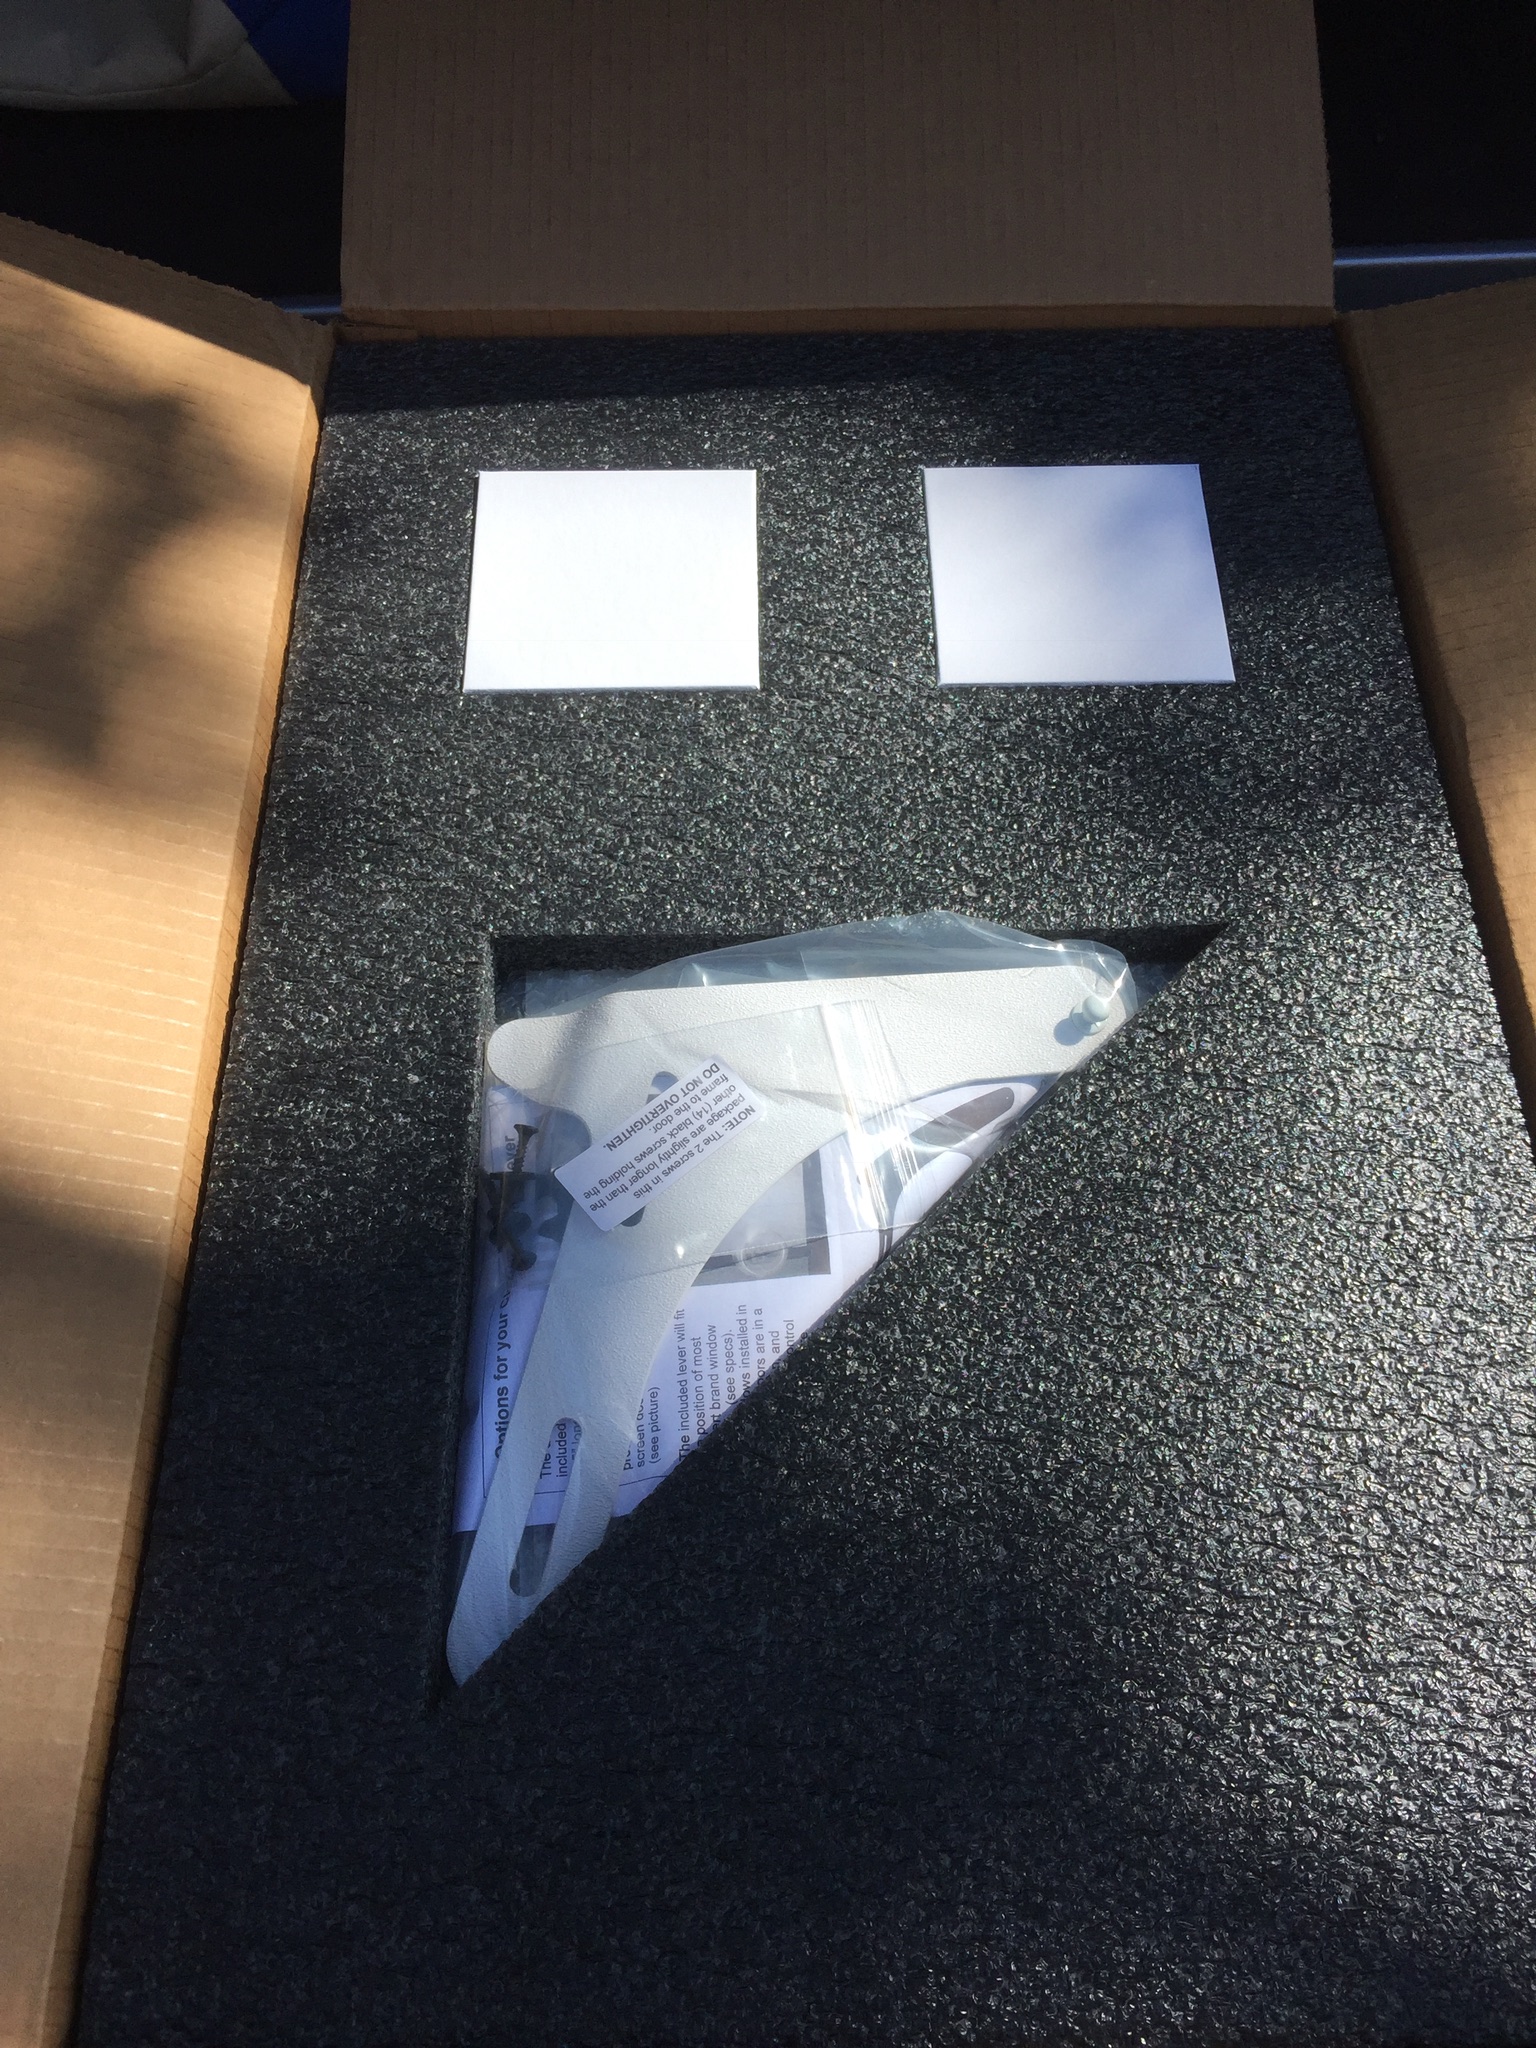
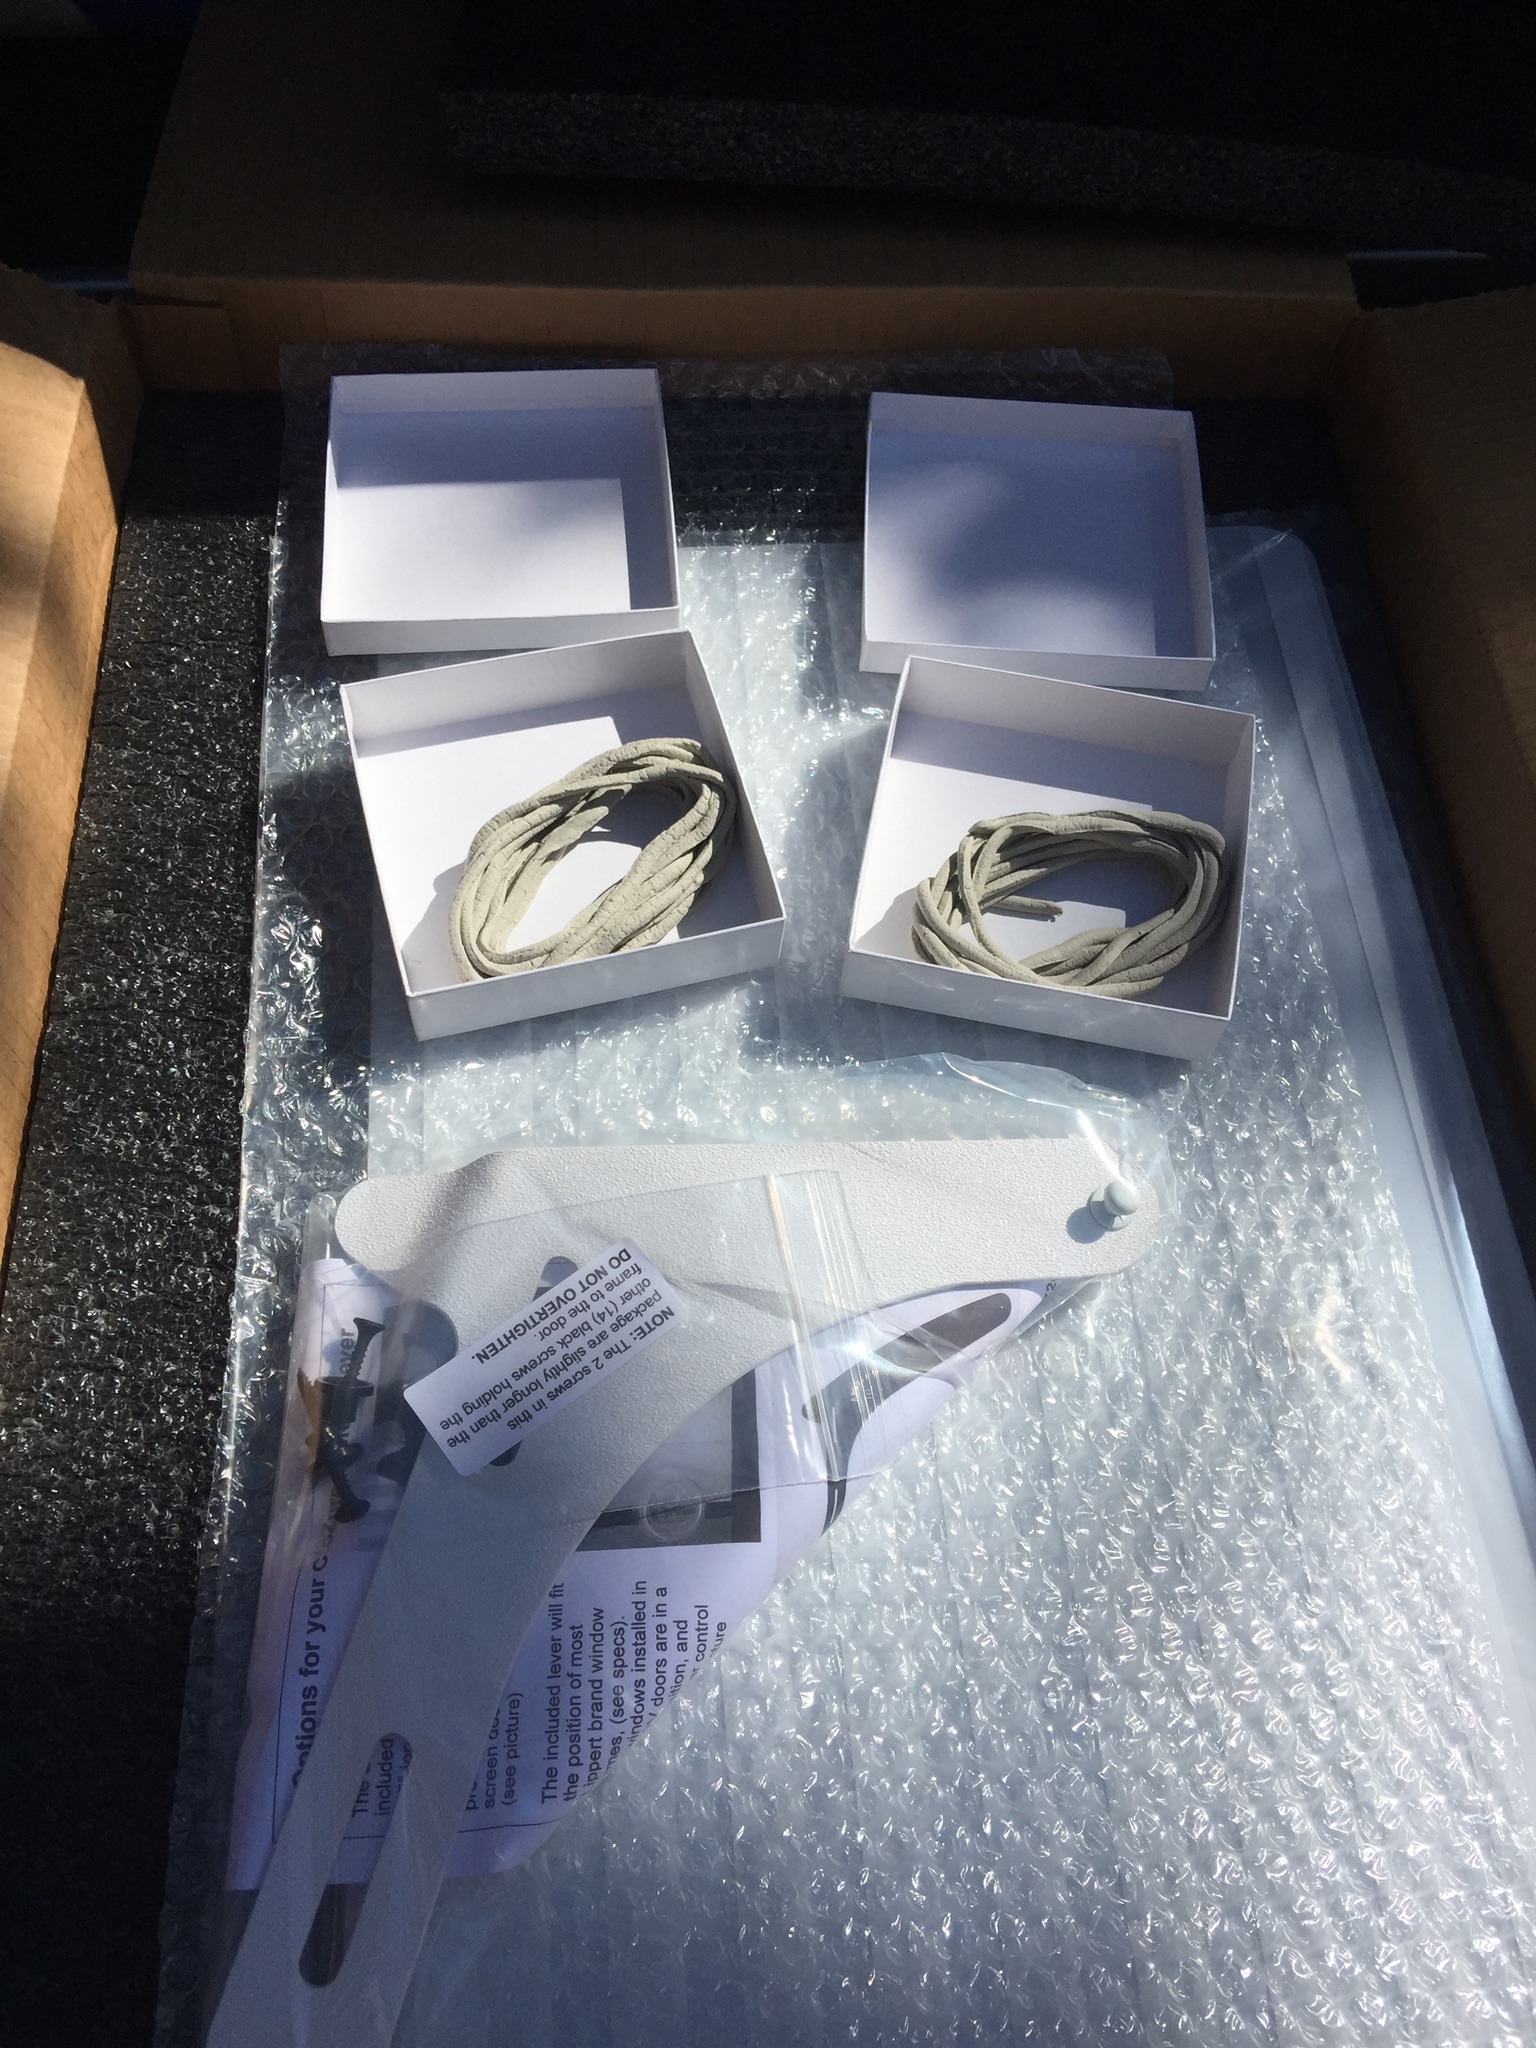
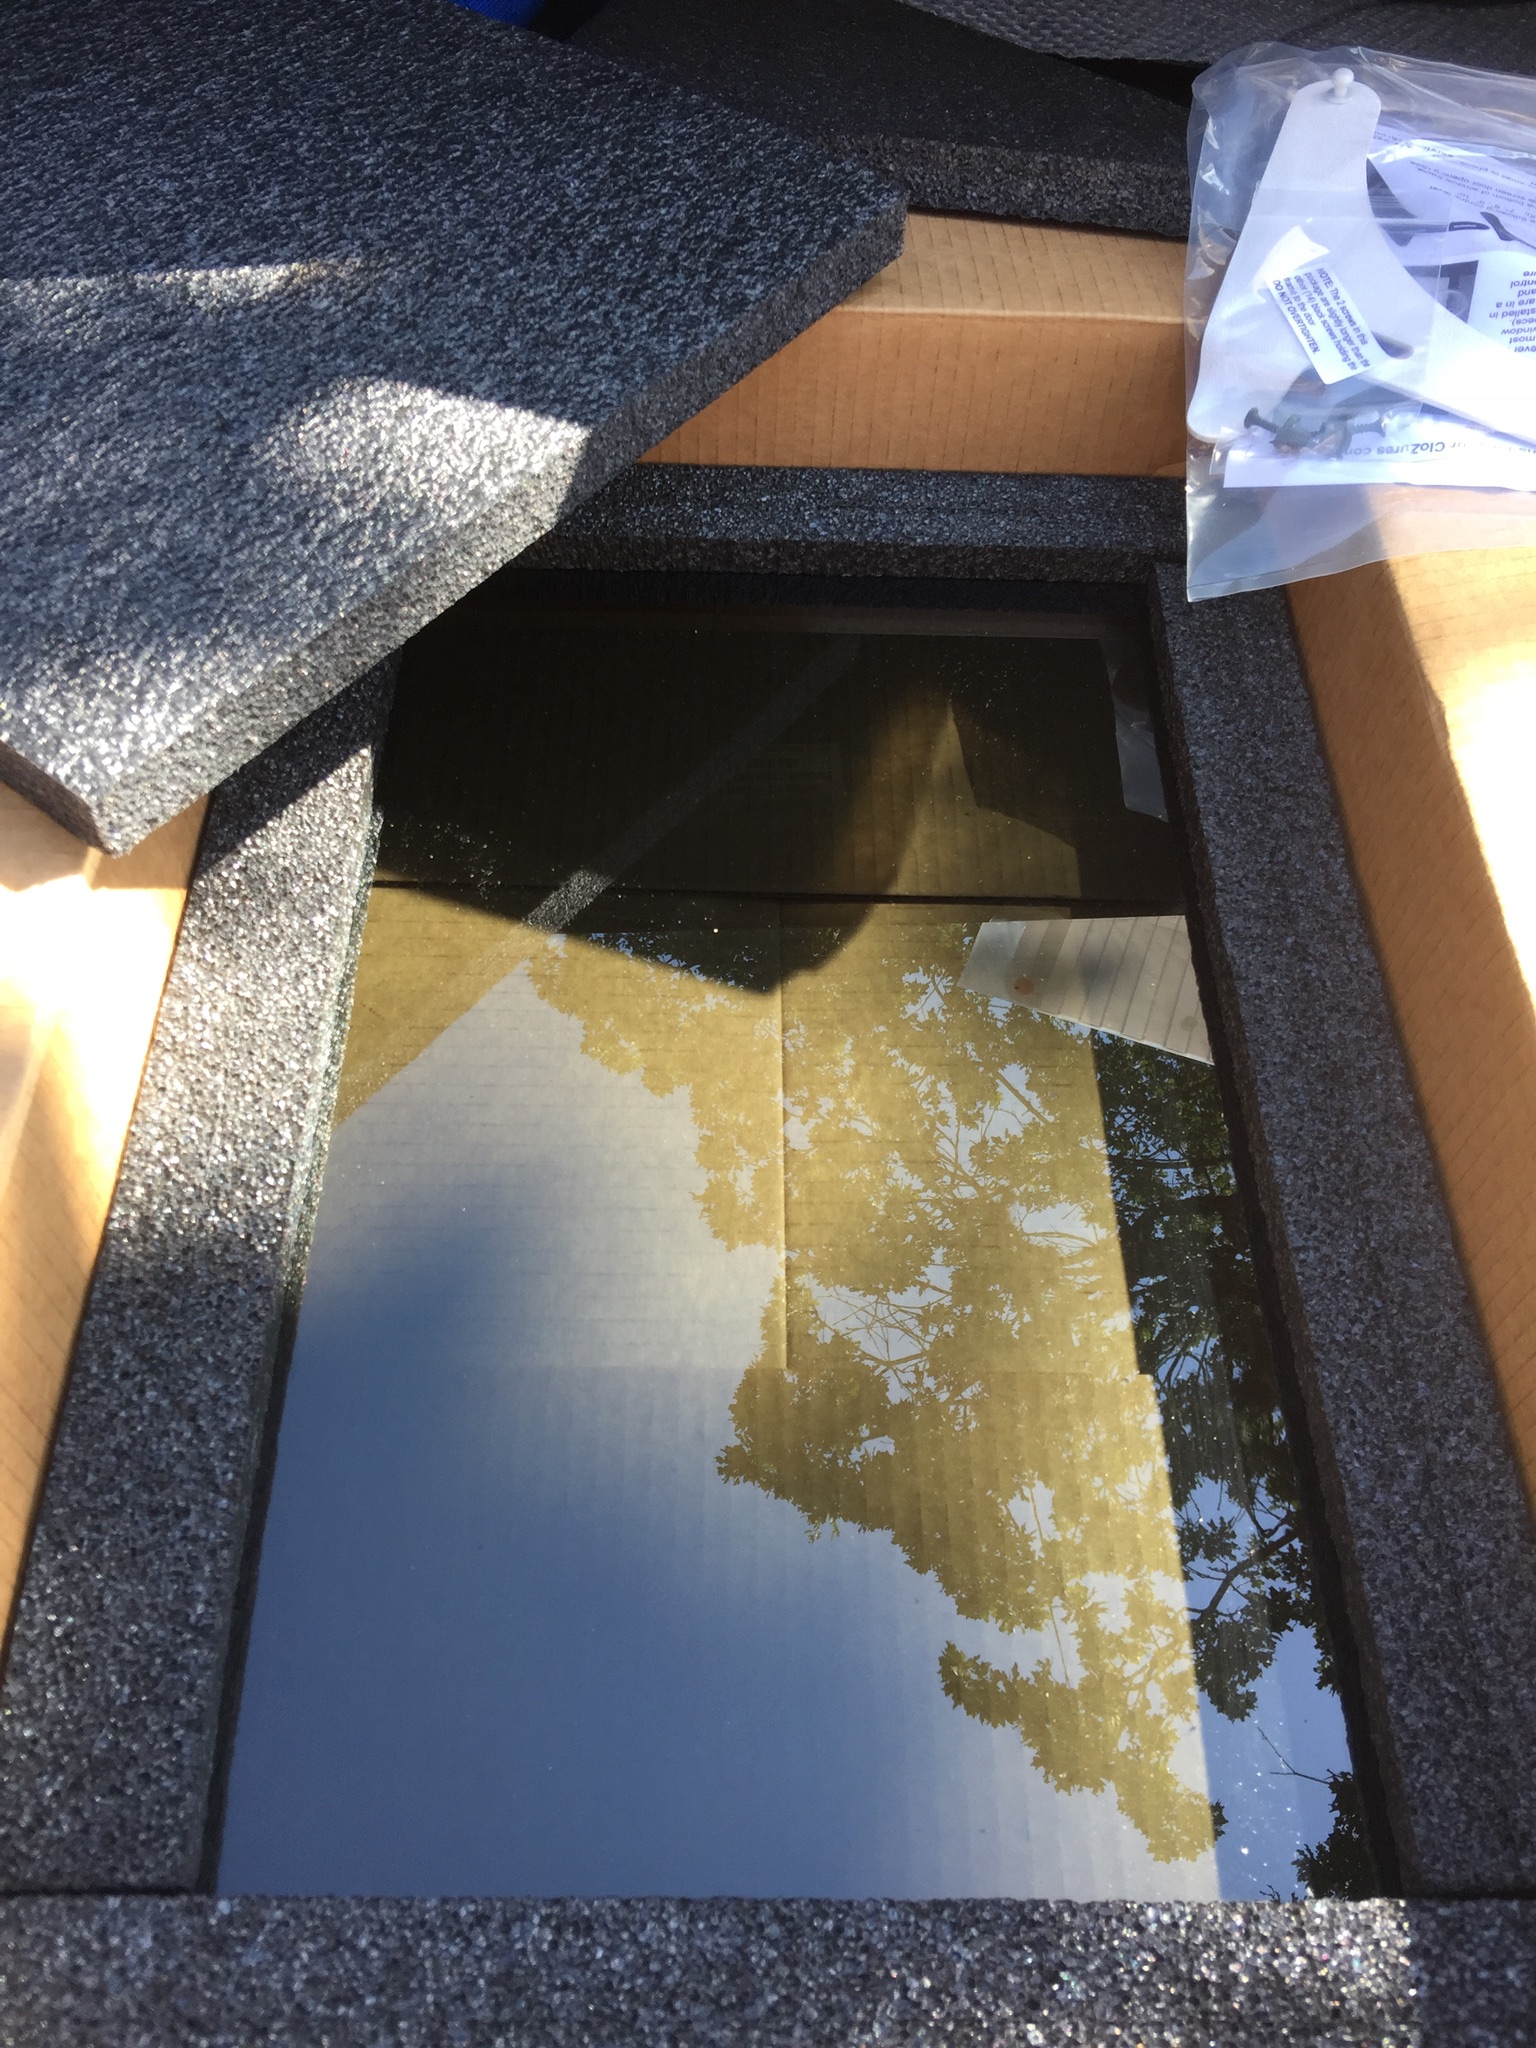
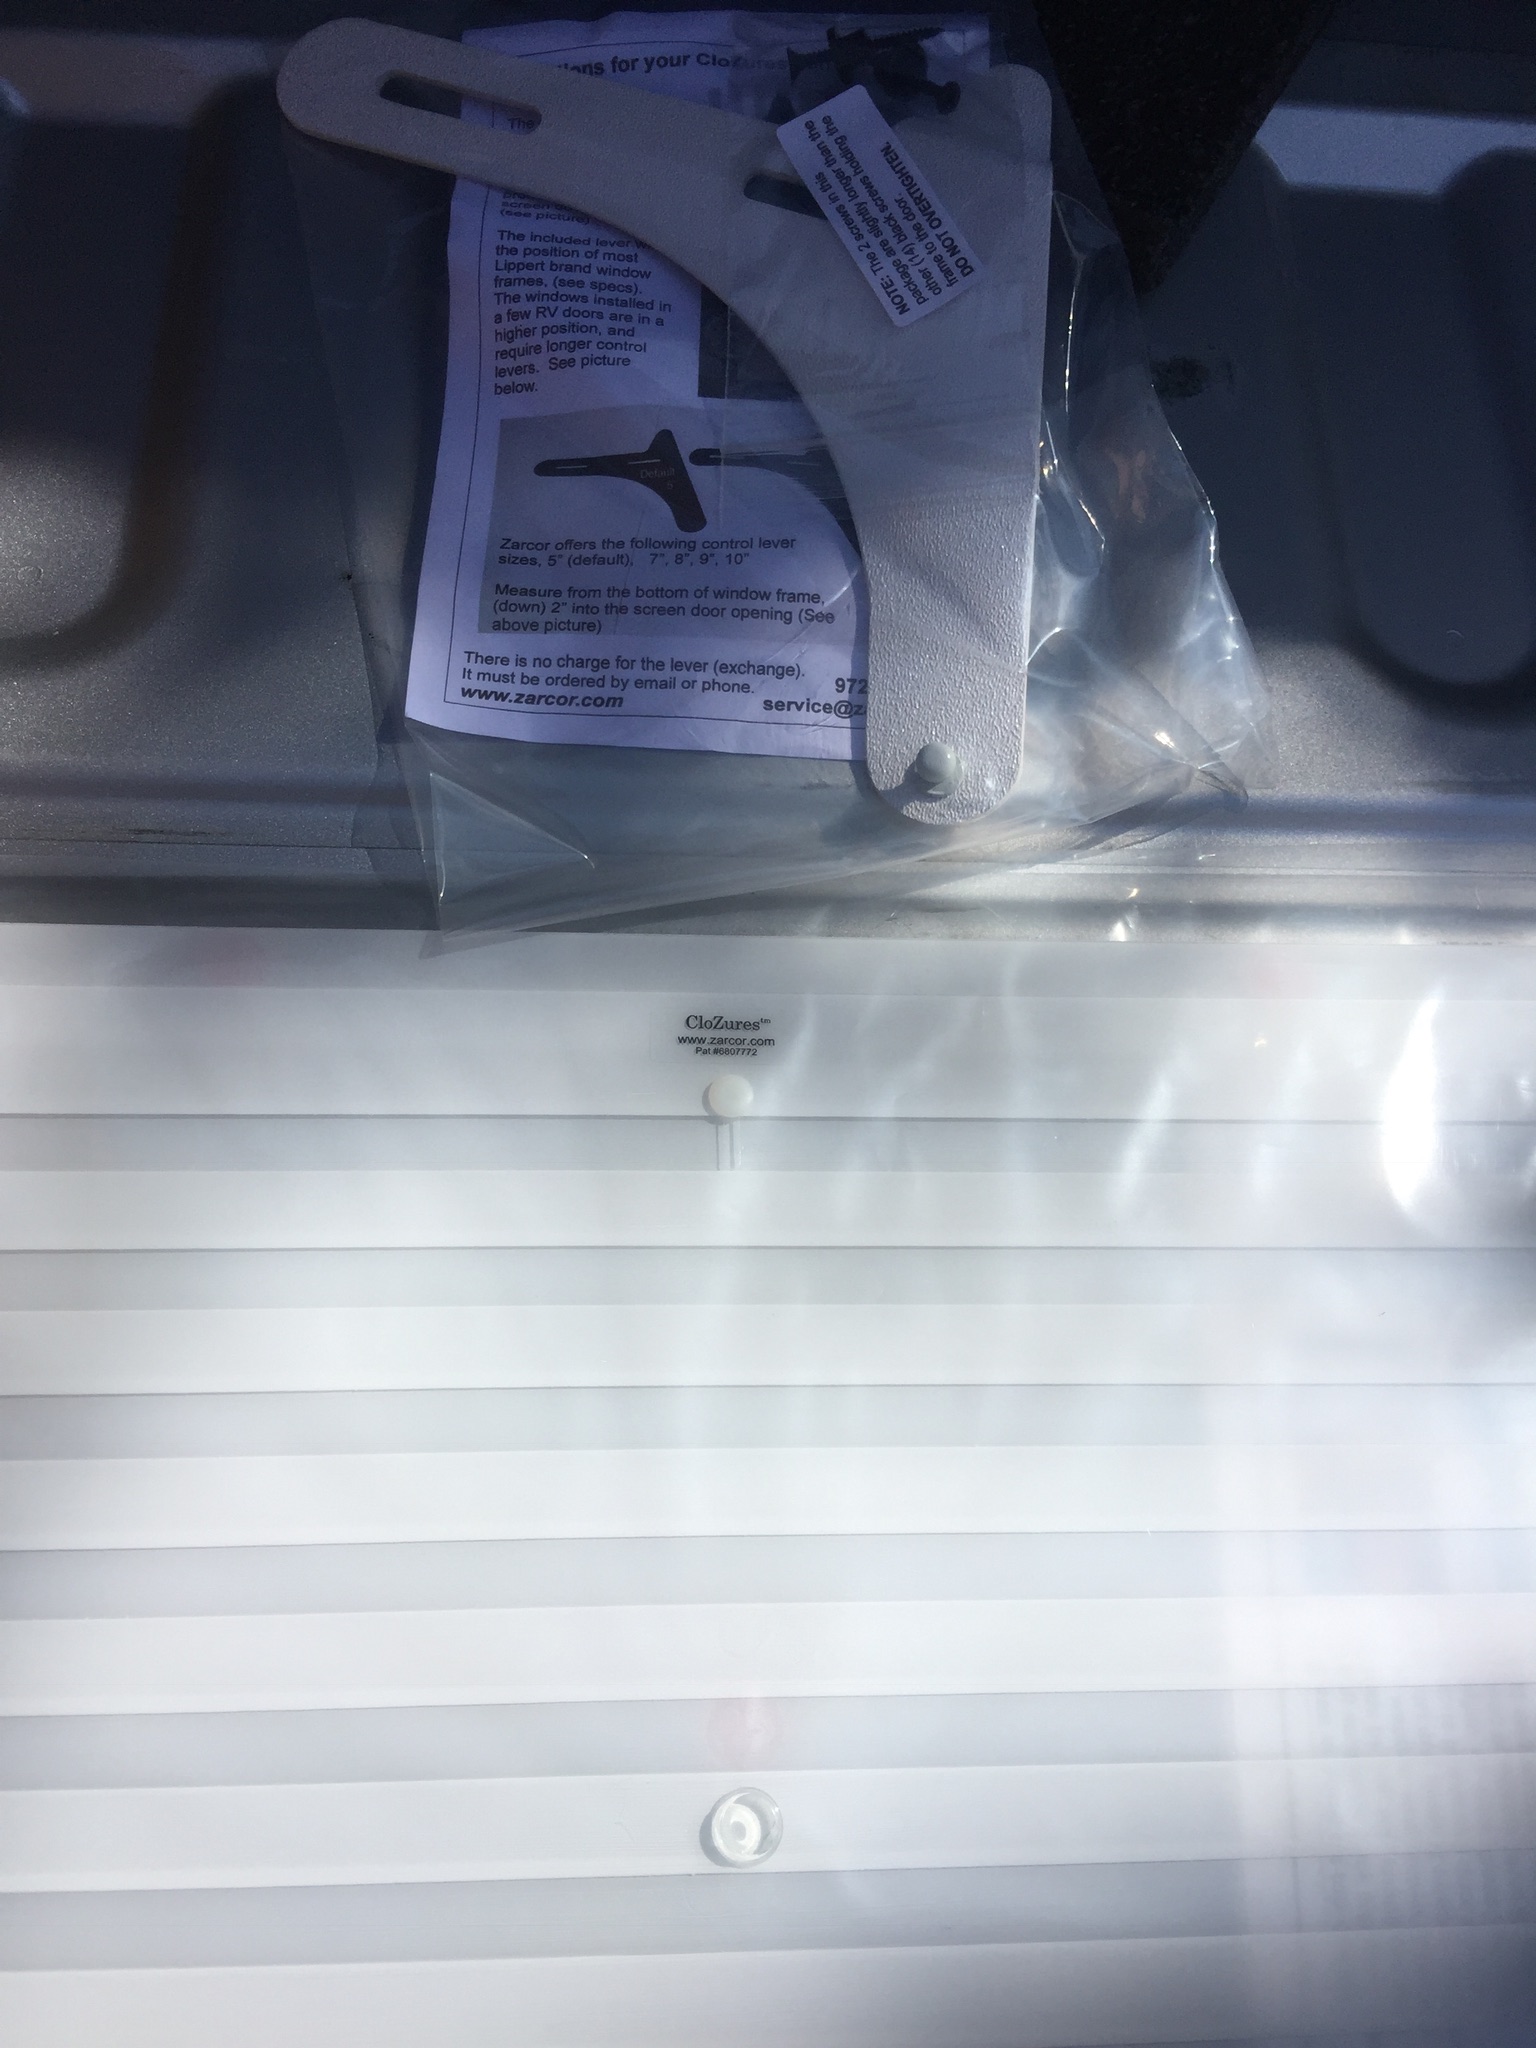
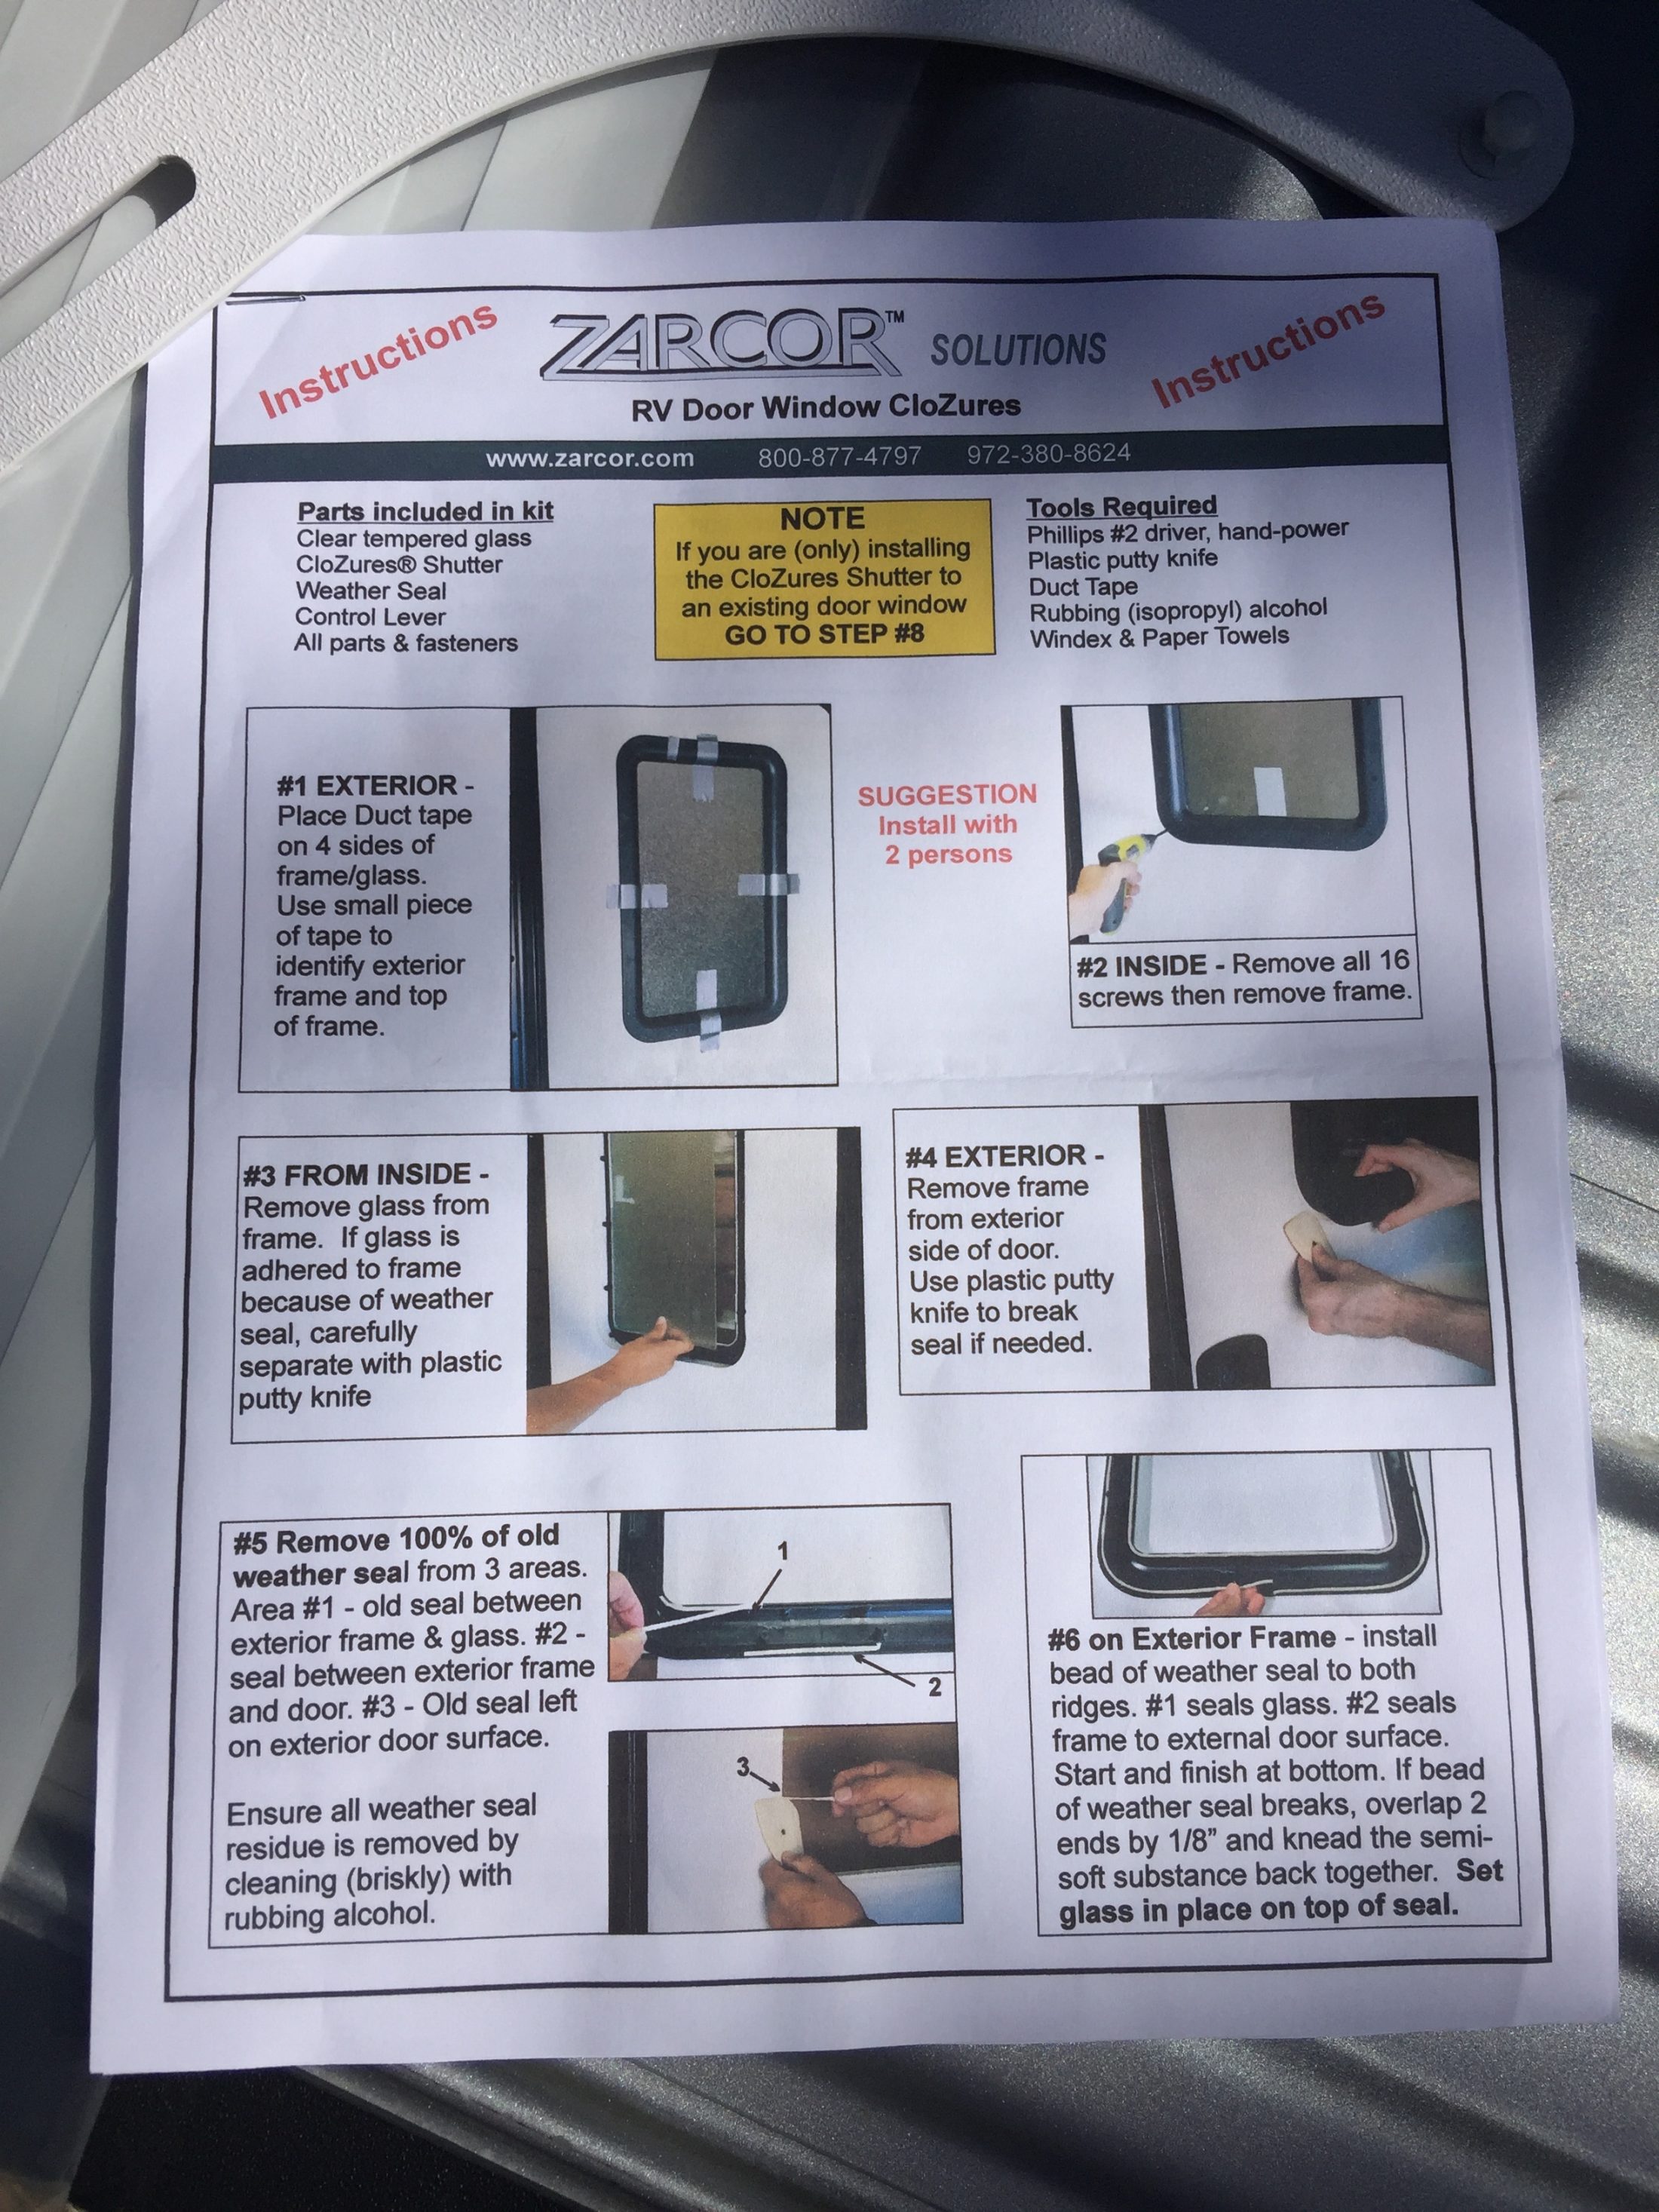
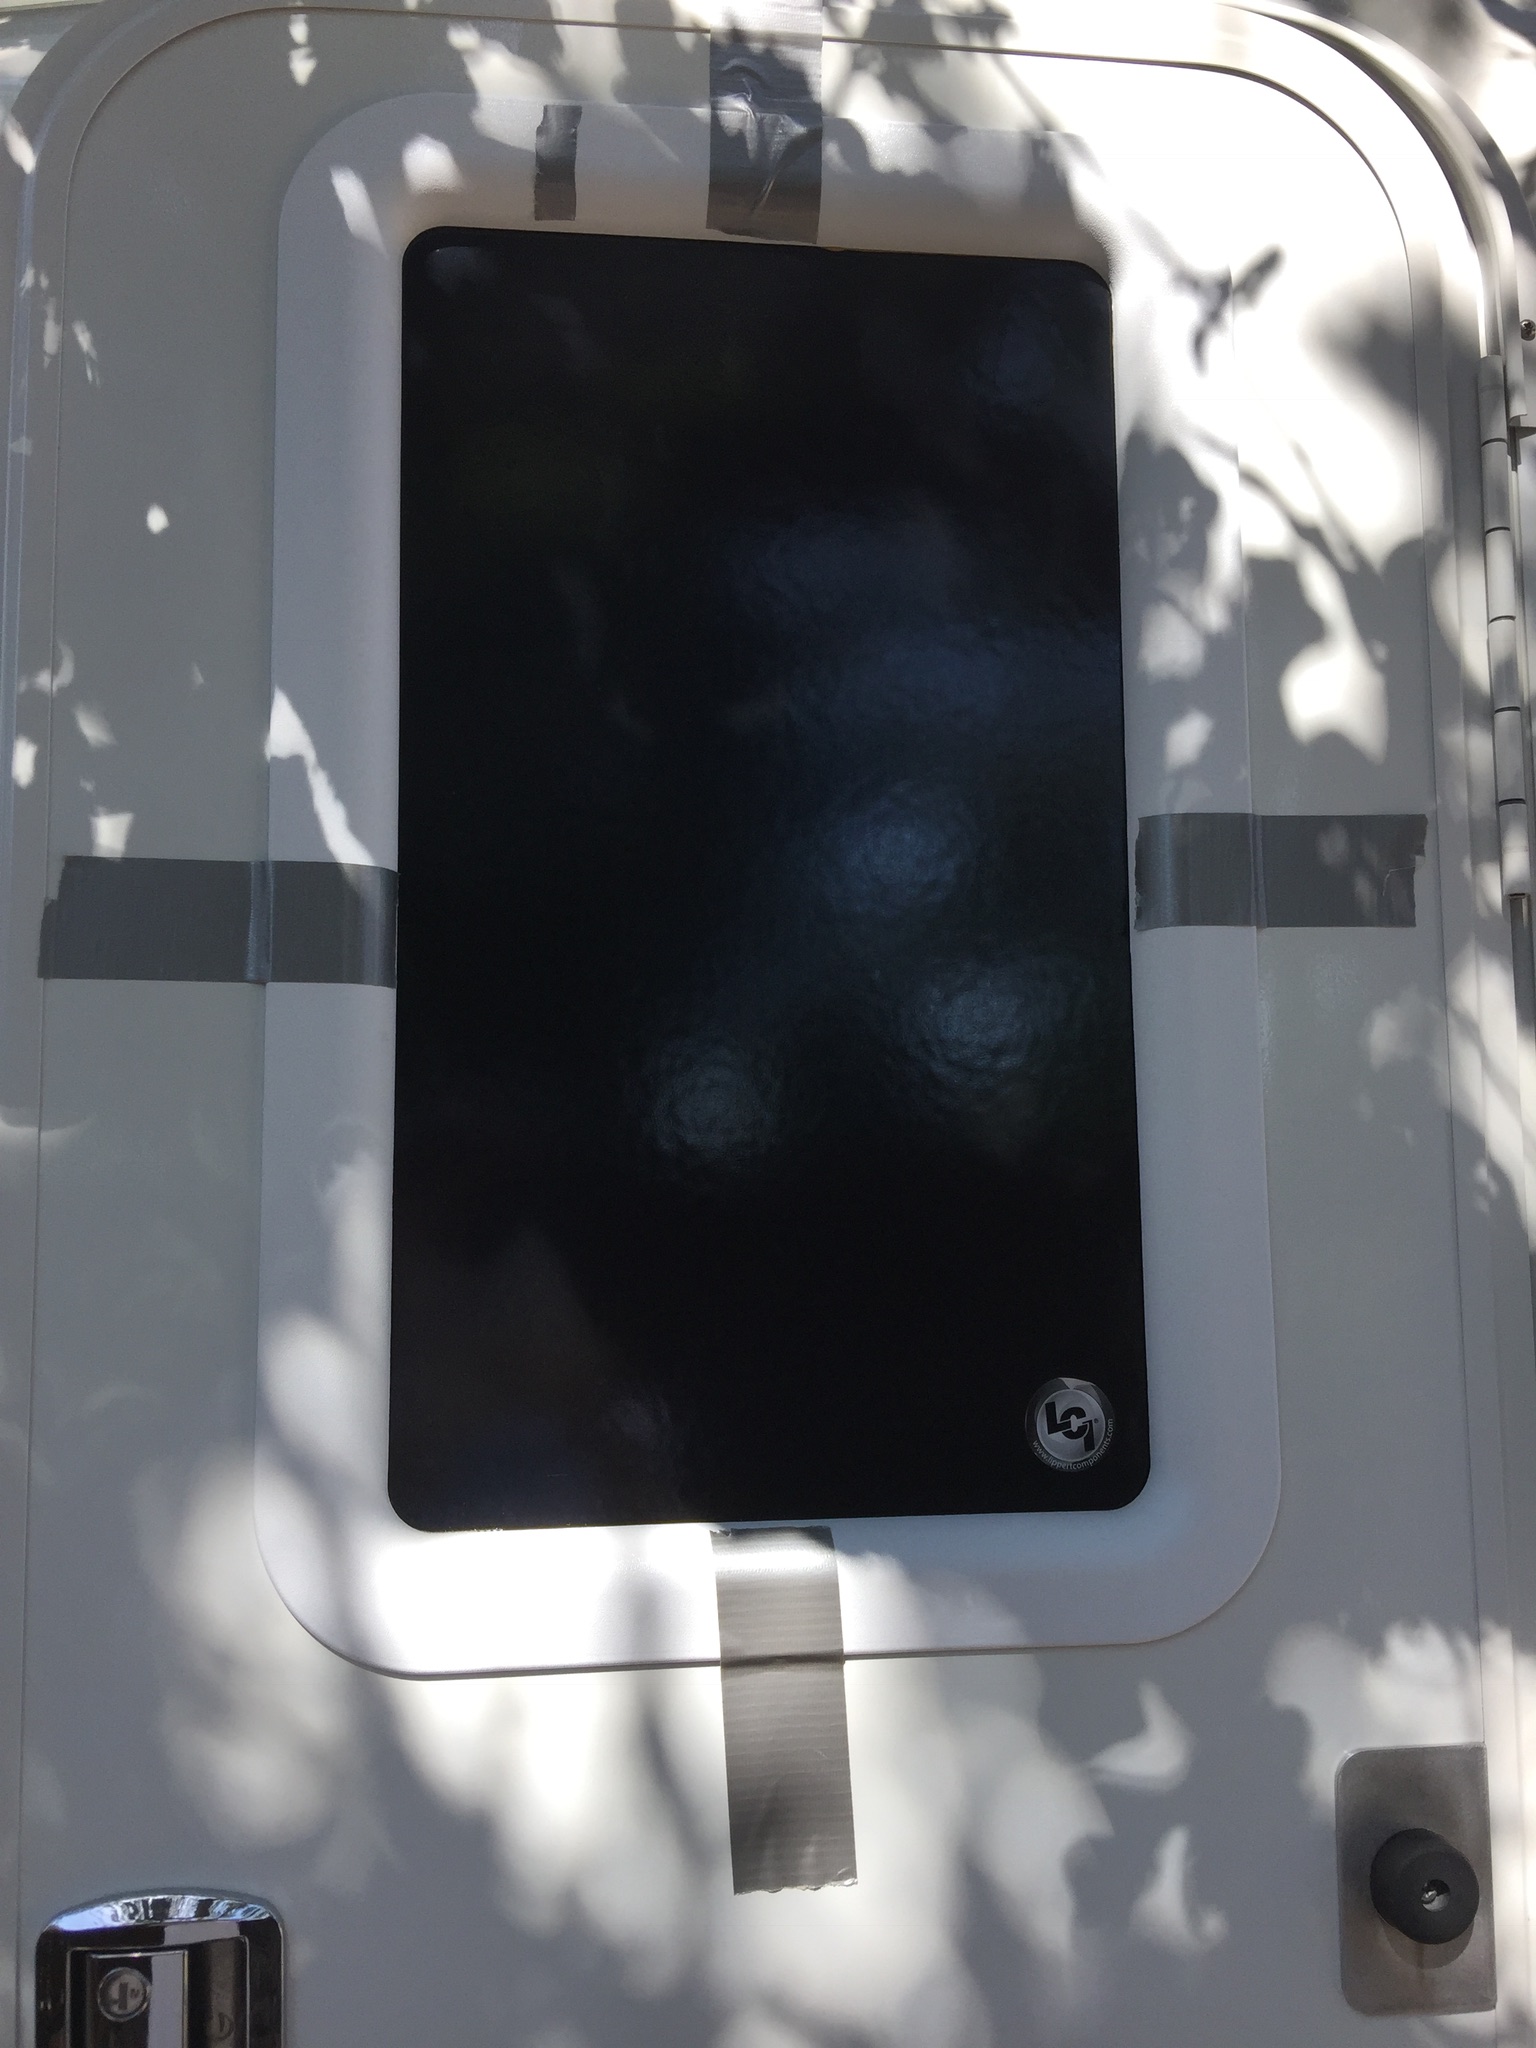
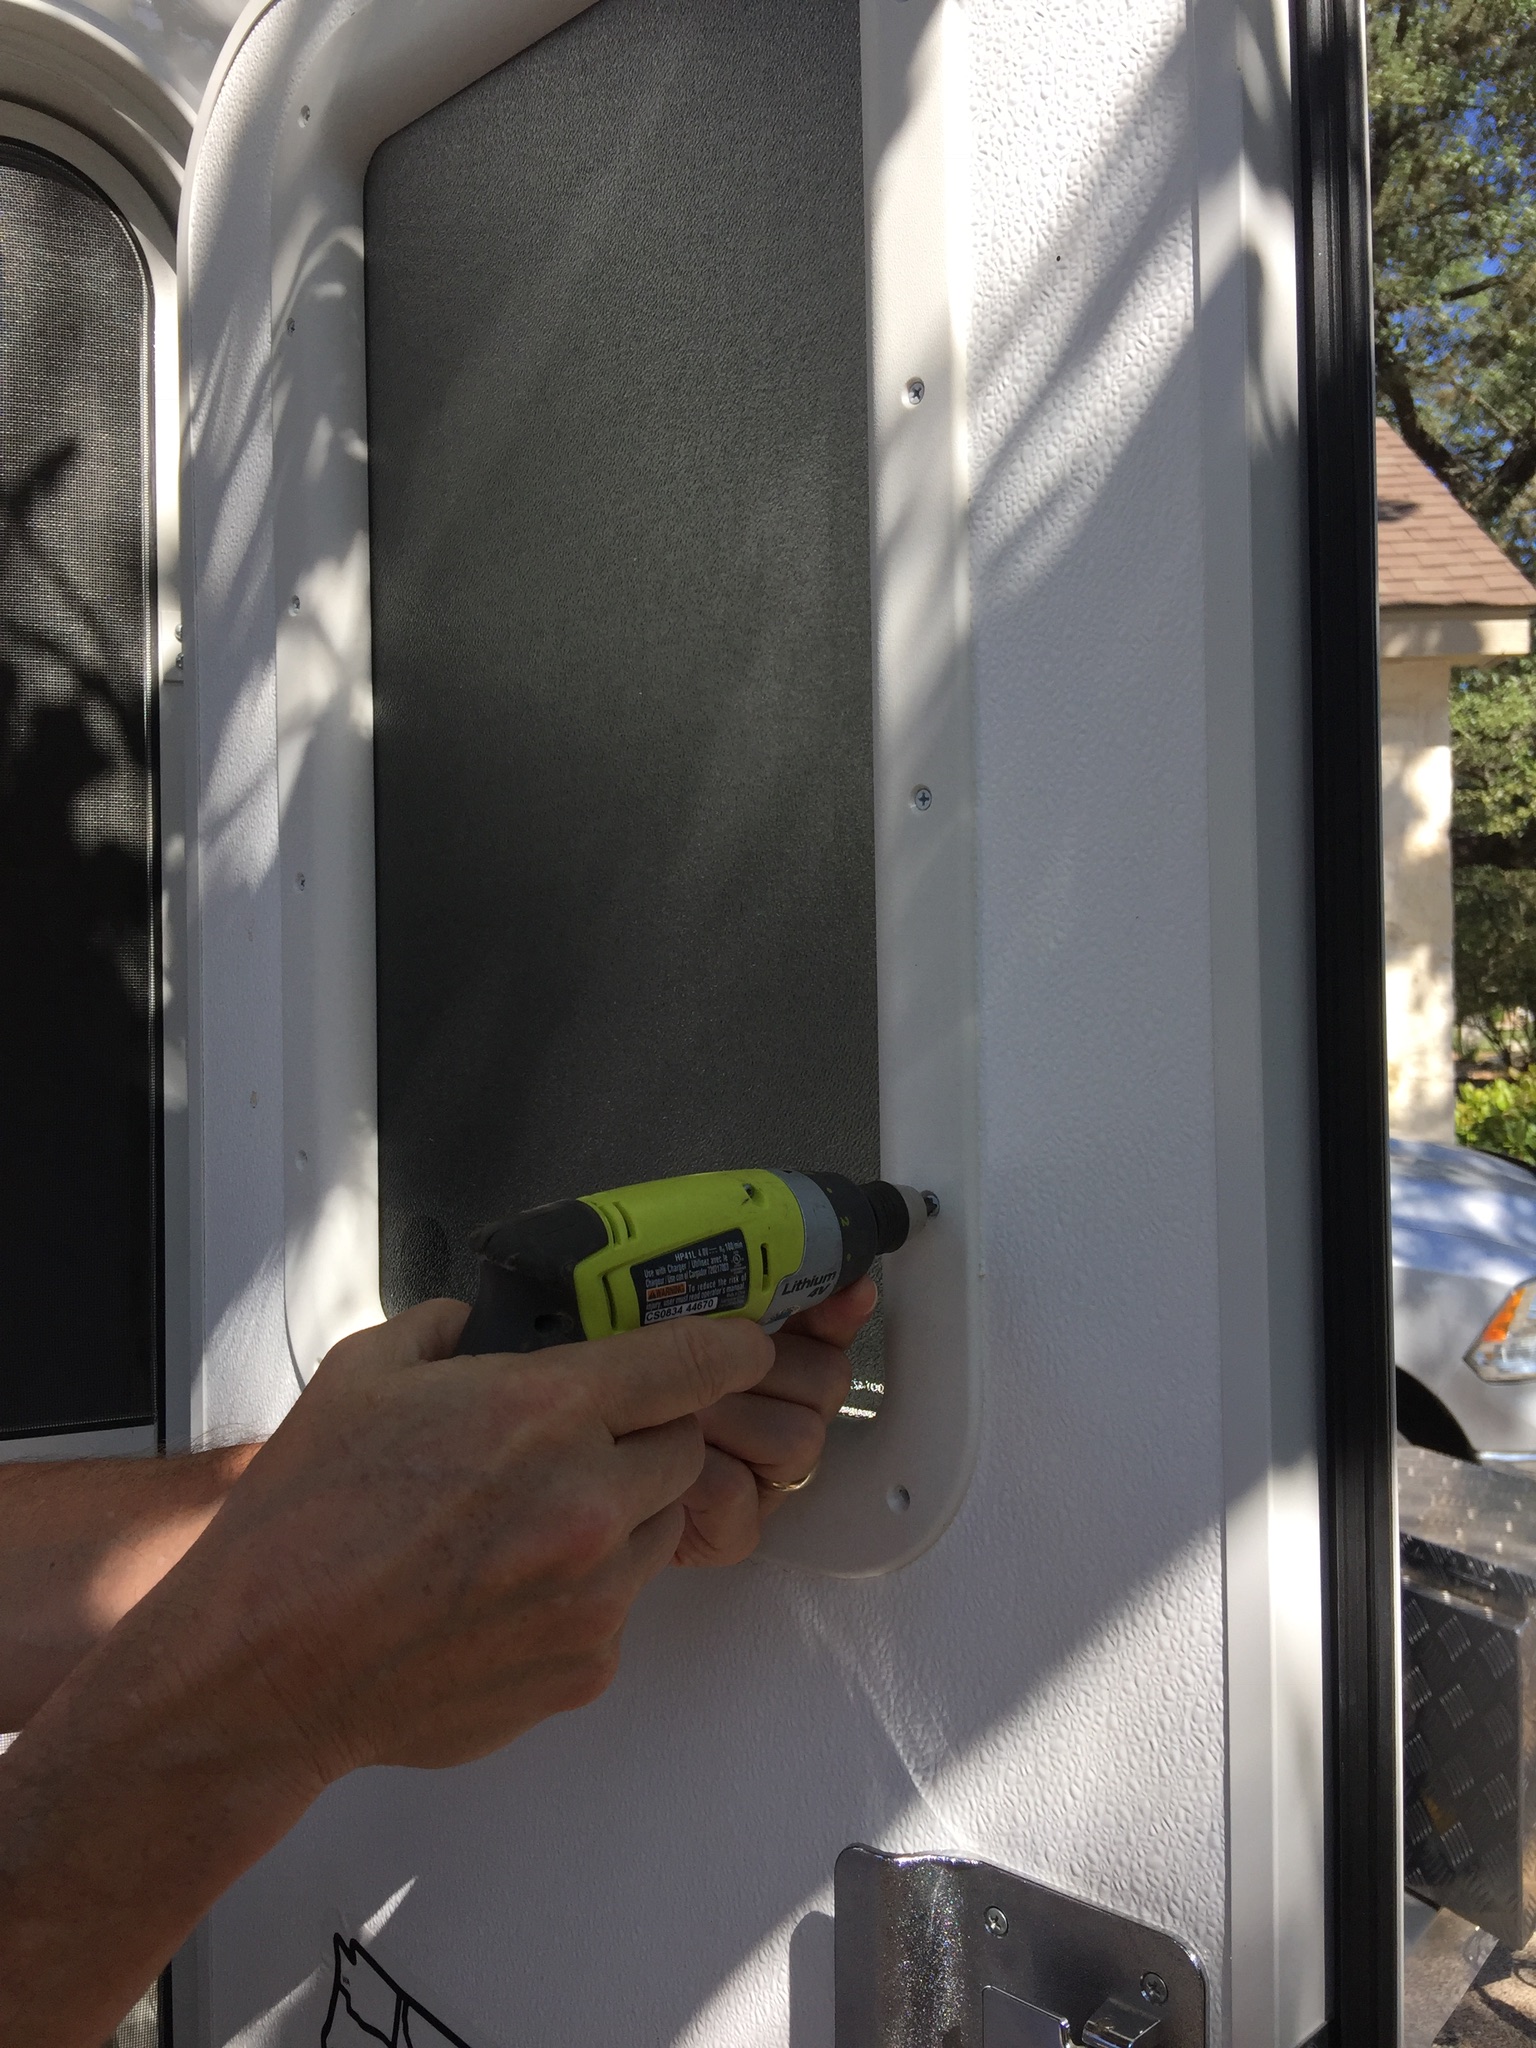
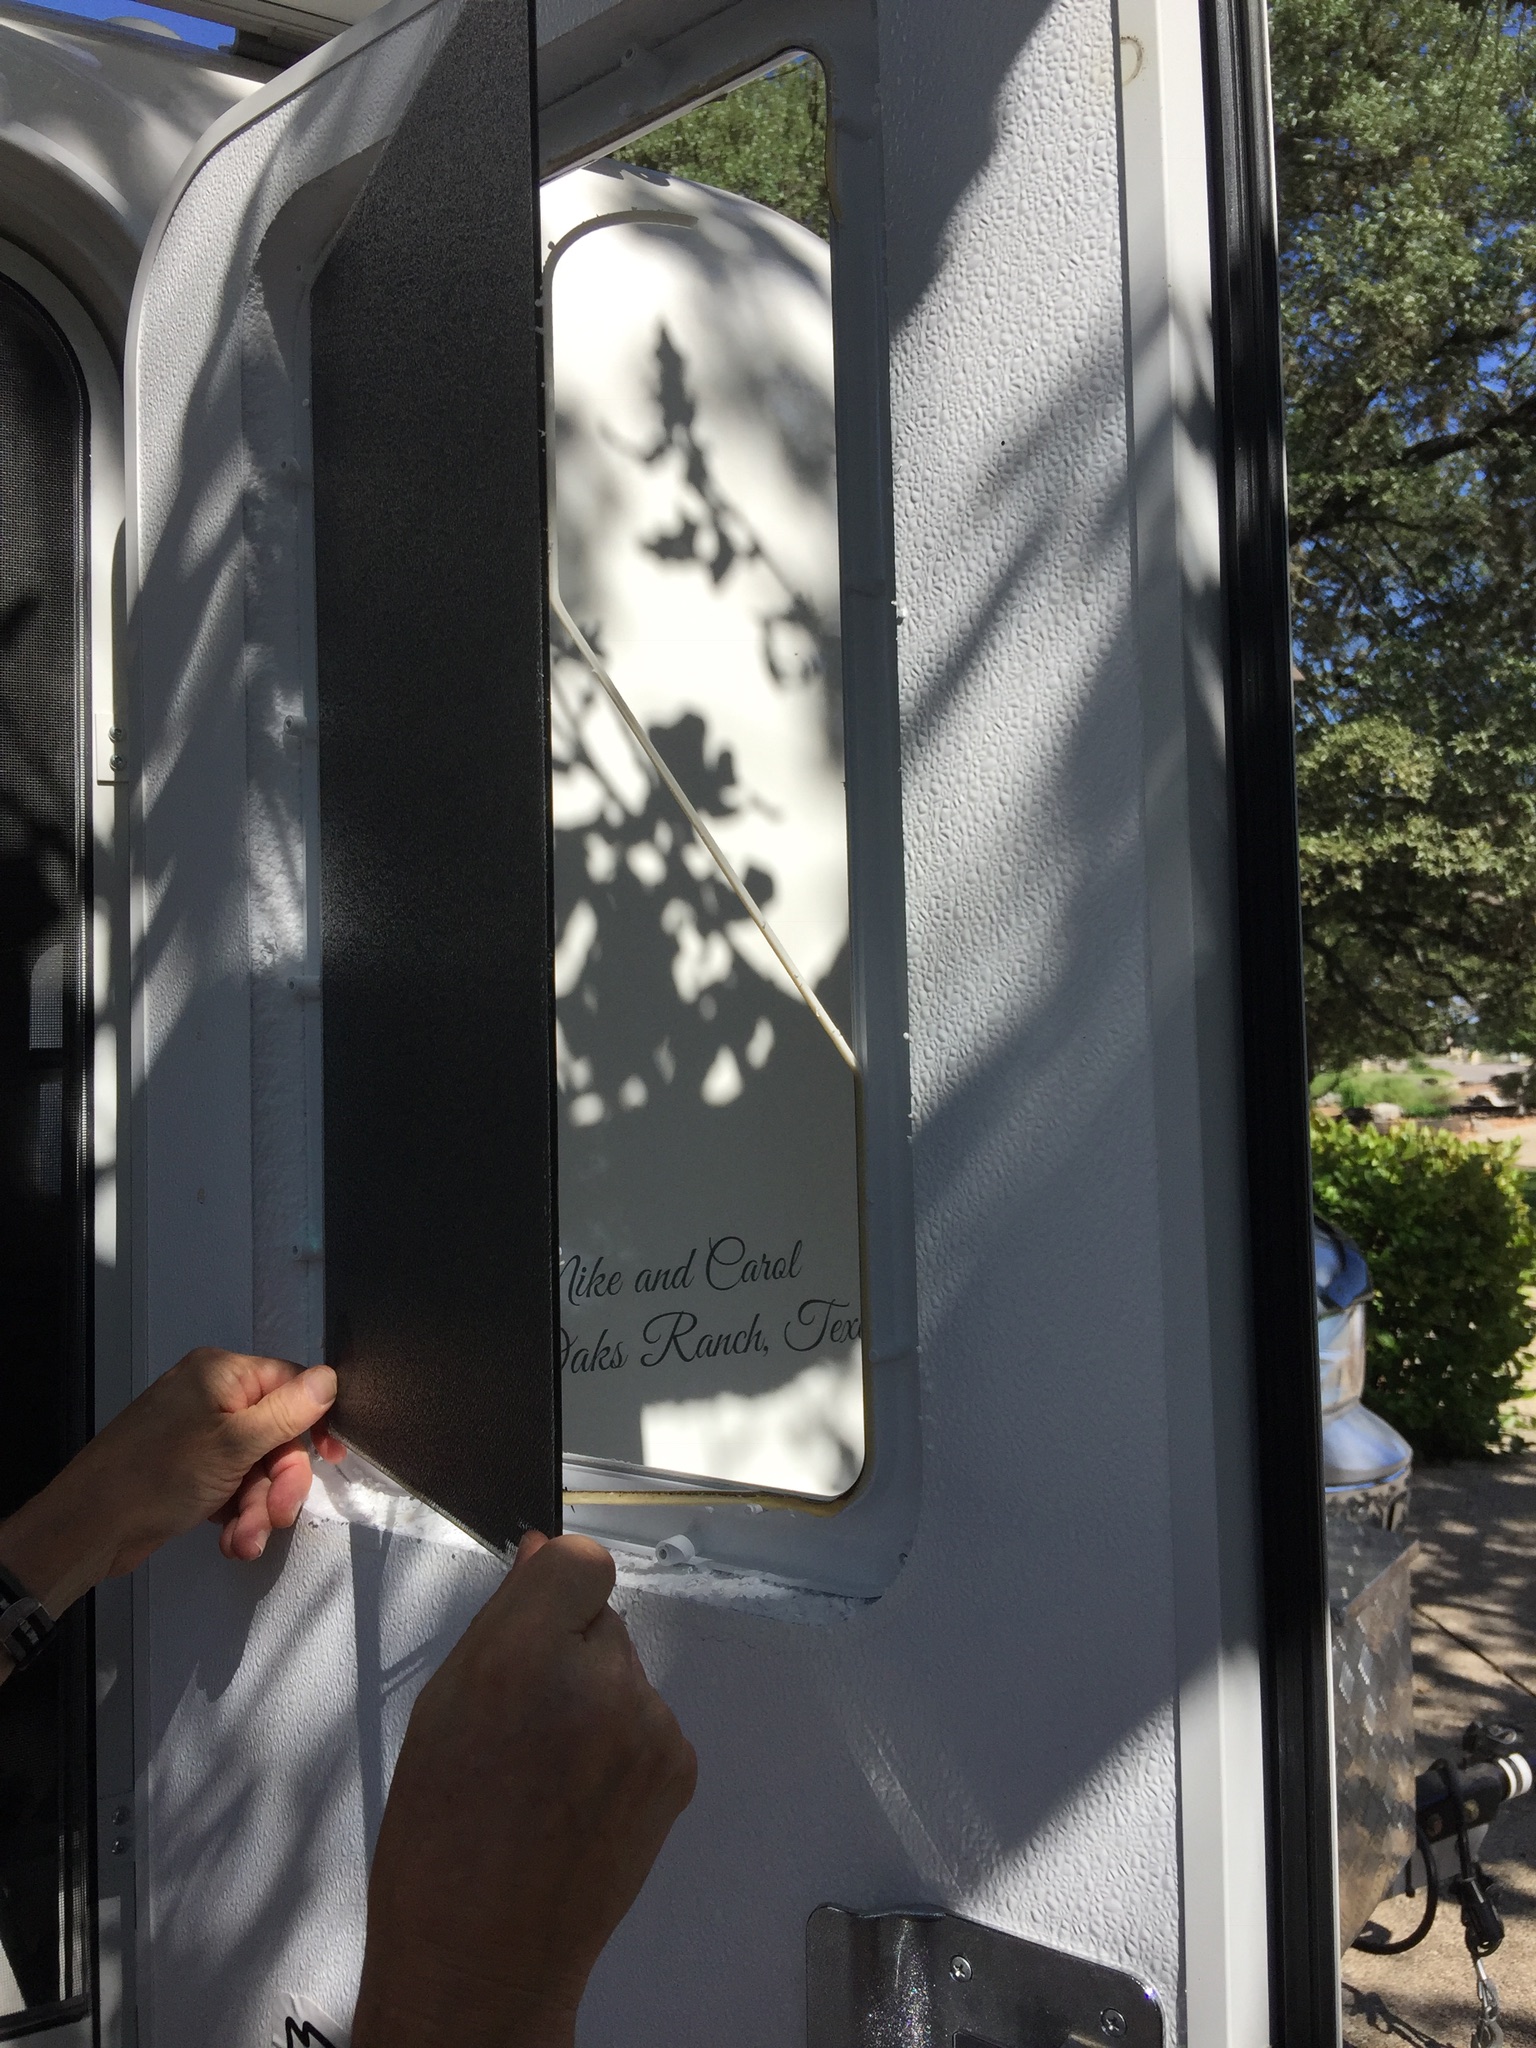
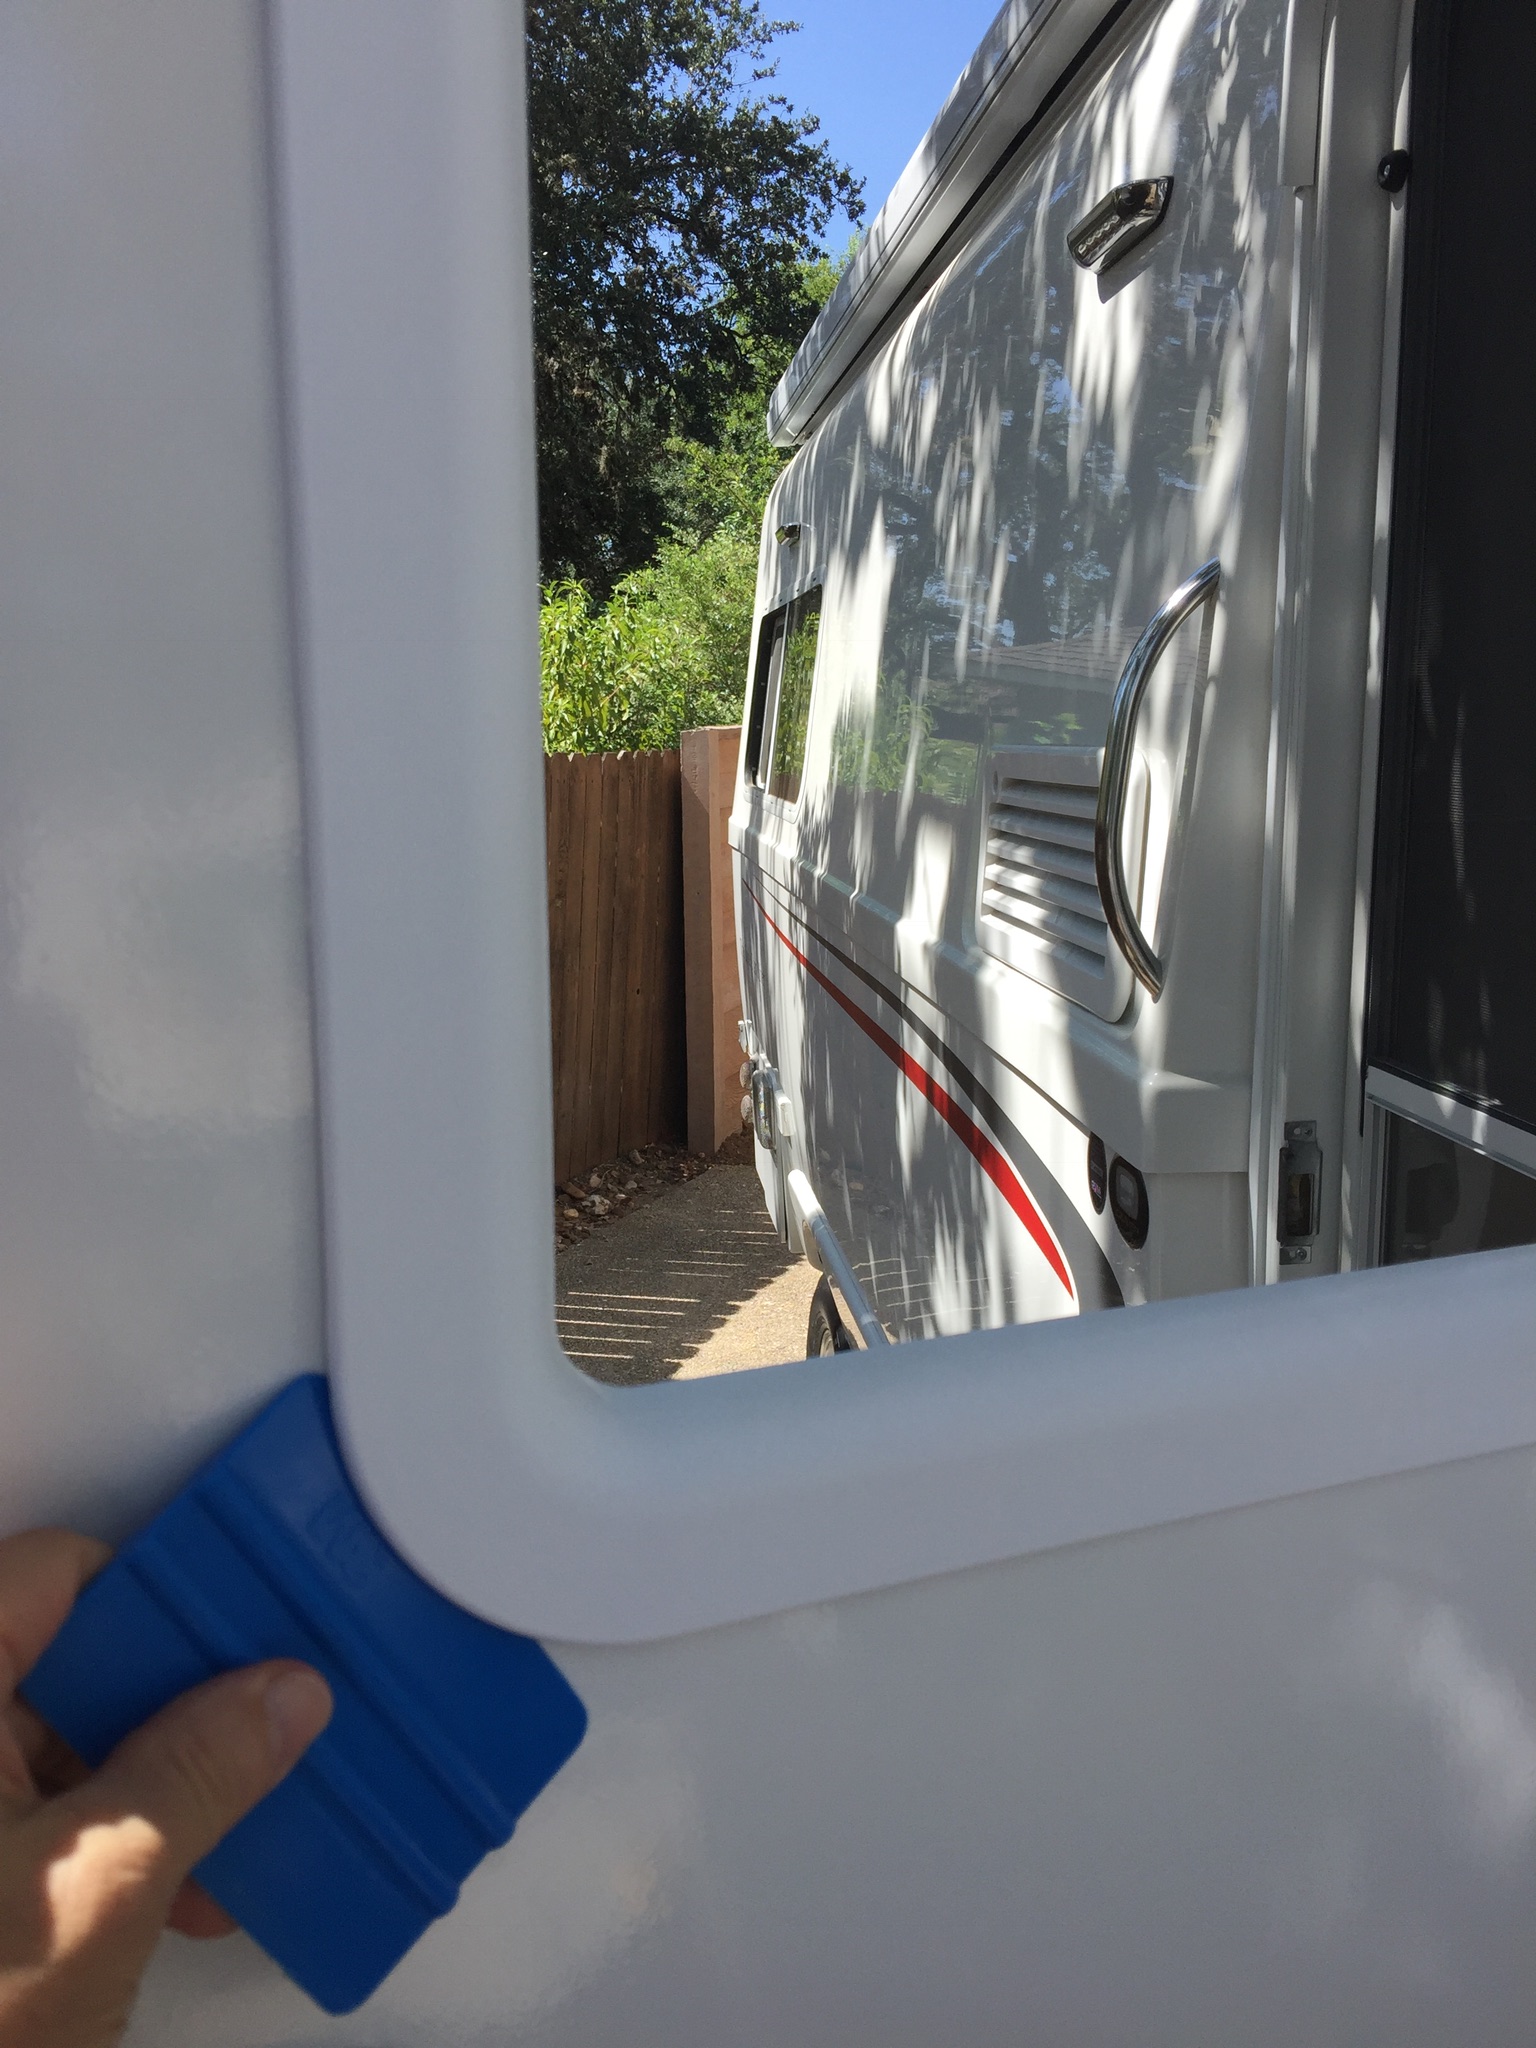
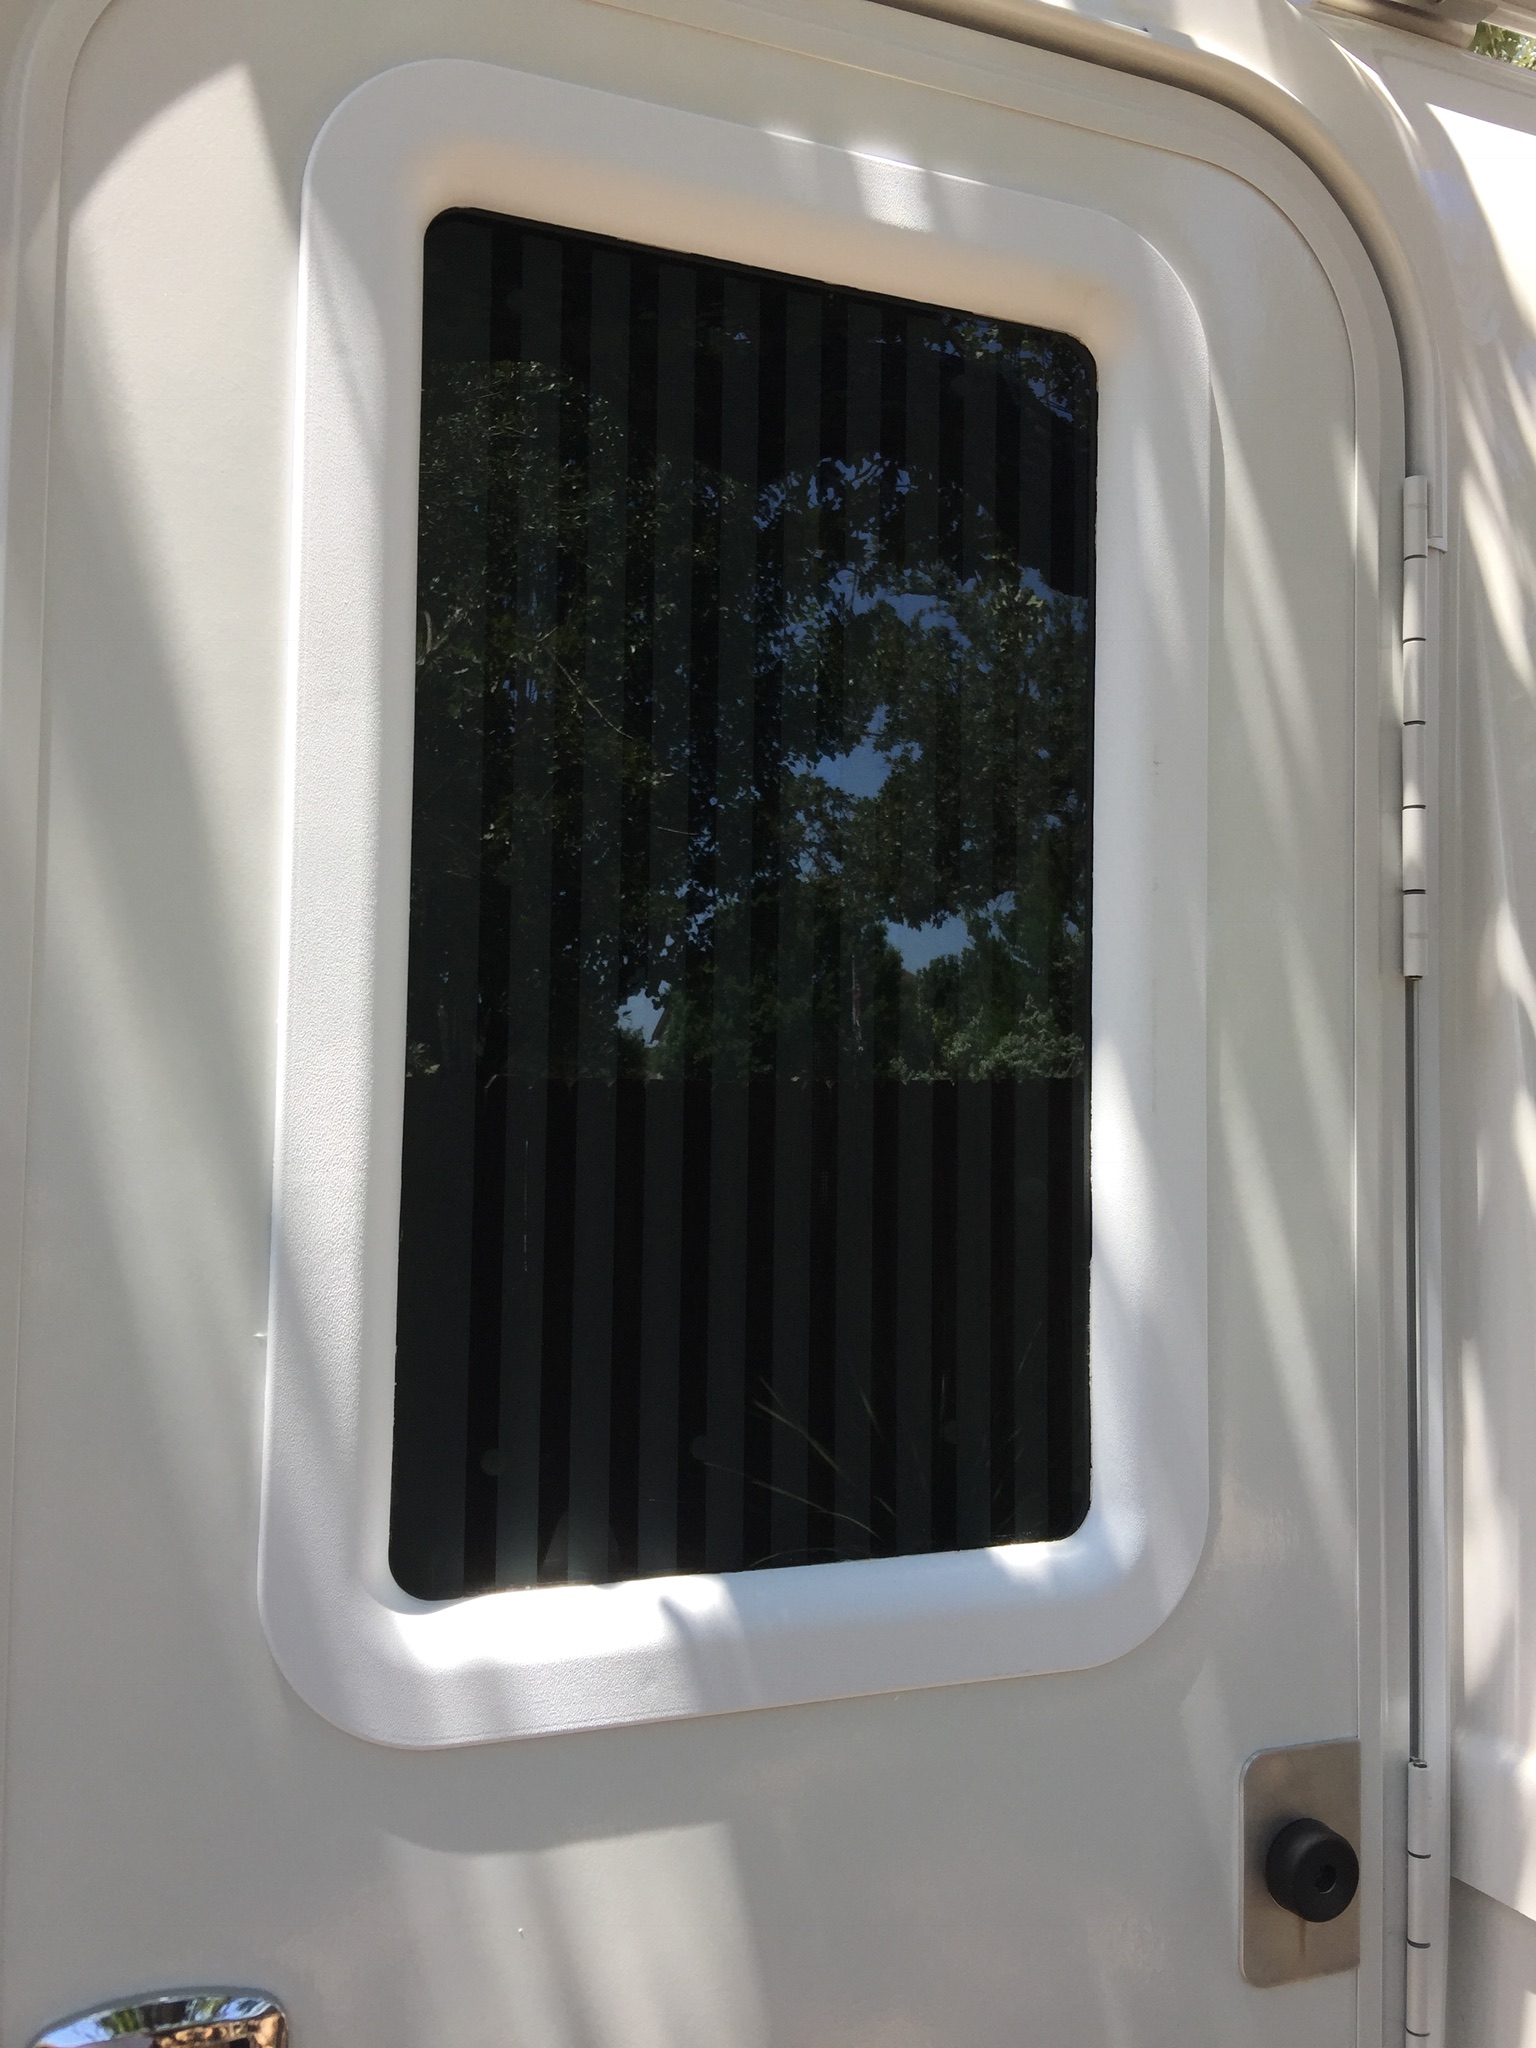
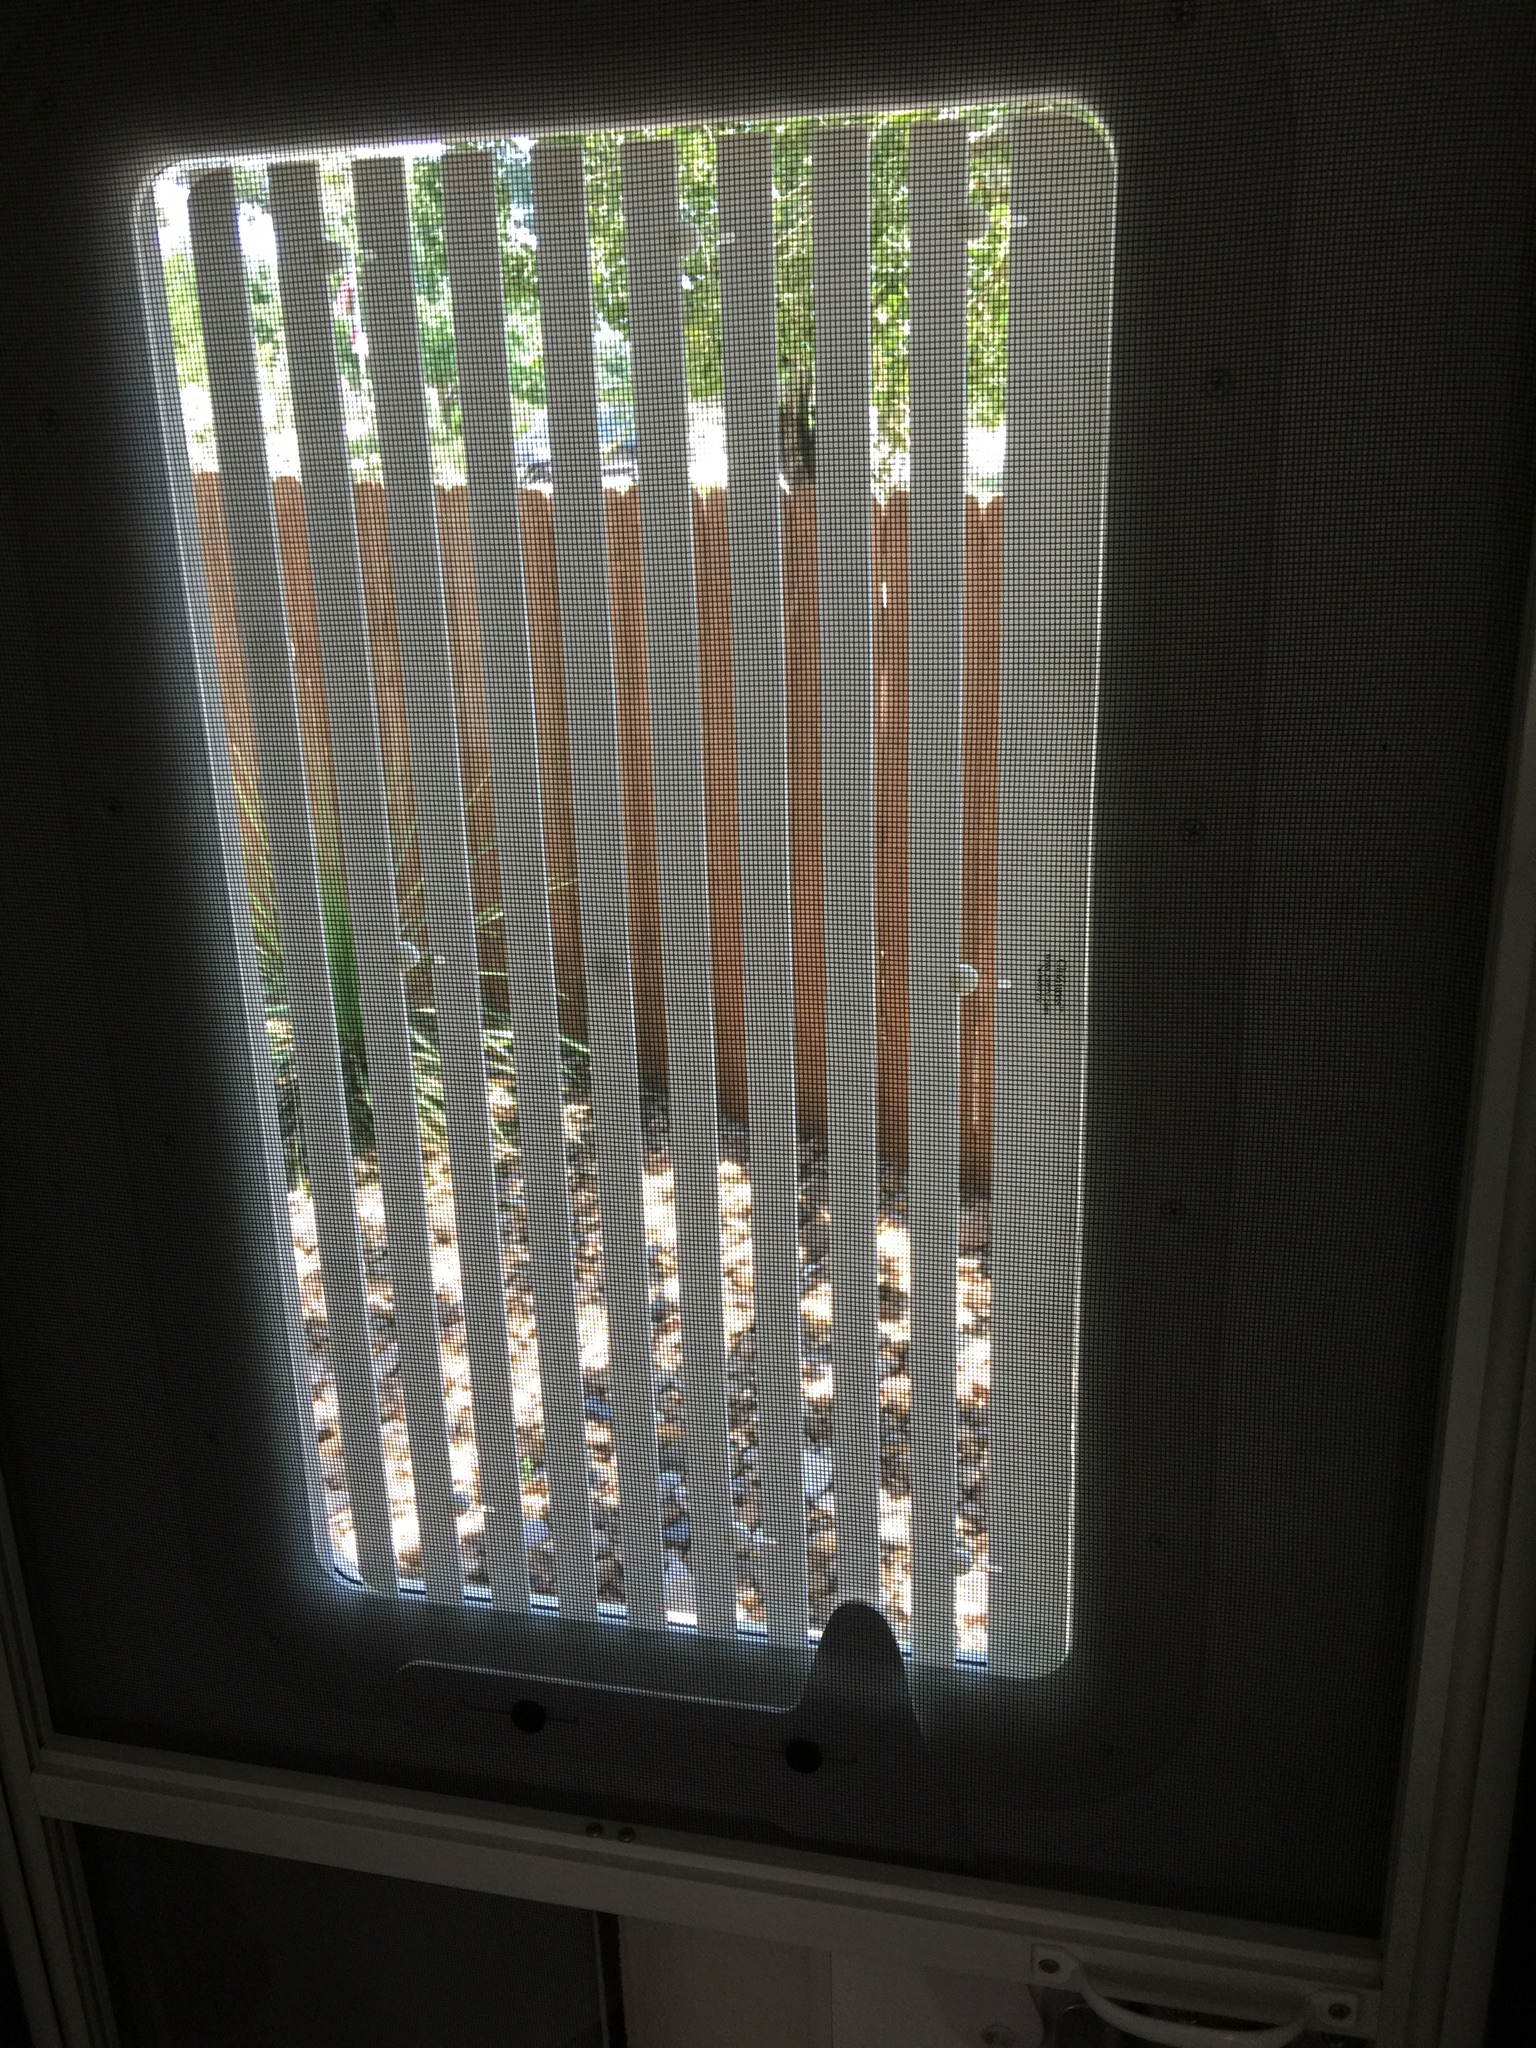
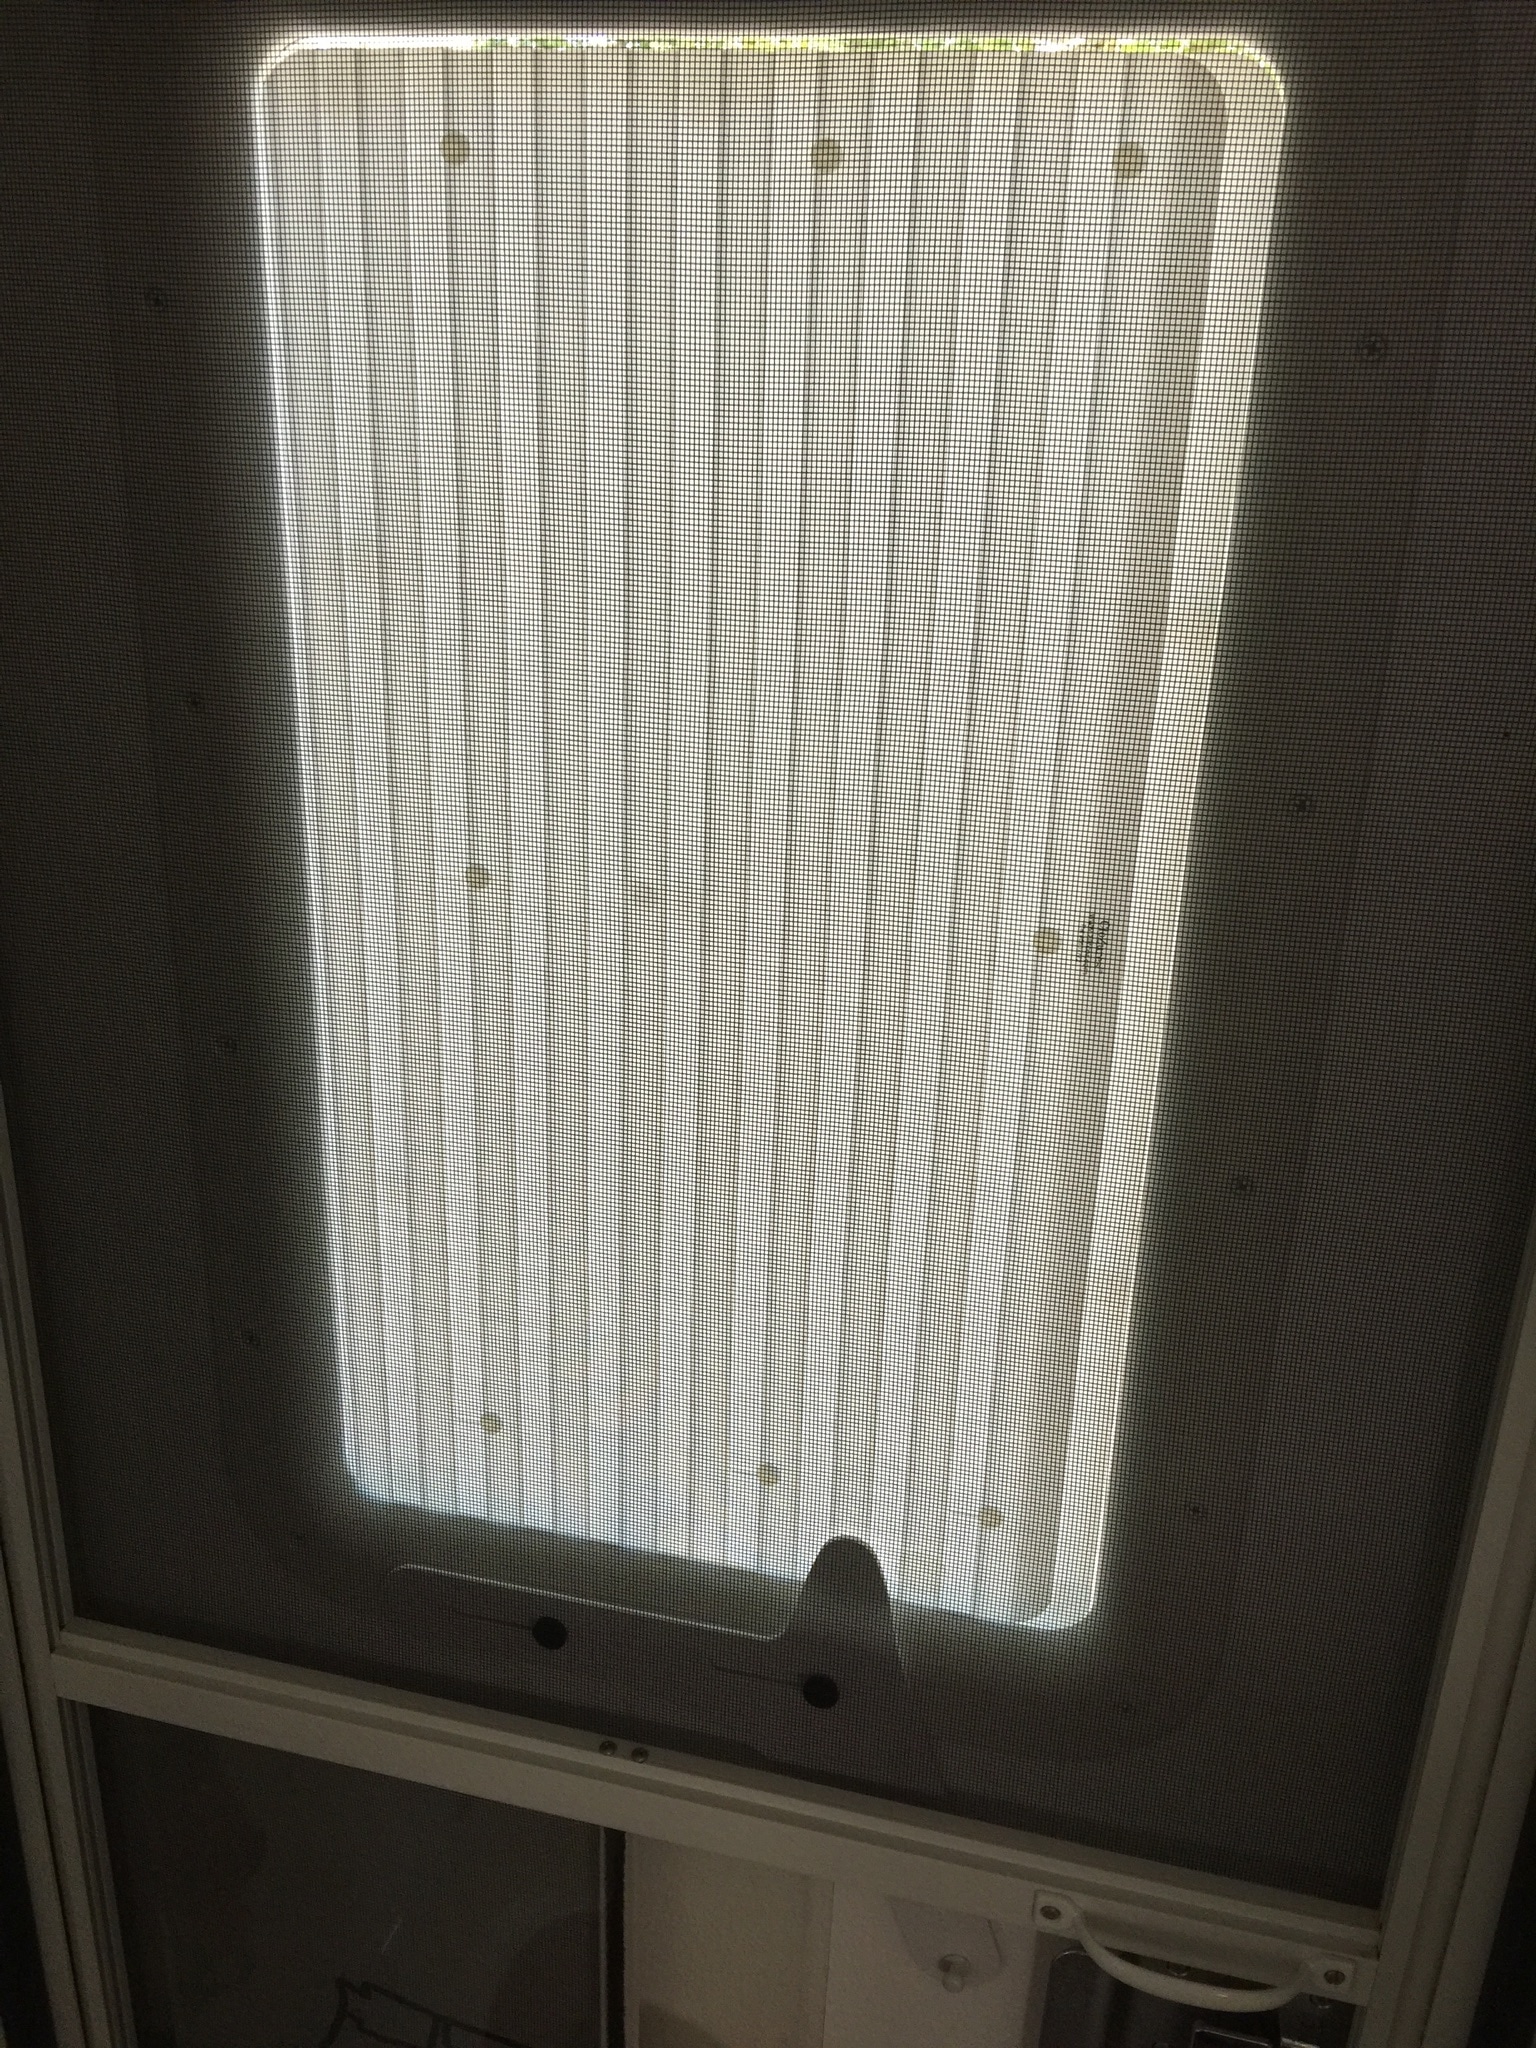
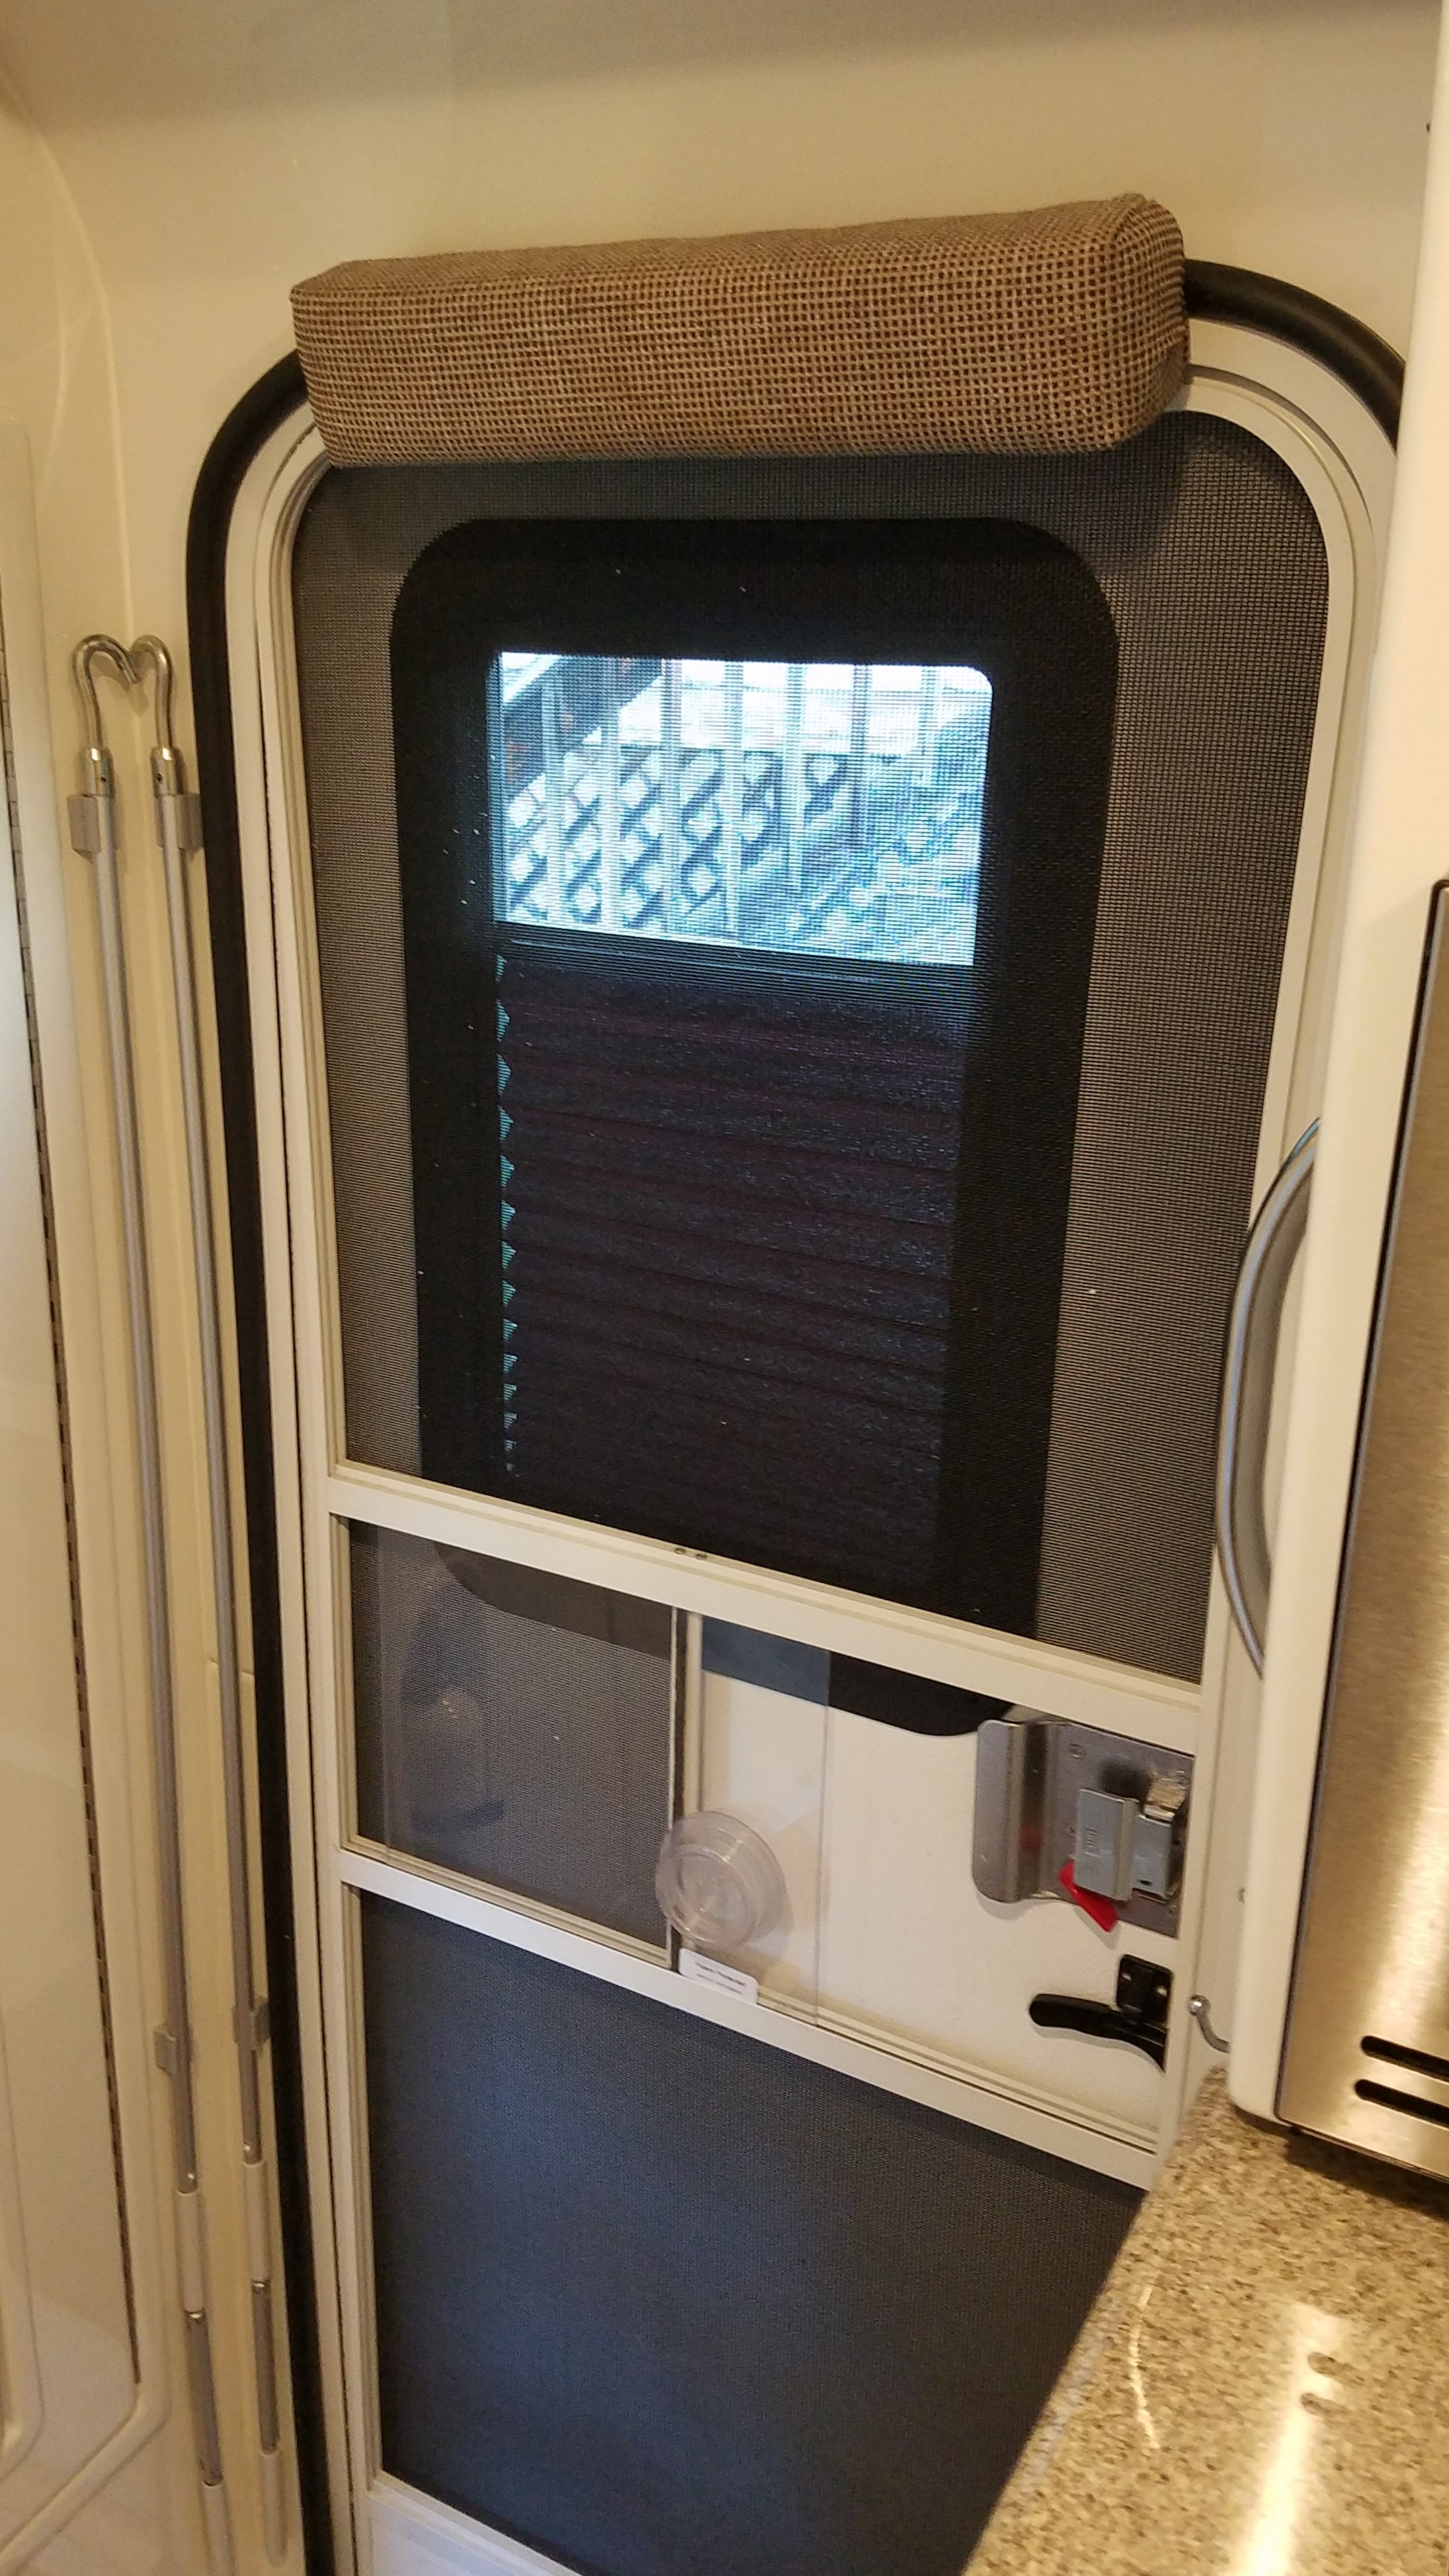
We installed our shade last week. It took a couple of hours, we worked slowly. We are happy with the results. The box from ZARCOR was delivered less than 24 hours after we ordered. It was well packed with clear instructions. Everything was well protected with foam. Two boxes with new gasket material. We ordered the tinted window, they also have clear. This shows the shade and white handle. A black handle is all that is on their web site. If you call you can ask for a white one. The included instructions were very clear and easy to read. As instructed, we taped the outside frame with duct tape. Once the screws are out of the inside frame the only thing holding the window and outside frame on the door is the gasket material. I think masking tape would work just as well. There was no residue left when we took off the duct tape. I should have extended the tape onto the window and then taken both the outside frame and window out at the same time. I removed the 12 screws that are on the inside frame. Both frames and all screws are reused. Inside framed removed. At this point only the old gasket material holds the window in. I’m taking it out and some of the gasket comes with it. As I mentioned earlier, it would have been better to have tape on the window too and then remove both the outside frame and the window at the same time. The outside frame was stuck on the door with the old gasket material. I used a plastic squeegee to lift a corner, then it came off pretty quickly. Here we are putting the new gasket material in. It’s easier with multiple hands. It makes for a better installation if you can get the material into the grooves as evenly as possible. There are two gaskets to apply, one just inside the window opening for the window and one on the outside of the frame that seals the frame to the door. I’m setting the new glass onto the outside frame. The gloves are just to minimize finger prints. The one disappointment with the kit is that the new window is slightly smaller than the original. Maybe 1/8”. On the outside frame there are plastic pegs all around the window opening that should hold the glass securely. I tried to position the glass so that it was centered on the opening and then pressed it into the gasket material. This is where the actual installation pictures stop. We took the outside frame with the glass and put it into the window opening on the door. We thought we had done a great job until the weight of the window caused it to slide down so that it was setting on the bottom pegs leaving a very small gap at the top. We gently pulled the frame back off but some of the gasket material stuck to the door and some stuck to the frame. It was a small crisis. We got it off and back into a horizontal position. Carol reworked the gasket material that was pulled off and I fabricated a couple of very small shims to sit on the bottom two pegs to lift the window 1/16” or so. Once that was all done we put the frame and window back into the door. The shade attaches directly to the window with some heavy duty Velcro buttons. It is positioned over the window then pressed tight. The inside frame is reinstalled and that’s it. Inside with the shades open. They can be opened or closed with the door and the screen door shut. Shades closed. I think we will enjoy being able to look out the door window with the shades open. When the shades are closed you can’t see in at all. The old frosted glass was a little frustrating at times because in order to look outside you had to open the door. Mike
1 point
-
Original look New look Looking out (heavy duty pet screens)
1 point
-
Sherry, No, I got an AP Products slim Shade from Amazon. This is a slightly smoked clear glass with pull up (or down) accordion style shade. It makes a big difference being able to see out the window. Then you can close the shade for privacy at night. With the shade open during the day, it's not really possible to look in from the outside because of the smoked color. It comes with the entire frame and screws. Takes about 10 minutes to install with a helper. Very nice upgrade. I installed ours so the shade pulls up. This gives better visibility from inside when partially open. https://www.amazon.com/AP-Products-015-201512-Upgrading-Window/dp/B01MRRNQNP/ref=sr_1_25?srs=12574135011&ie=UTF8&qid=1533749049&sr=8-251 point






















-
Recent Achievements
-