Leaderboard


Popular Content
Showing content with the highest reputation on 11/27/2023 in all areas
-
We left NH in mid-October and headed southwest. On Thanksgiving Day we were at Live Oak Ridge Park (COE) in Belton, TX. With so little space to store leftovers we decided to cook a turkey breast on the grill and have mashed potatoes and broccoli salad as sides. I made an apple pie in the microwave/convection and it was sure better than my "harder than stabilizer brick" brownies. I might be getting the hang of this thing! The turkey breast was delicious! We've been from NH to TX in the last 5 weeks and not yet seen another Ollie, but we keep looking! Paula
 4 points
 -
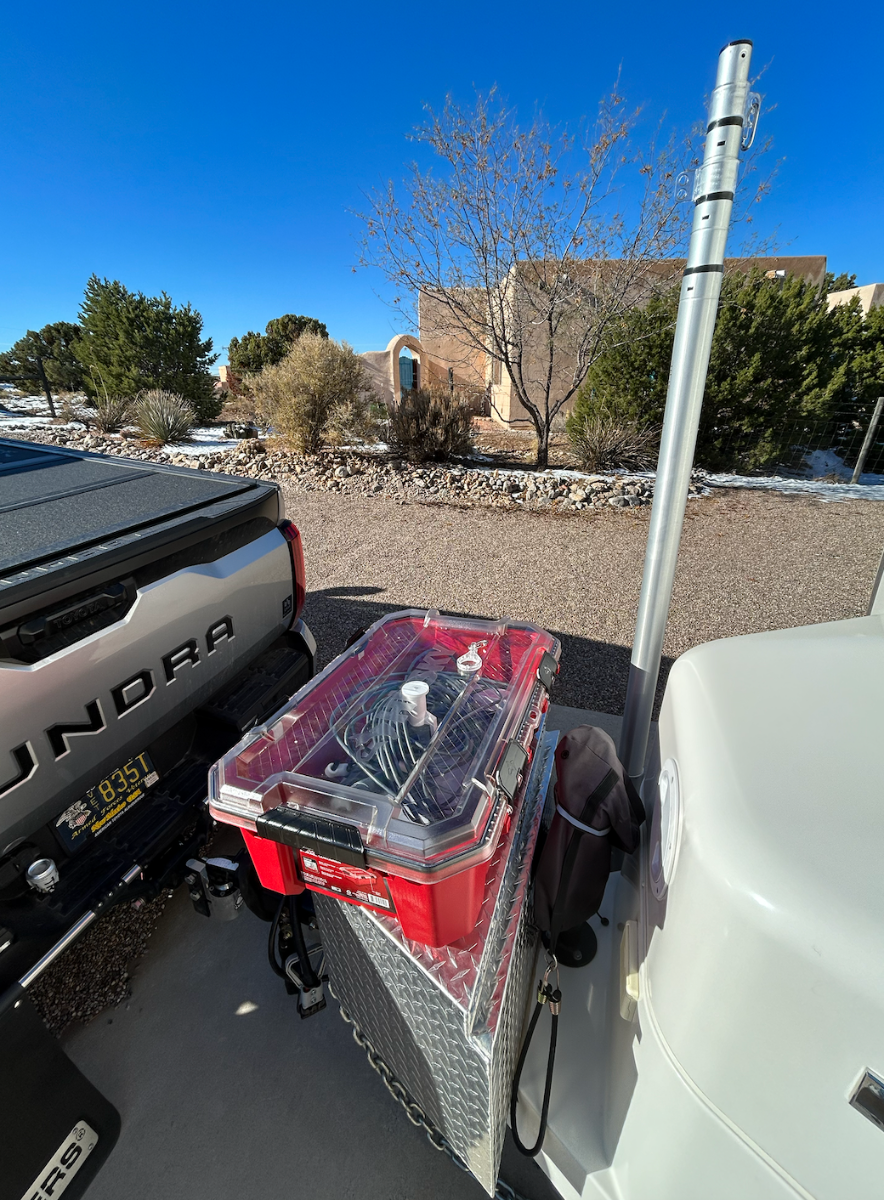
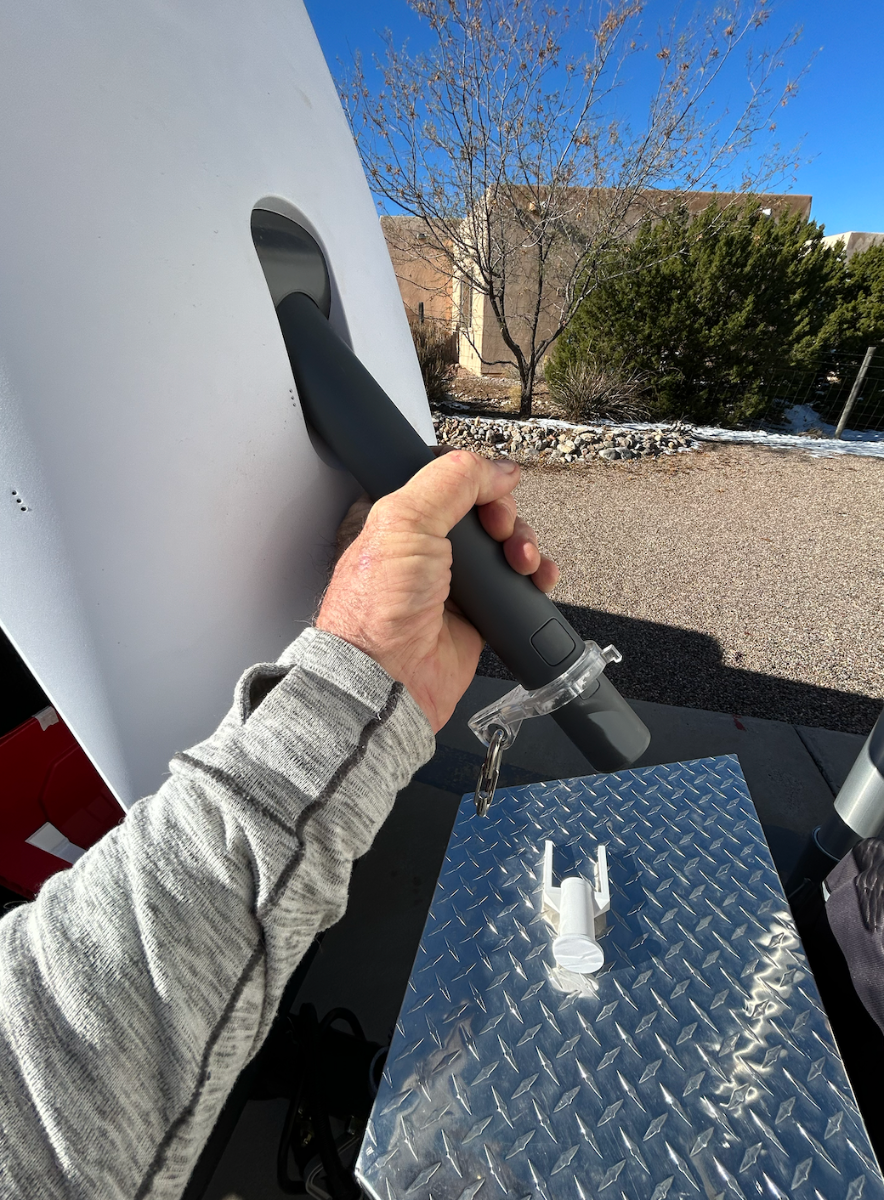
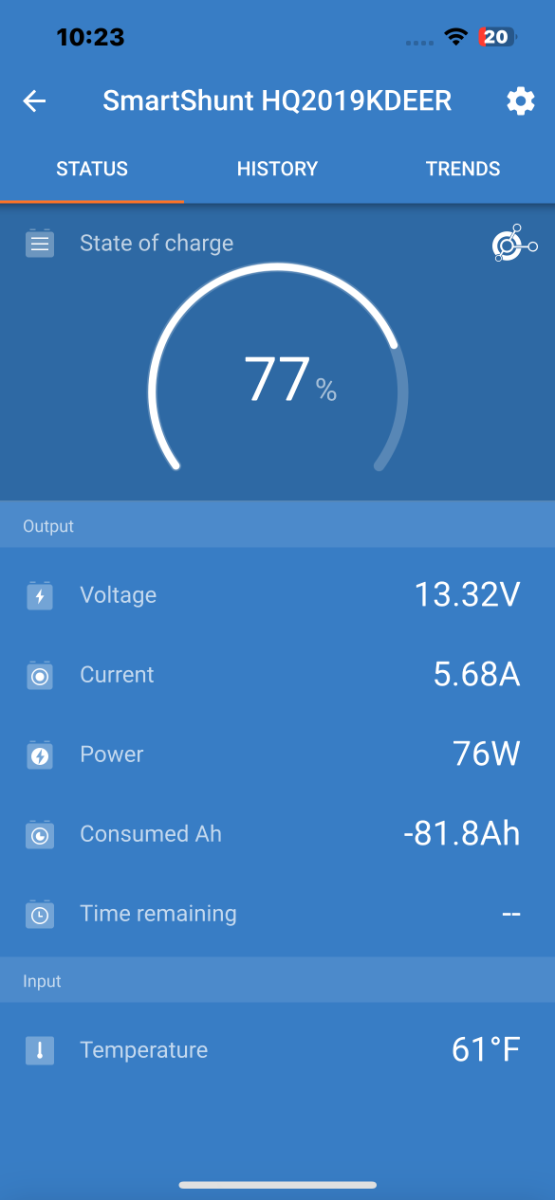
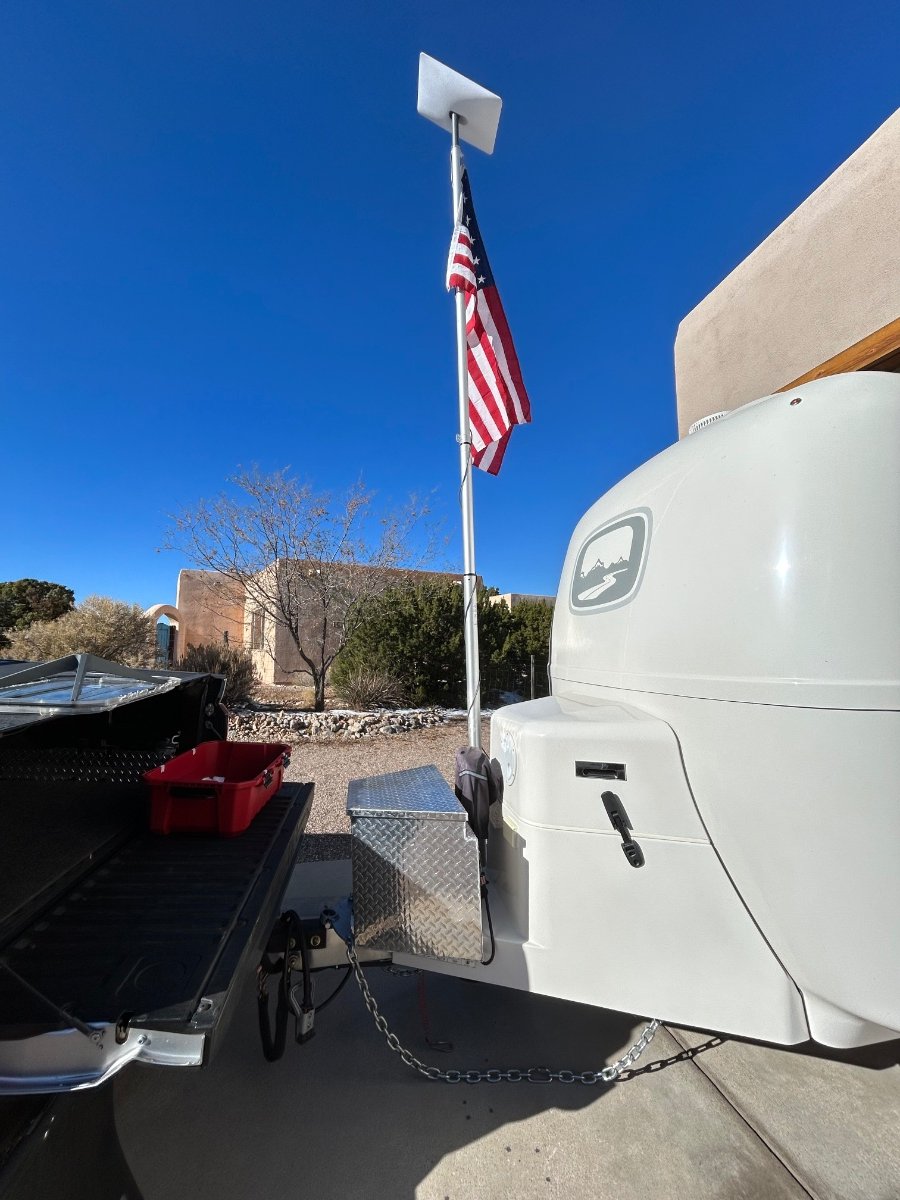
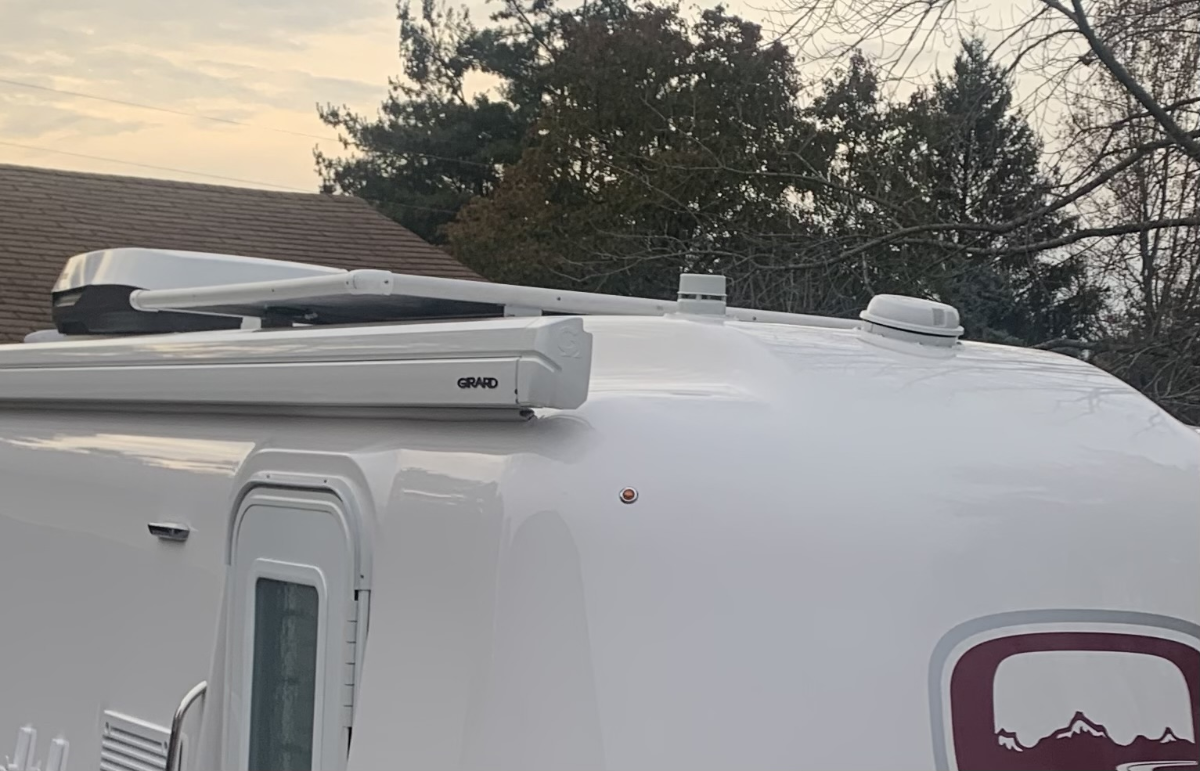
So, since D works from home and spends quite a bit of time on Zoom, Teams, etc., we decided to get into a Starlink-Mobile kit. The kit will allow her to work from Casa Blanca with Starlink's scorching fast internet connectivity and allow us to travel more often. Today we played around with a proof of concept for using Starlink in our Oliver - there are literally dozens of YouTube vids and deep rabbit holes for ideas of how to integrate Starlink with RVs. Here's how we'll be lugging is around: We're using a 12-gallon plastic Husky tote with custom-fit travel pieces from Etsy to keep components from bouncing around when towing. Its a neat and tidy mobile kit. Next, we didn't want to use the Starlink-supplied "quad stand" so we modified the top of our E-Z Flag Pole to accommodate the "Dishy" mount that would normally be inserted into the stand. We inserted an adapter (a 3D print from Etsy) into the top of the E-Z pole so the Dishy just snaps inside. By drilling-out the upper mostIMG_0441.HEIC flag connector with a step-bit, we're still able to fly the colors. We used the exterior curbside AC outlet for the Starlink router power connection. With the inverter energized, it took about 10 minutes for Starlink to connect to its satellite. Energy consumption varies between 60 and 80 watts according to our Victron Smart Shunt via the Cerbo GX. The solar modules are generating about 180watts at today's low sun angle, which more than makes up for the inverter/Starlink consumption. We'll likely put a through-hull connection using a modified waterproof Furrion capped connection (same one OTT uses for the satellite coax connection). The standard supplied cable is 75' and needs to be shortened anyway - so we'll do that when we install the modified Furrion. More later...
3 points
-
Then, as John Davies suggests, invest in a high-quality (ergo more expensive) lead acid battery charger that has a "repair" or "desulfate" feature. I have had good luck with NOCO Genius chargers. They are small but effective. Below is a link to a 10A version for $79.96 that includes a Repair feature for deeply discharged lead/acid or AGM batteries. If your AGMs are 6V, it can be set to 6V as well as 12V. https://www.amazon.com/NOCO-GENIUS10-Fully-Automatic-Temperature-Compensation/dp/B07W3QT226 In your shoes, I would invest the $80 to see if the batteries can be salvaged. Your 400+Ah battery bank will take several days to recharge with this charger, even if it can be saved. After the charger has done its job, verify voltage of each battery with a multimeter, at least twice, before concluding that you have "dodged a bullet." Even if you can't save the batteries, a NOCO Genius charger is handy to have around just for maintaining automotive lead/acid batteries. Good luck! And, please report your results.3 points
-
Also check all your brake wiring and brake operation. I've heard of SOB trailer owners having melted wires and/or damaged brake magnets from this scenario.3 points
-
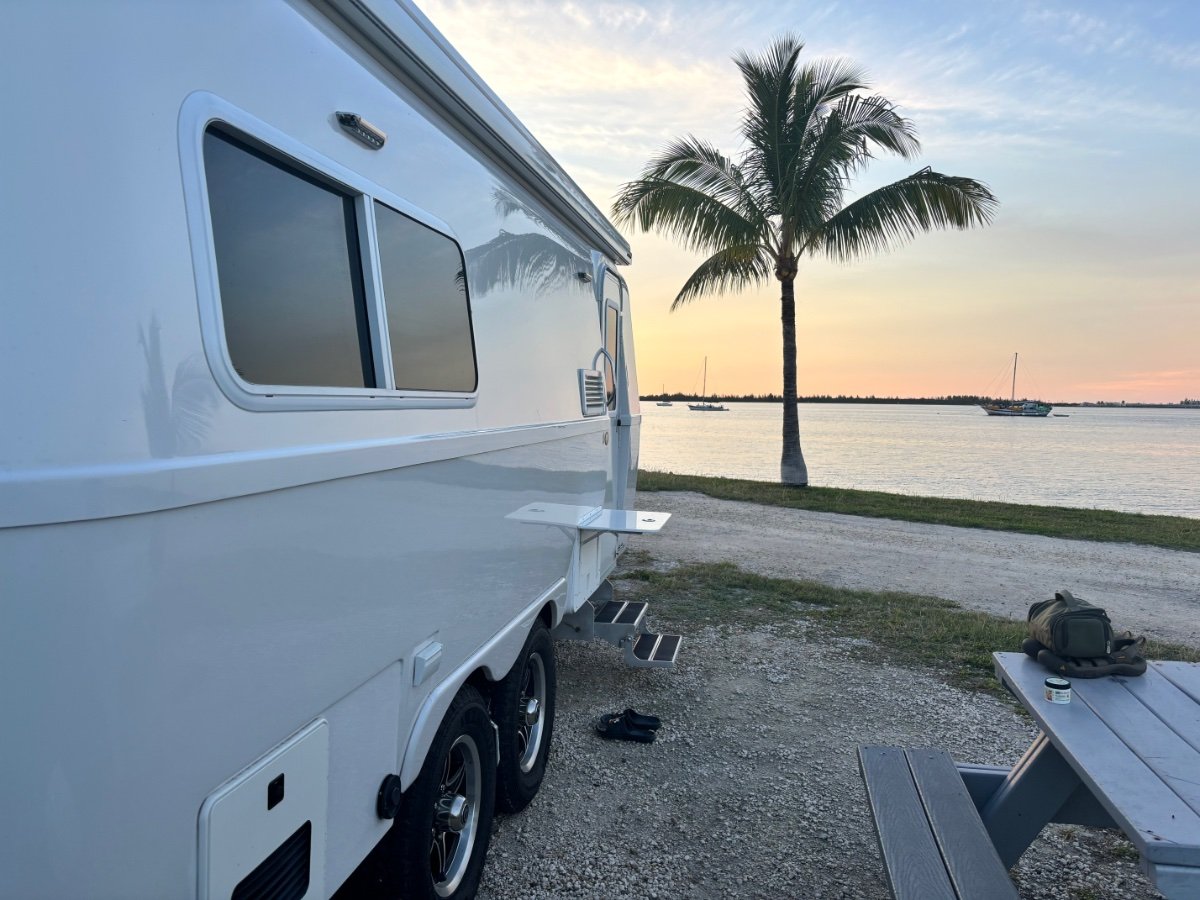
Our spot on Sigsbee Island (Naval Air Station Key West). Not a bad place to hang out for a few months. BL
2 points
-
Totally get y'all's concerns. The key requirement for us was to get the Dishy off the ground and still be able to use it without the OTT. The EZ Pole and mount is robust - 4 nested aluminum tubes. High wind conditions would require striking the colors, lowering the dish to the 6.5-foot position and thus keeping it off the ground. FYI, in snowy conditions, the user can select the snow melt mode (more energy) via the SL app to keep accumulation at check and maintain high signal strength. There are flat mounts available for SL that we've studied - but once its flat-mounted on the roof, you're committed to that application - we wanted flexibility to use SL if we were tent camping, for example. As noted, we're also interested in a 12vDC conversion and shortening the proprietary CAT6 SL cable to save a bit of energy - but that's down the line. We want to log some more trips in the current mode first so we're better able to make an informed decision on what best meets our needs. Guys.... Beware, there are some scary rabbit holes one could fall into when researching the RV-applicable mods for SL kits... Many hours spent crawling through these tunnels. HA!2 points
-
Love the flag pole mount concept, we have a similar pole configuration. How is the coax routed up the pole? Just wonder if the flag will get caught up in the wire. I was considering the same type of mount only for a shortwave/GMRS base antenna setup.2 points
-
@MAX Burner nice work on the initial set up as we are considering SL mobile. My only concern is your SL dish mounted on the top of the flagpole. I suppose in high winds you can lower the dish for a more rigid pole mount. Is it really stable enough to handle a sudden wind gust? I am thinking about an aluminum awning bracket mount. Thoughts? A pretty decent review of Starlink Mobile’s pros and cons. Patriot🇺🇸2 points
-
Here's what they look like - in case you are having trouble remembering. 😁 Great looking pie!
2 points
-
GJ, They sure look like the same item. I got mine at Costco. Periodically they go on special for $7. David2 points
-
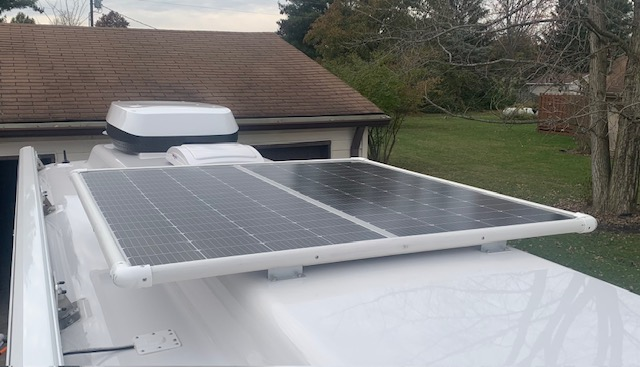
In the interest of making the solar panels much more cover friendly, as in Calmark storage cover, and to just add a touch of finished look to the panels to match the color of the Oliver, I fabricated a permanent guard from 1-1/4" PVC pipe. It's notched out such that it just sits over the perimeter of the solar panels and fastens through the panel frames in 6 locations. No need to remove, but if the panels need service it takes about 10 minutes to remove in one assembled piece. I'm sure not everyone's cup of tea but I think it serves the purpose well which it's intended. I made a straight jig out of a 12"x60" piece of plywood with two 2x4's attached to hold the pvc rigid. I used a guide on the side of a circular saw to cut the pvc into the needed profile.
1 point
-
Fiona in Tupelo, Mississippi about a month ago. Paula
1 point
-
Then increase the furnace temperature set point, i.e., if you usually set it at 70 degrees F, increase that temp setting to 75 degrees F. Keep changing, if necessary, until the cabin is comfortable and the toilet supply line remains unfrozen.1 point
-
Still time for Cyber Monday deals. I put this kit together today for emergency tire changes and more. The little 1/2" impact is amazingly powerful, and the sockets will work for most tow vehicles and trailers. The kit stows nicely in the back corner of the truck bed. Plenty of juice to change multiple tires or just for general use. I had to use a pipe cutter to trim about 3/4" of the plastic guard from the 19mm socket to make it work on the Oliver rims, but that piece can be left on as in the picture for other uses. https://www.northerntool.com/milwaukee-m12-fuel-cordless-stubby-impact-wrench-kit-1-2in-drive-250-ft-lbs-torque-2-batteries-model-2555-22-72955 https://www.amazon.com/gp/product/B0C98ZHKQX/ref=ppx_yo_dt_b_asin_title_o01_s00?ie=UTF8&psc=1&tag=fordtremor06-20
1 point
-
Sounds like a great approach but I think you are being conservative on the 18% figure, if you don't turn on the inverter (very inefficient) and just use battery, you will save much more. The inverter uses about 1.5 to 2x what you would calculate for the normal ac load so there is a significant savings there. BL1 point
-
...oh, please! Hurt me! HA! Enjoy!1 point
-
One approach to moving air, as the above dozens of posts have discussed, is to duct it. Another way is to not duct it and use pressure differentials to move the air. SO, if you are not a "ductor", think about this concept: The basement is sort of a sealed compartment. With a little bit of effort it could become closer to being one. Then add a computer fan at the curb side under bed bulkhead to slightly pressurize the basement area with warmer air. To get this warmer air to the shower/fresh/city port areas, you'll need to open up a passage way between them and the basement and a vent to the street side under bed area. Hypothetically, at this point convectional air movement (Warm air rises, cool air falls) may be enough to freeze proof the area. If not, add a second 2 watt mini fan. Worst case is you will be pulling about 4 watts of power (two fans) vs. 300 watts of electrical resistance heating. GJ1 point
-
Thanks, good idea. I've never done that because I sure want that furnace running during the nite and I thought if the electric heater kept the rest of the cabin warm, furnace would not kick on.1 point
-
But, be really careful using "Great Stuff" standard expanding foam to avoid overfilling the cavity. You could bow out the fiberglass hull if overfilled, which, given the degree to which the foam expands, could be as little as 50% full before expansion. A safer, but in my experience less durable, option is minimally expanding foam.1 point
-
I considered NOCOs before buying my C-Tec, at the time the price was a big consideration. This looks like a great choice, 10 amps for $89 (BF price). Have you ever used yours in Power Supply mode (constant voltage)? Wondering if it works without being connected to a battery, for example to anodize small aluminum parts in an acid bath…? It would save me $100 over buying an eBay variable power supply. Sorry for the topic drift. Thanks. John Davies Spokane WA1 point
-
I can absolutely appreciate the durability of the panels, but my original intent was to create a permanent solution to protecting our Calmark cover from the sharp edges of the panel frames, and make cover installation easier. Turns out both were accomplished and the aesthetic improvement was a bonus. But by no means does every owner need this. I thought if it worked for us maybe others that use a storage cover would want to have the option. The whole project cost under $100 with the Formufit brand furniture PVC ordered through Home Depot. It does take a little patience and carpentry skill to cut and fit the assembly to the panels, but once complete, it only takes a few minutes to install or remove if you ever need to.1 point
-
Necessary maybe not, but it sure enhances the looks/appearance of his Oliver. Great work Chris, Mod On Brother! 👍🏻😊1 point
-
Agree, my NOCO 10 has served me well for over three years on all kinds of batteries, even on recent upgrades to LFPs.1 point
-
Battleborn is inexpensive right now, relatively, but I'm not sure we're ready to make the break. Well see how the old agms survive the winter. And,then, decide.1 point
-
We probably have 120k plus on our trailer,,with panels. 30k before addition. Looks nice, but wondering if necessary?1 point
-
The saga continues. Steak and veggies kabobs on the fire. Yes, I get some crispy edgrs,,but they tast so good. Missing our Minnesota ollie/sailing friends who left after lunch today. (Hull 30 something, looks like new.) Remaining boys are out by the campfire. It's all good.
1 point
-
David sold his trailer some time ago and hasn’t been here since. You might try sending him a PM. He was a great contributor to the forum and a great photographer! Mike1 point
-
Well, thank you all for your input. Unfortunarely, most of it leans towards a very expensive lesson! I will try to redeem first. Wish me luck. PS: it's a 2022 model.1 point
-
Battle Borns are on sale big time, maybe your toasted batteries are a sign from above that you should upgrade to lithiums now…. They will survive abuse much better than ye olde fashioned lead acid boat anchors… BB Black Friday sales I have never heard of even one owner that switched to lithiums who regretted it afterwards. Maybe you should add some 21st Century tech to your electrical system. John Davies Spokane WA1 point
-
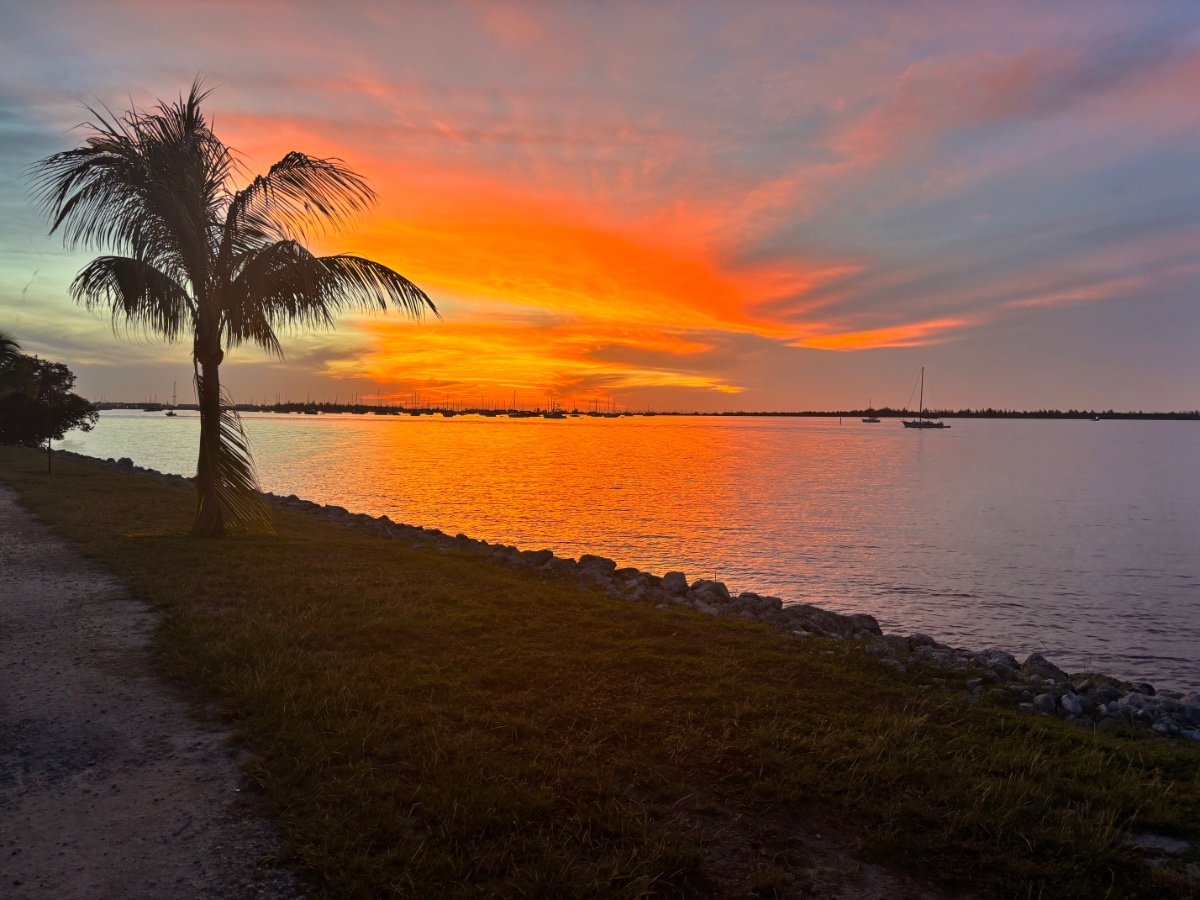
@MAX Burner, I have nothing to add to the conversation from a technical standpoint, but I do have serious envy of those clear deep blue skies in your photos. So beautiful!1 point
-
Hey, GJ! Thanks, brother... It's a work in progress for sure. Regarding your questions: 1. The E-Z Pole mast is designed with 4 nested aluminum sections with "twist-to-lock" fittings in each. To unlock, it takes about a 1/4 turn clockwise. Push the top section up first, lock, then 2nd, and 3rd. The pix show the mast at about 2/3 max height, FYI. The mast configuration gives us more use options - for example, we can use the quad-stand at the house should we lose our Xfinity/Comcast service. 2. I measured the speeds today in on the apron at 225mbs download; 28mbs upload. Basically faster than our Xfinity service. However, we've learned through some of the previously mentioned rabbit holes, that speeds vary depending on location. In some highly dense populated areas speeds can be slower, as Starlink "chokes down" speeds - same goes with remote locations. A subscriber can pay extra for guaranteed higher speeds. We've decided to try the basic plan for the time being. 3. The basic Starlink Mobile kit is $600. The Husky tote was $28 at Walmart. The custom fit packaging pieces were $50 from Etsy. The Esty pole adapter cost $15. We're planning to modify the kit (router) from AC to 12vDC. Switching to 12vDC drops power consumption by approximately 18%, FYI. I've already purchased the component parts to make the DC conversion for about $125. Parts needed are a PoI injector, 12-48vDC converter, and a standalone router. Easy peasy. 4. The Starlink Mobile monthly service is $150 - but, service is set up as "pay by the drink". If you're not planning to travel during a particular month, or your rig is in storage mode, you can access you account online and deactivate service. Only the "Mobile" option allows this feature, the "Residential" plan does not. Hope all is well on your side - best regards to June... Cheers!1 point
-
Well, the odds are that they are wrecked, but it is worth trying to salvage them, a charger with a “reconditioning” feature might possible revive them, unfortunately with four (?) batteries, the odds are high that at least one is irredeemable, so you may end up replacing them all, so that one bad unit won’t discharge the others…. i have a 6 amp C-Tek charger that I used successfully on my truck when I left a dome light on for several weeks over the summer, the battery appears to be fine now, but it may prove to be toast once the winter chill sets in… I did disconnect the leads when charging, to protect the vehicle systems from the higher voltage. This charger is way too small for your big storage batteries, it might be best to talk to a local shop. CTEK (56-353) MULTI US 7002 12-Volt Battery Charger,Black Keep in mind a retail shop will be eager to sell you new batteries rather than fixing your old buggered ones. Maybe an auto-electric repair service would be more productive. Good luck, I bet you said a lot of bad words. I sure did. John Davies Spokane WA
1 point
-
Art: Great effort. Down the road June likely will need the same set-up. Some questions: How do you raise the mast? What kind of speed does the system generally provide in "city" and while "remote"? Any wag on the equipment and accessories cost (not counting your time which is priceless of course?). About what does the monthly cost run? Thanks GJ1 point
-
I don't ever recall a post in which this was either shown or discussed.🤔 Something shouldn't be all that difficult to make - perhaps Foy has looked into it for something fancy? Bill1 point
-
Air pressure should not be able to build up in any tank. They should be vented through the roof, even with the dump valve and toilet closed. I suspect the tank and part of the vent stack was completely filled with fluid. That would absolutely create a toilet geyser.1 point
-
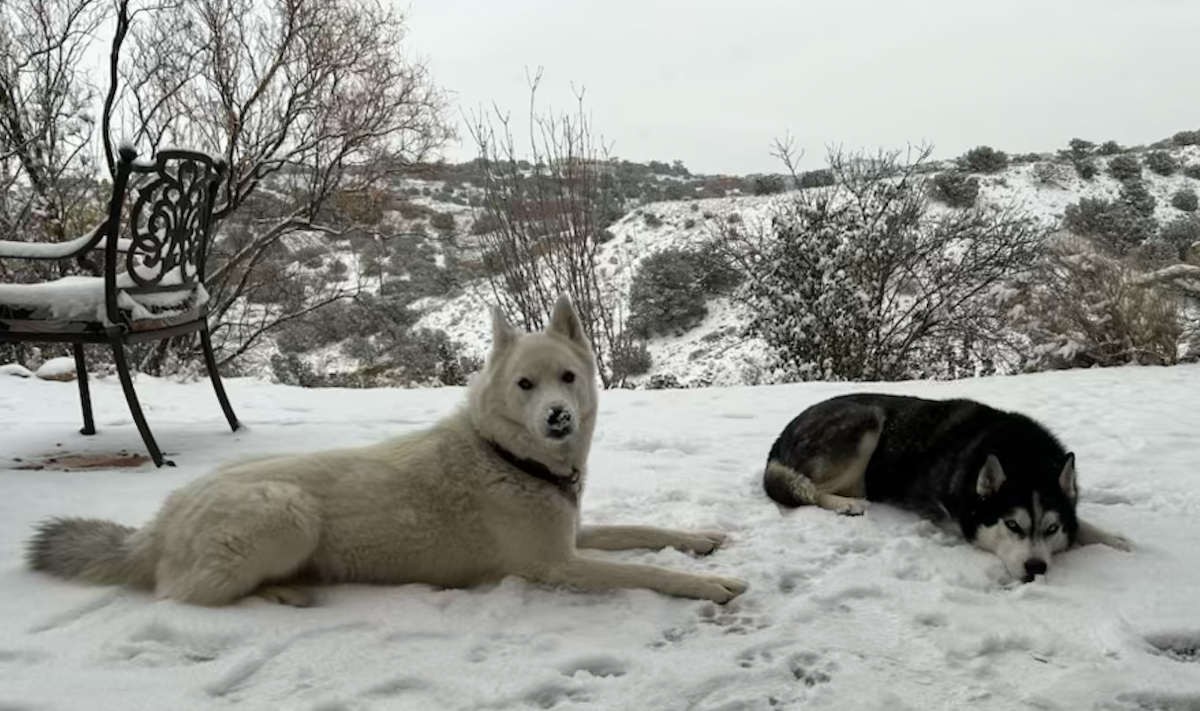
Happy Huskies: Magnus and Oscar are absolutely beside themselves with the light dusting and our first winter wonderland this morning....
1 point
-
Late March is the perfect time to visit the Texas Hill Country. Inks Lake SP puts you in the triangle with amazing towns to visit. Burnet, Llano (Cooper's BBQ), Marble Falls (Blue Bonnet Cafe and Bear Brewery), and Fredericksburg. So much to do in Fredericksburg (Brewery, German food, Military museum, including George H.W. Bush exhibit. Lady Bird Johnson and LBJ historic sites around Johnson City, TX. Best of all of this is you will be in the heart of Blue Bonnet season. Follow the Blue Bonnet Trail, and the Willow City Loop. The drives are beautiful and the Blue Bonnets and Indian Paintbrush are the frosting on the cake. Inks Lake - North Loop, right on the lake, site #88. Though at this late date, the North Loop is probably full.1 point
-
I'll post some photos tomorrow. Our Minnesota camping and sailing friends got a late start, so pot roast for Thanksgiving. Easier to hold, for late arrival. Trash can turkey tomorrow. Campfire is burning. It's a beautiful day here in wnc.1 point
-
Happy Thanksgiving to ALL! Chris is making her usual magic in the kitchen today. We should get a fire going in the fireplace! Listening now to classical music. We're going to take some time this long weekend to plan some upcoming camping trips (for Dec, Feb and April). All I've been doing is working on our Oliver, and more so on the truck. We need to get out again! Mid December we will travel to some warmer parts of SW AZ. Starting with a few nights at Burro Creek Campground, we will swing through Quartzite for a night or two, on way to Yuma (I need to work in a dental visit in Los Algodones). You can dry-camp at the Quechan Casino (Indian Territory right there on the boarder). Interested in the Kofa National Wildlife Refuge, perhaps there is camping there, or other BLM boondocking between Yuma and Quartzite. Will hit Wickenburg on the way back, eat lunch at Cowboy Cookin' and boondock again at Vulture Mountain. Final stop at Lake Pleasant Regional Park, located in the NW Phoenix Valley. There is always day-of dry-camping available, empty your tanks and fill with decent fresh water. We've been to some of these spots, but never in an Oliver! Now that I wrote it, I believe we have most of our first plan done!1 point
-
These are bottom tier cheap products. I doubt that they were ever intended to go in an RV where airborne dirt particles and condensation are major factors. This is a fail on Oliver’s part, unintentional though it may be. Does anybody actually get 20,000 hours of use out of their home LED light bulbs??? These life ratings are pure scam. The LED element itself may in theory last forever, but the board it is attached to can last just a few hours. RVs need marine grade (co$tly) components. John Davies Spokane WA
1 point
-
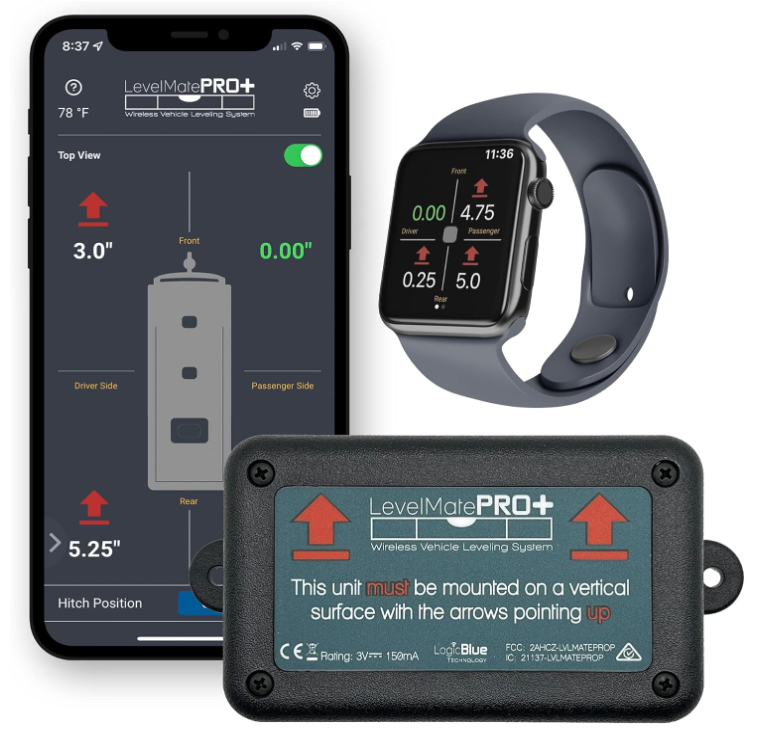
If anyone has been considering the Levelmate Pro+ Amazon has a great deal going. Love mine, takes minutes to level up the camper when setting up. https://www.amazon.com/dp/B083ZMZPR8/ref=syn_sd_onsite_desktop_0?ie=UTF8&pd_rd_plhdr=t&aref=E1D817237BBAC56D29C60E0FB0F93BD6FAAB932FB1C7E241DD083DED270EED39&th=1
1 point
-
That’s a big move and complete about turn for him then! Wish him all the best, but with his personality and character he’ll be fine!1 point
-
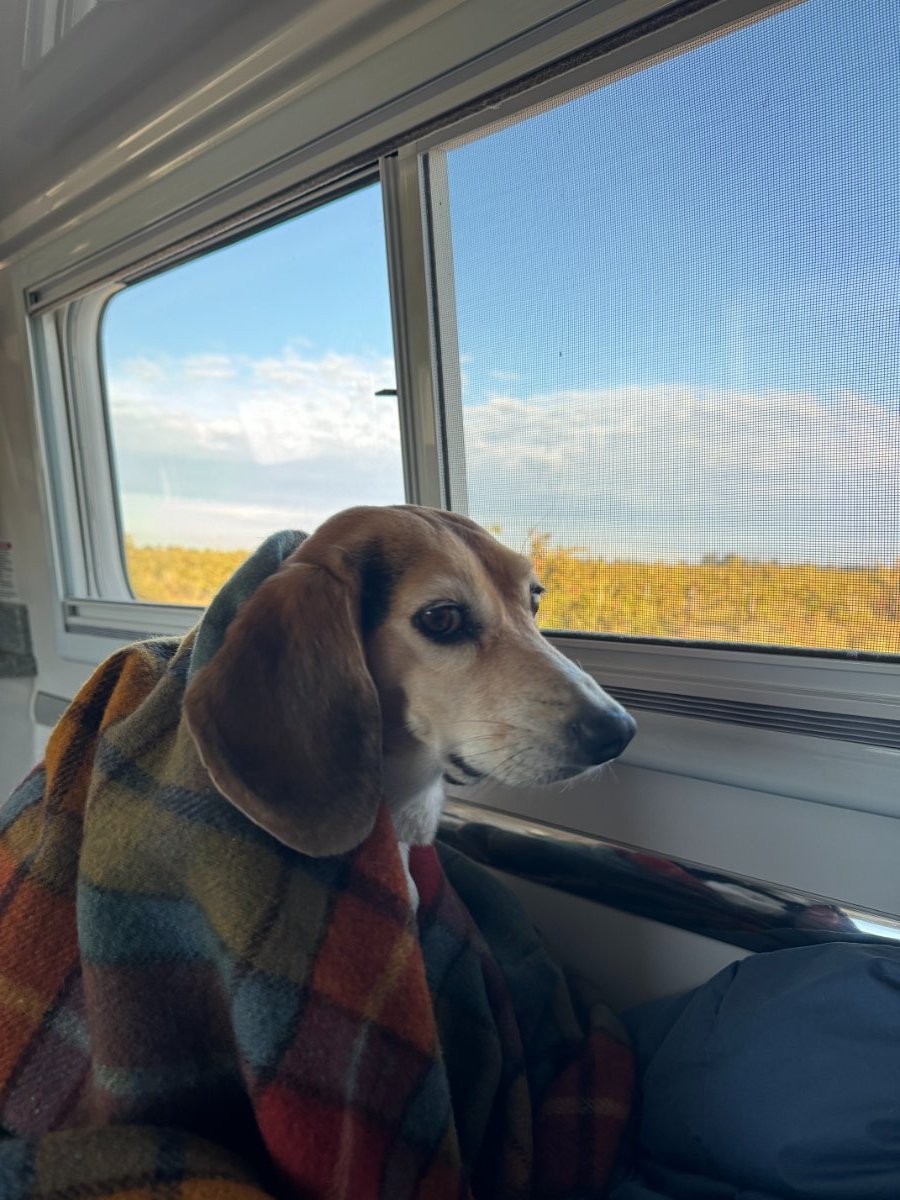
Trixie the Adventure Beagle
1 point
-
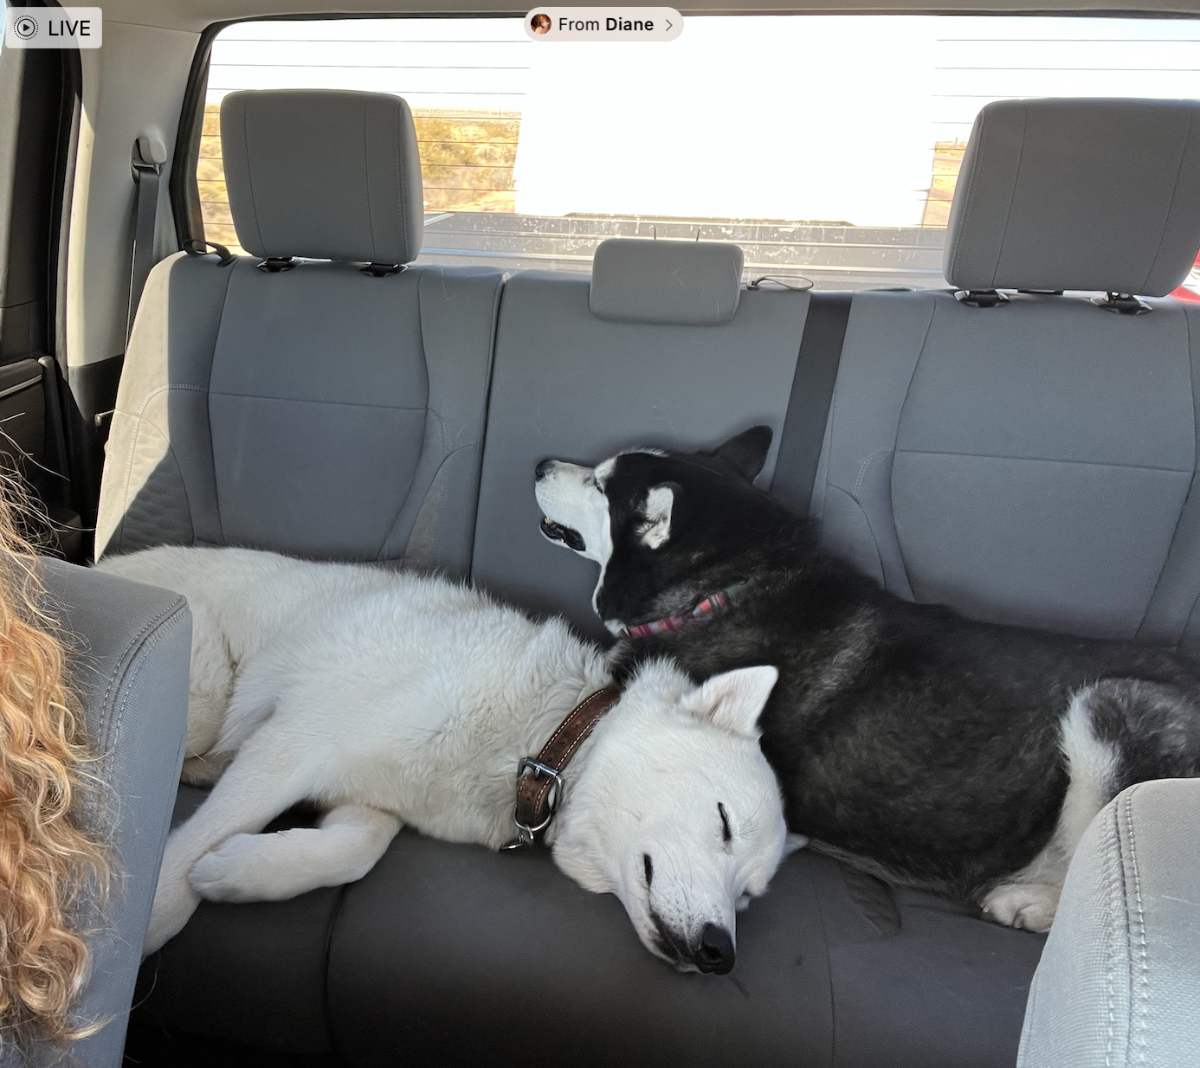
110# of Huskies in the back coming home from our first 2-dog adventure - they pretty much take up the entire back seat...
1 point
-
The problem you encountered is one of the reasons that some people use one of THESE versus trying to use the SeeLevel system. One of these flow monitors also reduces the need for running back and forth from outside to inside and back again. Glad the "overflow" wasn't too bad for you. Bill1 point
-
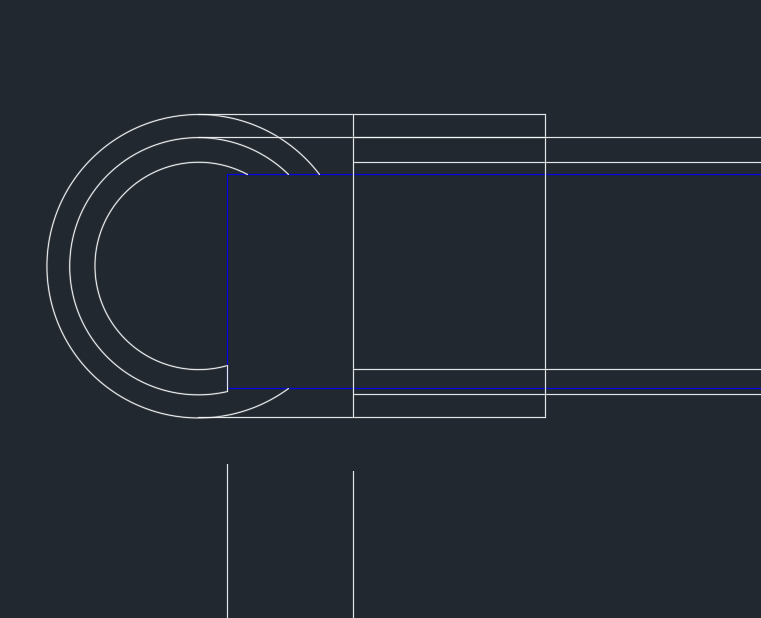
Said I needed a day off and then took 4-5! Worked a couple hours each of the last few on this job. One day, jacked up the curb side and tore everything down. Next day cleaned the brake parts and today I ran the pressure washer on the suspension, the brake backing plates and everything I could reach underneath. Been working a bit more than usual, getting in the way of my OTT work! It's nice to line everything up to be ready. I need to install the races; the old ones are out. It's best to mount the shoes first with the spring-pins. Then the adjuster, the magnet and pulley line, and last the upper springs (got a nice tool to pull them). Notice this side has two (2) like designs of the Nev-R-Adjust brakes. The ones with two small upper springs connected in an 'A' shape. My other side had the rear with the long horizontal spring, like @Ronbrink's above. What did a PO do? Smash the rear wheel and have to replace it? Or did Dexter build an axle like this, with different assemblies on each side? The one-off assembly had a thin weak spring in the adjuster. The other 3 did not and in all my life doing brakes on old cars, none of them ever had a spring in the brake shoe adjuster. Both assemblies are equally clean. There is just more shop lighting on the left one. BTW, a little Sil-Glyde grease on the lever and spring behind the magnet helps too.
1 point
-
You might consider removing the decorative hub caps altogether. This will allow you to check wheel hub temp using a non contact IR thermometer or by hand. You can also watch for a loose bearing cap. You can also adjust wheel bearing play without having to remove the tire and wheel assembly. I don’t use the x-chocks anymore either.
1 point
-
Chris - Hopefully its not too late - but - I'd email ASA (assuming that this is the camera you are talking about) and tell then that your camera has a moisture leak. Chances are they will tell you to send it in (with a return authorization number). They will "test" it for the failure you told them about and if it has really failed they will send you a new camera. This process takes right around 7 business days including the shipping time. Good luck! Bill p.s. unless you cut the wiring then the camera is connected to the power wiring via a "pin connector". Simply depress the latch on the side of the connector and pull it apart. The new camera will simply plug right back into that connector. Then just follow the instructions above to get the new camera to "pair" with the monitor.1 point
-
I don't think the furnace in the Elite is ducted. Ask your sales person, but I don't think so. When it's really cold, owners of older Elites, like us, will open a drawer or access hatch to send the warm air through the hull. Mine us a 2008, so things could be different. Just know before you go.1 point
-
We have camped many times in temps down to what you're describing. We do not have any additional heaters under the floor. In the situation you describe, the propane furnace will provide sufficient heat to keep your inside plumbing going. Do not hook up to outside water and expect it to be running the next morning, even with a heated hose it will most likely freeze at one end or the other so you do need to pay attention to "the outside fittings, ie city water connection, shower nozzle." Pete has "bilge heaters" in his unit. Maybe he'll chime in here. Realize though, you would have to have hookups (electricity) to be able to use them. Even a large tank of water will eventually freeze at 10 degrees but in my experience, simply keeping the basement areas slightly above freezing does the trick and it's not too hard to do. It WILL use a lot of propane so be aware of that. My guess is that if the temperature never got above 10 degrees, the furnace would run pretty much constantly and you could could use up 60 pounds of propane in less than a week. Realistically, probably daytime temps would get to near freezing or above and lessen that propane load. Running out of propane in below freezing temps would not be fun or safe, but that's why there are wheels on your trailer. If you are not trapped somewhere, move.1 point


-
Recent Achievements
-


")


")


