Leaderboard
Popular Content
Showing content with the highest reputation since 01/22/2026 in Posts
-
10 points
-
10 points
-
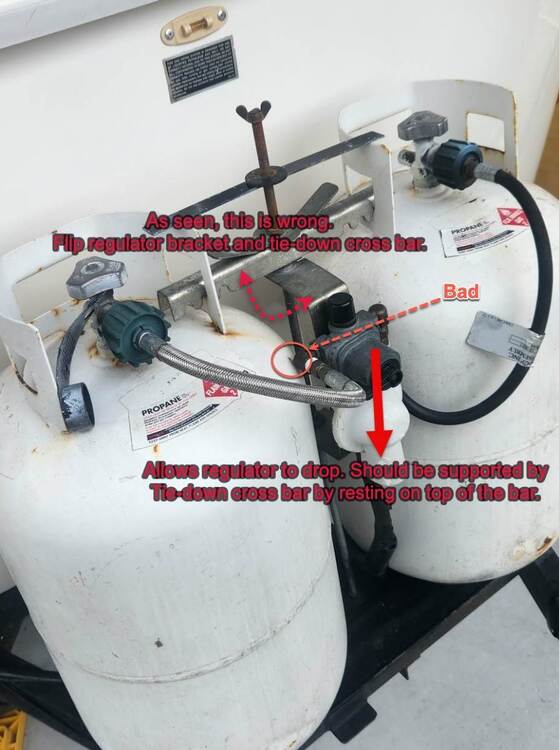
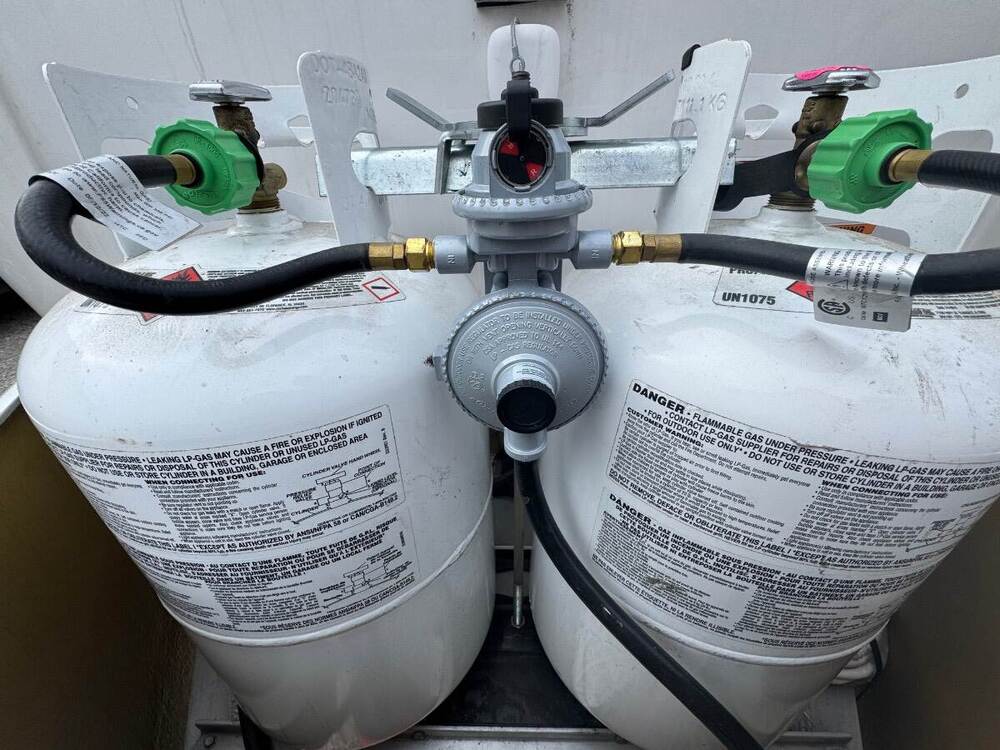
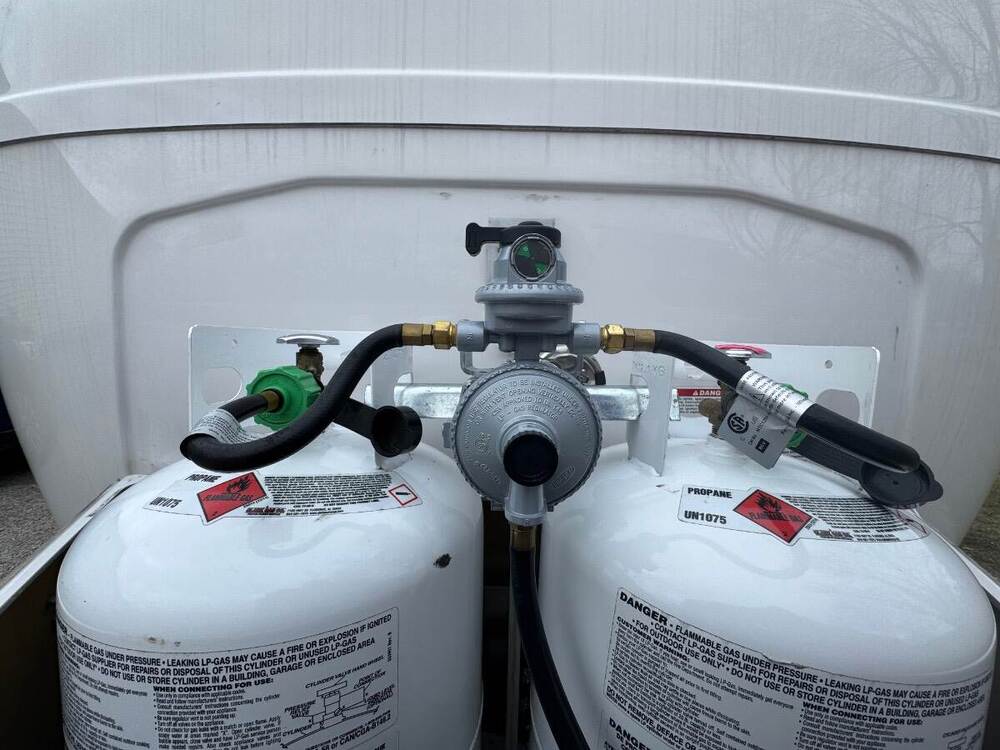
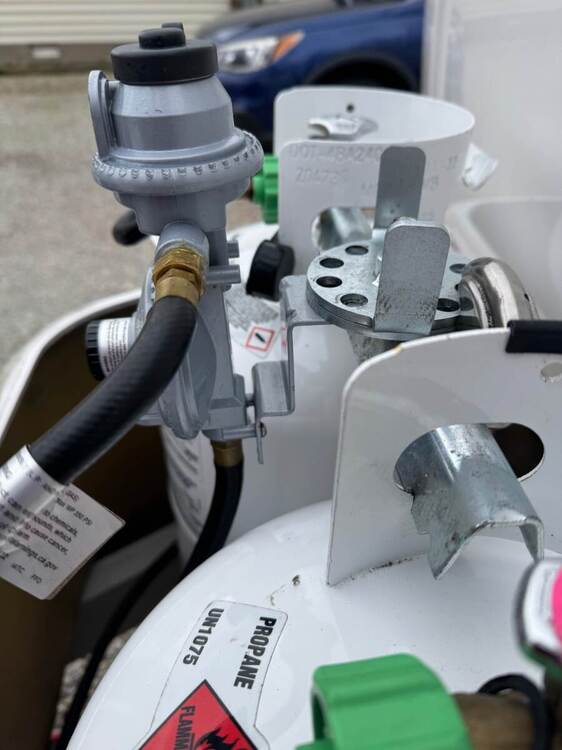
While helping my girlfriend with her 2002 Casita to down-size her propane tanks to new 20 lbs tanks, we found that the propane regulator bracket and the hold-down/tank retainer bar were flipped and allowed the regulator, and hence hose/lines, to drop too far down. This can easily happen to any camper with a dual propane tank system like this. After anyone works on your rig, or you purchase a used travel trailer, ensure things are in order in the propane area. Hope this helps. UPDATE: If you look close at her picture, you can also see that the right-angle LP connector off the regulator has now rubbed into the passenger-side tank. That's not good in any way shape or form - truly bad. I'm sure these have very strict rules by the DOT. Also, in some rare cases, having certain regulators lower than the tops of the LP tanks, may cause certain LP appliances to fail to operate properly.9 points
-
9 points
-
Preview for Oliver friends: Since we're between trips with Hull 505, we decided to try out some ai song creation tools and do a road log video. This is the link below is to our page which includes the lyrics for the video shown below: Blog Article with Video and Lyrics Craig & Rose Video from our website below: Oliver 505 640 - SD 480p.mov8 points
-
We installed two Epoch 105 AH replacing two 100AH BB batteries on Ollie. We don't have factory solar charging and only have an onboard Progressive Dynamics 45A Lithium charger. The BB worked nicely with this setup. The Epoch 105AH batteries are a little smaller physically and lighter than the 100AH BB batteries. I like the carry handles on them, too. The new Epoch batteries with the carry handles are easy to install and remove on Ollie. I removed them in less than 10 minutes when I put Ollie in storage this winter. It will take a little longer to install them later this month. Really like the Epoch app, too. Edit: I looked at the Epoch 105AH link in your post and thought you were installing 105AH, what ever size is used, they are very nice batteries.8 points
-
If for any reason you are not satisfied with the color match, I'd guess that you could lightly sand out some of the Marine-Tek and coat over it with the appropriate color gelcoat. Note - Oliver can tell you what type and color gelcoat is on your Ollie.7 points
-
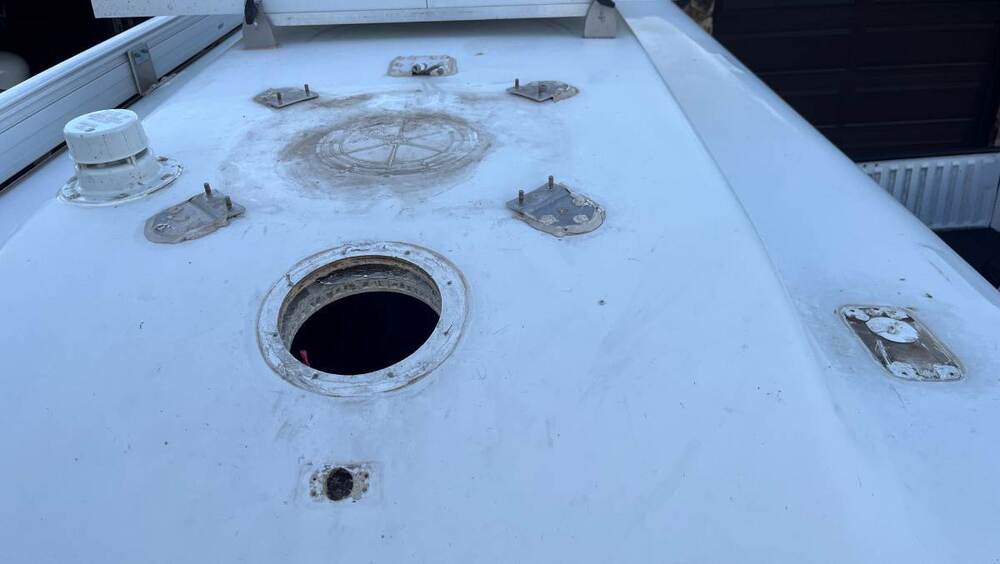
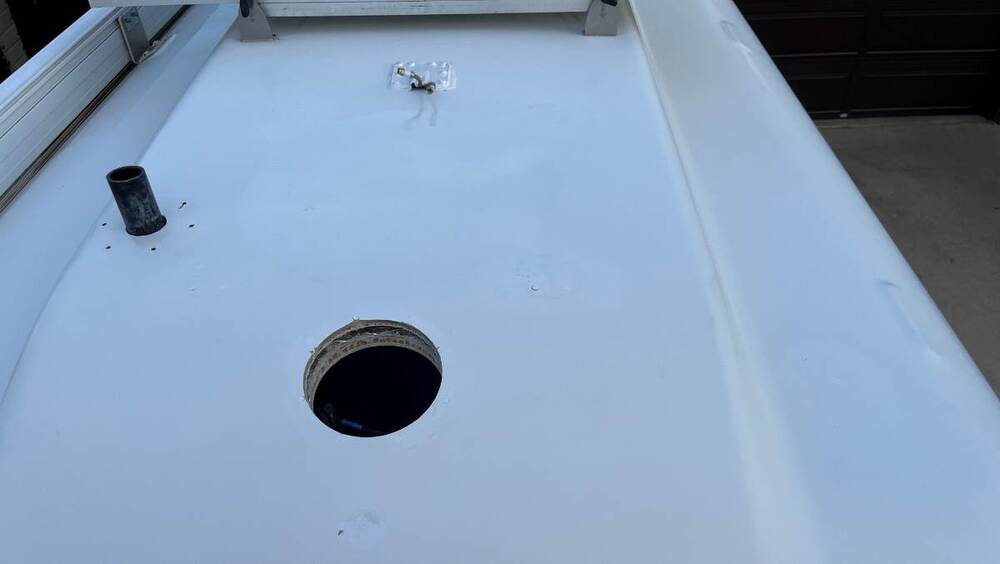
Hello @Mroth, this is not truly my area of expertise, but given how many holes are drilled in OTT installation processes, and that I have removed many of the old-tech products on our Oliver, I've filled way too many holes! I've used this epoxy based product and the color match is good. It's just a touch whiter than our older hull and I've read somewhere that the newer hulls are a tone brighter. I would say this product may work well for your purpose in the shower. It's simple and inexpensive. https://www.amazon.com/Marine-Tex-RM305K-White-oz/dp/B0014419V0/ I have also plugged the holes made for the TV mount, the drain pull handle in the bathroom, the door hook outside, both cameras and everything in these pics (see before and after).7 points
-
Those that might be contemplating getting a Levelmate should know that a newer model was released last year called the Levelmate Max. I had never gone for a Levelmate before but decided to try the Max version and have been extremely satisfied. There is absolutely no need to hardwire it because it runs on three AAA batteries that last over a year and can be replaced in under a minute. As far as technology upgrades over the Pro and Pro+, the Max adds a gyroscope in addition to the accelerometer. This enables one to observe continuous instant changes in level (side to side and front to back) with the trailer hitched and vehicle moving (called leveling on the go). This feature can be useful in finding the best spot to stop and unhitch when boondocking on uneven ground. Another feature is that it can remember the preferred tongue height when it is time to hitch up without having to back the vehicle up to the tongue first. Levelmate recommendz permanently mounting it with screws but I used 2 inch wide heavy duty velcro to mount it just inside the door under the rocker switch panel. No holes drilled.7 points
-
A short (by comparison for once) summmary: I concur with the "To Each Their Own" concept. That using hind-sight is an unfair approach to just about anything. That OTT has and still makes a product we all are proud to have, use and keep. That over time our requirements and circumstances will change. We will all end up modify, donating or selling our Olivers. We each exhibit moments of brilliance, and moments we wish we would have avoided. This forum is vibrant because we understand the above for ourselves and others. God bless Scott Oliver, his family and the OTT TEAM they have built. And all the participants of this forum. John Russell7 points
-
I’m probably a minority here, but I like my bubble level. It’s used everytime we set up. Generally accurate although it does take adjusting every so often. I haven’t gone for some of the electronic/automatic upgrades (digital door lock, motorized black/gray tank gates, auto levelers, etc). I like simplicity. It’s instructive to remember how Oliver Travel Trailers began. Jim and John traveled around in their Casita(s) for their fiberglass businesses. When it came time to get a new Casita they decided they could make their own. They did, and sometime around 2007 the Elite I was born. They were not RV industry experts, just experienced RVers who used their fiberglass experience to create a new travel trailer. The mechanical parts (electricity, plumbing, etc) have evolved over time with the early trailers not being very standardized. When I look at the newer models compared to those built when ours was, they’ve come a long way and have continued to refine and make improvements. Those of us with 2015/16/17 trailers don’t have that benefit of lessons learned over the years but we still have a solid trailer. Our trailer is 10 years old, just over 110,000 miles and can/does pass for a new trailer (thanks CGI guys). All systems work fine and reliability over the last 6 or 7 years has been outstanding. Mike7 points
-
No one (certainly me) has said that "OTT has good reasons for all things they do!". As I would hope you already know, in manufacturing there are a myriad of factors that enter into virtually all aspects of even the smallest detail of any product. In my almost 11 years of dealing with OTT products and personnel I believe that they are truly concerned and connected with virtually every aspect and they seek to make our trailers better in every way that they can while still producing a product that meets all of the requirements necessary/desired for the broad segment they are trying to serve. Indeed, many of the "improvements" made to these trailers have been at the insistence of owners. In my personal opinion, some of these "improvements" have actually made the trailers less desirable to me. You have made this point before without consideration or concern for any segment of the market that chooses (for what ever reason) to not be "bothered" with yet another electronic device. I regret that it is "painful" for you to have to deal with those that (again) for whatever reason choose to not use a "LevelMate" or, perhaps, even cell phones. I'm truly glad for your delight in the ease and simplicity you seem to find in using these types of devices. I would certainly agree that they do have a place and time. But, ALWAYS and in ALL situations is a bit of a stretch. About 500 days ago the area where I live was badly hit with a "hurricane" that literally destroyed several towns and this area is still dealing with the issues caused. One of the things that simply didn't work during this storm was the cell phone network. Perhaps in the eyes of some (actually most if looking at the current stats regarding cell phone ownership - some 95% of adults in America own them) having a land line for phone service belongs in the "stone age". But, I'm sure glad that we still had/have ours when this happened. I've never felt the "need" for being perfectly level or perfectly comfortable, or virtually perfectly almost anything else since my days in the Army. Again, I'm sorry that "It gets me when...". I believe that people do with their money what they want (within the law of course). With cell phones to LevelMates, to Oliver's and beyond people can spend money as they choose. Yes, I do wonder sometimes about these choices that people make. Heck, I even question my own sanity from time to time but I sure don't let it bother me. I'm sorry too that you have had to spend "2 years making too many corrections and improvements!" to your Ollie. From reading most of your posts I believe that some of these "corrections and improvements" had to be made due to the neglect or mistreatment your trailer suffered from its previous owner(s). Others things that you have done, indeed, correct, improve or update original things done during manufacturing. Finally, I prefer to believe that much of our "100's of pages long" Mods section here on the Forum has more to do with improved technology, materials, design and related factors than it does with Oliver not having good reasons for doing what they did. As an example - I believe that you have basically rewired your entire Ollie (and nicely so too). You did this because you saw "problems" with the original wiring that (for good reason) caused you concern. And, since this original wiring was done during the original build your assumption is/was that Oliver was somehow "bad" for allowing the wiring to be completed in this manner. But, as with many things, there is more to the story than what one usually sees by only observing what they can immediately see. Back when your trailer was built, Oliver didn't have "in house" electricians. They knew how other RV's were wired but felt that if they hired certified electricians they would get the best wiring for an Oliver available. From the history I know, there were as many as three individual electricians (I'm sure that they knew each other given the small town/area around Hohenwald) that usually came into Oliver after normal working hours to wire our trailers. This is why not all trailers produced at that time were necessarily wired the same. After "problems" were being reported by owners, Oliver felt that they should have more control over how the trailers were being wired in order to reduce the number of "quality control" issues they were having. Once Oliver took this area "in house" they standardized the wiring for all trailers. This meant that all trailers would be wired with the same wiring harness and would, therefore, actually cost more in wire but less in installation as compared to hiring these "outside" certified electricians. These same type of issues were the reason for the switch from BlueSky to Zamp solar controllers even though Oliver was chastised for not having an MPPT controller, These same type of issues came up with the switch from 16 inch to 15 inch tires and with the orientation of the propane stove and with window blinds and with interior design choices and with ..... In my experience, Oliver has no comparison (not even close) to any other company in the world that I've ever been associated with or done business with. They have consistently done things for customers that are far and away beyond anything that might be considered necessary - regardless of warranties or any other related legal issue. If Oliver has a fault in this area I believe that it lies in the lack of marketing all of the things that they have done other than letting the final product speak for itself. Does this mean that I believe Oliver is perfect? NO! But the company and its product are the best thing on the market even at the price of $100,000. Bill7 points
-
With all the cautions mentioned above, I do what others have mentioned. Get the trailer close to level using lifts or blocks under the wheels, if needed, and then use the jacks the last few inches to make the trailer level. The jacks are pretty robust and seem to lift and support the trailer without problem. Having said that, I also highly recommend the use of blocks under the lifts to reduce the amount they have to extend. I read this forum weekly if not daily and find it a valuable resource of information for owning, using and enjoying your Oliver.7 points
-
And yet more potential bad news for BB. They better get a handle on this or they may have some rough times ahead - true or not. Will's latest YT video "Battleborn 270Ah Failure! Yikes!" has been up for 1 day and viewed more than 87,000 times. 🤦♂️ Looking from the outside in, it appears BB may indeed have an engineering issue on their hands. I think Will was a bit shocked at how the 270Ah was constructed. Not sure why BB chose to completely seal the batteries without screws. Maybe to save money and/or safety. Who knows. This situation, if true, is cyclical - not the first time, and not the last time, as long as we roam the Earth we'll see this stuff. Experience should have taught us that we seldom get a "good deal" for less money spent. I think that's now a law, isn't it? If so, I can't stand that law. 🤣 The best thing to take away from all this social media is, at least, awareness. As I recently discovered my girlfriends very dry lead acid battery about to explode from heat, this is a bit close to home for me. I nearly burned my hand on the battery plastic housing, it was that bad. It's always a good idea to carry a digital thermometer or even a thermal imager for your phone. I was going to be adding a thermal imager to my gear soon, even before these vids started showing up. I might drag my butt out to Texas for five weeks of RV tech training after retirement. We'll see if I have the continued inspiration.7 points
-
Im sure someone has done this already but I thought I would share this anyway. This is a bad video and I know it but I hadn't planned to post it. I made it for a friend with an Oliver who wanted to do something similar. So take it with a grain of salt. Bill https://youtu.be/wywtsGDUK1I7 points
-
7 points
-
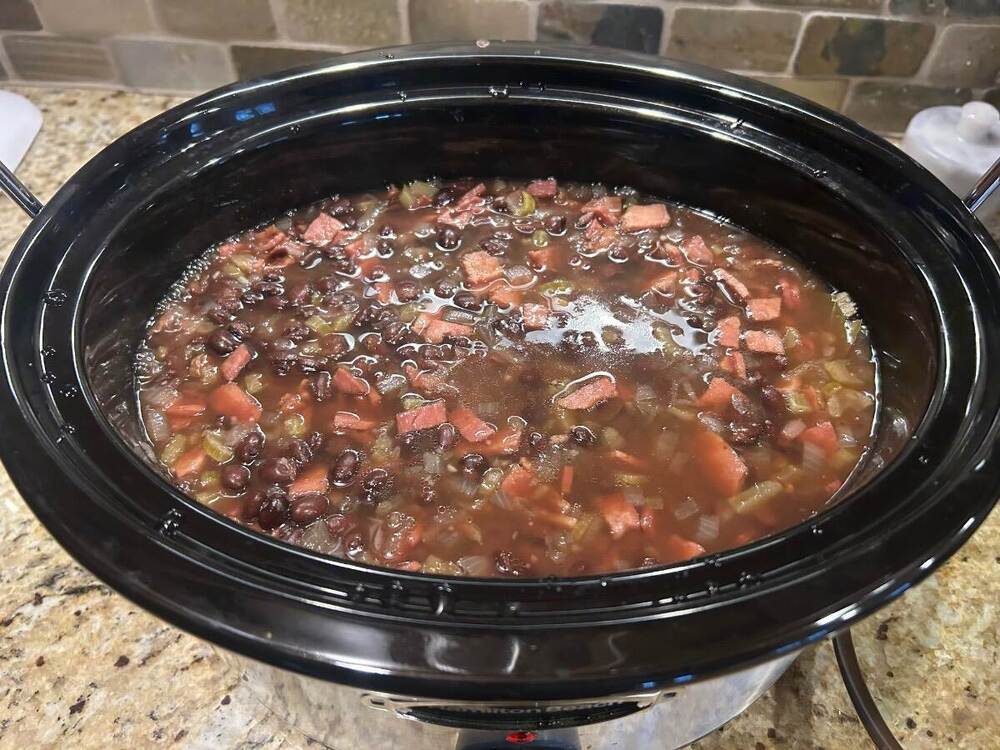
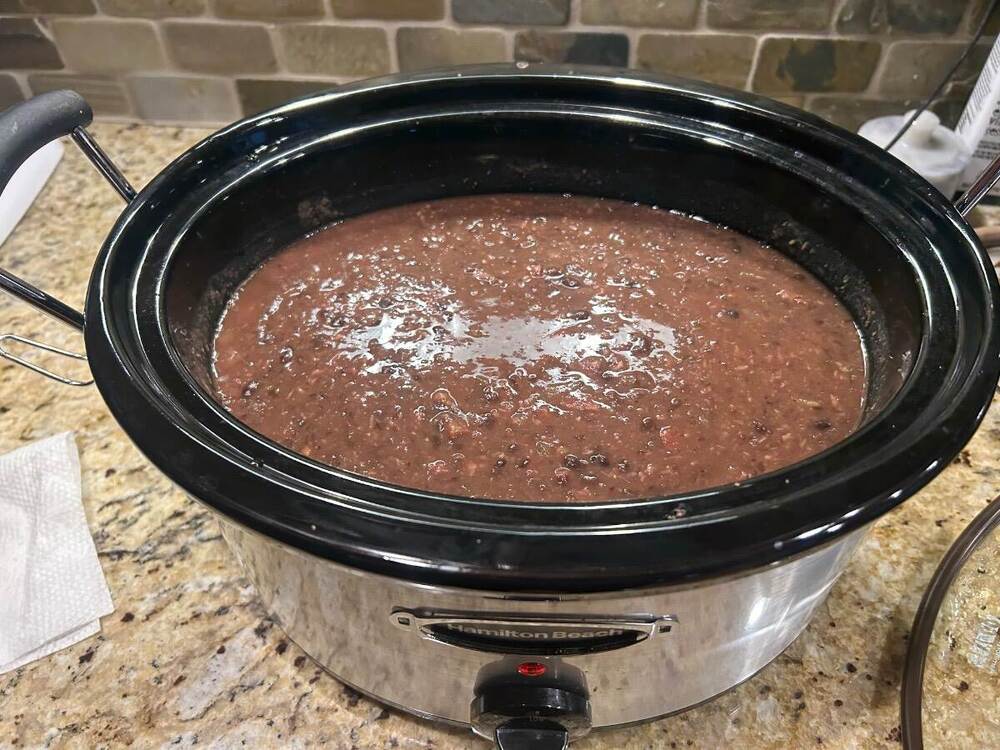
Thank you, very kind of you to offer Chris. We are in really great shape here. Our roads are really iced over and we are well prepped. My bride made a huge pot of black-bean soup with lots of Kentucky Legend smoked ham and a super loaf of homemade double cheese bread. We are set, let the weather roll in!! 😎 Immersion blender in the soup for the finish!7 points
-
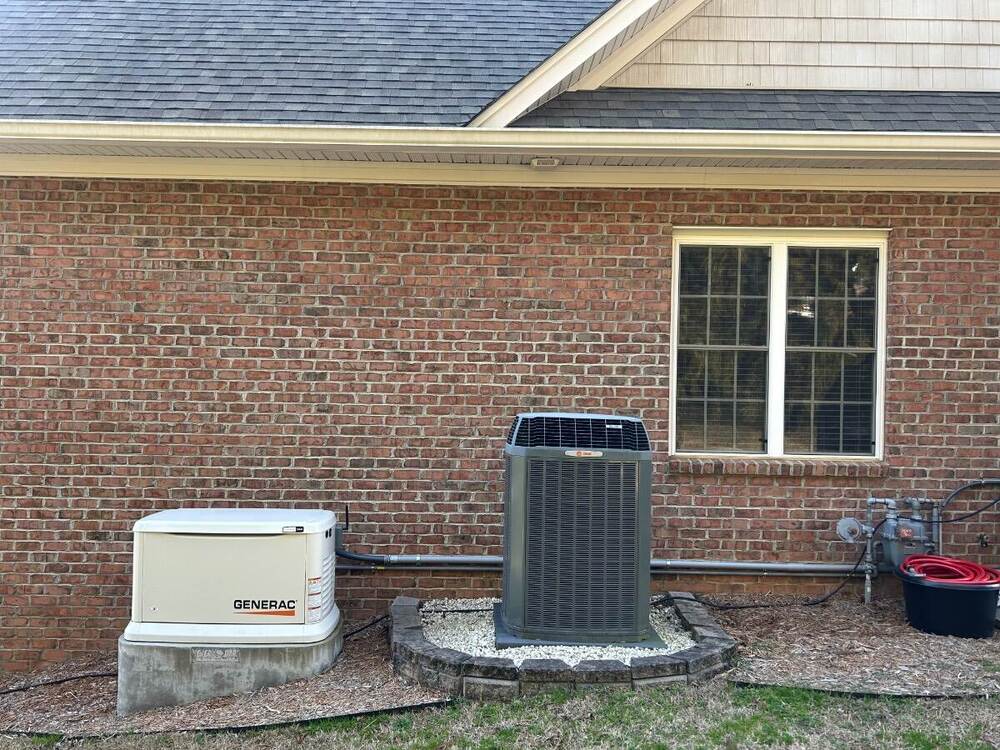
Just checked our forecast here and it appears freezing rain and a chance of a wintery mix forecasted with no significant snow fall accumulation. Certainly all subject to change. 3 years ago when we had our 24KW Generac installed, I still remember a few neighbors thinking it was sorta crazy to spend money on something we hope we never have to use. 🤔 The power does not go out that often which is true however, when it does it sure is nice to have a backup/contingency plan. The freezing temps are predicted to be diving down into the lower teens for the next week or so at night here in Western NC. Suffice to say, during extended power outages with no heat it does not take long for a home to cool down and pipes to freeze. Eventually food in freezers with no ⚡️will expire. For times such as these we are really glad we got our LNG fueled Generac installed. Stay Prepped, Stay Safe and Stay Warm!7 points
-
Bill, Very accurate and well stated. Thanks for your thoughtful and respectful insight and most importantly your input! Without question based on our ownership and traveling across the country field experience Oliver is the best TT traveler on the market. As our good friend Rodney you to say -“Everything you need and nothing you don’t”. 👍🏻🇺🇸 - David6 points
-
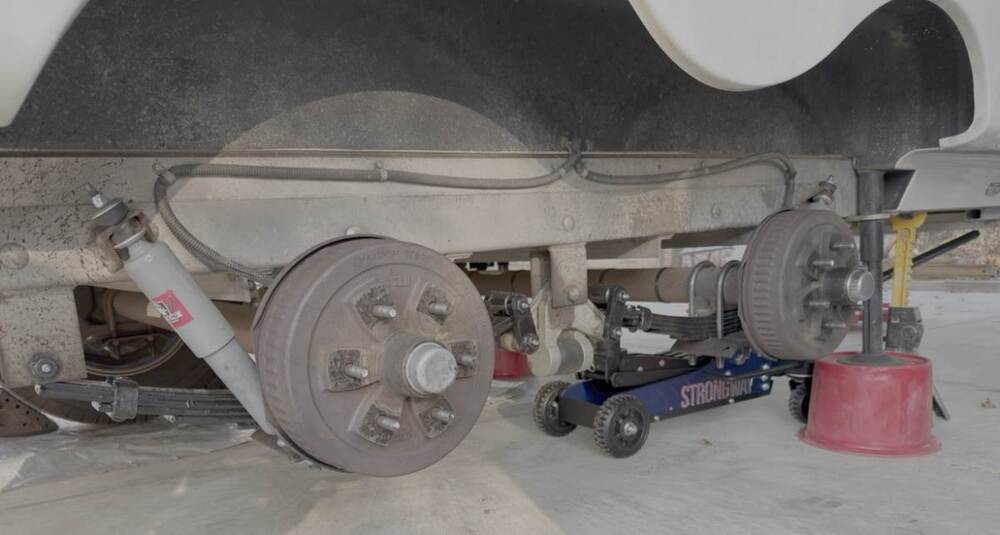
Well, thanks to my buddy Steve, we had a good time putting on the new springs at a great location. He's paying me back for helping him put his springs on. Based off what Lew at Alcan said, this is around 200 Oliver's receiving the springs. Pretty good. Once the weather clears I'll do the first 50 mile ride, come back, and retorque the U-Bolt nuts again to 90 pounds. Oh, and between two of you (us), do not lose your 7/8 inch deep impact socket, and do not forget to pick one up before starting the job. LOL Or, driving to the store to get one will delay you. LOL Helpful tools and hints: The new Ryobi impact drill, grease gun, and 4x4 hydraulic jack were all amazing - made things easy. Best to also have two small bottle jacks, 2x" & 4x" wood for cribbing. Not to mention PB Blaster, or equivalent, for the old U-bolts nuts, and small wire brush to clean off those old U-bolt threads before attempting to remove the nuts. One nut got bound up and I had to use old muscles and extra leverage to get the nut off. (Fun times). LOL6 points
-
The shorter your jacks, the more stable your trailer will be. We use the round Andersen Jack Stands. The Jack Stands reduce the jack extension by approximately 7"+.6 points
-
I’ve ordered my new Epoch 300aH batteries. When we, @mountainoliver and I, did my upgrade from AGM’s to the Battle Borns, we also recabled everything so that like John, I have one red cable and one black cable in the battery box. My Battle Borns are just over 5 years old. I’ll keep them for a while as this Dragon Fly crisis progresses. Mike6 points
-
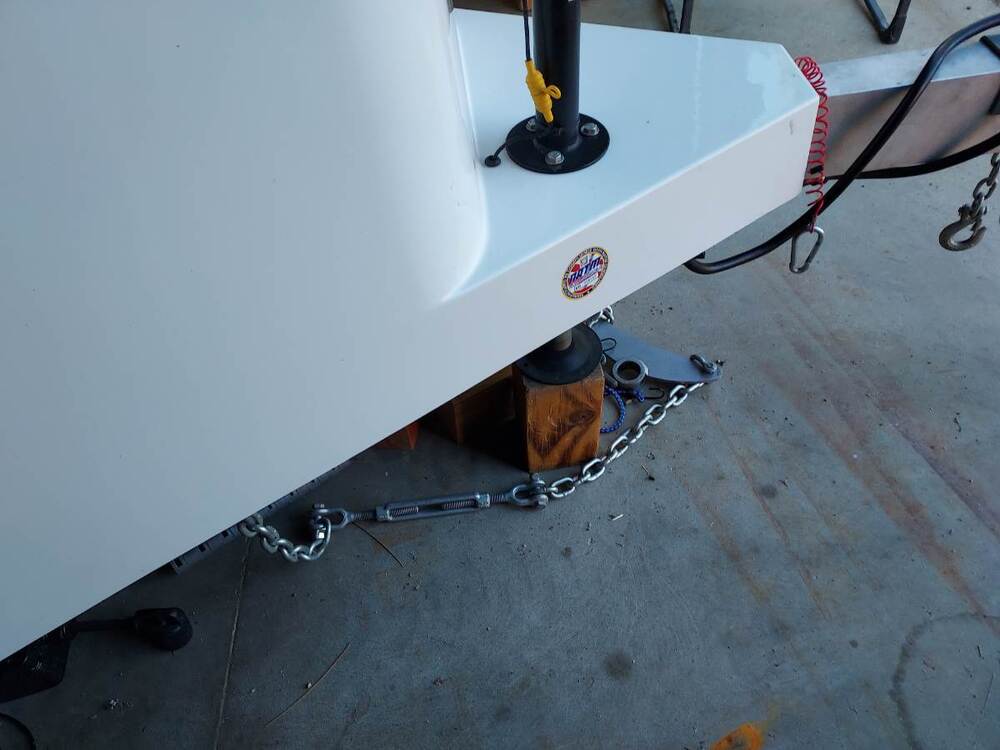
We, too, level and raise our Hull #1291 (2022) with the jacks. But, we always use support blocks for two reasons: (1) to avoid jack damage if we forget to raise the jacks before driving off and (2) to shorten jack travel distance. See photo below of one of our three support blocks in place under the front jack. Since that photo was taken, we have added Snap Pads, as recommended by Patriot, above. We like 'em. One caution: ensure that the jack foot is placed on level ground, or the foot plate can be bent, requiring replacement. If using the jack on a slope (such as on the side of significantly crowned roadway), place tapered levelers under the jack foot to provide a level platform. Don't ask me how I know...6 points
-
We do use them for leveling and have done so since our first Oliver bought back I early 2008. Advice: Chock the tires fore and aft, then unhook the trailer and move the truck. Raise/Lower the front jack first to get the trailer level front to rear. If the trailer is not level side to side, use the jack to raise the low side to level. Then lower the opposite side to stabilize it. Make sure you place a block between the jack foot and the ground. That way when you forget to raise them before driving away, you won’t ruin $1200 worth of jacks. Routinely check the bolt that holds the foot plate to the inner jack tube. If this bolt works loose, you will lose the foot plate that will cost you close to $40 to replace.6 points
-
I updated my Truck to a 245Amp alternator with 4/0 to one battery and upgraded the link between batteries to 2/0. I ran 1/0 back to the Oli for the Victron DC to DC charger. While I was working with the big wires, I did the John Davies clean up in the battery compartment with 4/0 with smartshunt and shut off switch so that when I upgrade from AGM to Lithium I would have a good foundation. I bought a hydraulic crimper and I loved it. Made all the work so much easier. While I was at it I bought several extra lugs from 6ga to 4/0. I love my dog but for me tools are mans best friend. They can make life so much easier, they just aren't warm and snuggly.6 points
-
We use ours for leveling all the time, have for the last 10 years. I’ve also used them to change tires. As Bill mentioned, this has been discussed a lot here, if you want more data do a search and you’ll find lots of opinions! Mike6 points
-
ripple963 - First - Welcome to the Forum. There is a TON of information here and it is amazing what one can learn by simply "poking around". There is also the Oliver University where you can find videos and help on all sorts of things involving your Ollie. Please do not hesitate to contribute to the Forum with your own ideas, mods and travel experience - pictures are especially welcome (they to say 1,000 words). Second - You can use the "search" function to find previous "threads" that just might help with what you are looking for. Unfortunately, our search function is not what one might call "the best" and there have been posts here over the past few days regarding ways that you can use to help refine your search and to actually speed up that search. Third - Your question - there are numerous threads on the Forum regarding this very question. There was a time a number of years ago when Oliver actually noted that our jacks could be used for both stabilizing and leveling - and - jacking one side of the scamper in order to change a tire! However, due to a number of "issues" over the years, Oliver now only recommends the jacks be used for stabilization. Having said this, there are many of us who still use the jacks for all things even to include tires changes/bearing service, etc.. Please note here that if you are inclined to use your jacks for purposes other than those recommended by Oliver, you do so at your own risk and should take ALL of the proper precautions in order to protect yourself (and others) from all relevant risks similar to what you do when jacking a car/truck wheel off the ground. If you intend to do this then I'd highly recommend that you read everything that you can find here on the Forum so that you are aware of how to do this properly without damage to your new Oliver and/or the people near you. Forth - Congrats on the new Oliver! The longer you live with this camper the more friendly it becomes. Bill6 points
-
Yes have done this for years. Level and stabilize and not to worry. That said I do make every effort to get as level as possible before with blocks etc before setting down the jacks. Hope this helps6 points
-
We are still on our yearly western sojourn but I have 2 x 300Ah Epoch’s waiting for me at home. If you are using BB’s, I certainly can’t promise you they will fail. But if they do, I can promise you it won’t be in a convenient place.6 points
-
I watched Will’s latest video this morning. The news keeps getting more disappointing. I’m looking at replacements now, the BB’s have been fine so far but don’t want to wait for a failure before taking action.6 points
-
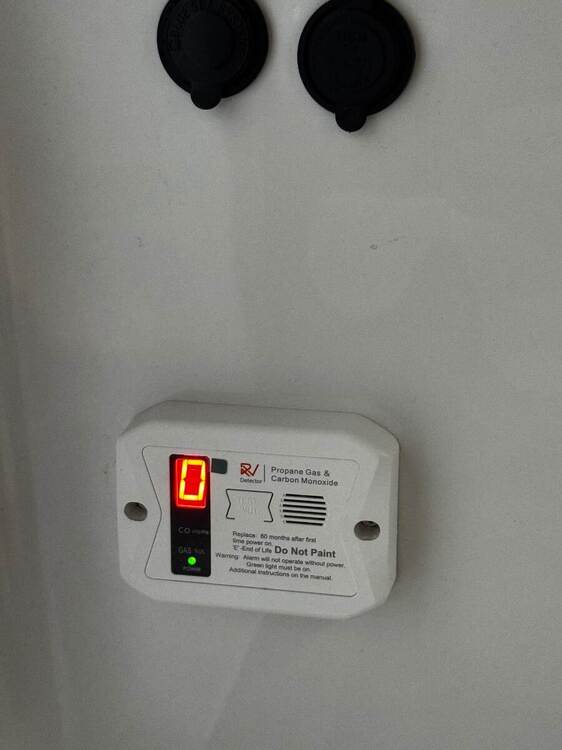
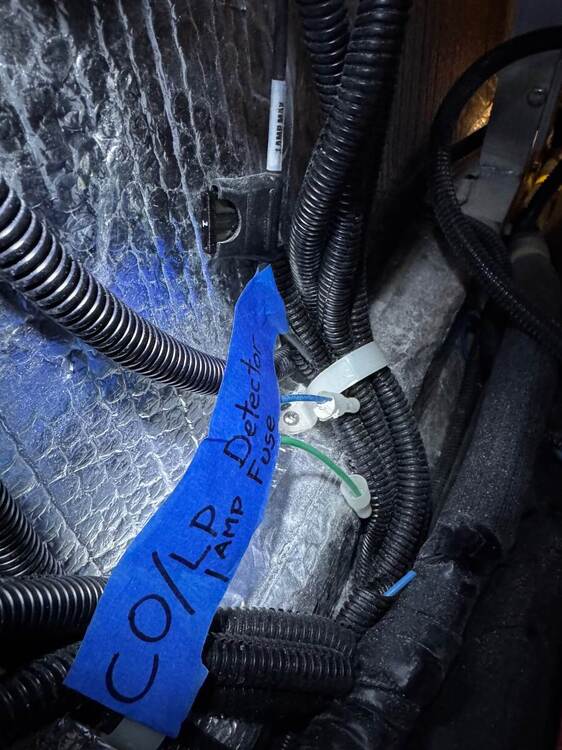
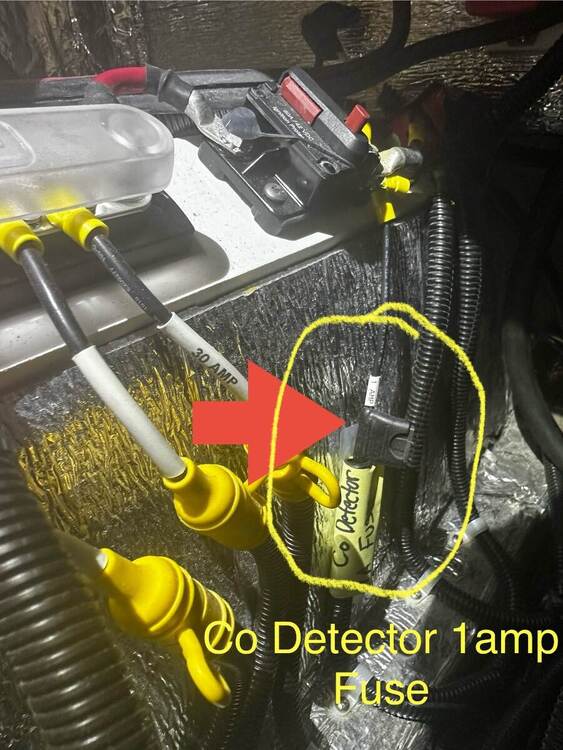
So… first thanks to each of you that responded! The CO/LP detector fuse is easy to find and get to (under street side bed)… IF YOU KNOW WHERE TO LOOK! I put a tag on it similar to what Galway girl did (Good idea!) I added another 1 amp fuse to my box of emergency fuses and also realized I only had one 30 amp slow blow inline fuse (for the three electric jacks)…. So ordered some more. The new detector looks good and the fun thing is it adds to my collection of little lights that reflect all around inside the camper when I find myself wide awake in the middle of the night. I like to think of them as “stars”.6 points
-
If you follow that cut wire back you'll eventually find an in line automotive style 1 AMP fuse in a holder nearer to the area where the 12v lines go to buss bars etc (Under the street side bed). It's that fuse you could have pulled instead of cutting the wire. You may have inadvertently popped that fuse. Hope you find the fuse and that it helps. (This is a 2019 trailer so your wiring may be different.)6 points
-
Not easy pulling the Oliver through Bisbee AZ! Drove up to Mimosa Market, which had great reviews, on the north end of town, only to find it’s only open 4 half days a week. It seems Bisbee has more closed real estate than open stores. As we drove up, I realized there was no turn-around, had to back up a side street to get back. Crazy narrow roads! We ate lunch at Bisbee Breakfast club, the only open business in the vintage Lowell area. Cool old storefronts and classic cars everywhere!6 points
-
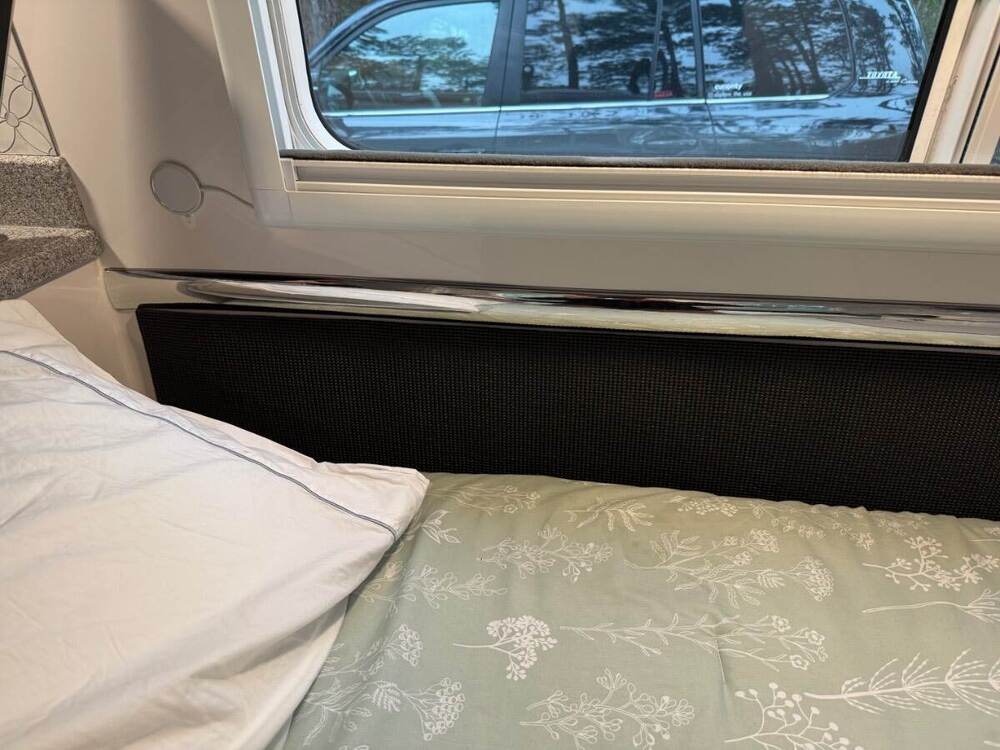
For those camping in chilly conditions, here’s what we did to avoid bumping a bare leg, butt, or shoulder against the trailer wall. I got a 30”x84” yoga mat, cut it in half lengthways, and tuck it between the mattress and wall. This is more comfortable, and has the added benefit of allowing any moisture from condensation on the window to run between the wall and the mat, and then under the Hypervent, keeping the mattress dry. The 84” length doesn’t quite cover the entire side and end of the wall, coming up short by about a foot. We have that gap next to the nightstand. https://a.co/d/eJCYCXD6 points
-
6 points
-
Well stated David! $25K in suspension upgrades OMG, on that Thing?! 🤣 Where we live, 8 out of 10 trucks have lifts, and why do they extend wheels past the fenders?! Not a thought given to suspension geometry which keeps the Jeep shops in business. I’d bet Lew was correct, in that this couple did something wrong! Did they follow the torquing instructions? The shackles on our Olivers are cut double-thick steel, with no welds, so no worries! 😎6 points
-
This is a good video! After seeing this video and the new Alcan springs/shackles installed on Olivers, I'm still going with Alcan springs and shackles on Ollie later this year. This couple's Alcan shackles are not the same design Alcan shackles installed on Ollies.6 points
-
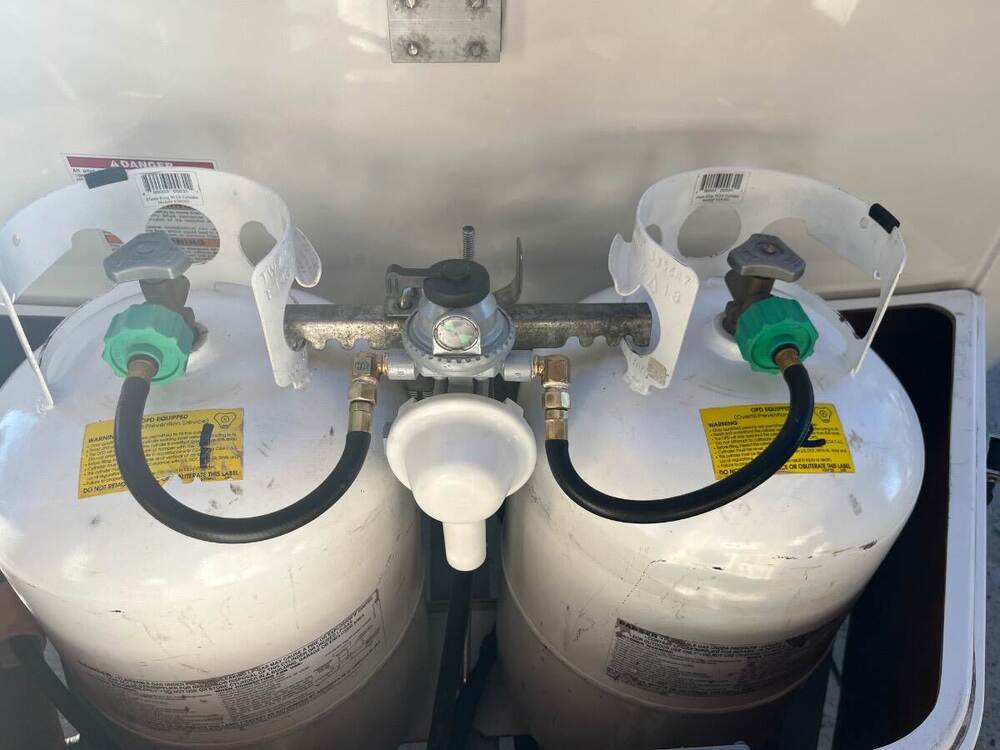
Got an update from Jason Essary today on the installation instructions from Fairview on their automatic regulator. According to Fairview, the instruction sheet that was included in the regulator that I received was an obsolete version and that the high mounting position was no longer applicable. Fairview confirmed with photos from the Oliver factory that their method of installation was acceptable. Just wanted to pass this along so folks didn’t get unduly concerned with their regulator installation from the factory.6 points
-
I just read Mountainoliver's thread "Check your leveling jack feet" and was reminded about the story a friend of mine told me last week. He lives in Colorado and was cross country skiing to a high altitude lake to ice fish when he noticed that his Garmin Mini was missing. Even though he skied back the same way he didn't find his Garmin and considered it lost. About a week later he received a call from a fellow that found it and he got it back. The reason he lost it was that the screw/bolt that goes into the rear of the Garmin and attaches a carabiner strap to it had backed out. Upon learning this I checked mine and found that while not tight it was a bit loose. Out comes the blue Loctite and now all is nice and snug. If you have one of these devices - now just might be a good time to check that screw/bolt. Bill6 points
-
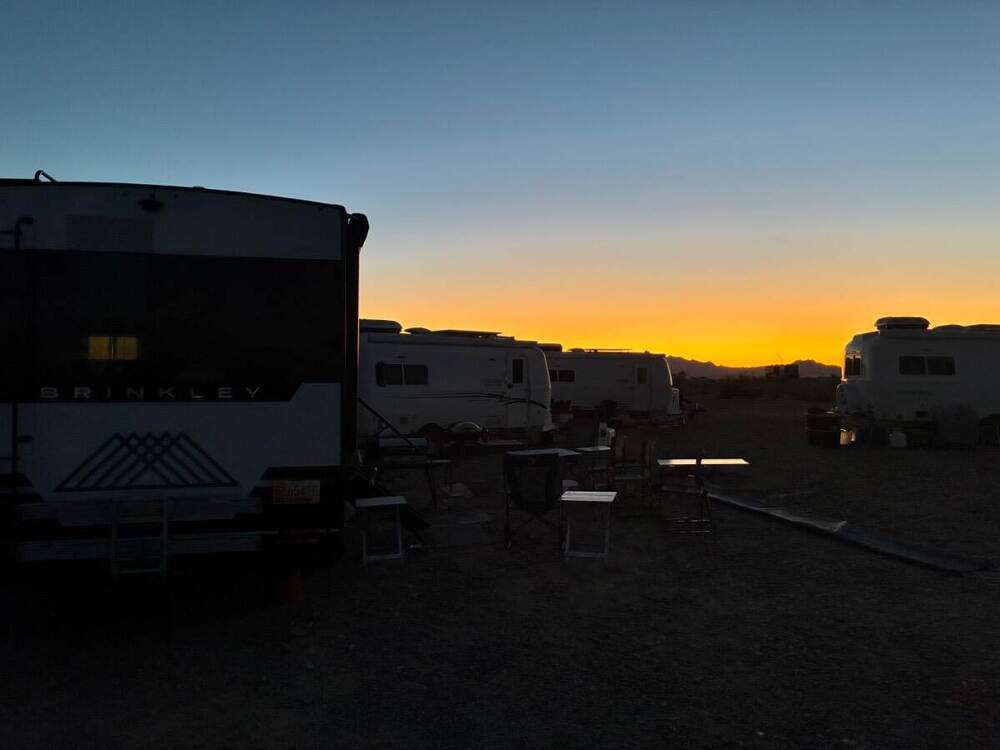
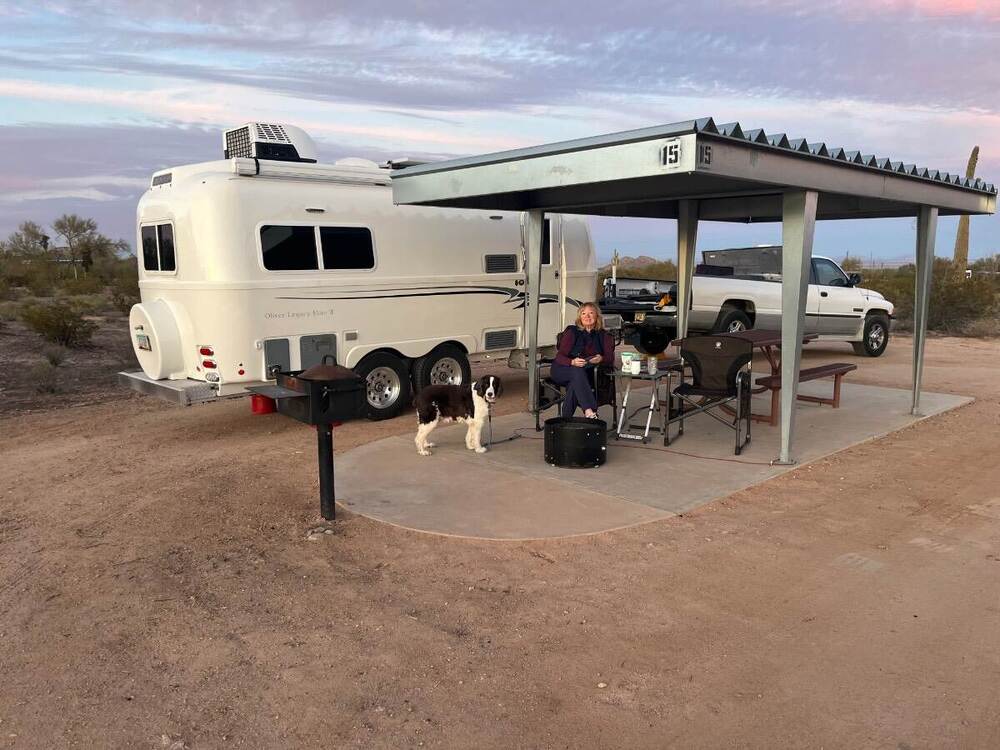
A week ago, we arrived in Quartzsite on a Monday afternoon! After a great birthday weekend for our son at home, we’re on way to Sierra Vista! This spot is a nice drive, just 3 hours from home. We had to stop at AJ’s for meats and loaded twice-baked potatoes, and there was traffic in the valley… Arrived here at West Pinal Park, 22 miles west of Casa Grande. A GREAT stop-over at $10/night for those who are driving into AZ not wanting to go further into Phoenix.6 points
-
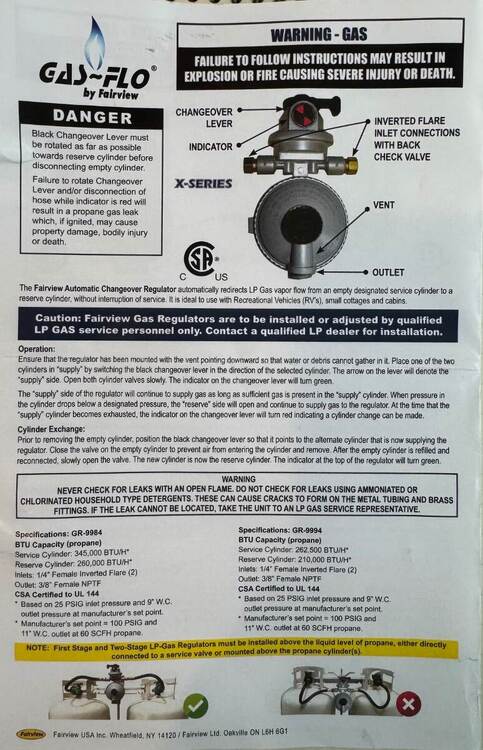
As @Chris Scarff mentioned above, I experienced a regulator failure on our 2023 LE2 and it was not allowing gas to flow at a high enough rate for the Truma furnace to run properly. Rather than making an appointment and going to the trouble of hauling the camper to a local dealer for troubleshooting, I decided to just replace the regulator with an identical model. Currently Oliver is using the Fairview GR-9984. Long story short, the regulator was the problem. When I received the regulator it came with very specific installation instructions, which clearly indicated that the regulator was not installed correctly from the factory. I have no way of knowing if this had anything to do with the failure, and I doubt that it did or you would likely hear about others experiencing this same problem. Nevertheless I chose to install the new regulator according to the instructions. I do believe this is an important detail or Fairview would not explicitly detail these instructions. Below is the instruction sheet that came with my replacement regulator. Notice at the bottom of the page are the highlighted instructions for correct installation and incorrect installation. The next two pictures are my as found installation, followed by my updated installation with the new regulator. Note: I have ordered a set street 90 fittings to reduce stress on the hoses as others have mentioned in their comments As found Updated installation required mounting the bracket to the lower set of holes in the regulator, effectively raising it ~3-4 inches. There is still about 4 inches of clearance between the top of the regulator and the propane cover and the valve selector is still easily accessible for switching.6 points
-
I believe it’s designed to sit above. Works for me. It drops down when detached/filling tanks and lift up and it sits nice and close when mounted and locked. I renewed the regulator and lines a couple months ago. 😎 I used your idea of using street elbows so 12” lines would fit nicely! Also, the new regulator came with a mounting bracket exactly like Ron’s (single mount). I reused the original bracket that mounts to the threaded post above and below for better support (can’t be seen in photo).6 points
-
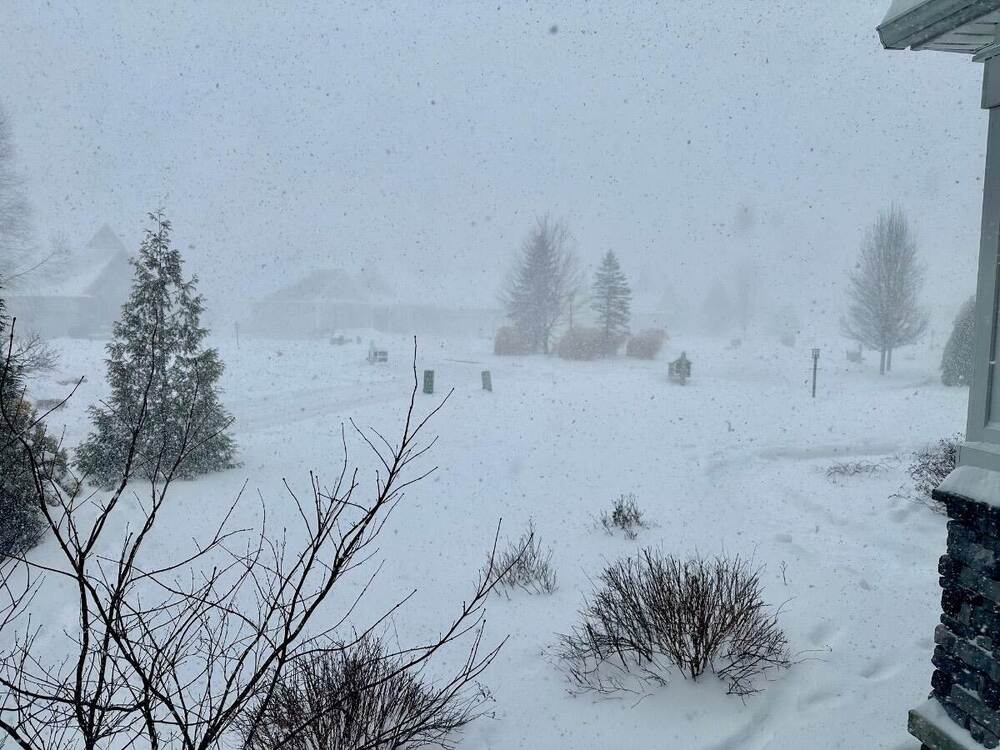
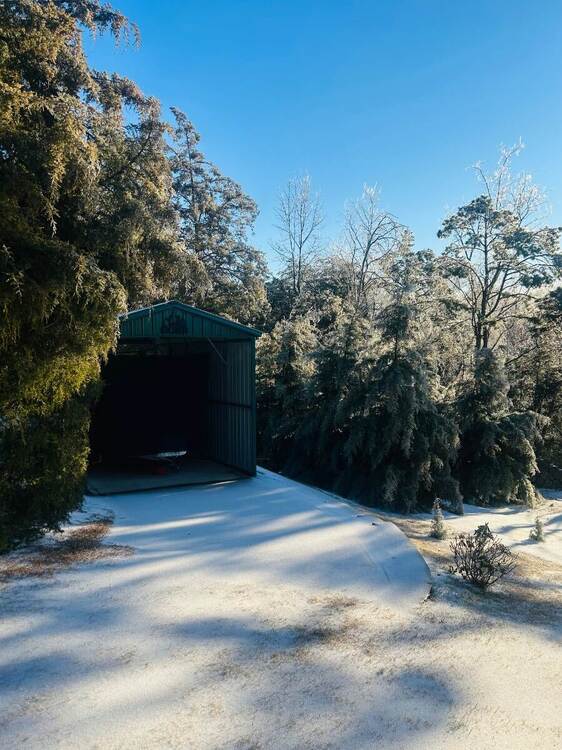
Please to report we had very little snow and mostly sleet and freezing rain. Grateful this is all we had. Our “Ollie Hangar” did exactly what it’s designed to do. Today we woke up to a gorgeous sunrise and Carolina blue sky off our back deck. Can’t ask for more than that! Our Carolina Sapphires will bounce back, after taking a bow in today’s bright sun shine. 👍🏻 XPLOR in deep hibernation in the “Ollie Hangar”.6 points
-
FYI We updated our web page with pix and campground maps from our Fall trip (Sept-Dec): Sept-Dec 2025 Trip on Loneliest HWY, Alcan Springs, Grand Canyon & More We've also started planning our trip (Red Lines) to the Oliver Rally in October along with stops at NP and Quilt Shops (Missouri Star) and Ft. Wilderness. Craig & Rose6 points
-
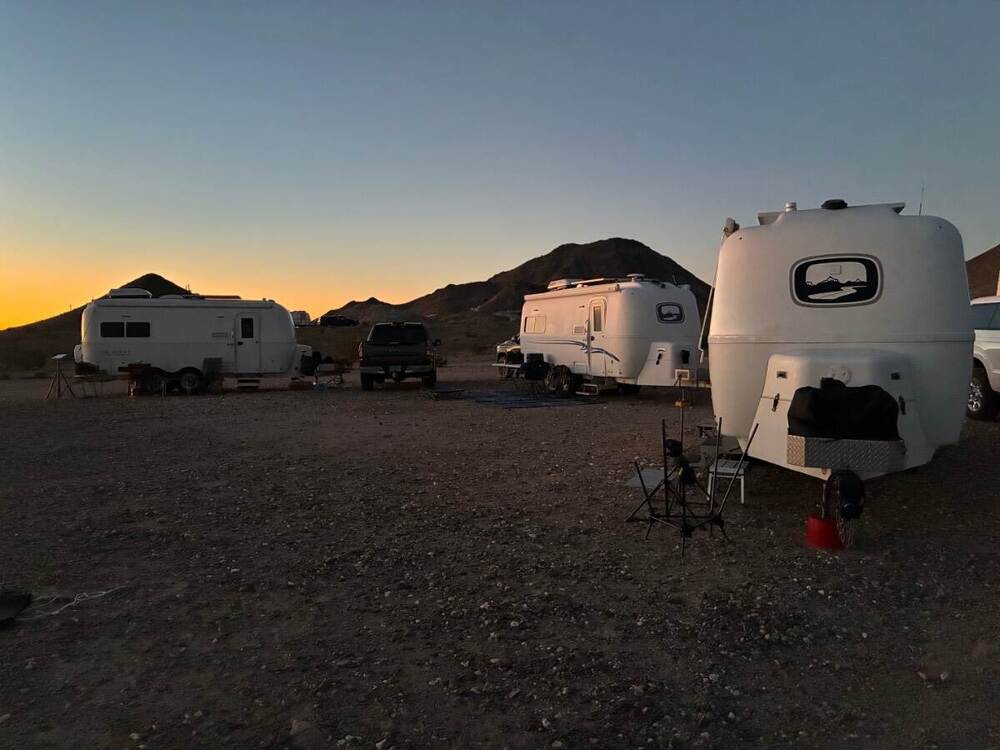
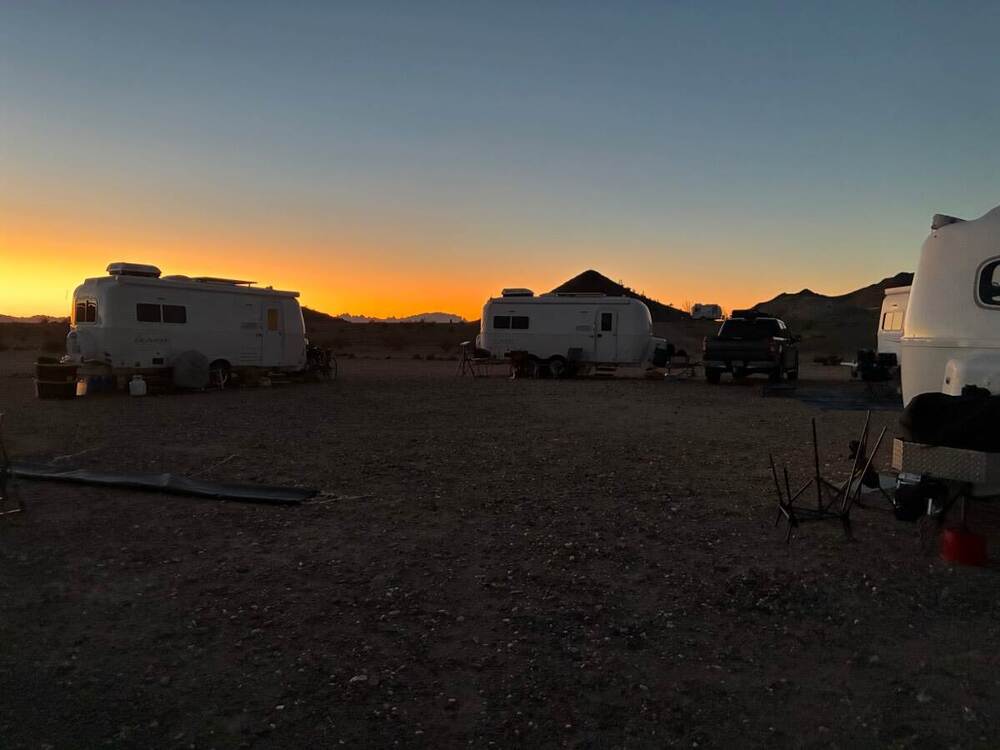
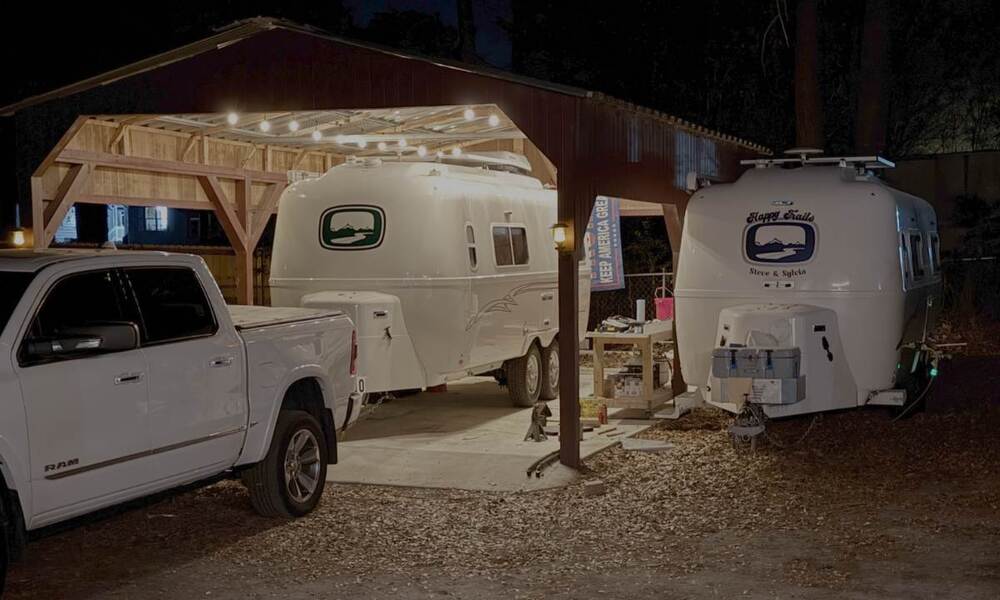
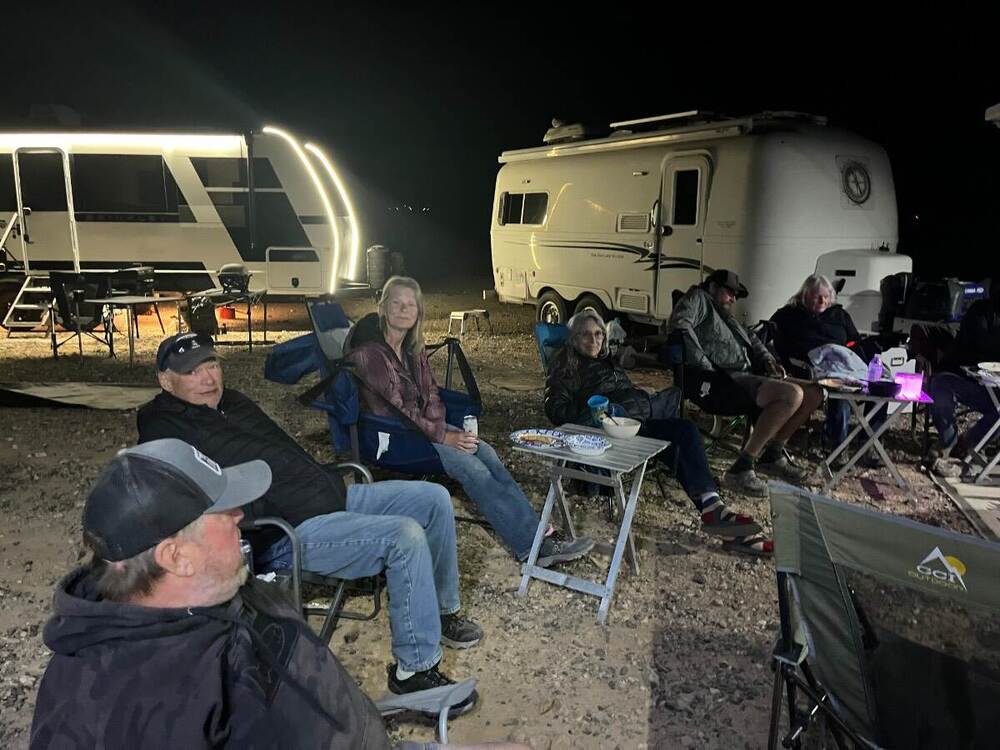
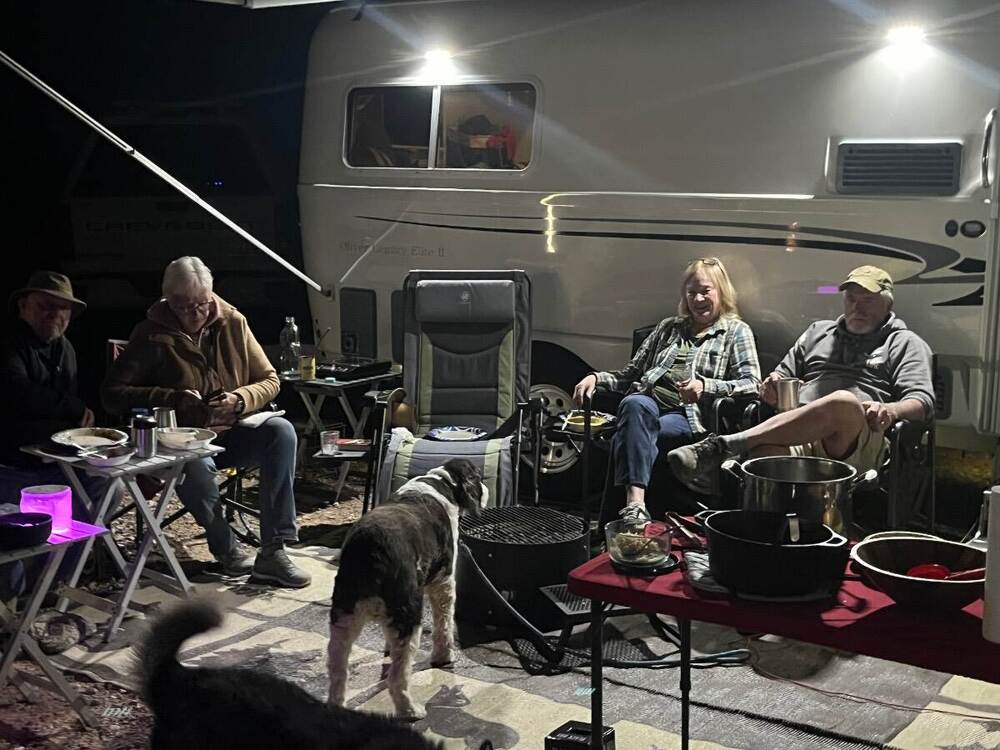
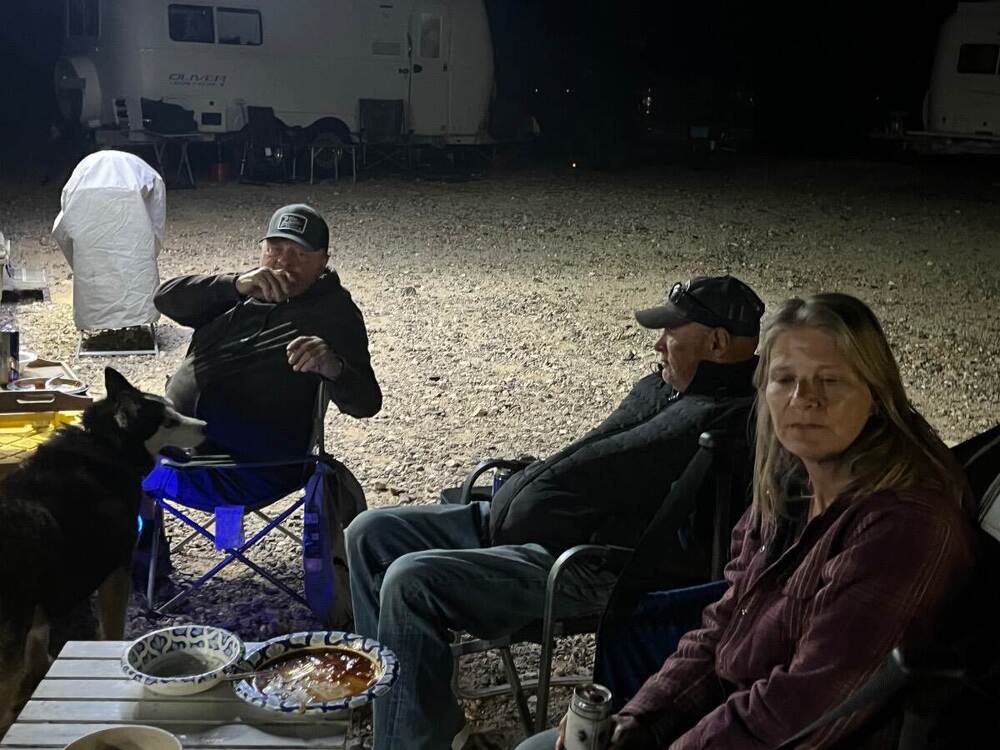
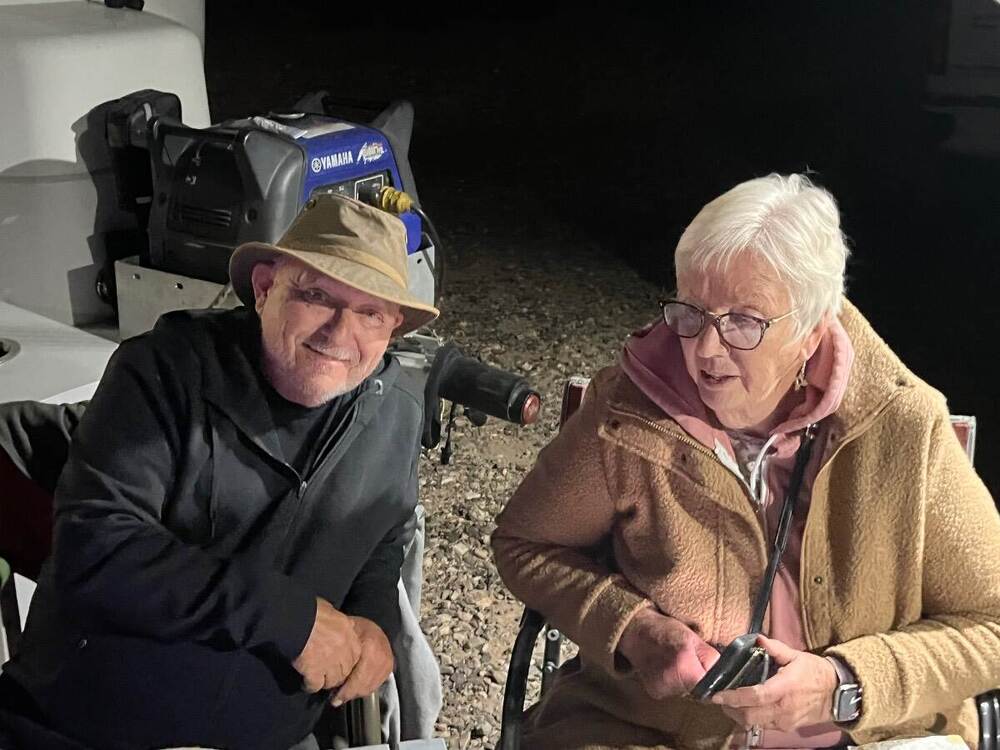
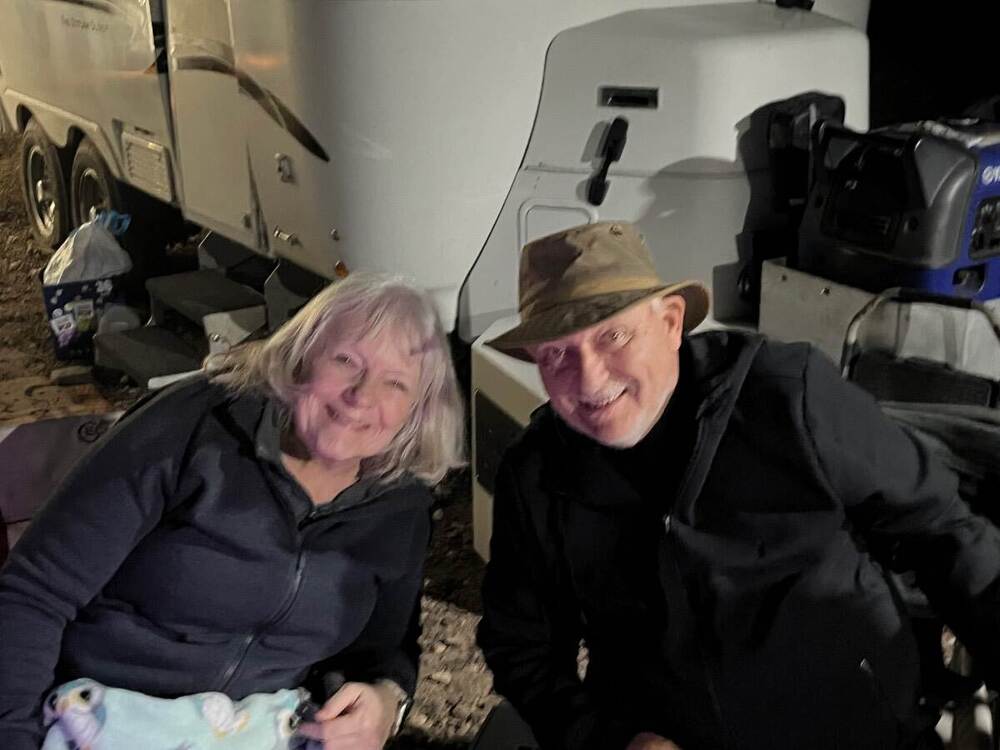
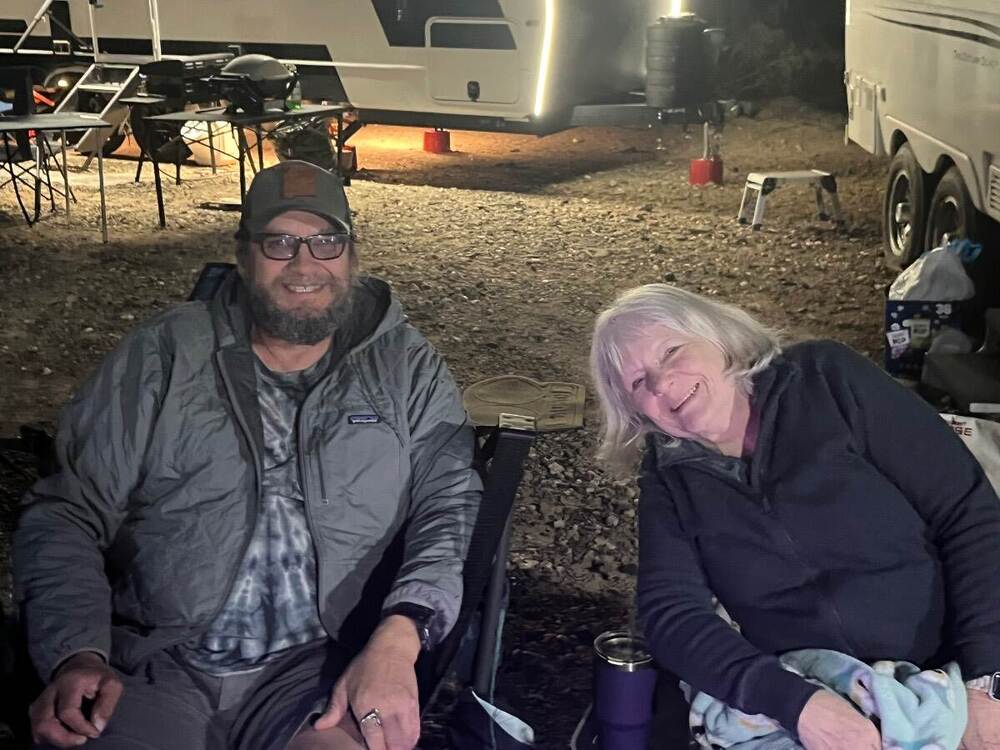
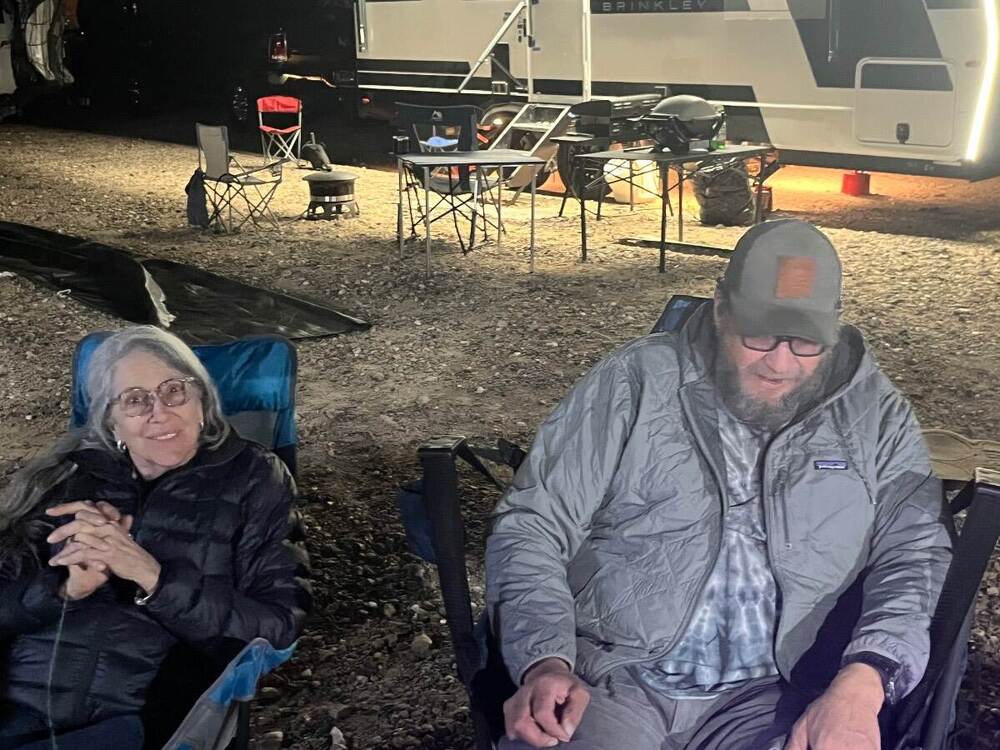
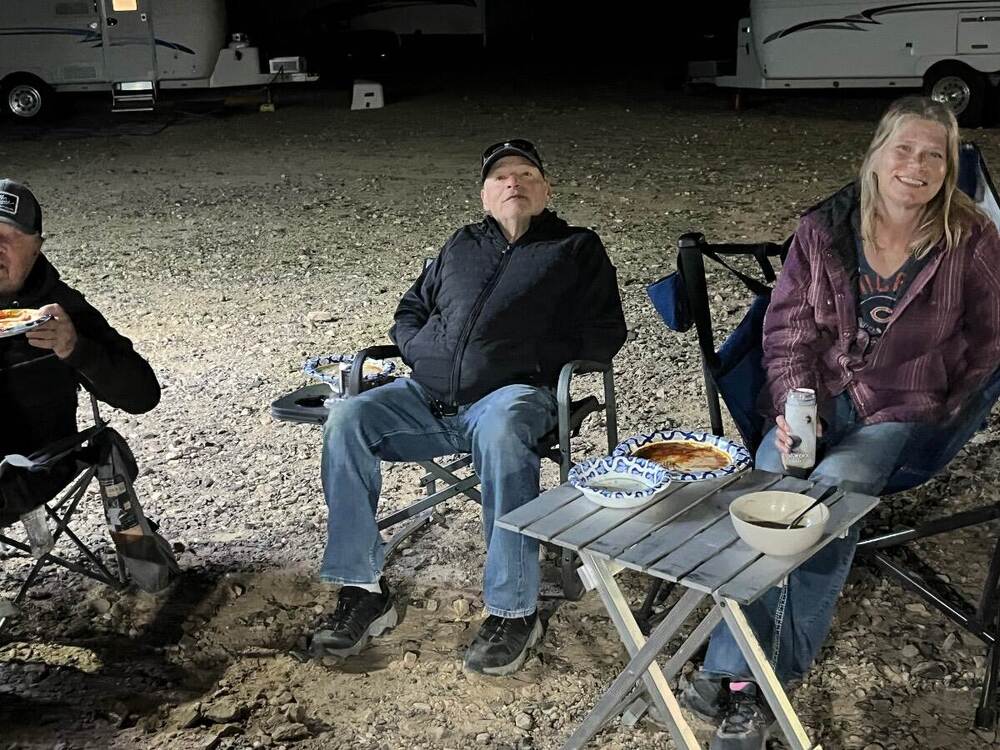
It was a great week at the Q. Thought I'd share some pictures! 😂 First couple of nights everyone was over by that odd looking trailer with all the lights (actually VERY comfortable inside), where Art @MAX Burner generally has his famous Blackstone cooking away! Wednesday night was dinner at our camp where Chris cooked an Italian feast. Pasta and meat sauce, salad and cheesy garlic bread were a big hit! 😎 In attendance were Steve & Tali, Art, Lance and Gary, Rhonda and Ruth (towing some nice older hulls). Don't forget the pups; Rocky, Oscar, Hessie and our Charley. We all made new friends when just a few hours prior Steve & Nancy arrived from northern Indiana towing Hull # 166! Barely a mention of their furnace not working and @ScubaRx was off to their rescue, removing the sail switch on their Atwood furnace which needed cleaning and alignment, soon it fired right up! Later their younger dog Buddy made a stir with the old dogs! And we kept some up past their bedtimes! 🤣6 points
-
5 points
-
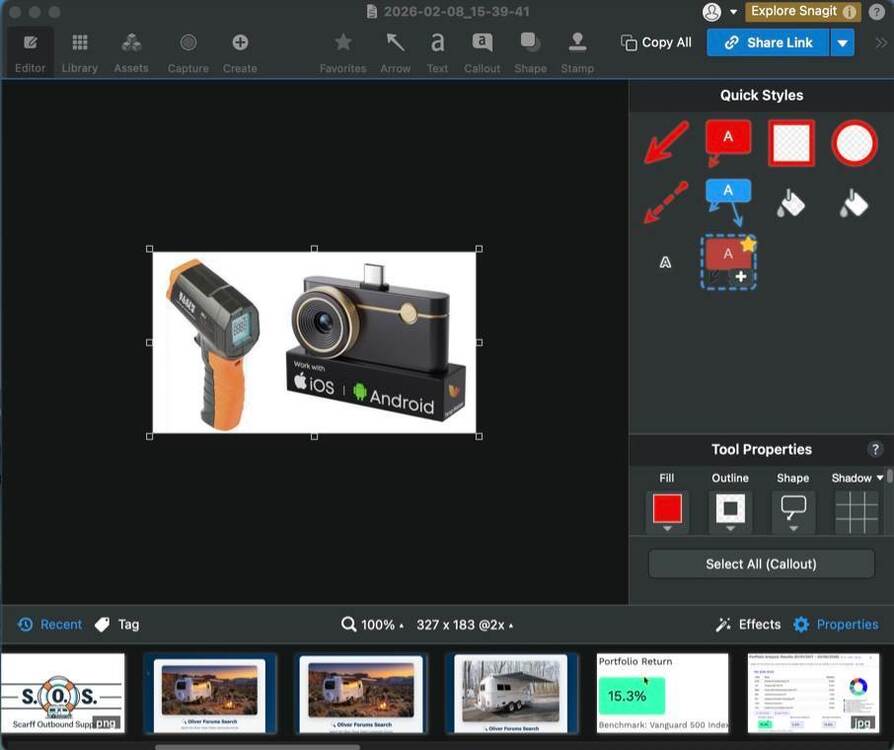
There are a good number of folks on these forums who love to share what they know, have discovered, and how they modified or fixed their rigs. This is awesome for new Oliver owners. They get to read the words and see detailed annotated pictures from the authors, dear I call them "Content Creators". As I approach retirement in December, there is at least one peace of software I now own personally that I have discovered from the work-place. I have created and edited hundreds of desktop video recordings for software demos and instructional videos in recent years. I use Camtasia from TechSmith for easy video editing, but another small piece of software they make, and is very inexpensive, is their SnagIt software. I will capture and edit pictures (and videos) from my desktop, browsers, or personal photos. This is what I use to very quickly annotate most of my uploaded pictures here in the forums. I'm hoping never touch MS Windows as long as I live, but SnagIt does work on both Windows and MacOS. I now mostly use MacOS as a "daily driver" OS, even though I'm a Linux lover at heart. Here's a screenshot of what SnagIt looks like. You can tell I've been doing all sorts of captures today, from my own future logo, to Olivers, and portfolio stuff. I thought this might be helpful to those who love to share their Oliver project pictures on their rigs. I won't link it here, just Google "SnagIt" - it's from TechSmith. I hope this helps others. If you have any questions, feel free to ask. Cheers,5 points
-
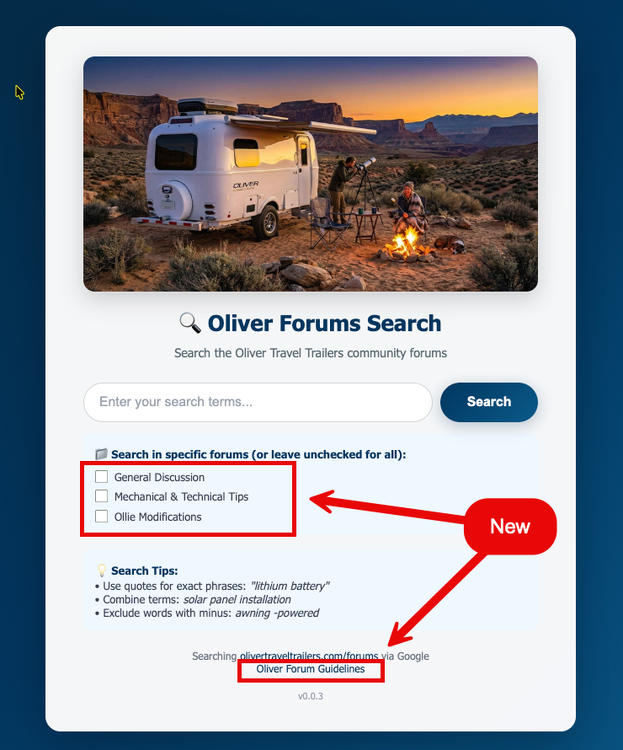
I've enjoyed working on this a bit more. Not sure how truly useful it is, but nice to have on my desktop to just pop open and search. This is what I've changed today: 1. Changed the color theme to match that of OTT. 2. Added check boxes to only search popular forums, such as "General Discussion". 3. Added a link at the bottom to always get a reminder of the forum Guidelines. 4. Page image(s) now come straight from OTT image library and cycles randomly with a page refresh. - There are only three images in the mix for now, so randomness is weak. Zip file attached containing only the single HTML file - nothing fancy. oliver-forum-search.zip5 points
-
According to Andersen: "Attach the Trailer Jack Block to the pad and level. It's that easy. The Trailer Jack Block offers 5th wheel & RV stabilization, all while reducing stress on your jacks. The built-in magnets instantly attach to the jack, so there is no need to double-check and adjust each block. Available in either 4" or 8" height options, each Jack Block is designed to be used with up to 9" round jack pads. The 4" option is rated up to 30,000 lbs each or 20,000 lbs double stacked. The 8" option is rated up to 8,000 lbs each or 1,500 lbs double stacked. All of our plastic trailer accessories are made in the USA Covered under a lifetime warranty" Therefore it appears that they CAN be double stacked and even though they do not specifically mention internal reinforcement the stated "ratings" would appear to confirm that they are fairly strong. Bill5 points
-
As jd1923 stated, his Calmark cover he sold me is a great investment. Here in Minnesota the summers are hot and humid, winters are cold and with lots of snow. We keep the Calmark cover on the Oliver when not in use (only takes 10 min max to cover it by my self, not afraid of ladders!) It keeps all of the nasty green pollen off in the spring and summer, Keeps the oak leaves and what ever wants to fall on the Oliver safe and clean. Never any mold and the cover breathes plenty good. When there is an abundance of snow on top I just use a soft floor brush to push it off. Also the cover has a nice zipper spot at the door so you can get into your Oliver to do a winter check if you want.5 points
-
Recent Achievements


