Leaderboard


Popular Content
Showing content with the highest reputation on 05/29/2023 in all areas
-
US Army - '67-'69 Memorial Day never meant much to me until I was in the Army. Luckily, my service was entirely in the US. But seeing those that came home from Vietnam plus all those that didn't and the way we were all treated gave me a totally new outlook on this very special day. Indeed - the cost of freedom is high, but, worth every penny. Bill10 points
-
Thank you to all our Veterans! My Dad was a proud Veteran, he served in the Korean War in the US Air Force. If you served I would loved to hear where and what branch. We honor you!🇺🇸
 9 points
 -
US Army 1972-2016. All over the world. Mike8 points
-
United States Air Force March 79 - June 92 Served in the Combat Theater of Operations during Desert Shield, Desert Storm, Desert Calm. Truly an honor to serve. Freedom is not Free. Patriot🇺🇸8 points
-
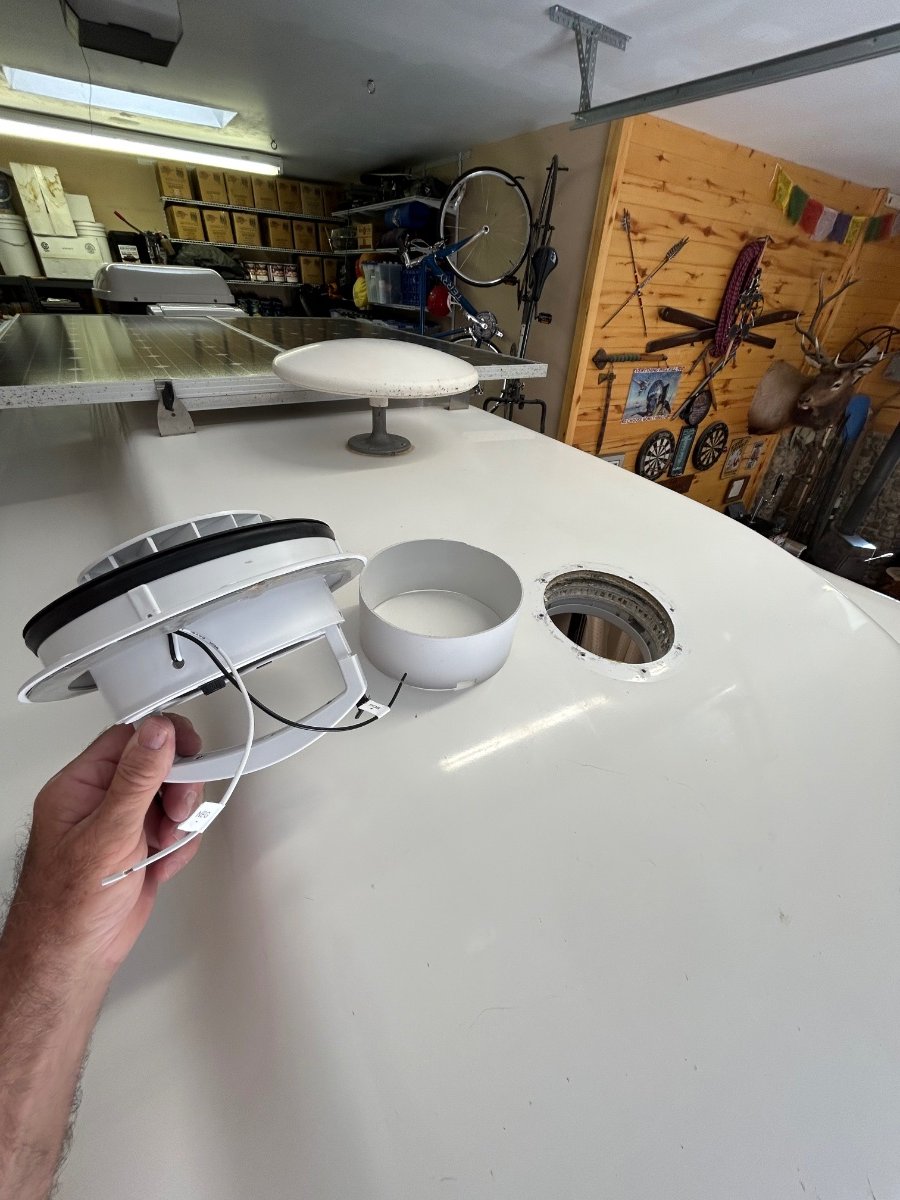
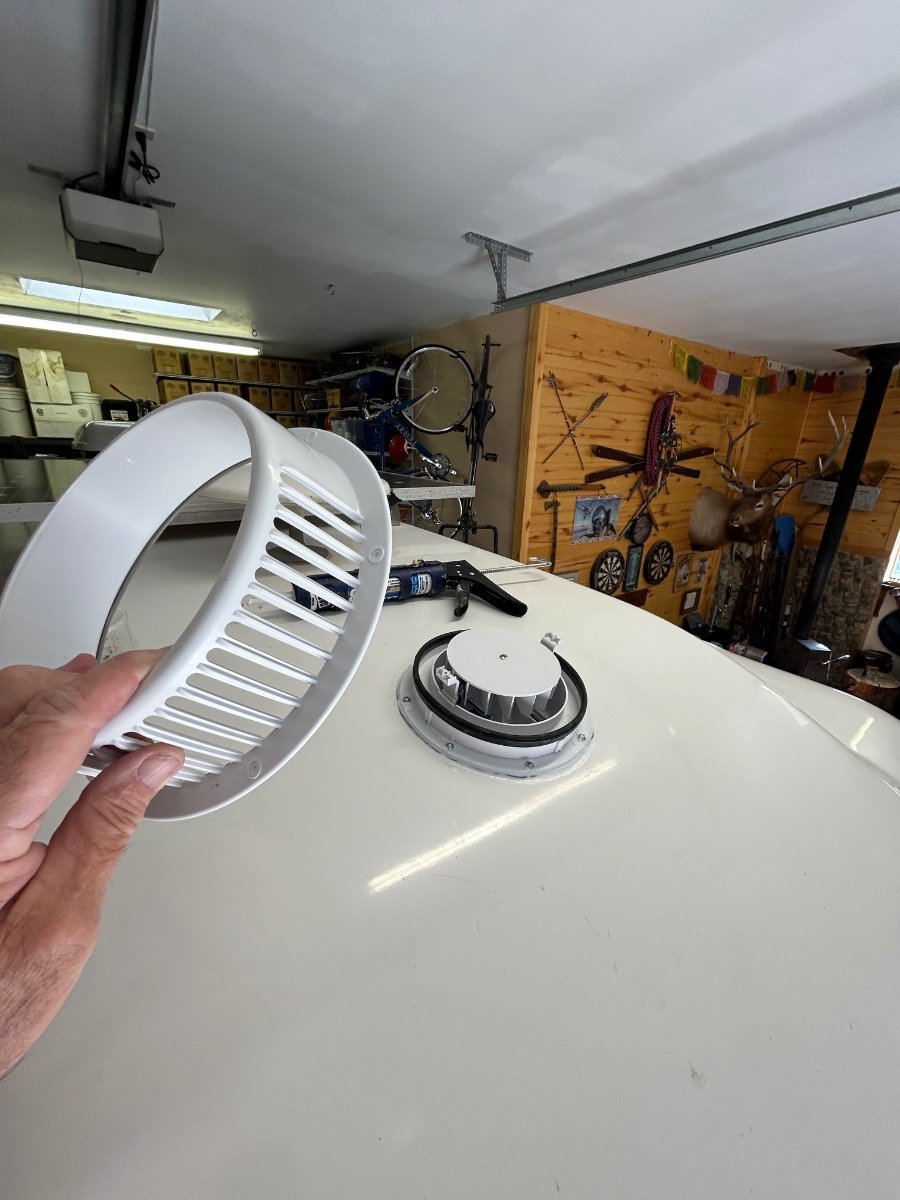
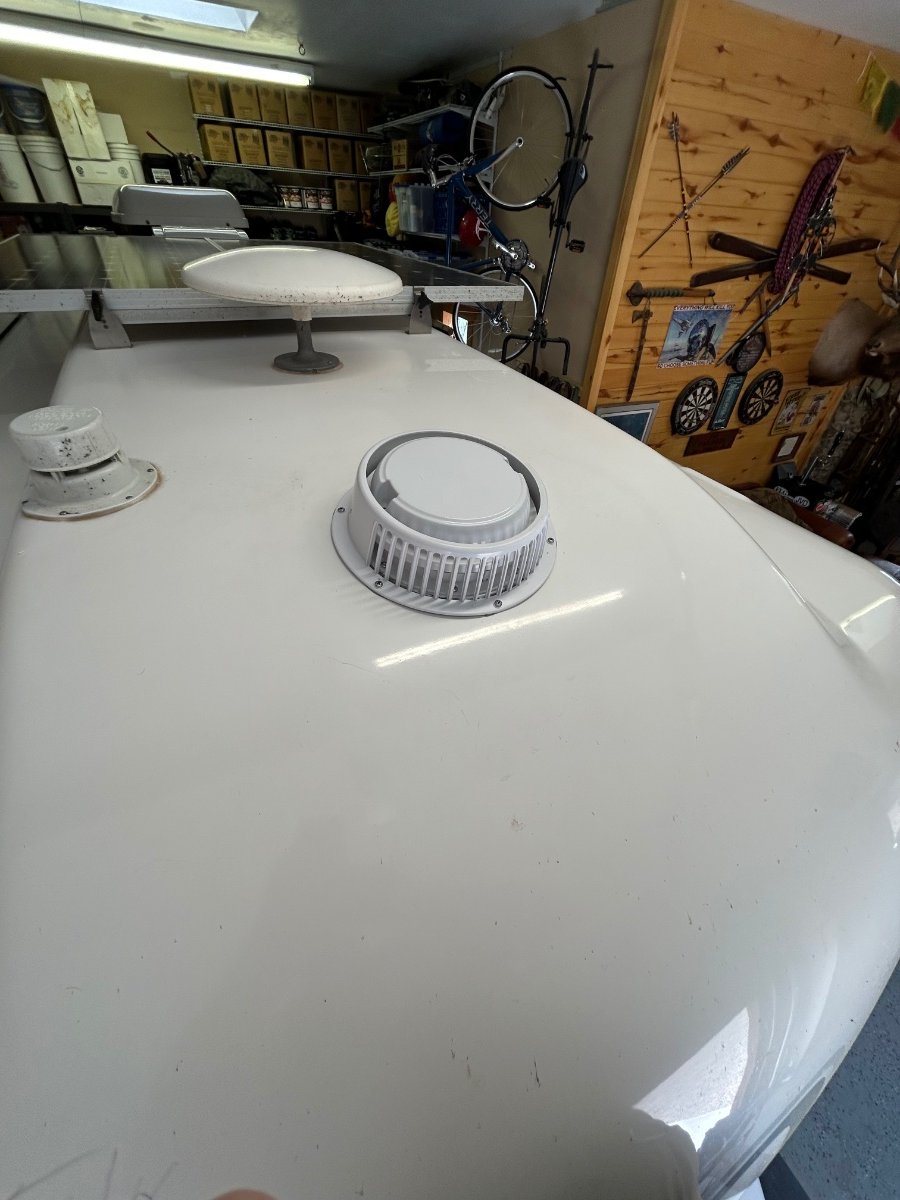
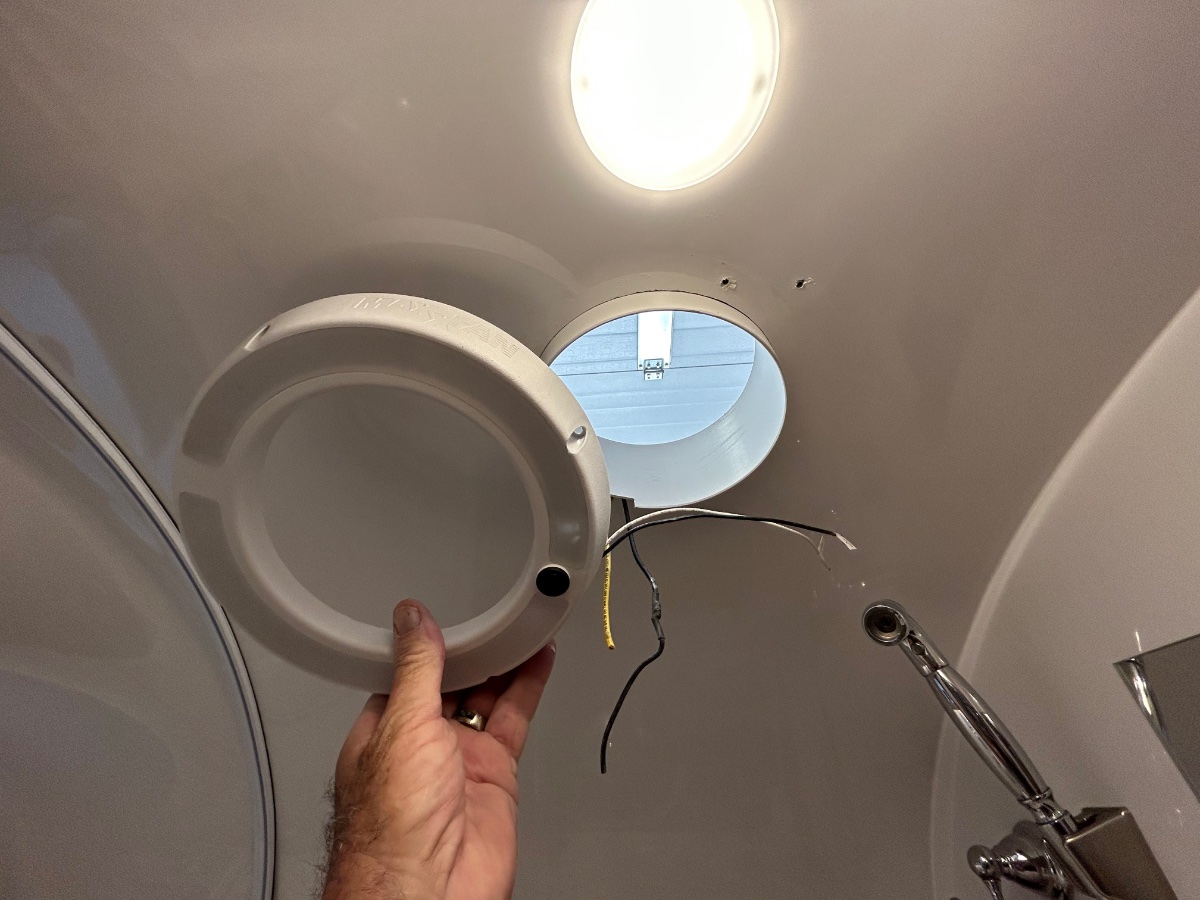
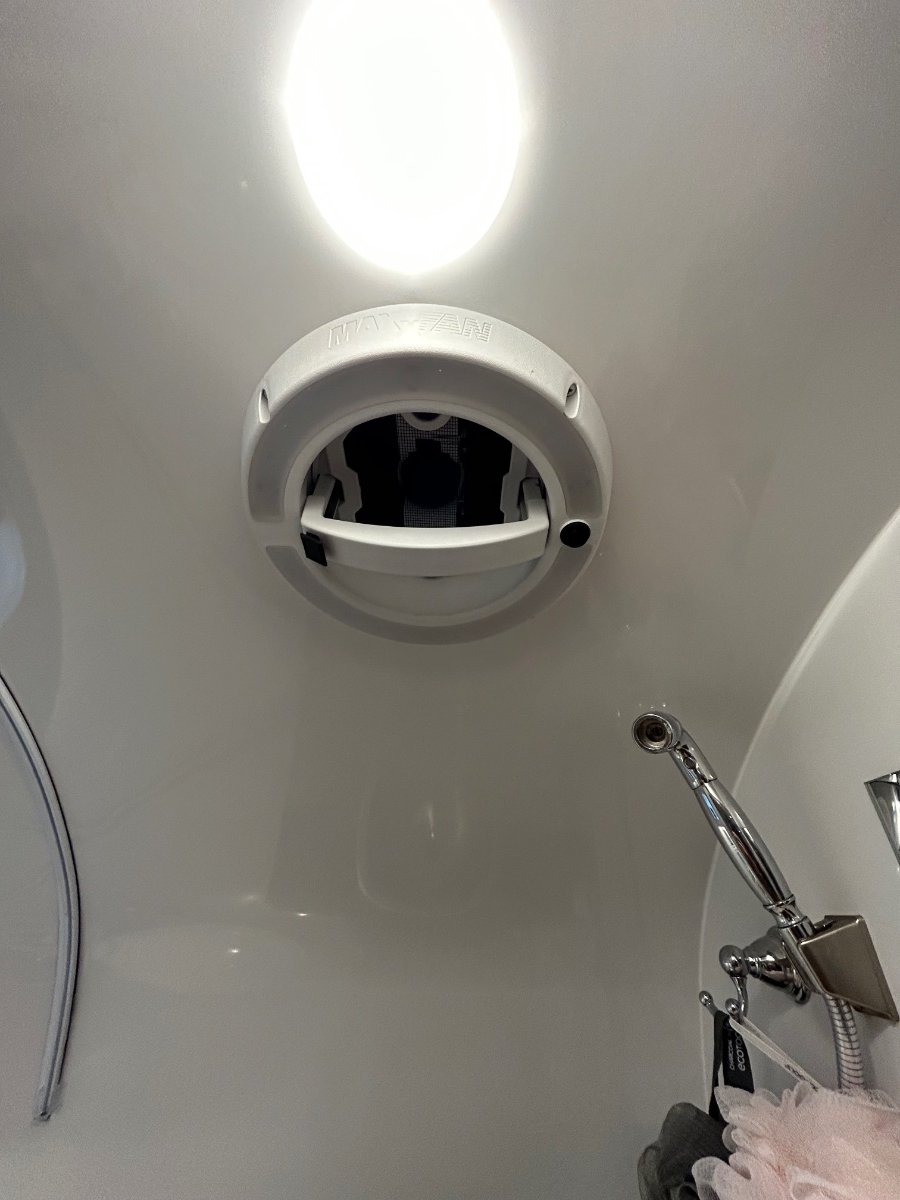
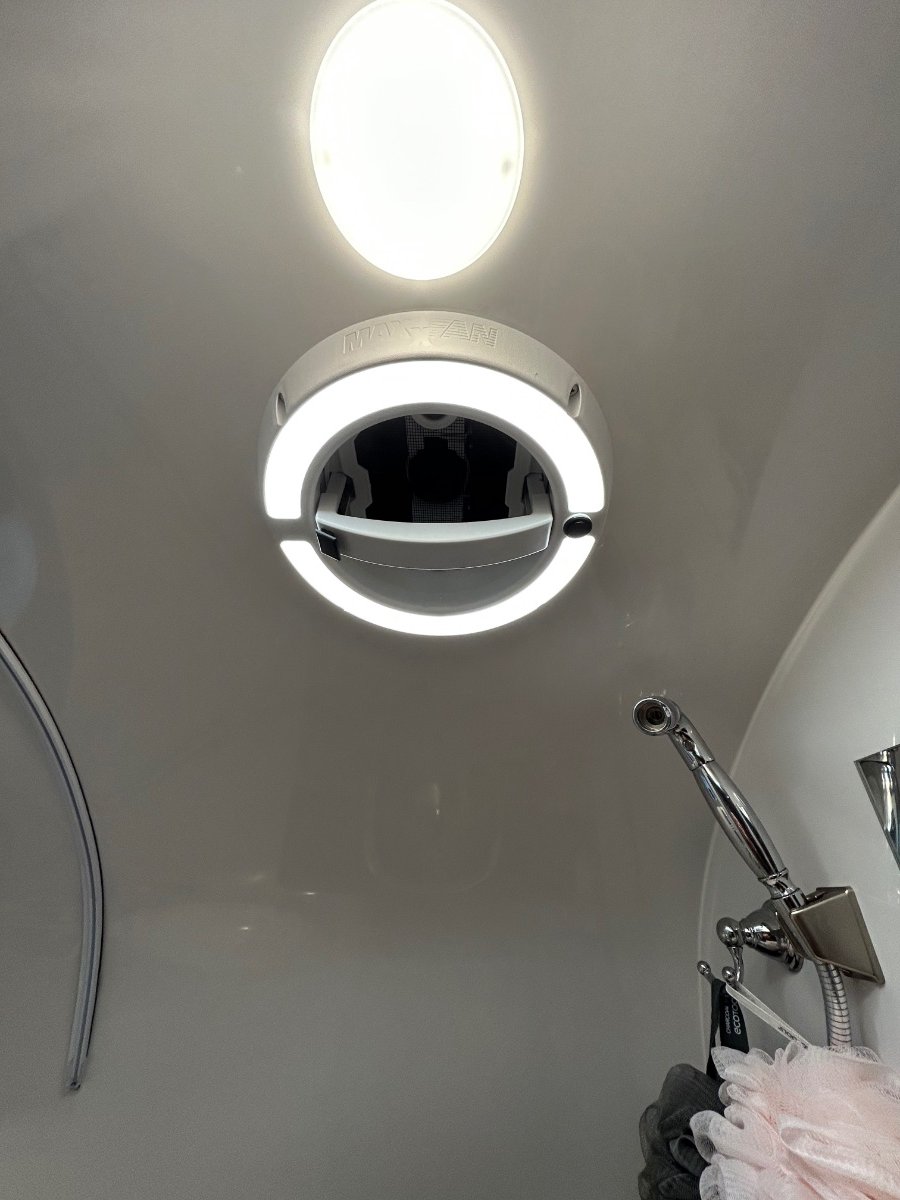
Ok... I love these forums! Nothing like great ideas shared by a group of common minded OTT owners. I'm thinking I stole this one from a comment that @SeaDawg mentioned a while back regarding his "LED-lit" Shower Fan. Well, Diane read his post and thought it would be a good upgrade - so, the new MAXXAIR w/LED unit arrived yesterday via Amazon (Happy Wife - Happy Life category). This would be the short story of its installation... First off, the original VANAIR Ventline fan assembly operated perfectly - no leaks, no bearing wobble, smooth actuation, but alas, no LED. It's the exact unit we had in our previous SOBs. BTW: Its up for grabs - a "freebee", I'll cover any CONUS shipping costs for anyone needing a Ventline. There was major brain cramping involved to plot-out a list of instructions for the R&R drill, especially the Removal phase. The first "R" was straight forward - using a plastic "razor" scrapper to remove the butyl tape from the gelcoat. Cleaned gelcoat with a fresh microfiber cloth doused with an ounce of rubbing alcohol. 2. Filled original mounting holes with clear silicone, they will be further sealed with the butyl tape attached to the new fan housing. 3. Cut-to-fit the included plastic sleeve that fits between the top flange and bottom (shower side) trim piece. Applied clear silicone around circumference of plastic sleeve and upper gelcoat. BTW - the OTT factory fan hole was exactly the correct diameter - no additional cutting was needed (WHEW!). 4. Mounted new assembly up top, carefully pre-drilled/chamfered 8 new holes in exterior gelcoat. Lightly torqued-in stainless screws enough to "push" butyl tape out from flange. Trimmed tape and applied clear silicone around perimeter of flange. 5. Rain guard: The new unit included a "rain-guard" which may be helpful if operating the fan in a heavy downpour. Applied butyl tape on the RG flange and carefully pre-drilled/chamfered 6 new holes for the RG. Trimmed tape after torquing screws in and then applied clear silicone around perimeter of RG. Attached fan cap with the provided 2 white screws. 6. Applied clear silicone to the trim piece groove where plastic sleeve seats. Carefully pre-drilled/chamfered 4 new holes for the trim. Connected 12vDC power to fan motor and LED - used solder and heat-shrink for connections. Tucked wires inside trim piece and mounted it with 4 screws. 7. Unlike the Ventline unit, the MAXXAIR has a locking mechanism when depressed allows the fan lid to open/raise. Its raises/lowers smoothly. Fan and LED each have separate switches. And as, I believe, @Patriot has recently said, "Let there be light!" One and done... Happy Wife.
7 points
-
Don’t despair of growing old, there are many who were denied that privilege. Today we honor their sacrifice. Semper Fi7 points
-
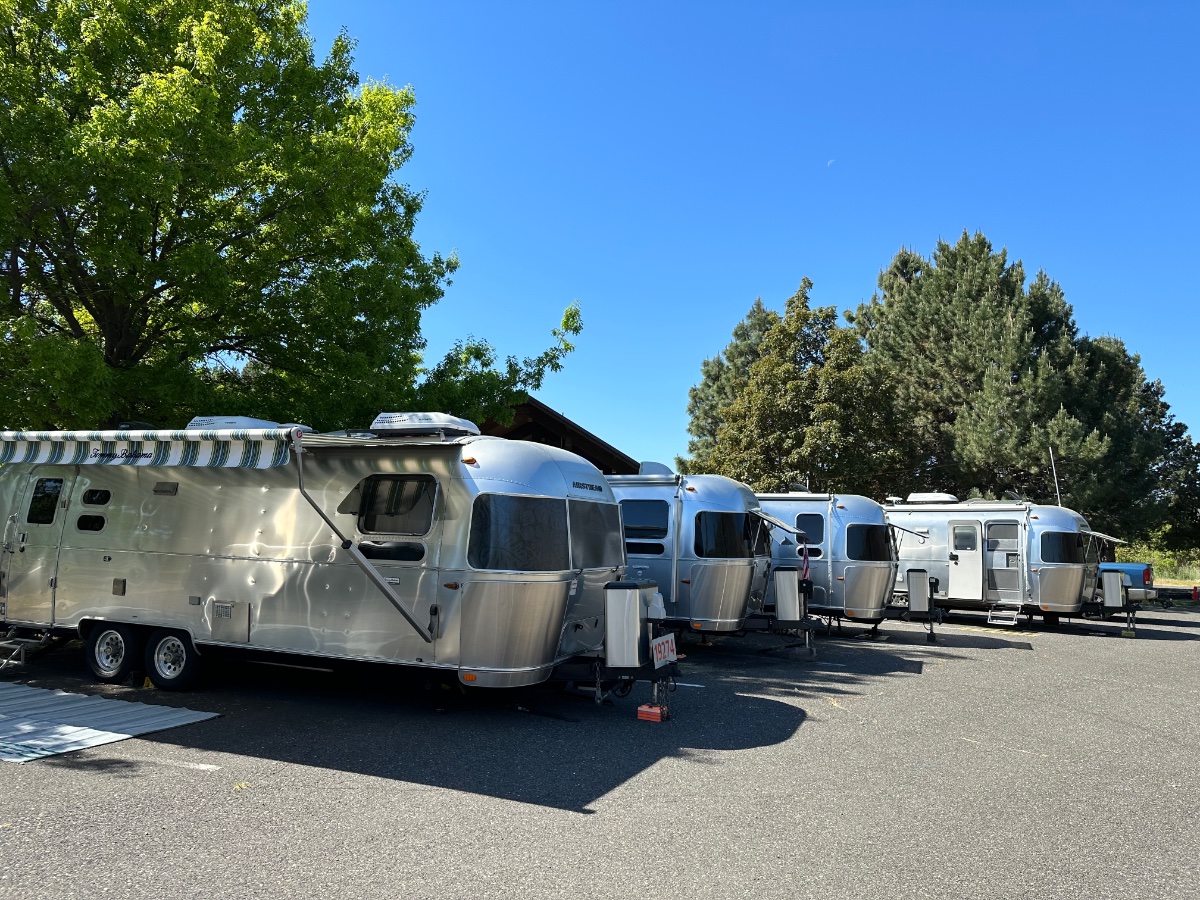
One of these is not like the other. John Davies Spokane WA
6 points
-
US NAVY, '76-'86, 3 Persian Gulf WESTPACs6 points
-
Happy Memorial Day! "ALL GAVE SOME, SOME GAVE ALL!"6 points
-
Amen to that, brother! Sempre Fi5 points
-
5 points
-
Ours came loose on the curbside. Going to reattach the band using Gorilla Super Glue Double Sided Tape this week, one strip of double sided tape under each adhesive strip on the chrome band (between original band adhesive & hull) with the Gorilla tape under the chrome strip. Available at WalMart:5 points
-
Just a reminder for anyone buying replacement lug nuts. Make sure you buy the “Bulge Acorn” type for aluminum wheels. I’ve seen a few owners referencing “Acorn” type as replacements, but the acorn type are for steel wheels and have a smaller conical seating surface compared to the bulge acorn type. Aluminum wheels are softer metal than steel wheels and the larger bulge acorn type lug nuts provide a greater seating surface to prevent deformation of the aluminum wheel and loosening.
5 points
-
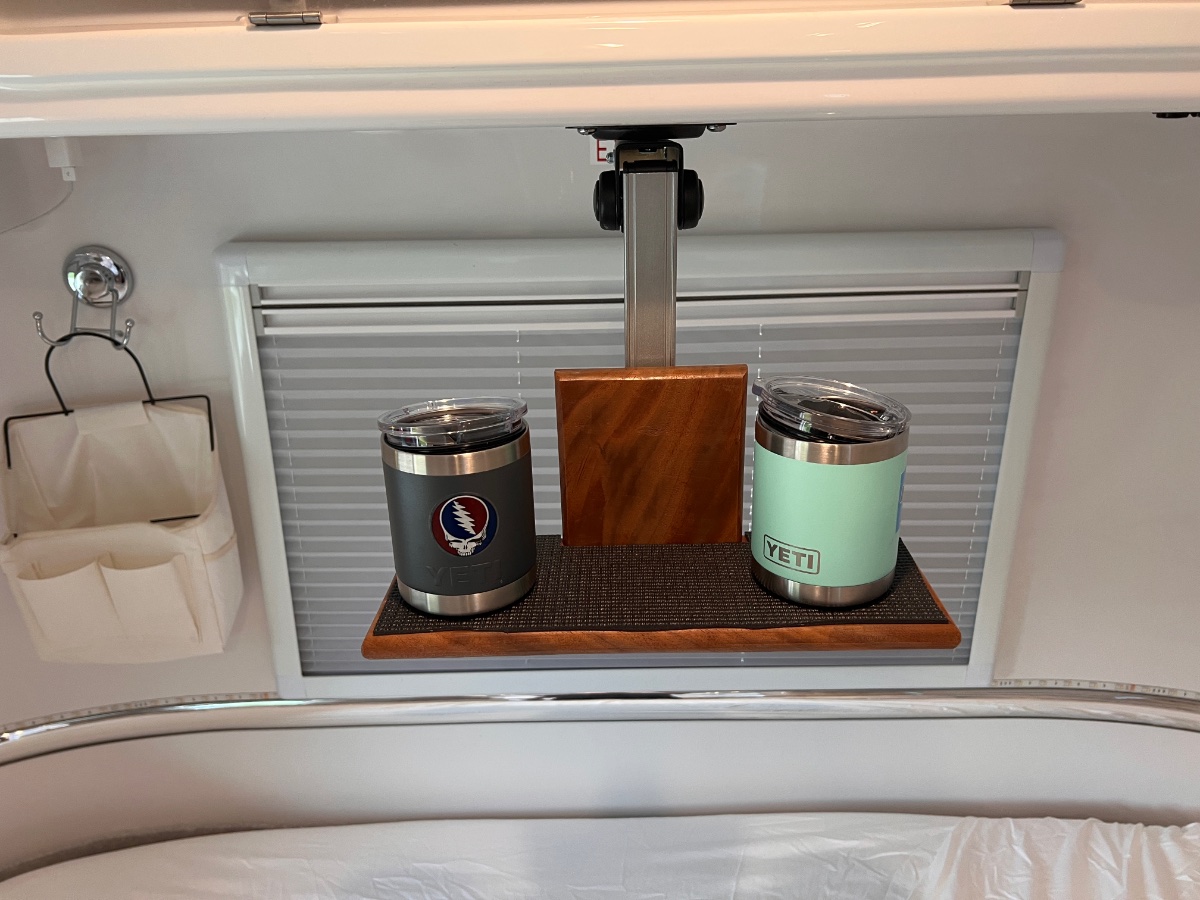
Here’s a quick little modification for those who don’t use the TV. I took ours out and repurposed the fold down mount by adding a small shelf to hold our coffee in the morning.
4 points
-
@rideandfly Yes! this worked really well where we had a little area of the belly band lift. No issues since! 👍🏻👍🏻3 points
-
Chuckle of the day!
3 points
-
Oliver Alaska Planning.docx2 points
-
Our 2023 has the sticker on the bumper giving a 150 lb limit. No change. Jeffemac2 points
-
Steve: That someone was me. $4200 more exactly. Hence both our Prius and our Prius V now have Cat Shields plus a 9 ga expanded HDG screen below the Cats installed. GJ2 points
-
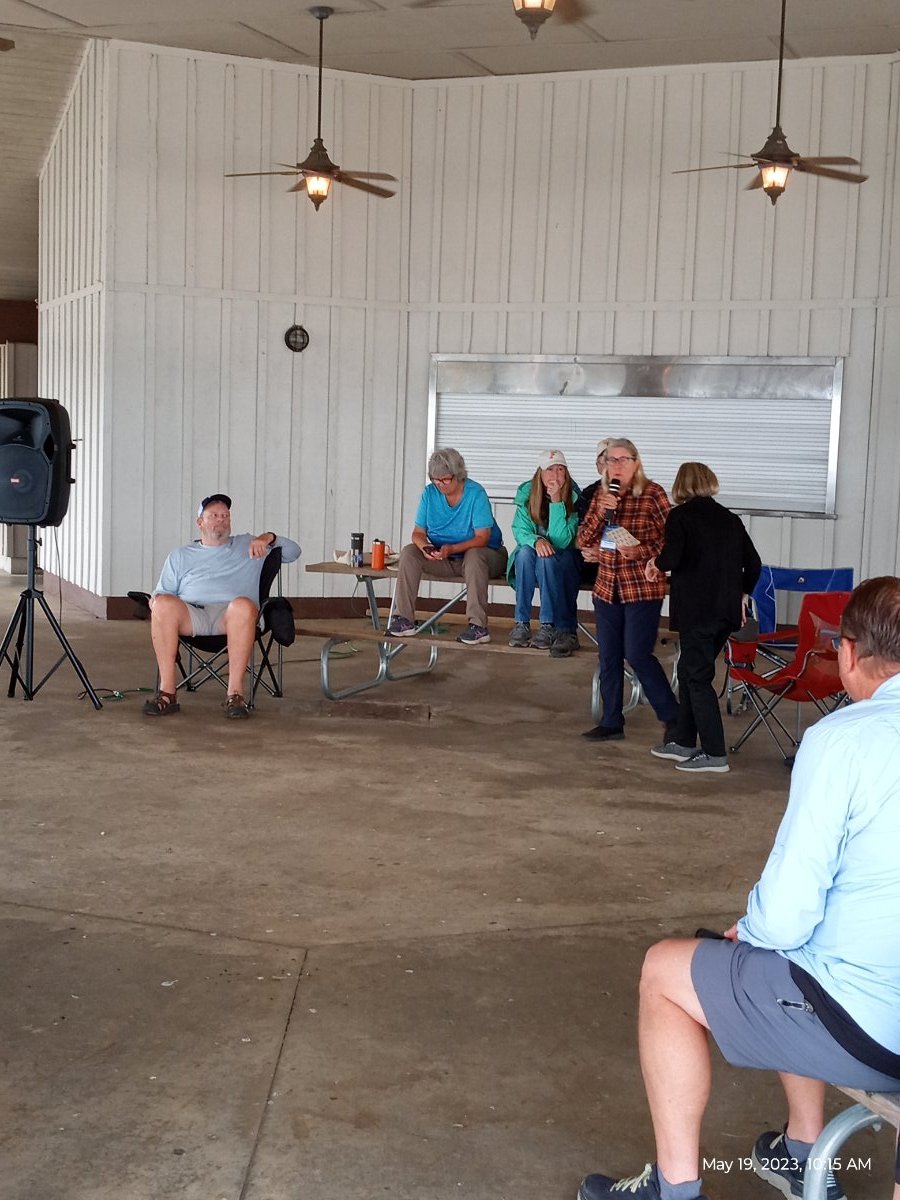
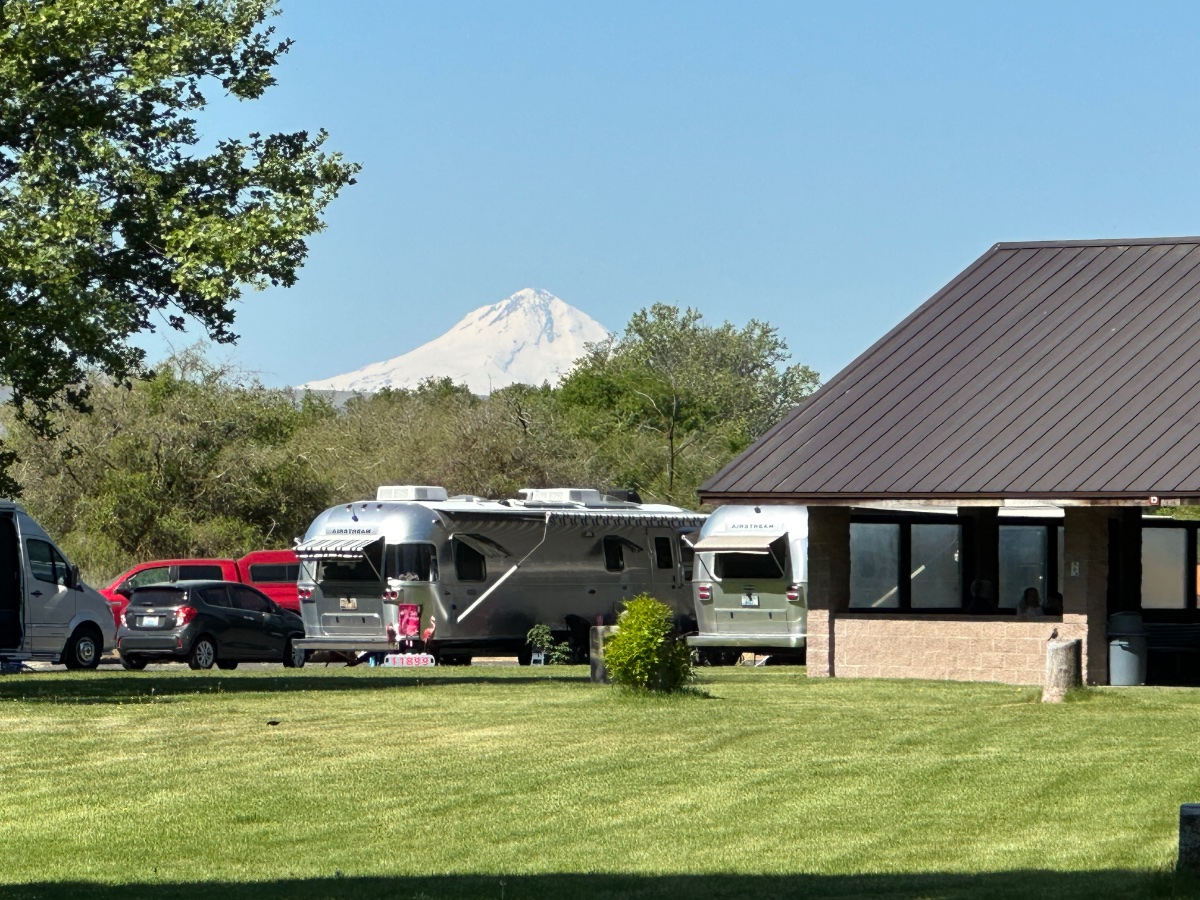
For those that missed it - here are some pics!
2 points
-
Hello Everyone. The attached file has notes on the information discussed about touring & camping in Alaska. Members shared their experiences & knowledge during the recent rally held in Lake Guntersville. Enjoy your travels!2 points
-
You haven’t got aggressive enough, by design it is really tough to remove. You need to abrade it with a sandpaper wheel or use a nasty solvent like MEK, but (straight) that will attack the plastic. I have had good luck with a brand new plastic scraper blade and 3M Adhesive Cleaner. It has a little MEK inside and works, but won’t hurt anything except your lungs, use with gloves in a ventilated area. It is my go-to cleaner, body shop use it for paint prep. https://multimedia.3m.com/mws/media/66962O/3mtm-vhbtm-tape-disassembly-tech-bulletin.pdf FYI if you live near a city you can buy the cleaner at any auto body paint supply store for about $15. John Davies Spokane WA
2 points
-
Thanks to all of you for your thoughtful, detailed responses to my question regarding the squeaking and flexing bathroom floor in my Oliver. The pictures were great and your ideas are certainly worth considering - things I hadn't thought of before. I will definitely give your suggestions a try. This forum provides a great service to all of us who are perplexed by certain problems and challenges owning a travel trailer can sometimes present. Kathy2 points
-
Mine has never been what you might call solid - like the rest of the flooring. But, it does not rattle, squeak or even whisper to me. The caulking is still just like the day I bought it. Bill2 points
-
I have removed all of the sealant around my shower pan and resealed it without having to completely remove the pan. After removing all of the sealant I placed a tractor front end weight in the shower pan to pre-load it before resealing it. This pulled the edges away from the wall to allow more caulk into the gap. The caulk applied at the factory was smoothed too thin and the flexing of the shower pan caused the gap to open between the shower wall and pan and allowed water to leak down the wall between the shower and closet. I had water under the mat in the closet. After my repair I have not had any more water in the closet. I realize your problem is a squeaky shower pan instead of a leak but I believe you will have to do as I have done to fix your problem. (continued)2 points
-
My brother bought a similar Oliver. He keeps it on his back porch.
1 point
-
Just taking temperature of those going to the rally this month on possible NWrally sites. Maryhill State Park could be a spot for a NW Oliver Rally. The local Airstream club is here this weekend. >20 group campsites. Maryhill SP is on Columbia River just North of I84 in Oregon. A bit tight in group sites as they have setup but nice covered facilities for events. Another alternative would be Rasar State Park on the N Cascades Highway. Any interest for next year let us know. Craig -Hull 505
1 point
-
Touch light replacement just completed over the dinette. It’s important to note that the TL’s I have replaced have all been working fine. I do hope Oliver finds a higher quality touch light. These are cheesey at best. Hopefully they will last. Loosen the light cap by turning and remove it. Drill out the existing rivets, cut the white and black wire as close as you can to the old light. This will leave you plenty of wire to connect your replacement. Connect the new TL wires by braiding the wire ends to each respective color. I used electrical tape and heat shrink tubing for the finish. Tuck the extra wire back into the wire opening in the hull ceiling. Install the light base with new rivets and attached the light cap. When using these touch them gently. Don’t ask me how I know. 😎 Let there be light! Patriot🇺🇸 Pics- New light with heat shrink tubing. If for some reason you need rivets you can purchase these at Ace HW. They work fine.
1 point
-
The caulk around my shower pan was too thin and the flexing of the pan opened up a crack and allowed water under the pan which wound up under the black mat in the closet. I removed all of the old caulk and recaulked after placing a tractor weight in the shower pan to prestress the pan. Haven’t had any water under the black mat since doing this.1 point
-
I actually learned that it’s not a rumor. Oliver is moving away from touch lights in the 2024 Ollies and likely beyond. The light will be a little smaller than the present light and from what I also learned won’t allow a retro fit into earlier models. Patriot🇺🇸1 point
-
Someone took GREAT notes here! We attended most of the discussion but could not take notes. We are looking at a 2024 trip up to AK. Brian1 point
-
Ours also came off, same place, or rather was mostly off and I completed the task. Personally I don't care for the aesthetics of the chrome trim anyway but have not decided what to install in its place, so for now I have simply left it off with the seam and drilled holes showing. FWIW there was very little glue left and only at the two corners.1 point
-
I installed Firestone airbags in the coils on the Land Cruiser, as did most of the other LC owners here. Minimum is 5PSI to avoid pinching. I started at 12PSI, and ended up at 15 PSI. Increasing the tow vehicle's tire pressure from the recommended 32 PSI to 36 PSI front and 39 PSI rear helped, too. As noted, supporting the rear of the vehicle, either with airbags or helper springs, does *not* increase the legal capacity of the vehicle. In my case, I removed a 40 pound roof basket and 100 pound second row seat to help augment the LC's 1440 pound load capacity. But as anyone at the rally can tell you, I probably had way more junk in the back than needed, so who knows where I was in real loading. (I basically took everything from my Hiker squaredrop (square teardrop trailer) and put it in the back of the LC.)1 point
-
1. Yes. Installed Firestone airbags. Eliminated jouncing when towing and squatting when carrying a large load in bed. Run 25 lbs. 2. I keep 25 lbs in the bags at all times. Firms up ride a little but not too bad. You need to keep some pressure in the bags at all times so they do not get pinched and damaged (I think it is 5-10 lbs minimum) so you could tailor your ride as desired. 3. The amounts on the door plate did not change. Wink!1 point
-
Not a Tundra but the new ‘24 Tacoma really has me interested as a daily driver. Never owned a Toyota, it might be my gateway drug…1 point
-
Lucky Site 13, Tillicum Beach CG: John Davies Spokane WA
1 point
-
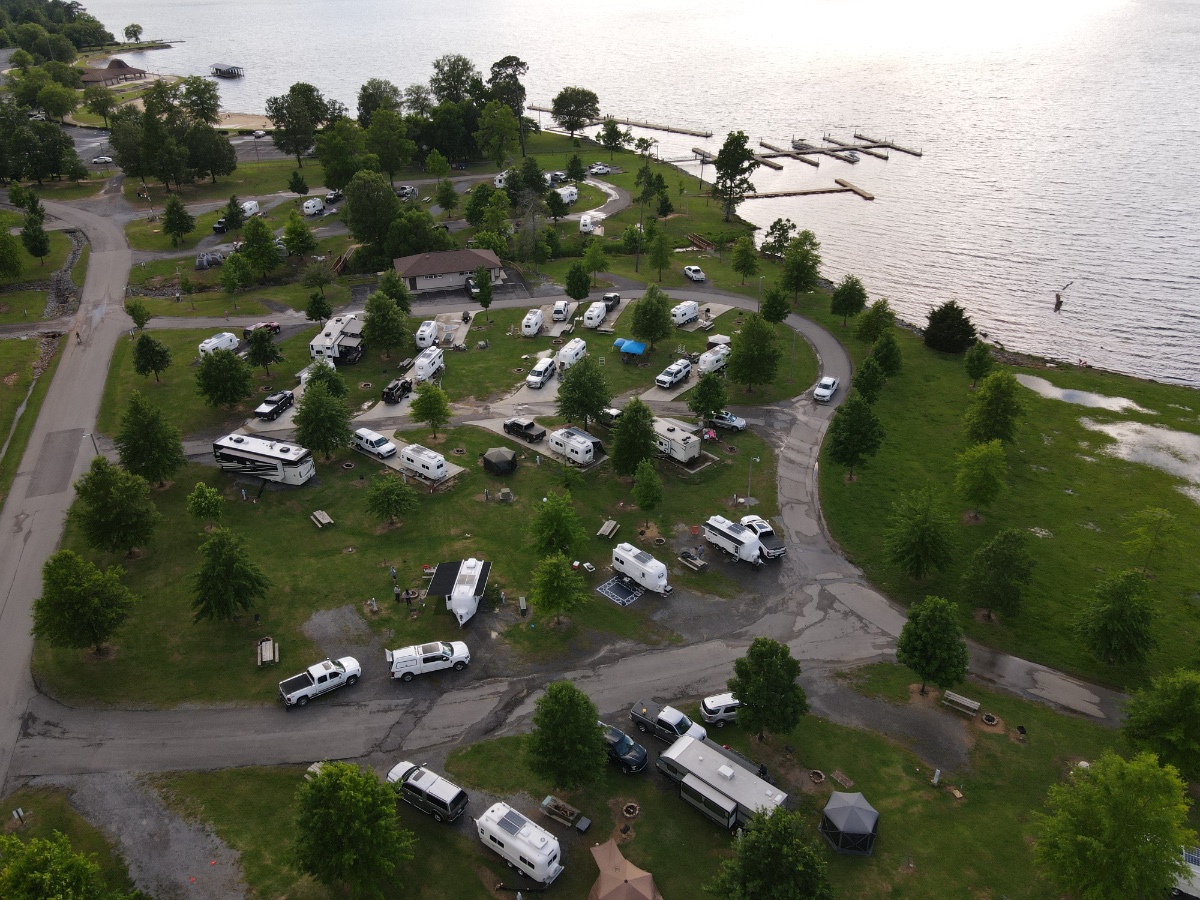
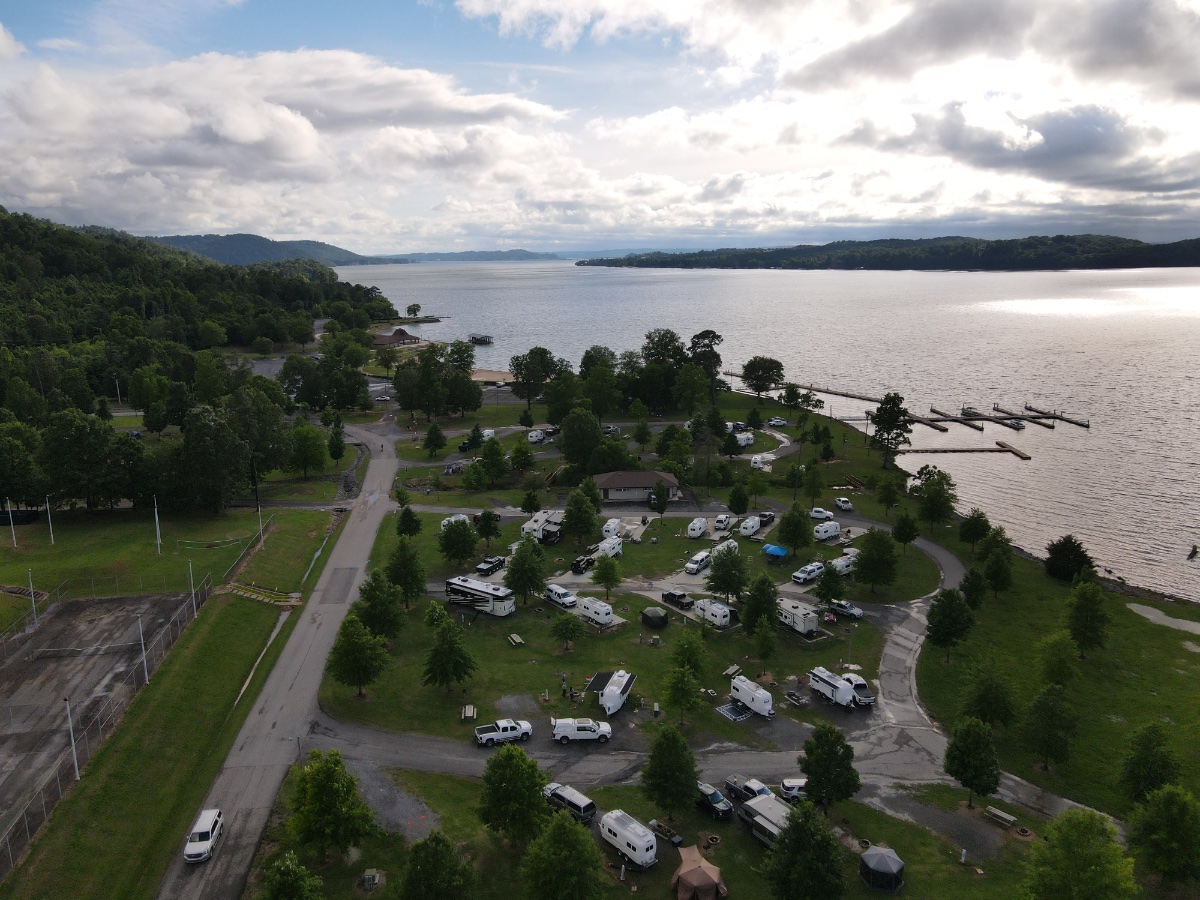
Droning on with the pictures... 🙂 Here are a few more. @Mike and Carol @ScubaRx @Foy_Mirna The Lodge from 200' AGL Shortly after a major down pour - you can see the run off going into the lake. After the storm... LGSP Campground The other end... @Ollie-Haus @Steve Morris @jellybean
1 point
-
Emily Bear several years ago:1 point
-
Chris, I know you will be all over this mod with along with a list of many others after you take delivery. Speaking of delivery day yours is fast approaching! I know you both have to be excited. That’s awesome! David1 point
-
Haha! Looks great! And a fine use of the XD cable lock. Tank you! Just passing it forward! 😅 Patriot🇺🇸1 point
-
Now y'all have started something. I've got three of those locks so this may be my first mod to the camper once it arrives. 😉1 point
-
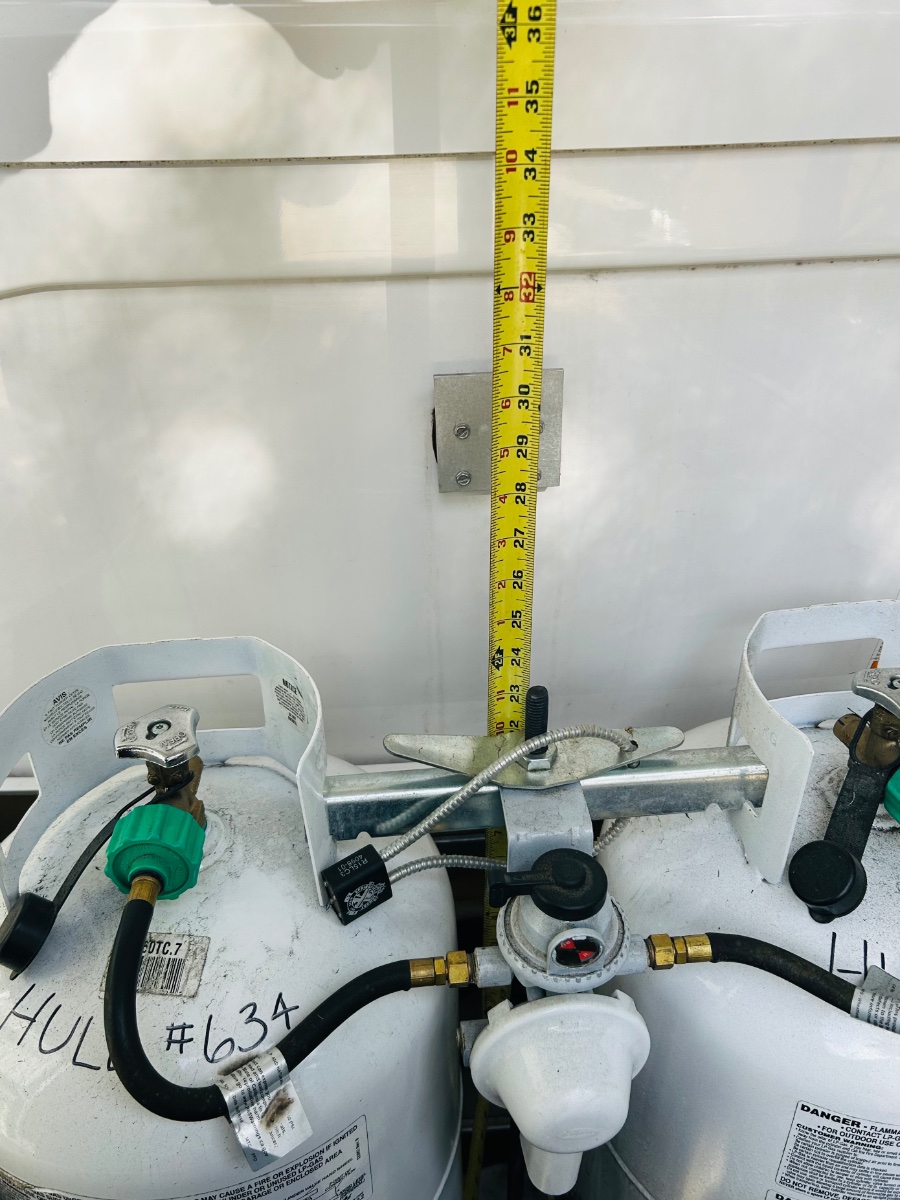
Even if a 40# tank would fit inside the "doghouse," could you lift it into place, up and over the housing? Even only 80% full (which is the legal max), it weighs 72 lbs. I am not even comfortable lifting 30# propane tanks into that enclosure. That is why we opted for the standard 20# tanks in our Elite II, but carry two spare 20# propane tanks in the bed of our Tundra tow vehicle. On a related note, weight is also the reason we have two 2200 watt dual fuel Champion generators (with a Paralink kit ) rather than one 3500 watt unit. Our Truma Aventa air conditioner requires at least 3000 watts of capacity to run (since Truma will not allow installation of a Micro Air Easy Start in its units). The 2200 watt units weigh less than 40 lbs. each. The 3500 watt beast weighs 96 lbs. I can lift each 2200 watt unit into and out of the bed of our Tundra without significant risk to my back. Not so with a 96-pounder!1 point
-
dewdev, a great question. I looked up the 40# specs and found this one at HD. https://www.homedepot.com/p/Flame-King-40-lbs-Empty-Propane-Cylinder-with-Overfill-Protection-Device-Valve-YSN401/301699250?source=shoppingads&locale=en-US&&mtc=SHOPPING-BF-CDP-GGL-D28I-028_022_GRILLS-NA-MULTI-NA-SMART-NA-NA-NA-NA-NBR-NA-NA-NA-SMART_SHP&cm_mmc=SHOPPING-BF-CDP-GGL-D28I-028_022_GRILLS-NA-MULTI-NA-SMART-NA-NA-NA-NA-NBR-NA-NA-NA-SMART_SHP-71700000090520815-58700007648833922-92700069174188843&gclid=CjwKCAiArNOeBhAHEiwAze_nKE7thvm6-nQqzY5KP5vU_5dhlDWToHMxiA-90qxxIUQAdbWZO8m_AxoCkrMQAvD_BwE&gclsrc=aw.ds The 30# LP specs - https://www.homedepot.com/p/Flame-King-30-lbs-Empty-Propane-Cylinder-with-Overfill-Protection-Device-Valve-YSN301/302560758 So a 7” height difference from a 30# to a 40#. The circumference is just smidge larger on the 30# vs the 40#. I stepped out back and took a photo of my current 30# tank height of 23” in comparison to a 40# measuring 30” tall. (pic) It looks like a 40# might fit, but without actual trying to fit one I can’t say for certain. It looks pretty close.
1 point
-
That’s all a part of making your Ollie yours! 👍🏻👍🏻😊1 point
-
I would say here that I would not let any RV service department work on my Oliver other them Oliver. We did have a small wiring problem and we took our trailer back to Oliver to have the problem corrected, I only wanted the manufacture that built the trailer (Oliver) to work on my trailer. Oliver knows their trailers inside and out and most RV repair shops have never seen an Oliver, they don't know the trailer. Oliver was 700 miles from Ft. Worth, Texas where we live, but we just included them in a travel plan and it was only some 100 miles out of the way, or so. One thing that works for many is to visit Oliver service when going to the Oliver Rally in Lake Guntersville each year, that should put you close to Oliver and make service easy for you, just set a repair date with Oliver. trainman1 point
-
A tip on writing complicated/long posts. I always write in a word processor or note pad and get it like I want it. Then copy and paste. Haven’t lost any yet.1 point
-
Work slowly and use the plastic razor blades and other plastic tools to remove the old sealant. I ordered 1 can of the ASI 0240 was very impressed with the ASI 0240 cleaner/remover. I ordered 2 tubes of the ASI 335. You’ll only need a small amount but get 2 tubes in case one is bad. Remove all of the old caulk using whatever combination of plastic tools work. I didn’t spray the ASI 0240 directly on the surfaces but instead sprayed it on a rag and wiped it on the sealant to be removed. I used rubbing alcohol very sparingly for the final wipe down prior to applying the ASI 335. Apply the sealant by pushing it ahead of the nozzle and force it into the gap. Quickly smooth it with your finger but do not get it too thin. The folks at the factory remove too much of the sealant and it only “bridges” the gap instead of filling the gap and leaving a bead or fillet to provide a proper seal. The thin bridge will not properly seal the shower wall/pan gap. I can not stress this enough. When you step on the pan the bottom flexes down and causes the edges to pull inward slightly. By placing weight in the pan prior to resealing you open that gap up slightly to hopefully allow more sealant into the gap. Use at least 100 lbs. More would be better. Let the sealant cure for a couple of days before removing the pre-load weight.1 point
-
Stuff you will need https://www.americansealantsinc.com/adhesivecleanerandremover/ https://www.americansealantsinc.com/asi-335-neutral-cure-silicone-sealantadhesive/ PLASTIC razor blades. Do not use steel. Change these plastic blades often. https://www.oreillyauto.com/detail/b/titan-5120/paint---body-repair-16614/body-repair-16510/body---trim-tools-25197/razor-blades-scrapers-17948/1c24653634cf/titan-scraper-blades/12038/4753744?pos=17 Remove the steel blade from this holder and insert a plastic razor blade. https://www.oreillyauto.com/detail/b/titan-5120/paint---body-repair-16614/body-repair-16510/body---trim-tools-25197/razor-blades-scrapers-17948/1c24653634cf/titan-scraper/12031/4753743?pos=18 (continued)1 point
-
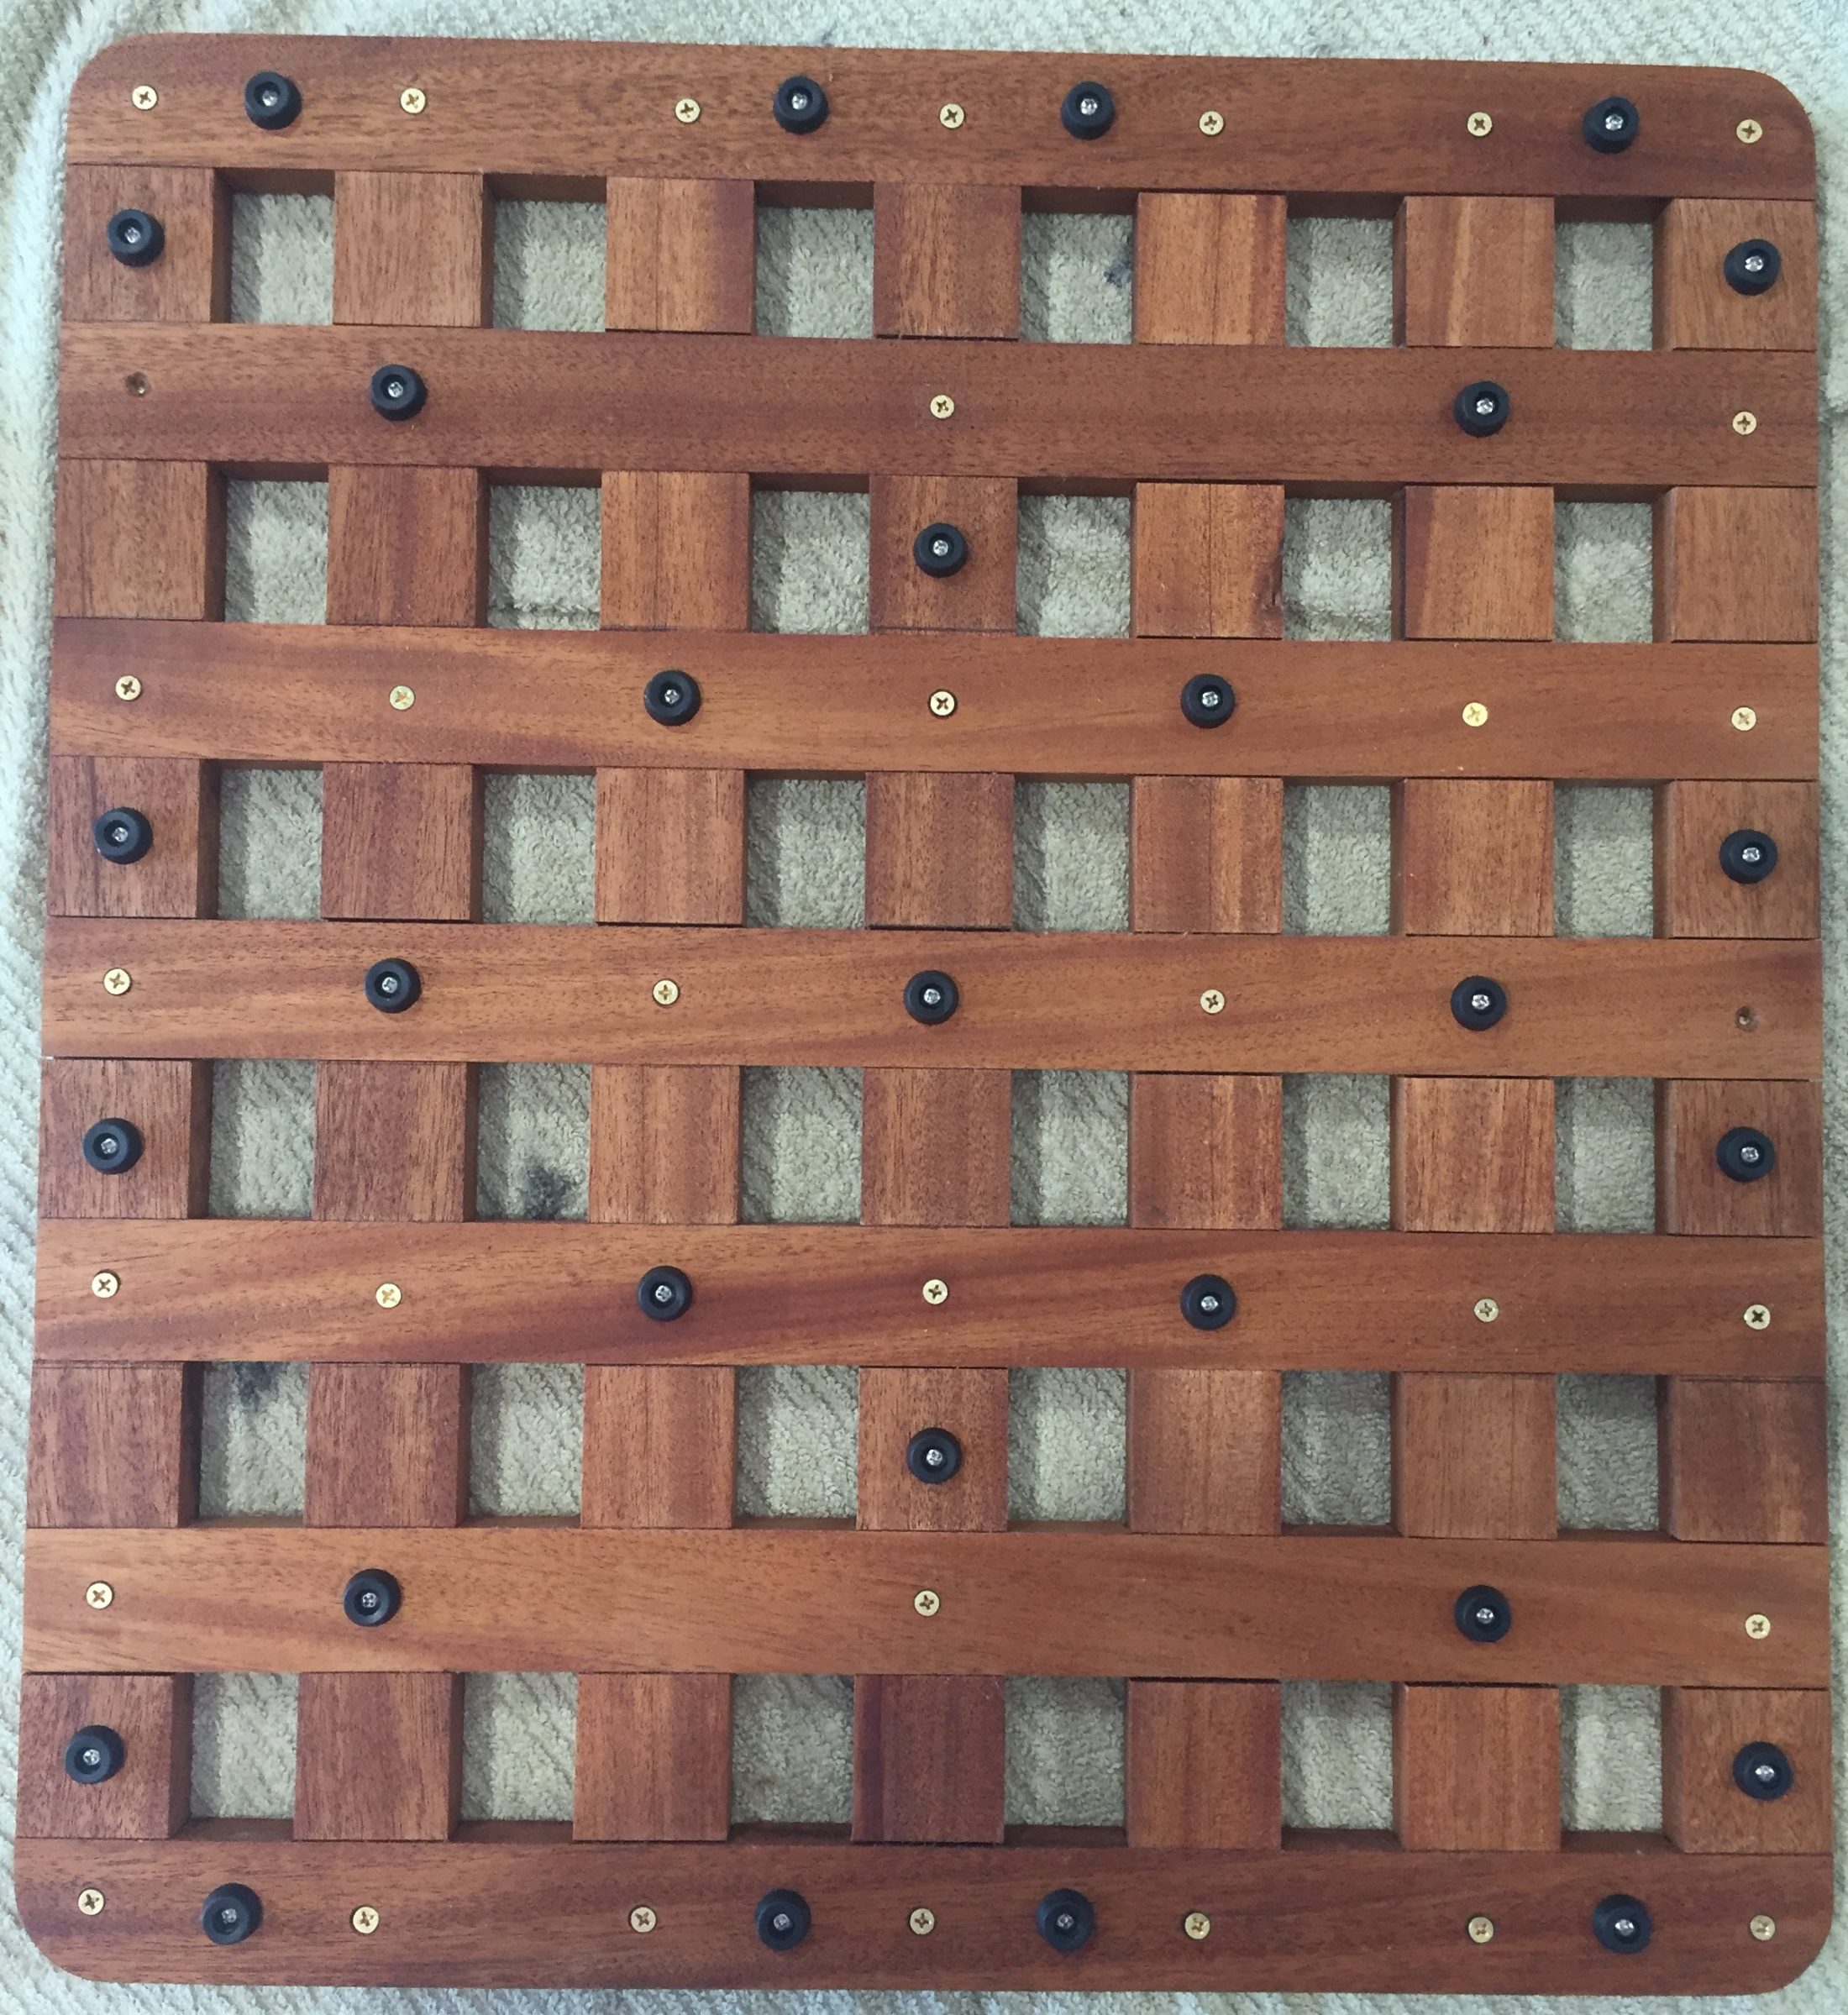
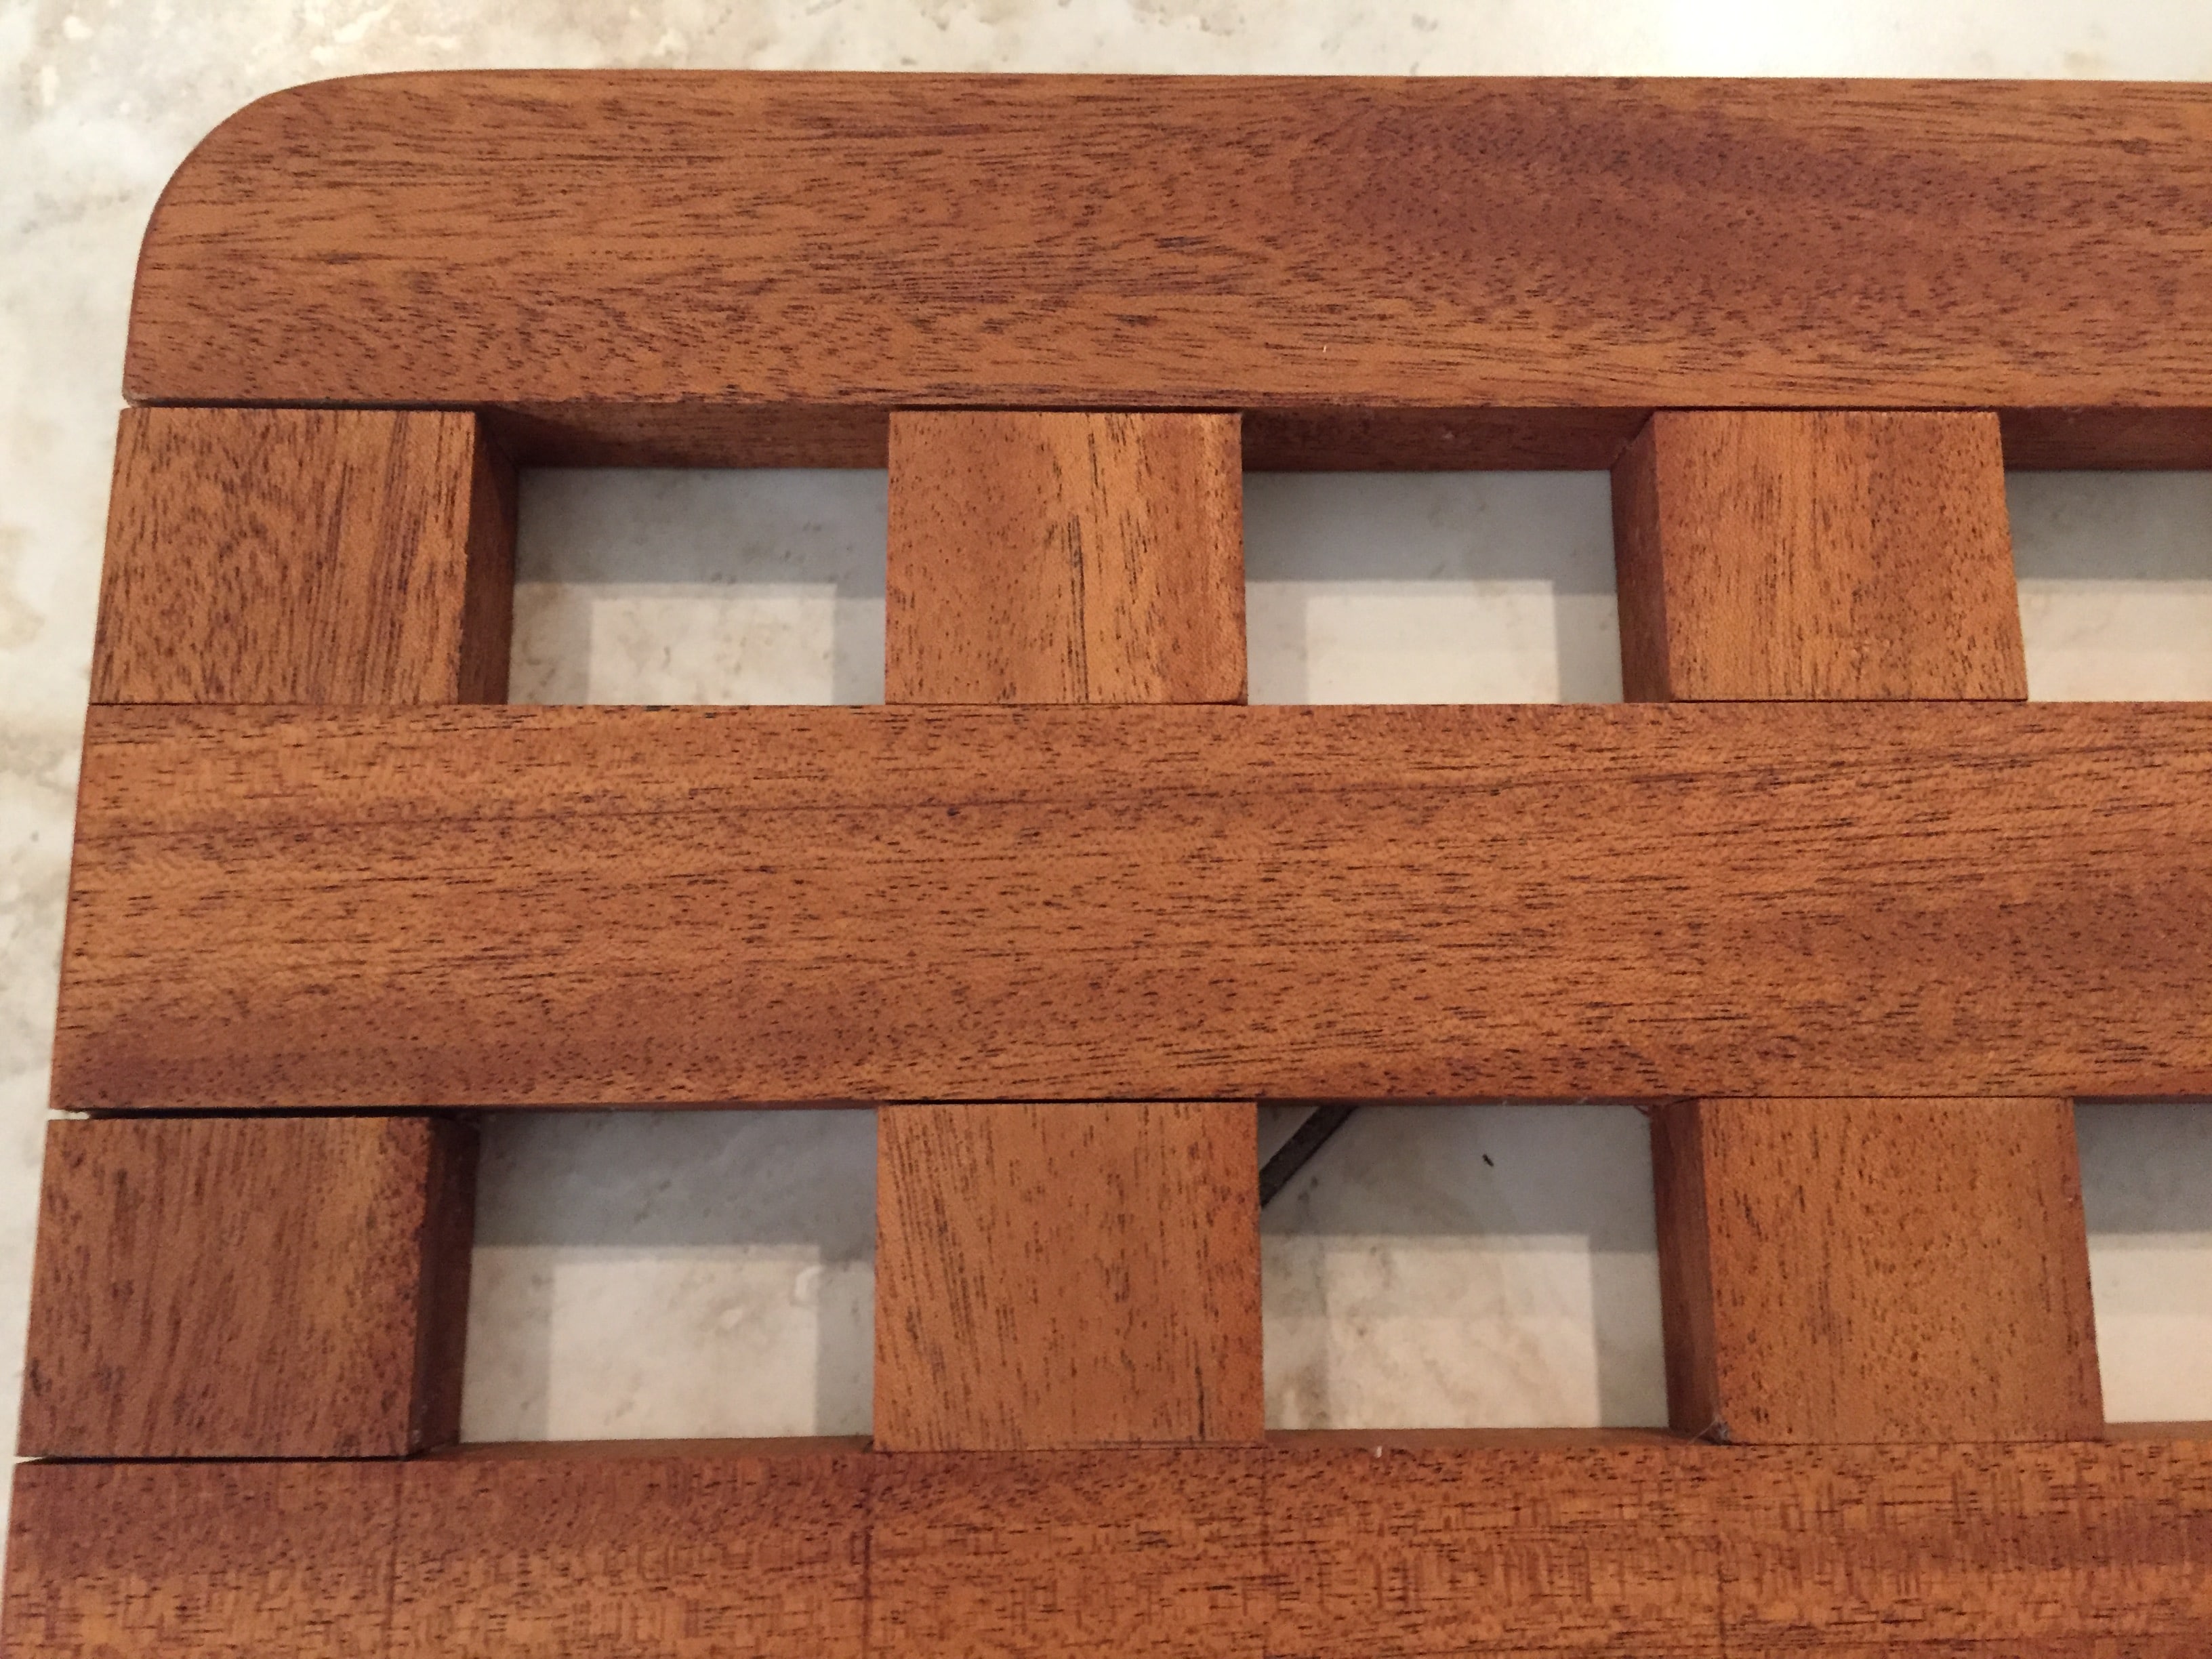
Can I craft you a shower mat for your Oliver. Treat your feet and add an impressive upgrade to your Oliver shower. Boat builders count on Mahogany & Teak for their ability to stand up to water and the elements. My shower mats are made from sustainable Honduras Mahogany. They are a half lap design inspired by old ship grates. I use brass screw instead of glue for a lifetime of service. There are 28 real rubber feet on the bottom to provide a sure grip and allow water to flow to the drain. Shower mats - $199 plus USPS 2/3 day shipping to your address. To order email me at 48ocean@gmail.com Please note: These are wood and as such will need a little care from time to time. After each shower, simply tilt the mat up toward your closet wall and let it dry. Every few months scrub them with a soft bristle brush let dry complete. Apply a light coat of mineral oil will keep them looking new for years.
1 point


-
Recent Achievements
-


