Leaderboard


Popular Content
Showing content with the highest reputation on 05/16/2024 in all areas
-
What a wonderful evening! Thanks to everyone behind the scenes, and it was good to see new and old friends.
 5 points
 -
Does your water pump cycle on from time to time even when not using water? If so, that probably indicates a slow leak somewhere in your plumbing system. When you first turn your water pump on, it will pressurize the tank and then turn off. It will not come on again unless you turn on a faucet or flush the toilet. However, if there is a very slow leak, it will come on again after a few minutes or longer because the leak will gradually lower the pressure in the water system. This happened to me last time out after traveling about 30 miles on washboard roads. I traced the problem to a slow leak in one of the push-in compression fittings by the Truma on demand water heater. Even though the leak was in the rear of the Ollie, the leaking water was dripping out one of the forward weep holes.5 points
-
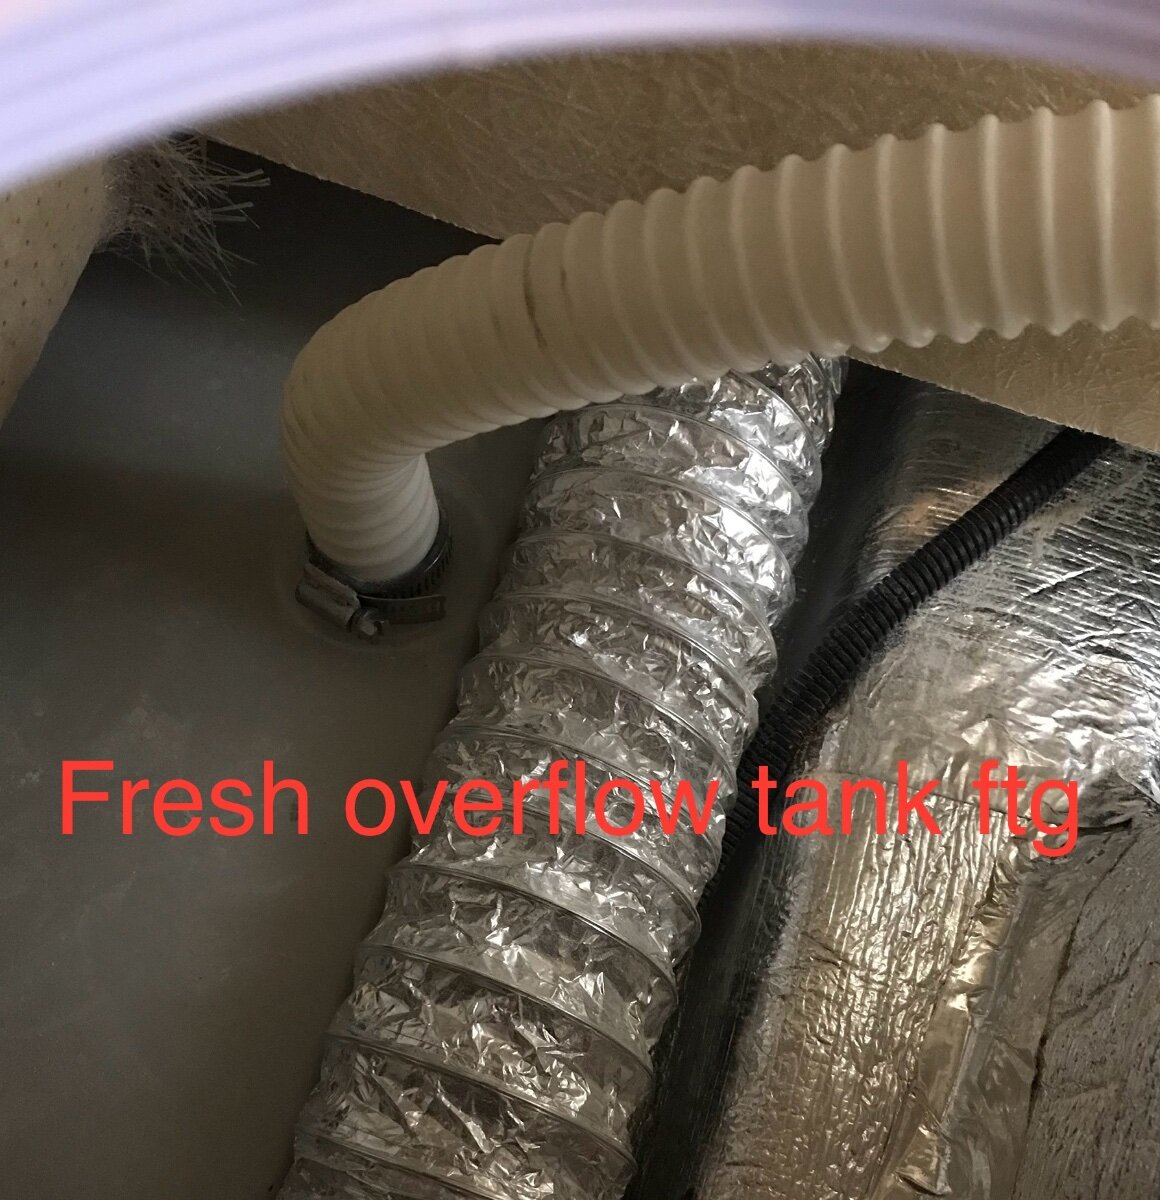
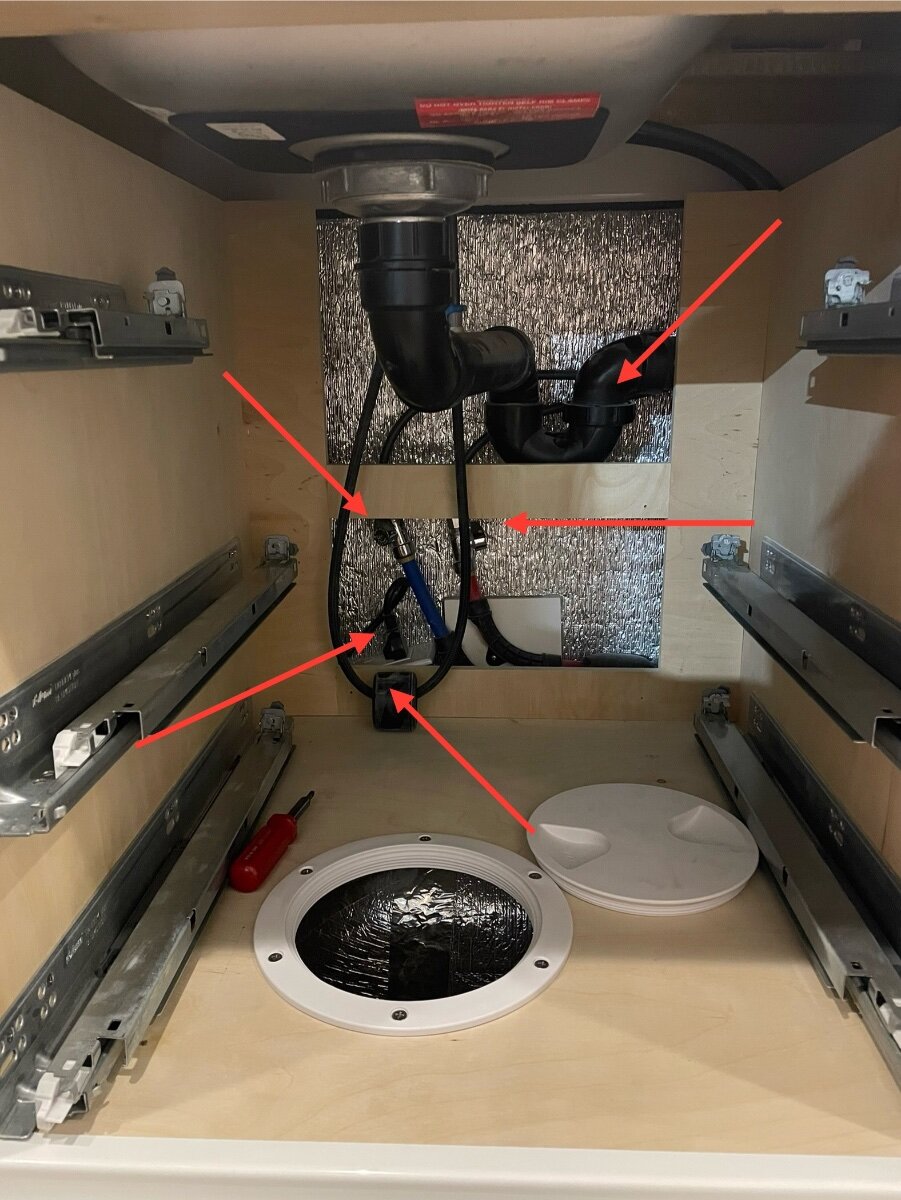
Do you have water in your fresh tank? The reason I ask is on our OEII the fresh water overflow tube clamp was loose on the tank fitting and we had water dripping from those holes. The water under the fridge drain is normal. Picture through hole in bottom of kitchen cabinet. Hole was installed by factory service department so they could tighten the clamps.
5 points
-
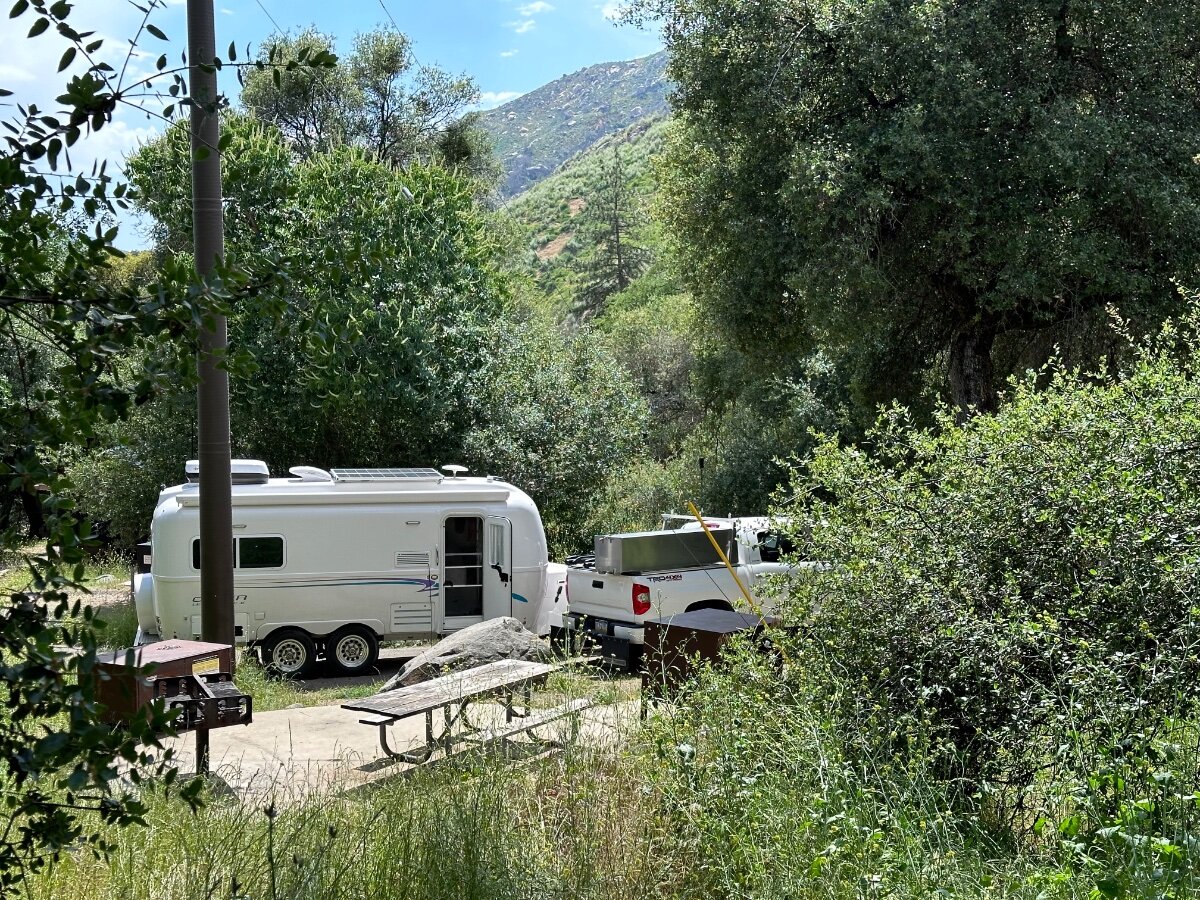
Two site pix from this week. Sequoia NP - Potwisha CG -Site 11 we saw another Oliver at the same campground. Hi to Marybeth & Neil pix below. Yosemite NP - Wawona CG -Site 74
4 points
-
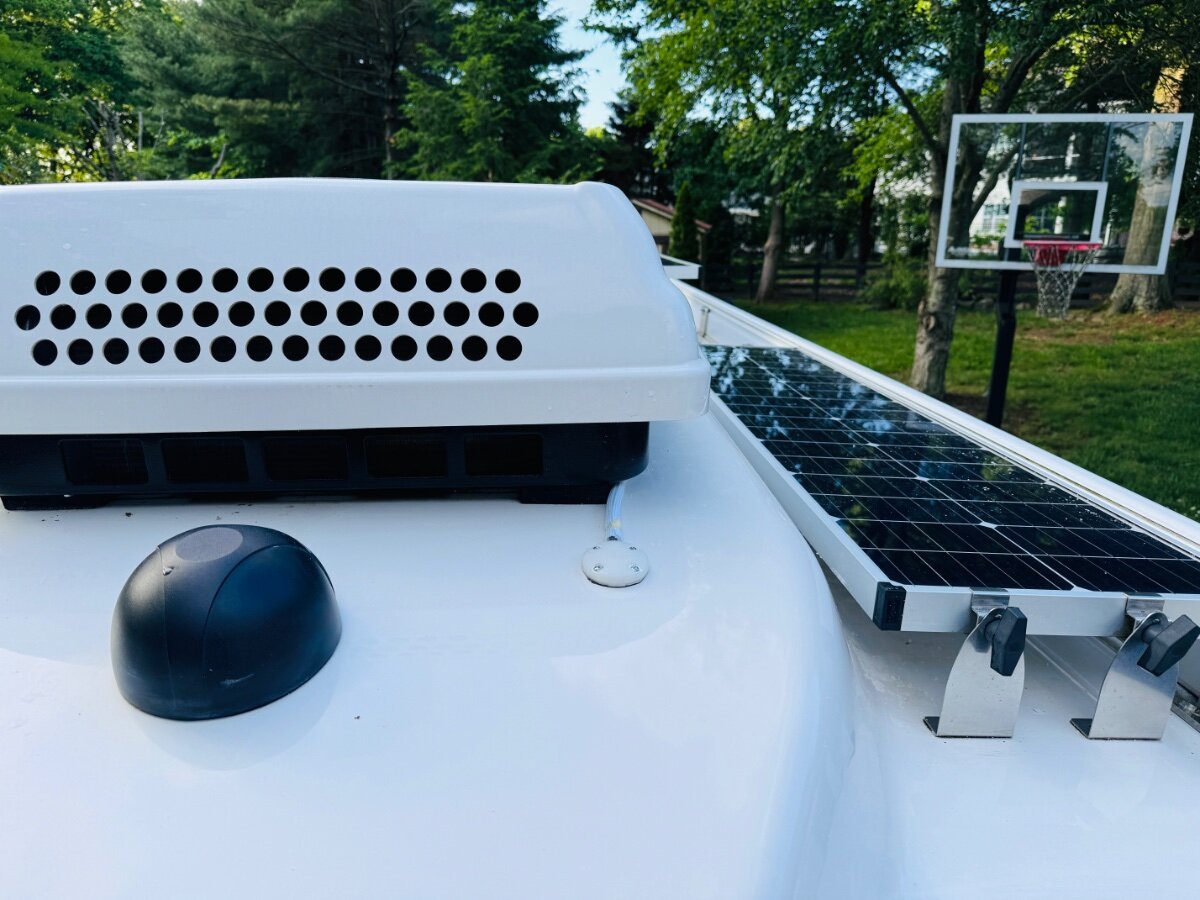
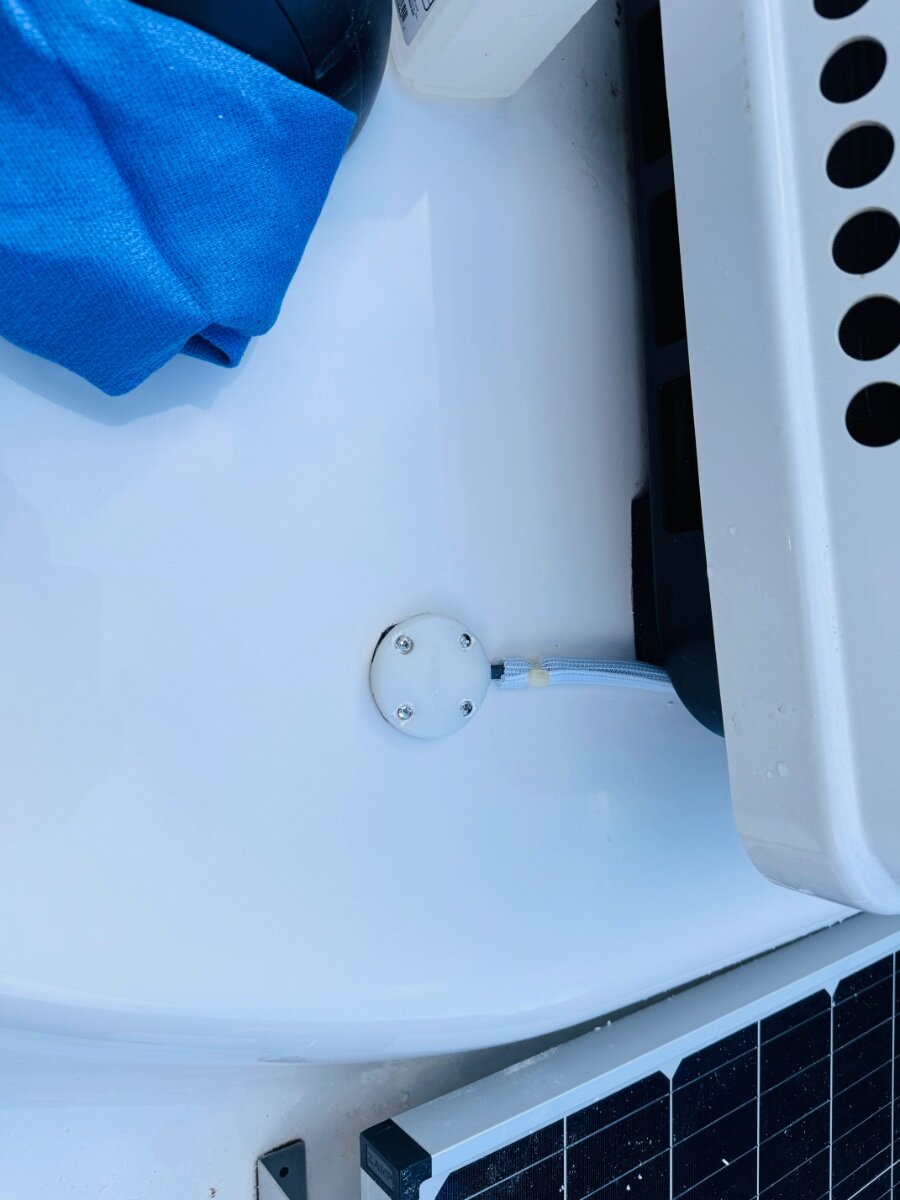
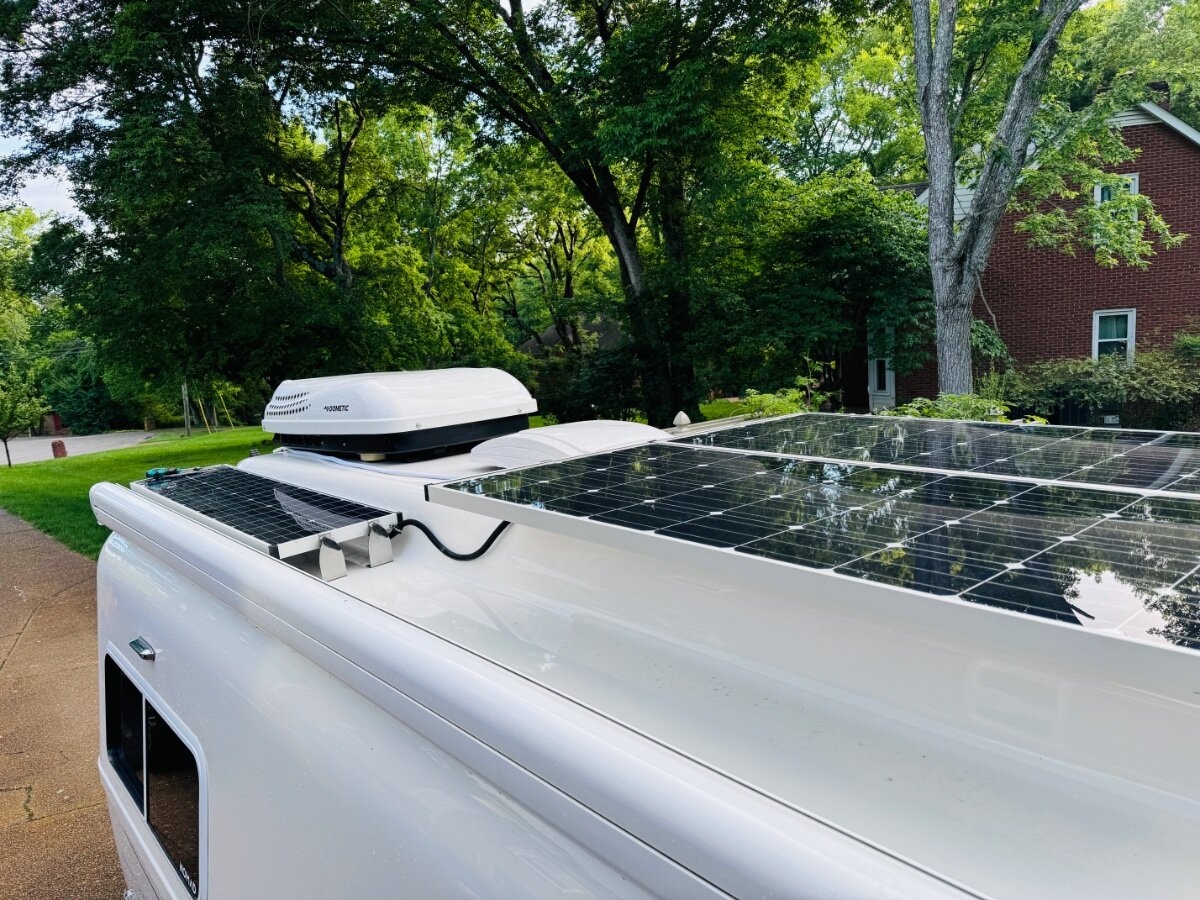
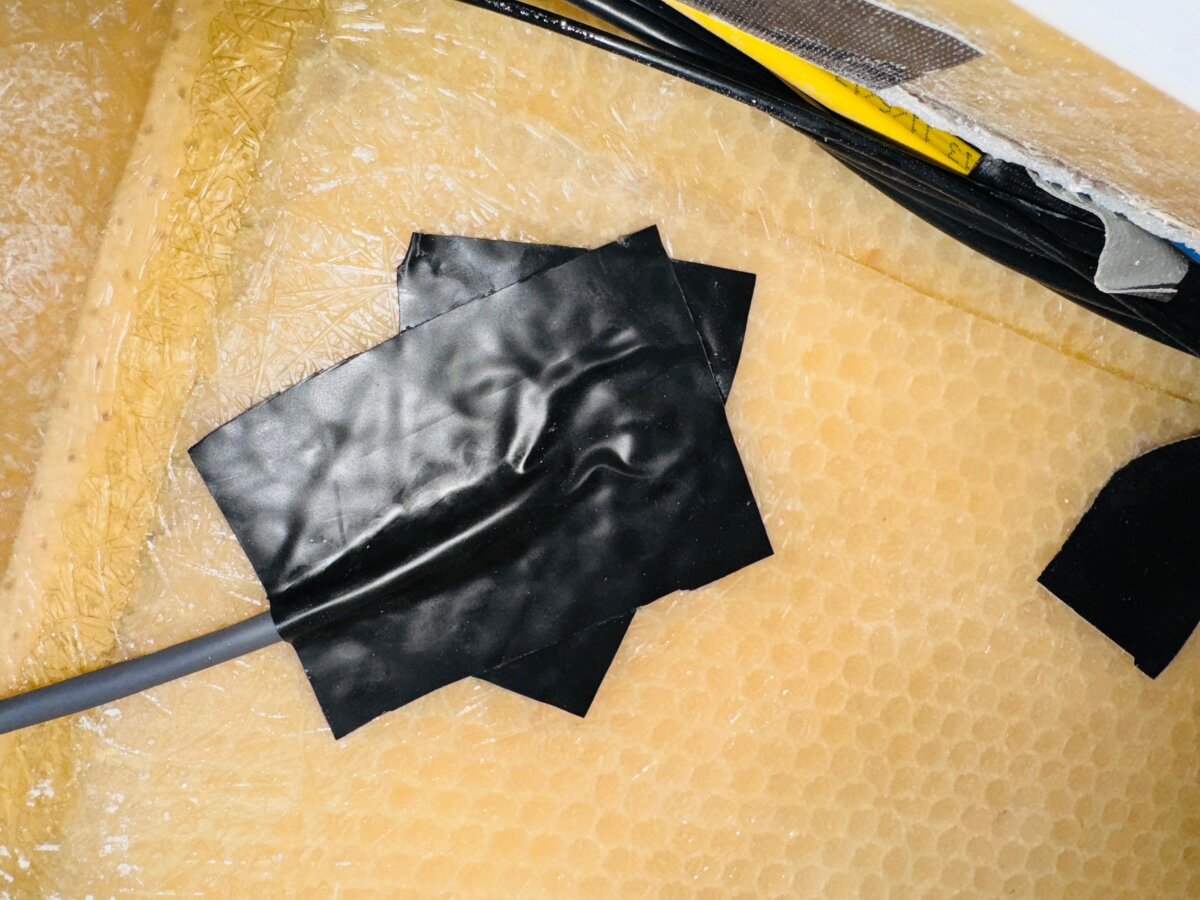
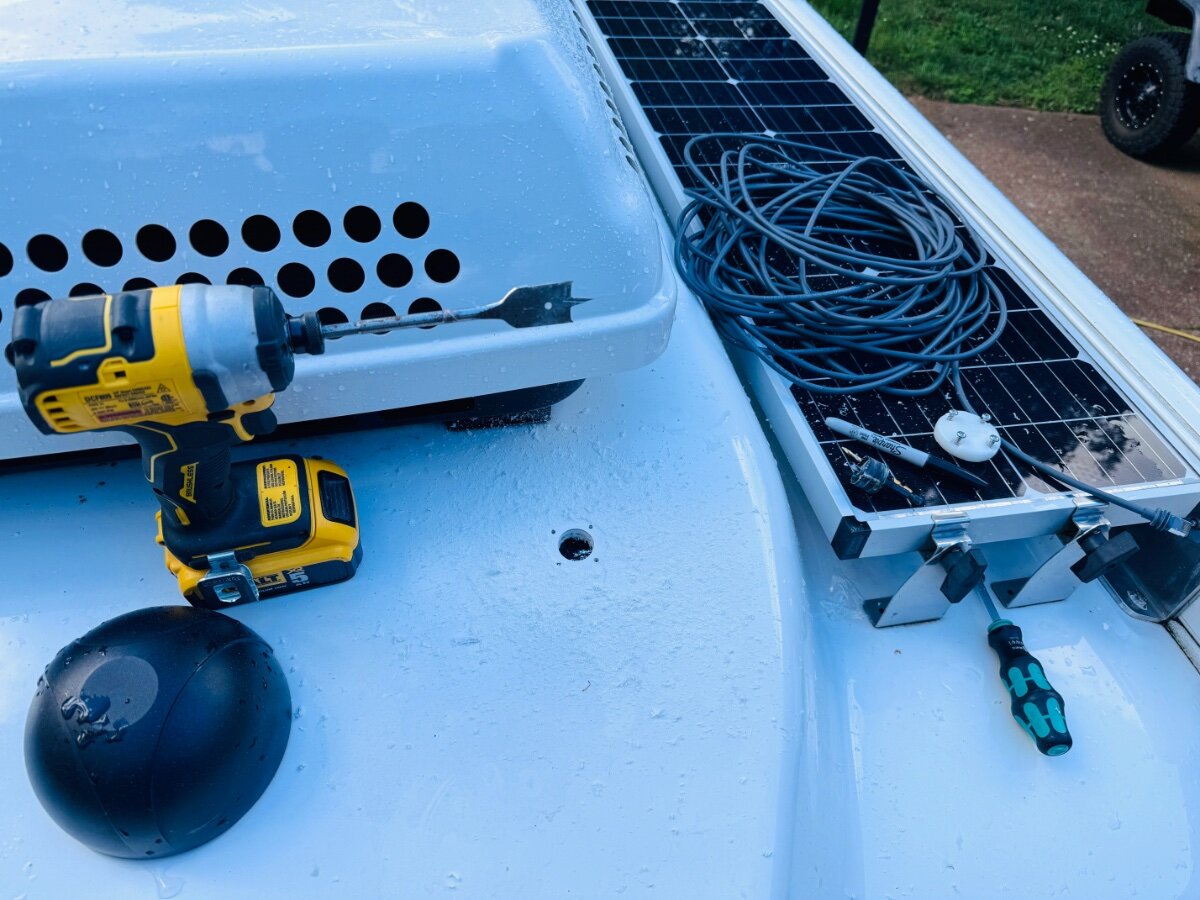
Chose to drill a 1" hole next to the one for the Cradlepoint antenna. Used a Blue Sea's clam filled with Dicor caulk. Finally, got to use my black Flex tape to bottom out the hole I made so I could fill it with caulk sealant. In transit is a Trio Flatmount with rubberized magnets and swivels leg mounts attached to place on roof with VHB metal disks for a semi-permanent attachment to the front area of roof behind the Maxx-air vent. https://www.trioflatmount.com/shop/p/gen3flatmount .https://youtu.be/nnZypsxs-8M?si=Yeg2M-sG8SWG_HJ5
3 points
-
@jd1923 my guess is the hose clamp on the through hull fitting is loose or the fitting itself is cracked and water from the fresh tank sloshing has run down and out the hull drain. Hull 313 only has one hull drain in that area , plus the fridge drain and the overflow drain. I would remove the drawers and the panel at the back of the drawer cavity and make sure the sink trap fitting is tight and that you don’t have a leak from the faucet. Then stick your phone camera in behind the fridge and make a video.
3 points
-
In a different lifetime, I used food grade dyes of various colors to trace water sources. Start with Gray water lines with a lighter color dye, then try the black water system with a darker color. Then a very diluted light blue color for the fresh water. If none of the colors show up, it's condensation. Just a matter of elimination of possibilities to get you to the solution. Lessons learned the hard way: Suggest being careful to maintain control of all the effluent as it will stain concrete. It does not take much dye to be effective. More than just a tad and you can create problems for yourself. Wear gloves. My left hand was blue for quite a while! Used to hold it up and say... "I've got the blues". 😞 GJ3 points
-
…great opening ceremony talk by Rodney Lomax, excellent dinner company, awesome raffle prizes - all along with a beautiful sunset!!!🌆 Perfect way to start the Rally!3 points
-
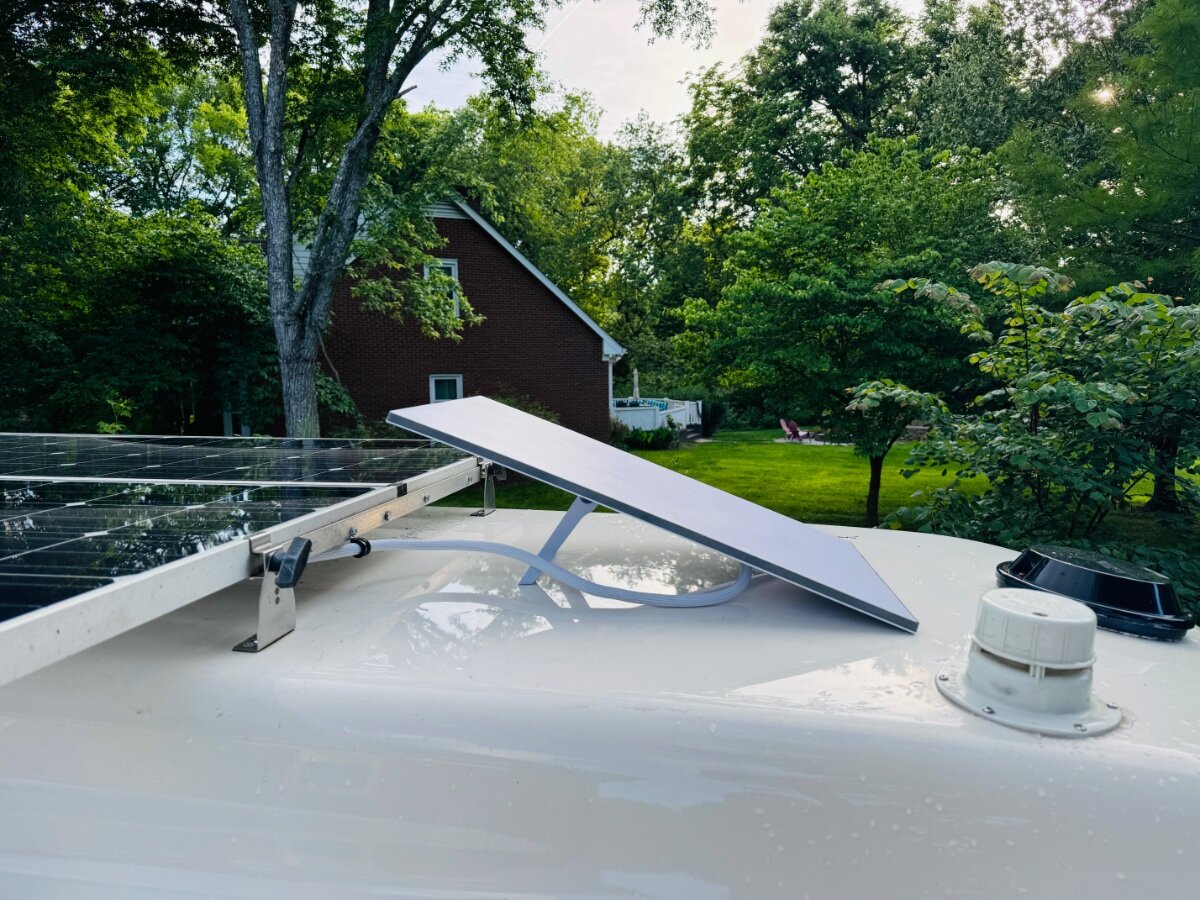
You VHB 4in round metal disks that the rubberized magnets on swivels legs attach to and then you can remove it easily for cleaning or land use, etc. Also, I wanted to use the legs so I could get a couple inches of height and use a M6 bolt sleeve to raise the rear to give the dish an 8-10 degree slant for water shedding (similar to the OEM RV mount). Of course, you can easily permanently mount it flat using VHB or screws if you wanted to, lots of options. No room in the back to place it due to AC blockage and Cradlepoint external antenna on my application. I did consider placing it on the AC shroud and could easily trial it due to having the magnets and VHB metal disks. My gut feeling is that the shroud is not strong or stable enough plus I don’t want to catch it on anything if it is the highest point on the RV. Internet speed testing has been great so far, anxious to see what the numbers are once I am traveling on the interstate.3 points
-
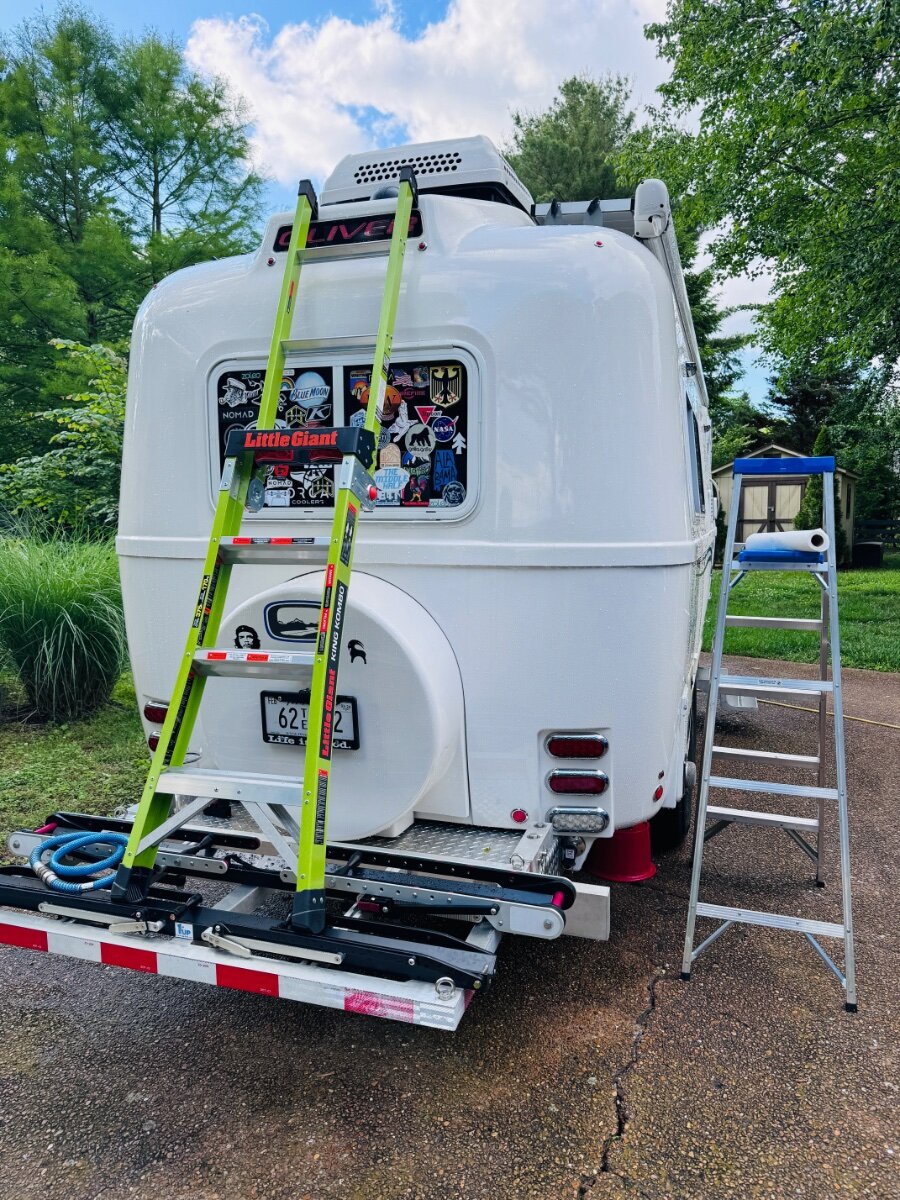
Going to install the Bulldogs in the morning, will post some photos.3 points
-
I'll say this, you "Starlink Fellows" are a smart group of owners. My slide rule based pea brain is amazed and impressed with your installations and the capability that it brings for boondockers to also be remoted gig workers. Been working with several owners, especially AndrewK, on how to route a long wire thermistor from the Houghton A/C control board to the former location of the Dometic thermostat. Andrew has shared detailed instructions on a possible way to "poke" a wire between the hulls. If I am unsuccessful in that process, use of your flat, low observable clam will certainly open up opportunities that I had not even considered. So, MANY thanks to you from all the OTT Houghton Owners that have been pondering our thermistor relocation goal! GJ
2 points
-
Your on-the-road WiFi connectivity will be awesome! Very "jelly" over here, ha! Thanks for posting the flat mount option - its likely one of the best ways to go, IMO.2 points
-
Both Dishwater Soap and Laundry Soap can get sudsy. However, Dishwasher Soap does not. If it does not suds, you can use more of it. Just suggesting less suds, the less potential for a Bubble Bath In Ollie!2 points
-
I'm guessing around 20-25k miles. Could be less, probably not more.2 points
-
Thats what I installed last weekend too. The Bulldogs are very slightly longer than the Monroes. I had to compress the bottom rubber mounts just a little bit by tightening up the bottom mounting nut/rubber assembly before the top threaded mount would slide into place in the upper Oliver bracket. It was much easier to do that than try to compress the new shock and slip the top mount in place. You'll see what I mean, easy.2 points
-
Very nice! Of course, magnet mounts won't hold to fiberglass. The video mentions other options. You wrote "semi-permanent attachment." Not permanent? Long cable run up to the front. Did you consider mounting it somewhere in the rear or even on the AC cover? I imagine it doesn't weigh very much at all. I see why you suggested a flat roof in another post! 😂2 points
-
I'd open a ticket with OTT Service. I bet they could get you all the info you need and maybe even walk you through it. Don't underestimate their ability and willingness to help out on even the smallest stuff!2 points
-
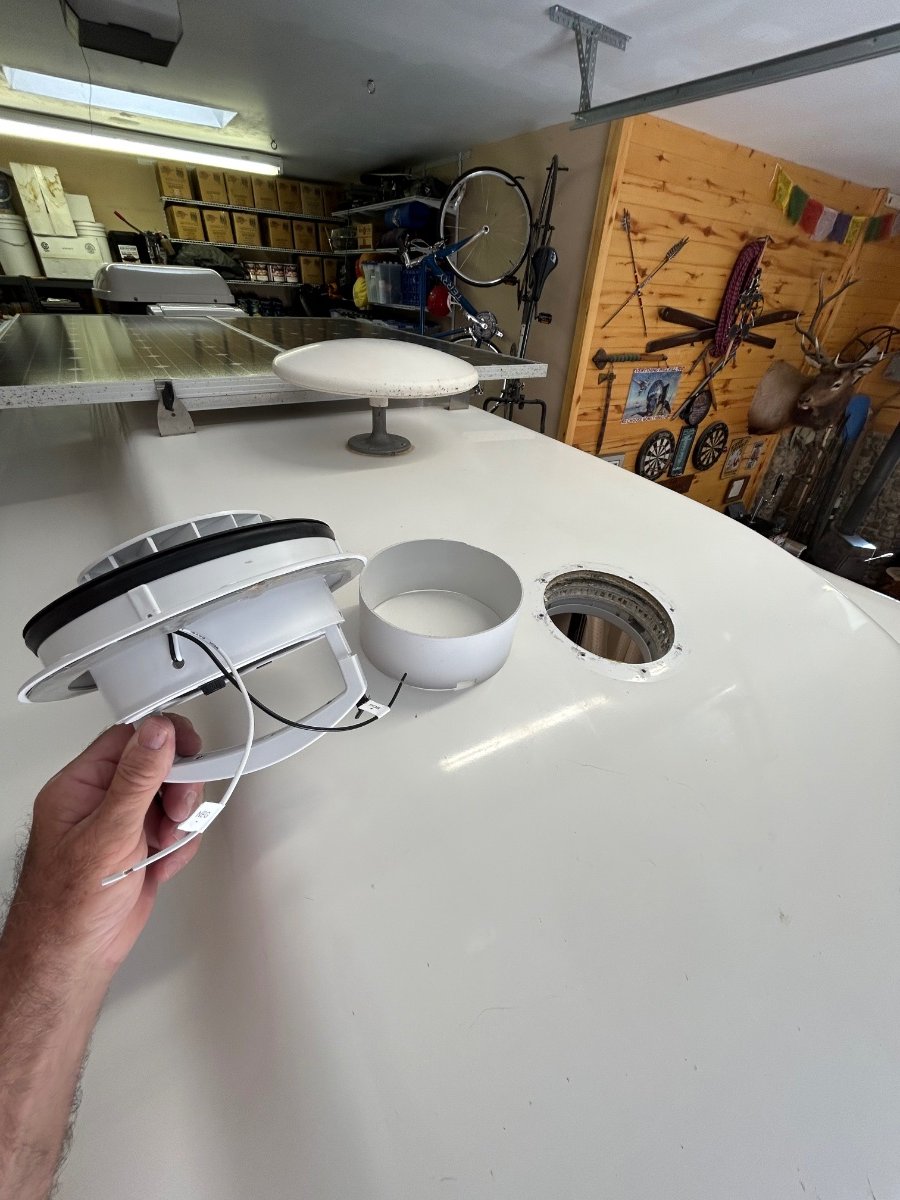
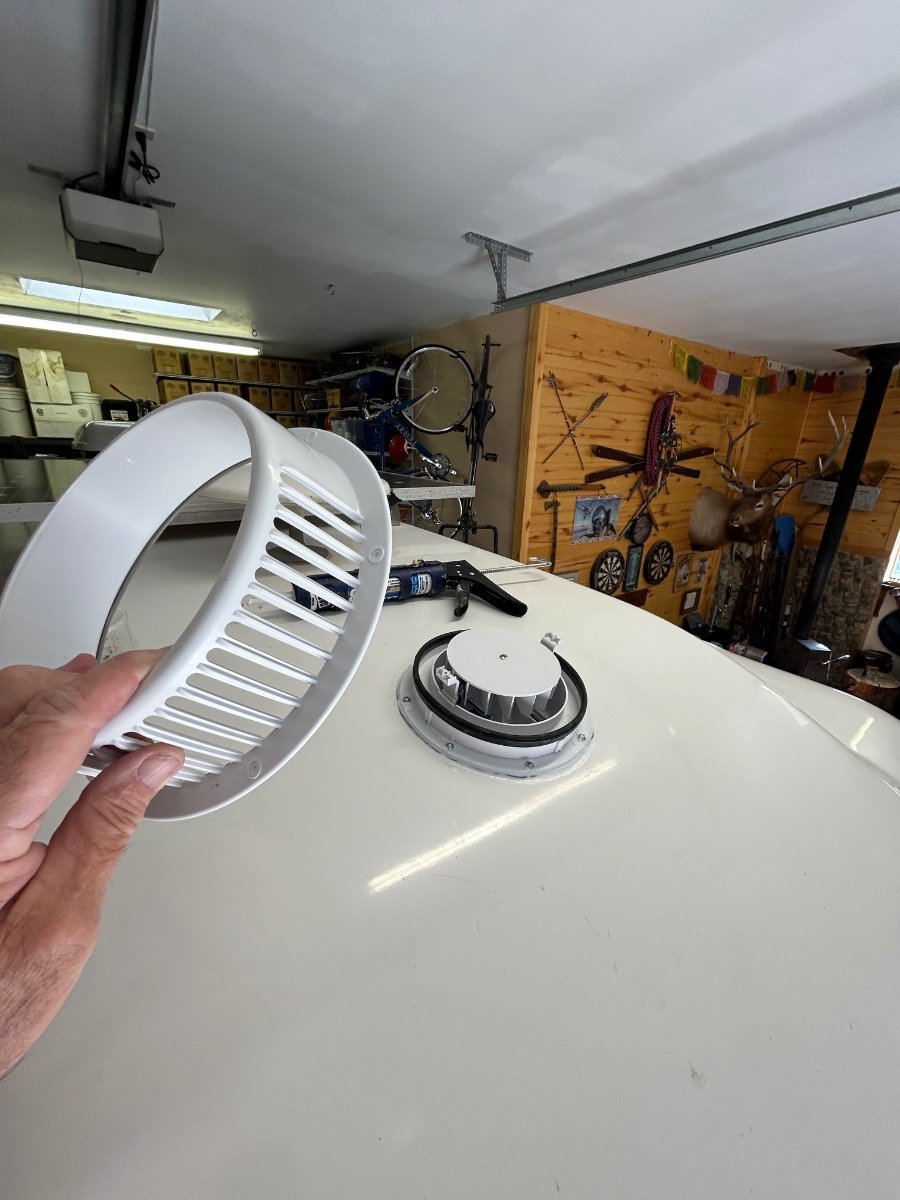
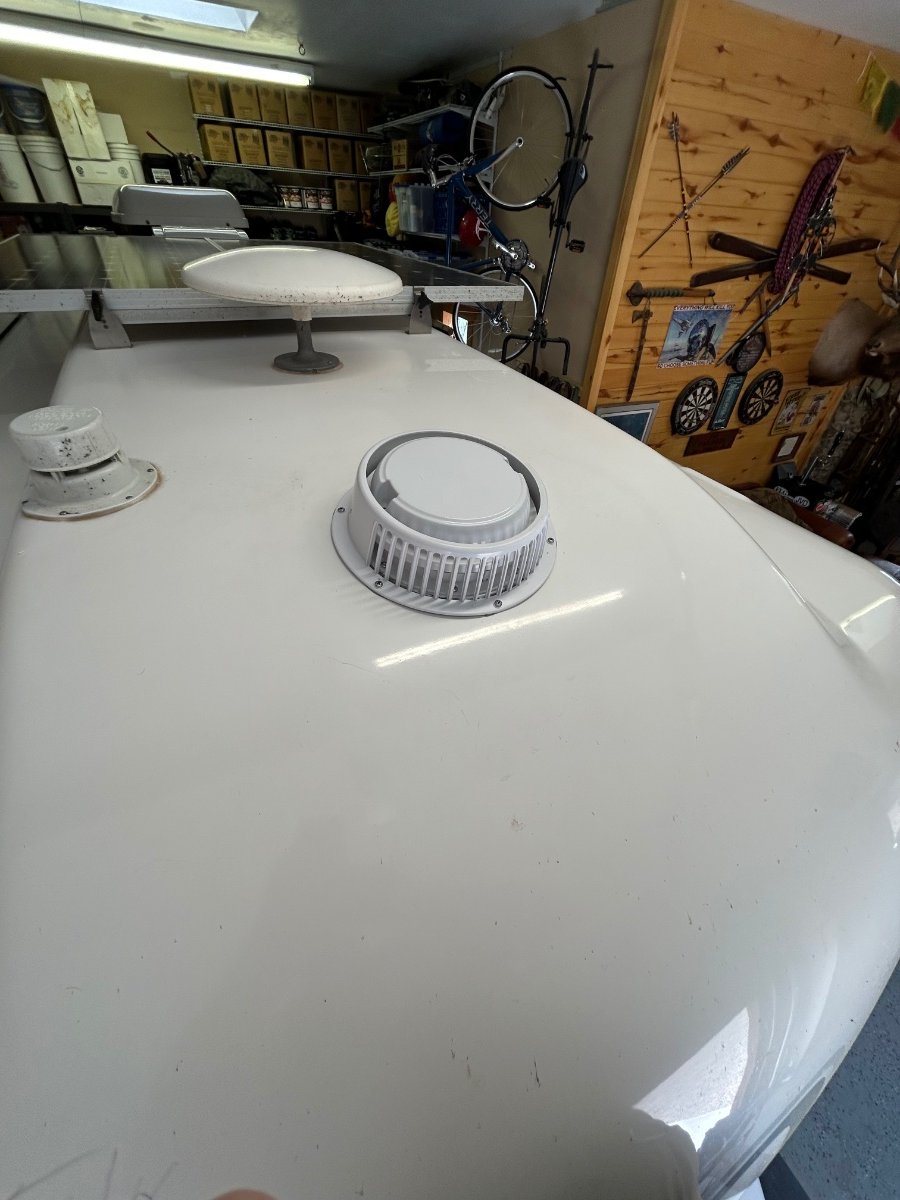
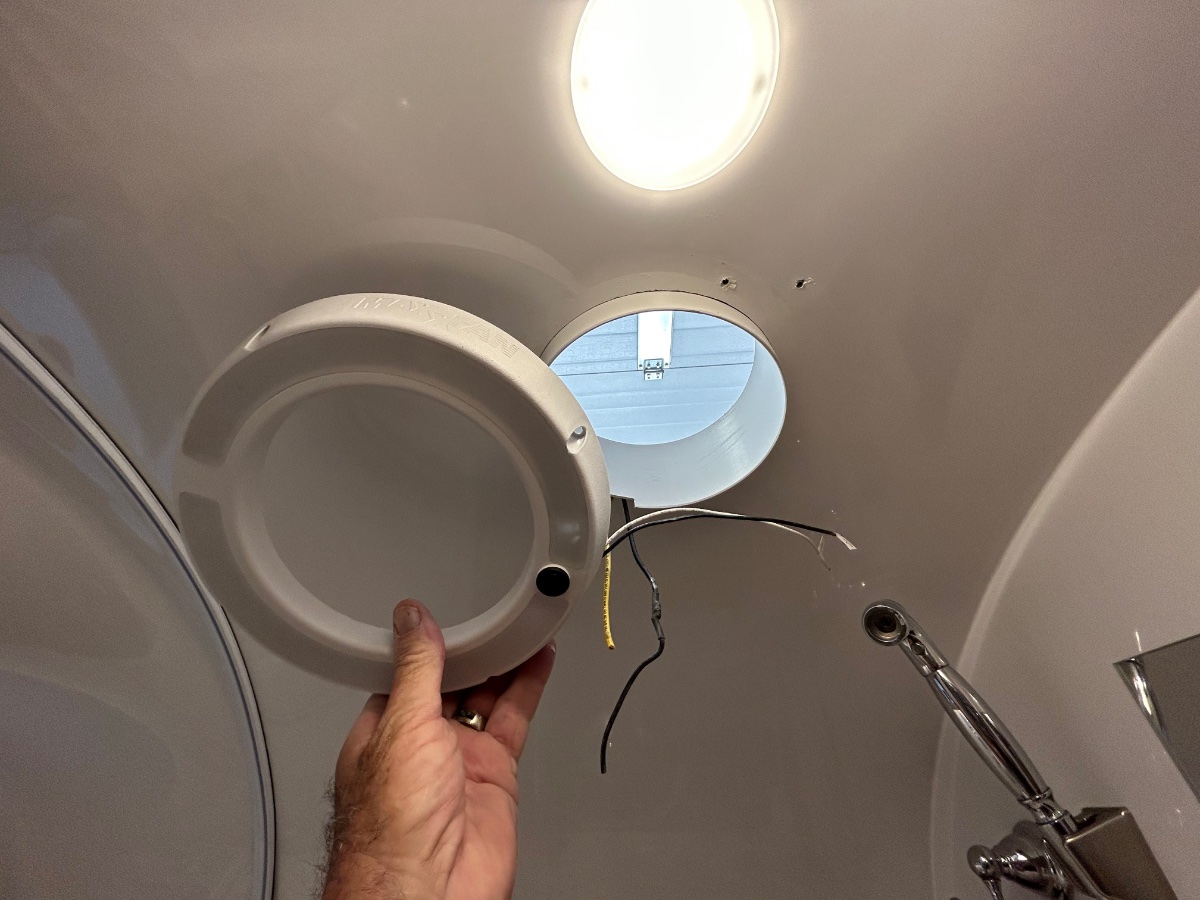
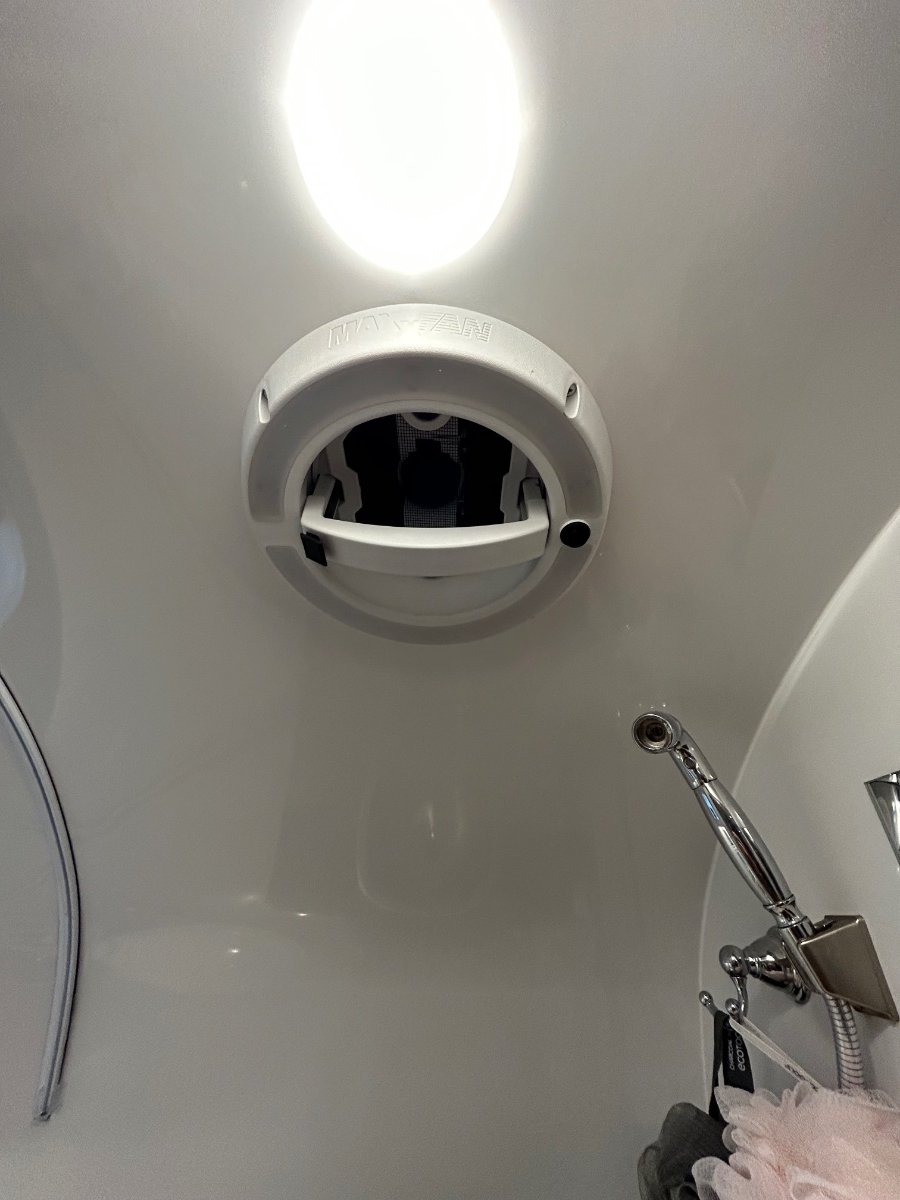
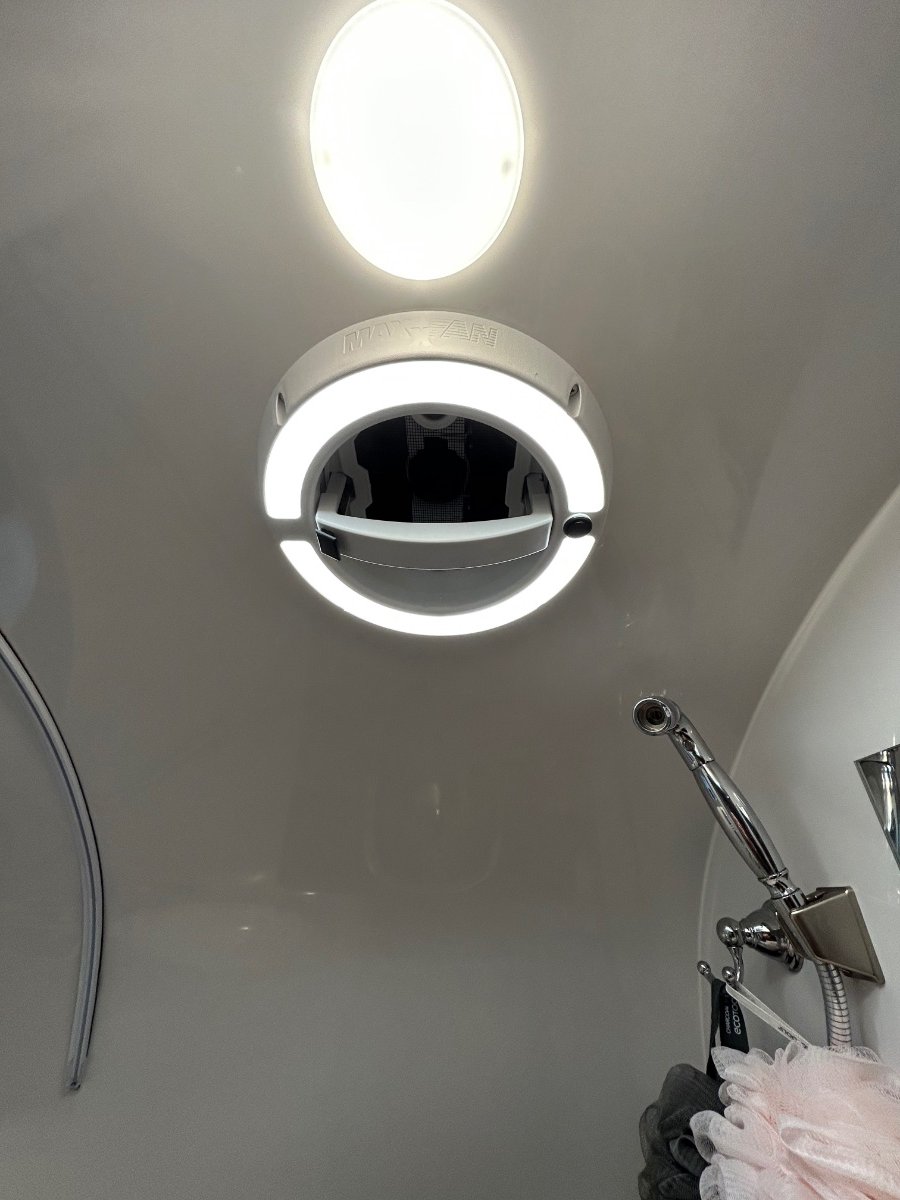
Ok... I love these forums! Nothing like great ideas shared by a group of common minded OTT owners. I'm thinking I stole this one from a comment that @SeaDawg mentioned a while back regarding his "LED-lit" Shower Fan. Well, Diane read his post and thought it would be a good upgrade - so, the new MAXXAIR w/LED unit arrived yesterday via Amazon (Happy Wife - Happy Life category). This would be the short story of its installation... First off, the original VANAIR Ventline fan assembly operated perfectly - no leaks, no bearing wobble, smooth actuation, but alas, no LED. It's the exact unit we had in our previous SOBs. BTW: Its up for grabs - a "freebee", I'll cover any CONUS shipping costs for anyone needing a Ventline. There was major brain cramping involved to plot-out a list of instructions for the R&R drill, especially the Removal phase. The first "R" was straight forward - using a plastic "razor" scrapper to remove the butyl tape from the gelcoat. Cleaned gelcoat with a fresh microfiber cloth doused with an ounce of rubbing alcohol. 2. Filled original mounting holes with clear silicone, they will be further sealed with the butyl tape attached to the new fan housing. 3. Cut-to-fit the included plastic sleeve that fits between the top flange and bottom (shower side) trim piece. Applied clear silicone around circumference of plastic sleeve and upper gelcoat. BTW - the OTT factory fan hole was exactly the correct diameter - no additional cutting was needed (WHEW!). 4. Mounted new assembly up top, carefully pre-drilled/chamfered 8 new holes in exterior gelcoat. Lightly torqued-in stainless screws enough to "push" butyl tape out from flange. Trimmed tape and applied clear silicone around perimeter of flange. 5. Rain guard: The new unit included a "rain-guard" which may be helpful if operating the fan in a heavy downpour. Applied butyl tape on the RG flange and carefully pre-drilled/chamfered 6 new holes for the RG. Trimmed tape after torquing screws in and then applied clear silicone around perimeter of RG. Attached fan cap with the provided 2 white screws. 6. Applied clear silicone to the trim piece groove where plastic sleeve seats. Carefully pre-drilled/chamfered 4 new holes for the trim. Connected 12vDC power to fan motor and LED - used solder and heat-shrink for connections. Tucked wires inside trim piece and mounted it with 4 screws. 7. Unlike the Ventline unit, the MAXXAIR has a locking mechanism when depressed allows the fan lid to open/raise. Its raises/lowers smoothly. Fan and LED each have separate switches. And as, I believe, @Patriot has recently said, "Let there be light!" One and done... Happy Wife.
1 point
-
Sure Rich, thanks for asking! We have not yet added Starlink because of the $2500 cost. We are very much parttime (90% home), but I rationalized the Pepwave and a T-Mobile Business account as a backup to my business as an online instructor in Project Management. When have Internet issues at home, just connect to the TV in the driveway and Wi-Fi! T-Mobile is the only carrier that provides 5G all the way up here at 5400 FT in little Prescott, AZ! This is the bundle I purchased: Speed Demon Mobile Internet Bundle – MobileMustHave.com and they have an option to add Starlink. It should be plug-n-play as @rideadeuce mentioned. Just plug it in the WAN port. I purchased their $49 configuration fee (strongly suggested), since I did not want to learn and do that work. All I did was install the hardware and answer a questionnaire (select Wi-Fi names, etc.) and it's good. Starlink setup would be included if bundled. I STRONGLY recommend installing in the TV, unless a pretty truck is important to you, or you trade them in often. You're not always at the campsite, but you are always in the TV, or it's parked by your Oliver. Not much room on the Ollie roof and no drilling into the Oliver. The fiberglass shell of the Ollie allows for strong Wi-Fi (AS TTs have to run a Wi-Fi access point due to the metal shell). Get the best, the PARSEC PRO antenna too. We camp in many canyons in the Rockies, that have no service (radio, TV or cell). Just drive our truck up to a ridge and we can use our computers. If you add Starlink this is a moot point, but I drive this truck down to the valley often w/o the Oliver, teach a class in Las Vegas for the week and the router goes where we go. Chris uses her laptop often while I'm driving. We've gotten anywhere from a low 20 Mbps download speeds out in the boonies (slow but can stream TV) to 860 Mpbs high speed where 5G is available! Here is the mod post I made a few months back:1 point
-
Both shock's rods are 3/8" and Monroe barrel 1.64" OD & Bulldog barrel 1.66" OD, probably pistons are close to the same diameter depending on barrel wall thicknesses in each. The Monroe shock weighs 2 pounds 5 ounces and the Bulldog shock weighs 2 pounds 14 ounces. Have not seen any oil leaks with the Monroe shocks.1 point
-
Thank you1 point
-
1 point
-
Would love to hear/see more about your peplink setup jd, and not sure if I've missed it, but do you also have the Starlink, if yes do you have it connected via the WAN port on your peplink? We're going semi full time end October and I'm thinkng of getting a peplink and Starlink.1 point
-
Thank you SteveCr. Your solution wound up working for me! I just went the long way about it only because I hadn't been on line since. Everything was working except the app so I started attempting to solve the issue using emails. First, I followed the Lithionics instructions, Nothing. Then I submitted a ticket to Oliver. Oliver Service had nothing to add other than contact Lithionics. I contacted them first by emails using the emails in our service manuals. After not receiving a reply, I called them. They said they had never received my emails but were happy to help. The Lithionics man had never heard of the BLE Scanner they have listed in their troubleshooting guide. His solution was to turn off the batteries that were not working, so I did. Then push and hold the on button for 30 seconds which I did. The app immediately found the batteries and all is good! Thank you for your help! Kraig1 point
-
I recommend everyone learn how to check for faucet leaks. I check mine first thing if I see any sign of a leak and occasionally other times. My faucet leak did not drip out the scuppers for a long time. Good luck finding your leak, hopefully it's not the faucet. A link related to kitchen faucet leaks:1 point
-
We used to spend an extra $5 per cylinder for better quality seals during cylinder manufacture to greatly increase the life of industrial hydraulic cylinders.1 point
-
When we have condensation between the hulls, have seen more condensation between the hulls at the rear Oliver sign. Have not seen much condensation between the hulls in the area where you see water dripping out.1 point
-
Thanks @rideandfly agree they are different builds. Hoping the internal seals and other components are superior. Time will tell. Those of you with these, going on long trips this season, please inspect your shocks afterwards to see if there are any leaks. They can only be better! 😂1 point
-
Galway Girl , hope you don't mind my posting photos of the Bulldog and original Monroe shocks for a physical comparison, we were curious if they were different builds. Here's the original Monroe shock next to the new Bulldog shock. The rod cover is longer on the Bulldog and rod end of cylinder is built differently, they are different builds.1 point
-
Quick Update: my replacement Nature's Head fan arrived, via General Delivery. They sent me TWO (no charge) so now I have a spare. All good.1 point
-
Sounds like a great start! Is there a video or transcript of Rodney's opening remarks posted anywhere ... for those of us who could not attend the Rally?1 point
-
We put Calgon and Pine-Sol in our black tank. Mix 40 ounces of Pine-Sol with enough water to just about fill a gallon jug. Top off with a half cup of Calgon Bath Beads. Use eight ounces in each tank (or more in especially hot weather or if your tanks will be filling up slowly over time).1 point
-
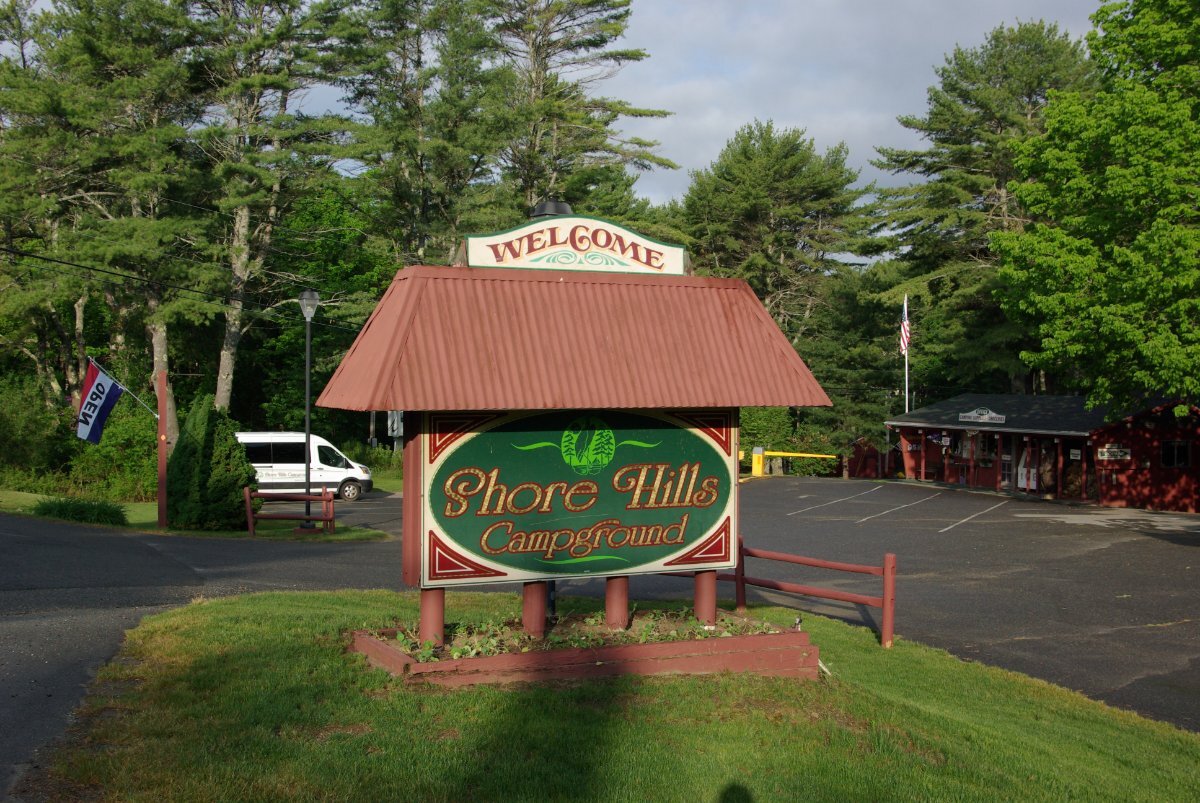
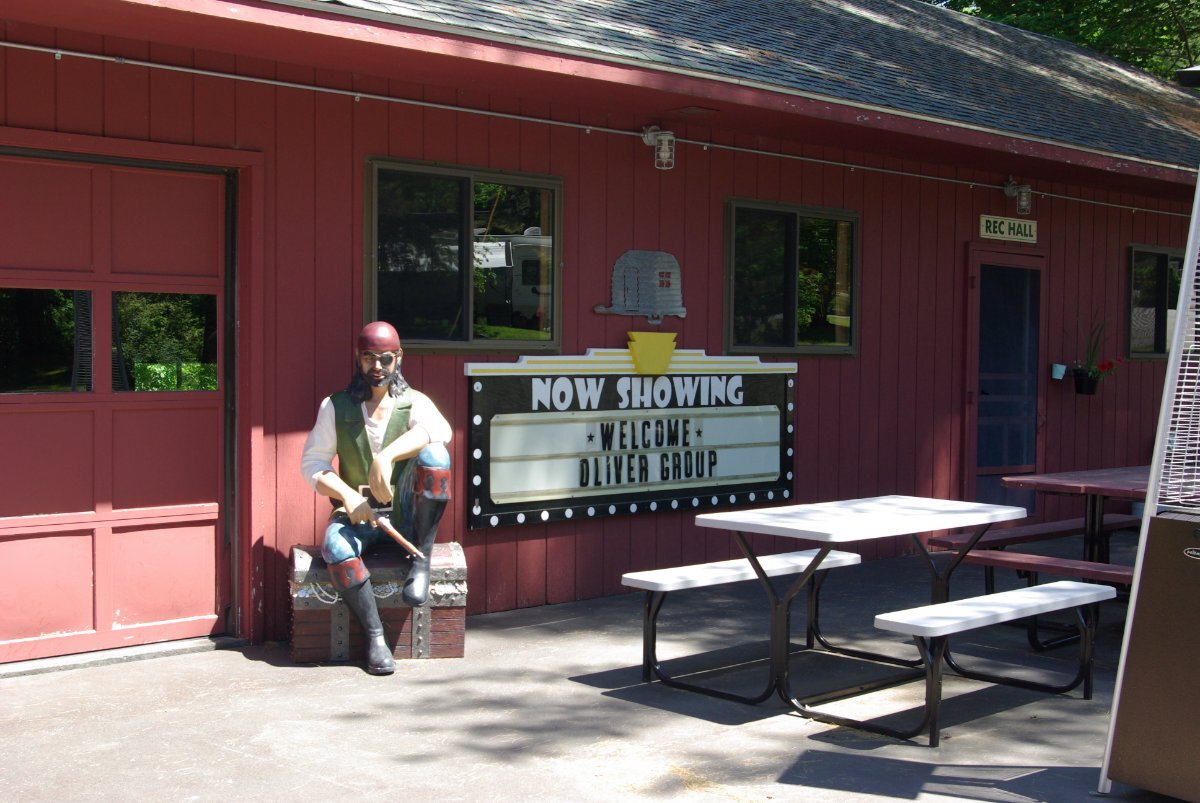
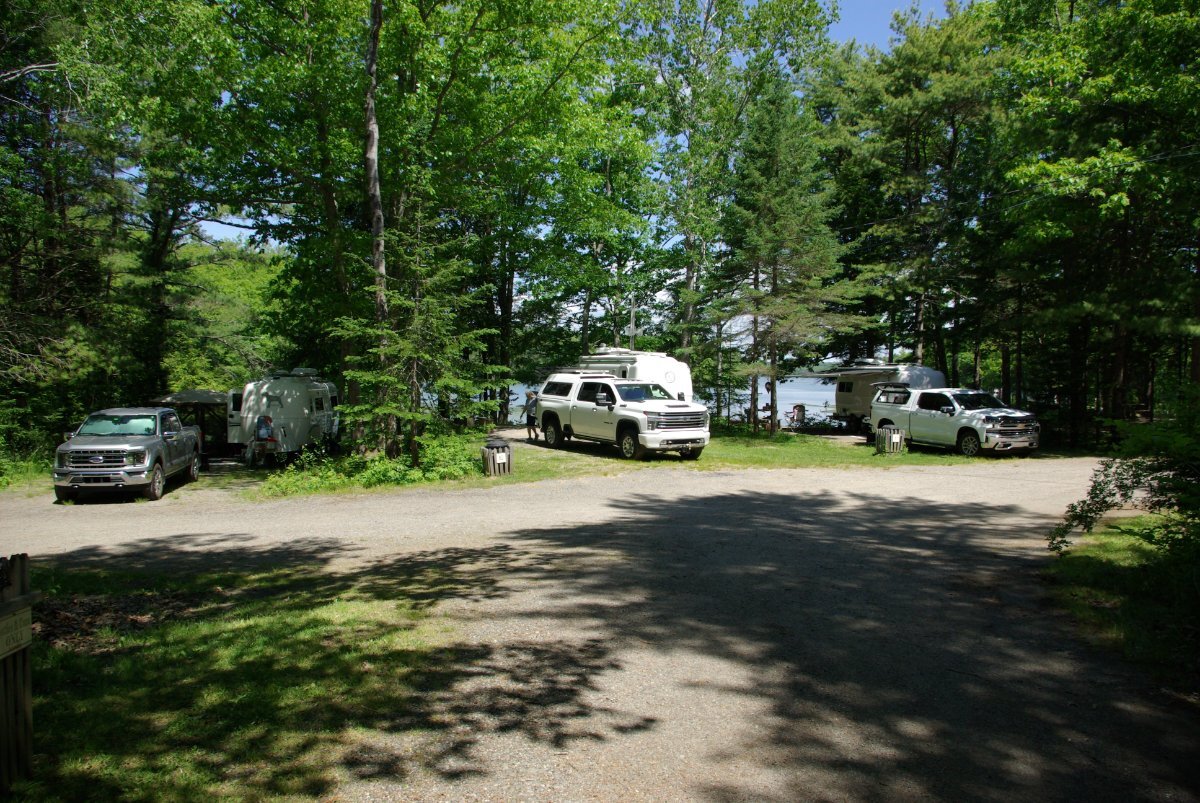
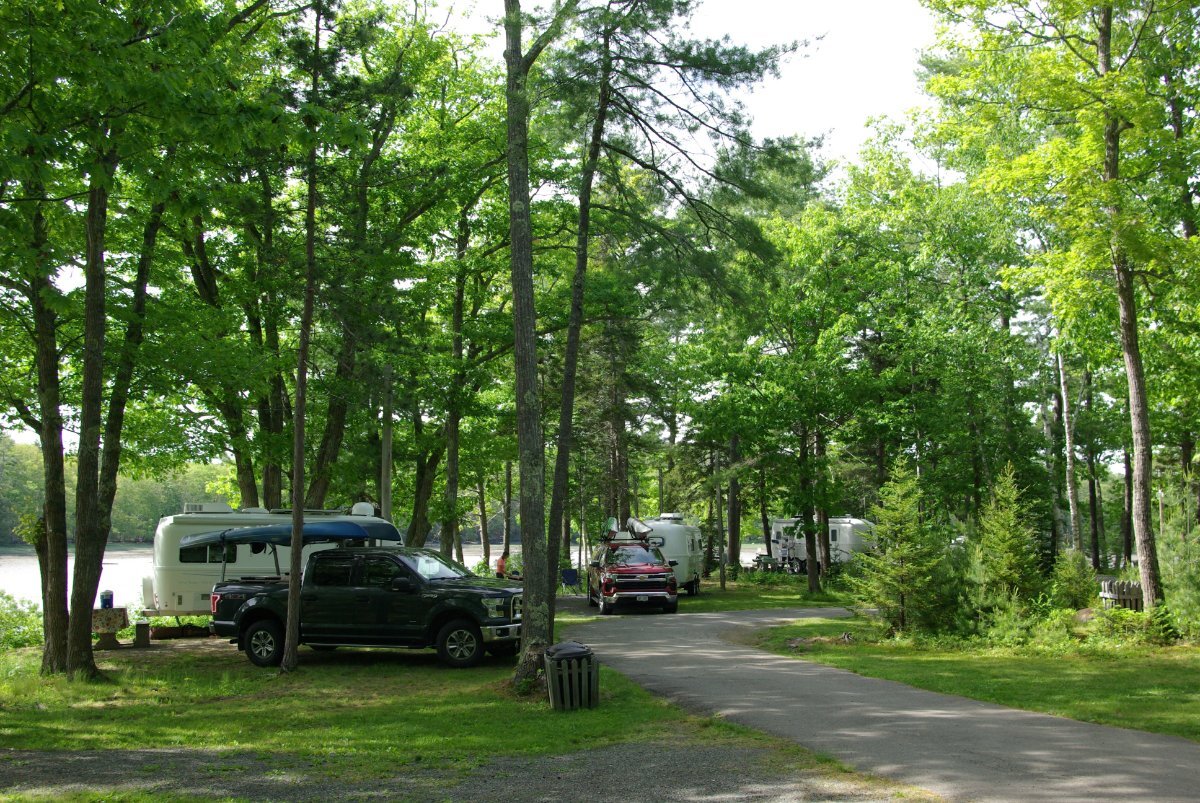
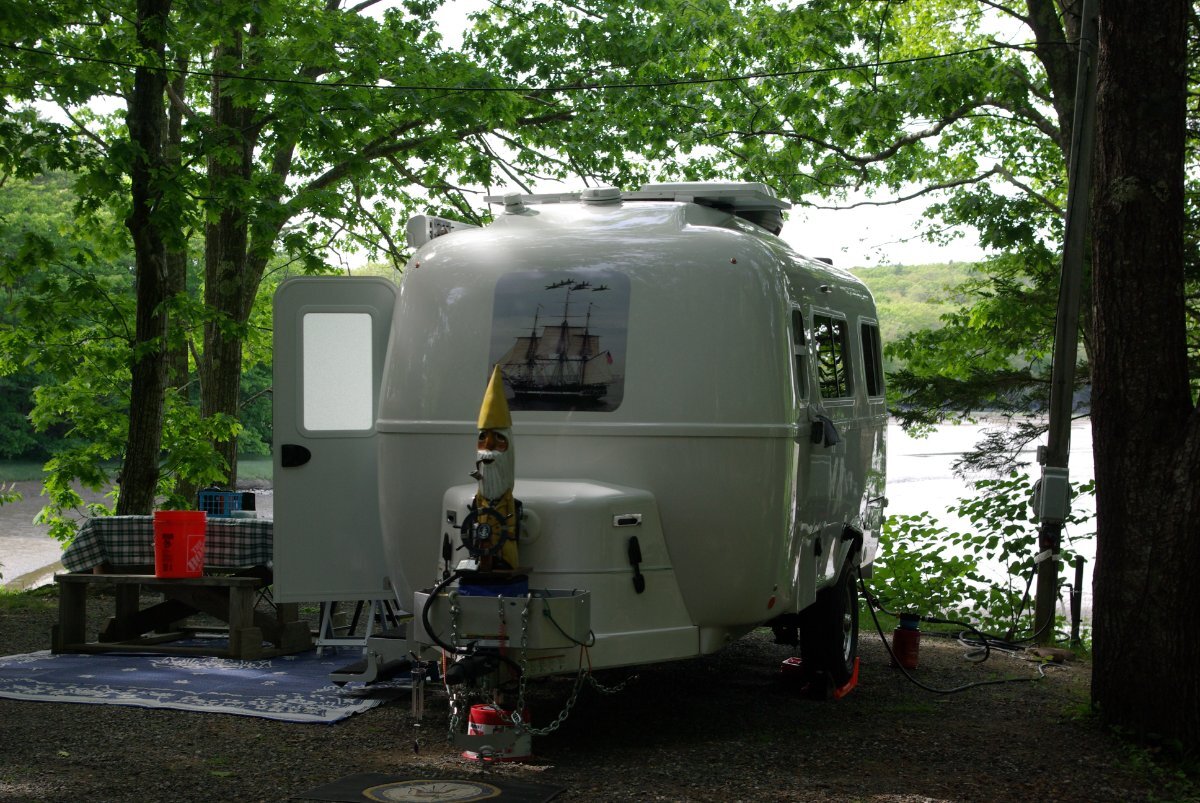
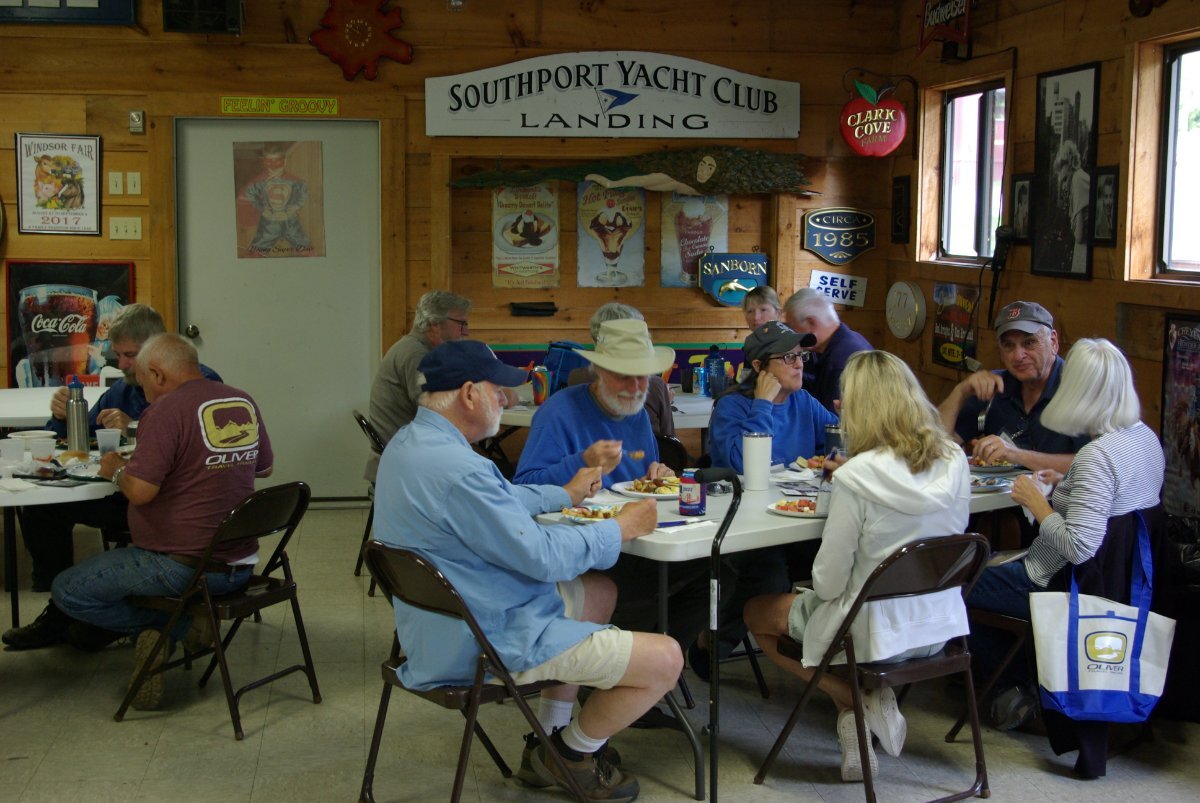
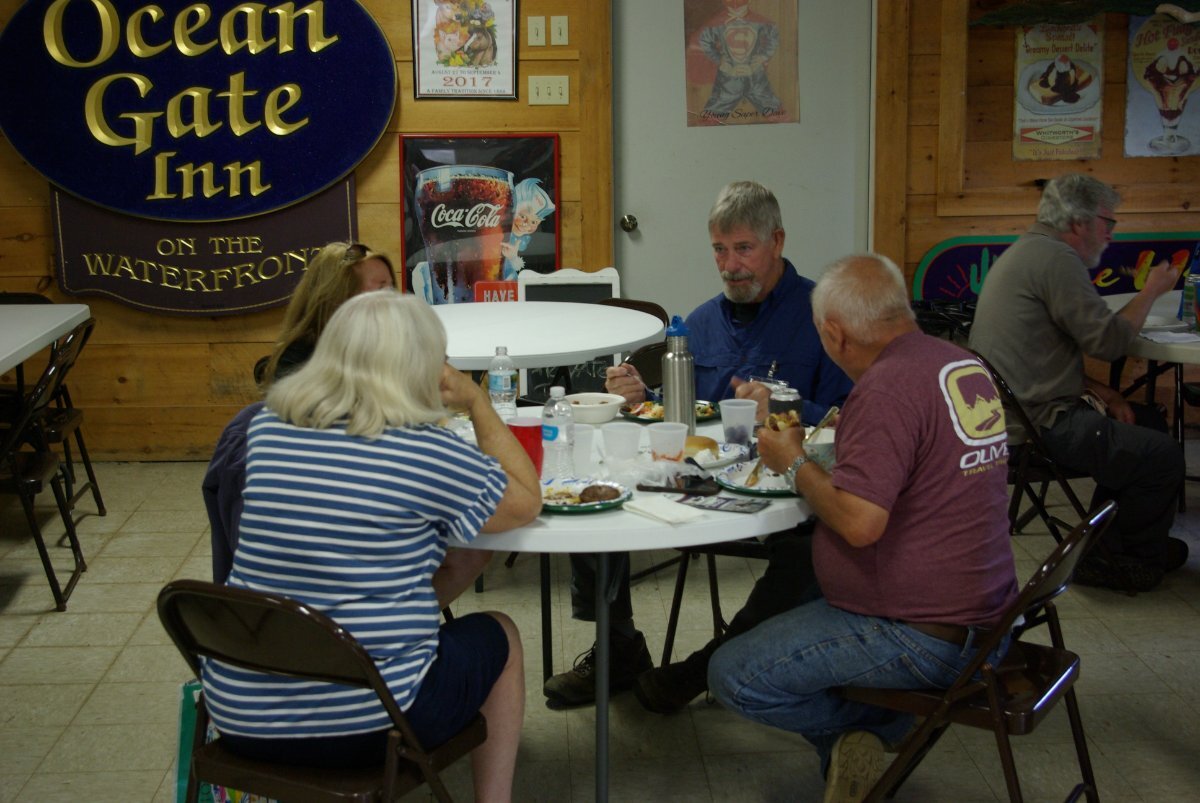
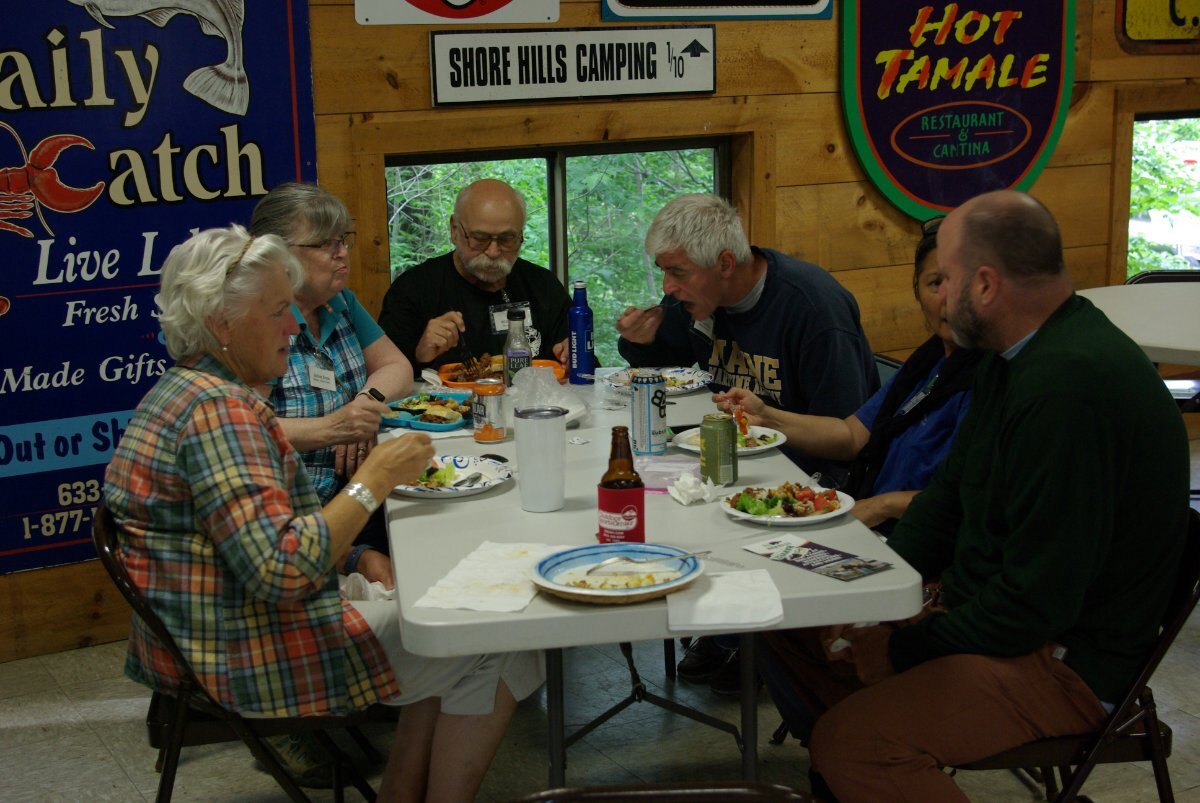
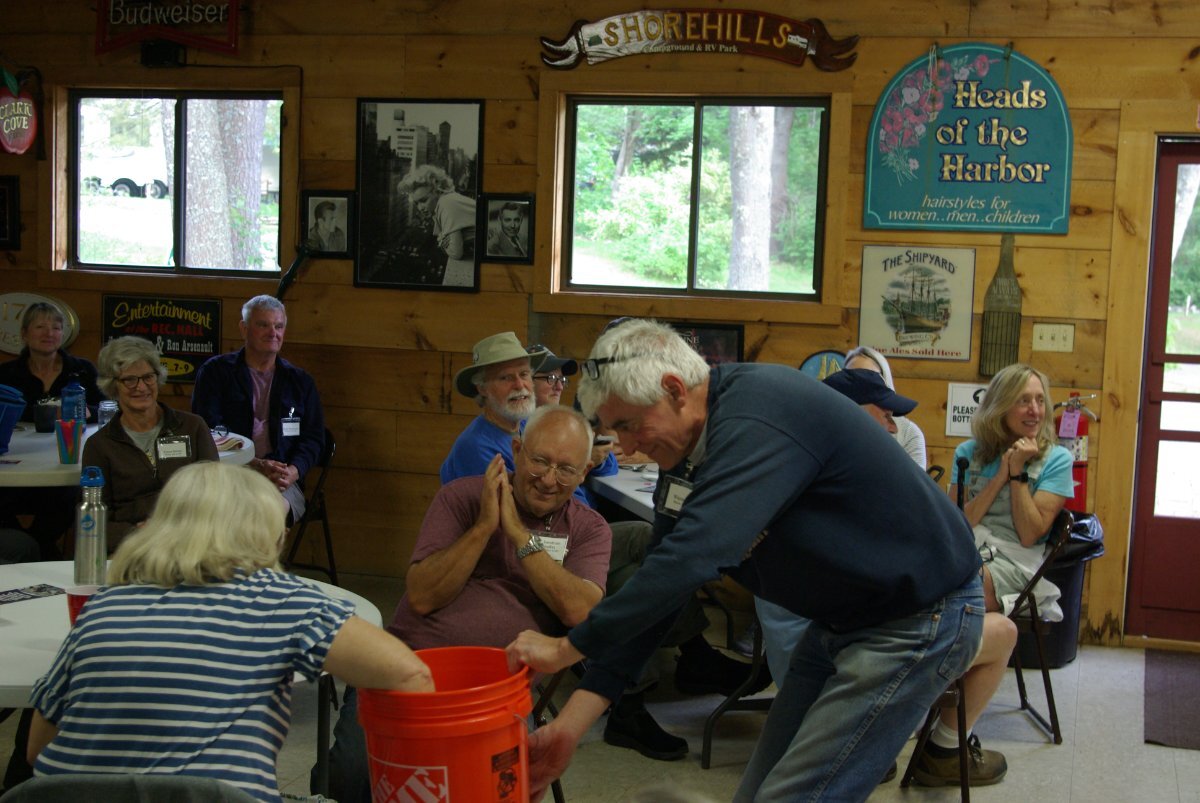
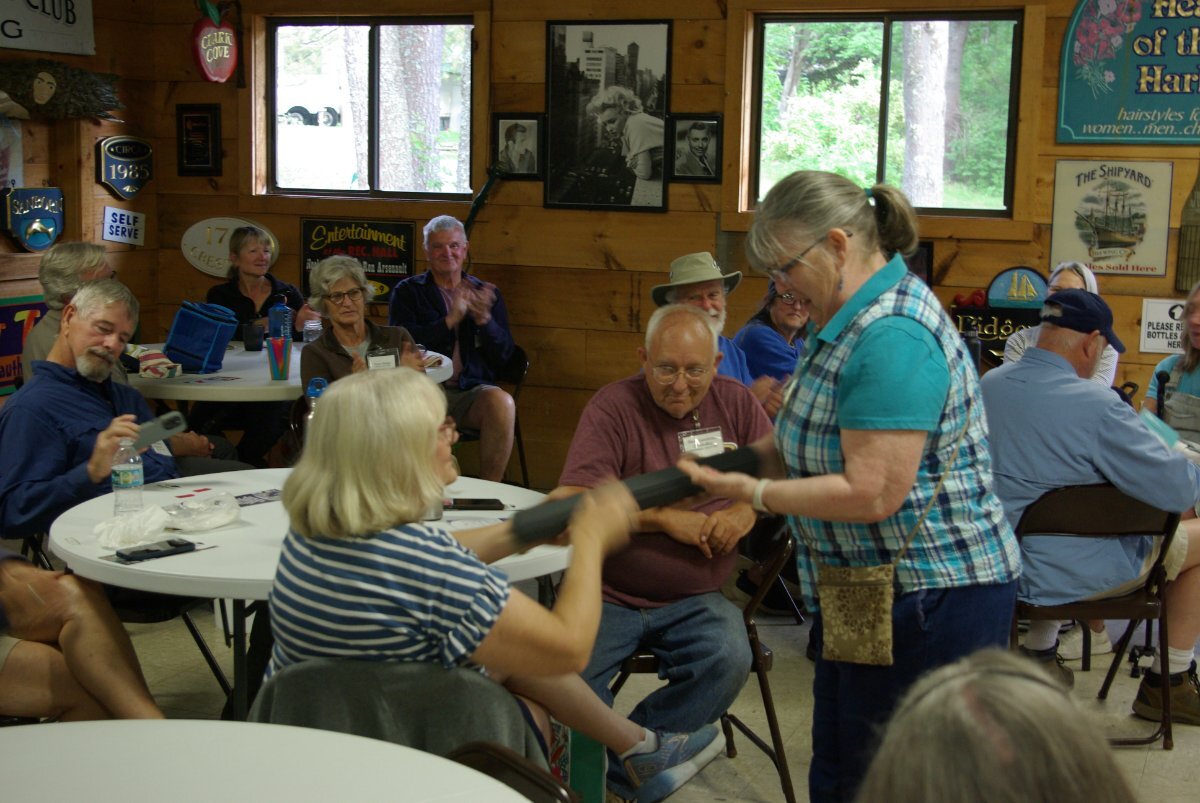
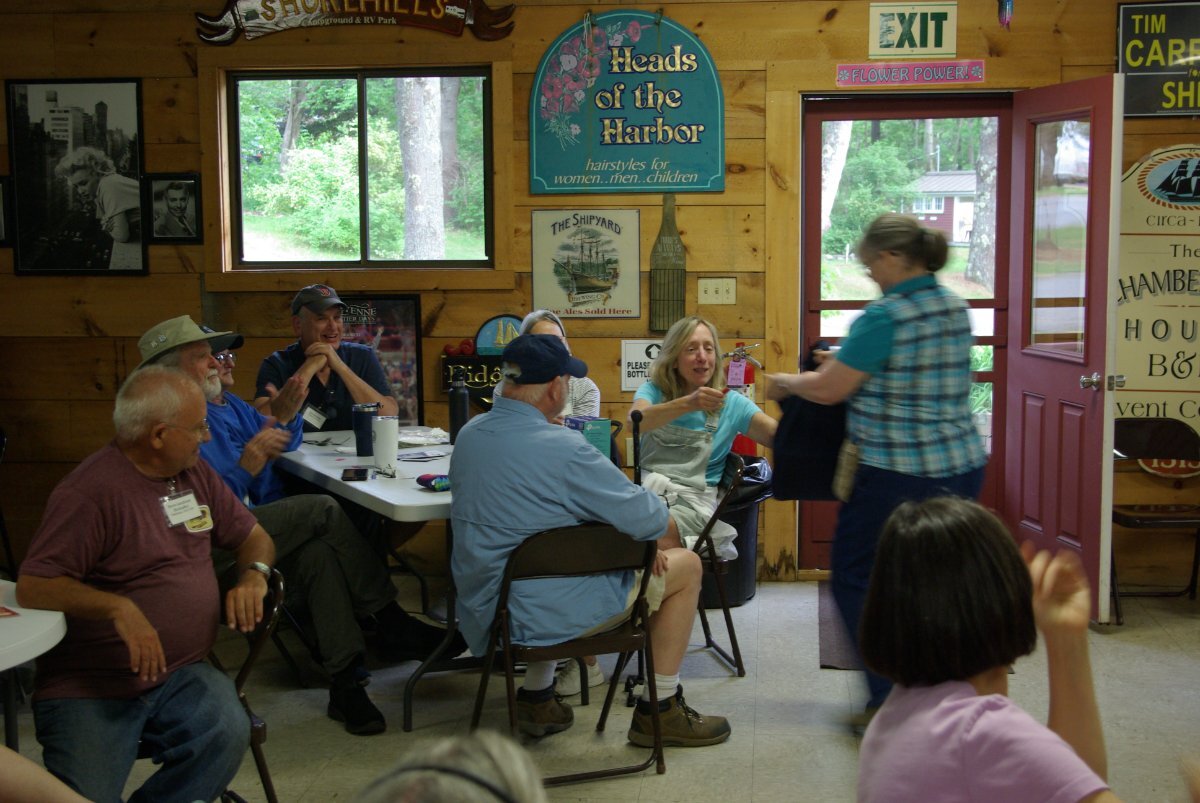
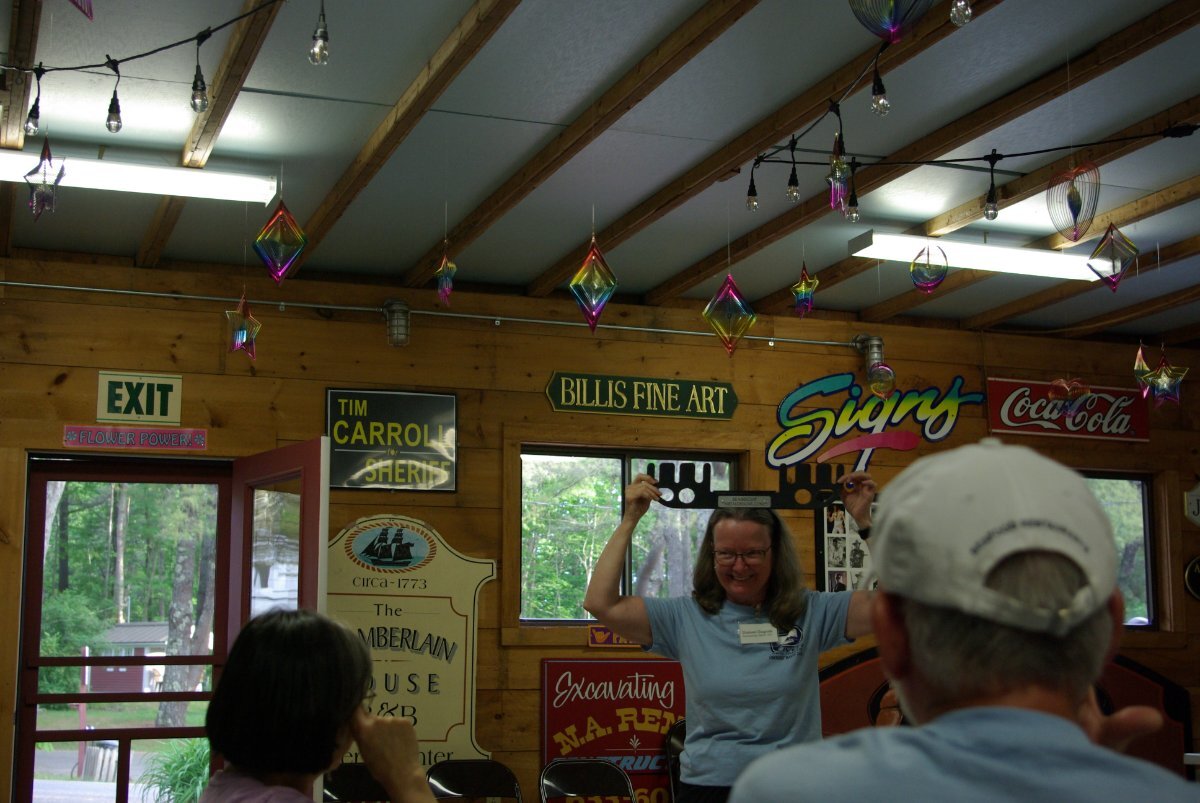
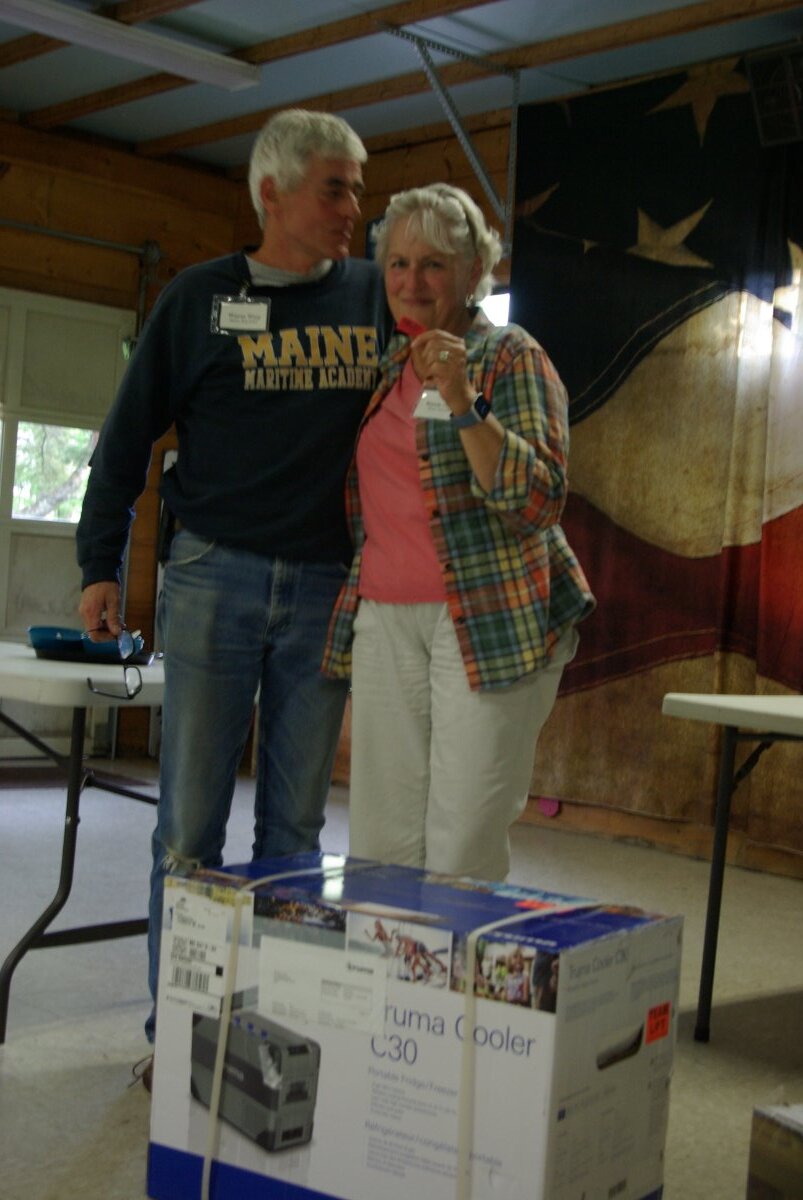
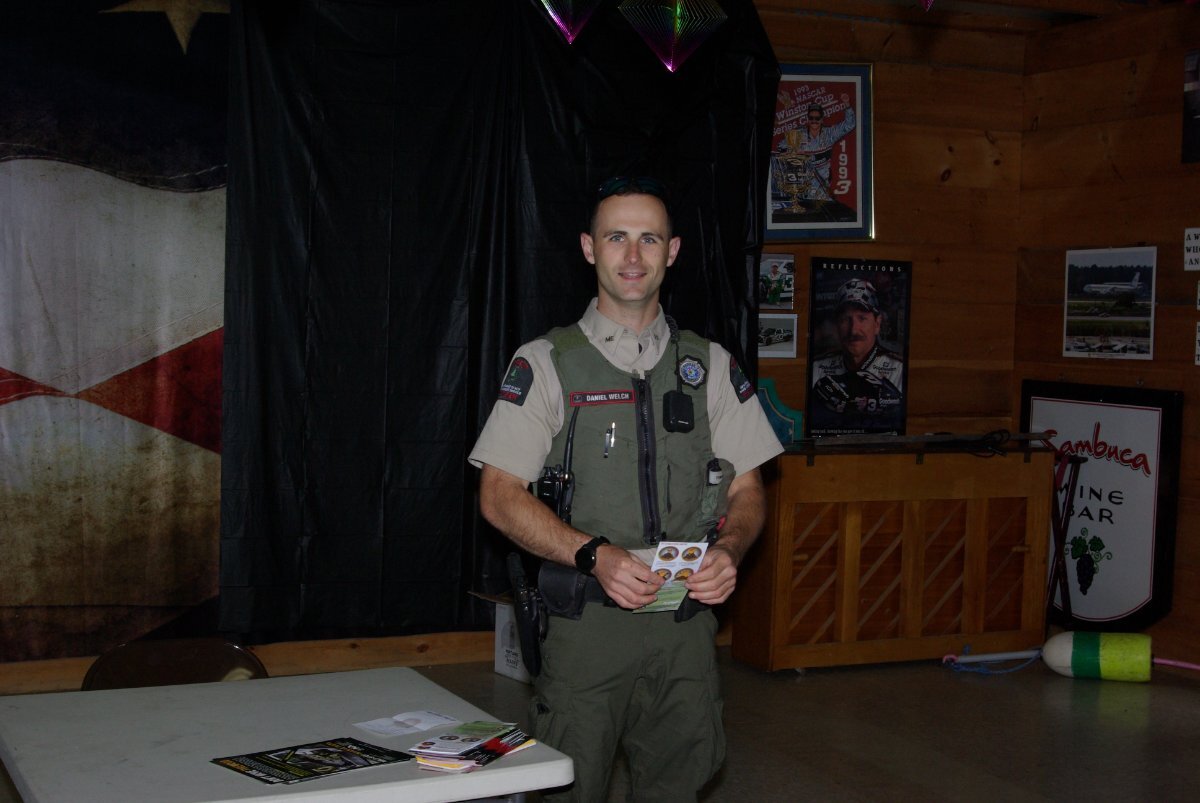
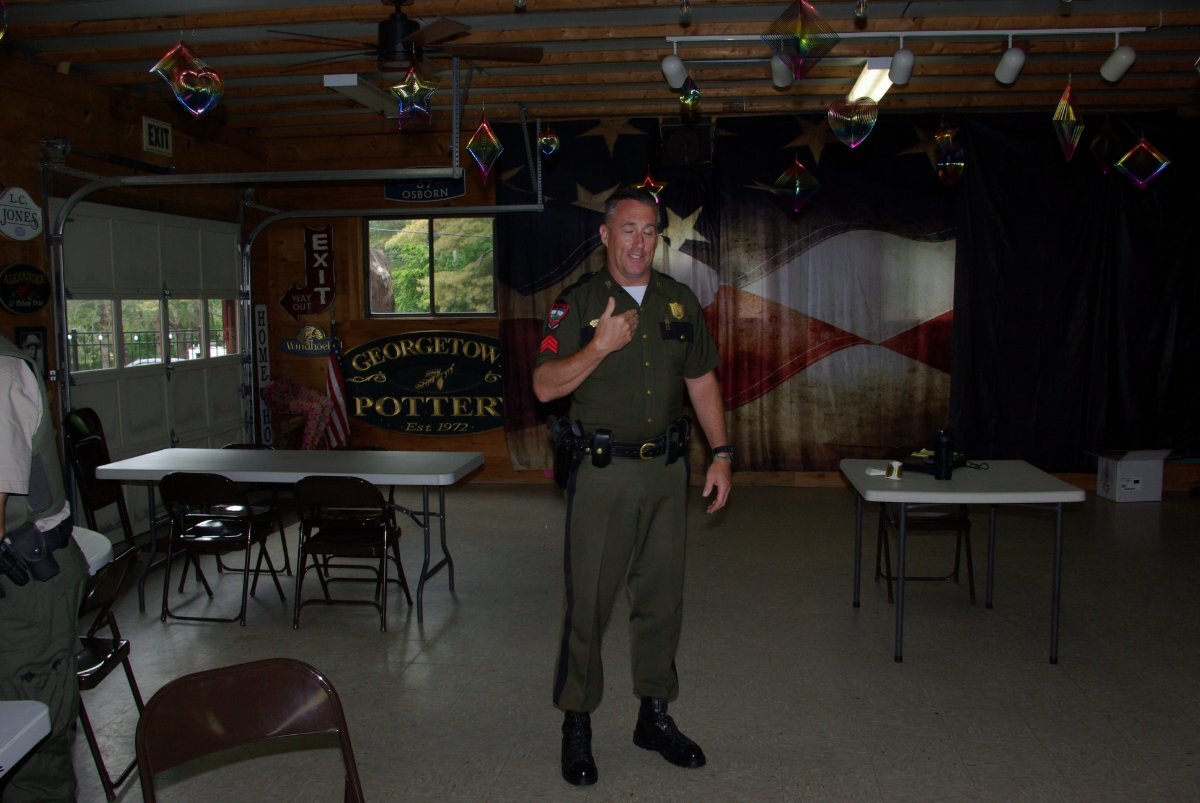
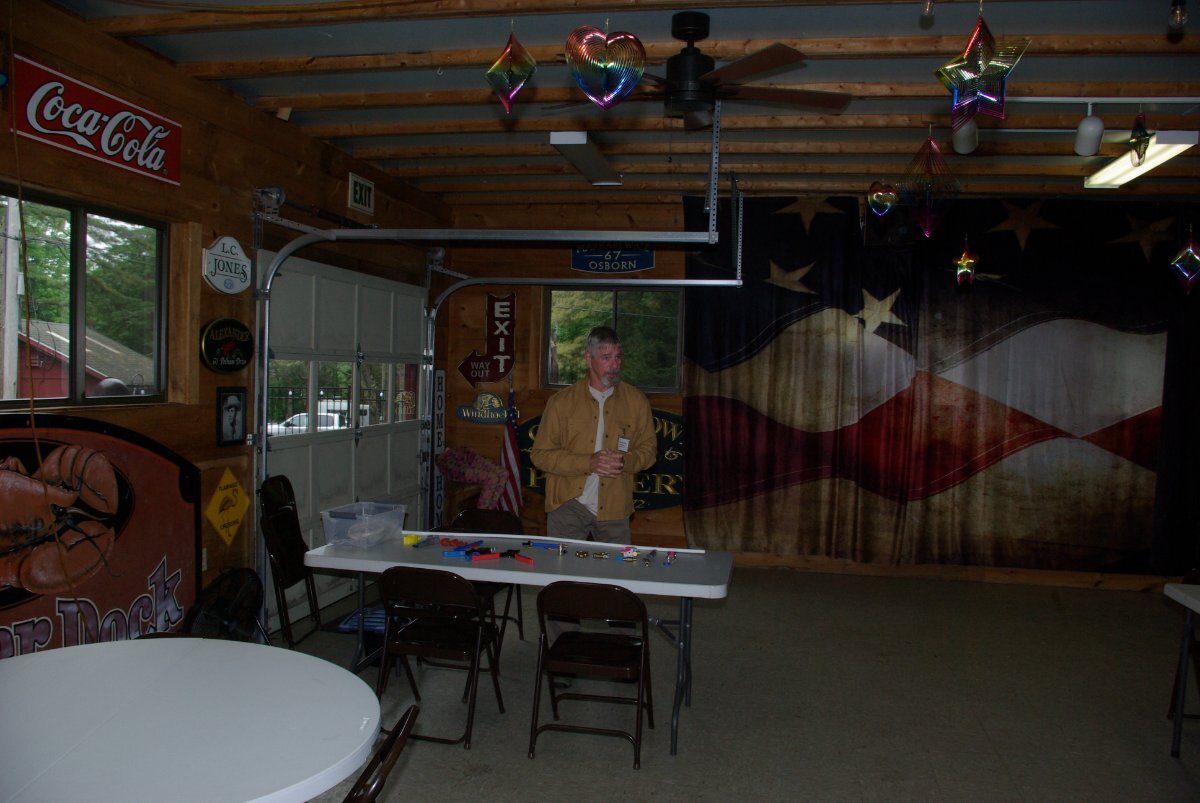
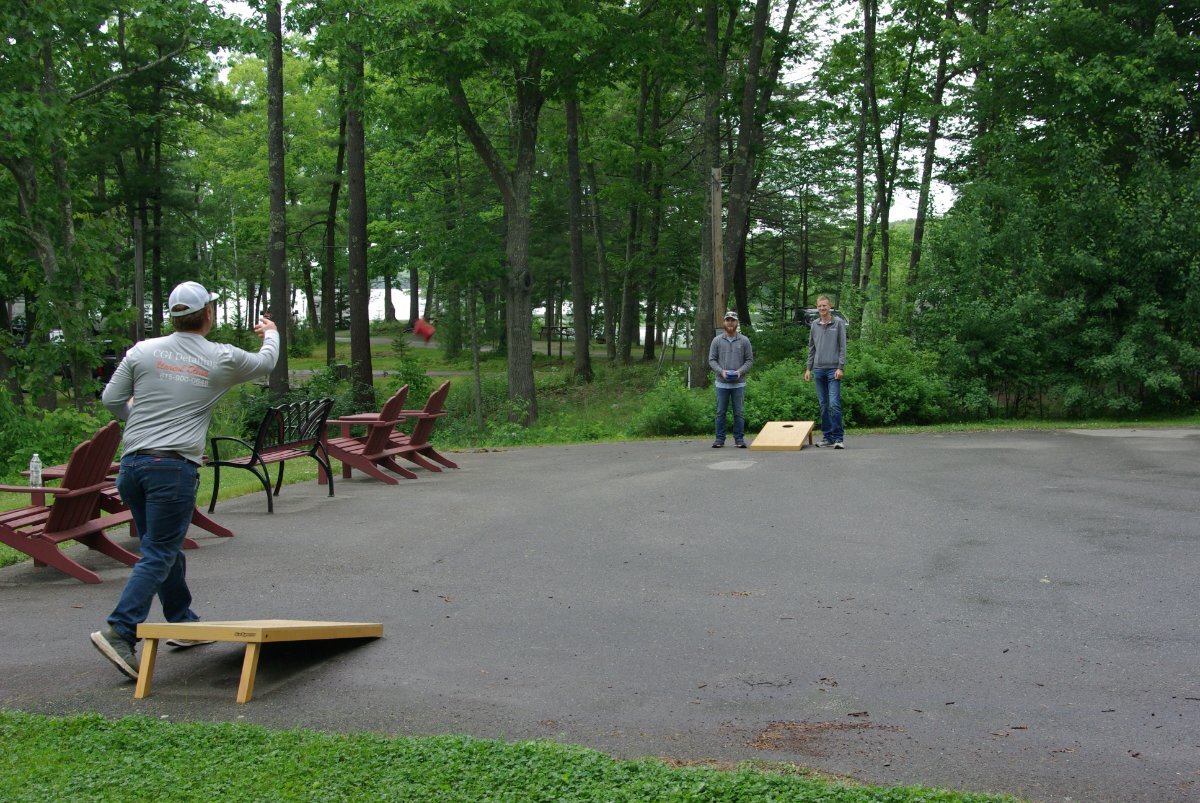
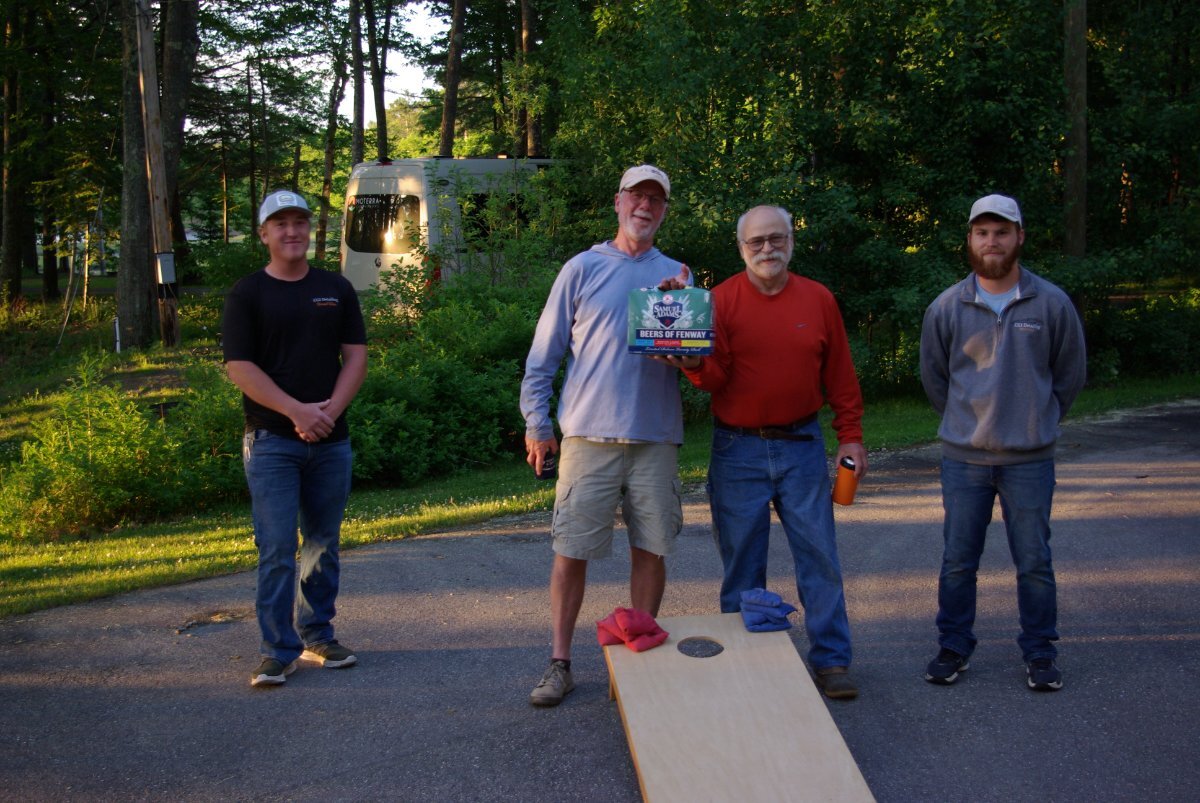
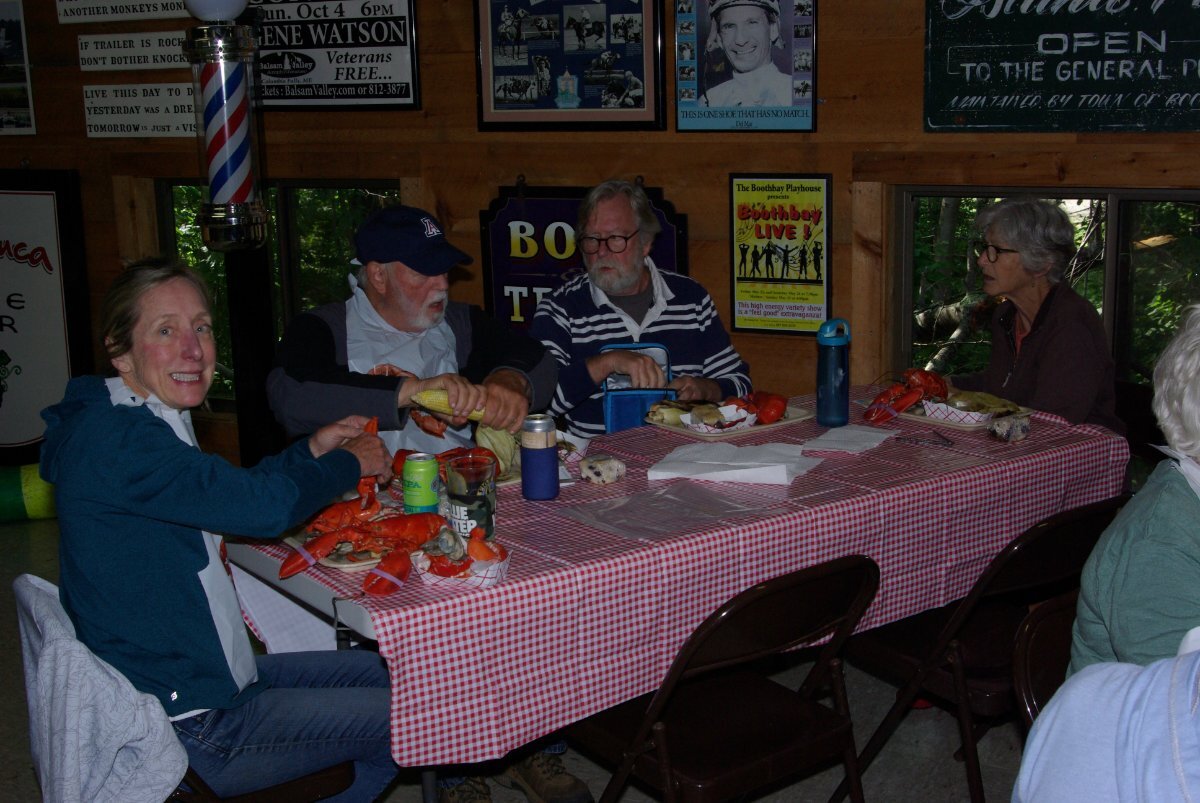
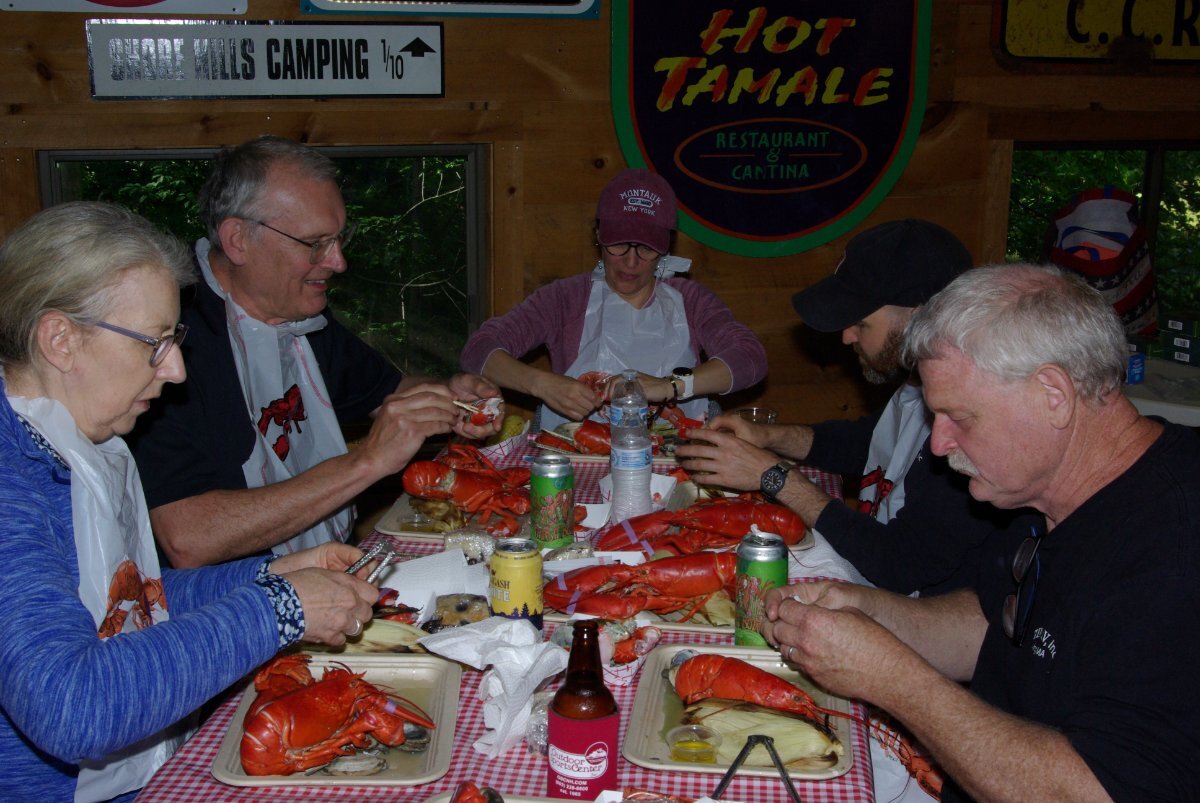
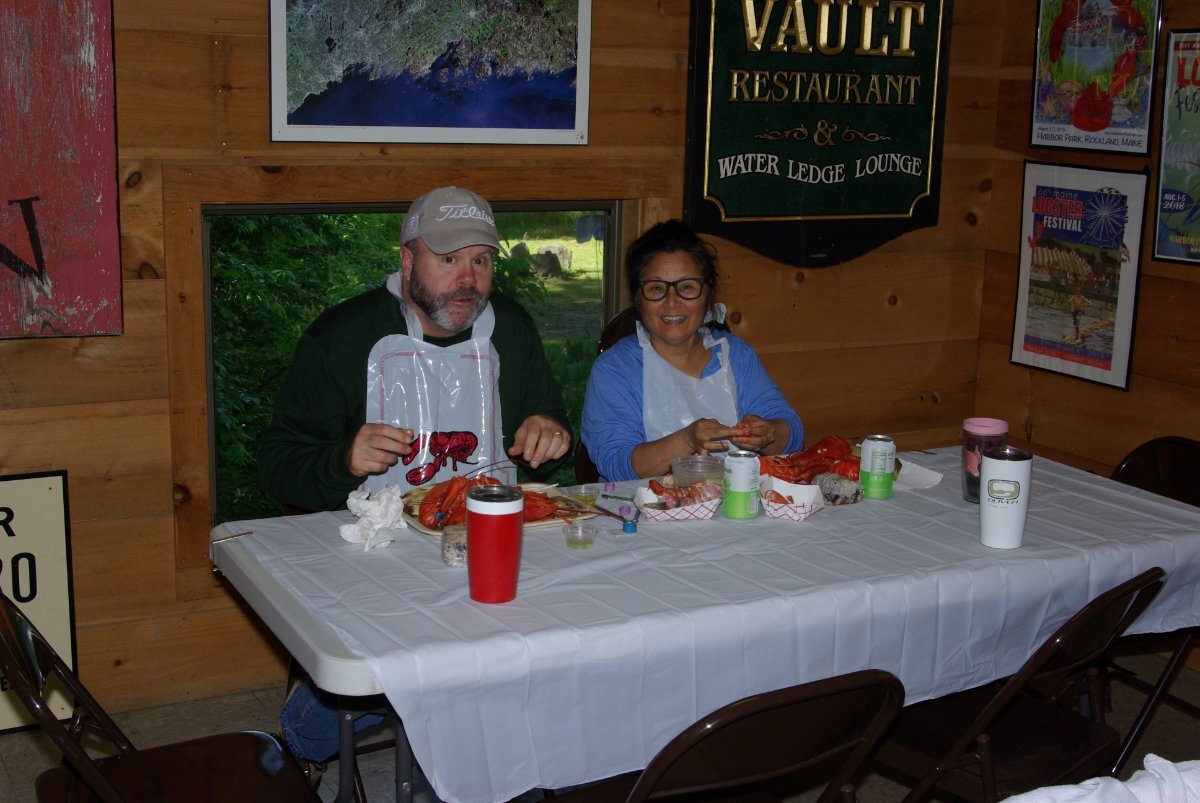
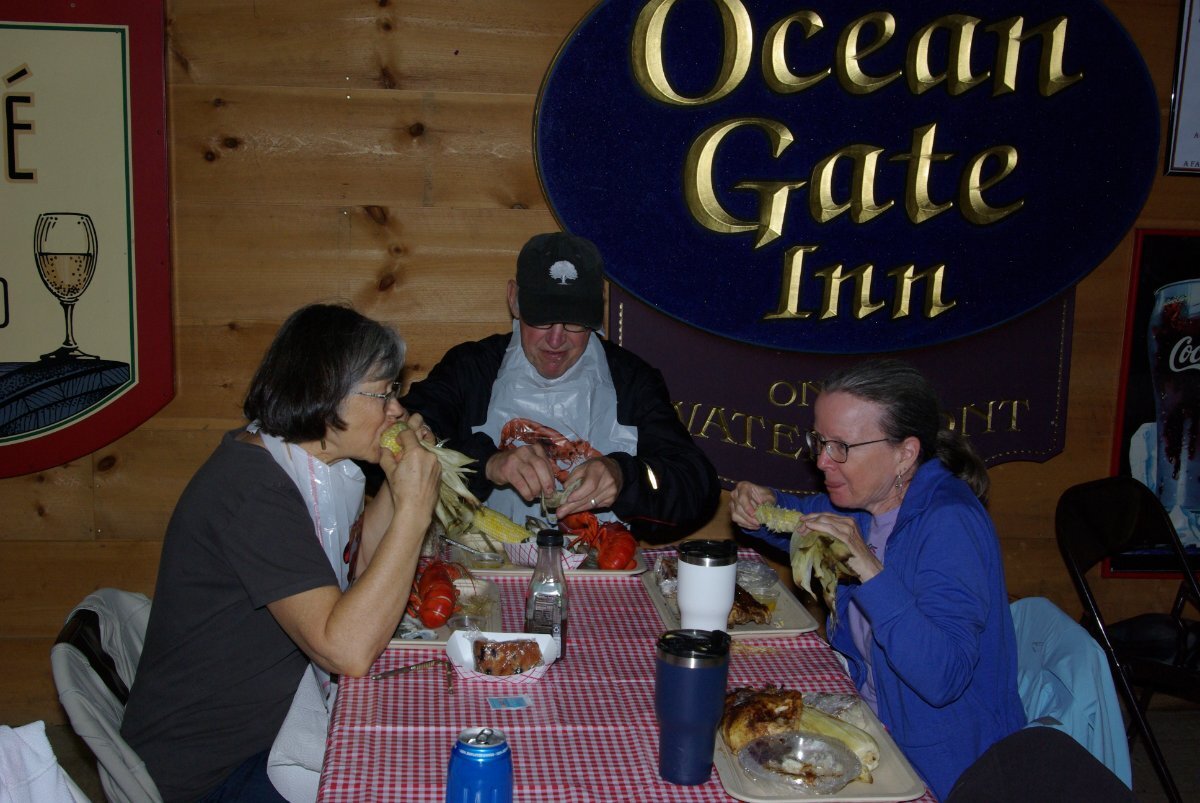
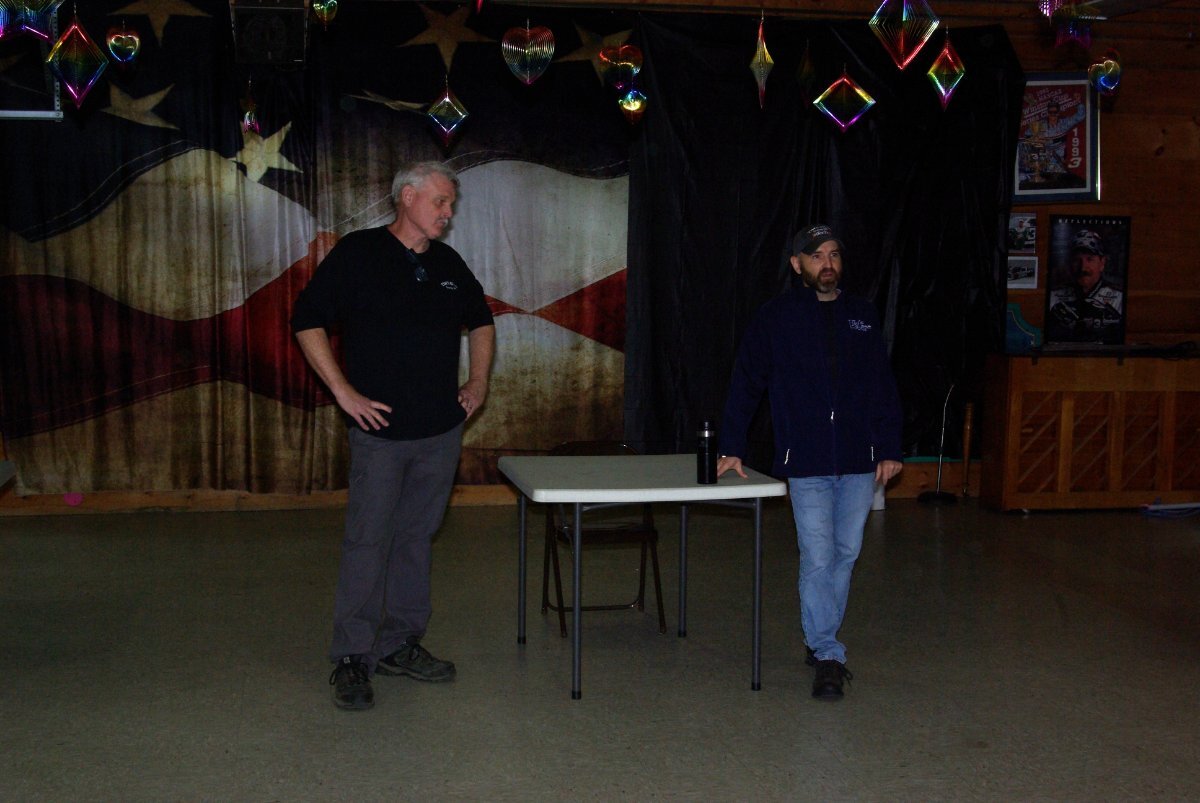
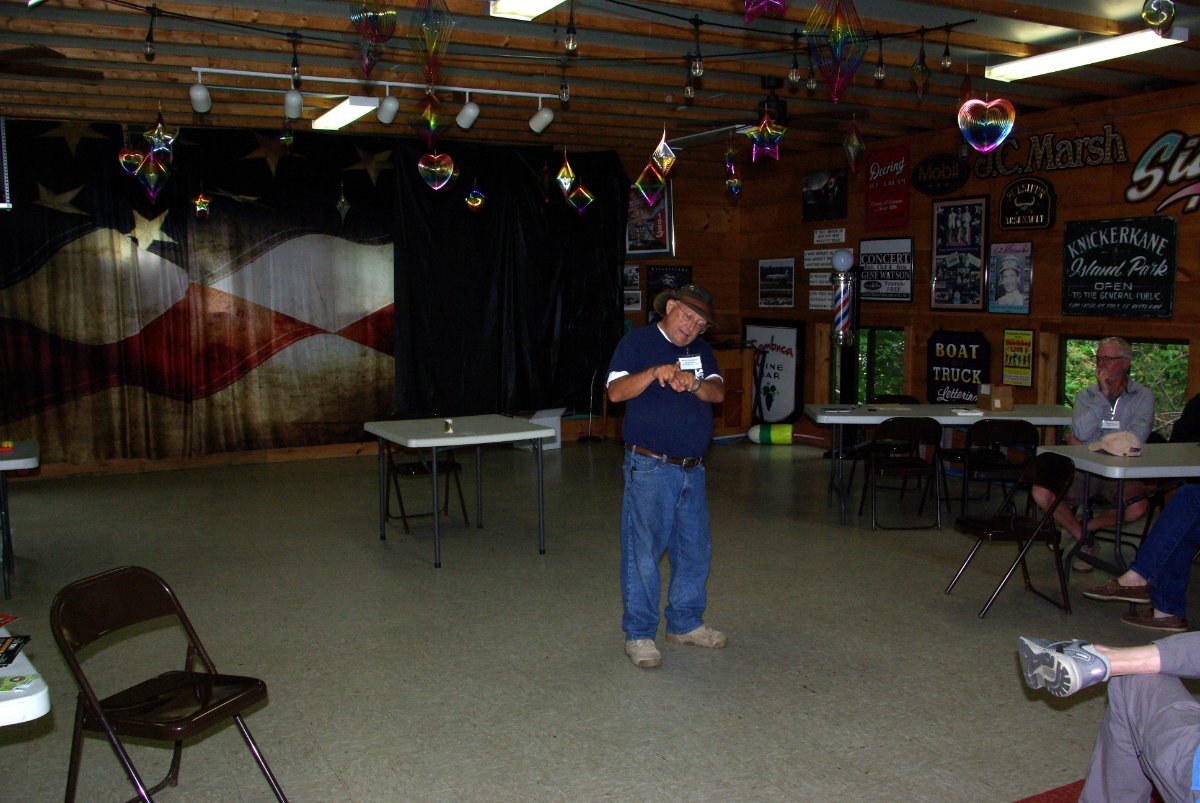
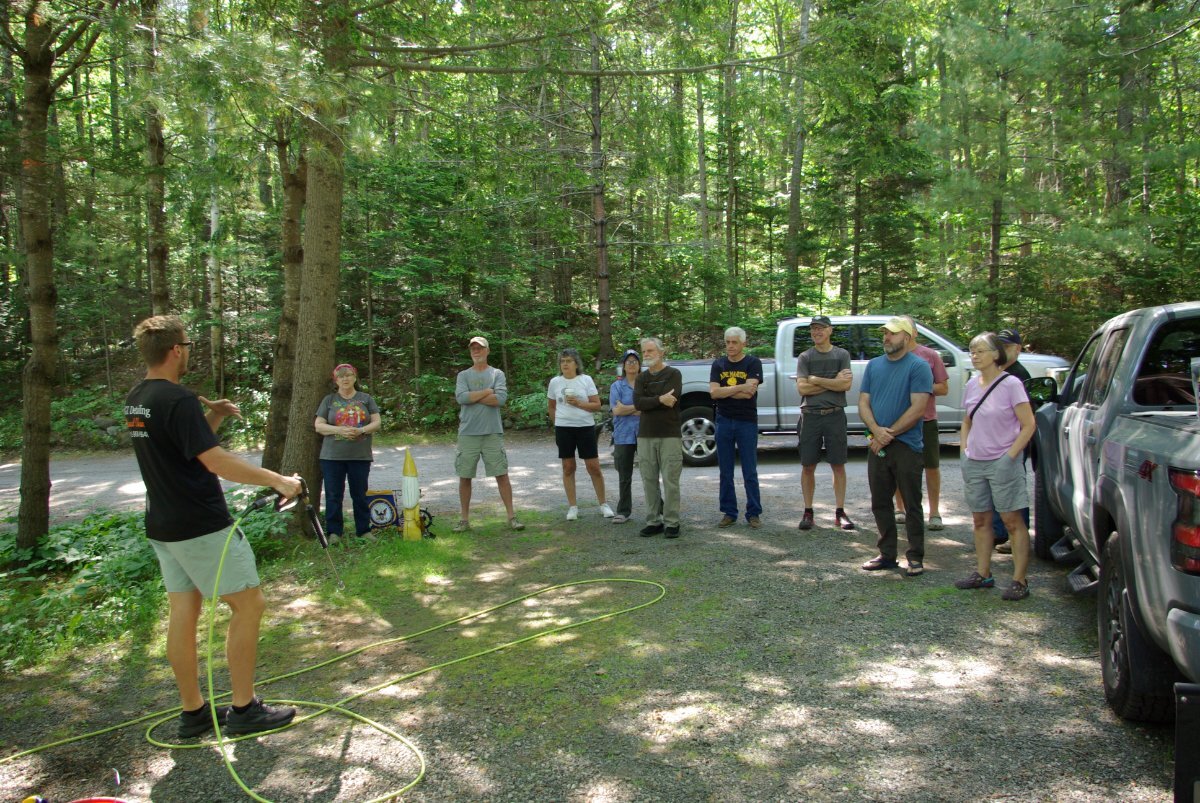
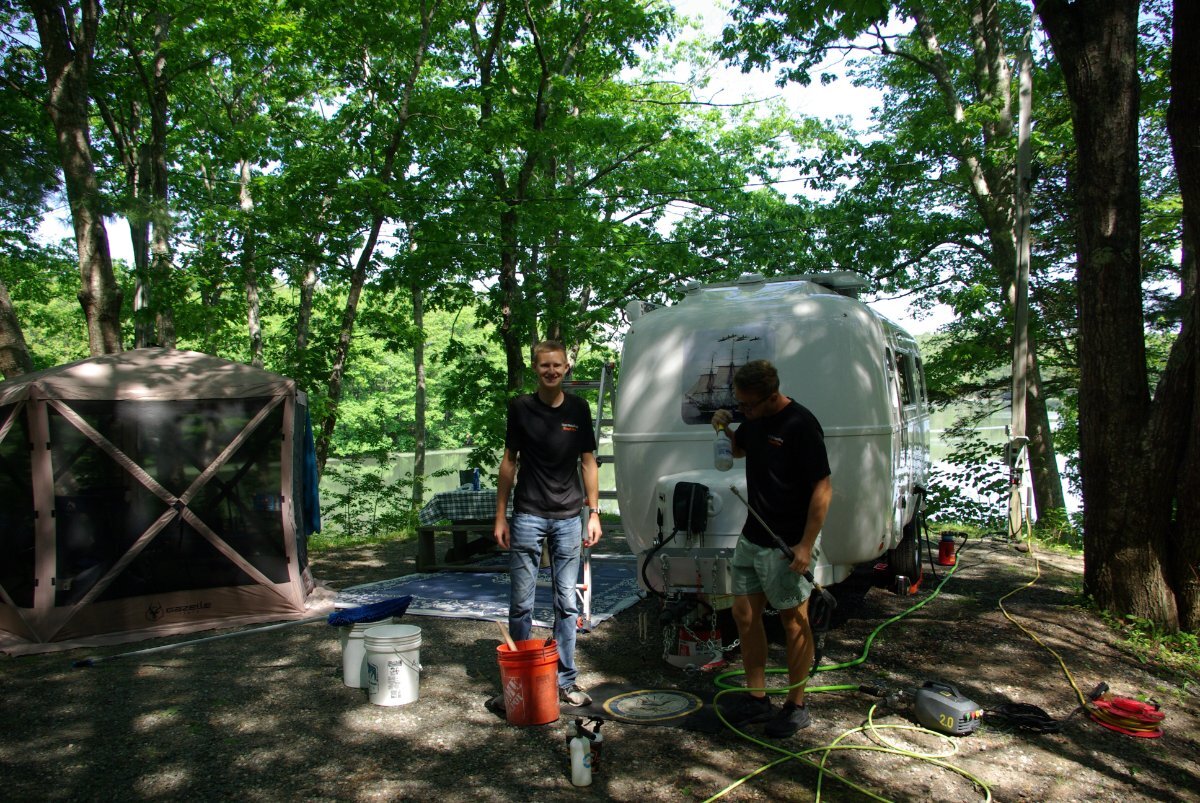
Update after the Mini-Rally: The Mini-Rally was held in Boothbay Maine from June 3 to June 9, 2024. 38 Oliver Trailers were registered to attend. The first 3 days were sunny warm weather. The other 4 days was mostly cloudy and a few occasional showers that quickly dried up each day. It was a fun event with many returning Oliver Owner's from last year sharing their experiences. Attached is some picture highlights of the event: Campground Street Sign & Office in Background:: Function Hall: Some of the Olivers in Campground: Pot Luck Supper: Raffle Prize Event: Presentation Speakers Luncheon at the Schooner Landing Restaurant: Cornhole Tournament - Runner's up CGI - Winners Billy Bonn, Hull #1442 & Reese Perkins, Hull #348 (holding the Beers of Fenway prize) Meeting the local new Oliver Sales and Service Center Team - Tim's RV: Catered Lobster Bake: CGI was on site making a presentation of proper washing of a Ceramic Coated Trailer:
1 point
-
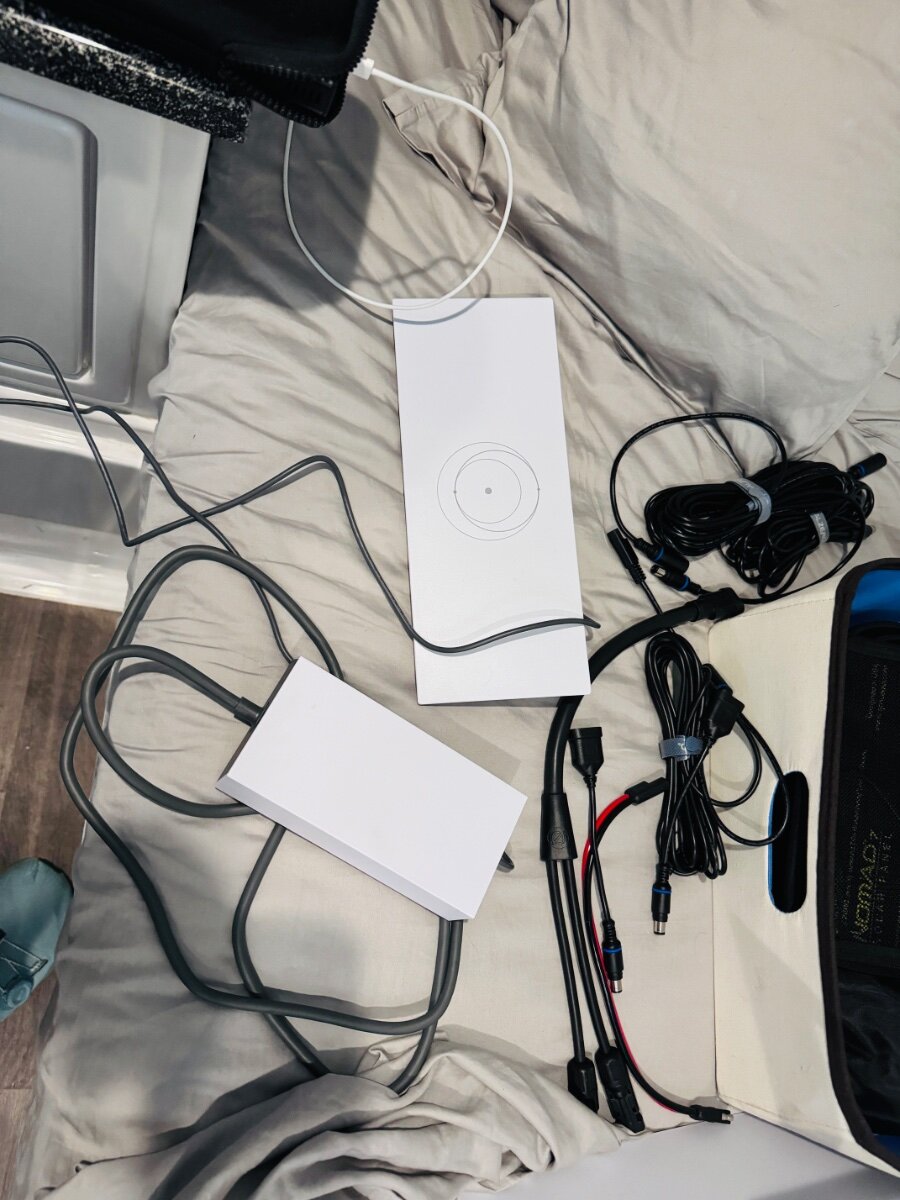
Yes, but I am glad to report it was plug and play for the Cradlepoint and Starlink through the WAN port. Only had to drag the WAN connection to the priority spot and will automatically use LTE when it is not available. Also, put the Starlink router in bypass mode. Pretty awesome, took about 10 min to get it up and running. Just got the Starlink hardware installed today, now waiting on the mount.1 point
-
I submitted a ticket to Oliver and Mike Sharp replied back that the only fuse is the #10 in the fuse box, no inline fuse. I'm going to talk to Steve Landrum, he has smaller prongs, so we will check. I will look at the backside to look for another fuse.1 point
-
Good Morning Campers! Site G23
1 point
-
Either way - not the end of the world as we know it. I'd flush the heck out of both tanks and call it a day. Bill1 point
-
We're headed along that path also - I'm not even going to think about it until the 2kW Xantrax dies its slow death. But for now it meets all our boon docking needs. Granted, we're not in the southern states durning summer when AC is needed at times. In the summer Rockies -- all one really needs are good window screens or maybe a CLAM. Running the AC off the battery bank is definitely appealing - but for us, only after we've used up the the 2kW inverter and he's totally given up the ghost... Then we'll look at the inverter/charger option with our Lithiums.1 point
-
The 2023 has 400W of solar at 24VDC. I ran the air conditioner using the batteries in the driveway to see how much it used. I don’t recall the exact numbers now, but it was in a post from when we picked up last March. I think it worked out that one hour of air conditioner use ate up 10% of the battery, and took one day to recover. Another time I ran the AC about ten hours and had 20-some percent left, so it isn’t a simple 1 hour= 10% =24 hours. I have a Bluetooth 200W 12V panel, but can’t tie it in to the Oliver’s Victron charge controller due to the different panel voltages. I have a second smaller Victron charge control to add parallel to the main one using the Zamp port, but haven’t gotten around to doing that yet.1 point
-
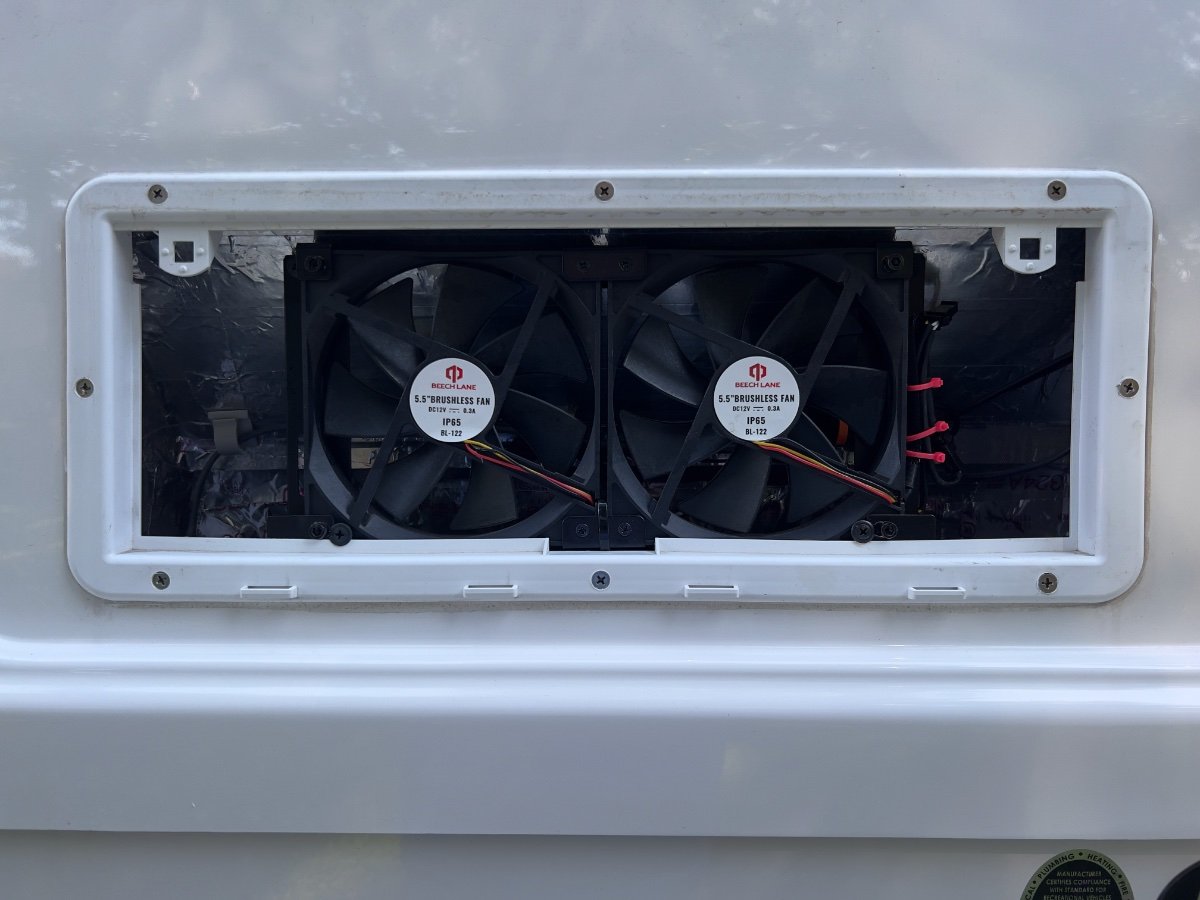
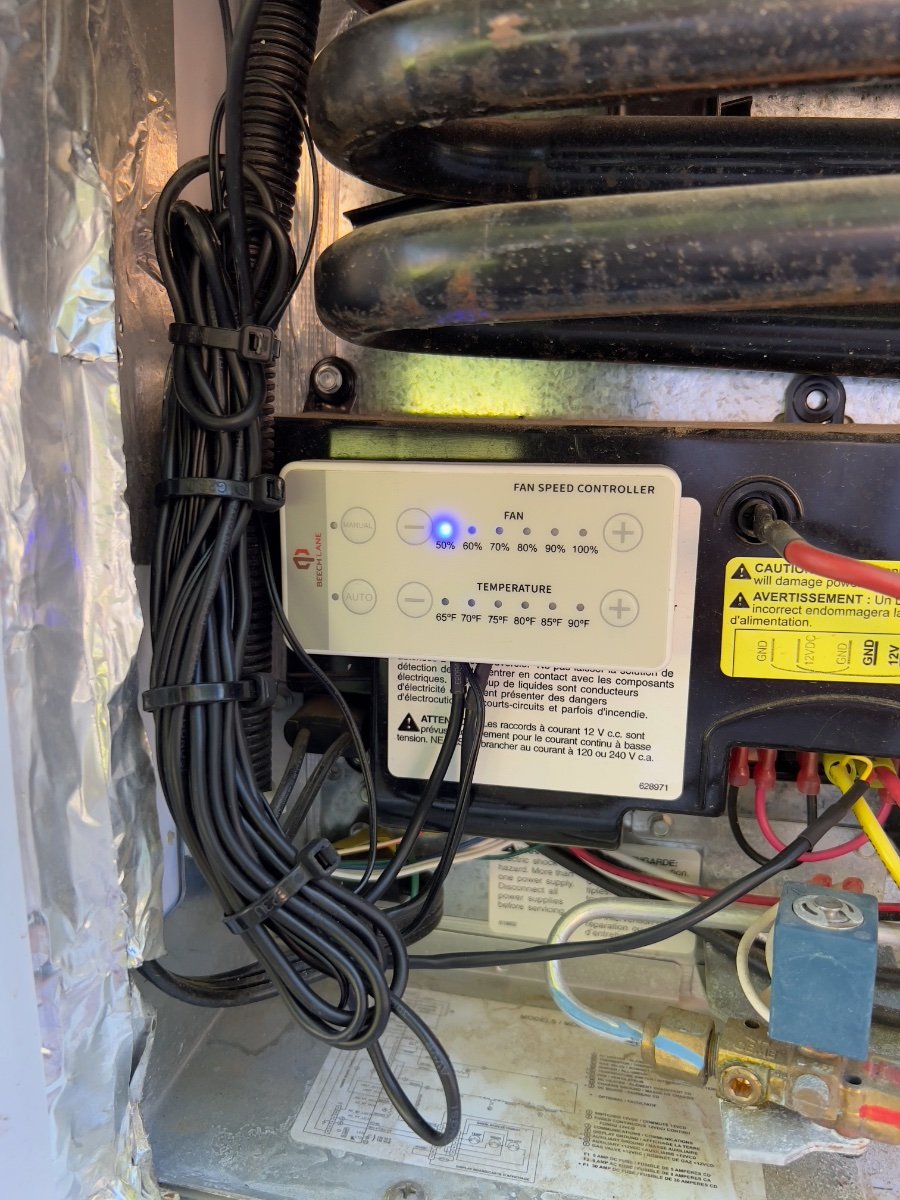
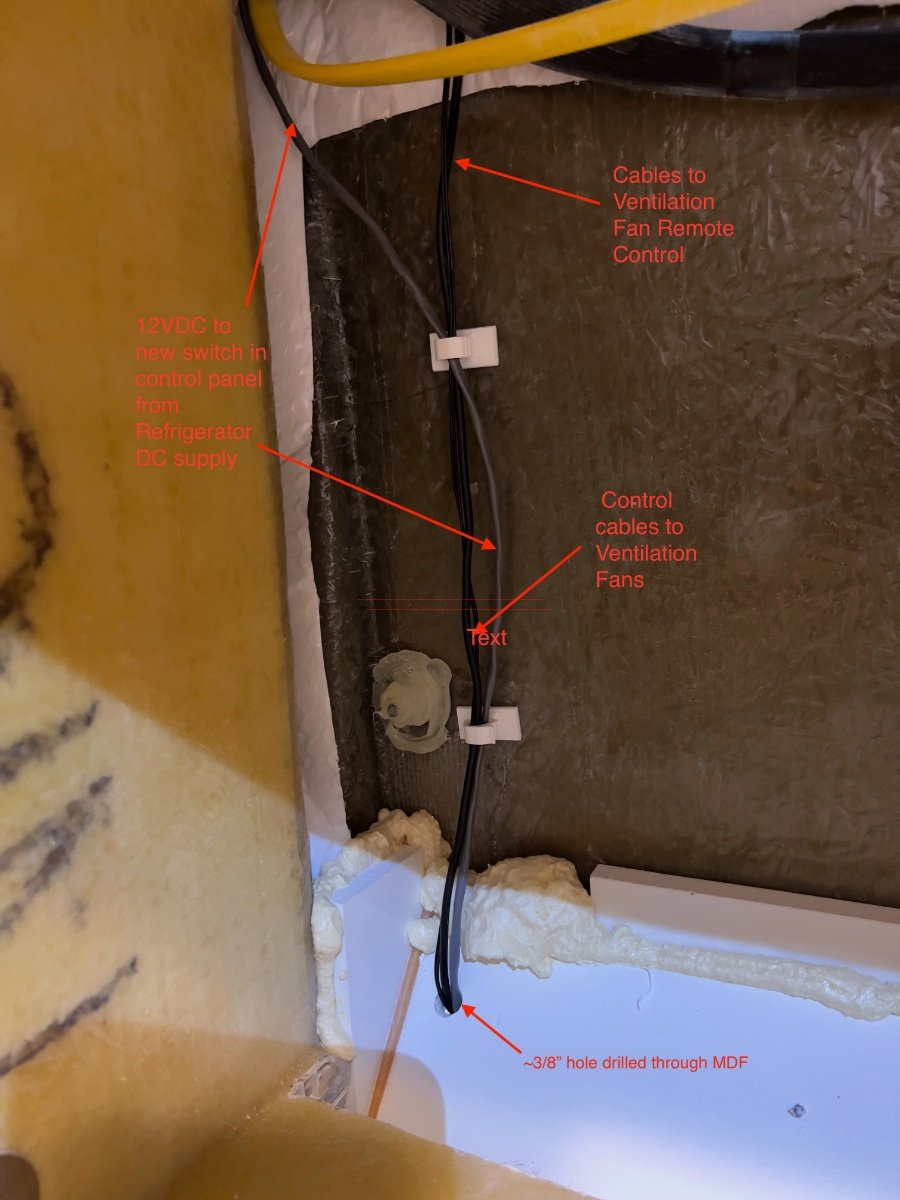
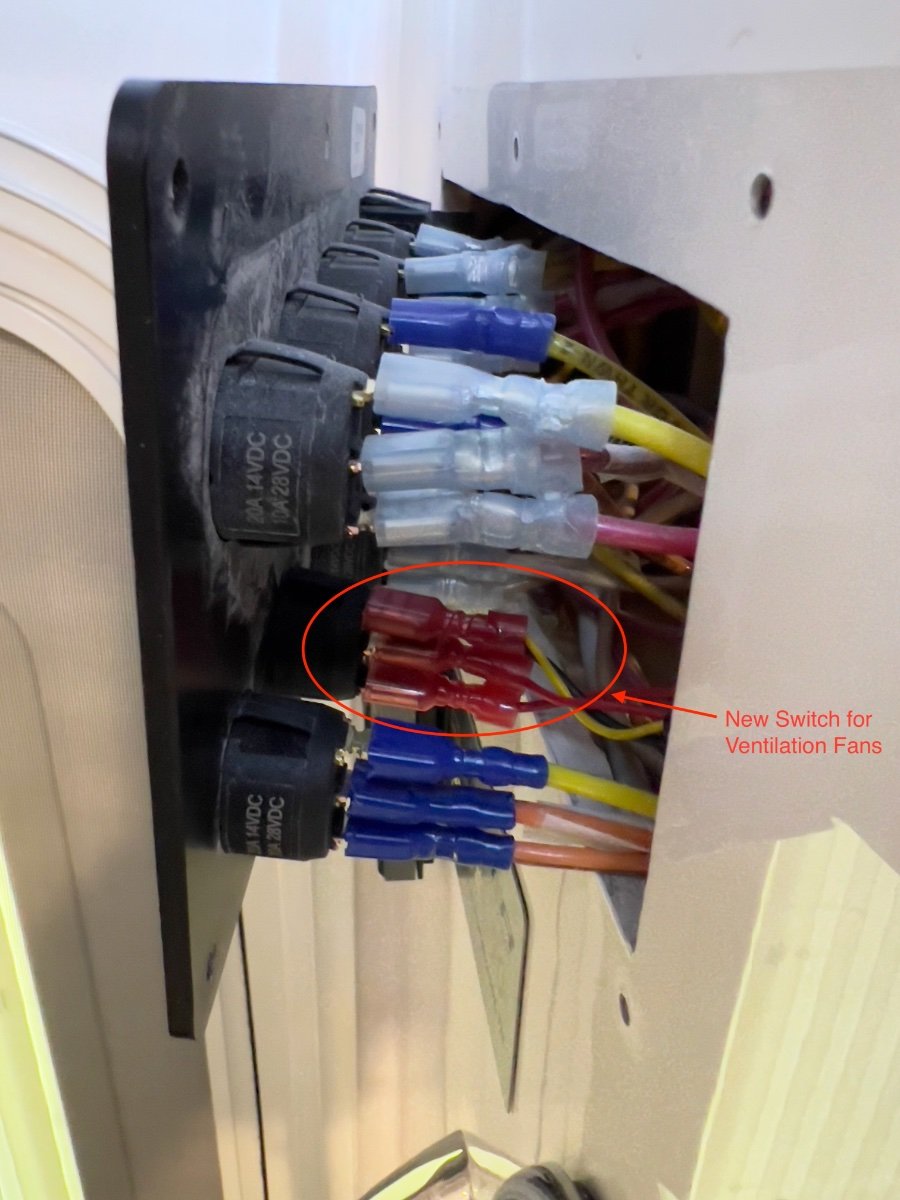
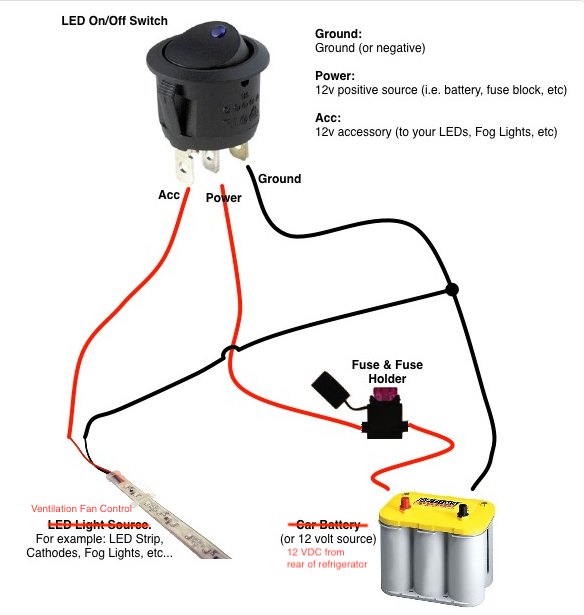
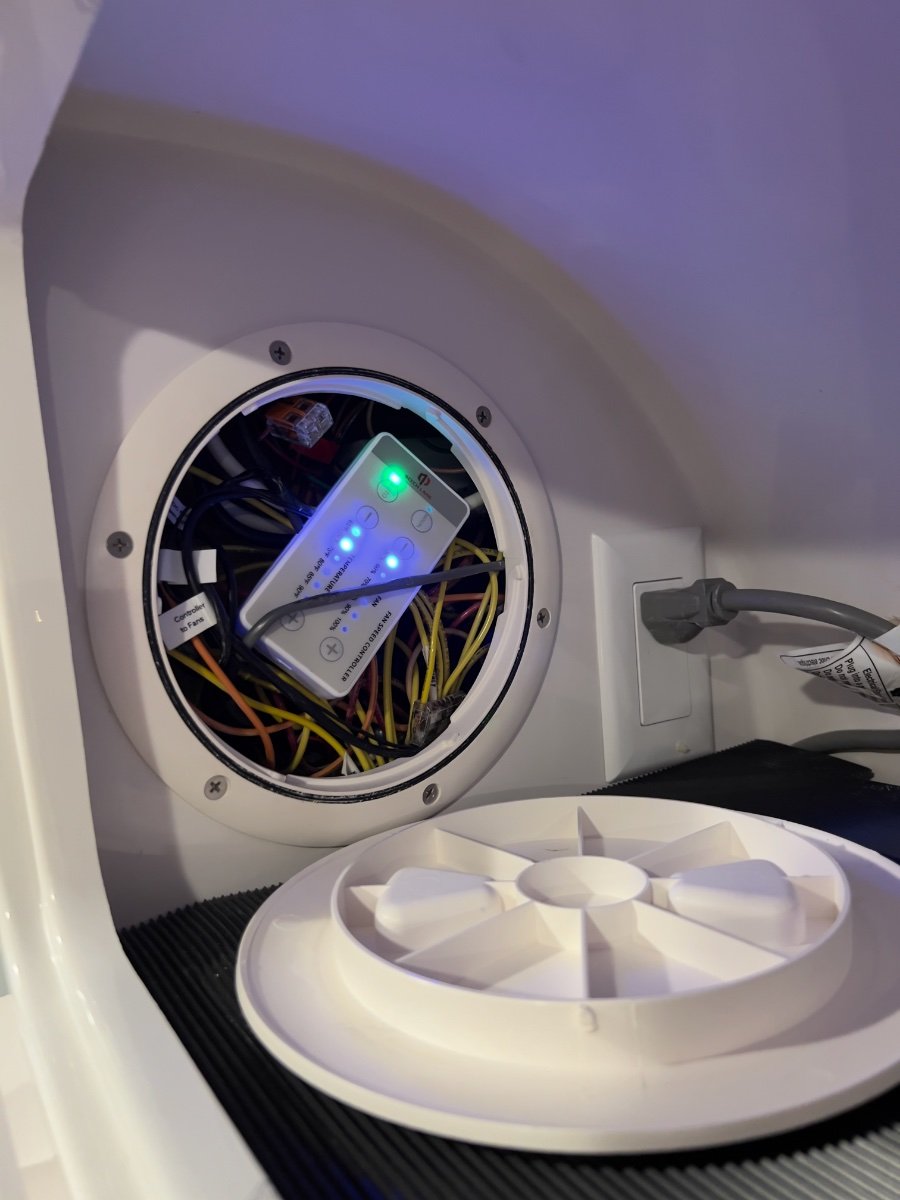
From late May to mid-June my wife and I took a loop trip from our home in Dallas, TX to: Greenville, SC; Asheville, NC; Asheboro & Seagrove, NC and back to Dallas. The trip covered approximately 1900 miles, with significant temperature variation. During the trip we experienced erratic performance by the Norcold Model 412 refrigerator, standard equipment in our 2022 Oliver Legacy Elite II trailer. The refrigerator would not maintain food safe temperatures in either compartment, except when operating on AC current. This problem occurred mostly on the second half of the trip, as daytime temperatures exceeded 90 degrees (F). Especially when in transit, operating on propane or DC current, the refrigerator temperature would climb to approximately 60 degrees and the freezer into the mid 20s. We contacted Oliver Service and made an appointment to have the refrigerator problem assessed in Hohenwald. We later decided not to divert from our trip plans and to deal with the problem when we returned home. Upon our return home to Dallas, TX, on June 20, I began a series of tests with the trailer parked in our driveway. To monitor the temperatures in the refrigerator and freezer, I used an AcuRite Digital Wireless Fridge and Freezer Thermometer, which we had purchased to monitor the Norcold refrigerator and had been using since September, 2022. I also used an Etekcity Infrared Thermometer 1080 to compare readings with the Acurite thermometer. The AcuRite and Etekcity thermometer readings agreed closely. With the refrigerator empty, I recorded the time required to go from ambient temperature to food safe temperatures using AC, DC or propane. Using AC, the refrigerator/freezer would reach food safe temperatures in 6-7 hours (low 40s F for the refrigerator; 0 degrees F for the freezer) with ambient temperatures ranging from 87 to 99 degrees F. Once achieved, when on AC, the temperatures on both compartments would hold in a food safe range. Conducting the same test on propane, the refrigerator and freezer would reach only 62 degrees and 19 degrees F, respectively after more than 12 hours of operation. This test also was done while ambient temperatures ranged from 87 to 99 degrees F. Similar results were observed while operating the refrigerator on DC. I again contacted Oliver Service and was recommended to take the trailer to an authorized Norcold service provider. Blue Moon Mobile RV (Blue Moon) was determined to be the closest available Norcold service provider. I arranged an appointment to bring the trailer to Blue Moon for troubleshooting of the refrigerator. Technicians at Blue Moon confirmed my observations of the behavior of the refrigerator. They also confirmed the cooling function was working properly, since proper temperatures were achieved when operating on AC. They also confirmed the single, small fan located at the rear of the refrigerator was operational, but providing insufficient air flow for the refrigerator to operate properly when ambient temperatures were high. Blue Moon conferred with Norcold technical support on their findings. Blue Moon and Norcold recommended additional fans be installed to dissipate warm air behind the refrigerator. Having anticipated installing additional fans, I had done online research and chose a dual fan assembly from Beech Lane 12V RV Fridge Ventilation Cooling Fan 5.5" (140mm). These fans come with a remote control with which fan speeds and threshold temperature may be set manually or automatically. These fans were installed by Blue Moon in the upper vent opening of our LEII. The 12VDC power supply to the refrigerator was also used to power the fans. The remote control was mounted to the cover over the refrigerator circuit board using double sided tape. The excess length cables provided with the fans were bundled with zip ties and secured nearby, as shown below. Blue Moon tested the operation of the refrigerator following the installation of the Beech Lane fans and reported food safe temperatures were being achieved and held, with high ambient temperatures. On July 19 I picked up our trailer from Blue Moon and returned home to repeat my prior tests to compare results running the refrigerator on propane and on DC. The trailer was parked in the same location in our driveway as previously. After installation of the ventilation fans, using propane, the refrigerator and freezer compartments achieved safe food temperatures in approximately 8 hours, with the refrigerator control set to 7, despite ambient temperatures ranging from 93 to 105 degrees Fahrenheit. Once safe food temperatures were achieved the refrigerator control setting was reduced from 7 to 6 and allowed to run overnight. The following morning both the refrigerator and freezer had slightly warmer temperatures, but still satisfactory for safe food storage. We have not yet had an opportunity to utilize the Norcold refrigerator on a trip to observe how effectively safe food temperatures are maintained when full of food and under changing environmental conditions using the three power sources. Based on the test results using the ventilation fans, I expect the performance of the refrigerator to be significantly improved. We should now be able to use DC to power the Norcold refrigerator when in transit, and avoid the use of propane. Performance running on DC appears to be similar to running on propane. While I was pleased with the significant improvement in the operating temperatures achieved by the Norcold refrigerator, there were three aspects of the installation I chose to change, all related to access to the remote control: The remote control for the Beech Lane fans has very bright blue LEDs which are ON whenever 12VDC power is ON. At night, we noticed a bright blue glow emanating from the lower refrigerator external vent cover. Accessing the remote control to change settings required removing the refrigerator external vent cover. When we store the trailer we typically turn OFF all DC power by turning OFF our lithium batteries. Upon the next use of the trailer, when DC power is restored, the refrigerator ventilation fans must also be turned ON manually. There was no switch to turn OFF DC power to the remote control. To address these issues, I relocated the Beech Lans fan remote control to the interior of the trailer and installed a switch on the control panel located at the entry to the trailer. I chose to have the remote control inside the access hatch in the storage cabinet located over the microwave oven, directly above the Norcold refrigerator. To re-route the cables to the ventilation fans, I had to remove the microwave oven. To install a new switch in the control paneI I had to loosen the panel from the wall. I had to add approximately 10 feet of 20 AWG twisted pair cable (gray) to reach from the new switch on the control panel to the 12VDC power supply at the bottom rear of the refrigerator. The photo below shows the routing of the remote control wires (black) and 12VDC power supply behind the microwave cabinet. I had to drill a ~3/8" hole in the angled MDF panel behind the microwave cabinet, directly above the refrigerator. I caulked around the cables after routing them through the hole and behind the refrigerator. Fishing the wires into the area behind the control panel was not difficult. The yellow Romex appearing at the top of the photo below supplies the AC outlet for the microwave oven. I contacted Oliver Service and ordered a single pole switch (with blue light) to match the others in the trailer control panel. The cost was slightly over $7, including shipping by first class mail. The new switch was installed in an unused location on the control panel which previously had a blank cover. I added crimp on spade type connectors to the twisted pair cable to connect to the terminals on the new switch. Although the new switch is single pole, there are three terminals on the rear with the wiring connections listed below: Ground (dissimilar color) DC Power IN (center) Switched DC Power Out I found the wiring diagram below which shows an analogous circuit. The switch and the ventilation fan remote control both require a ground connection. The Switched DC power terminal is connected to the DC+ power connection for the ventilation fan remote control. The new switch needs a ground connection in order for the blue light to operate indicating the switch is ON. In the diagram a car battery is shown as the 12VDC source. On the trailer, the 12VDC source is located at the bottom rear of the refrigerator. This DC circuit is already fused at the DC power panel located below the rear dinette seat. I chose to locate the Beech Lane fan remote control behind the access panel in the storage cabinet above the microwave oven. I made this choice to avoid having the bright blue LED lights on the remote control illuminating the interior of the trailer. The access panel is easily removed when there is a need to access the remote control, to turn ON the ventilation fans, or to change the fan speed or threshold temperature. The Beech Lane ventilation fans are very quiet. With the auxiliary fans running, the volume of air exiting the top exterior vent is noticeably greater than with the small, single OEM fan mounted to the rear of the refrigerator. We have not yet tried sleeping in the trailer with these fans running. There is no chance of hearing the fans inside the trailer with the Dometic A/C running. They are not noticeable when they are running unless you are standing close to the upper exterior vent. I recommend these fans to anyone having similar difficulty maintaining food safe temperatures in the refrigerator when ambient temperatures are high. Regards, Don
1 point
-
Thanks for the time travel, and trip down memory lane, @MAX Burner. The early first gen trailers had different fridges. Even today, today some 3ways work better at altitude than others, and no one really knows why. Theory is it can be a problem with the propane mix in the tank. Anyway... Glad yours functions well. Very happy for you. I have had a dc danfoss/secop compressor fridge for 6+ years now, and it doesn't care what altitude, nor (out of ) level I'm on. It just works, flawlessly.1 point
-
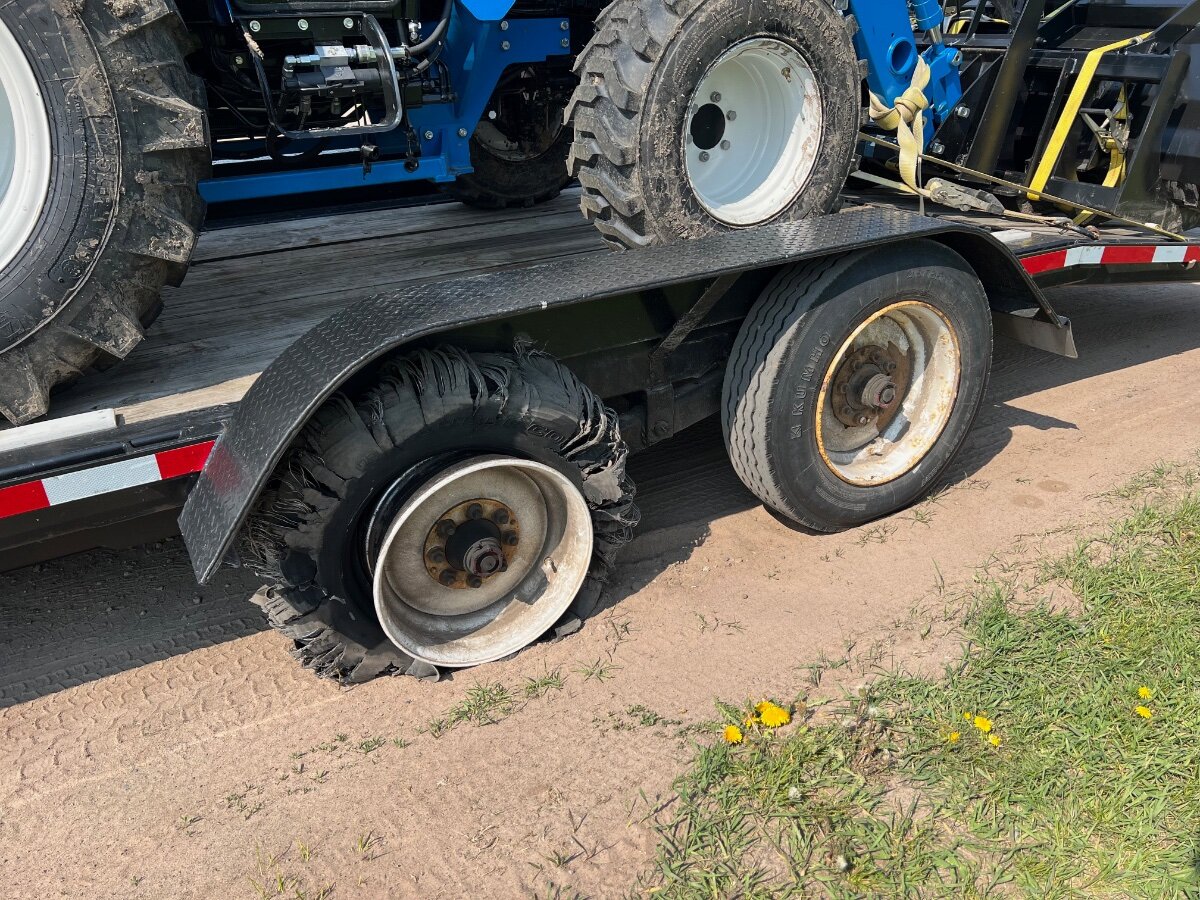
Slight hijack and not an Oliver tire, but this is the result of an old tire on a 14k equipment trailer I borrowed to move my compact tractor about 130 miles earlier TODAY. I've been home just long enough to get something to eat and to feed the pets. We were about 50 miles from home, moving at 65 mph on the freeway heading north towards Duluth, MN when this happened. Nothing damaged except my VISA card since the borrowed trailer didn't come with a spare. Fortunately there was an emergency tire repair service station a few exits back and I was back on the road in about an hour. They came to me and replaced the tire with a new one in the parking lot of a bait store.
0 points


-
Recent Achievements
-


")


