Leaderboard


Popular Content
Showing content with the highest reputation on 11/19/2023 in all areas
-
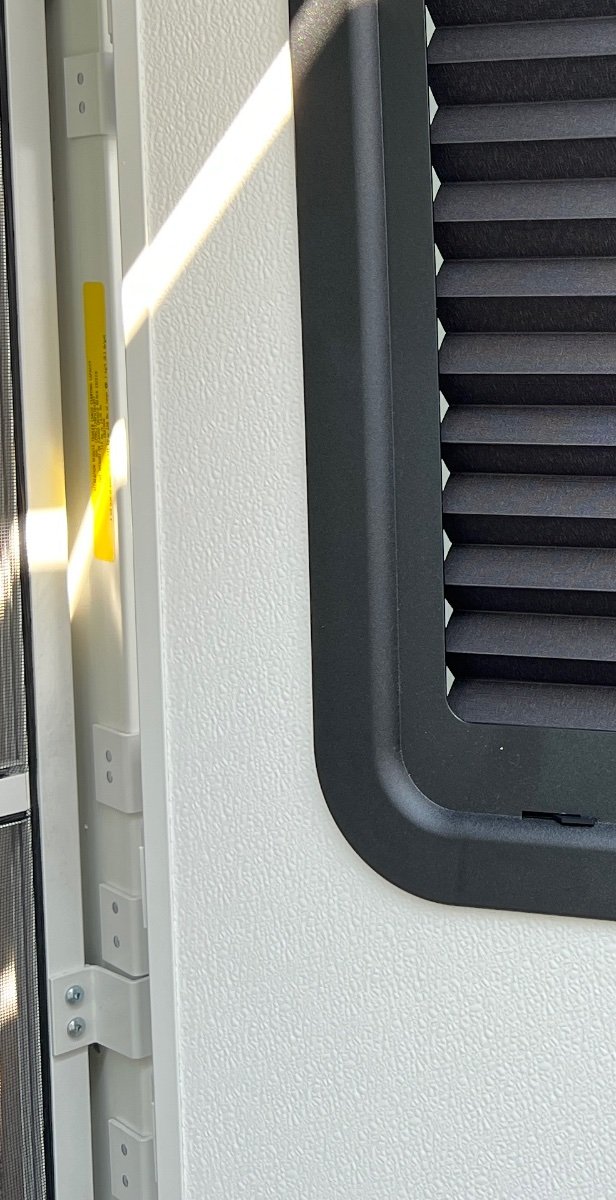
Greetings! I was reading some great instructions for installing Starlink inlet ports on the outside of an Oliver. However, it was a pity that the installations required cutting and splicing the Starlink cable. That’s a discouraging and challenging proposition, so I just signed up to this Forum to share how I did mine without cutting the cable. My method was risk free, super easy and with quality results. The wiring is all plug-in with about $35 worth of Amazon parts. The router and modem is ideally located in the Oliver’s attic where there is an AC outlet and good WIFI broadcasting. Sorry to those if I've duplicated some of their installation methods, I guess great minds just think alike. I’ve provided a list of 3 Amazon parts, and recommended a few tools that are worth owning anyway: Furrion Mini TV/SAT Inlet #FTVINB-PS, $11.30 Penglin #PL252, RJ45 CAT6 female to female panel mount connector, two for $14.99 Juxinice 10’ long shielded RJ45 Cat-6 cable with a 90 degree angle connector, $9.69 Neiko #10194a step drill bit, or similar, $10.99 Generic brand 14’ fiberglass fish rod, or other Amazon options under $20 It’s a good idea to first test the parts by running an internet speed test both before and after plugging-in the new cable and connector between your dishy and router/modem. You can use any internet speed test such as Ookla or the Starlink App, and the speeds should be about the same unless the new cable or connector is faulty. Start your installation by unscrewing and removing the coax connector from the new Furrion fitting, then enlarge the hole with a step drill bit to accept the Penglin connector. This is the exact same Furrion fitting that Oliver uses for the outside Cable and Satellite TV connections, so you could use one of the existing ones if you don’t need the the satellite or cable connection. Find a relatively flat surface next to the existing Furrion cable/satellite TV fittings to install the new Furrion fitting (with the installed Penglin connector). Unscrew the storage compartment liner so that it can be pulled back to access the area where the connector will pass through. Using a step drill, make a hole big enough for the Penglin coupler to pass through into the storage compartment, and drill large enough holes so that the Furrion mounting screws will hold without chipping the fiberglass. The photo shows where I mounted mine, but it gives an illusion of being crooked and unevenly spaced??? With the storage compartment liner pulled back, the AC drain tube can be seen running down between the trailer walls. This is a good guide to fish the new Juxinice cable up into the Oliver’s attic compartment. The recommended fish rod makes this easy and you will have to unscrew and pull back the attic side panel for access. The 90 degree end of the new Juxinice cable will be plugged into the back of the Penguin connector and other end into the Starlink modem in the attic. That’s it! Replace the panels and your done. The Starlink Dishy cable will plug into the outside of the new connector and the Furrion fitting keeps everything dry when it’s unplugged. Don’t worry about the rumored proprietary Starlink wiring, this is just a pass-though connection and the internal color coding of the individual wires does not matter. I was a beta tester for Starlink when it first came out, and I still use the original Gen-1 round dishy at home and when traveling with the Oliver. We used to run the dishy cable though the outdoor compartment door, and we kept the router and modern under the bed close to the AC outlet. This was always kinking the cable, interfering with the compartment seal, and generally in the way. The quick disconnect was really worth doing, and wifey is happy that she doesn’t have to crawl under the bed to pull the cable though anymore. Watch for a future post on how to conveniently mount and store a Dishy pipe mast. Cheers and good luck, Geoff & Tanya
 8 points
 -
We’ve had a few small scratches on the inside of our cabinet doors from the cabinet contents rubbing against the door, so we installed a clear self-adhesive removable protective film on the backs of the cabinet doors. This prevents future damage and didn’t change the appearance of the doors. When shopping shelf liners and static cling window decals we also found there were lots of products that might work to both protect the inner side of the cabinet door and give them a different look. We went a step further and added a patterned static cling vinyl as well. The textured static cling vinyl we used didn't stick well directly to the cabinet doors, but it clings to the shelf liner. Time and seasons will tell how well it sticks. There are so many products available, some with bright colors and patterns and some more subtle. Since it was just installed this week we can’t speak to its durability, so we're not offering specific product recommendations. Your tastes are probably different than ours anyway. A self-adhesive liner with color or pattern could be used as a single layer if you find something you like. The vinyl material is easy to apply when the hardware is removed with the doors are laid on a flat clean work surface. We went for a subtle change to the original look, but we might do something with color in the future.
5 points
-
I used to camp in my sailboat on trips around the country. Only once were we refused a spot because “a boat is not a camper!” We did get the privilege of camping in their boat trailer storage lot at only half price, though. A tarp over the stowed mast and V-berth below was plenty of room.
4 points
-
After ~5 wonderful years with our Ollie and many adventures around the United States and Canada, we are moving on to a new phase of travel in our lives (overseas, cruises, etc.). So our much loved Hull #461 has been sold to a new owner. This forum has been great for support and sharing among the Oliver owners community, and a thank you to all for the great discussions and information shared over the years. We are definitely going to miss our Ollie, but she is going to a good home with a new owner that is very knowledgeable about trailers in general and also Olivers specifically, and I expect he will be joining this forum (he might already be a guest member). Thanks again to all. I'll still hang around/lurk here on the forums, and safe travels to everyone. Frank3 points
-
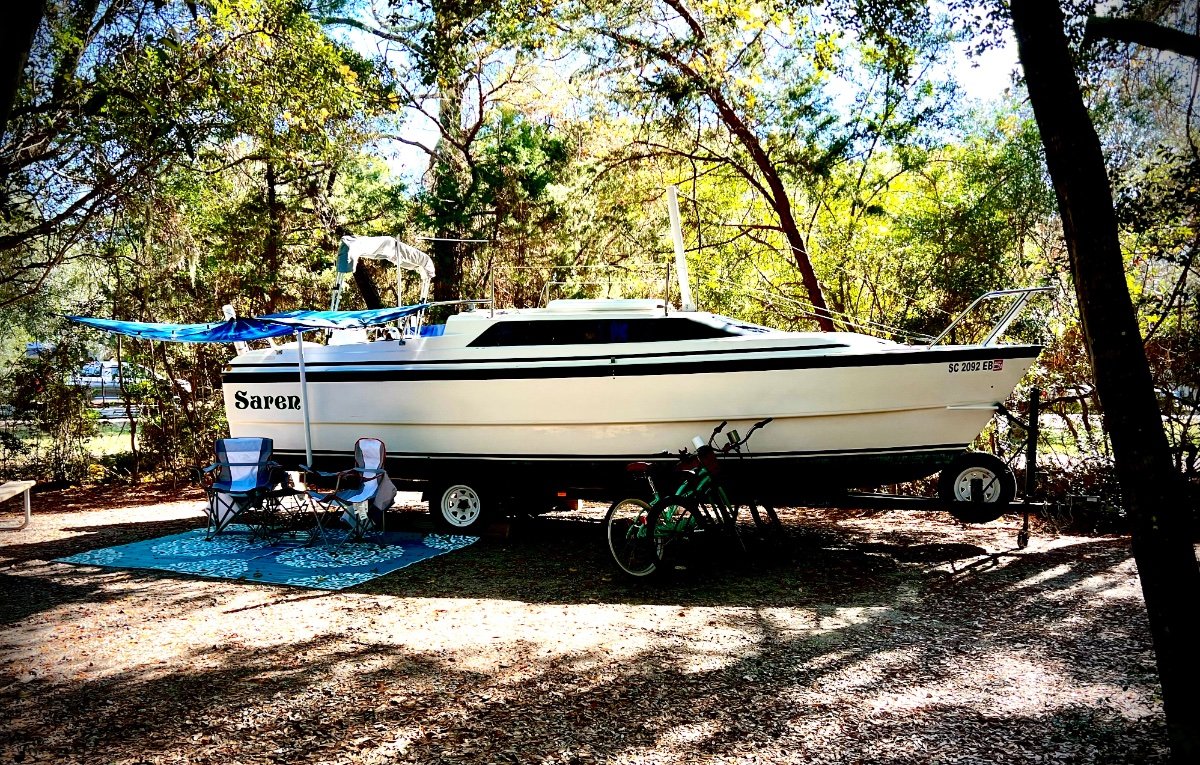
I’m at my home base campground in Huntington Beach State Park, in South Carolina, in hull #997. During my morning stroll I met the owner of this boat, who said it serves them well, both on land and sea. They are based out of Charleston, SC, and travel the east coast thru gulf coast.
3 points
-
Primarily covers are used to reduce a tire's exposure to UV light which degrades the rubber over time. The less light that the tires are exposed to results in longer life of the rubber. Some people will use tire covers virtually all the time when stopped - even overnight. But, most simply use them while the RV is in storage. Bill3 points
-
Loveland/Fort Collins Colorado We have twice used Nathan RV Service and Repair. He moved from Fort Collins to Weldona. Oliver recommended him. He has twice done maintainence on our Oliver.The first time he replaced the flooring. This time he replace the Automatic Transfer Switch which had failed. He is thorough and price was quite reasonable. He took plenty of time when we picked it up to answer our questions. He loves working on Olivers.. he said they make the best campers! Hope this helps someone. Linda OEII #1112 points
-
Yes, there is more to the story. It seems that for vehicles that get used more often than RV's the movement of the tire causes some distribution of the chemicals in the rubber. Whereas when a tire stays static there is (obviously) no movement and/or flex. In turn, this allows the surface of the tire to degrade faster than it "normally" would which eventually leads to cracking which leads to ..... When I put Twist into winter storage I first slightly elevate the tires from the gravel base by rolling the trailer onto pressure treated lumber that is covered in plastic sheeting. This helps keep moisture away from the tires. Then I cover each wheel with a tire cover and, finally, I place a 2 x 8 sheet of treated plywood over the covers. This keeps rain, snow, weed wackers and the like from damaging the covers. Perhaps a bit overkill, but, it makes me happy knowing that I've done all that I can think of to protect things while getting the most time out of them. Bill
2 points
-
@Frank C I have enjoyed your thoughtful and insightful postings. I know that I am just one of many members that have relied on your advice these last 4 years. Hopefully your next chapter is as enjoyable as your time with OTT's. Mossey2 points
-
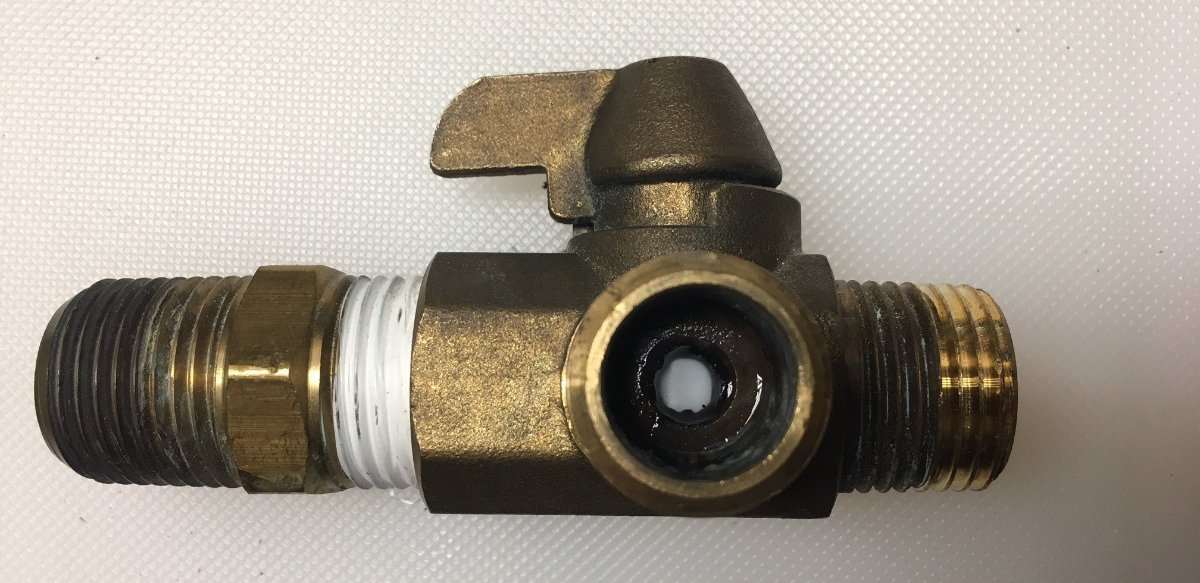
Still want a reply from @ScubaRx on the electrical switches... Made some headway today. Anybody, yes ANYBODY who has an older Oliver with these 3-way brass water valves MUST change out these valves, even if you do not want to motorize or upgrade! I cannot believe OTT installed these valves! The opening in only 1/4" WT*! See pic, this is crazy! What were they thinking? The OEM water pump is 3 GPM. I measured water flow at the kitchen sink and the shower, cold side came in at 48 seconds to fill a gallon container. That's 1.25 GPM down from 3 at the pump due to multiple restrictions along the path! OMG! 🤣
2 points
-
We made a 15,000 mile loop from home, through Canada, Alaska and back home in 2019. About 90 days on the road with 95% boondocking. We never had trouble finding a place to stay. In Fairbanks we stopped at a glassblowing shop and they invited us to spend the night in their parking lot! I'm not interested in spending money to park overnight. If we're going to stay a few days in a given spot - maybe, but not if I can find a place to boondock.2 points
-
Here’s our blog from a similar trip in 2023 (summer) We stayed at a mix of commercial and public camping sites on the trip. https://4-ever-hitched.com/alaska-2023 if you want to do direct message we can share a bit more detail. Enjoy the trip planning! Craig Hull 5052 points
-
Get the latest edition of the Milepost. It will come in handy on the road. Good to have something that doesn't require internet. We stayed in RV Parks mostly. But lots of folks boondock and there are place to pull off at the side of the road that allow it. There are also at least two facebook groups that we joined. They are useful for the latest updates. In addition BC, AB and the Yukon have websites dedicated to latest road conditions. (When you have service.)2 points
-
Ollietime wrote: I 'm confused, I received my Starlink kit a few days ago and the cable connectors are proprietary, not RJ45. Interesting? I have the original Gen-1 round dishy with the latest Starlink Gen-3 router. Both have RJ45 connectors? But admittedly, I’ve never looked at the Gen-2 rectangular dishy. So I looked on-line and sure enough the Gen-2 has a different connector. Thanks for that comment! No worries though, my installation should still be a good option because Amazon sells the “Aosheng Rectangular Dishy Cable Adapter to RJ45” for $35. It’s not waterproof, but that looks easy enough to address. I’d just use a longer RJ45 cable than the one supplied, and I'd put it under the trailer out of the rain and off the ground. Maybe in a Tupperware box thats notched for the cables. It wouldn't be absolutely watertight, but neither are the other plug-in options. It still beats cutting the Cable. Cheers!1 point
-
Welcome to the forum and being a new Oliver owner from another Maine owner, who purchased used myself.. Be sure to call the Oliver company and tell them you have bought your trailer, so they can register you on their owner's list and to keep you apprised of any Oliver news and Oliver issues.1 point
-
@chiwald I prefer google search, i.e. "site:olivertraveltrailers.com forum portable solar panels", with portable solar panels being the search words you are looking for at olivertraveltrailers.com Here are a couple search results: - Portable solar panels - solar panel suitcase1 point
-
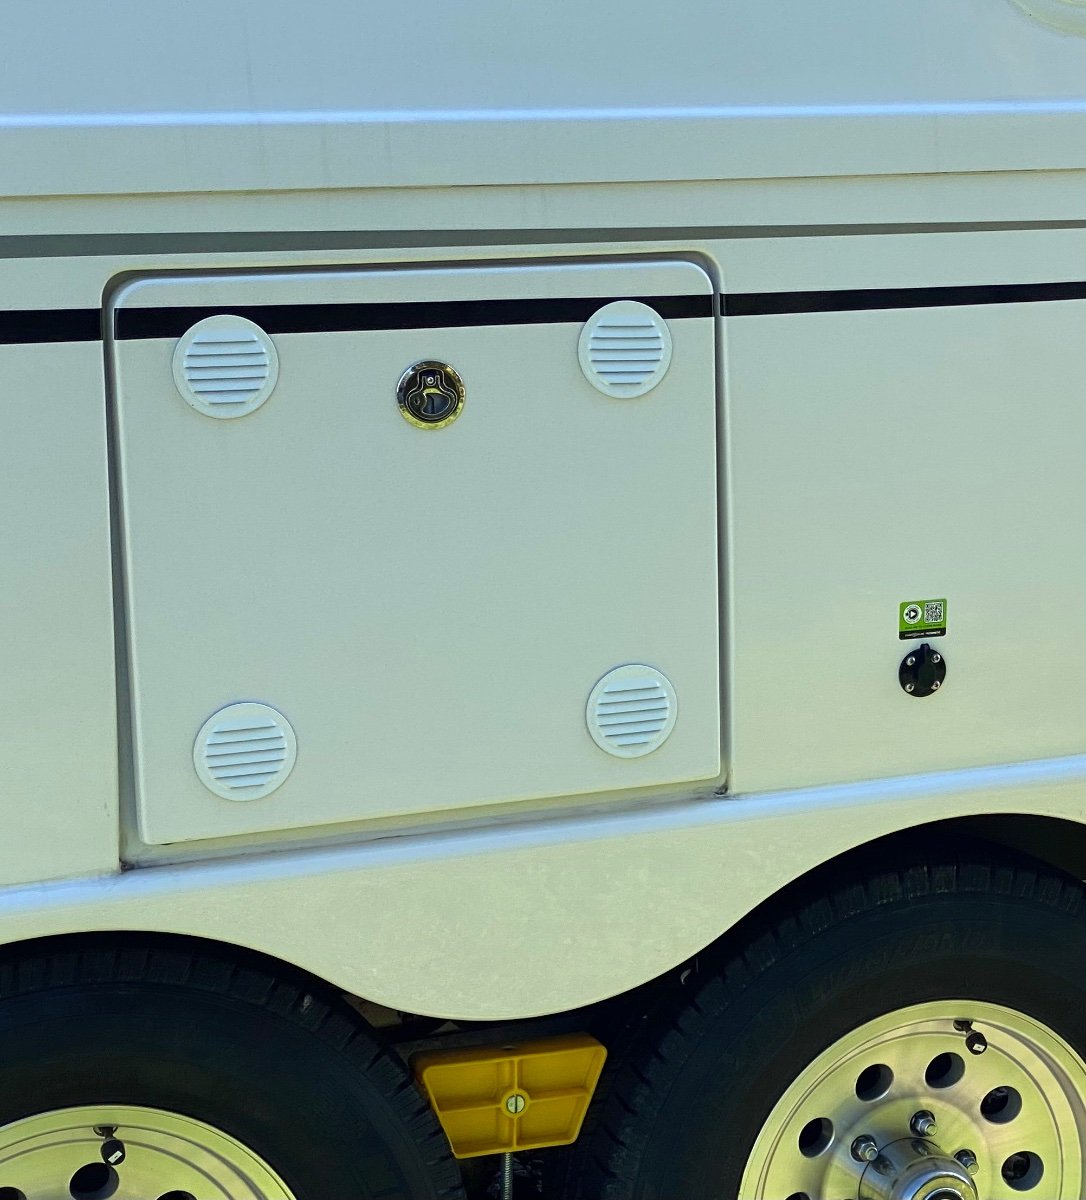
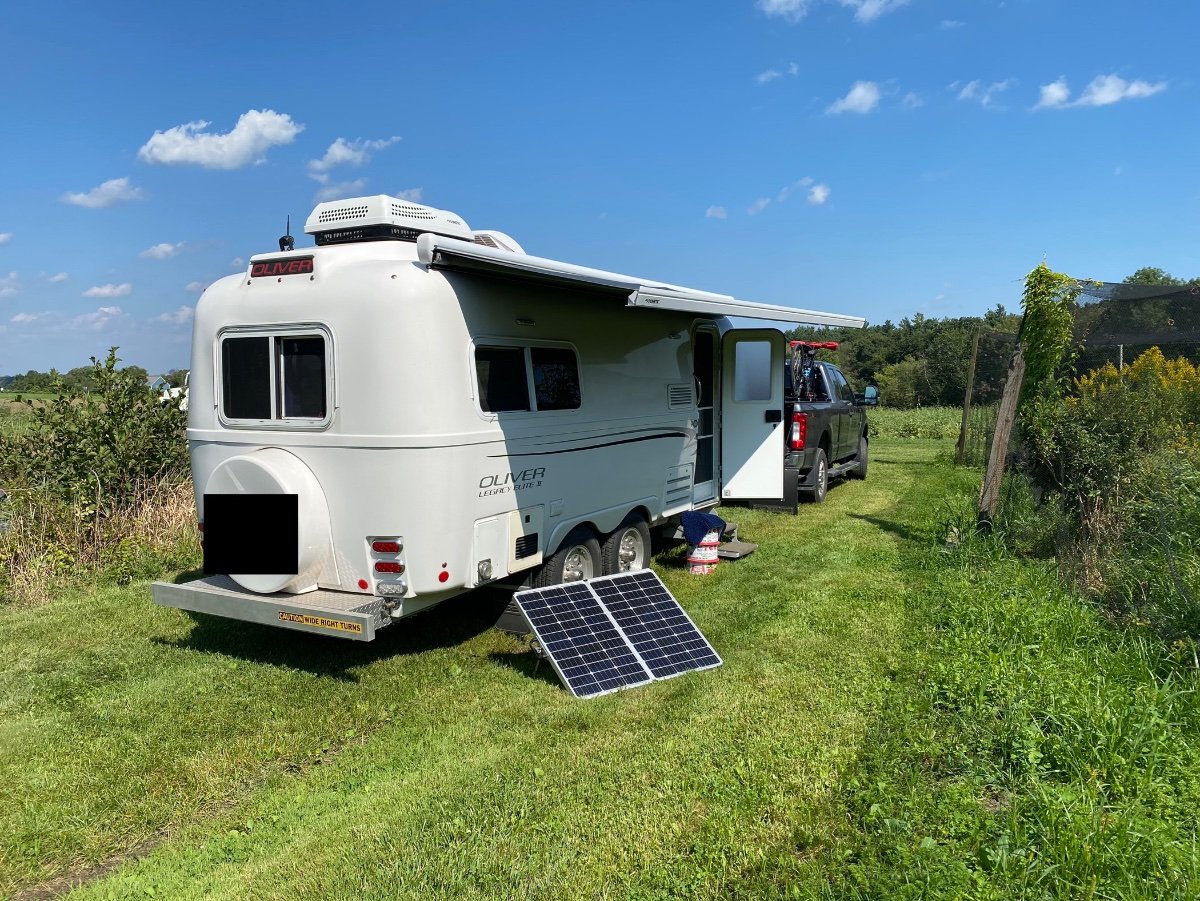
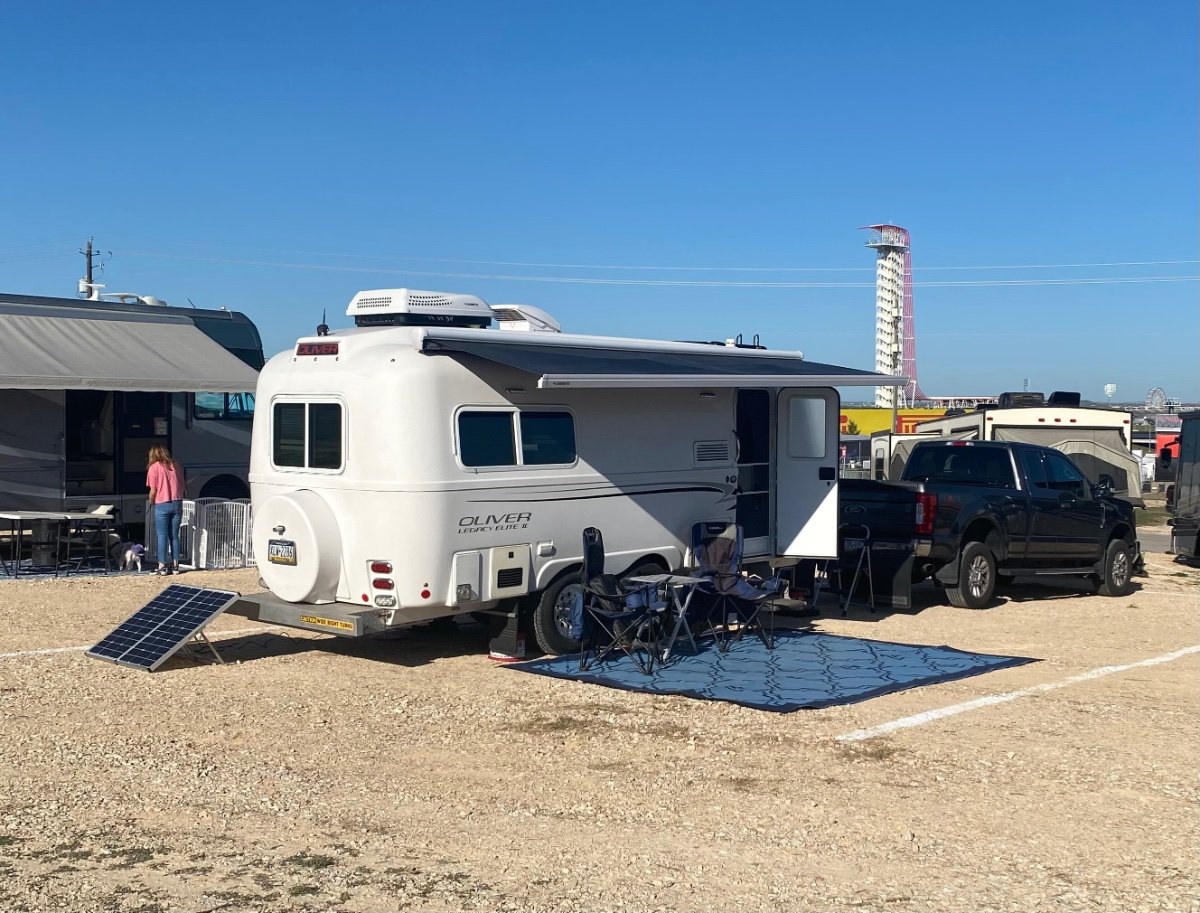
I added a Zamp port to our Oliver, on the hull near the battery compartment, since it was an easy location to access the correct locations for the positive and negative connections to the trailer 12vDC system, and used a portable Zamp 140 watt panel with an integrated charge controller. It worked very well on trips for our stays at Harvest Host locations, and our recent stay at the Circuit of the Americas track in Austin TX (plenty of sunshine!) for the Formula 1 race, when no power hookup was available. The 140 watt panel was about the biggest that I would want to carry. They are “portable” and they do fold up into a nice suitcase style carrying case but they can still be heavy and bulky to transport.
1 point
-
Everyone note that Steve and MA's idea isn't just for those with "frosted "cabinet doors! I've had similar product on the interior of my "mirrored" doors for a number of years and it does a great job. Even those with the "black" doors can benefit from this mod. Also note that when replacing the doors - do not over tighten the hardware - particularly the hinges. Overtightening will cause "spider" cracks in the door around the hinge. Also, be a bit careful with the razor knife that you might use to trim the "contact/cling" material as any scratch or cut on the inside of the coating on the door will be easily seen when you turn on those interior cabinet lights. Bill1 point
-
OK, I'm sorry - but, this is a brilliant idea!!! HA!1 point
-
Thanks Bill. I thought it might be for UV protection. But then, I don't put covers on my other vehicles, and they are in the sun right beside the trailer. So I guess I don't see a need for them for me. In both cases, they'd need replaced for age before wear. Thanks1 point
-
I have the covers on all four tires even though when stored, the curbside tires face north and never have sun on them.1 point
-
Best of luck and safe travels, Frank. Enjoy the world we can't reach with wheels.1 point
-
I had the same issue with the T fitting coming out of the hot water tank. The plastic cracked just enough to cause a steady drip. We discovered it on the way home after a long trip so I fixed it after we got home. Replaced the plastic with brass. Mike1 point
-
Thanks for pointing this out! In my recent repairs on my water heater I did not remove this valve, so didn’t know. I will be going back in and replacing with higher flow valves.1 point
-
Perfect conditions with bluebird skies, low 70’s temperatures and low humidify.
1 point
-
My typo. I have edited my quoted post. The main battery cable to Inverter should be 4/0. This will allow for reuse for either 2,000 or 3,000 watt inverters. Also be sure to add a second auto transfer switch dedicated to the A/C. See John Davies post on this topic for info. Doing so allows you full capability of a 3,000 watt converter to power up the A/C and most other loads.1 point
-
Take care Frank. Thank you for all your insightful posts and comments since you joined us back in November of 2018. I wish you all the best in your future endeavors.1 point
-
Frank, Mary Kay and I wish you both well as you move on to new adventures. I’ve enjoyed your posts through the past few years. We’ll miss you here on the forums.1 point
-
Frank, Sounds like you are about 2 years ahead of us. Thanks for your past posts Please consider posting some of your new adventures here! Good luck! Craig & Rose1 point
-
Frank, good luck with your next phase! Enjoy the travel overseas, there’s a lot to see. Mike1 point
-
Unless water is a very serious "problem" the benefits of a composting toilet can be debated. Over a thousand dollars is a fair amount of money to change the method of how one handles solid waste while handling liquid waste remain basically the same. Bill1 point
-
Frank - Thanks for being such a supportive and active member of the Forum. Have fun but remember to stay out of trouble. Bill1 point
-
Thank you all so much! Joe1 point
-
I use the same "augmented" diagram and valve configuration table as shown above. I have found it useful to label the valves with their corresponding numbers from the table, as they are not physically located exactly as the diagrams are typically drawn. The photo below shows my labeled valves (#1 thru #6) for a late 2018 Elite I configuration. Other years/models may vary.
1 point
-
Yah definitely not screws, they look like rivets but I don’t think they are rivets…..or not rivets that I’m familiar with. Here’s a pic of my door before I installed the friction hinges, should be the same on your 2022. and here’s a pic of my door with the friction hinge.
1 point
-
Sorry, didn't mean to pile on. Thanks for a lead on the concept.1 point
-
I'm soooooo jealous! Congrats. Bill1 point
-
@MAX Burner thank you. We are confirmed for Dry Tortugas 11/30! My wife’s first time in the keys. Our first two nights are boondocking at a Church (HH) in Islamorada - have to take her to Robbie’s. We have a waterfront sight on Sigsbee Island (Navy) for the month of Dec. Should be a good time. BL1 point
-
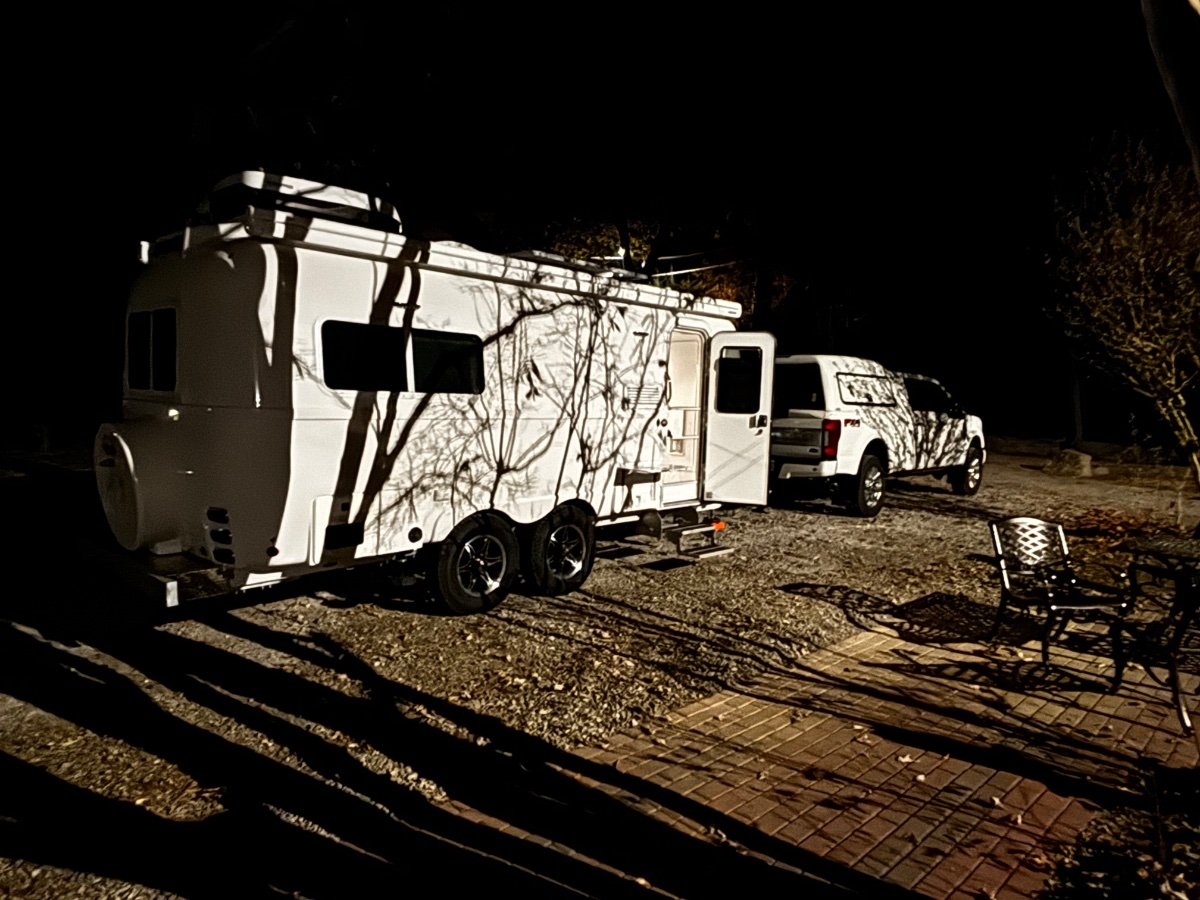
We are making our way down to Key West. We will be staying at the Navy Base there for the month of December. On our way down, we stopped at a nice campground in the Chattanooga area and in the crisp autumn evening, I caught these pics. Cheers, Brian
1 point
-
Yup sorry already pointed out to me, I edited my original post with correct link........this one1 point
-
We used 2 Lippert friction hinges on our door - wonderful!1 point
-
Yes, I like it a lot, works wonderfully, I don’t have to use the latch, I can leave the door open when there is a breeze and the door stays where I leave it….and no more fly away door!😊1 point
-
Oops good catch, and good find! Still a lot cheaper vs etrailer! I really love these friction hinges!1 point
-
I went “here” and found these to be ‘non-friction hinges’, thus possibly the disparity in price Patriot noted. However, Amazon.us does offer a ‘friction hinge kit’ consisting of a pair. They appear to be the same as those rich.dev purchased from the Amazon.ca site, based on the compatible Lippert door Series listed in the product Description.
1 point
-
I have heard that some owners have been allowed to use their trailer at night at the camp spaces on OTT property. That would of course be for repairs that are suitable for relocation and occupancy. Yours would seem to fit the bill. Worth a call. If an option, a simple heavy cardboard temp door duct taped on the hinge side could suffice for an evening or two. Maybe add a string and paperweight on the counter of the microwave to hold it closed. Lots of fun places to explore in the Hohenwald area to keep you and family busy for a day or two for sure. GJ1 point
-
We added a strap to help hang onto the door on windy days.
1 point
-
Bill, I highly recommend you stay here -https://www.natcheztracetravel.com/hohenwald-bedandbreakfasts/meriwethersretreat.html Melissa is the owner and it’s one of the nicest B&B’s we have ever stayed at. It’s fairly close to the service center, very clean and she is the best hostess. ⭐️⭐️⭐️⭐️⭐️ By the way it was nice meeting you and your bride at the Big Texan RV Resort during our return trip from CO. Rest assured, Oliver Service will surely get you taken care of. Patriot🇺🇸1 point
-
What @MAX Burner said, we love our friction hinge assy. from Lippert. You can also get it here on Amazon.1 point
-
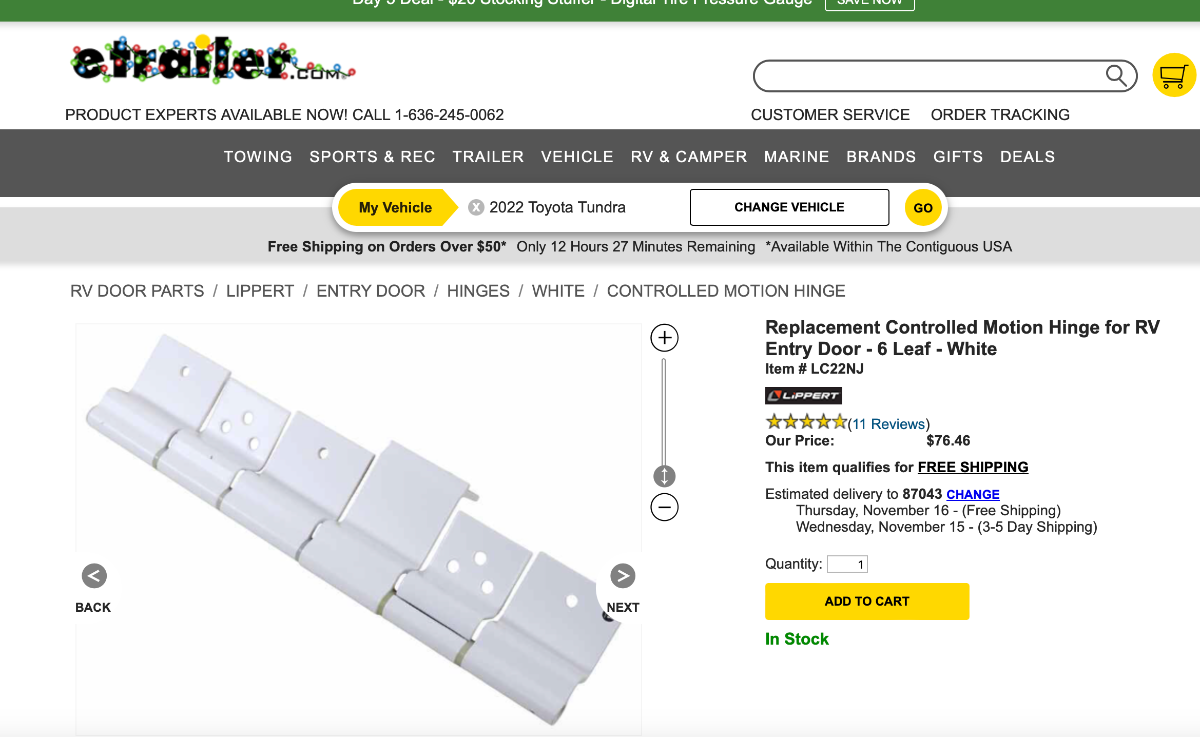
For the exact reason you've described above, we installed Lippert "Controlled Motion" Hinges last April from eTrailer: We've logged in excess of 7,500 miles since then during much of our windy springtime season and this simple upgrade has saved the bacon on several occasions. The 2 additional hinges make the door "stiff" to open but makes it stay where you want it - we've not used the exterior door latch at the bottom of the door since installing them. For us - this was a simple fix for a condition that literally can come out of nowhere... Cheers!
1 point
-
Not a lot of plumbers in rural Central Idaho use Uponor/Wirsbo Pex-A either. I also designed and built the manifolds, and did all of the plumbing in our home. After 4 years, no leaks in the Pex.1 point


IMG_7468.jpg.da22171c30aaab394705c676f725b46b.jpg)


-
Recent Achievements
-


")


")


