Leaderboard


Popular Content
Showing content with the highest reputation on 08/17/2023 in all areas
-
note: I thought I had submitted this days ago, but evidently it did not go through. Hi Jim, You would use the existing air distribution face plate and thermostat that you already have. And yes, it runs through the same condensation lines. The only thing you are changing is the top unit. I also discovered yesterday that I can run the AC with my lithium batteries. A couple of hours dropped it about 20%. So it’s not long-term but it was very helpful. Sincerely, Mary aka RoadLotus
 5 points
 -
Gonna add just a few more photos from this recent trip. These from a hike on the Continental Divide Trail, heading north toward Gunsight Pass. Wildflowers were abundant in the area.
3 points
-
My daughter is a huge fan of saffron road products. I have Lundberg wild rice mix in my cupboard at home, all the time. As you said, yum. @Mountainman198, I've never seen the mexicali rose packets in the east. Maybe it's a regional thing. Packets are much easier to deal with than cans. I could see that as a quick and easy soup dinner. Add a can of Rotel, maybe some fresh chopped jalapeño, add a can of pinto or chili beans, some water, and voila (I think) a nice, hearty meatfree but high protein caldo for dinner. I might even try it tonight, with canned fat free refried beans. I have corn tortillas to cut and fry as garnish, and there's (almost) always sour cream and hot sauce around. And canned hatch chili's.:) might even sprinkle in some leftover frozen corn, and fresh cilantro....2 points
-
When in the Southwest I stock up on packets of these from the local Walmart. They are under $3/packet when buying from the store. Very tasty and you can either make as a side or as a soup by adding extra water. https://www.amazon.com/Mexicali-Rose-Instant-Mexican-Homestyle/dp/B00FD7EFWY/ref=mp_s_a_1_4?crid=1LHV4DWGY7DOZ&keywords=refried+beans+freeze+dried&qid=1692298981&sprefix=refried+beans+freeze%2Caps%2C1220&sr=8-42 points
-
We did similar, but were able to cut a piece of plexiglass that could just fit in the slots along the sides of the screen door. Works like a charm!2 points
-
I like Saffron Road simmer sauces. I combine the curry or the lemon grass basil with some shelf-stable tofu and whatever fresh/frozen veggies I might have on hand. Serve it over some pre-cooked rice, and you have a very tasty meal. https://www.saffronroad.com/products/variety-pack https://www.lundberg.com/products/organic-white-thai-jasmine-rice Yum!2 points
-
We added a little foam sticker (like you would use on a chair leg) to keep the cabinet latch from banging into the microwave.
2 points
-
IMO....at night I like turning on the cabinet lights with the frosted doors. It is nice gentle light at night inside the trailer...vs the other more direct lights.2 points
-
Hopefully you solved the issue. When we picked up our Oliver in March 2022 everything was working perfectly. 2 days later while camped at David Crockett SP and plugged in, I pulled up the Lithonics App and to my dismay the batteries were down to 75+/-%. I contacted Oliver and they walked me through, locating the inverter breaker under the street side bed, on the battery wall and adjacent to the inverter. It had tripped. Re-set and all was good. 2 months later it tripped twice more. Oliver sent me a replacement and all has been good.2 points
-
Thanks Mary! I take it you never attempted to run the original Dometic a/c on lithium. I just upgraded to 460Ah/no solar, in my 2020 OLEll 579 with hopes of running the stock 11,000 btu Penguin ll for a couple of hours during rest stops and lunch breaks on the lithiums. Still have to do some rewiring to make it happen based on input from others that have done the same. My next project will be to upgrade the a/c to a quieter unit; I find the information you provided and resulting discussion about the Freshjet very inspirational. Again, thanks!2 points
-
On the 2023 Tundra, and likely the 2022, the right side gauges are configurable. The transmission temperature is one of the items that is selectable. I believe that there are actually two transmission temperature sensors but I believe that only one of them is readable even with my ScanGuage.
2 points
-
hi Ron, I have the lithium pro package which is 630 amp hours and 340 watt panels with a 3000 w inverter.2 points
-
We like the muted light through the frosted doors better than the harsh overhead lights.2 points
-
@SeaDawg: Respectfully request to split this thread off to a "Screen Door Protection Modification" thread. We took SeaDawg's advice and fabricated a Lexan protective barrier on the screen door mounting it with Velcro. $17 Lexan sheet 18" x 24" at Lowe's and about 3 feet of white 3/4" Velcro - easy peasy. Much better than the $80+ Campco option - and no screws! Magnus will be impressed this weekend when we plan on trying it out up in Eagle Nest, NM. We gotta escape from this heat wave... Cheers!
1 point
-
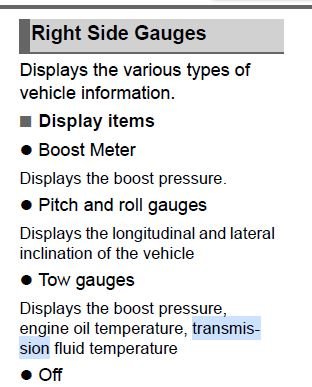
Many of you have a new or late model tow vehicle, so this post may not be of interest to you. I always buy older vehicles, love the classics, and as the builder in me, enjoy my time restoring them. Every time I buy another truck or car, Chris says, “when are you going to start taking it apart?” The usual answer is as soon as I can clear a stall in my garage! This beauty, our Gen2 Dodge Ram 2500 HD Cummins, has only 161K miles at 22 years (that’s 7300 miles/year), with like-new body and interior, and it just needs some mechanical love. I will rebuild everything under the truck! Lol 😊 So, she’s up on HD jack stands and here are a few pics of the as-is condition and initial disassembly!
1 point
-
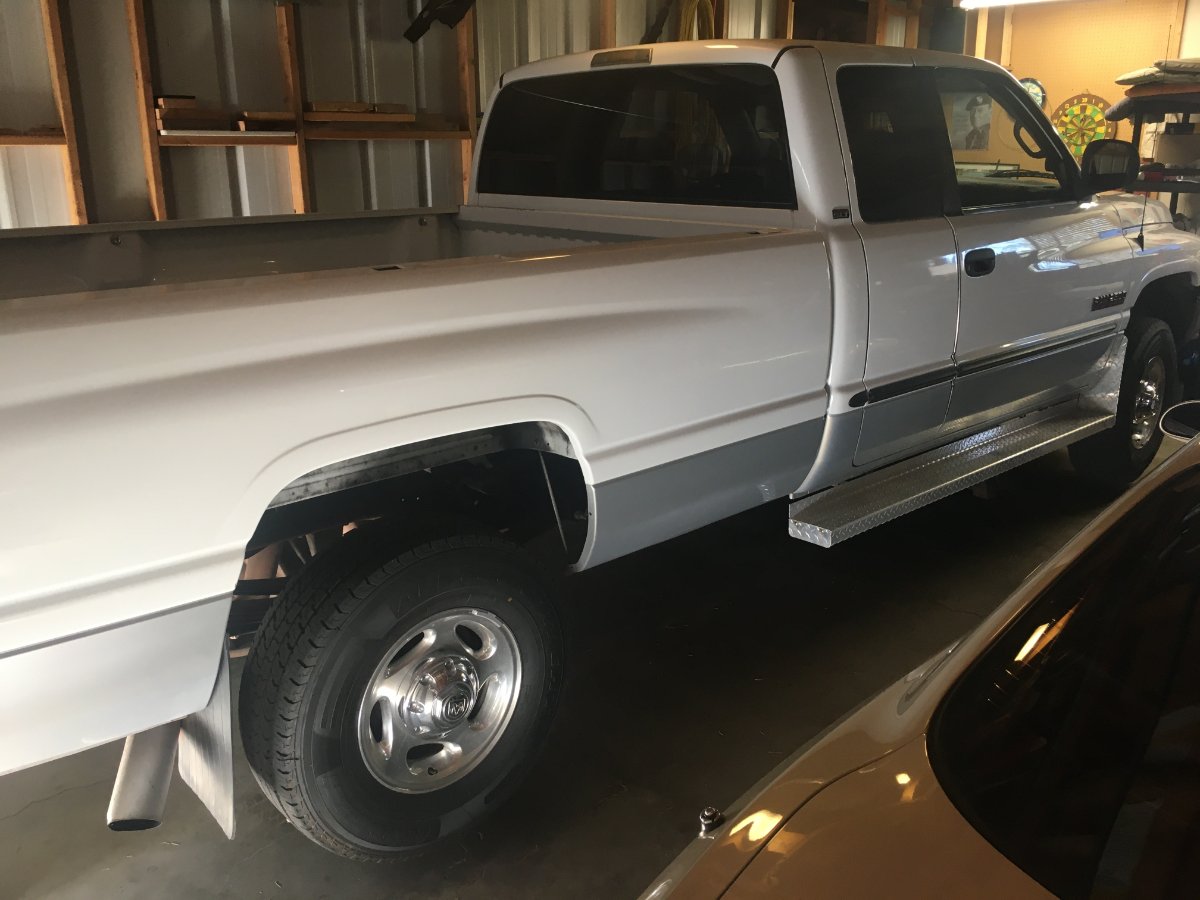
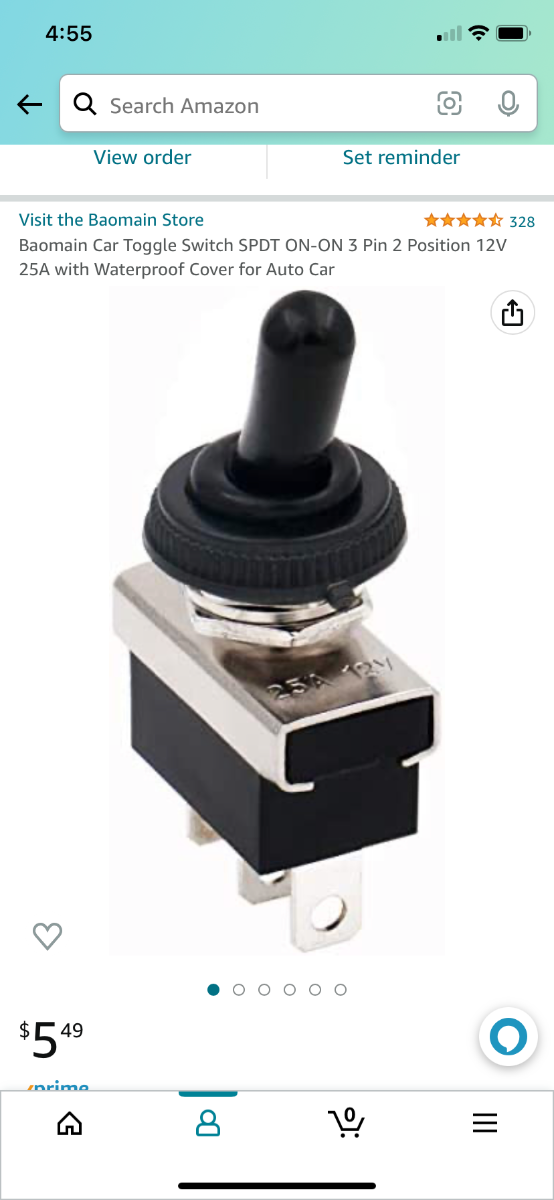
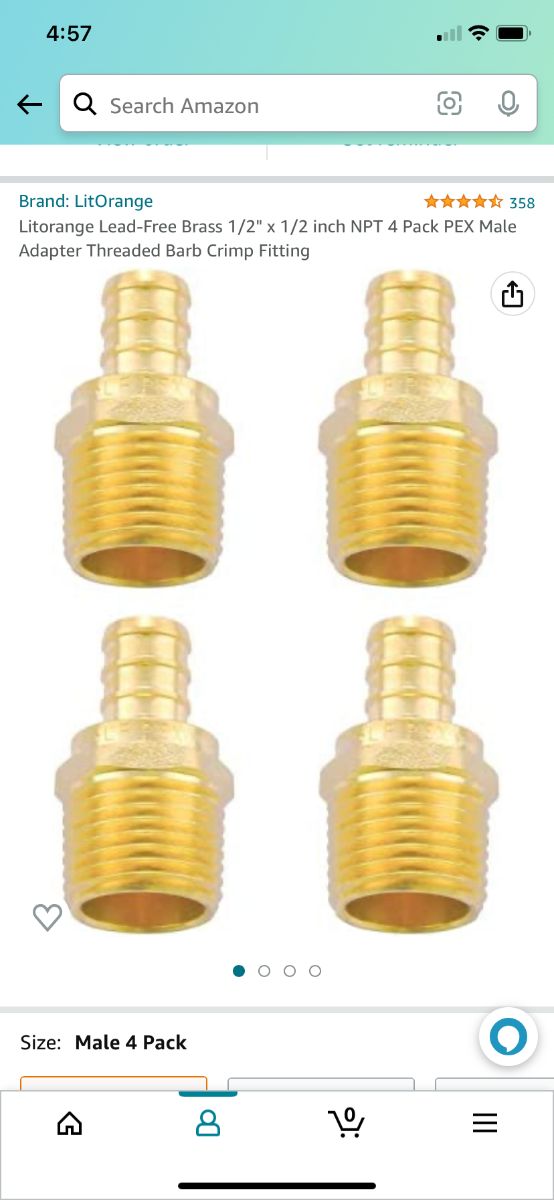
I found accessing the fresh tank drain valve in our Elite I quite cumbersome since we leave the bed set up 100% of the time. We have the optional latex mattress which is heavy and awkward to move. So, I copied what others have done and installed an electric valve operated by a toggle switch. Works beautifully! BTW, when I removed the manual valve and inspected it, I saw a large piece of plastic debris wedged inside. Probably explains why it took so long for my tank to drain. Used the US Solid 3 wire electric valve and SPDT on/on toggle switch with flip cover to prevent accident activation of valve. All parts purchased through Amazon.
1 point
-
I received an email from this company this morning https://www.trailersphere.com/stomberg-jack the Barker Jack cover back in stock and for sale on Amazon. A few owners have asked me about this cover and it’s now back in stock. It’s spendy and there are much cheaper covers out there. Personally, I really like the fit and finish of this cover. Passing it forward. https://www.amazon.com/gp/product/B07MHYCGJN/ref=ppx_yo_dt_b_asin_title_o00_s00?ie=UTF8&psc=1 Patriot🇺🇸
1 point
-
Concur, 100%. Will report back as soon as data is captured. Thanks a ton!1 point
-
Excellent find! The P&R gauges have been there since day-1; will reconfigure when I get back from the MC ride... Many thanks!1 point
-
All dogs hate mailmen for some reason, but same with FedEx and USPS delivery men. With time and further training by you, you should be able to control her when around other dogs. Google the problem and see what others are saying. Try a different trainer or at least talk to one if you have to. Do not put her down. That would be a waste.1 point
-
What a gorgeous place! Wind River Range is on my list. Is the campground called “Green River Lakes”? Would you mind sharing a link? mb1 point
-
Lordy God! I’m having a hard time seeing detail in the zoomed in photo, but the top screw appears to be an apex head, and I hate them with a passion. It’s like a Phillips, but the center point is offset. The bottom might be a square drive, but again there isn’t enough detail when I zoom in.1 point
-
Before even considering a larger aftermarket tranny cooler, I would reconfigure the factory gauges (as instructed by Tom and Doreen, and ridenfly above). If that doesn't work, you can get a scan gauge to provide transmission temp data under load. Veepeak sells an inexpensive one on Amazon for Android phones that plugs into your OBDII port, and reports tons of engine and transmission data to your phone via the OBD Fusion app: https://www.amazon.com/gp/product/B011NSX27A/ref=ppx_yo_dt_b_search_asin_title?ie=UTF8&psc=1 If you have an iphone, Veepeak also sells a somewhat more expensive version. I installed one in my 2019 Tundra, which reported transmission pan temps as high as 265 F recently, pulling up a hill on a hot day. Even with synthetic ATF, that is higher than my comfort level. I'll bet that even when towing your Elite II up a hill, you won't see temps above 230 F with your factory trans cooler. Which ever solution you choose, please report your results on this thread!1 point
-
Plus it doesn't show every finger print.1 point
-
Don't try. The sites are small, the campground road is very narrow. No place for your tow vehicle, 20' max length. Someone did try and had no place to turn around. It was a struggle. Not to mention the drive up with switch backs. Yes, delivery trucks get up to the lodge, but you have a tow vehicle and trailer. Cottonwood or Rio Grand Village are your best spots, or get a site that requires a permit. Do drive up to Chisos and hike "The Windows" trail. Can't beat the views.1 point
-
I posted an e-mail on another post. I would consult with Oliver as different batteries have different settings. Not exactly sure where to have you look, but Oliver will help.1 point
-
Here are the GPS coordinates for that "turnout" above the cliff I mentioned above: 43.844152, -110.404933 https://www.google.com/maps/place/43°50'39.0"N+110°24'17.8"W/@43.8442913,-110.403903,559m/data=!3m1!1e3!4m4!3m3!8m2!3d43.844152!4d-110.404933?entry=ttu If you look at this on Google Maps you will see a dirt road that descends from this turnout toward the river. You can drive (slowly) down this road but DO NOT take your Oliver down there. It is not level and there isn't enough room to turn the Ollie around. However, if you continue on down this "road" past where vehicles are blocked and get to the river, then another fine fishing spot is just 75 yards upstream. Also, given the steepness of the cliff near the paved road, you will want to walk about 1/2 way down this same dirt road and then angle yourself down to the river looking for a spot where you can safely get into the river and then cross to the other side before working your way up to the cliff where the picture above was taken.1 point
-
AGM batteries here . his is a little bit more complicated than I thought it would be1 point
-
Yep - that was probably me telling (explaining might be a better word) my wife about seeing a large griz track on the side of a stream ( a bit closer to Dubois up near Double Cabin) and then seeing a griz headed toward the same willow patch that I was going to fish around.😁1 point
-
After digging into the "leaking / broken flush line" issue...I found that the problem was not the air trap under the sink area, nor was it any of the hoses leading to/from the air trap. FYI - The air trap valve (above pix) is held in place on the front side of the sink cubby. Oliver uses screw head zip ties and that's then attached onto a piece of core board that was epoxied to the inside of the sink. Since the sink was open, I labeled the lines to/from the Air Trap valve and then moved on to find the real problem leak. The broken part was actually the flush inlet port on street side of the trailer. To test this I capped off the flush input line at the point it would normally enter the anti siphon valve. (1/2" NPT Male Cap). Next I had my wife turn on the water, and looked at the street side port under the dinette seat by the bathroom. When she turned it on , water was gushing around the connection. I recall that flush port got tweaked once as I had tripped over the hose while it was connected to that port. The port was pretty loose...and likely the copper to brass connection inside had cracked and finally let go. I've replaced the external port with this new San-T-Flush port, and all is fixed and no more leaks. To mount this port, Oliver uses butyl tape on the back side to make a flat surface, then two screws into the body of the trailer. (I'm planning to fabricate a backing plate and change from screws to bolts on the next repair if needed.) Now my last step will be to re-caulk the bathroom storage cubby on the front of the sink. CS
1 point
-
We've owned and maintained our 2008 #12 since new, and 150k. I know there's another 2008 out there with similar miles. People are truly amazed at how good it looks, in its 16th season. More importantly, it still tows great. Like others, we've done some mods, upgrades, and replacement components over the many years (fridge, water pump, added 200 watts of solar, then upgraded to 400 watts plus 200 portable, etc. ) It's been a great trailer, and doesn't owe us a dime. So many great memories!1 point
-
Mine arrived this morning. Nice quality.
1 point
-
Thanks for taking us along on your trip!! The pictures are wonderful but probably not as good as the memories you made!!1 point
-
Made it home from the Alaska trip. The yoga mat's worked really well keeping away rock chips. (Thanks for the ideas from previous owners). The 3M no-residue tape was also a godsend...it peeled off without any issues. We saw 3 other Oliver's out on this trip. All of them had some type of front covering. One person used very flexible linoleum flooring they picked up in Whitehorse YT. Dirty trailer and beat up yoga mats upon arrival home: After stripping off yoga mats and a quick wash:
1 point
-
Thanks very much John- I was afraid of that, but I think I'd still be happy with the LE1. Its usually just me and my Boxer dog. The AHC was partially converted to LC suspension, but I'm adding LC springs, torsion bars and shocks.
1 point
-
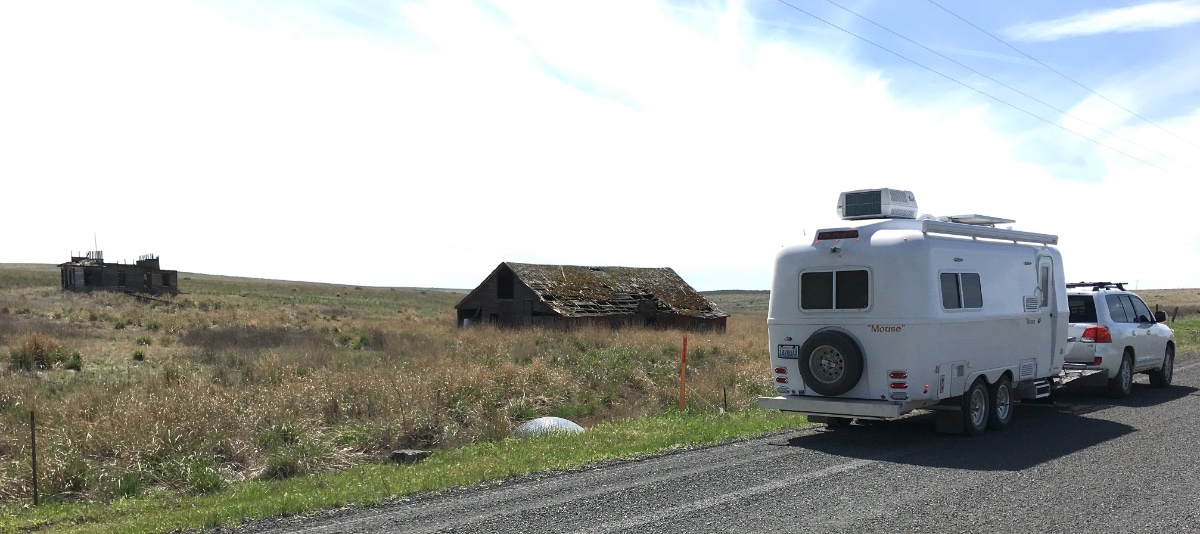
Gravel roads are fun... John Davies Spokane WA
1 point
-
Update...…I reached out to Avi, owner of Trailersphere (maker of the Barker jack cover) about the issue of me not being able to order the cover from Canada. He said it could be because it's being shipped directly from him and not Amazon warehouse, and that he would send some inventory to them that will allow purchase from Amazon. That was on Monday, so yesterday I was able to place my order! 😁1 point
-
Yes, but. . . I have seen the thermistor by looking up into the return air duct after removing the inside plenum. There's a short section of wire that leads to an exit path on the STREET side of the unit. And you would think this would exit into the rooftop section on the STREET side making a replacement a simple task. However, my experience is this: From on top of the roof, the lead wire from the control board enters the protected/sealed area under the Styrofoam on the CURB side of the unit. From there, it appears to travel to the STREET side of the unit in a way that I think can only be accessed by unsealing the Styrofoam and removing it. A task I'm not keen on doing. When I attempted to feed a new thermistor into the access hole on the STREET side of the rooftop unit, it never appeared on the inside when looking up into the return air duct. Where that lead wire went, I have no idea. I'm guessing it got all bunched up on something. (If someone else has done this, I wanna hear from you!) In the attached pictures, marker #1 is the entry path to the sealed area on the CURB side while marker #2 is an entry path on the STREET side. My findings might be wrong, and I hope they are. But I gave up on the task because the unit is new and apart from the roughly 4 degree temperature change for cycling, I have it working well. I'm definitely in agreement with John's remarks about soldering an equivalent gauge wire to the thermistor to extend it. The problem is, without the ability to easily feed the wire from the rooftop section to the interior section (the issue described above), there isn't enough slack wire to get it to an easily workable area with a soldering iron. It's pretty tight quarters up in the return air duct. My brother has some experience with this and I'm planning to wait for a return visit from him to explore it more.
1 point
-
Hull #050. Had it 10 years. First one sold. Best non-animate thing I've ever owned. Been to every state including Alaska. Multiple times. Over 100K miles. Tons of Mods thru the years. Wouldn't trade it for anything.1 point
-
You can submit a service ticket in the Owners section of this site and Oliver will get back to you. No charge for advice/help troubleshooting.1 point
-
As Steph & Dud B stated. We kept tripping our son's breaker until Oliver provided guidance. #28 down to 15. Don't forget to switch it back. Using the phone app is easier to make the changes, so after unplugging turn on the inverter so you can pull up the phone app. Easy Peasy.1 point
-
You just need an adapter cable like this and then a standard extension cord. This will let you connect to one of your house 15 amp outlets. But as mentioned above, this does limit you to 15 amps max current draw. Kohree RV Adapter Plug 30 Amp to 15 Amp 110V, RV Power Adapter 15A Male to 30A Female, RV Dogbone Electrical Adapter Cord 12" with Twist Lock & LED Indicator https://a.co/d/2ZZo15P1 point
-
I just added this cover to my "cart" on Amazon - 1:45pm edt, Monday, August 14, 2023 Bill1 point
-
My LC200 probably has a stouter cooling system than your Tundra, I routinely saw TORQUE CONVERTER temp around 225 -230 on steep grades, the pan temperature was always a few degrees lower and lagged a long time behind the TC. Just cruising on the highway, they always matched closely, when the TC unlocked it started to climb immediately and the pan stayed where it was for a while. You need to be sure that you are reading the correct sensors. If your PAN is actually getting to 265 and staying there your trannie is at risk. I never had any sort of trans temp warning. This is with 3.90 axles and 6 speed trans. Add a cooler and sleep better. Get rid of the OEM fluid and do a full system change with full synthetic and new pan filter and gasket. It is super easy for an owner to do since you have the scan tool …. but only if the trans pan bolts are not rusted solid! It took me four hours to remove my pan. This is why a lot of shops won’t do this step IMHO. If you don’t plan on dropping the pan, spritz all the hardware with penetrating oil every other spring. Don’t forget to spray the thermostat bypass cavity. John Davies Spokane WA1 point
-
I really look forward to the day (not that far in the future) that both my Jeep Grand Cherokee Trailhawk and Ford F-150 will be replaced by EVs. We are in the early stages of the development of this technology and as others in the past. Remember slide rulers and dial party landline telephones...?1 point
-
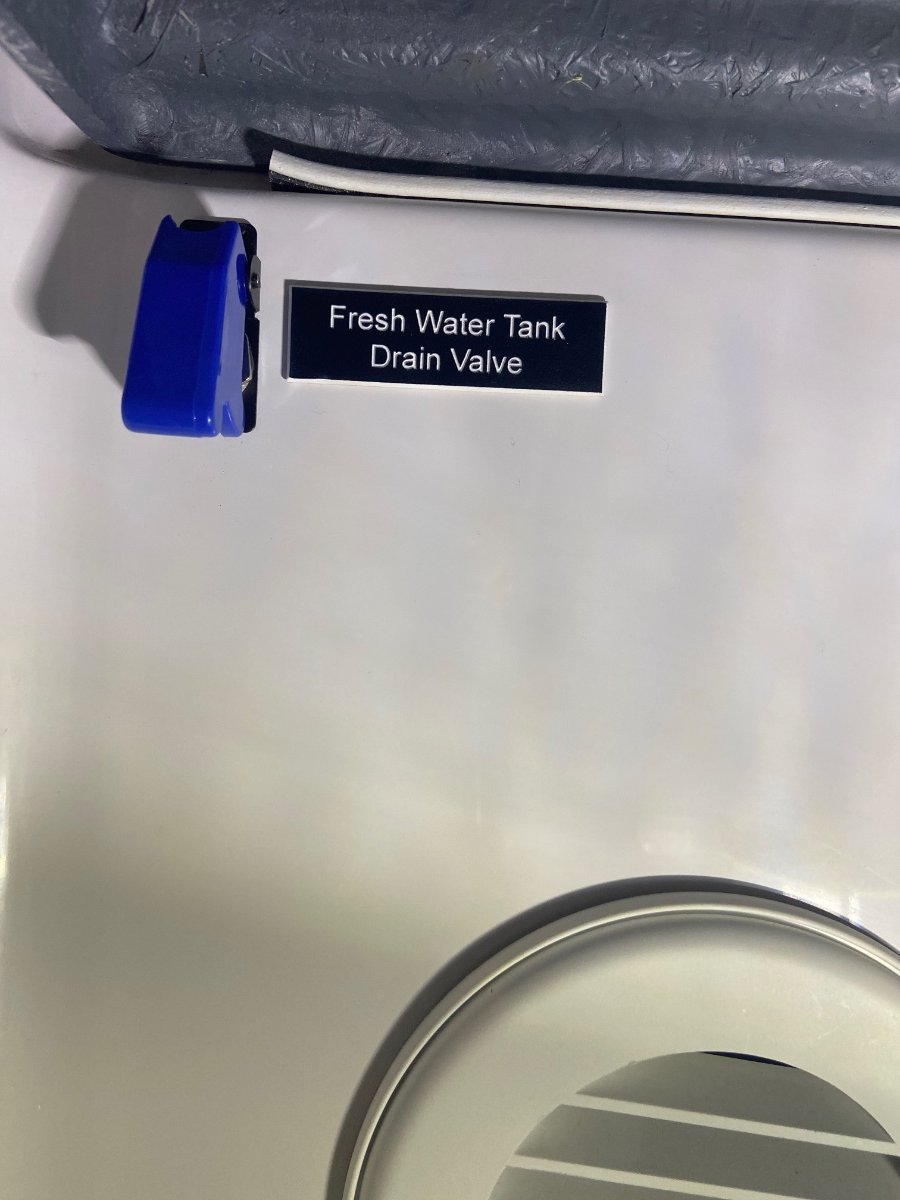
It’s basically just cutting out manual valve and replacing it with the electric one. Might want to have a piece of blue pex pipe handy. I extended how much pipe exited camper so I could crimp on a 3/4” threaded brass fitting. The two biggest decisions are where to mount switch and where to get 12v power from. I originally wanted to mount switch with the rest of the switches on the left wall as you enter camper, but running wires between hulls proved impossible for me. So I decided on current location shown in picture. For 12v power, I just tapped into a previous mod of a 12v exterior socket which was very close to valve location. But, it would not have been very difficult to run the wires to the other side of camper where the fuse panel is located. There is a Youtube video on wiring up the US Solid valve. Remember, there are two versions of the US Solid valve, a three wire and a two wire. The 3 wire is what I chose. In either open or closed condition, it draws no power. The two wire version uses minimal power when open and will automatically close when power is lost using internal capacitor.1 point
-
I tapped into a previous exterior 12v outlet mod. Much easier than fishing wires between hulls.1 point
-
Here are screen shots of the items I purchased off Amazon. You’ll also need spade connectors to attach wires to switch. I already had those, but they too are available on Amazon. Also some hose clamps or pex crimp rings with crimping tool are needed.
1 point
-
No, I never saw instructions. It’s fairly straightforward if you’re a bit of a handyman. Hardest part is maneuvering in the limited space where valve is located.1 point


-
Recent Achievements
-


")


")
")


